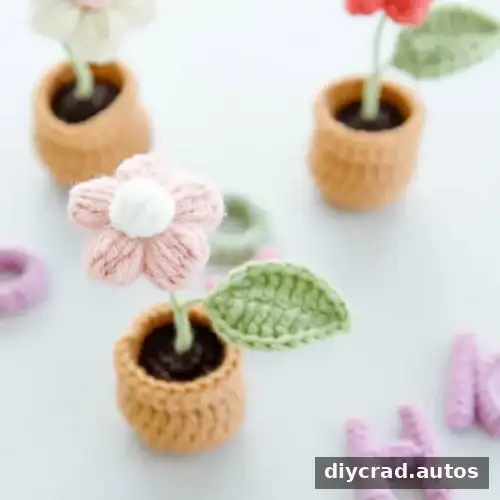
This Crochet Puff Flower pattern combines a textured flower, a simple leaf, and a small crocheted pot to create a decorative project for a table, shelf, or other spot at home. The instructions use basic stitches alongside puff-style unfinished stitches, so they offer a practical way to build crochet skills while making a colorful keepsake.
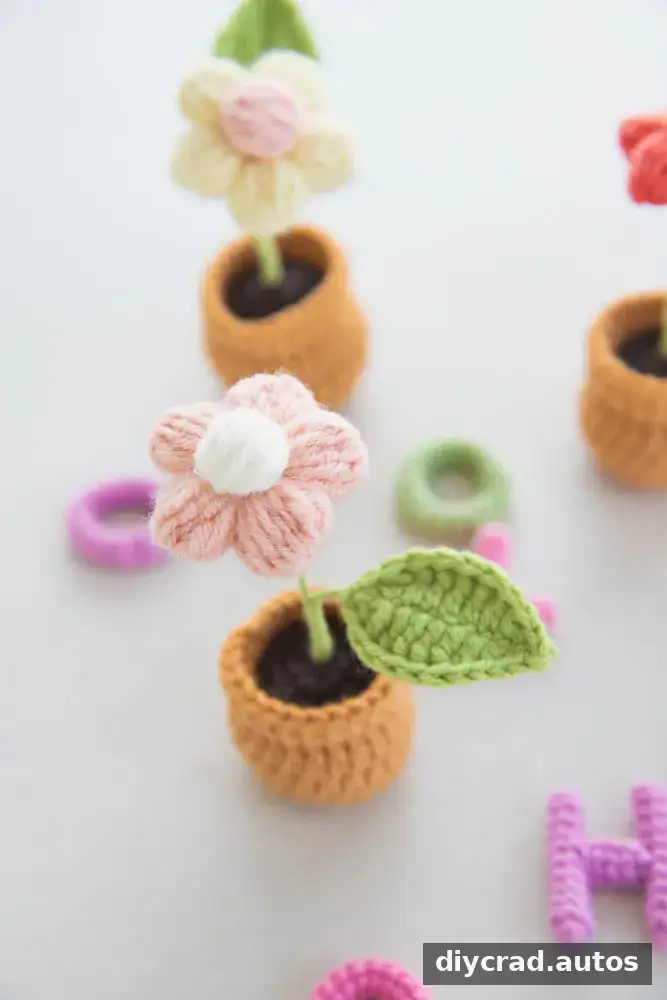
Why Make a Crochet Puff Flower?
The flower and pot are made from small pieces, and the pattern uses common crochet stitches rather than specialized equipment. Choose the listed yarn colors or adjust them to suit your decor. For a tidy result, keep your stitch tension consistent, especially when working the pot in rounds.
- Use it as a small decorative accent around the home.
- Choose different yarn colors to personalize the flower and pot.
- Practice working into front loops and back loops to create texture.
Video Tutorial
A video tutorial is available for additional guidance. Turn on subtitles in the video settings if you need them. Watching the relevant section while following the written rounds can help clarify the unfinished-stitch technique.
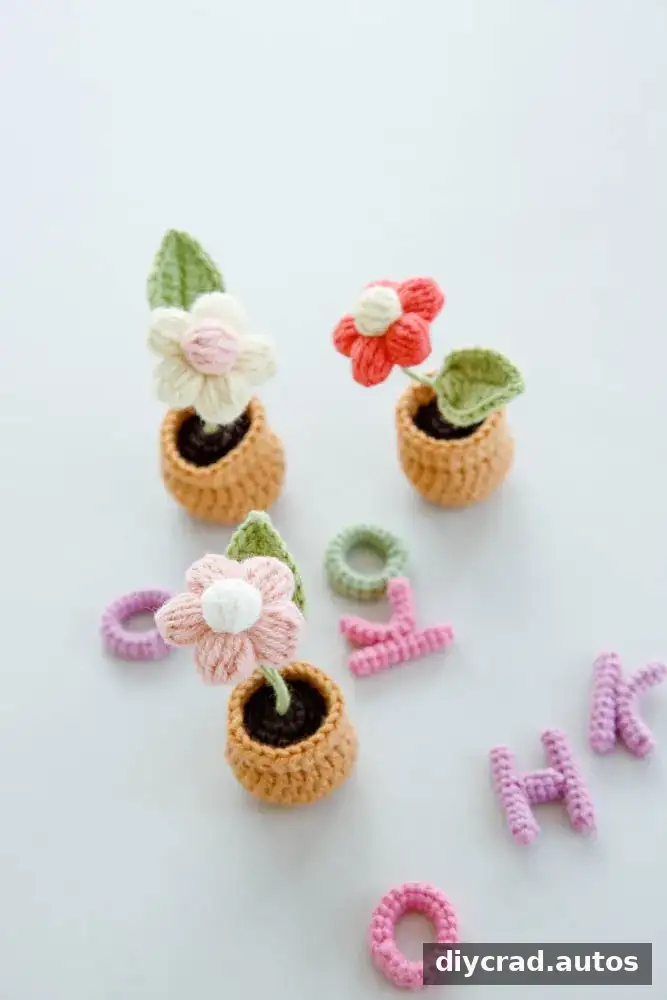
Materials and Difficulty
The pattern is described as easy to intermediate. Beginners may want to review the abbreviations and loop instructions before starting, as working into front loops only (FLO) or back loops only (BLO) can take practice.
- Yarn in five colors: pink, white, green, dark brown, and light brown
- 2.5 mm crochet hook
- Iron wire, 0.02 inches (0.4 mm) in diameter
- Darning needle, scissors, and stitch marker
- Fiberfill
- Hot melt adhesive
Use the stitch marker to identify the start of each pot round. Handle the wire and hot melt adhesive carefully, and allow adhesive to cool fully before handling the assembled flower.
Stitches and Abbreviations
The pattern uses US crochet terminology. Check these abbreviations before beginning so you can follow each round without stopping to look them up.
- ch: chain
- sc: single crochet
- hdc: half double crochet
- dc: double crochet
- tr: treble crochet
- ss: slip stitch
- FLO: front loops only
- BLO: back loops only
Special Techniques
Working in one loop only leaves the other loop visible and creates a ridge or textured edge. An unfinished stitch is started but not completed; several unfinished stitches are then closed together by yarning over and pulling through all the loops on the hook. Keep the loop height even to help the puff petals look consistent.
Step-by-Step Crochet Puff Flower Pattern
Flower Pot
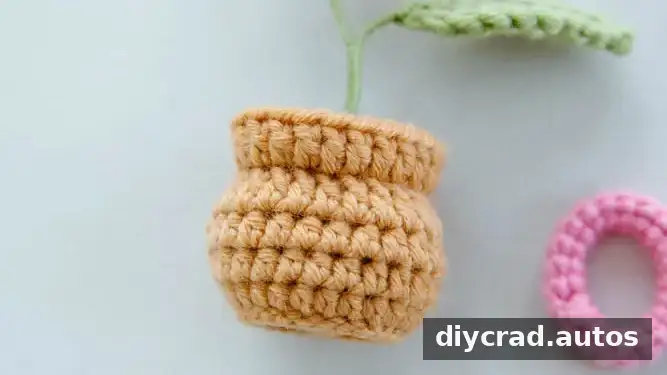
Begin with a magic ring and use a stitch marker to keep track of the round beginnings.
- R1: Make 6 sc into the ring, then 1 ss and 1 ch.
- R2: Make 2 sc in each stitch from the previous round. Repeat 6 times, then 1 ss and 1 ch.
- R3: Make 1 sc in the next stitch and 2 sc in the following stitch. Repeat 6 times, then 1 ss and 1 ch.
- R4: Make 2 sc in the next stitch and 2 sc in the following stitch. Repeat 6 times, then 1 ss.
- R5: Ch 2, work BLO 24 hdc, then 1 ss.
- R6–7: Ch 2, make 24 hdc in each round, then 1 ss.
- R8: Ch 3, make 24 dc, then 1 ss.
- R9: Ch 3, work FLO 24 dc. Cut the yarn and weave in the end.
- Work a round of FLO ss in the front loops of R4. Cut the yarn and weave in the end.
Soil Surface
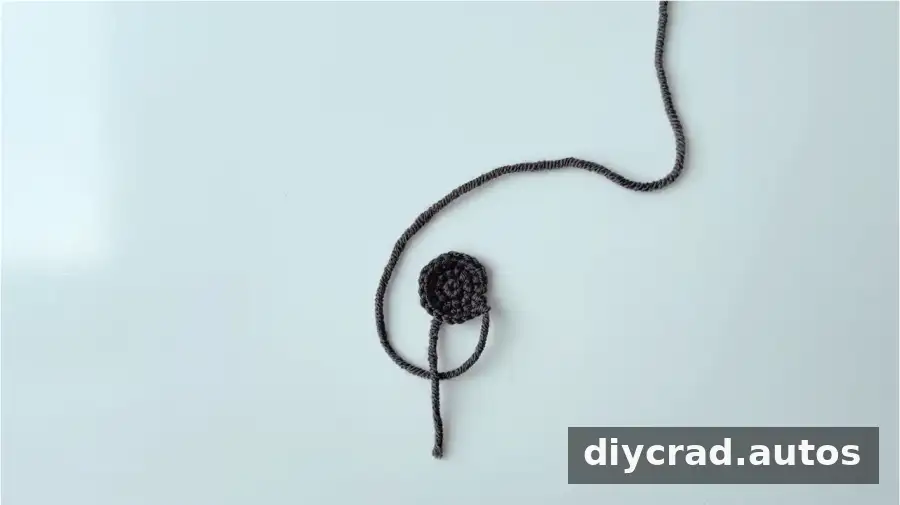
Make a second magic ring for the soil surface. Leave a yarn tail after the final round so it can be sewn to the pot.
- R1: Make 6 sc into the ring, then 1 ss and 1 ch.
- R2: Make 2 sc in each stitch from the previous round. Repeat 6 times, then 1 ss and 1 ch.
- R3: Make 1 sc in the next stitch and 2 sc in the following stitch. Repeat 6 times, then 1 ss and 1 ch. Cut the yarn and leave a tail.
Flower
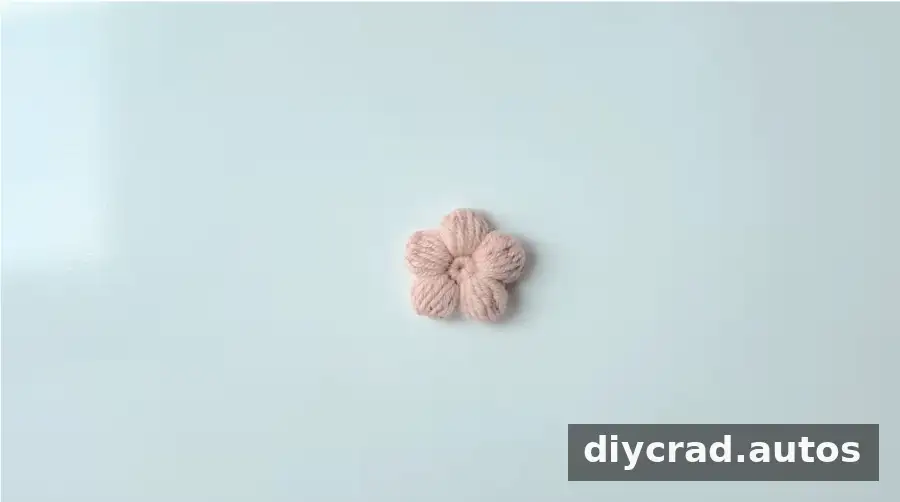
- R1: Make 10 sc in a magic ring, then 1 ss.
- R2: Repeat 5 times: ch 3, make 4 unfinished dc in the same stitch, then 4 unfinished dc in the next stitch. Pull through all loops together, ch 4, and make 1 ss. Cut the yarn and weave in the end.
When closing each group of unfinished stitches, pull through all loops on the hook together to form the raised puff. Avoid pulling so tightly that the center becomes difficult to work into.
Flower Core
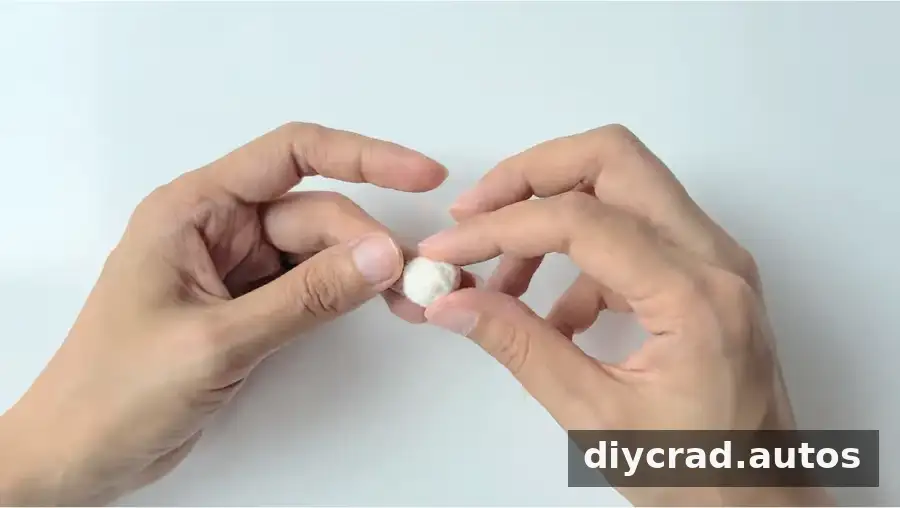
- Start with a foundation chain of 4 ch.
- Step 1: Make 5 unfinished dc, leaving the final step of each stitch incomplete. Pull through all loops together.
- Step 2: Ch 4, make 1 ss, cut the yarn, and tie a knot.
Leaf
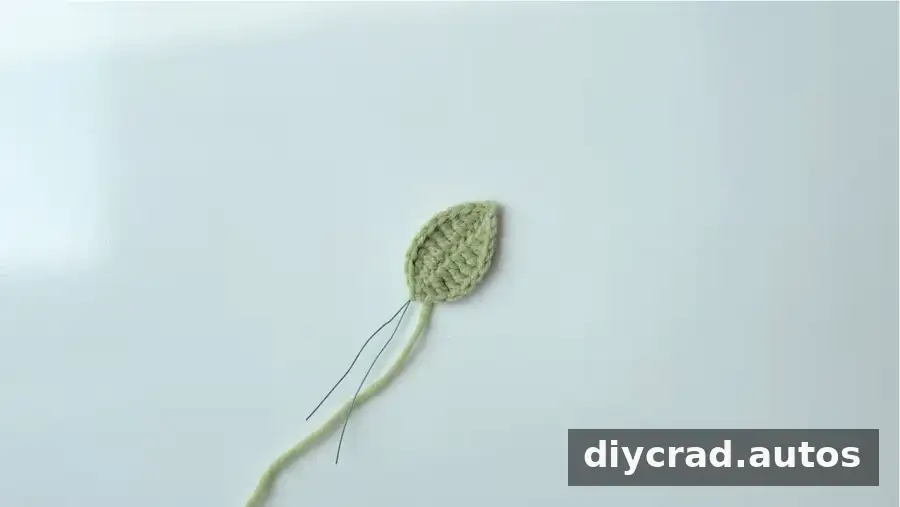
- Start with a foundation chain of 11 ch.
- Step 1: Add a wire. In the second chain from the hook, make 1 sc, then 5 tr, 1 dc, 1 hdc, 1 sc, 1 ss, and 1 ch.
- Step 2: Work 1 ss, 1 sc, 1 hdc, 1 dc, 5 tr, 1 sc, and 1 ss. Weave the existing yarn around the wire to the end for a neat finish.
Assembly
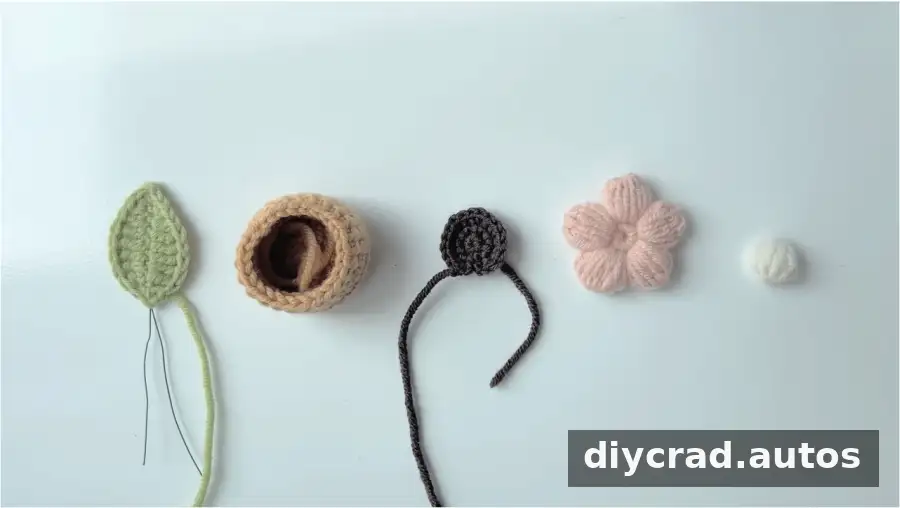
Attach the Flower, Core, and Leaf
- Make a loop at the end of a piece of wire.
- Position the wire at the flower center and secure it with hot melt adhesive.
- Place the flower core in the center and secure it with adhesive.
- Wrap yarn around the wire. Attach the leaf midway along the stem as you wrap, then continue to the end.
- Secure the yarn with hot melt adhesive.
Join the Soil Surface and Pot
- Sew the soil surface to the pot while leaving the seam unfinished enough to add the flower.
- Attach the flower to the soil surface and secure it with a loop and hot melt adhesive.
- Add fiberfill, finish sewing, cut the yarn, and weave in the end to conceal it.
Before closing the pot, check that the flower stem sits where you want it and that the fiberfill is distributed evenly. This makes the finished piece neater and helps it stand as intended.
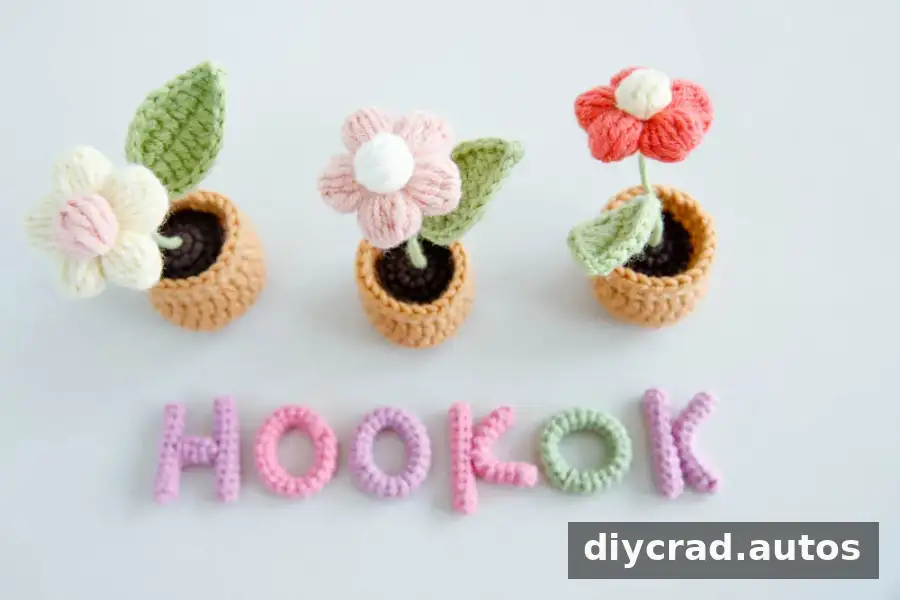
Finishing and Displaying Your Crochet Puff Flower
Once the assembly is complete, check for loose yarn ends and make sure the wire is covered. The finished Crochet Puff Flower can be used as a small home decoration or wrapped as a handmade gift. If displaying it in a vehicle, position it securely and ensure it does not obstruct the driver’s view or interfere with vehicle controls.
Pattern note: The wording for R4 of the flower pot may be unclear in relation to the 24 stitches specified in later rounds. Check your stitch count as you work and use the video guidance if needed rather than assuming an unstated correction.