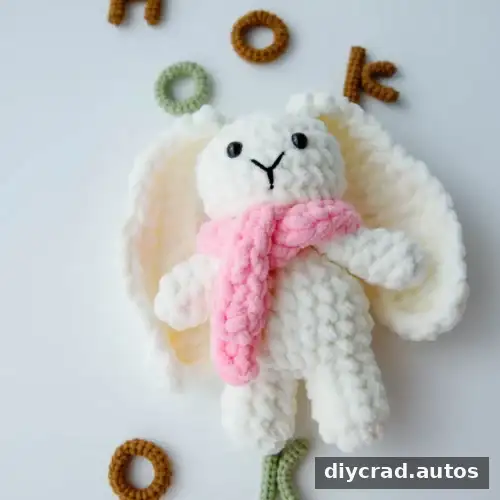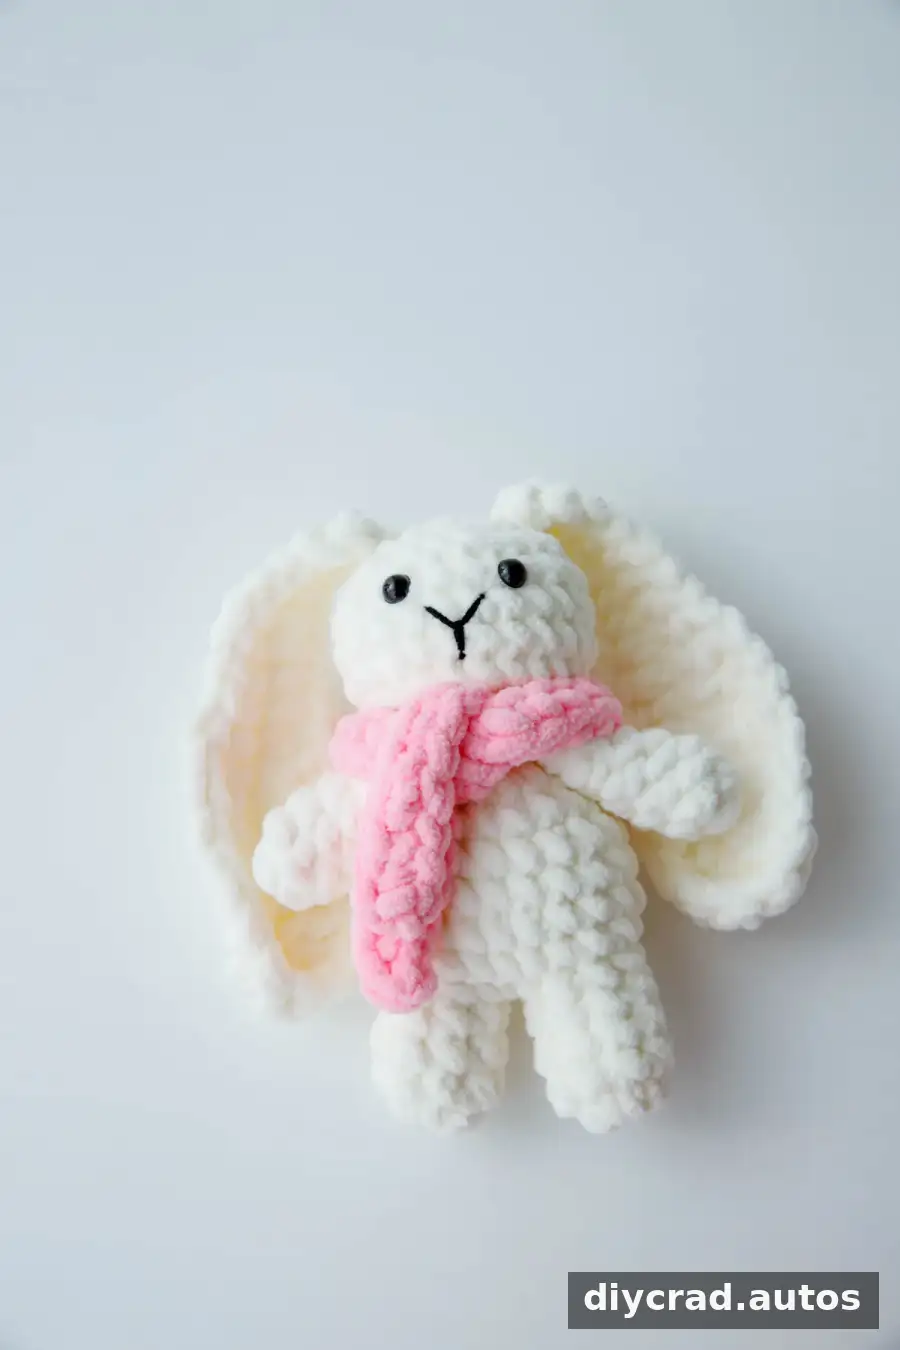
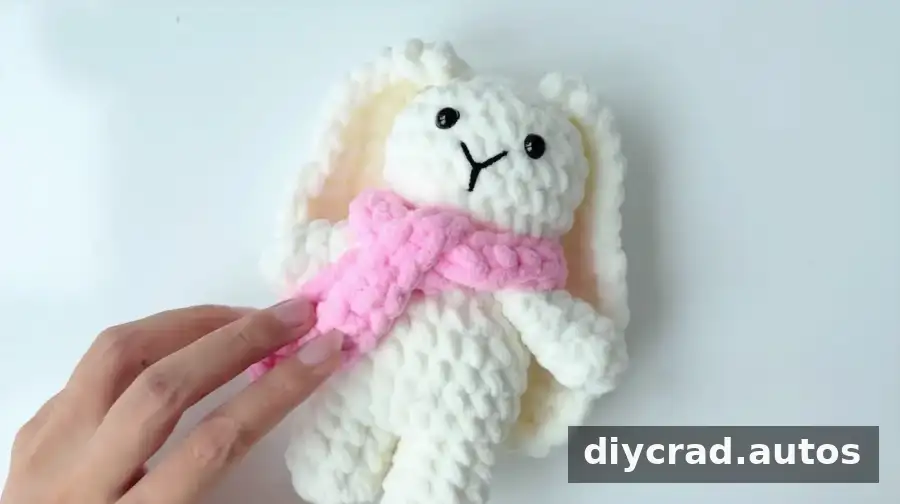
This crochet rabbit amigurumi pattern creates a small plush toy with a rounded head, long ears, and a removable-looking pink scarf. The pattern includes instructions for the body, two feet, two ears, and scarf, along with assembly guidance. It uses US crochet terms and plush yarn; the stated difficulty level is intermediate, so familiarity with basic stitches and working in rounds is helpful.
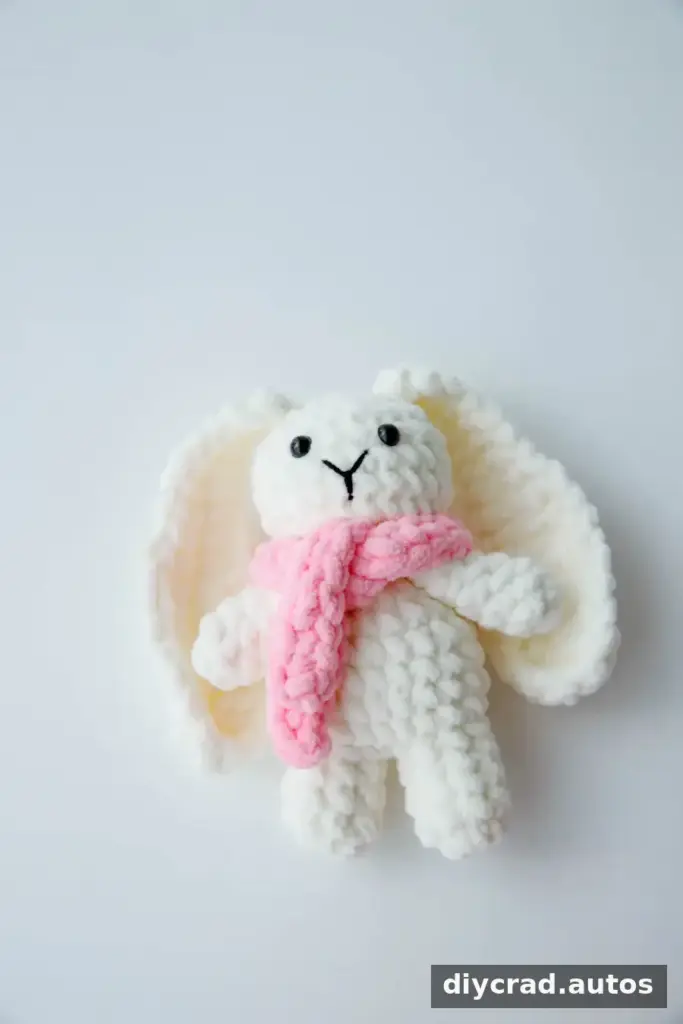
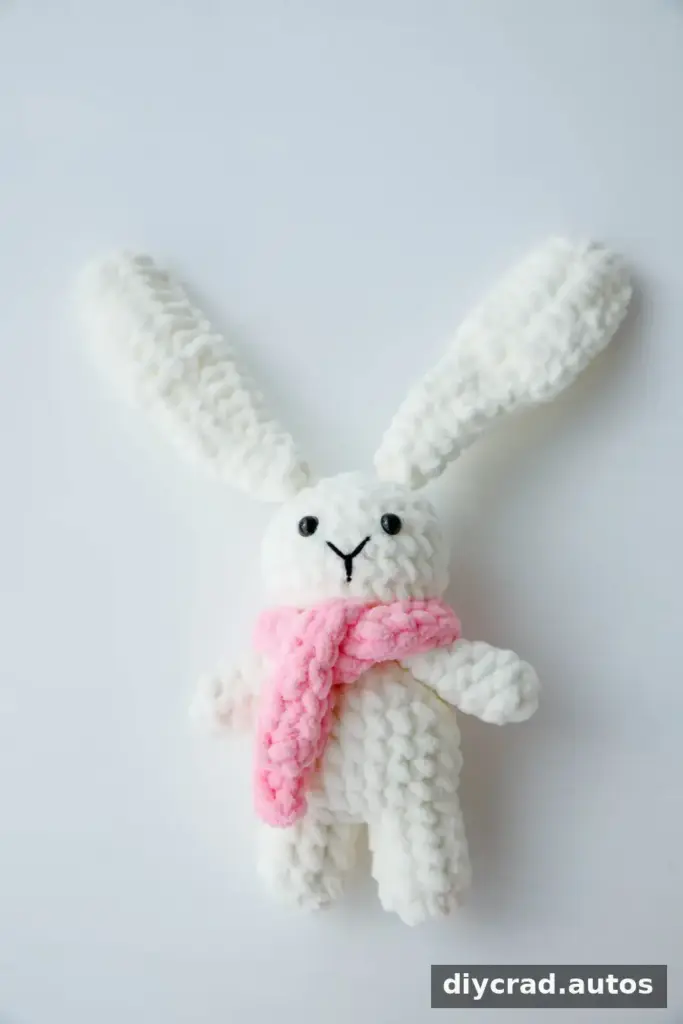
Before starting, gather the materials and read through the stitch abbreviations. A stitch marker can help identify the beginning of each round, especially when working with plush yarn, where individual stitches may be harder to see.
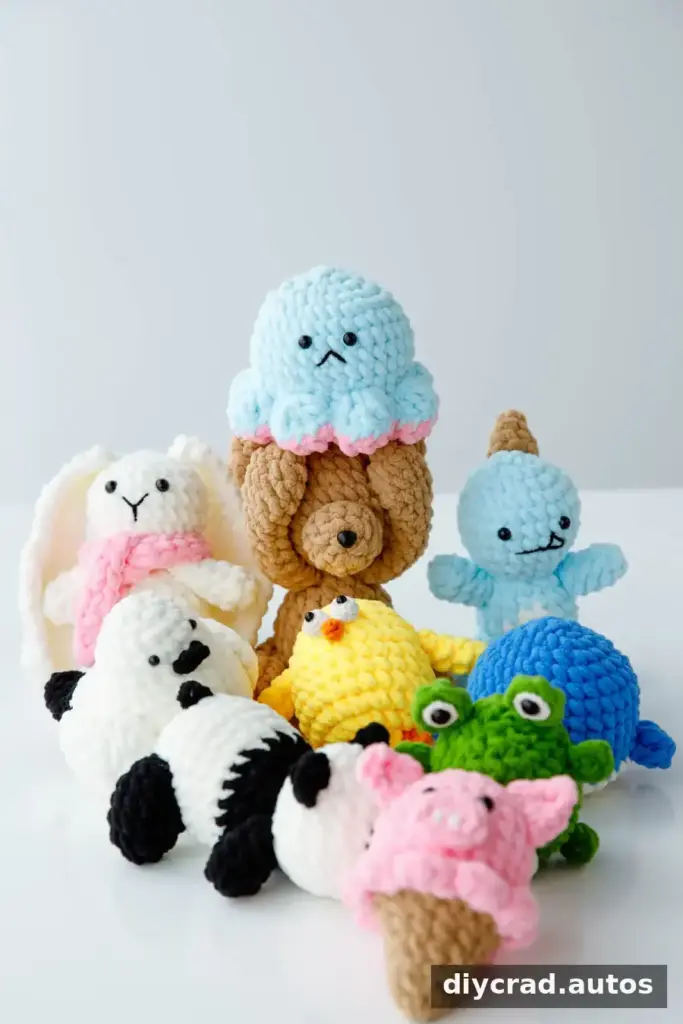
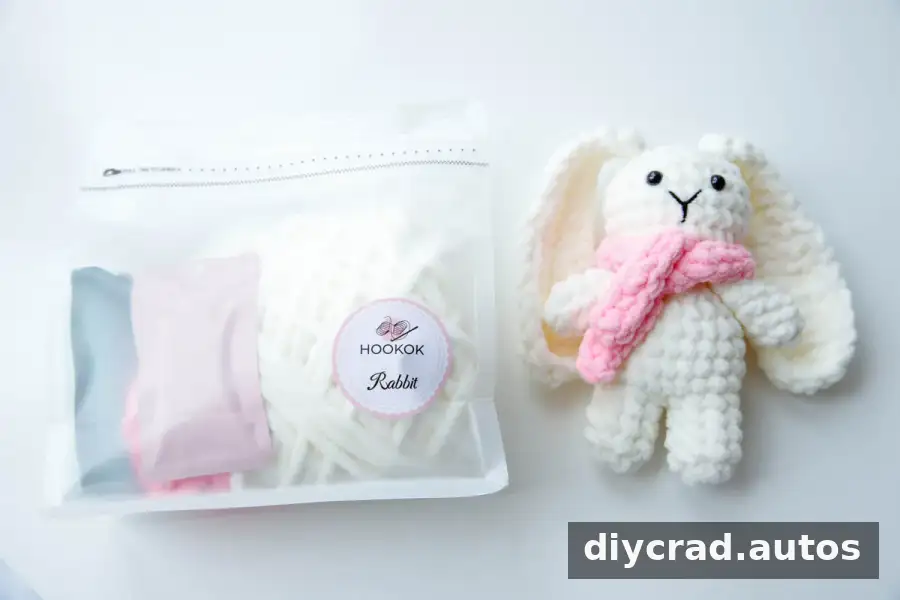
Materials for the Crochet Rabbit
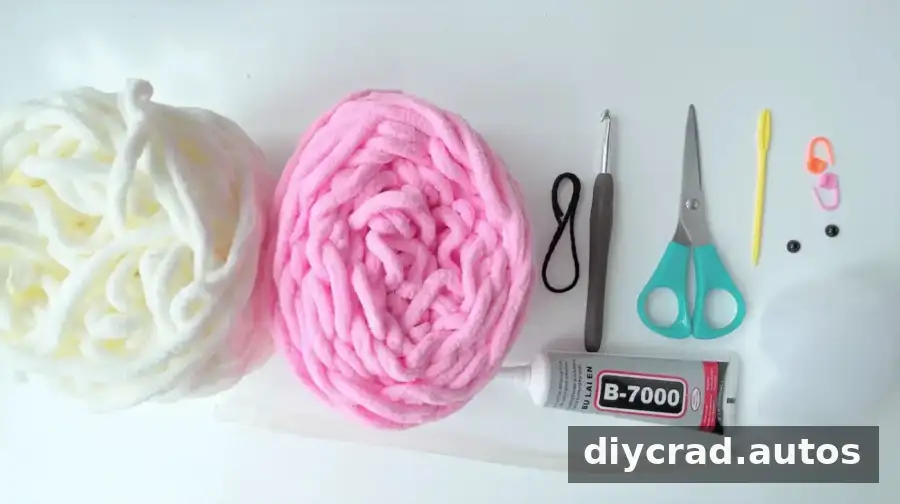
- Plush yarn in white, pink, and black
- 6.0 mm crochet hook
- Darning needle
- Fiberfill stuffing
- Scissors
- Stitch marker
- Hot-melt adhesive or multipurpose glue
- One pair of 8 mm eyes
Safety note: The materials list specifies 8 mm eyes, while the assembly checklist later says 6.0 mm safety eyes. Confirm the eye size before beginning. For a toy intended for a young child, embroidered eyes are an alternative to small parts; attach all components securely.
Crochet Terms and Special Stitches
- Sc: single crochet
- Hdc: half double crochet
- Dc: double crochet
- Ch: chain
- St: stitch
- Ss: slip stitch
- [00]: stitch count at the end of a round
- R1, R2, R3: Round 1, Round 2, Round 3, and so on
Sc2tog (decrease): Insert the hook into the next stitch and pull up a loop. Insert the hook into the following stitch and pull up another loop. Yarn over and pull through all three loops on the hook.
Increase: Work two single crochet stitches into the same stitch.
Pattern Notes
- The instructions use US crochet terminology.
- Mark the first stitch of each round and check the stitch count as you go.
- Rounds are joined with a slip stitch and followed by a chain where specified.
- Stuff the body and head gradually so the filling is evenly distributed without stretching the stitches.
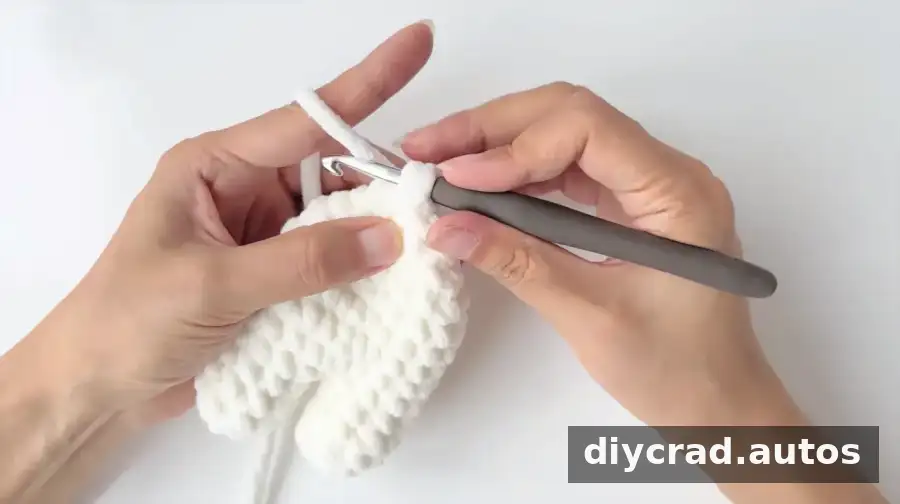
How to Crochet the Rabbit
Body and Head
- R1: Make 8 sc in a magic ring, 1 ss, 1 ch.
- R2–R4: 8 sc, 1 ss, 1 ch. Finish the first leg at R4 and cut the yarn, leaving a tail of about 5 cm. Work the second leg through R4, but do not cut the yarn. Join it to the first leg with 1 ch.
- R5: 4 sc, 2 sc in the next st, 8 sc, 2 sc in the next st, 4 sc, 1 ss, 1 ch. [20]
- R6–R9: 20 sc, 1 ss, 1 ch. [20]
- R10: 4 sc, sc2tog, 8 sc, sc2tog, 4 sc, 1 ss, 1 ch. [18] Add fiberfill.
- R11: (1 sc, sc2tog) 6 times, 1 ss, 1 ch. [12]
- R12: (1 sc, sc2tog, 1 sc) 3 times, 1 ss, 1 ch. [9] Do not cut the yarn.
Continue directly from the body to form the head. Add stuffing as the shape grows, keeping the fabric firm but not overfilled.
- R13: (2 sc, 2 sc in the next st) 3 times, 1 ss, 1 ch. [12]
- R14: 2 sc in each st 12 times, 1 ss, 1 ch. [24] Add fiberfill.
- R15–R18: 24 sc, 1 ss, 1 ch. [24]
- R19: (1 sc, sc2tog, 1 sc) 6 times, 1 ss, 1 ch. [18]
- R20: (1 sc, sc2tog) 6 times, 1 ss, 1 ch. [12] Add fiberfill.
- R21: Sc2tog 6 times. [6] Cut the yarn and weave in the end.
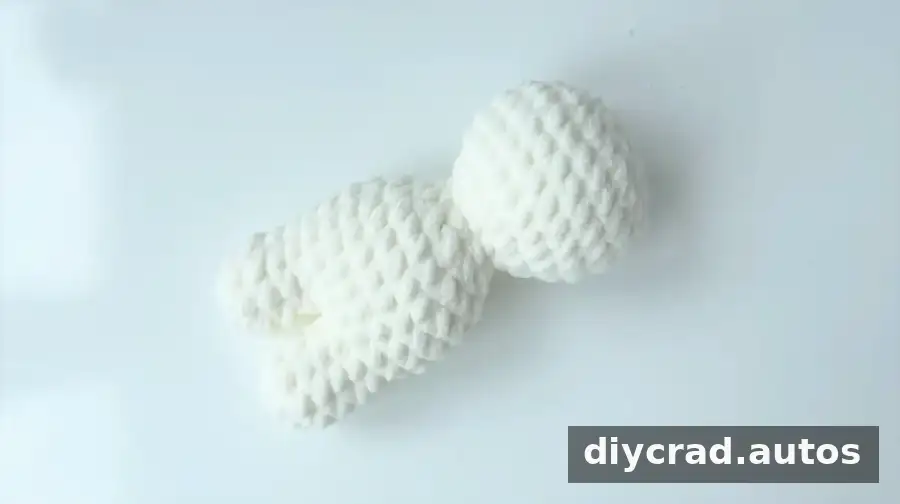
Make Two Feet
- R1: Make 6 sc in a magic ring, 1 ss, 1 ch. [6]
- R2–R5: 6 sc, 1 ss, 1 ch. [6]
- R6: Fold the piece in half and work 3 sc through both layers. Cut the yarn, leaving a sewing tail.
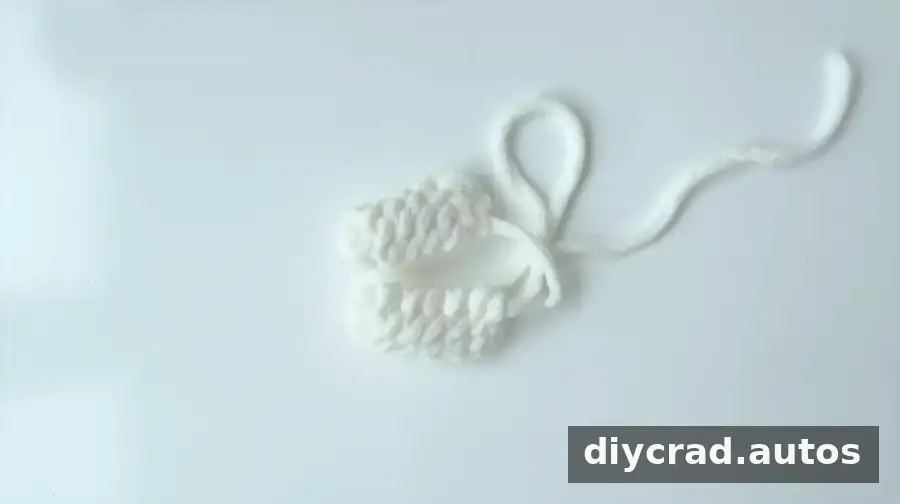
Make Two Ears
- Make a foundation chain of 16 ch.
- R1: Starting in the second chain from the hook, work 4 sc, 4 hdc, 6 dc, then 6 dc in the same stitch. Continue with 6 dc, 4 hdc, and 4 sc. Finish with 1 ss and 1 ch. Cut the yarn and leave a tail. [34]
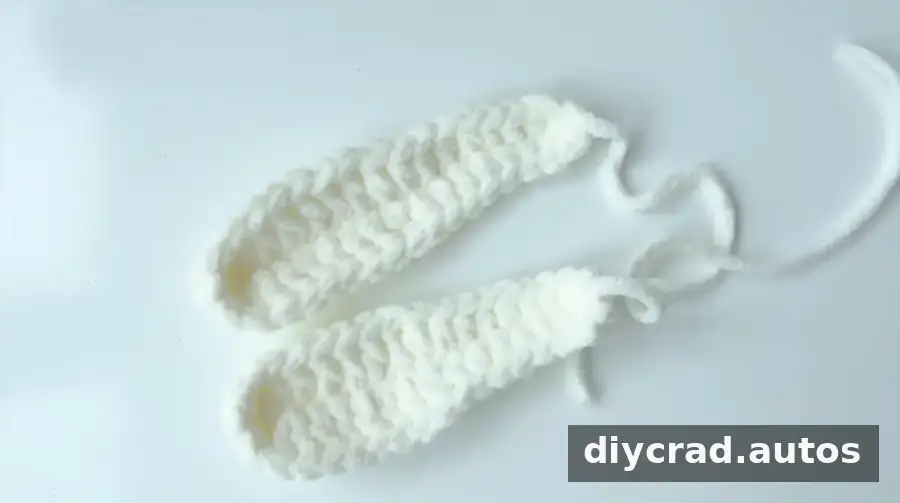
Pink Scarf
- Make a foundation chain of 40 ch.
- Insert the hook behind the first vertical bar of the chain and work 1 ss, then 39 sc. Cut the yarn and weave in the ends.
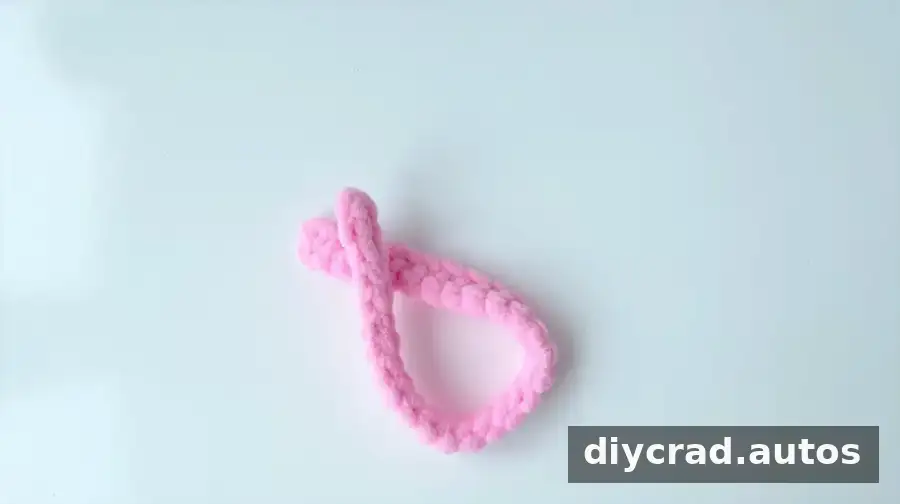
Assembling the Crochet Rabbit
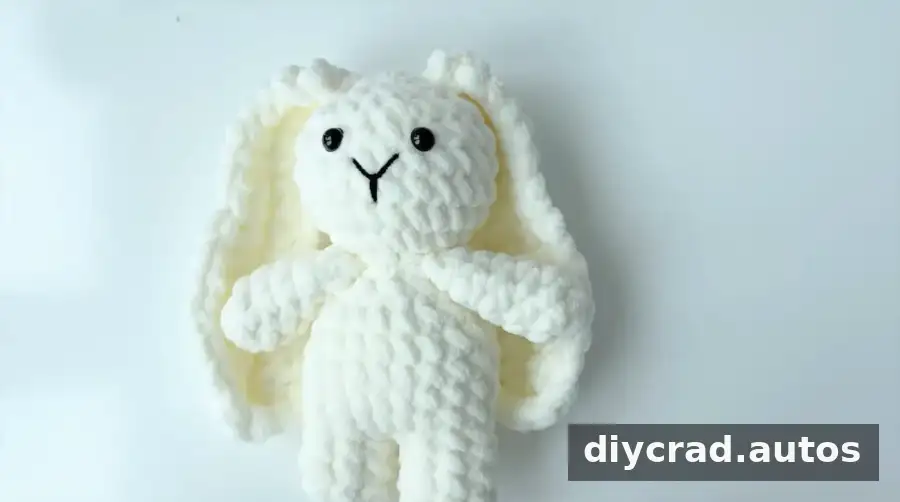
Before assembly, prepare the body, two feet, two ears, pink scarf, eyes, and any remaining yarn tails. The written pattern labels the crocheted pieces as feet, while the assembly directions refer to hands. Check the intended placement of these two pieces before sewing them on.
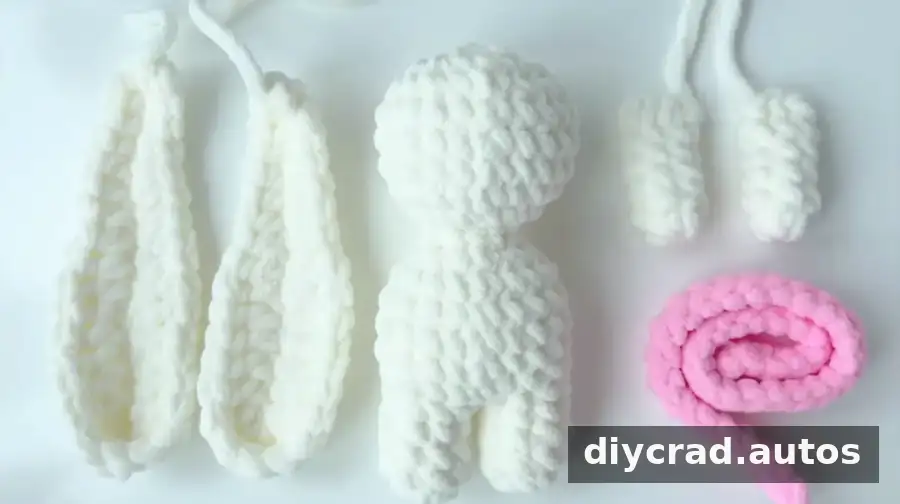
- Attach the two crocheted pieces: The assembly directions say to sew one piece to each side of the neck area. Secure the sewn pieces with adhesive if appropriate for the finished toy.
- Attach the ears: Sew the ears between R19 and R20 of the head, then secure them as needed.
- Embroider the mouth: Use a small length of black yarn to stitch a smile at the center of the face, around R15.
- Position the eyes: Place them at R16 with three stitches between them. Check that the face is centered before securing the eyes.
- Add the scarf: Tie the pink scarf around the neck. Take care not to pull it so tightly that it distorts the body.
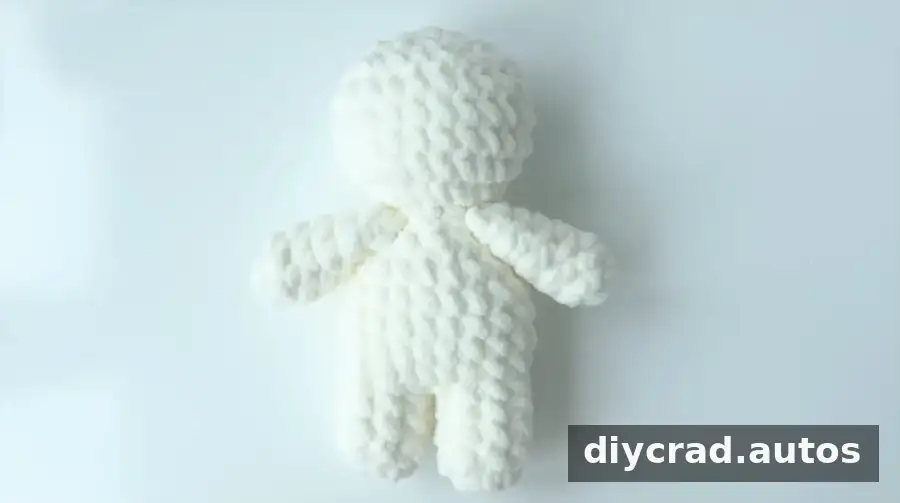
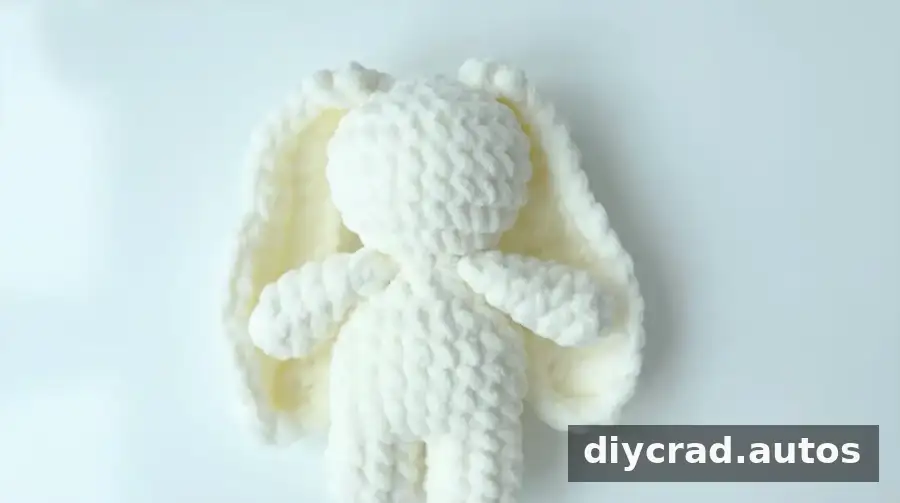
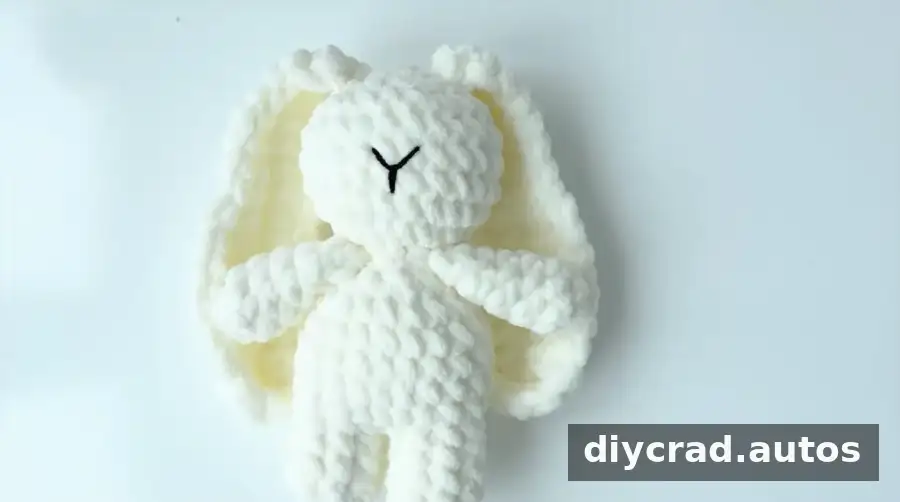
Finishing Tips
Weave in loose yarn ends with a darning needle and check that the stuffing is evenly distributed. If the rabbit is intended for a child, make sure all sewn parts are firmly attached and consider embroidering the eyes rather than using safety eyes. Adhesives should be used carefully and only in a way suitable for the toy’s intended use.
This crochet rabbit pattern brings the body, head, ears, feet, and scarf together in one amigurumi project. Follow the stitch counts, check the two noted assembly details before finishing, and adjust the scarf color to suit your preferred look.