

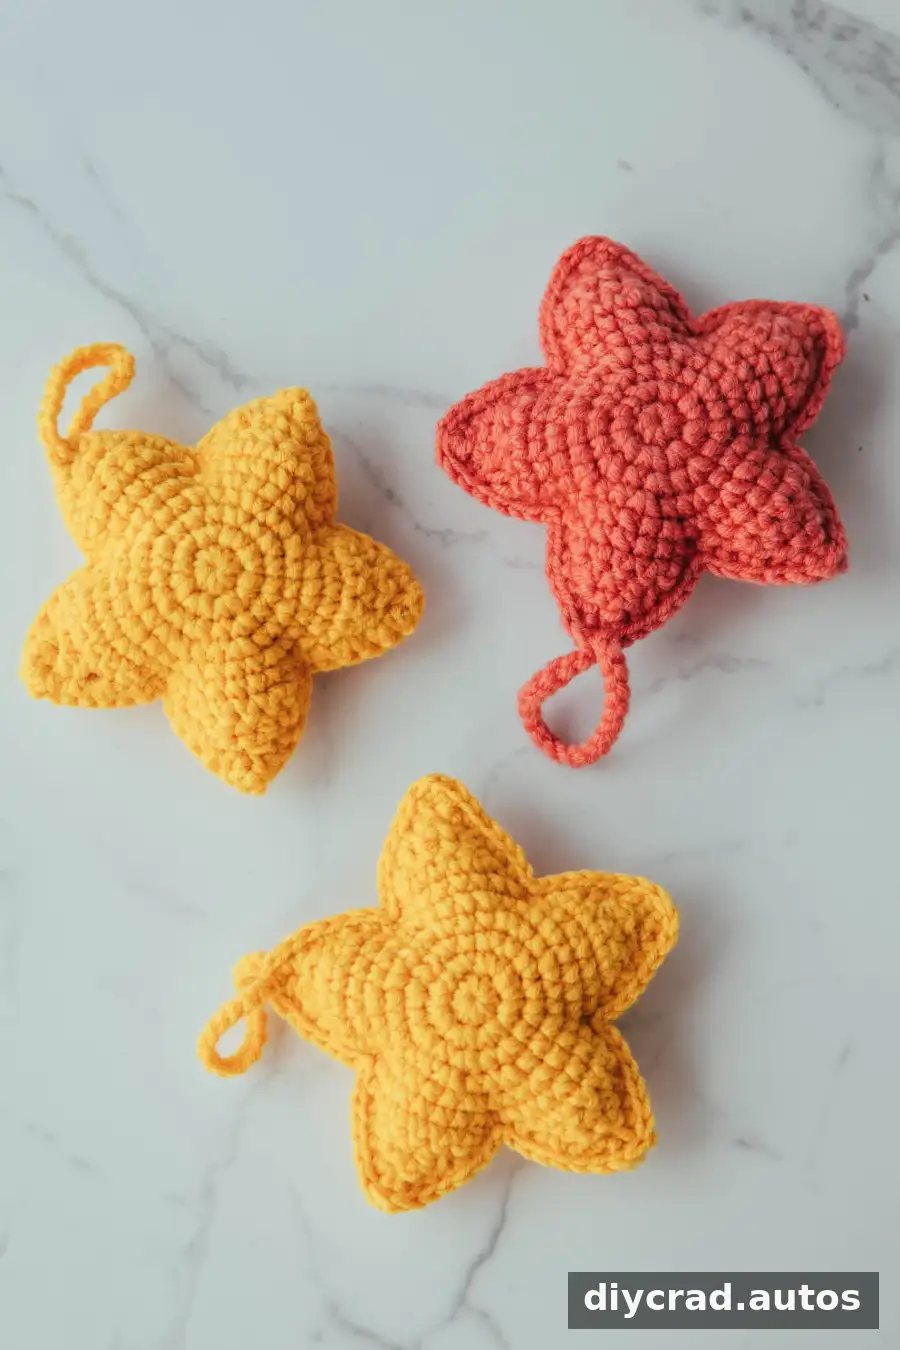
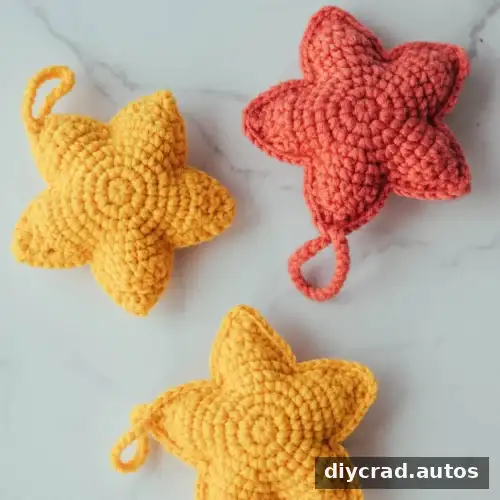
This crochet star pattern makes a soft, stuffed five-point star that can be used as an ornament, a small accessory, or a decorative detail on another project. The instructions also include a flat star-and-heart bookmark variation. Choose a yarn color to suit your project, and adjust the finished size by changing the yarn and hook together.
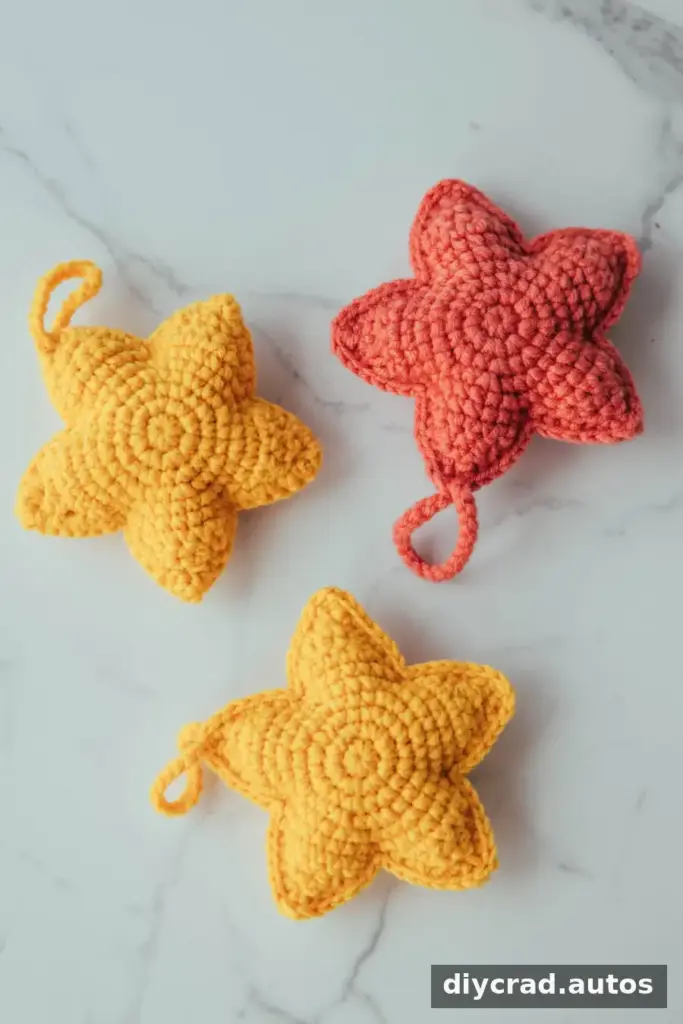
The star is worked in US crochet terminology. Its two body pieces are shaped into five points and joined around a small amount of polyfill. The shaping involves several decreases, so beginners may find it helpful to mark the start of each round and count stitches as they work.
Why Make This Crochet Star?
A five-point star is a recognizable shape that works well in many small crochet projects. Leave the chain loop off for a soft ornament or applique, or make the hanging loop to display the finished star. You can also use several stars together for a garland.
- Decorative use: Hang the stuffed star as a seasonal ornament or add it to nursery decor.
- Accessory: Attach it to a backpack, purse, or key holder. Make sure any attachment is secure before use.
- Floral display: Add a rod to the star and use it as an accent in a crochet flower arrangement or bouquet.
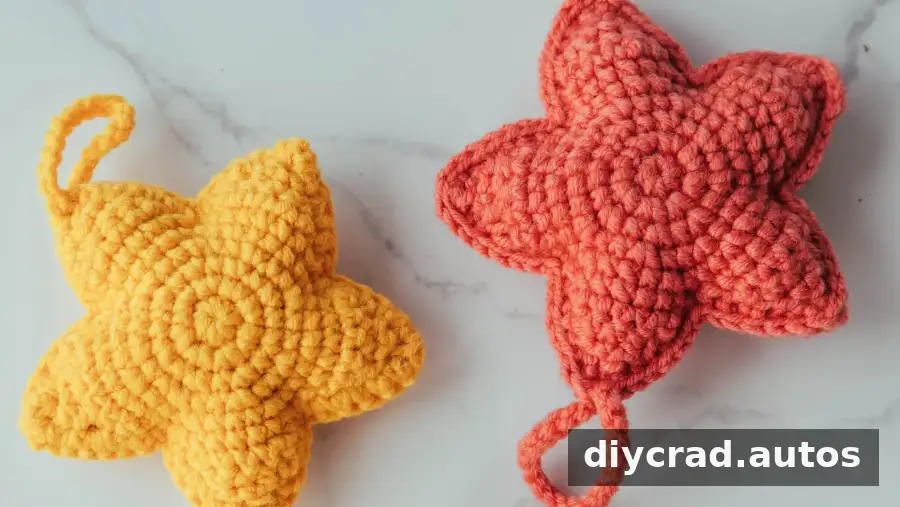
Materials and Pattern Details
- Yarn in yellow, or another color of your choice
- 2.5 mm crochet hook
- Stitch marker
- Darning needle
- Scissors
- Polyfill
Difficulty: Advanced intermediate. A beginner who is comfortable learning new stitches may also try the project by following each step carefully.
Gauge: Not applicable. The finished size will vary with the yarn and hook size, so use a hook suited to your chosen yarn and keep both star pieces consistent.
Stitches and Abbreviations
- ch: chain
- sc: single crochet
- hdc: half double crochet
- dc: double crochet
- tr: treble crochet
- ss: slip stitch
- sc2tog: single crochet two stitches together
Rounds are worked in the round. Place a stitch marker at the beginning of each round, moving it as you progress. The pattern uses US stitch terms.
How to Crochet the Star Body
Make Two Star Pieces
Use yellow yarn, or your chosen color, and begin with a magic ring. Work the following rounds to create the central section of the star.
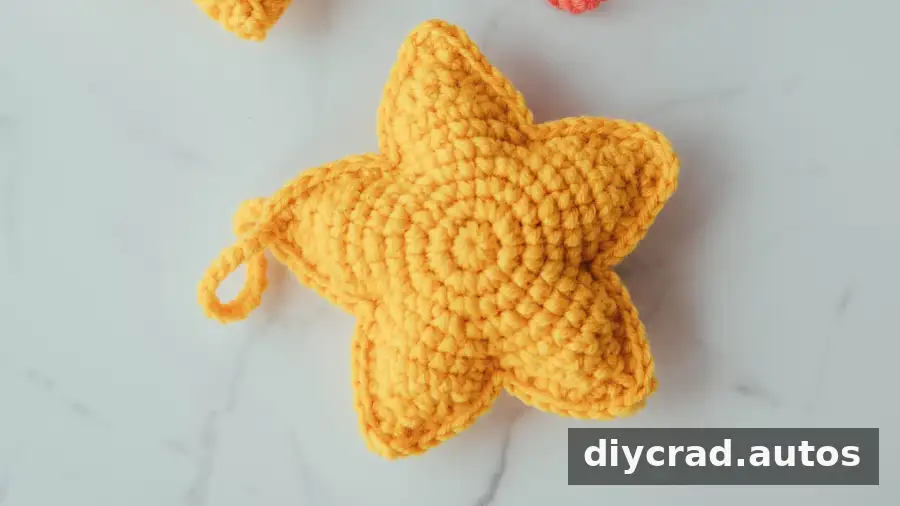
- R1: Ch 1, work 8 sc into the magic ring, pull the ring closed, then ss.
- R2: Ch 1, work 2 sc in the next stitch; repeat 7 times, then ss.
- R3: Ch 1, work sc in the next stitch and 2 sc in the following stitch; repeat 7 times, then ss.
- R4: Ch 1, work sc in the next 2 stitches and 2 sc in the following stitch; repeat 7 times, then ss.
- R5: Ch 1, work sc in the next 3 stitches and 2 sc in the following stitch; repeat 7 times, then ss and ch 1.
Shape the Five Points
Work back and forth to form each point. Turning at the end of each row creates the tapered shape. Keep track of the starting stitch for each point so they are spaced around the star.
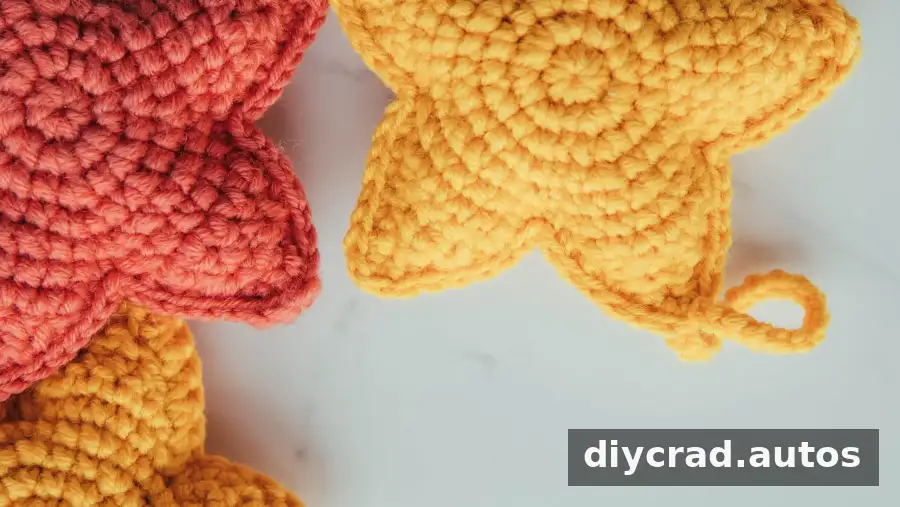
- R6: Sc in the next 8 stitches, turn, ch 1.
- R7: Sc2tog, sc in the next 4 stitches, sc2tog, turn, ch 1.
- R8: Sc2tog, sc in the next 2 stitches, sc2tog, turn, ch 1.
- R9: Sc2tog, turn, ch 1.
- R10: Sc2tog.
- R11: Ch 20 to make the hanging loop.
Repeat R6–R10, starting at stitches 9, 17, 25, and 33 of R5, to make the other four points. There should be five points in total. Make the second star piece in the same way, but omit the 20-chain hanging loop. Fasten off, leaving a yarn tail for joining.
Assemble and Stuff the Star
Place the two star pieces together with their edges aligned. Before closing the seam, check that the points match and the hanging loop is positioned where you want it.
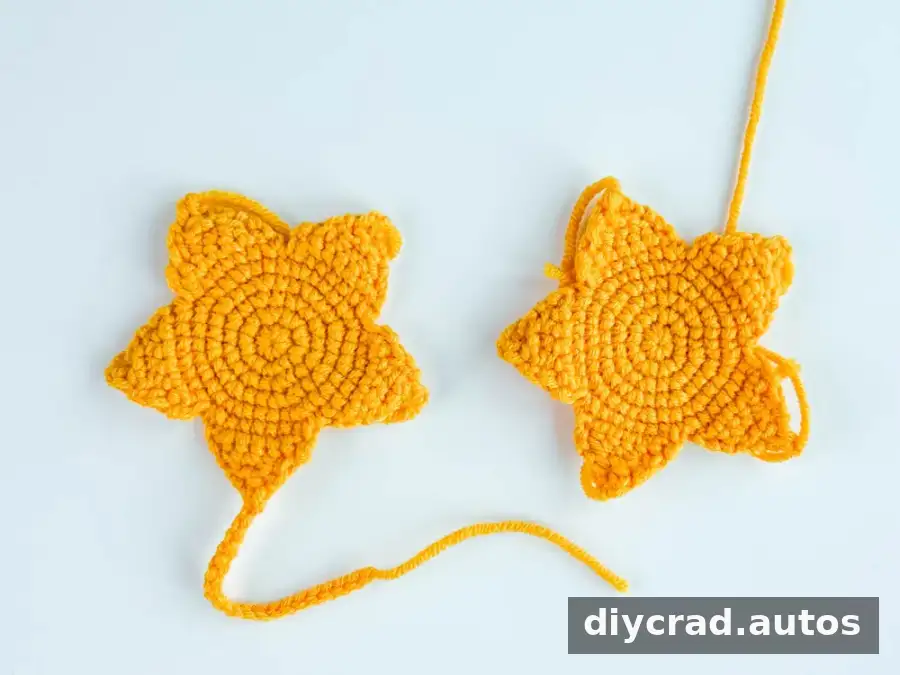
- Join the two pieces by working single crochet through both layers. Leave a small opening and do not fasten off yet.
- Fill the star with polyfill, distributing it gently into all five points. Add small amounts at a time to help the points keep their shape without overstuffing.
- Continue joining the edges to close the opening. Fasten off and weave in the end with a darning needle.
- Thread the tail of the 20-chain loop through a darning needle and stitch it to the base of the chain to form a loop. Fasten off and weave in the remaining ends.
Star and Heart Bookmark Variation
This flat version uses a small star and a small heart joined together on a long chain. It requires yarn in light pink and dark pink, a 2.5 mm hook, a stitch marker, scissors, and a darning needle. The bookmark is not stuffed.
Small Star
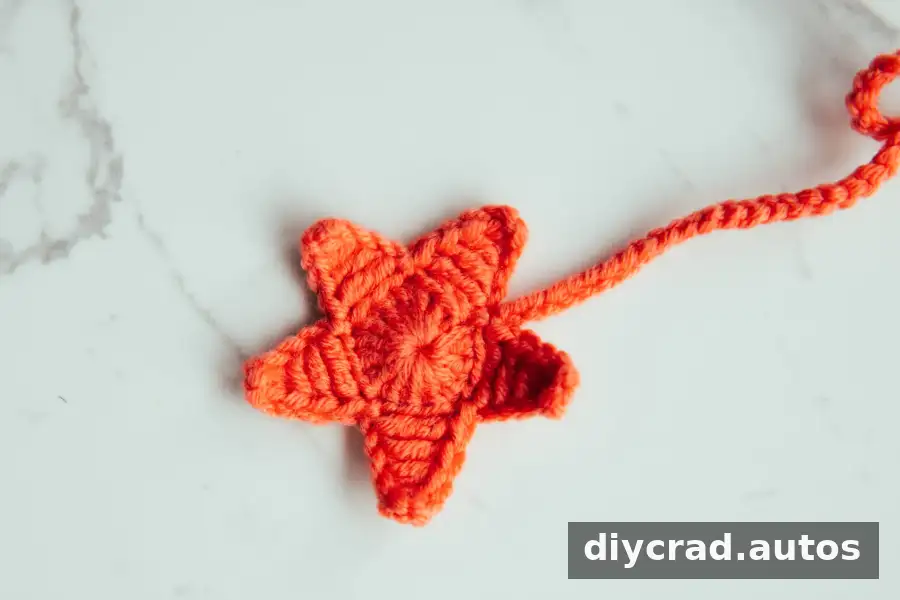
- With dark pink yarn, begin with a magic ring.
- R1: Ch 3, work 14 dc into the magic ring, then ss.
- R2: Ch 6. Starting in the third chain from the hook, work sc, hdc, dc, and tr. Make an ss into the third stitch of R1.
- Repeat R2 until there are 5 points. Do not cut the yarn.
- Ch 65 to make the bookmark cord.
Heart and Assembly
With light pink yarn, begin with a magic ring. Work 5 dc, ch 2, and 5 dc into the ring. Fasten off and weave in the ends.
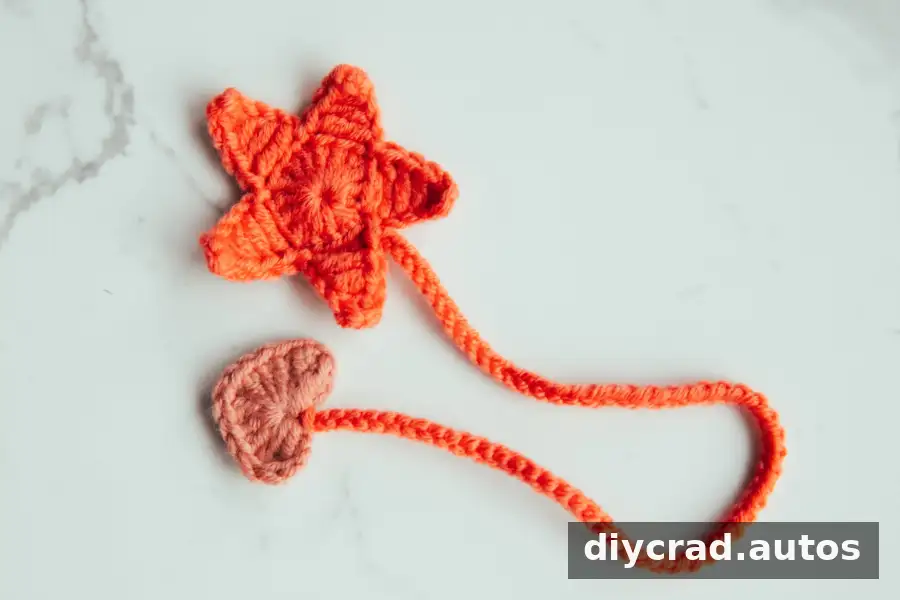
Use the star’s yarn tail and a darning needle to stitch through the center of the heart. Fasten off and weave in the ends. Keep the joining stitches secure, but avoid pulling them so tightly that the heart loses its shape.
Finishing Tips
- Use a stitch marker consistently, especially when working the central rounds.
- Check that both stuffed-star pieces have matching point placement before joining.
- Choose smooth, manageable yarn if you want the stitch definition and shape to be easy to see.
- For a different finished size, change the yarn and hook; the pattern does not specify a gauge.
Conclusion
This crochet star pattern can be made as a stuffed five-point decoration or adapted into a flat star-and-heart bookmark. Follow the shaping instructions carefully, count stitches as you work, and choose colors that suit your intended use. The finished star can add a handmade accent to a garland, bouquet, accessory, or seasonal display.

