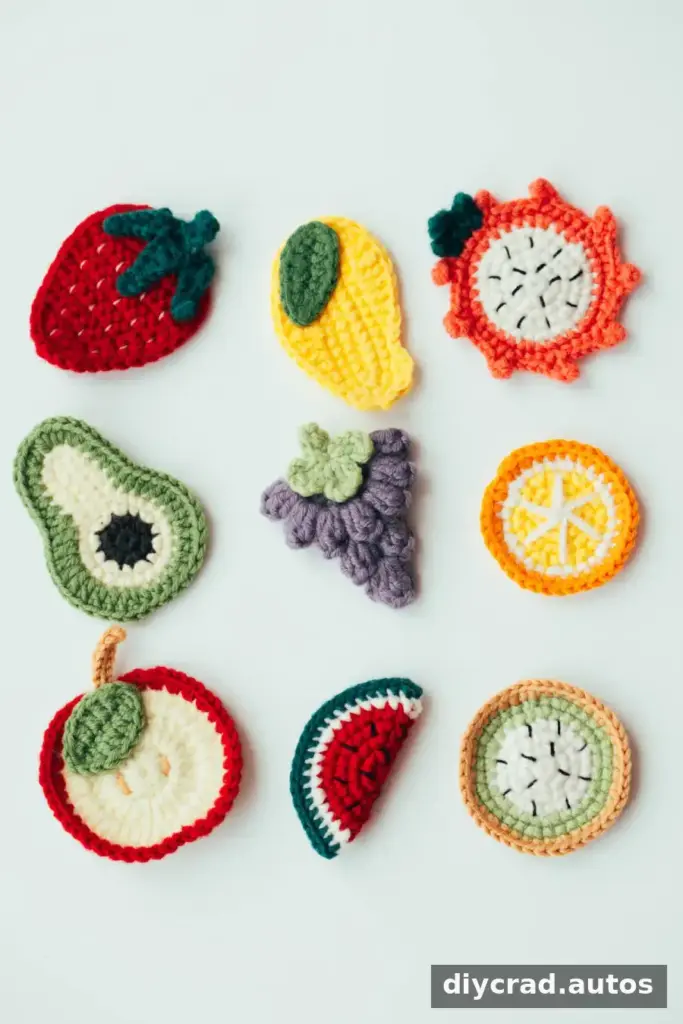
This crochet strawberry applique is a small, beginner-friendly project made with basic stitches and a 2.0 mm hook. The pattern creates a flat strawberry with a green leafy top and white yarn seeds, and the crochet work can be completed in about 15 minutes. Use the finished piece as a hair accessory, brooch, or decoration for clothing, bags, and hats. A step-by-step video is also available if you prefer visual guidance.
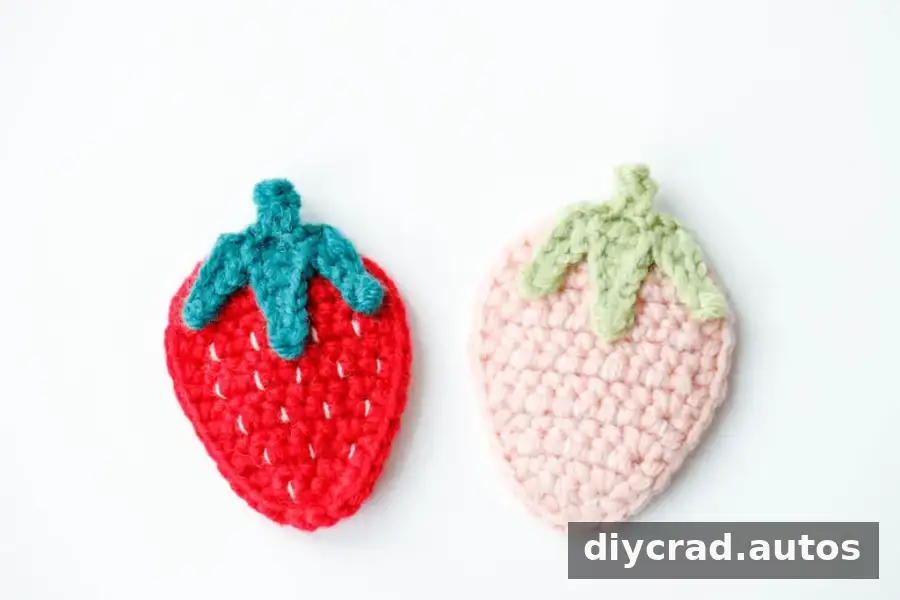
About the Crochet Strawberry Applique
The strawberry is worked in red yarn, with shaping created through increases and decreases. After completing the red body, add a green leaf and sew on small white stitches for the seeds. The pattern uses US crochet terms and is suitable for crocheters who are comfortable with chains and basic stitches.
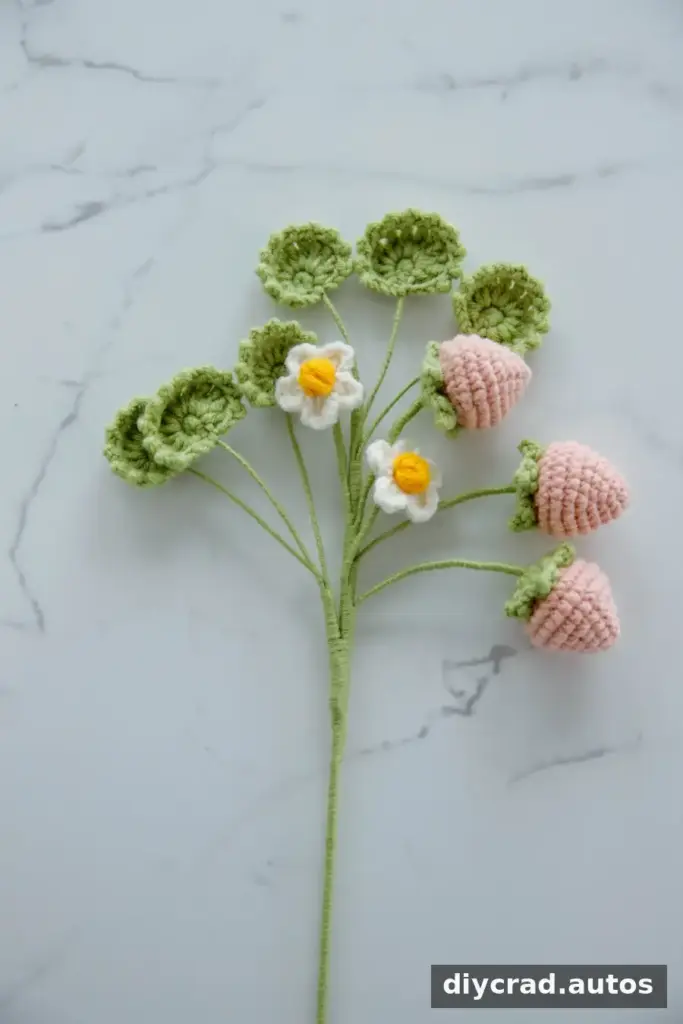
This is a flat applique, rather than a stuffed amigurumi. If you want a three-dimensional strawberry, use a separate amigurumi pattern that includes a flower, leaf, and long stem.
Materials and Abbreviations
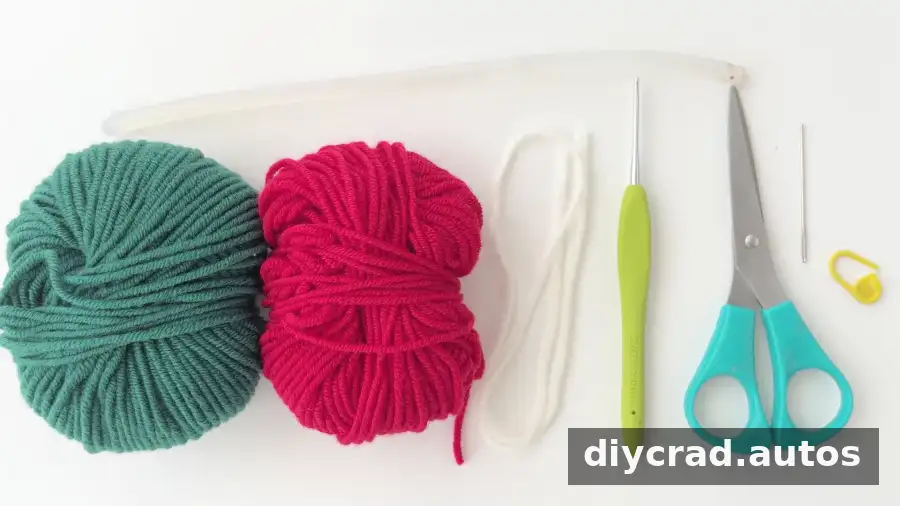
Gather the materials before starting. A stitch marker can help identify a working point, and a darning needle is useful for sewing on the seeds and weaving in yarn ends.
- Red, white, and green yarn
- 2.0 mm crochet hook
- Scissors
- Darning needle
- Stitch marker
- Hot melt adhesive, if you want to secure the leaf with glue
The pattern is written in US crochet terms. The abbreviations used are:
- ch: chain
- sc: single crochet
- ss: slip stitch
- hdc: half double crochet
- dc: double crochet
- sc2tog: single crochet two stitches together
Keep your stitches even and avoid pulling the yarn too tightly, especially when working the small leaf points. If you use hot melt adhesive, handle it carefully and let it cool fully before using the finished applique.
How to Crochet the Strawberry Applique
Strawberry Body: Red
Work the body in rows, turning where indicated. At the end, crochet around the outside edge to give the applique a neat outline.
- R1: Ch 3. Starting in the second chain from the hook, work 2 sc in that chain and 2 sc in the next chain. Turn and ch 1.
- R2: Work 2 sc in the first stitch, 2 sc, then 2 sc in the last stitch. Turn and ch 1.
- R3: Work 6 sc. Turn and ch 1.
- R4: Work 2 sc in the first stitch, 4 sc, then 2 sc in the last stitch. Turn and ch 1.
- R5: Work 8 sc. Turn and ch 1.
- R6: Work 2 sc in the first stitch, 6 sc, then 2 sc in the last stitch. Turn and ch 1.
- R7–R10: Work 10 sc in each row. Turn and ch 1 after each row.
- R11: Sc2tog, 6 sc, sc2tog. Turn and ch 1.
- R12: Sc2tog, 4 sc, sc2tog.
After R12, ch 1 and work sc around the entire strawberry body. Join or finish the edging neatly, then use the needle to weave in the loose yarn end.
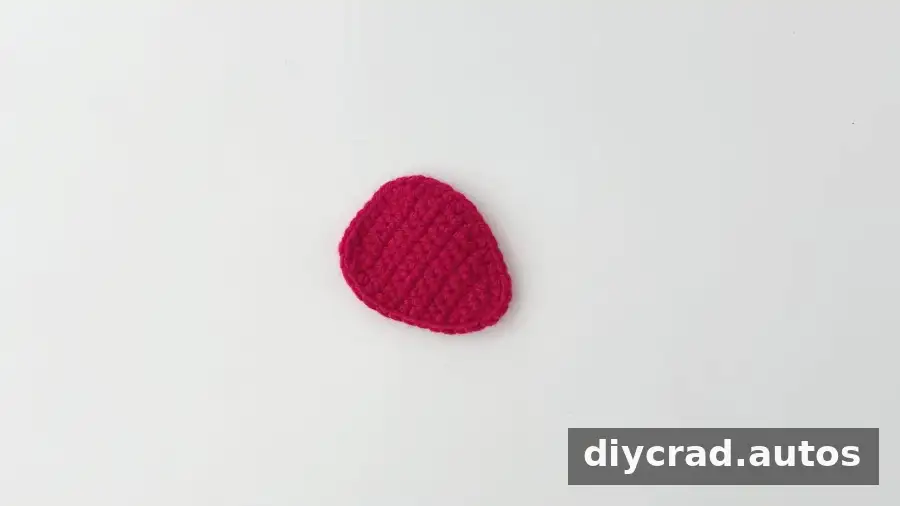
Strawberry Leaf: Green
Attach the green yarn at R12 to make the leaf. The chain sections form the individual leafy points. Work the stitches as follows:
- R1: Work 3 sc, then ch 4. Starting in the second chain from the hook, work 3 sc, then work 3 sc along the base chain.
- R2: Ch 5. Starting in the second chain from the hook, work 2 ss, 1 sc, 1 hdc, and 1 ss.
- R3: Ch 6. Starting in the second chain from the hook, work 2 ss, 1 sc, 1 hdc, 1 dc, and 1 ss.
- R4: Ch 5. Starting in the second chain from the hook, work 2 ss, 1 sc, 1 hdc, and 1 ss.
Weave in the green yarn tail. The leaf can be secured with hot melt adhesive, as described in the pattern, or attached carefully with yarn if you prefer a sewn finish.
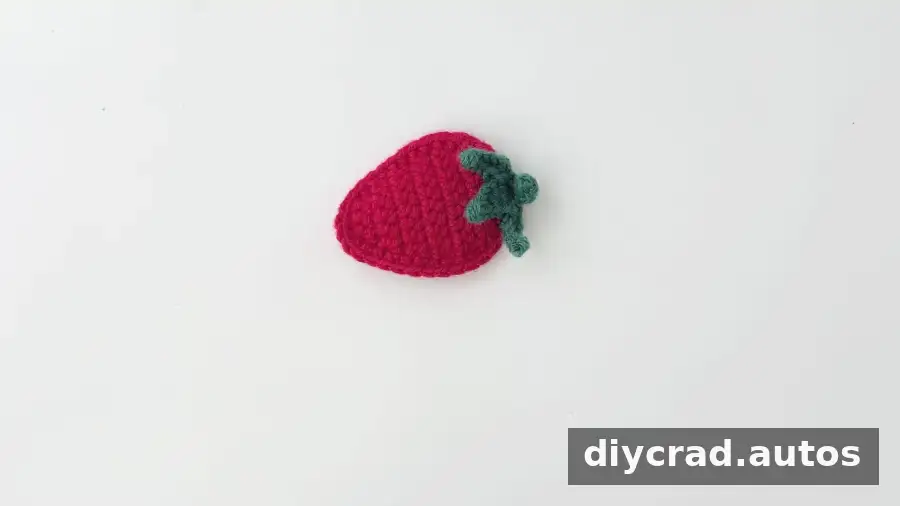
Finishing the Strawberry
Use white yarn to sew small seed stitches across the red body. Space them out so the seeds are easy to see without crowding the applique. Weave in the remaining yarn ends and trim them close, taking care not to cut the stitches.
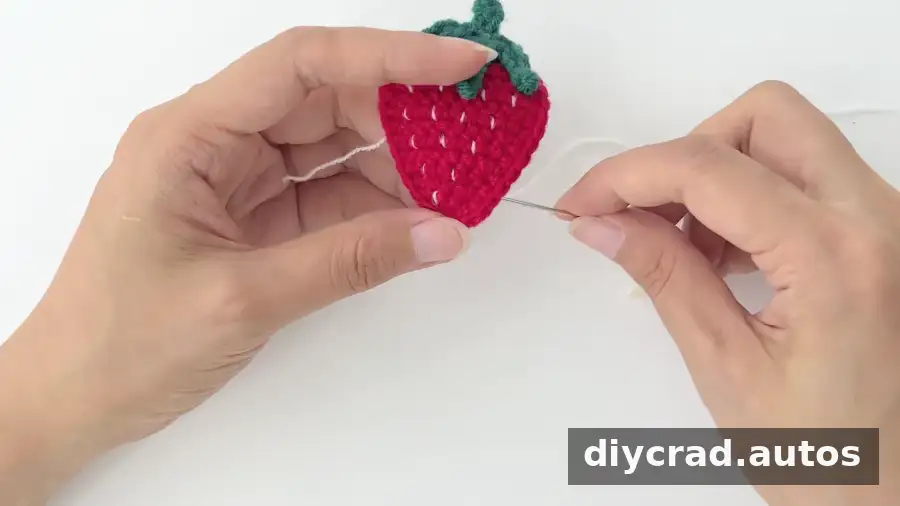
Once complete, the strawberry can be used on a hairpin, brooch, clothes, bag, or hat. You can also try different yarn colors to coordinate it with another crochet project. Check the video tutorial if you need a visual reference for a stitch or assembly step.
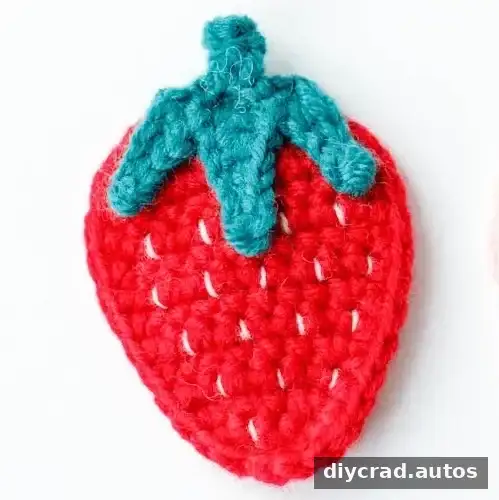
Ways to Use and Customize Your Applique
This small crochet motif is suitable for adding a decorative detail to other handmade items. For a hairpin or brooch, attach the applique securely to the backing before wearing it. When decorating clothing or bags, choose an attachment method appropriate for the fabric and intended use.
For more fruit-themed crochet inspiration, related applique patterns include dragon fruit, orange, kiwifruit, mango, apple, watermelon, grape, and avocado. Keep the finished strawberry flat when attaching it to fabric so it sits neatly against the surface.
Pattern Notes
- The instructions use US crochet terminology.
- The strawberry body is worked in rows with turns, followed by a single crochet edging around the piece.
- The pattern is rated easy and includes video guidance.
- The listed pattern rating is 4.88 from 8 votes.
Conclusion
This crochet strawberry applique is a quick way to practice increases, decreases, and simple shaping while making a useful decorative motif. Follow the row instructions for the red body, add the green leaf, and finish with white yarn seeds. With its small size and straightforward construction, the crochet strawberry applique can be customized to suit a range of accessories and crochet projects.