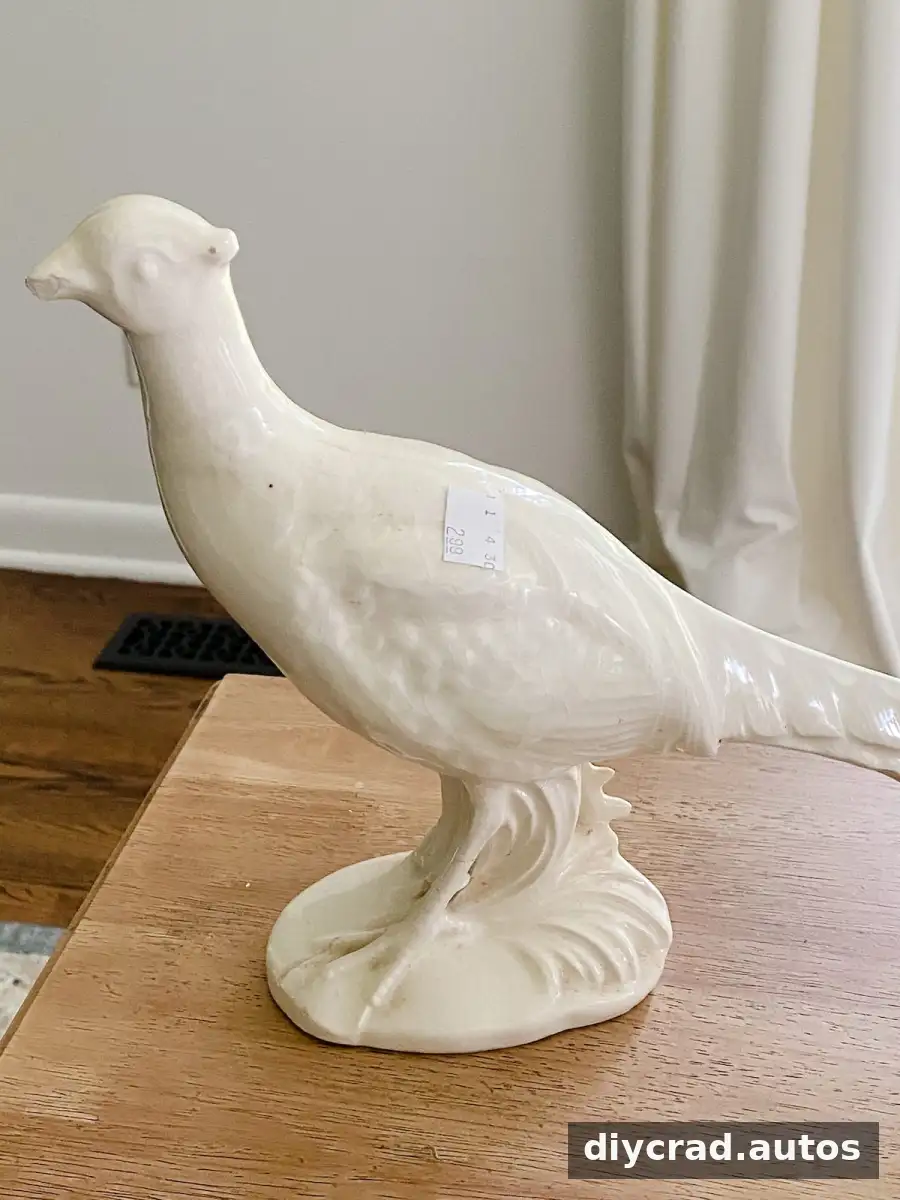
Baking soda texture paint is a simple way to give decorative thrift-store finds a textured, stone-like finish while using leftover latex or acrylic paint. With just a few supplies, you can customize the paint’s thickness and dab it onto items such as vases, ceramic figures, and wooden decor. Try the technique on a small, nonvaluable object first so you can test the texture and application before moving on to a favorite piece.
How to Make Baking Soda Texture Paint
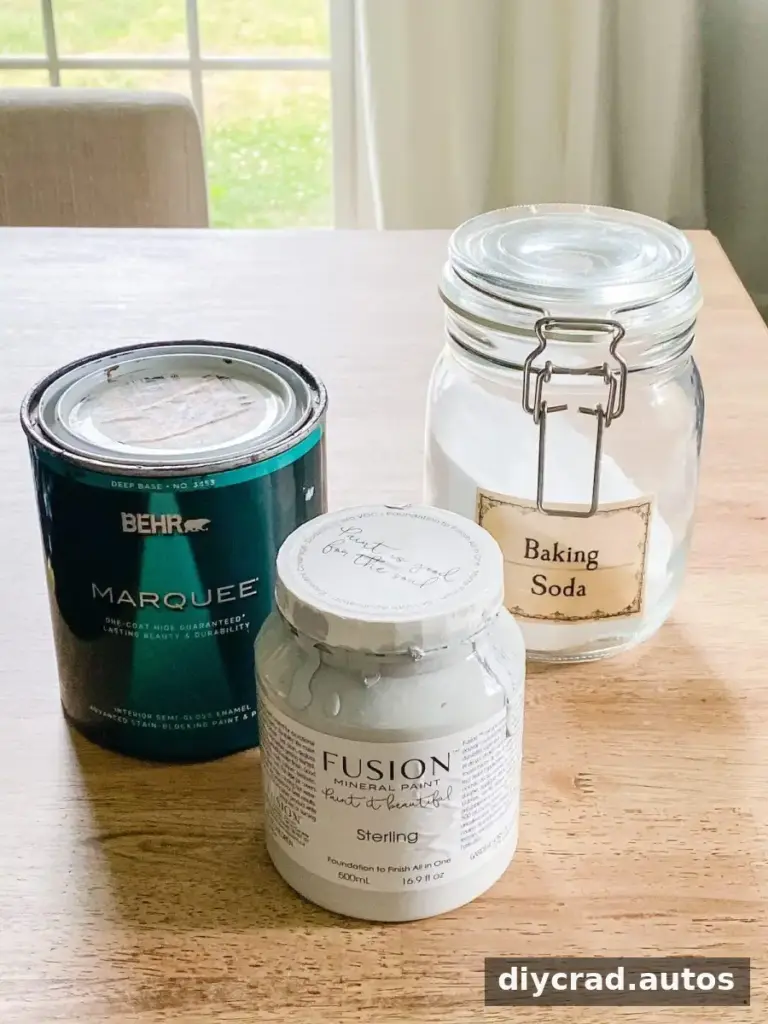
This project uses ordinary craft supplies and does not require precise measuring. The starting ratio is about one tablespoon of baking soda per cup of paint; you can add more gradually to create a thicker mixture.
Using leftover paint can help reduce waste and make it easy to coordinate a decorative object with colors already in your home. Mix enough paint for the whole project at the start, since recreating the exact same shade in a second batch can be difficult.
Supplies
- Latex or acrylic paint in your preferred color
- Baking soda
- A disposable bowl and spoon for mixing
- A craft brush
Protect your work surface before mixing, and use a bowl and spoon that you do not plan to use for food afterward. Follow the paint label for handling and drying guidance.
Mix the Paint
If you want a custom shade, combine paint colors before adding the baking soda. Stir thoroughly and make sure you have enough to cover the item. One example is mixing leftover light gray paint with charcoal paint to make a medium gray base.
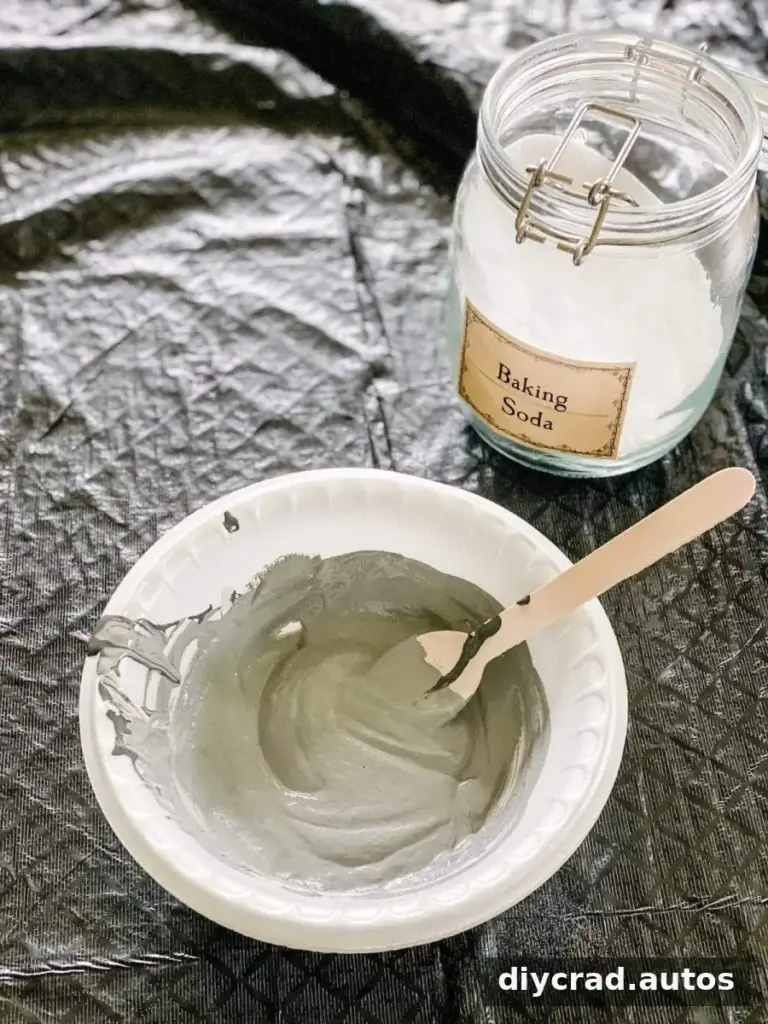
Add about one tablespoon of baking soda for every cup of paint, then stir until the mixture looks even. Add more baking soda a little at a time if you want a thicker, more pronounced texture. A frosting-like consistency is one option, but the best thickness depends on the look you want and the item you are painting.
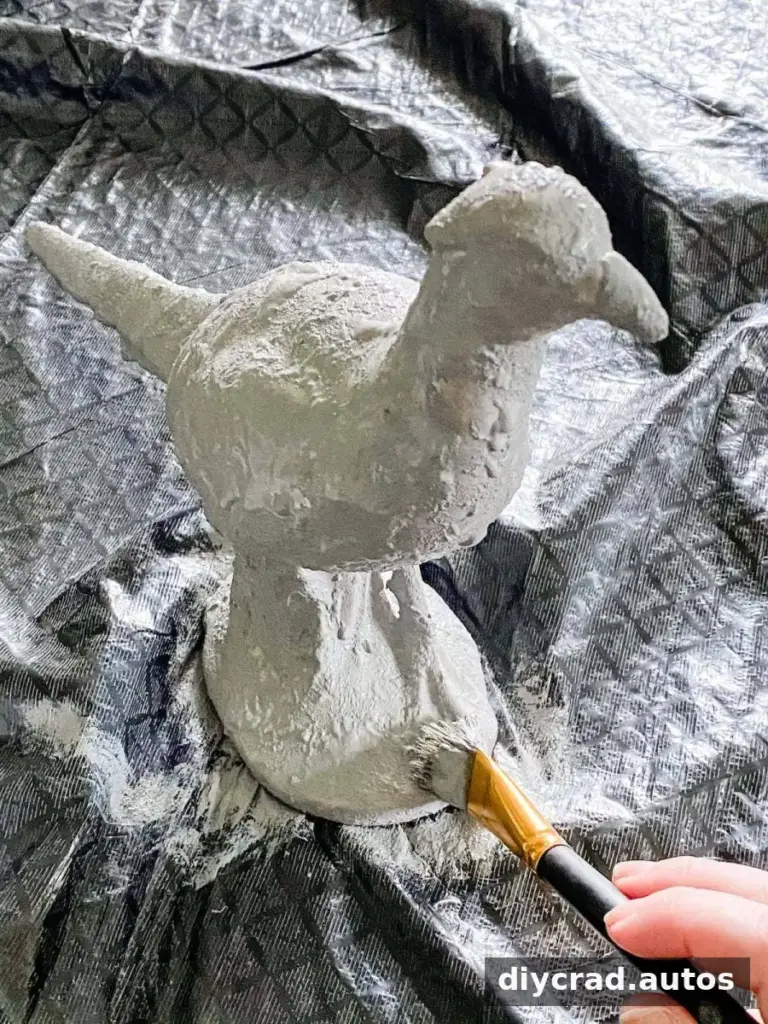
Apply the Texture
Instead of brushing on smooth strokes, dab the mixture onto the surface with a craft brush. Dabbing helps create an uneven, raised finish. If the paint looks too smooth, mix in a little more baking soda and test the consistency on an inconspicuous area.
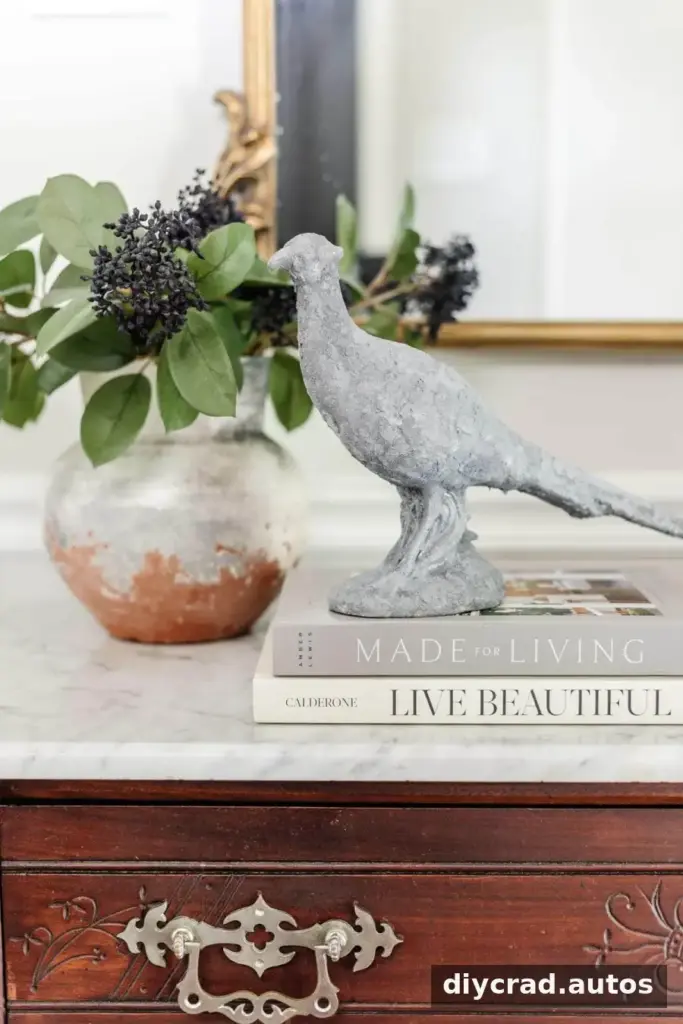
For a faux-stone effect, apply a medium gray layer first. While that layer is still wet, dab on a small amount of a lighter paint mixture to add variation and depth. Work in manageable sections so you can add the second shade before the base coat dries.
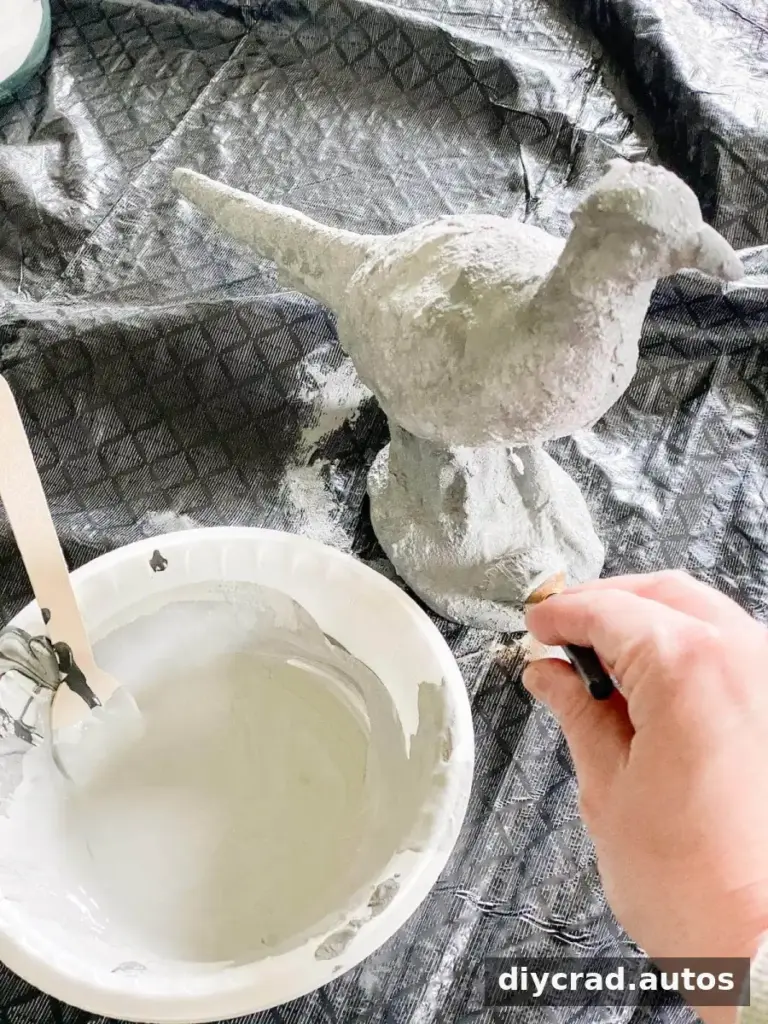
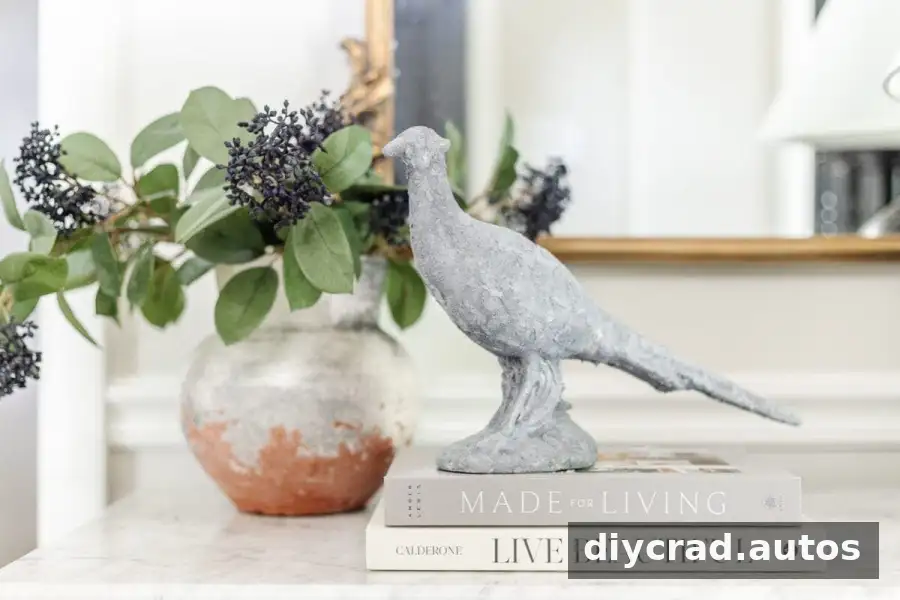
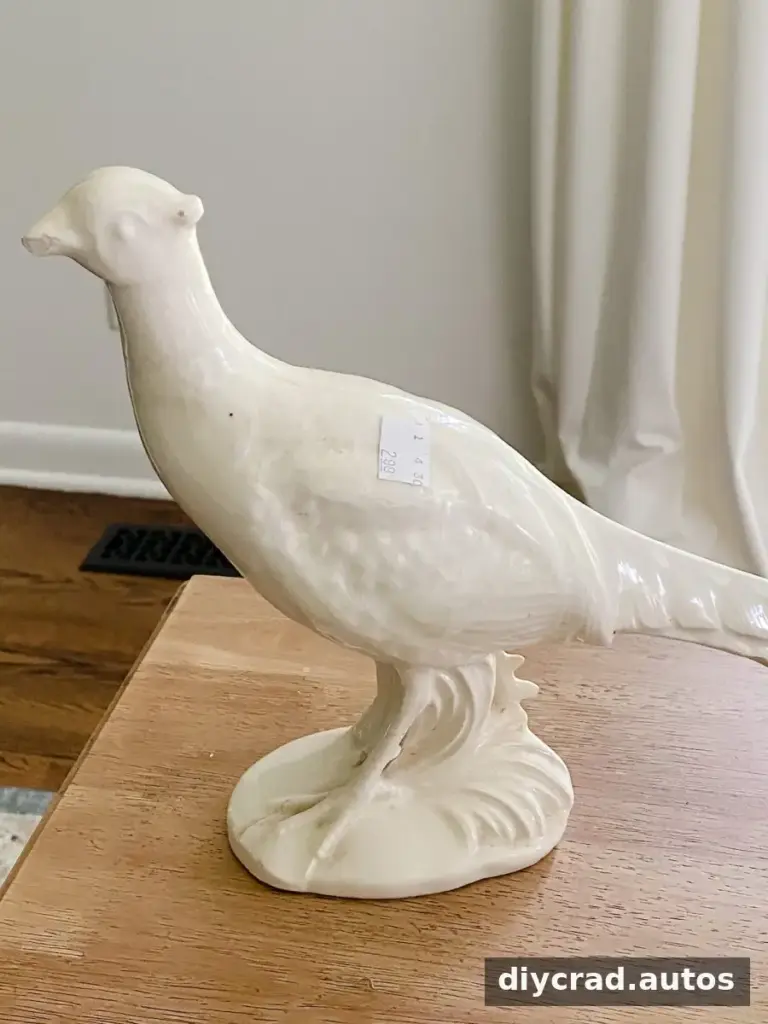
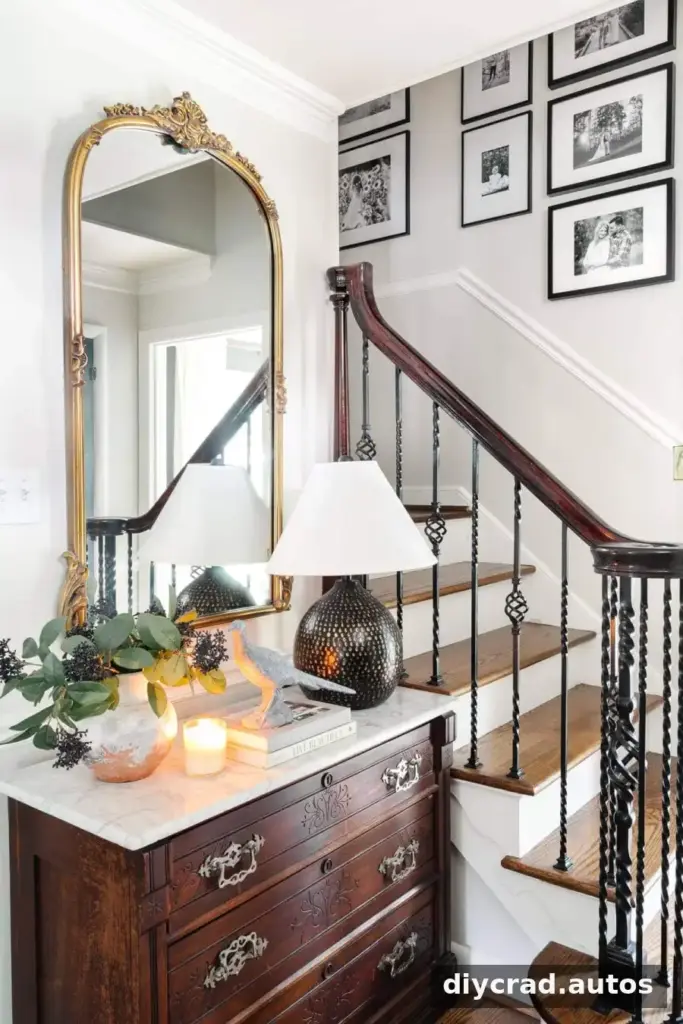
The finished surface can resemble sculpted stone, especially when more than one related shade is dabbed on. In this example, the technique was used to refresh a slightly damaged pheasant figurine. Its broken beak had been repaired a few days earlier with air-dry clay, and the painted figure was then placed in an entryway.
Helpful Tips for a Neater Finish
- Test first: Try the mixture on a hidden area or a spare piece to check how it looks on that material.
- Build texture gradually: Add baking soda in small amounts; it is easier to thicken the mixture than to make it thinner again.
- Use a suitable object: Treat the result as decorative rather than food-safe, and avoid using painted items for serving or food storage.
- Allow it to dry: Follow the paint manufacturer’s instructions before handling or displaying the finished piece.
- Expect surface differences: Glass, ceramic, and wood can behave differently, so preparation and paint adhesion may vary. A test patch is especially useful on slick surfaces.
Conclusion
Baking soda texture paint offers an accessible way to add a dimensional, faux-stone look to small decorative objects using leftover latex or acrylic paint. Start with the suggested ratio, adjust the thickness to suit your project, and apply the mixture with a dabbing motion. A small test patch and careful drying time can help you judge the finish before displaying your refreshed decor.