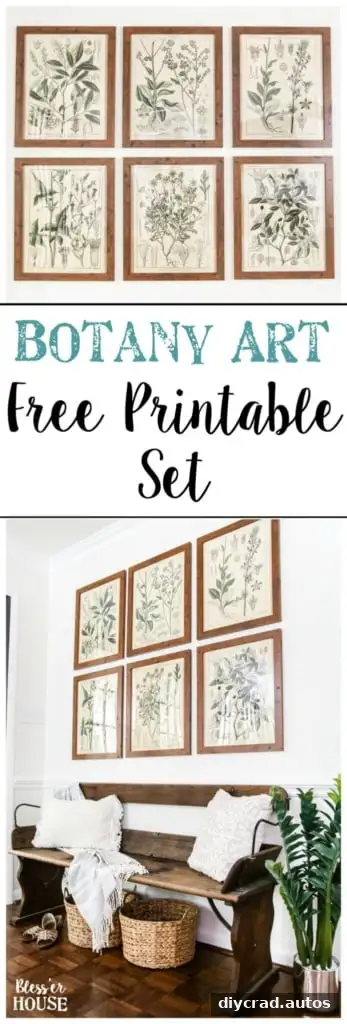
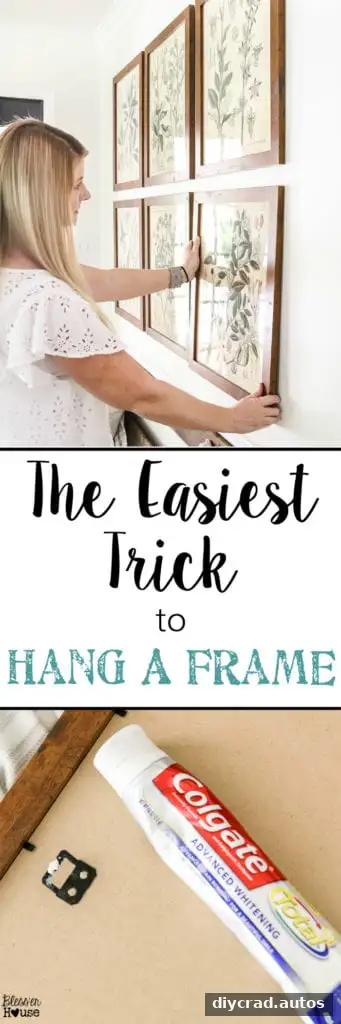
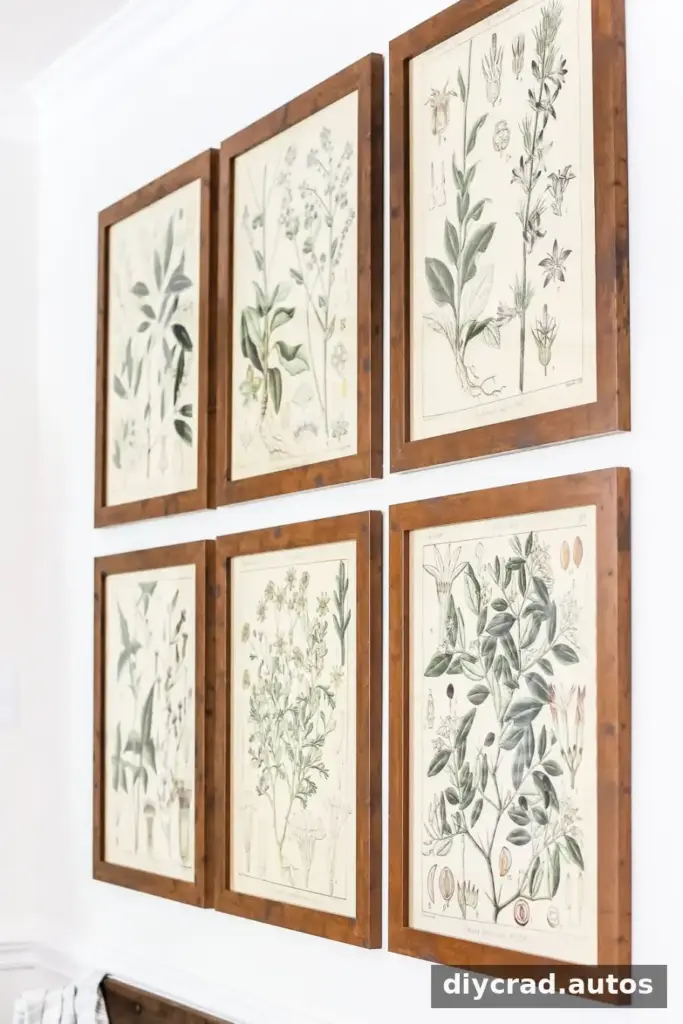
Botanical printable art can bring a soft, natural feel to a room without the cost of a designer print collection. Paired with simple frames, six botanical images can create a coordinated gallery wall, while a small dab of toothpaste offers a practical way to mark nail positions before hanging.
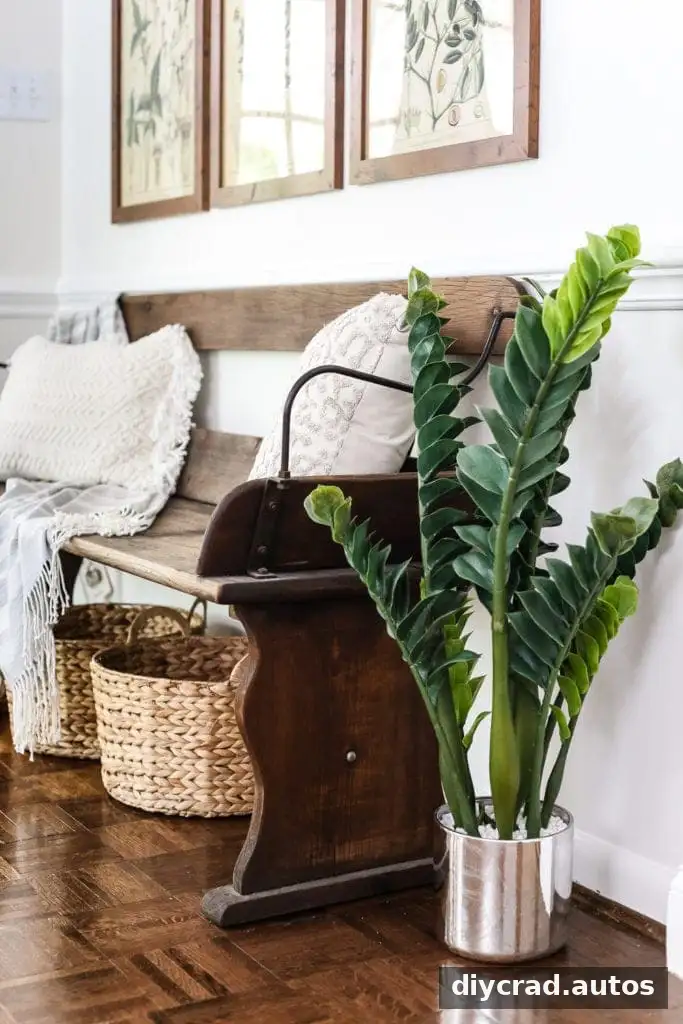
A gallery wall is a straightforward way to add character to an entryway or living room. Botanical illustrations work especially well when a space has strong lines or darker furniture: leaves and flowers introduce softer shapes and a fresh seasonal touch. The same arrangement can also be updated later by swapping the prints.
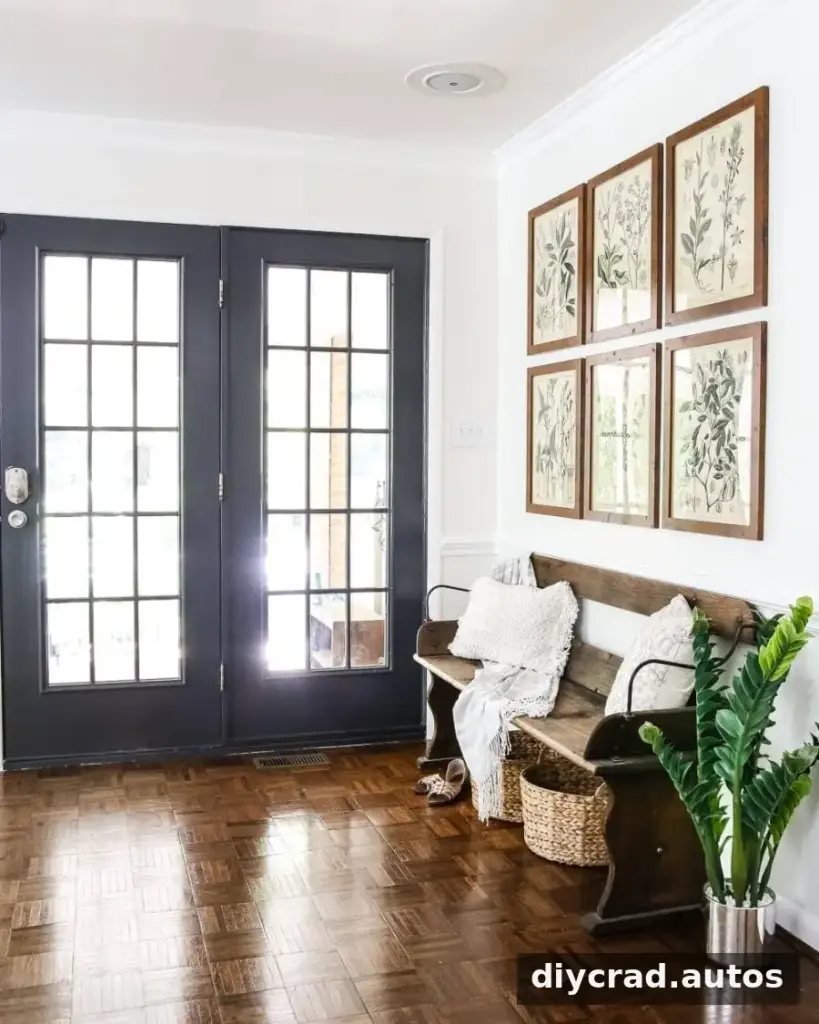
Plan a botanical printable art gallery wall
This arrangement uses six prints and six frames. The original prints cost about $3 each, and the complete set was reported to cost $84. Before buying frames, check the print dimensions and whether the frame includes a mat; the visible image area may be smaller than the frame size.
Supplies:
- Six 18-by-24-inch color engineering prints
- Six botanical art files, sized at 15 by 20 inches
- Six 16-by-20-inch frames
- Toothpaste, hanging nails, and a hammer
- A small level
If you prefer not to make holes in the wall, suitable removable mounting tape can be an alternative. Check the tape’s weight limit and wall-surface guidance before use, especially with larger frames.
How to print and frame the artwork
Choose a print service that offers color engineering prints, and upload the botanical files at their original proportions. The files described here are 15 by 20 inches, while the selected print size is 18 by 24 inches. Keep the original proportions rather than selecting a “size to fit” option that could enlarge the artwork or crop its edges. Printing services and available options can vary by location, so confirm the final dimensions before placing an order.
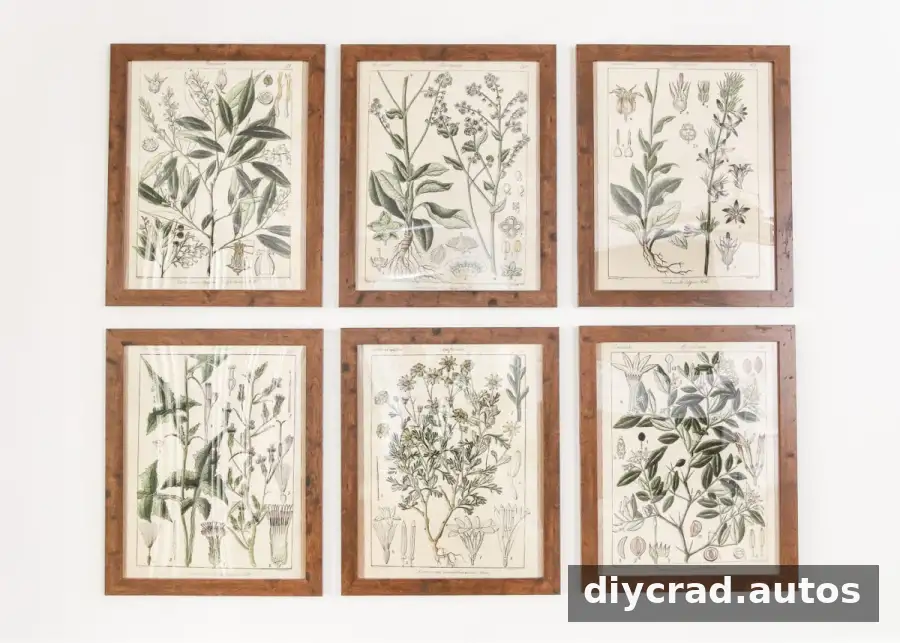
The 16-by-20-inch frames used for this project were lightweight plastic poster frames with a wood-look finish. The artwork was slightly narrower than the frame opening, so the white paper insert was removed and the print was centered against the clear front. The backing held it in place, leaving a narrow border that gave the finished display a softly aged appearance.
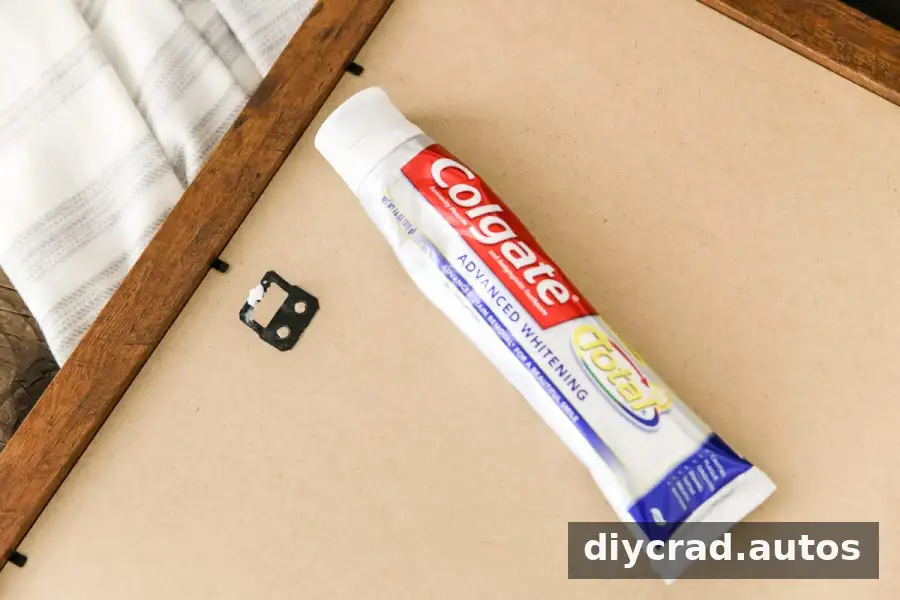
For a neat result, lay each frame face down on a clean surface and center the print before closing the tabs. Avoid pressing directly on the printed area, and check that the clear front is free of dust before assembling the frame.
A simple toothpaste trick for hanging frames
To mark where a frame’s hanging point should go, dab an amount of toothpaste slightly smaller than a pea onto the nail hole or hanger on the back. Position the frame against the wall where you want it, then press gently so a small mark transfers to the wall. Remove the frame and use the mark as a guide for the nail or screw.
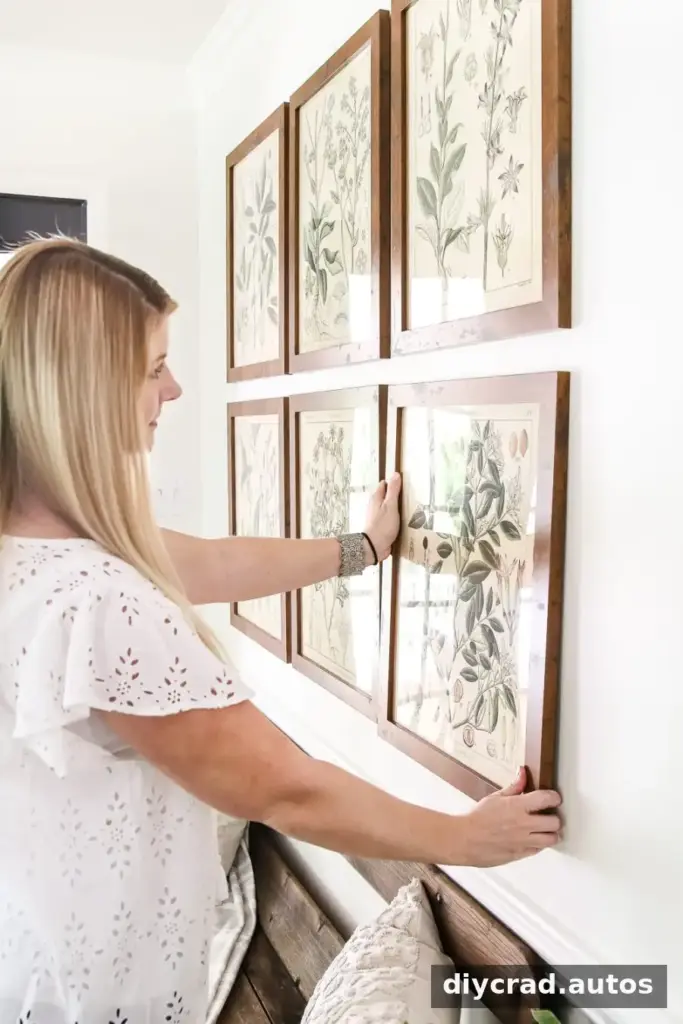
Hang the frame and use a small level to check that it sits straight. For a group of six, plan the spacing on the floor first. This makes it easier to adjust the layout before marking the wall and helps keep the gaps between frames consistent.
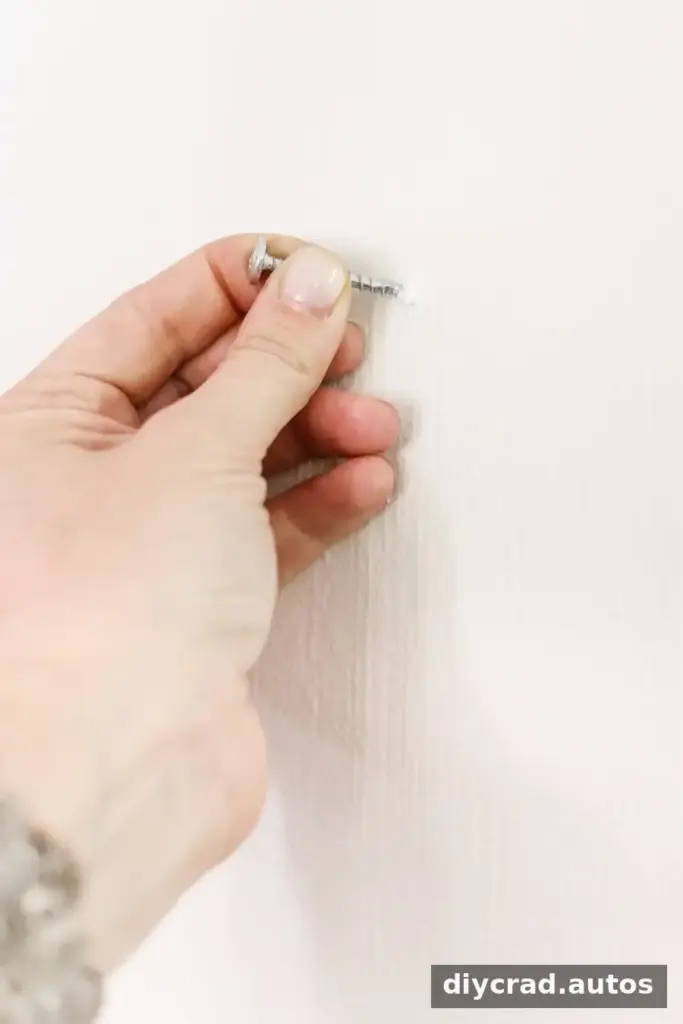
Use toothpaste only as a temporary marker, and test an inconspicuous area first if the wall has a delicate or textured finish. Wipe away any residue after marking. For renters or anyone avoiding nail holes, consider removable hanging strips that are rated for the frame’s weight instead.
Display ideas for botanical prints
Botanical images can be printed smaller for a more compact display, such as an 8-by-10-inch frame or a matted 10-by-13-inch frame. A smaller arrangement can work above a console, beside a doorway, or in a narrow hallway. When choosing images, look for files with enough resolution for the size you plan to print so the details remain clear.
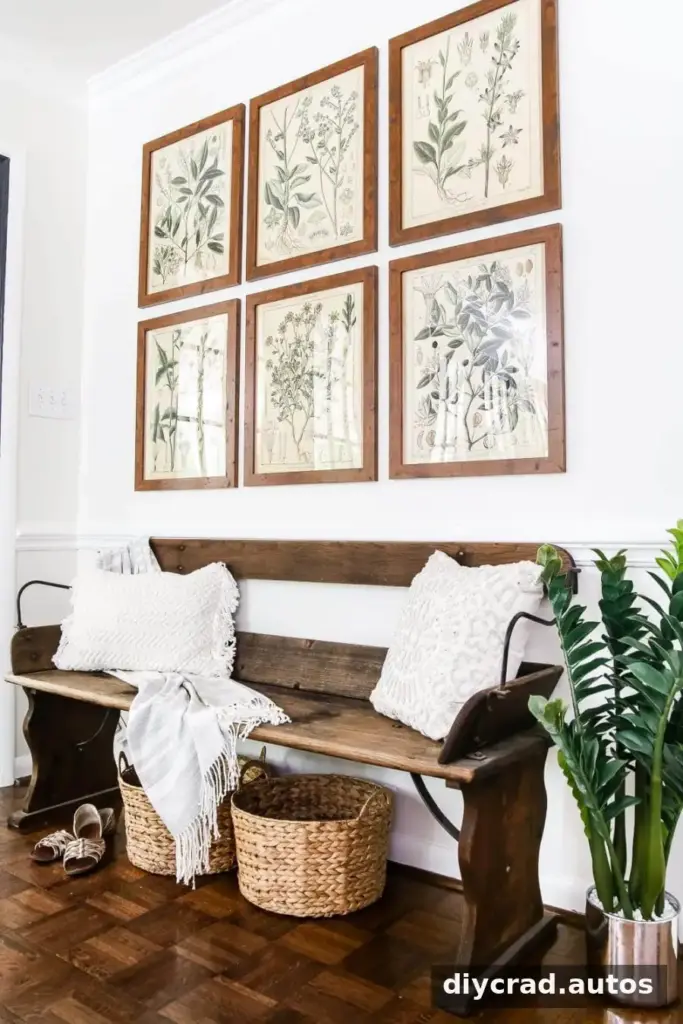
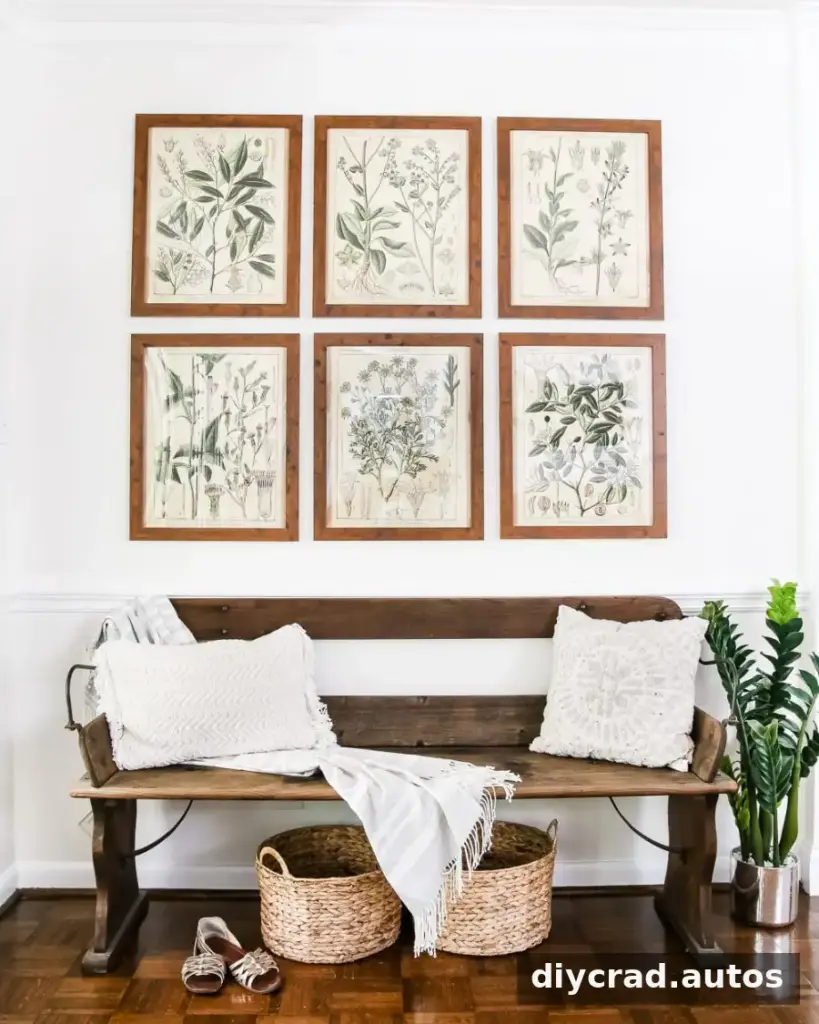
In an entryway, a gallery wall can complement practical pieces such as a bench and baskets for shoes or bags. Mixing leafy artwork with simple textiles and neutral accessories keeps the display from feeling overly formal. Leave enough open space around the frames so the wall remains easy to use and visually balanced.
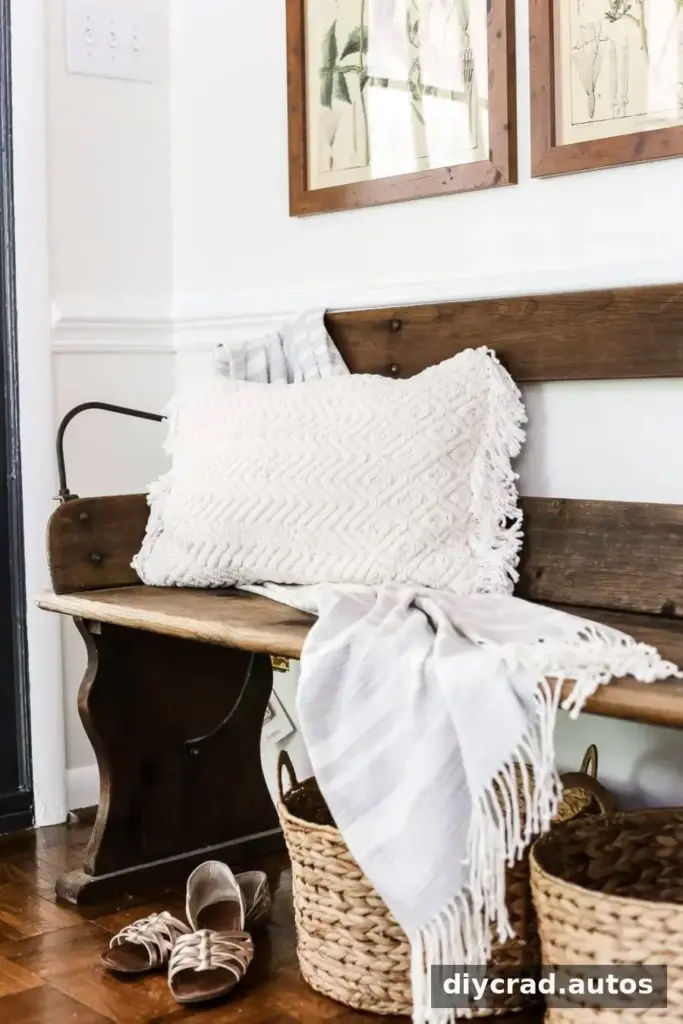
For a seasonal refresh, replace spring and summer botanicals with artwork in deeper colors later in the year. Keeping the frames in place makes the change simple and lets the rest of the arrangement stay consistent.
Other decor used in this setting included:
- Baskets, originally found for $7 each
- A striped throw blanket, originally $25
- An artificial ZZ plant, originally $50
- Cream-colored pillows
- A bench, originally purchased for $35
- Wall paint in Swiss Coffee, trim in Simply White, and doors in Wrought Iron
Finding and using botanical printable art
Public-domain image collections include many botanical illustrations that can be used for wall decor. Check the rights and usage terms for each individual file before downloading or printing, since not every image found online is free for every kind of use. Choose high-resolution artwork, save a copy of the original file, and print a test at a smaller size if you are unsure how the colors will look.

With carefully sized prints, affordable frames, and a little planning, botanical printable art can make a gallery wall feel considered without requiring complicated tools. The toothpaste marking method can also help position each frame more accurately; use it with a level and take care to protect the wall finish.
Save the layout idea for a future room refresh, and adjust the number and size of frames to suit the available wall space.