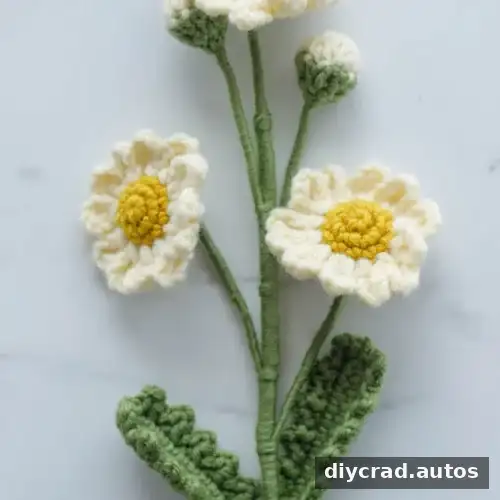
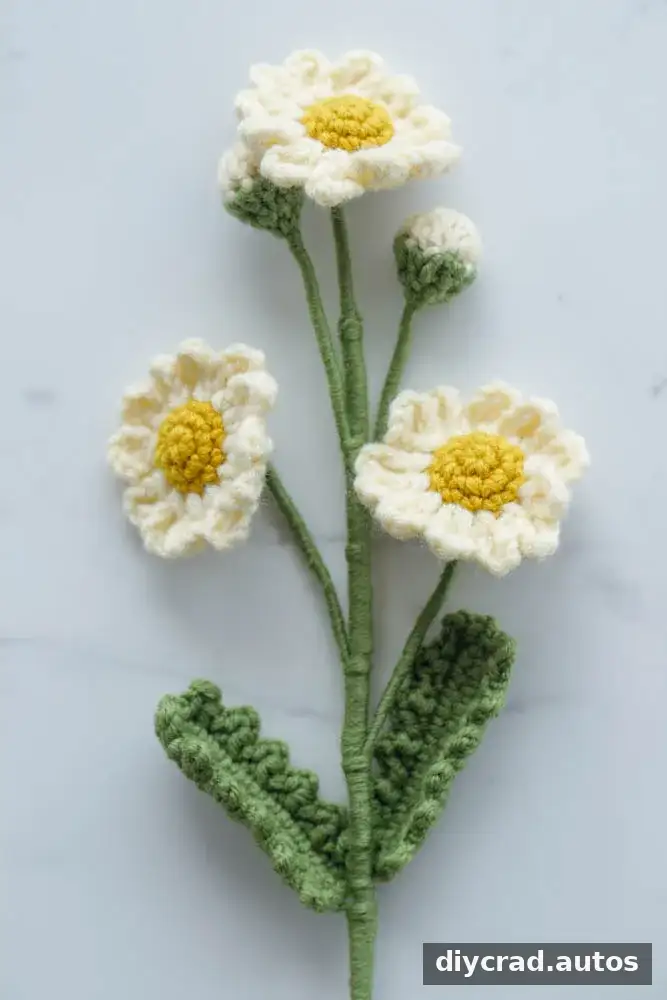
This crochet daisy pattern explains how to make three daisy flowers, two buds, and two leaves, then assemble them on a long stem. It uses familiar crochet stitches and includes wire and a flower rod to help shape the finished bouquet. The pattern is rated advanced intermediate, so it may suit crocheters who already know basic stitches and want to practice shaping and assembly.
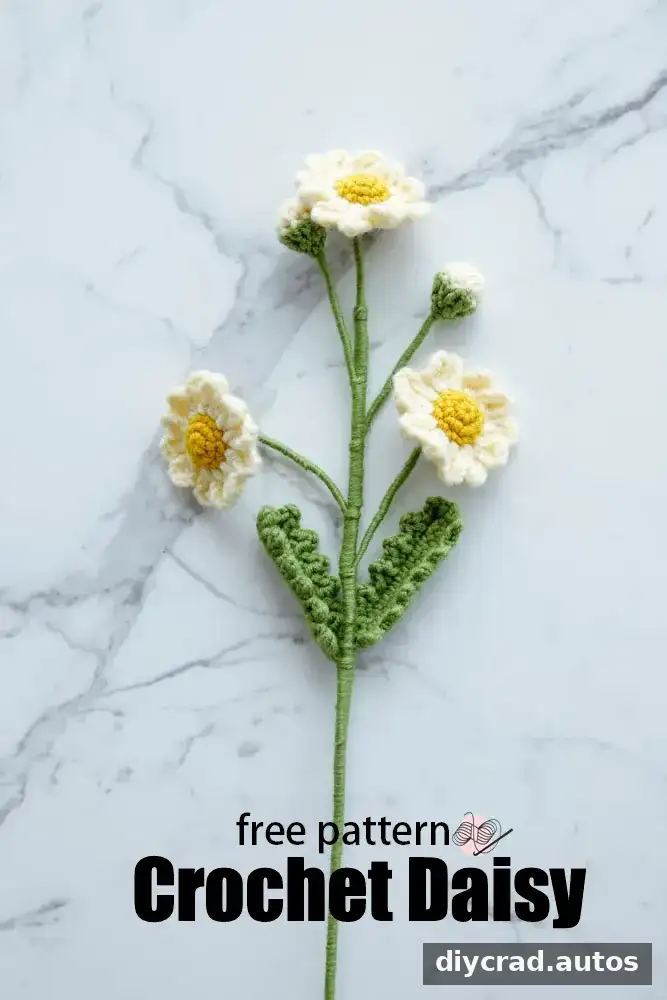
You can display the finished flower on its own or combine it with other crocheted flowers in a bouquet. A single flower can also be used as a decorative motif on items such as hats, bags, blankets, or clothing. For wearable or frequently handled projects, secure the ends and decorative parts carefully.
About the crochet daisy pattern
Daisies are commonly associated with purity, innocence, and new beginnings. Their simple shape and bright center make them a fitting choice for spring-inspired decorations and handmade gifts.
Ways to use crocheted daisies
A crocheted daisy can be adapted for different projects. Consider making a small bouquet as a keepsake, or use individual motifs as embellishments.
- Arrange several flowers into a bouquet for a decorative gift.
- Use a daisy motif to make a brooch or earrings. Choose lightweight yarn and secure any findings safely.
- Add flower motifs to blankets, blouses, denim jackets, bags, wall hangings, or dreamcatchers.
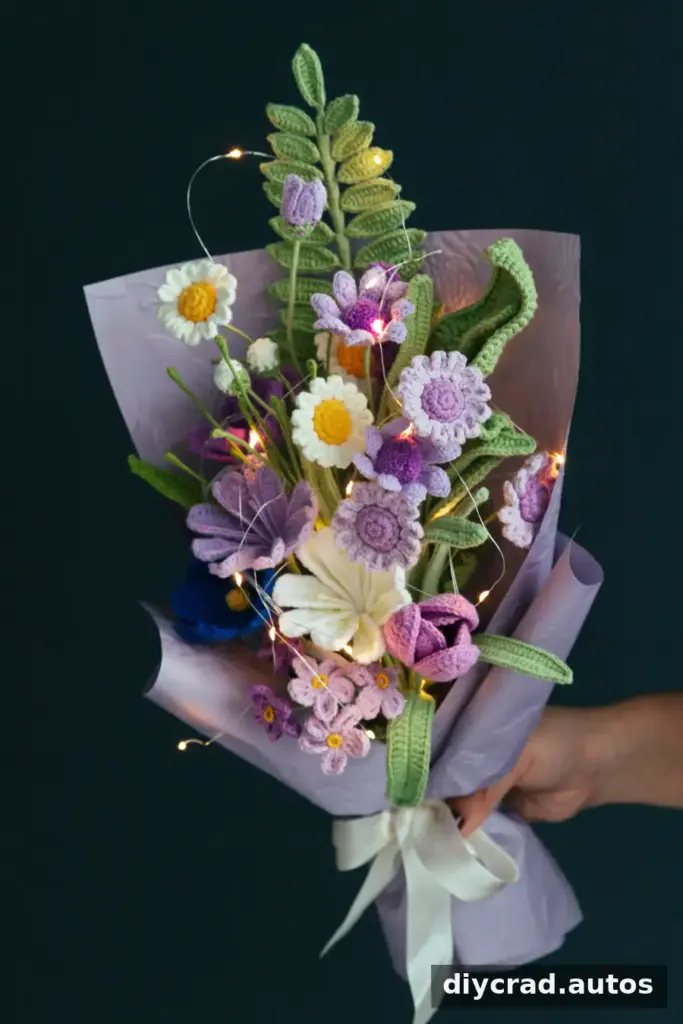
Purple Lewisia Cotyledon and Daisy Bouquet
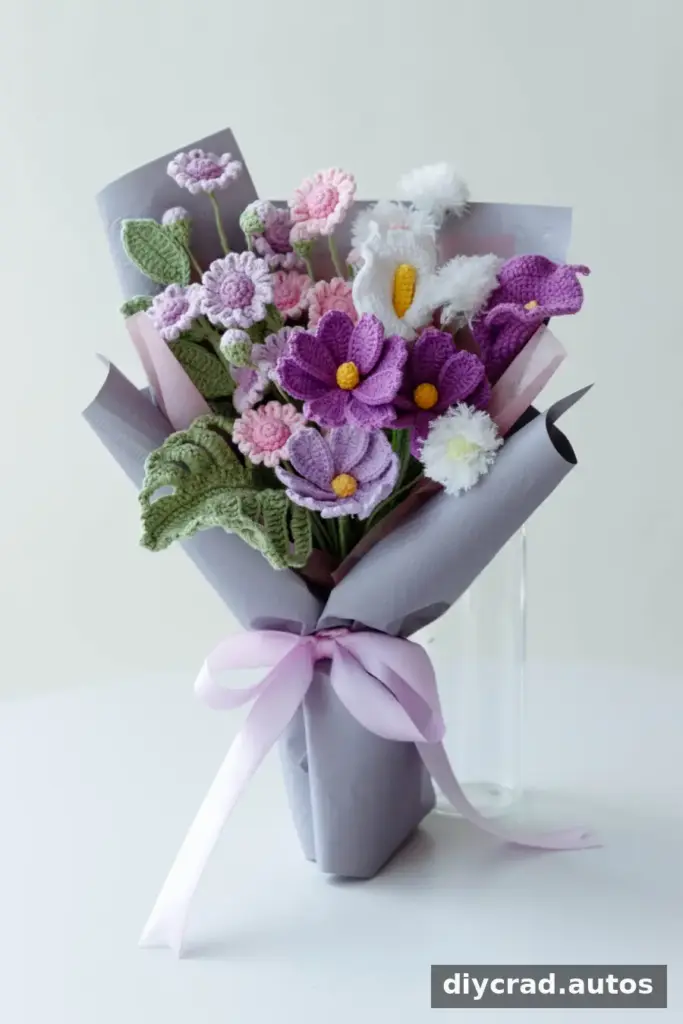
Crochet Daisy Bouquet
Yarn colors and materials
White petals with a yellow center are a familiar daisy combination, while green works well for the stem, buds, and leaves. You can also try pink, purple, or orange-yellow yarn. If combining colors, check that the yarn weights are similar so the pieces remain proportionate.
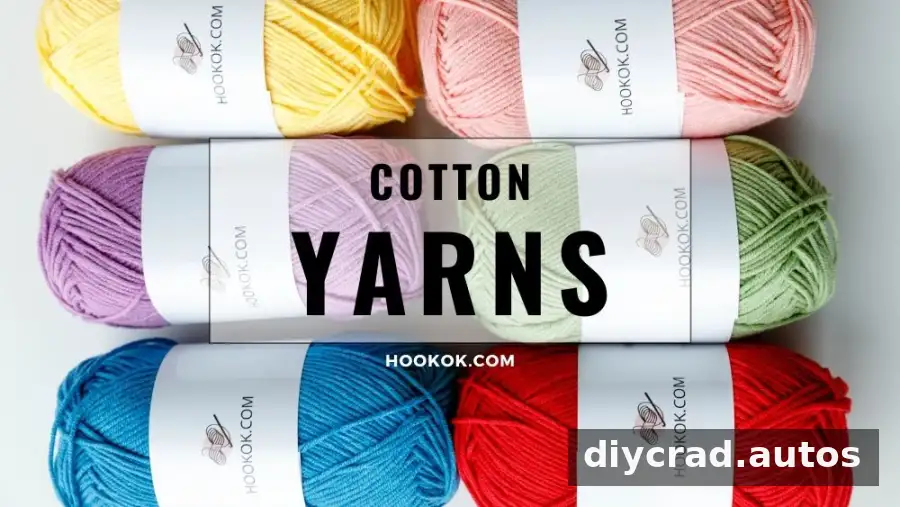
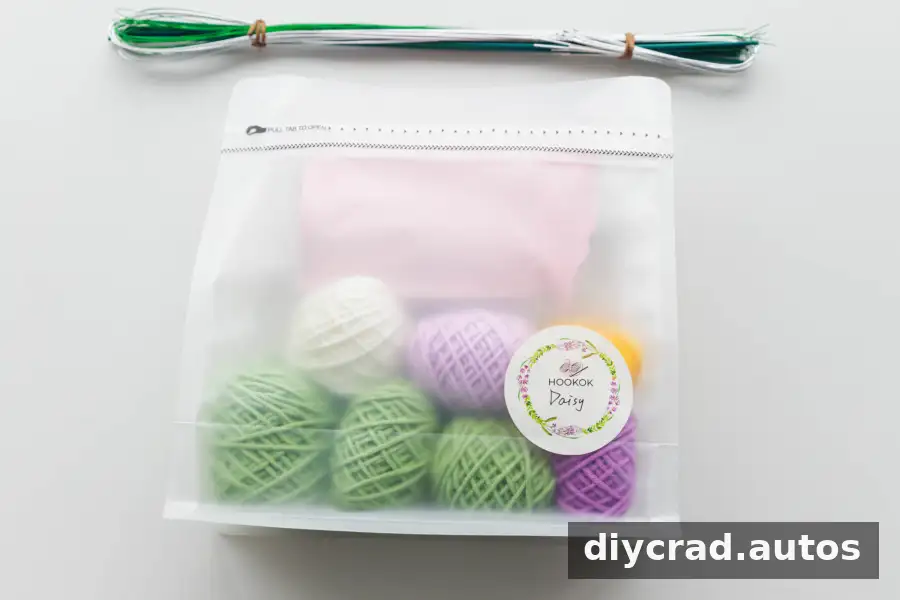
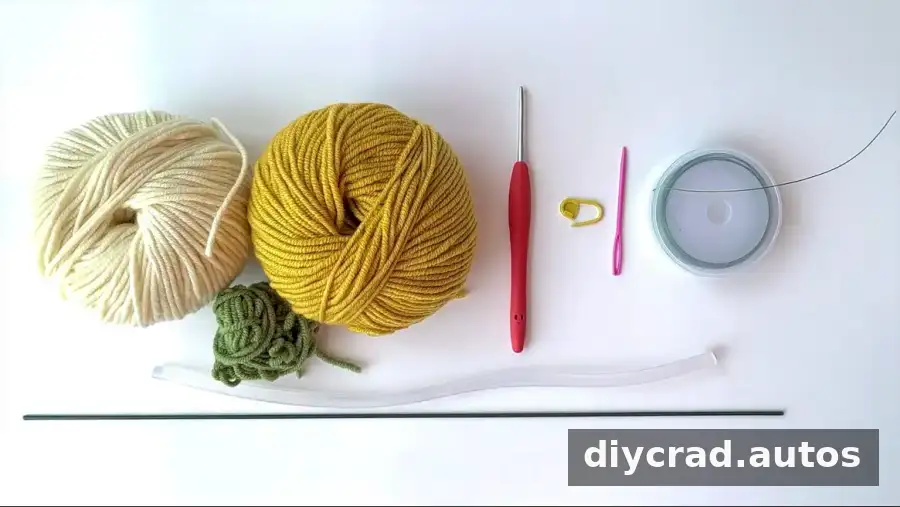
For the pattern, gather the following materials:
- Yarn in cream, green, and custard yellow
- A 2 mm or 2.5 mm crochet hook
- A flower rod measuring 16 inches long and 0.08 inches in diameter (40 cm × 2 mm)
- Iron wire with a diameter of 0.4 mm or 0.5 mm
- Stitch marker, darning needle, and scissors
- Polyfill
- Hot-melt adhesive
Difficulty, stitches, and abbreviations
Difficulty: Advanced intermediate. The pattern is written using US crochet terminology. Place a stitch marker at the beginning of each round to keep track of your starting point.
- dc: double crochet
- hdc: half double crochet
- sc: single crochet
- ss: slip stitch
- tr: treble crochet
- ch: chain
- st: stitch
Step-by-step crochet daisy pattern
Make three daisy flowers
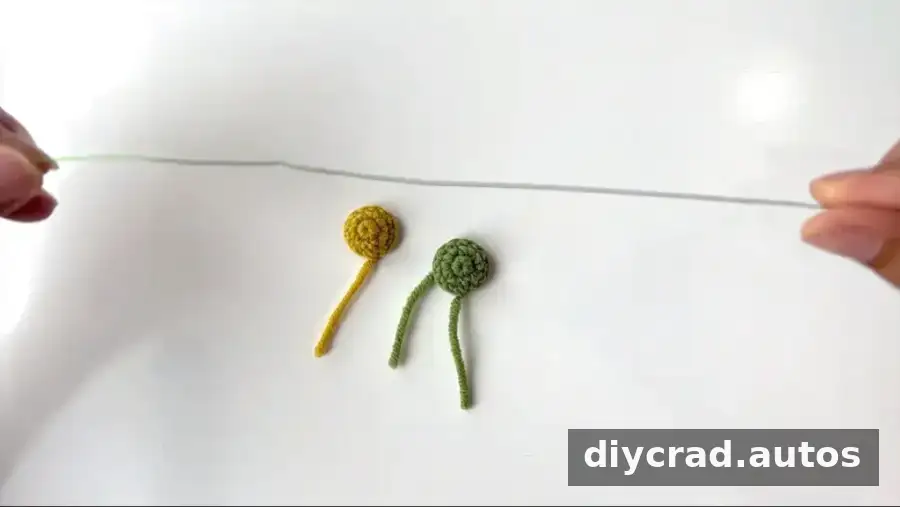
Begin by making the flower stamens, then add the wire and join the two stamen pieces before crocheting the petals.
Flower stamen: make one light yellow and one green
- Make a magic ring and ch 1.
- Round 1: Work 6 sc into the magic ring, then make 1 ss. (6 stitches)
- Round 2: Ch 1, work 2 sc in each stitch 6 times, then make 1 ss. (12 stitches)
- Round 3: Work 12 sc, then make 1 ss to finish. (12 stitches)
Add wire and join the stamen
- Fold the iron wire in half.
- Tie a small piece of scrap yarn around the wire.
- Insert the wire upward through the green stamen, with the folded section and scrap yarn sitting inside the cup. Pull the yarn tail through the center.
- Place the yellow stamen over the green one so it covers the scrap yarn and both pieces line up.
- Insert the hook through both stamen pieces at any point and join the cream yarn.
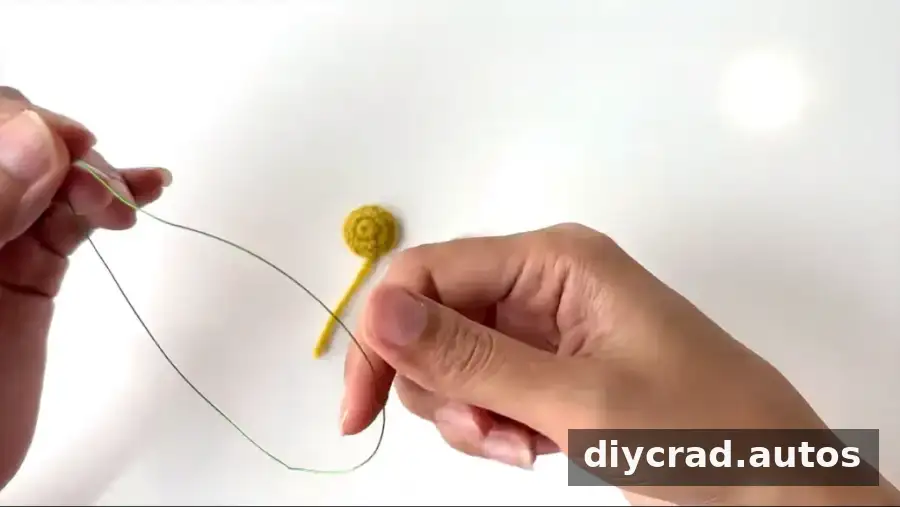
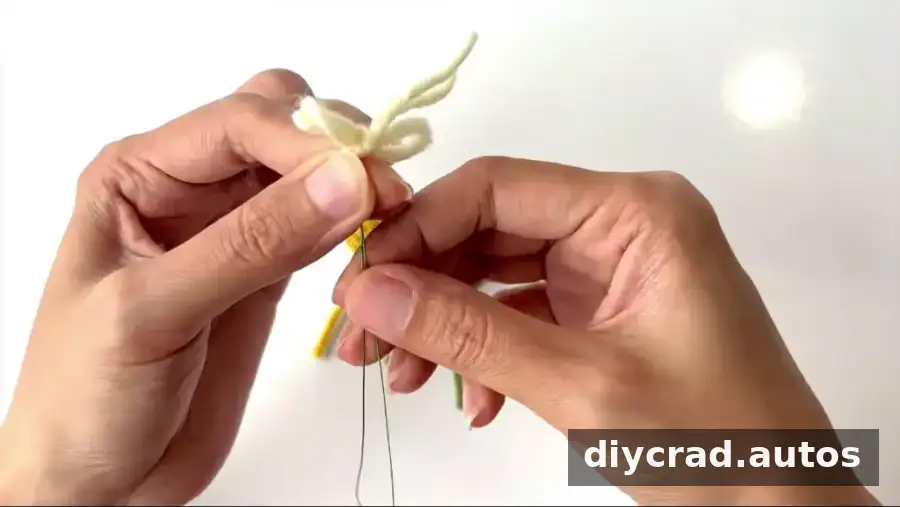
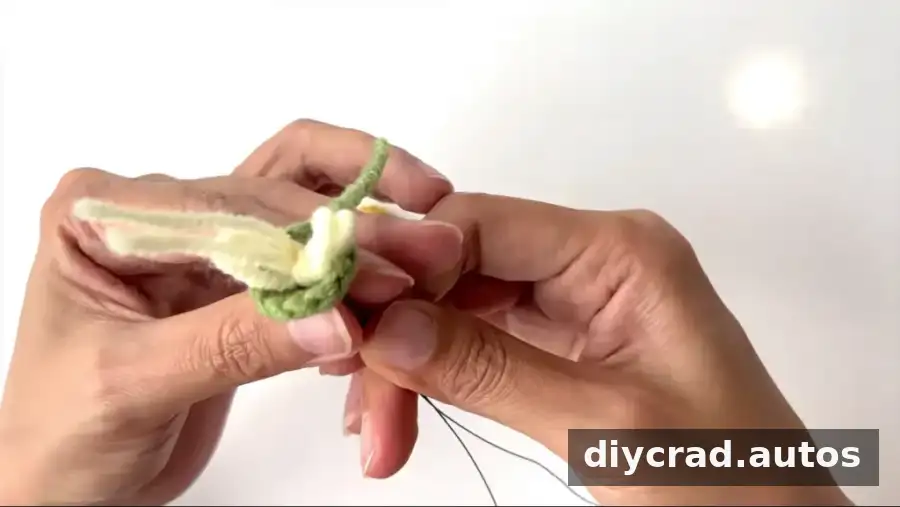
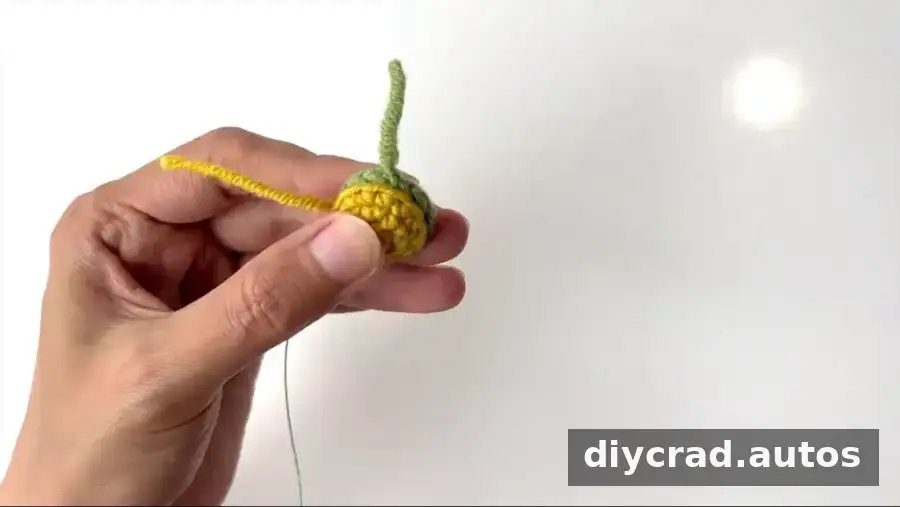
Refer to the accompanying video for a visual guide to joining the stamen.
Crochet the petals
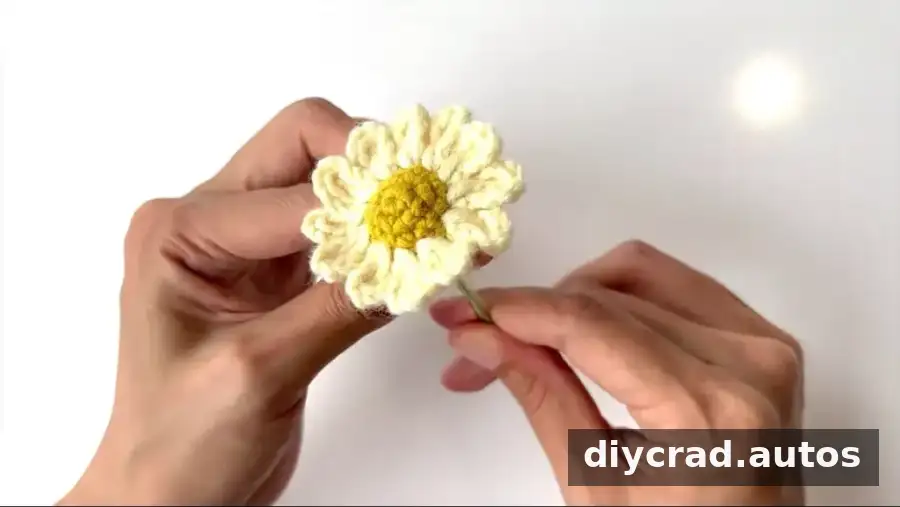
- Round 1: Repeat the following sequence 12 times: ch 4, make 1 tr, ch 4, and make 1 ss into the next stitch. This forms 12 petals. Cut the yarn and weave in the ends.
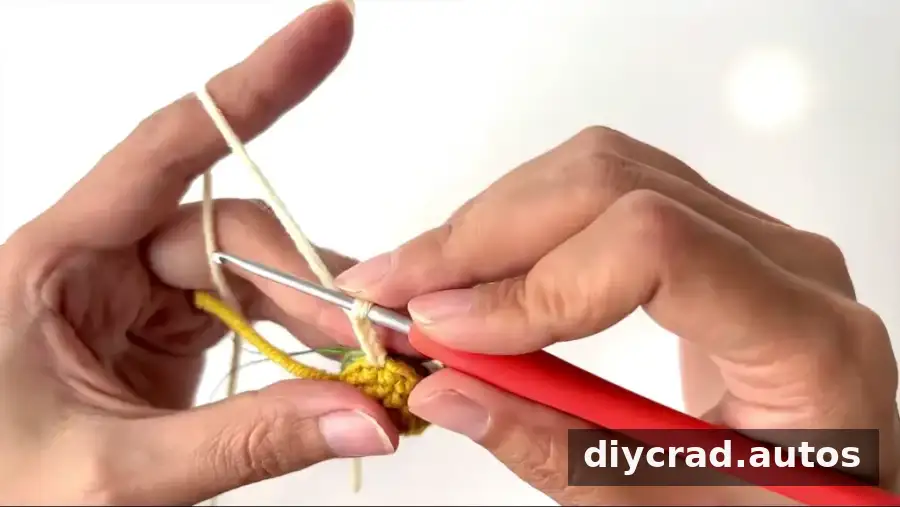
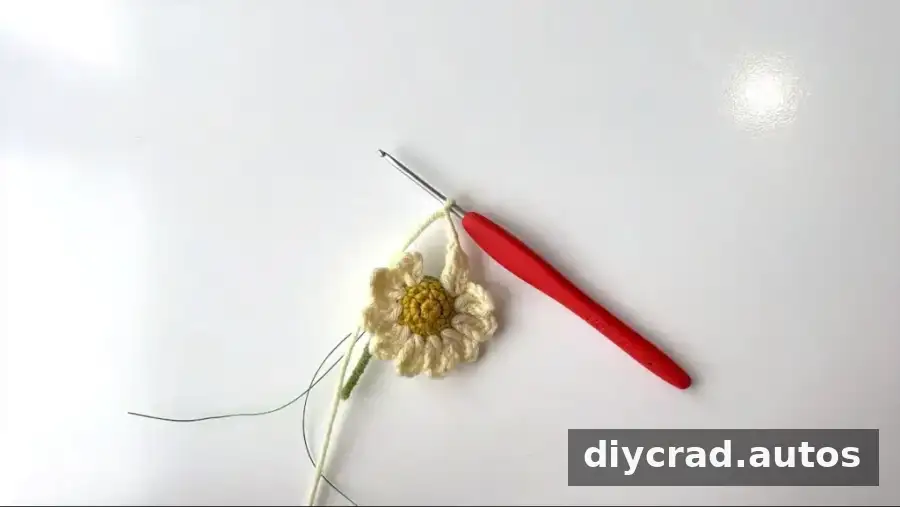
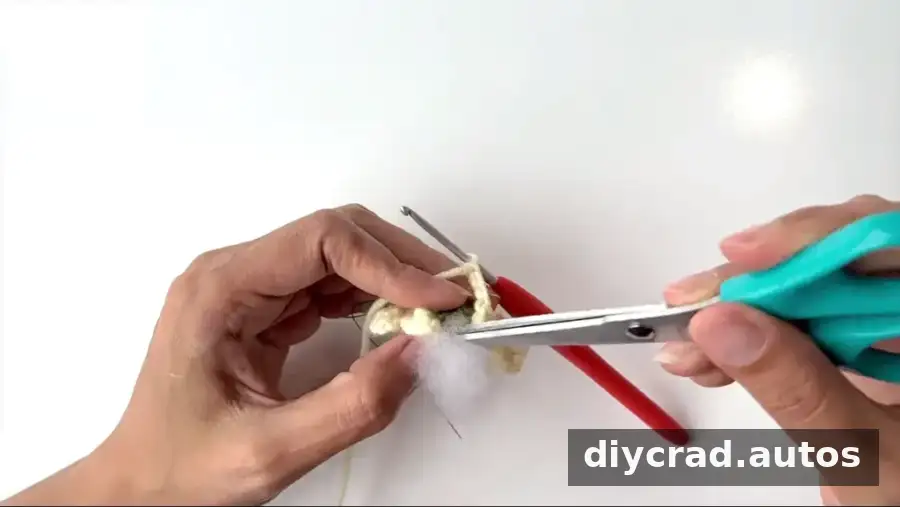
When working the flower petals, the stem can be assembled after the 10th petal. Alternatively, add some filling before the petals are completed and sewn together.
Make two daisy buds
- With white yarn, make a magic ring and ch 3.
- Round 1: Work 9 dc into the magic ring, close the ring, make a ss, and cut the yarn, leaving two tails. (9 stitches)
- Round 2: Join green yarn, ch 2, work 9 hdc, and make a ss.
- Round 3: To close the bud, ch 1 and repeat (1 sc, sc2tog) 3 times. Cut the yarn, leaving a tail.
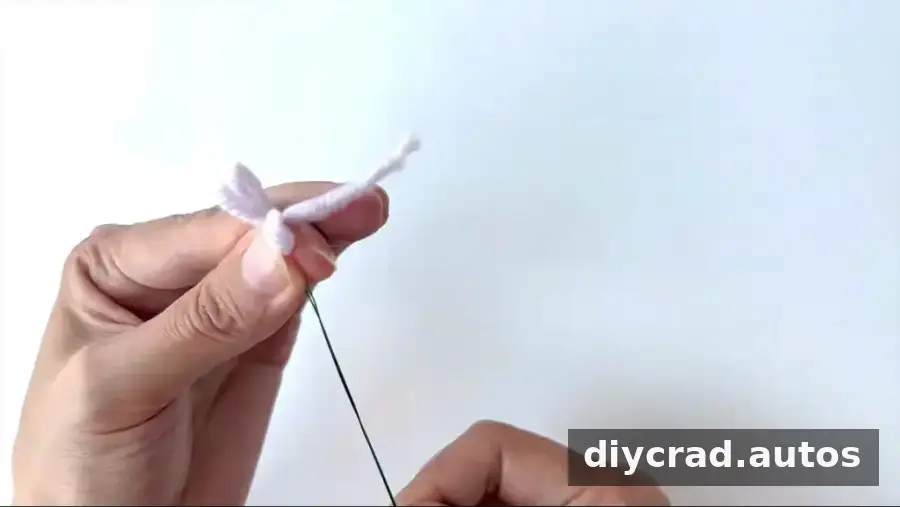
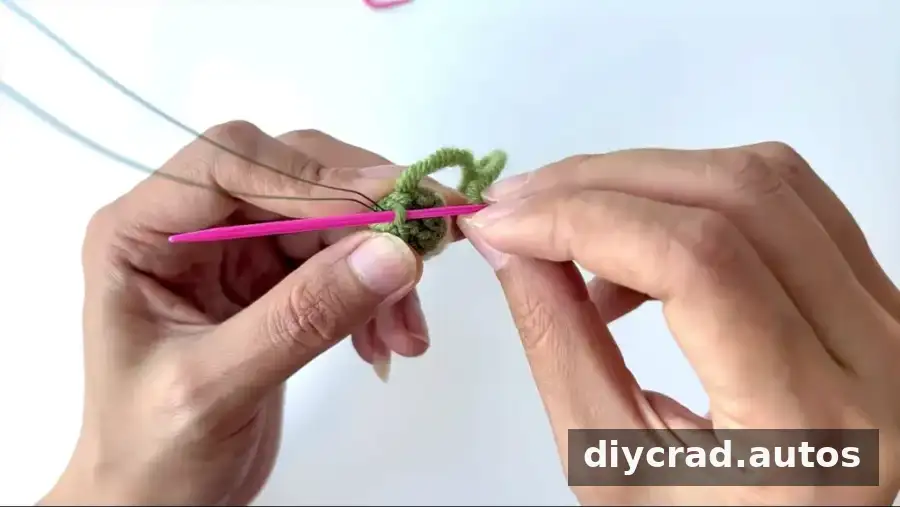
- Add wire using the same method as for the stamen and insert its tip into the bud. Tuck in the yarn tails, leaving only the green tail visible. With a darning needle, sew through the back loops to close the opening tightly, then weave in the ends.
Make two daisy leaves
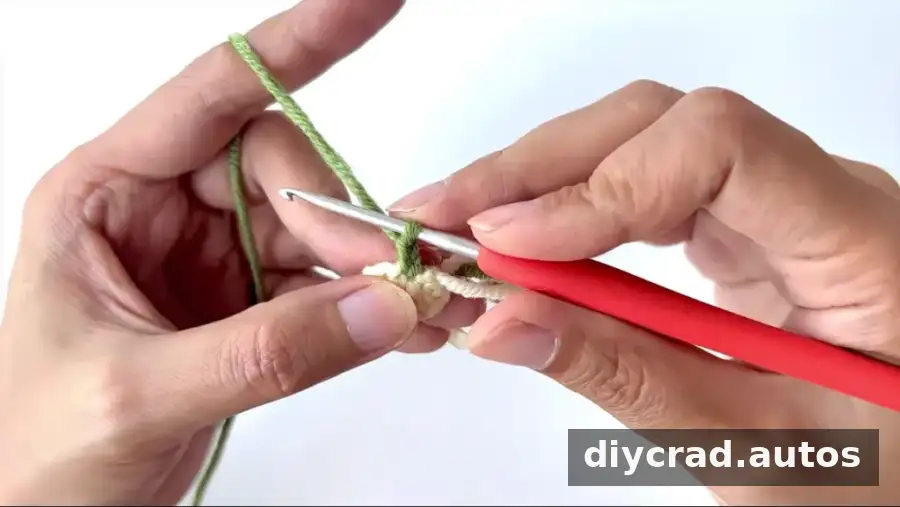
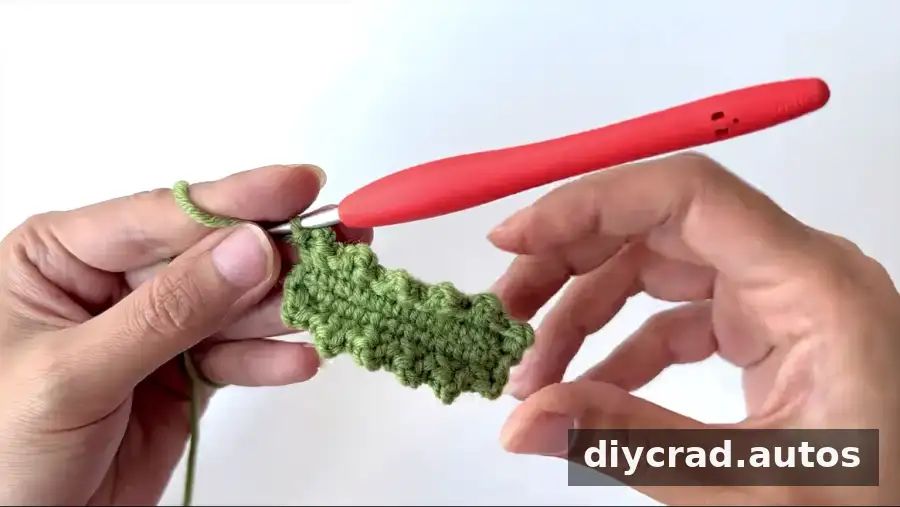
- With green yarn, ch 13.
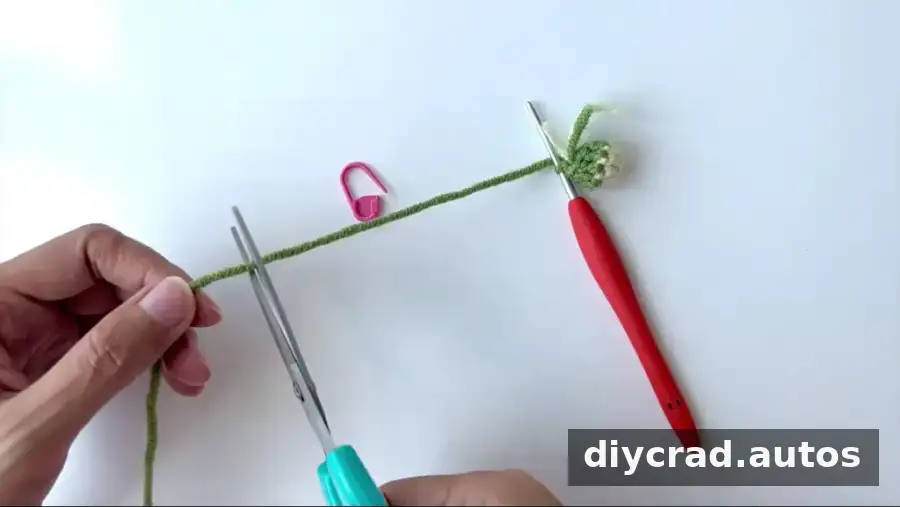
- Round 1: Starting in the second stitch from the hook, add the iron wire and work 11 sc. Make 3 sc in the last stitch. Without turning, work along the other side of the chain and make 11 sc, then 1 ss.
- Round 2: Ch 1, then repeat (sc2tog, ch 2, 1 ss into the base of the same stitch, 1 ss in the next stitch, ch 1) 12 times. Finish with 1 ss.
Assemble the daisy with a long stem
Arrange the parts on the flower rod before securing them. This makes it easier to balance the flowers and buds and choose where the leaves will sit.
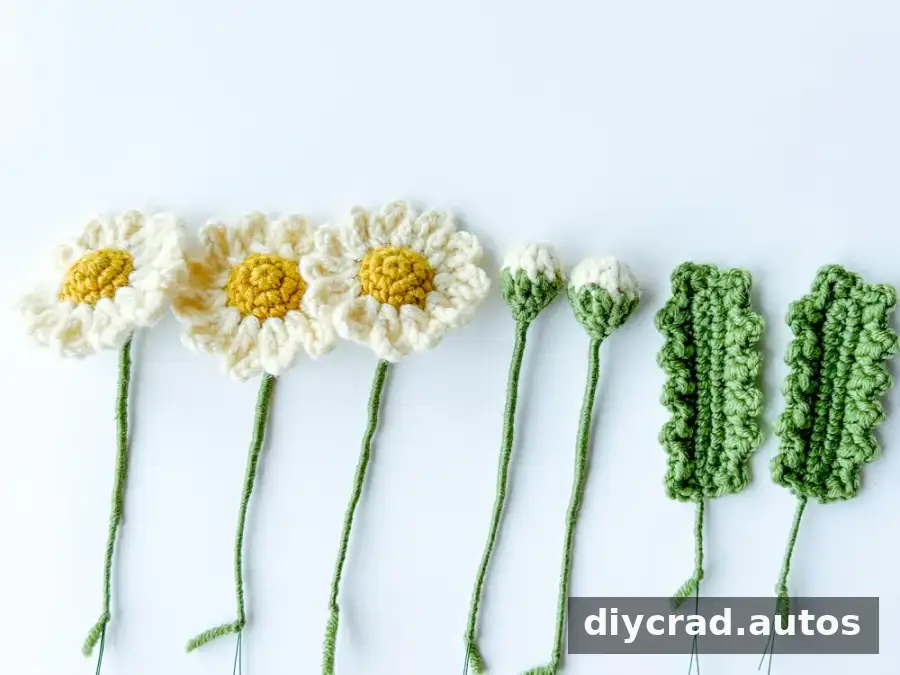
- Line up the two buds and the first flower on the rod. Wrap yarn around the rod for about an inch to secure the pieces.
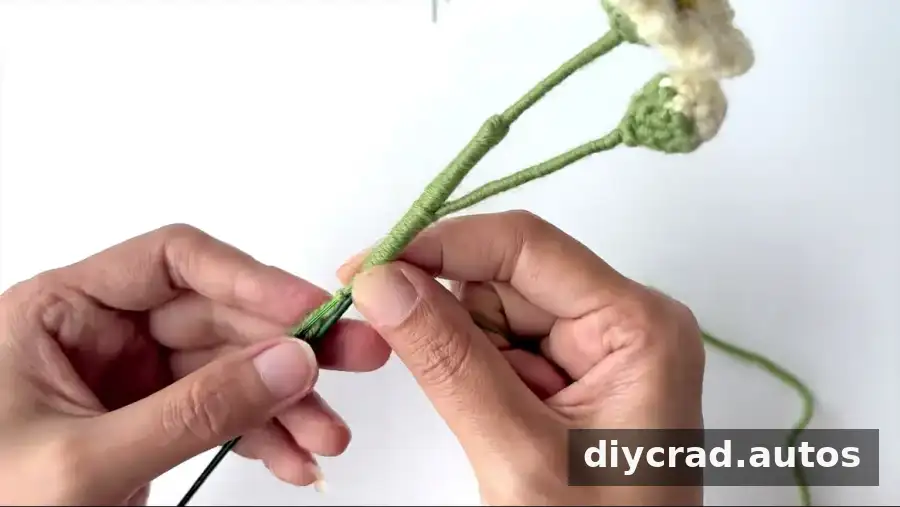
- Position the second and third flowers and continue wrapping. Place the flowers on opposite sides for a balanced appearance.
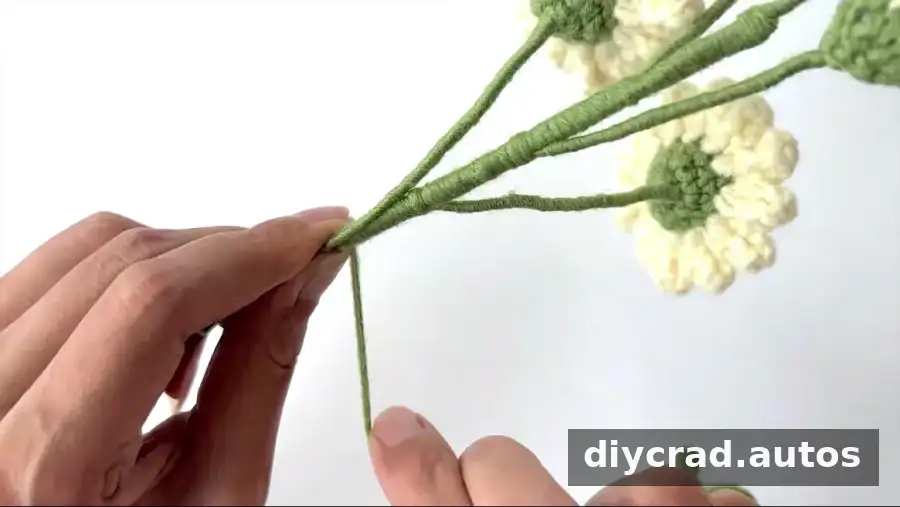
- Continue wrapping down the rod and add the leaves in the desired positions.
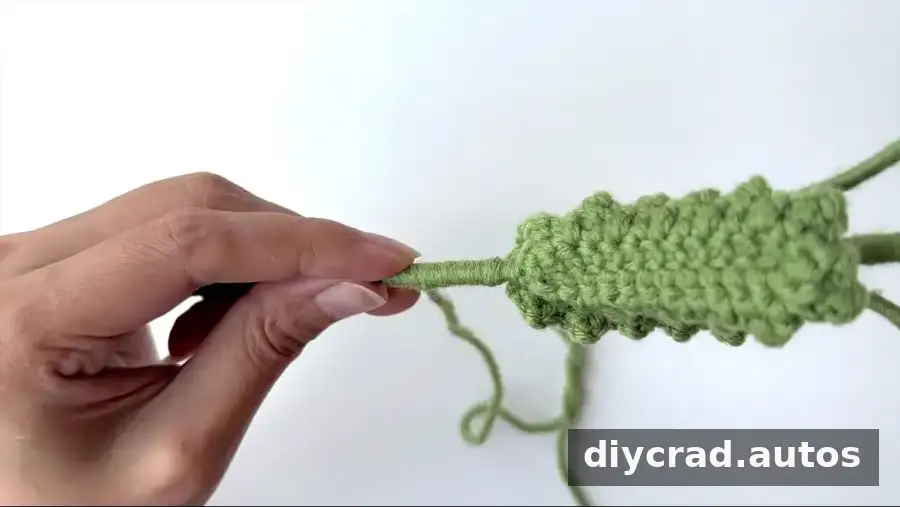
- Wrap to the end of the rod and use hot-melt adhesive to secure the yarn ends.
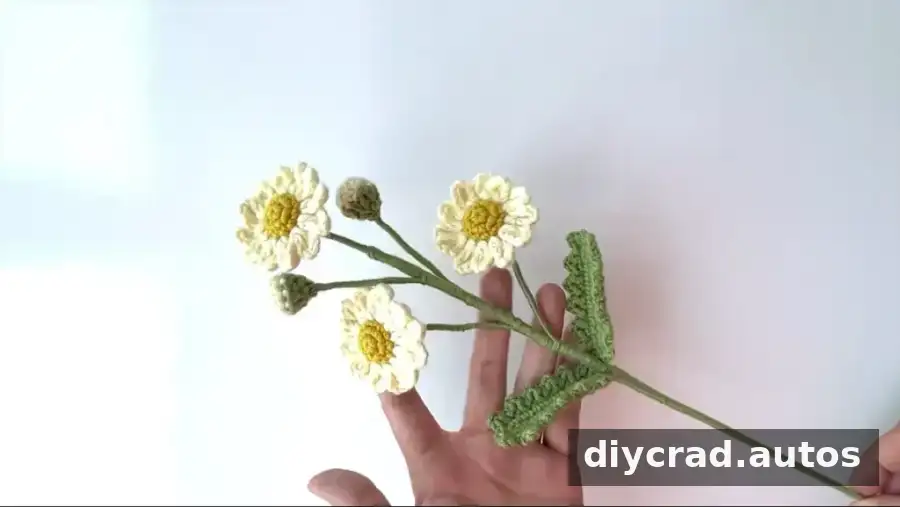
Finishing and display ideas
Check that the wire is covered, the yarn ends are secure, and the flowers and leaves stay in place. If the finished stem will be handled often, take extra care to cover exposed wire and keep adhesive away from the crocheted surfaces.
Use the completed flower as home décor or combine it with other crocheted flowers, such as roses or lavender, to create a varied arrangement. Experimenting with different petal and center colors can also give the bouquet a distinct look.