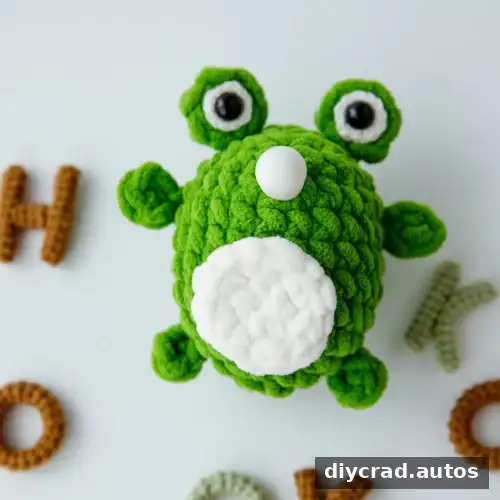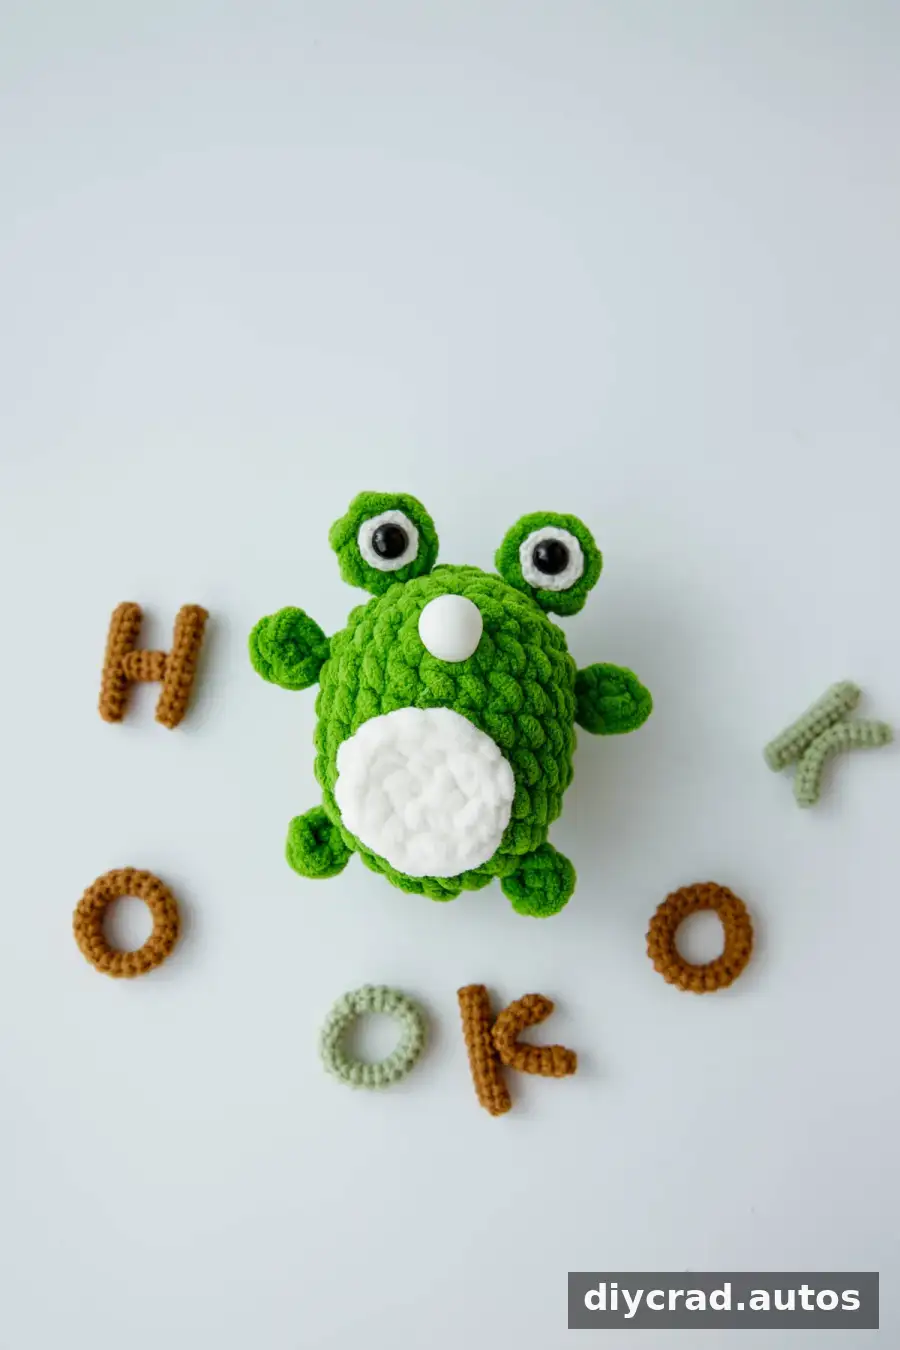
This crochet frog amigurumi pattern guides you through making a soft, characterful frog from plush yarn. It includes the materials list, stitch abbreviations, separate instructions for the body, belly, eyes and feet, plus assembly guidance. The pattern uses US crochet terms and is best suited to crocheters with some experience, especially those comfortable counting stitches and working increases and decreases.
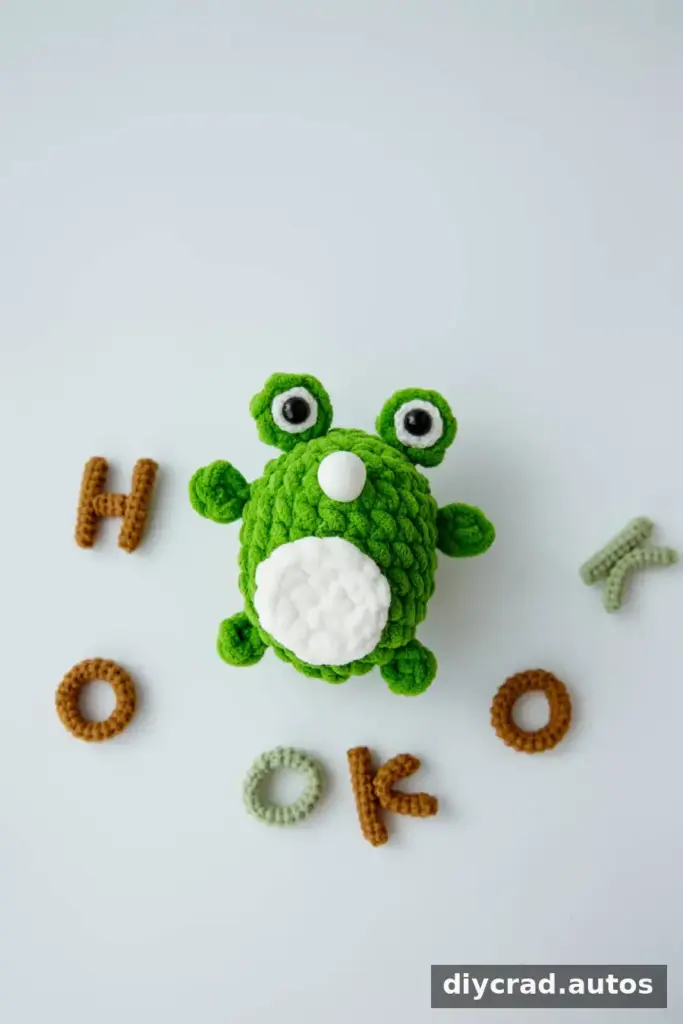
About This Crochet Frog Pattern
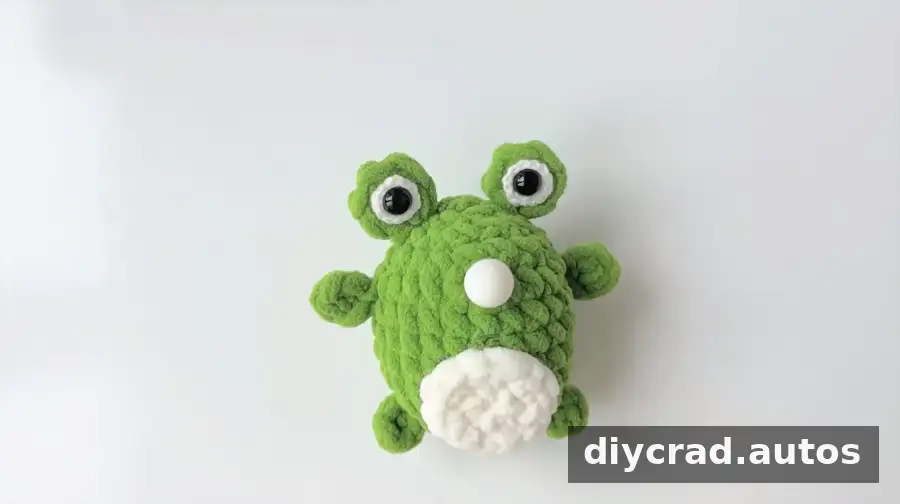
The frog is made from a green body, a white belly, two raised green eye pieces, four small feet and two white eye pieces. A 6.0 mm hook is used for the plush yarn, while the white cotton eye details are made with a 2.0 mm hook. Keep a stitch marker handy so you can track the start of each round.
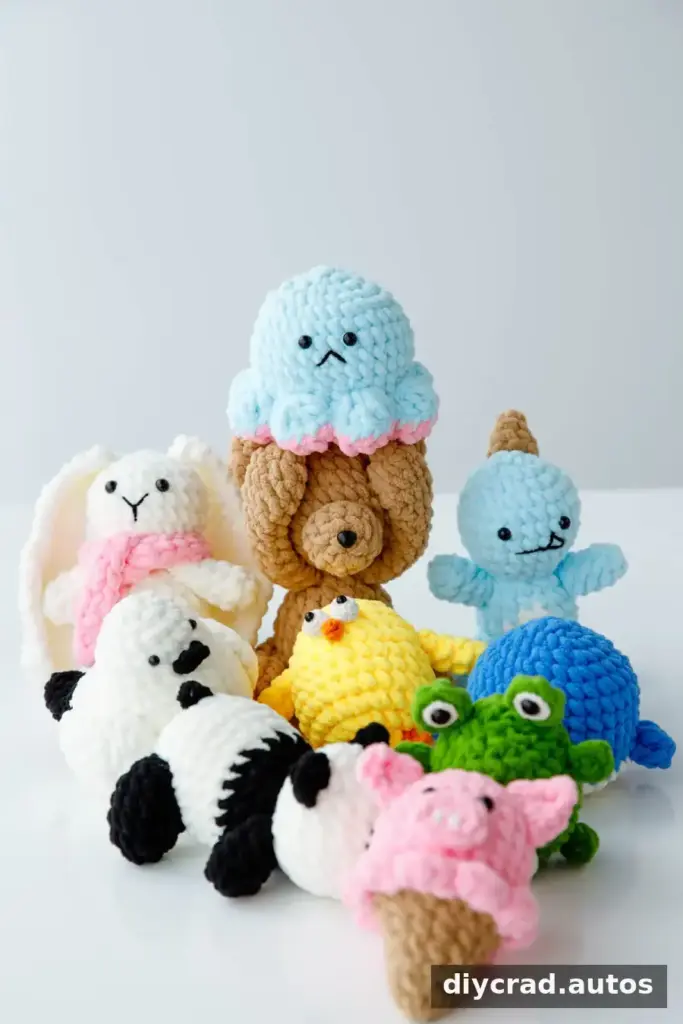
This design is part of a wider collection of crocheted amigurumi animals, including a pig, whale, dinosaur, chick, octopus, bear, rabbit, panda and bird. If you are making several projects, check that your yarn and hook sizes are suitable for each individual pattern.
A video tutorial may help you follow the shaping and assembly. Pause as needed to check stitch placement, particularly during the body increases and decreases.
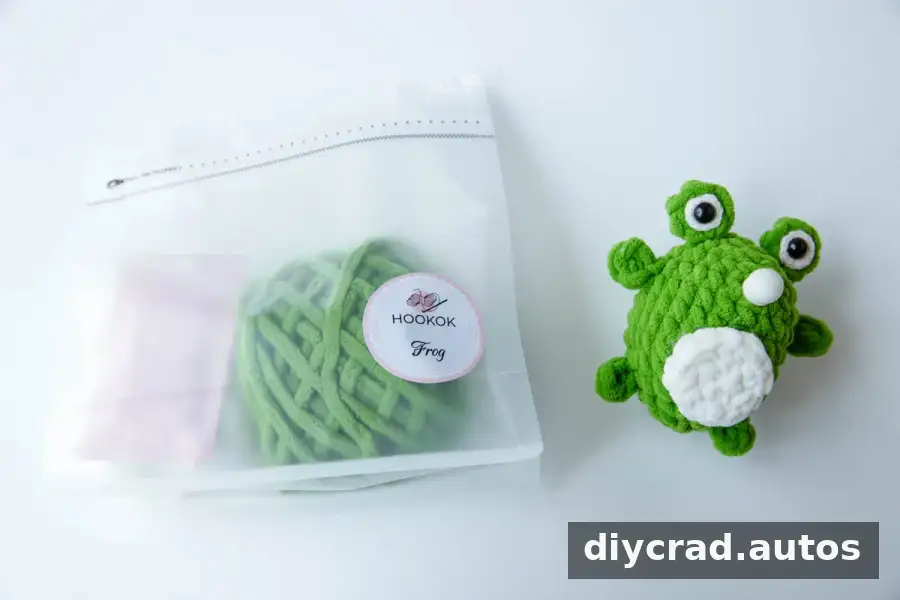
Materials for the Crochet Frog
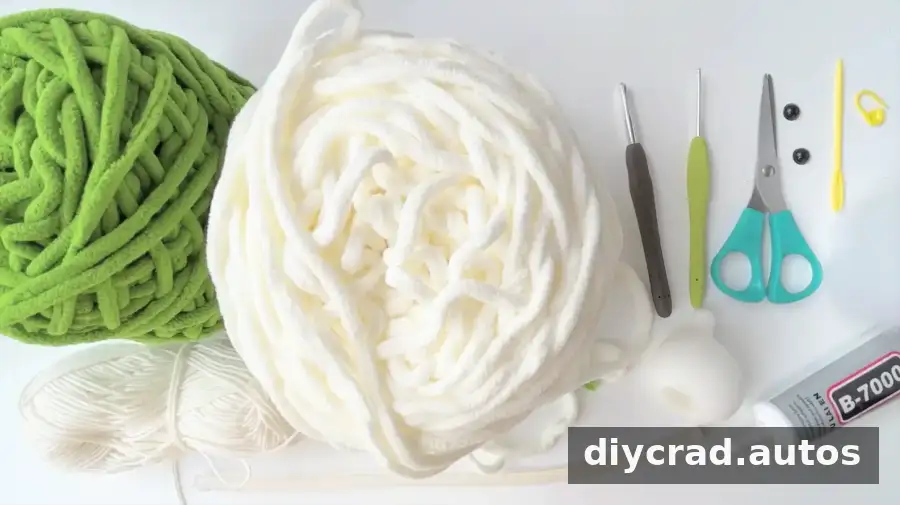
- Green and white plush yarn, plus white cotton yarn for the eyes
- 6.0 mm and 2.0 mm crochet hooks
- Darning needle
- Fiberfill
- Scissors
- Stitch marker
- Hot-melt or multipurpose adhesive
- One pair of 10 mm eyes
- One bubble ball
Practical tip: Before beginning, check that the yarn can be worked comfortably with the specified hook. Plush yarn can make individual stitches harder to see, so feel for the top loops and count each round carefully.
Difficulty and Pattern Notes
This is an intermediate-level project. The increases in Rounds 3 and 4 and the stitch-count changes in the later body rounds require careful attention. Use a marker to identify the beginning of each round, and count your stitches before moving on.
- The pattern is written in US crochet terms.
- R1, R2 and similar labels mean Round 1, Round 2 and so on.
- Join rounds with a slip stitch and make a chain as specified.
- Stuff the body and add the bubble ball before closing it.
Stitches and Abbreviations
- sc: single crochet
- st: stitch
- ch: chain
- hdc: half double crochet
- ss: slip stitch
- sc2tog: single crochet two together
- sk: skip
Special Techniques
Magic ring: Make an adjustable loop for starting a piece in the round. Work the required stitches into the loop, then pull the yarn tail to close the center.
Increase: Work two single crochets into the same stitch. This adds one stitch to the round.
Sc2tog: Insert the hook into the next stitch and draw up a loop. Insert it into the following stitch and draw up another loop, then yarn over and pull through all three loops on the hook.
Skip: Leave the indicated stitch unworked. In the body, the chain-and-skip instruction creates an opening in the round.
Step-by-Step Crochet Frog Pattern
Green Body
- R1: Make a magic ring and work 6 sc into it. Join with 1 ss, then ch 1.
- R2: Work 2 sc in each st, repeating 6 times. Join with 1 ss, then ch 1.
- R3: Work 1 sc in the first st, then 2 sc in the next st. Repeat 6 times. Join with 1 ss, then ch 1.
- R4: Work 2 sc in the first st, then 2 sc in the next st. Repeat 6 times. Join with 1 ss, then ch 1.
- R5–R8: Work 24 sc in each round. Join with 1 ss, then ch 1 after each round.
- R9: Work 12 sc, ch 1, skip the next st, then work 11 sc. Join with 1 ss, then ch 1.
- R10: Work 1 sc, sc2tog, 1 sc. Repeat 6 times. Join with 1 ss, then ch 1.
- R11: Work 1 sc in the first st, then sc2tog in the next st. Repeat 6 times. Join with 1 ss, then ch 1. Add fiberfill and the bubble ball before closing the body.
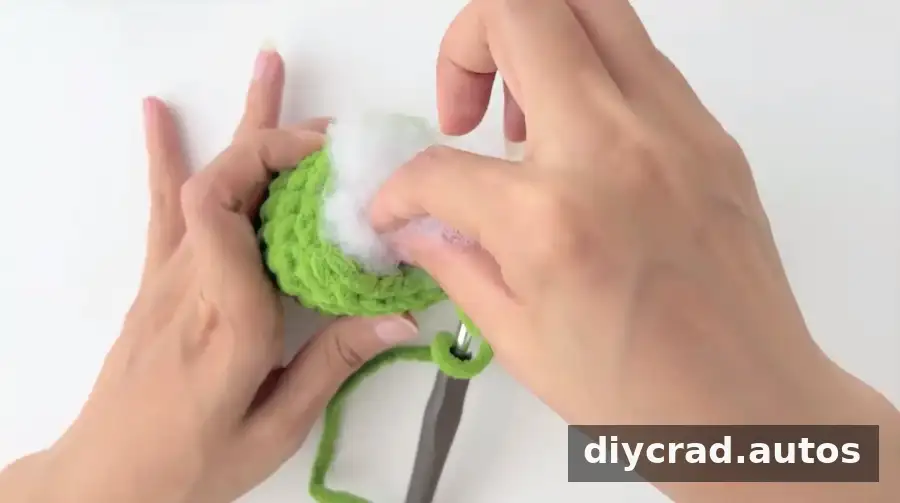
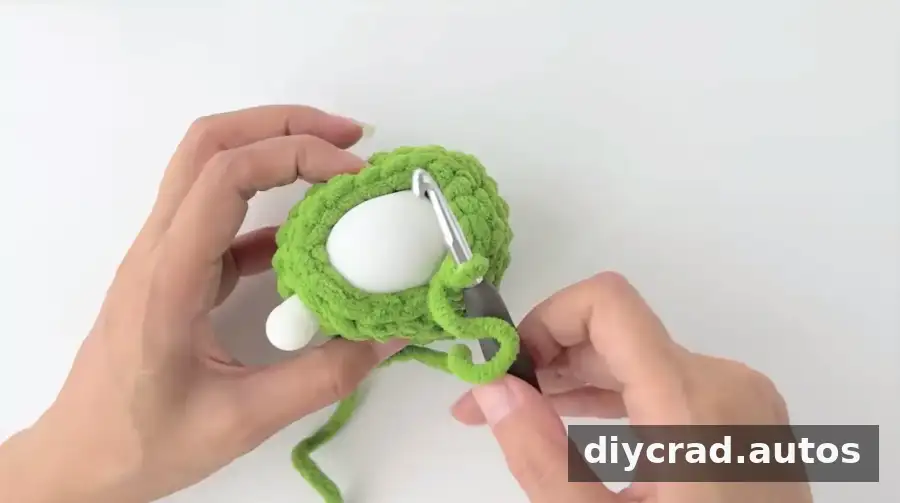
- R12: Work sc2tog in each st, repeating 6 times. Cut the yarn and weave in the end.
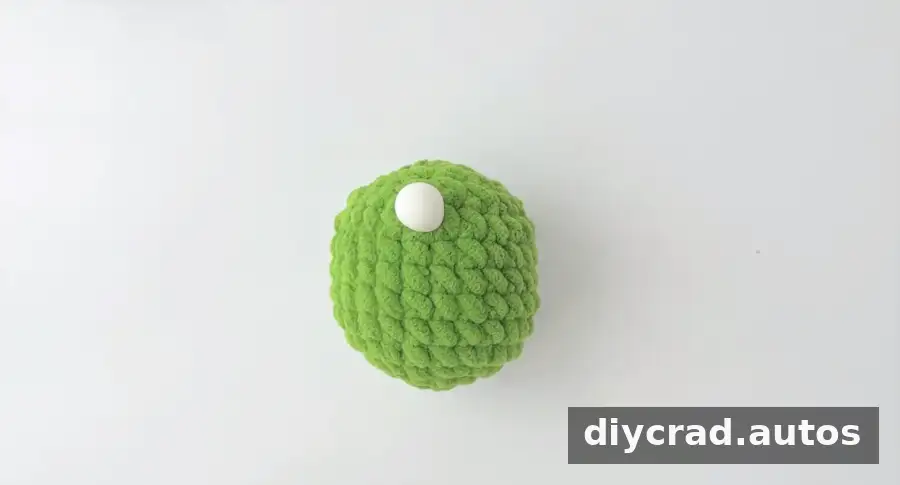
White Belly
- R1: Make a magic ring and work 6 sc into it. Join with 1 ss, then ch 1.
- R2: Work 2 sc in each st, repeating 6 times. Cut the yarn and weave in the end.
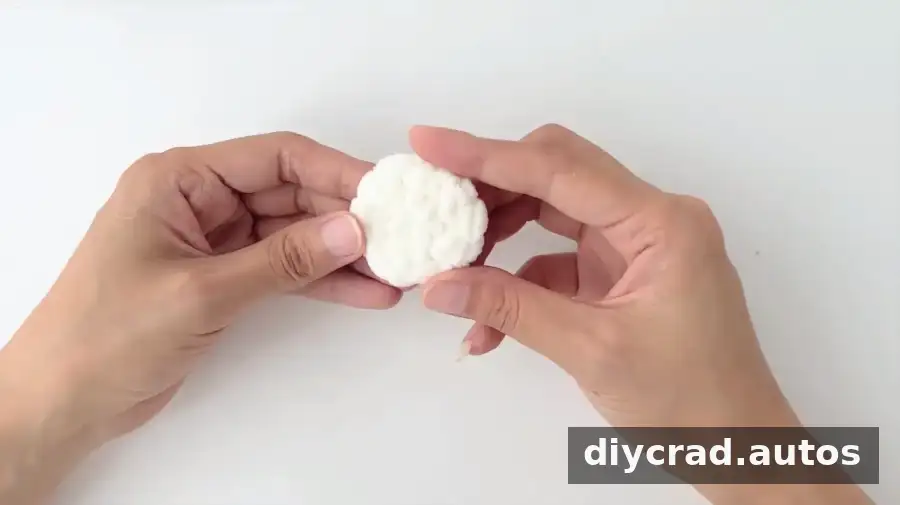
Two Green Eye Pieces
- R1: Make a magic ring and work 6 sc into it. Cut the yarn and weave in the end.
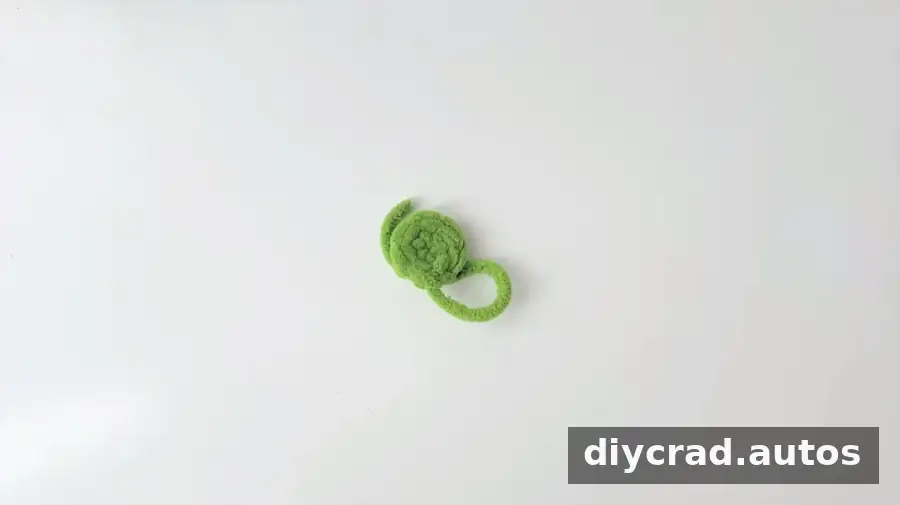
Four Green Feet
- R1: Ch 2. Insert the hook behind the vertical bar of the second chain, then work 1 hdc and 1 ss into the same stitch.
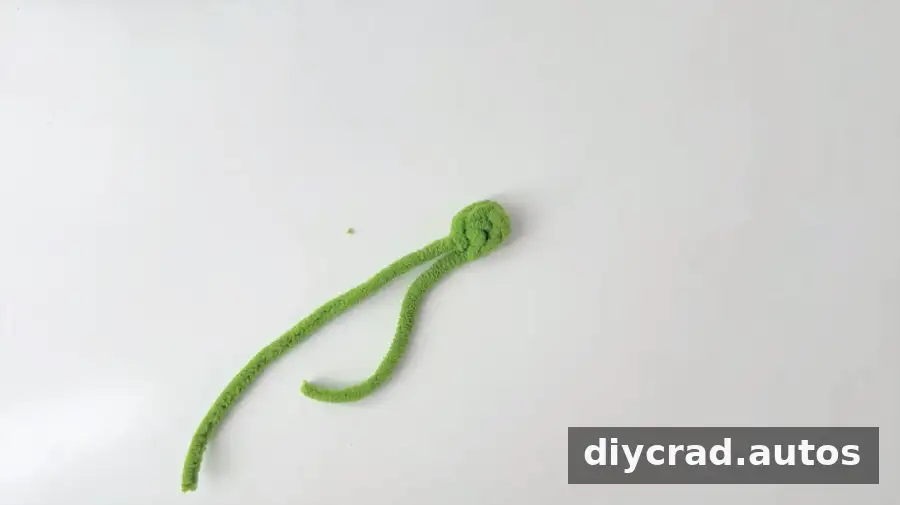
Two White Eye Pieces
Use white cotton yarn and the 2.0 mm hook.
- R1: Make a magic ring and work 6 sc into it. Join with 1 ss, then ch 1.
- R2: Work 2 sc in each st, repeating 6 times. Cut the yarn and weave in the end.
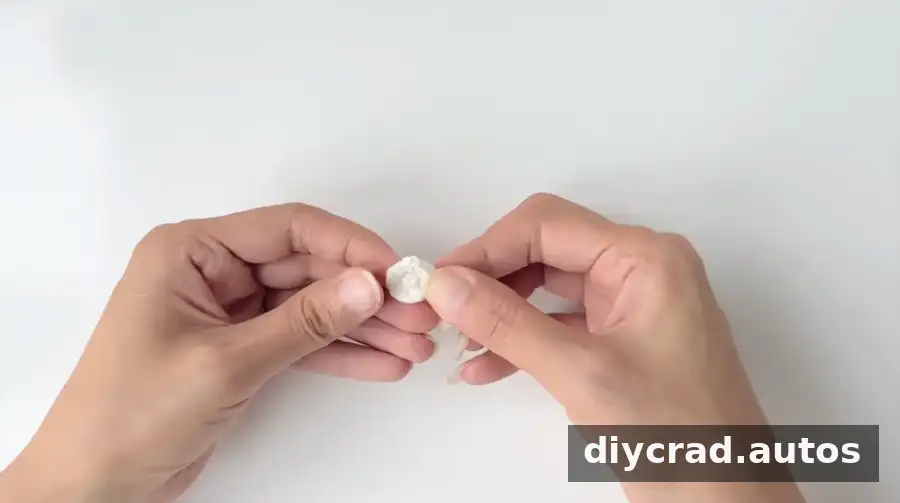
How to Assemble the Crochet Frog
Arrange the parts before sewing them in place so you can check the frog’s expression and proportions. Use the stitch lines as a guide when attaching the pieces.
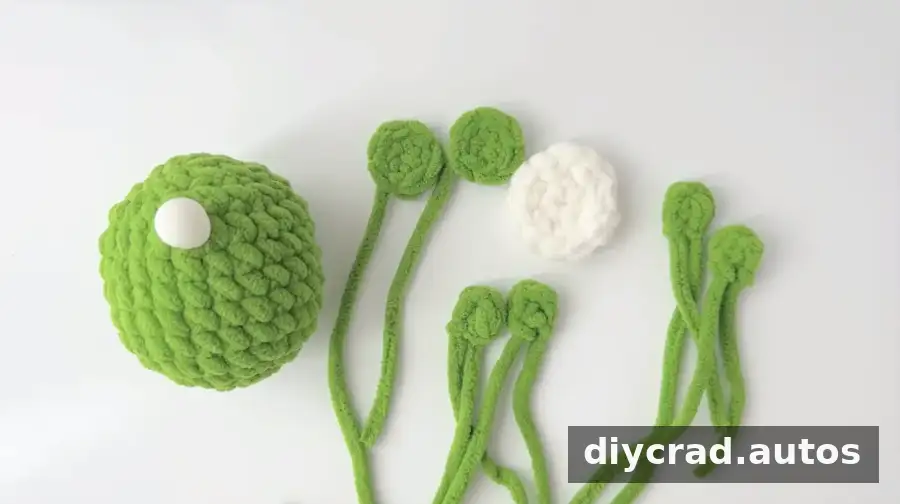
- Stuff the body and place the bubble ball inside before closing it.
- Sew the green eye pieces onto the upper part of the body, leaving space between them for the white eye pieces.
- Sew the four feet onto the body in your preferred positions.
- Sew the white belly onto the lower part of the body, aligning the stitches.
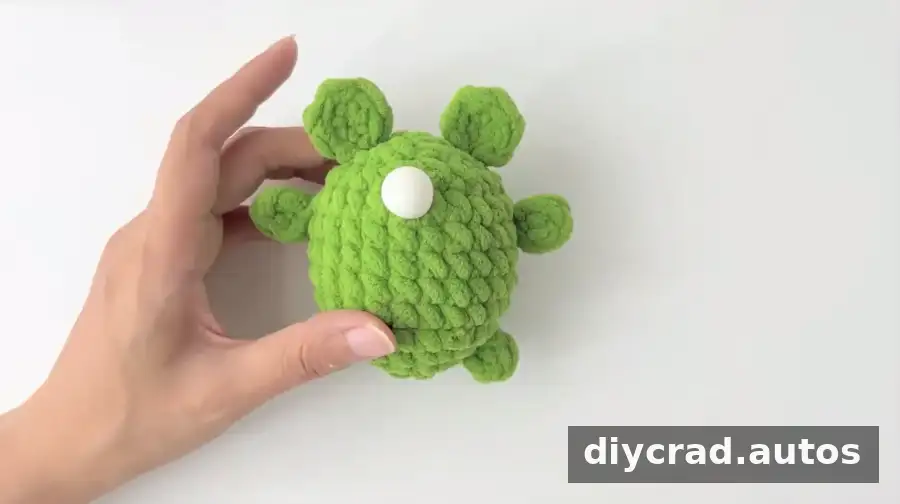
- Sew the white eye pieces into position. Place a 10 mm eye in the center of each white piece.
- Adhesive can be used to help secure the attached parts. Follow the adhesive instructions and take care when handling hot-melt glue.
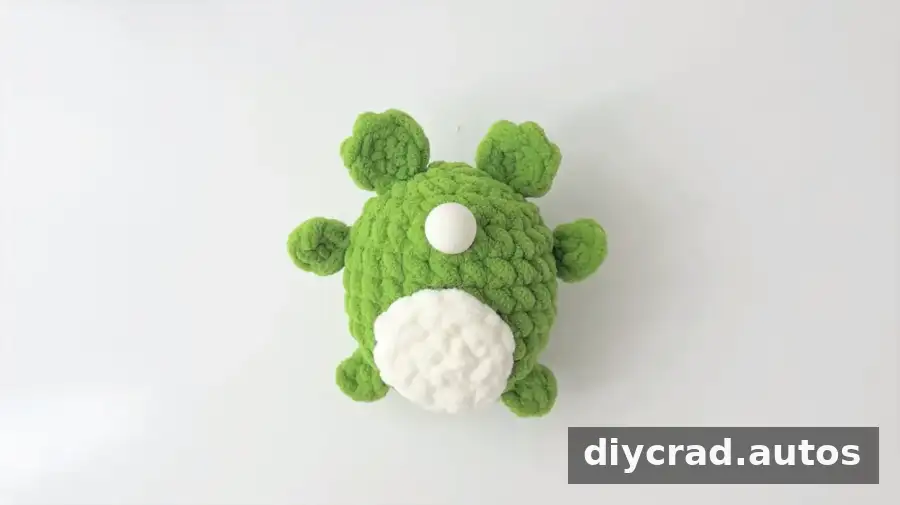
If the frog is intended for a young child, make sure all parts are firmly attached and consider whether safety eyes or glued pieces are appropriate for the intended use.
Finishing Your Crochet Frog
Once assembly is complete, check the seams, trim any loose yarn ends and adjust the stuffing if needed. A final stitch count check during the body rounds can help maintain the intended shape, especially when working with plush yarn. This free crochet frog pattern combines simple amigurumi components with careful shaping to create a playful handmade animal.