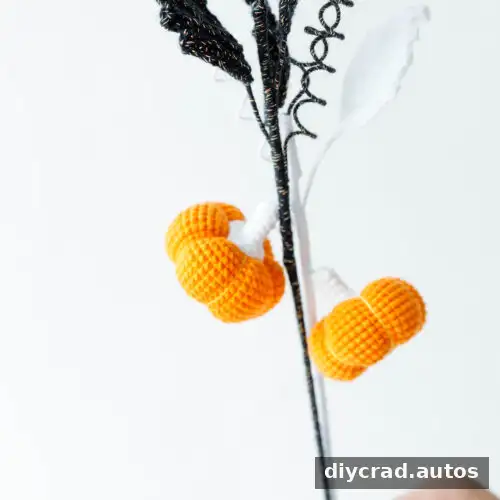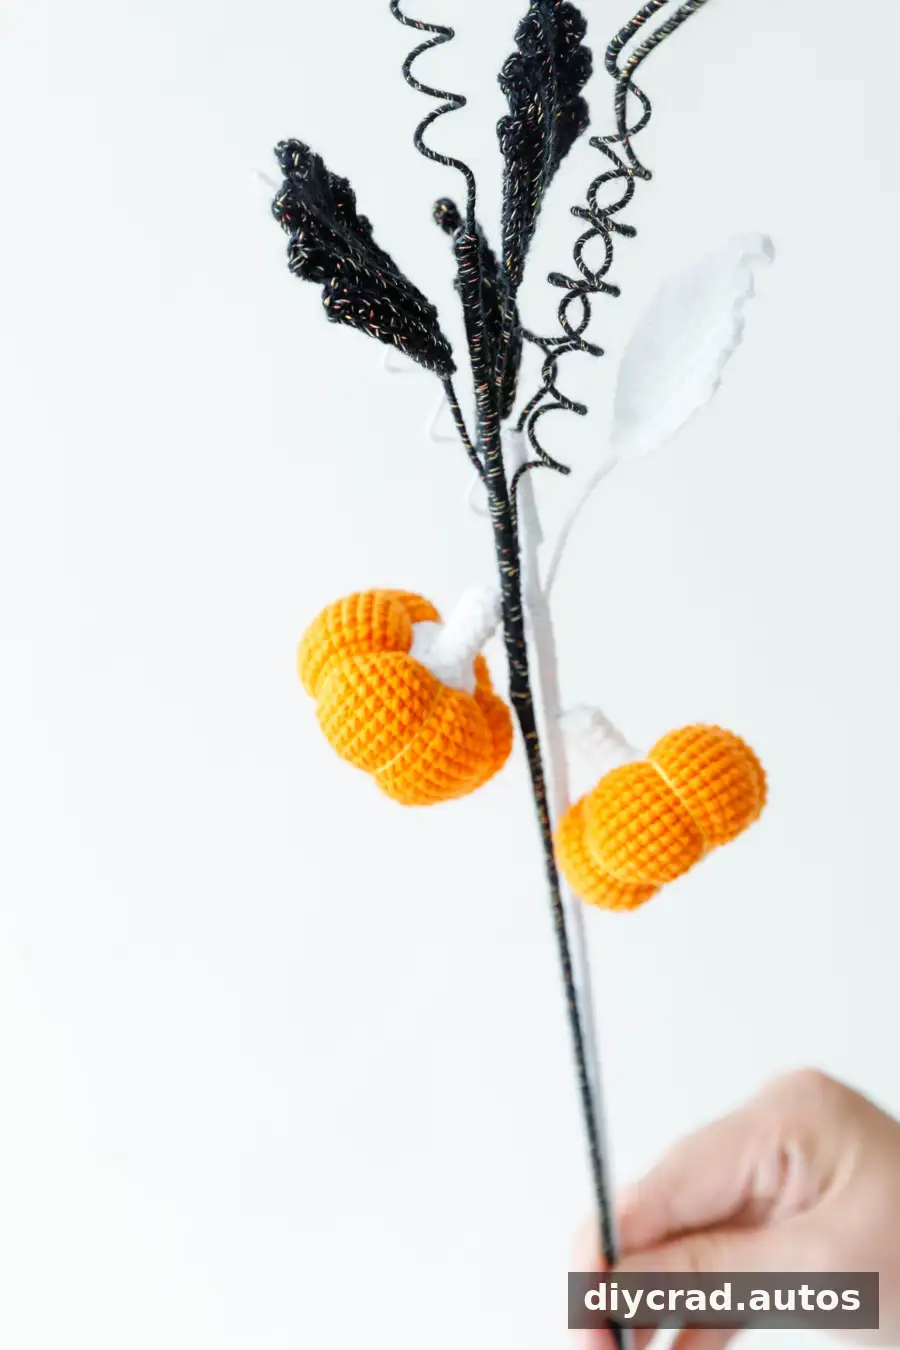
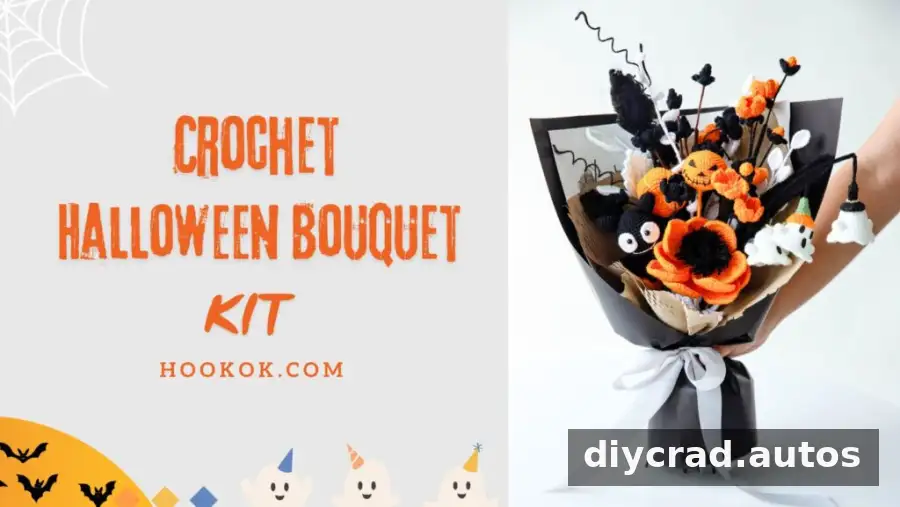
This Crochet Halloween Pumpkin Bouquet pattern combines a small crocheted pumpkin, a stem, two contrasting leaves, and wrapped floral elements to create a seasonal decoration or handmade gift. The instructions use US crochet terms and include the materials, stitch abbreviations, and assembly steps you need to follow the project from start to finish.
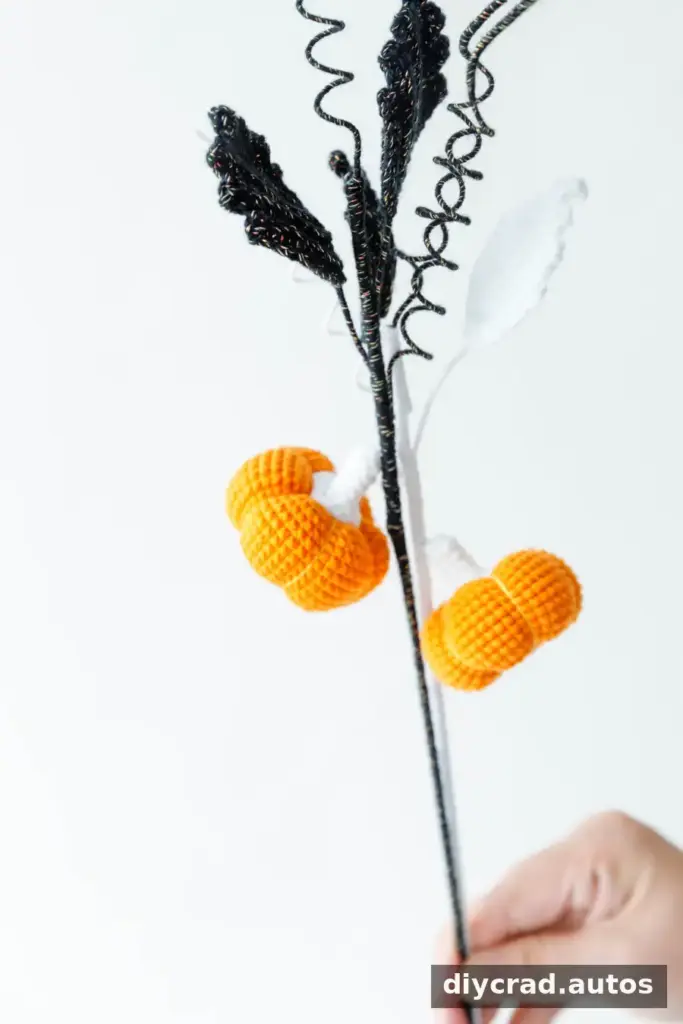
For a coordinated Halloween display, you could pair the bouquet with other themed crochet projects, such as a bat, a devil pumpkin, or a ghost. Before starting, read through the full pattern and check that you have the hook, yarn, wire, and stuffing ready.
- Crochet Halloween Bat
- Crochet Halloween Devil Pumpkin
- Crochet Halloween Ghosts
- Crochet Halloween Ghosts – Free Pattern
Color Options for Your Crochet Halloween Pumpkin Bouquet
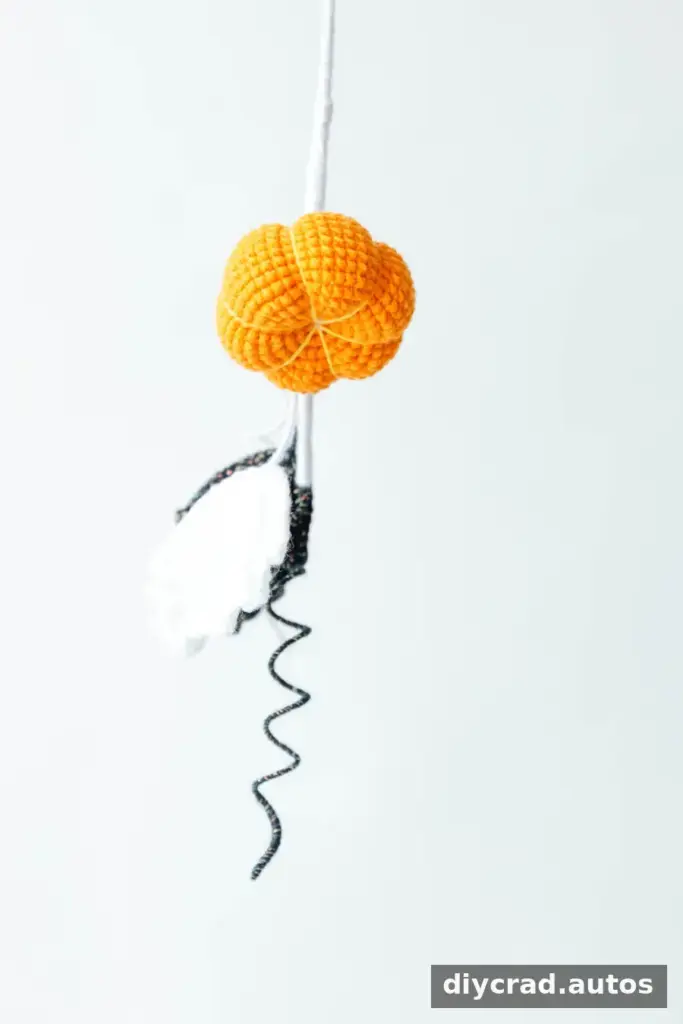
Orange yarn gives the pumpkin a traditional autumn look, while white and black yarn can add a Halloween-inspired contrast. The pattern calls for orange, luminous white, and black yarn. Different yarn colors and textures can also be used to personalize the finished bouquet, provided the yarn works with the 2.0 mm hook and the details remain easy to see.
A cotton yarn palette with 91 color options is available for those who want to explore additional combinations. Luminous yarn may glow green in the dark, as described for the ghost elements in the bouquet kit. If using specialty yarn, check its care instructions and test the appearance before making the full project.
Materials and Equipment
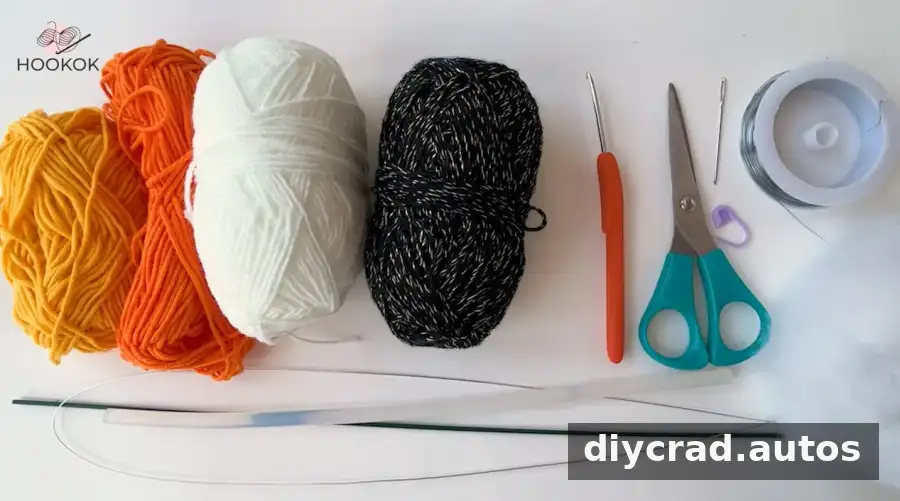
Gather the following supplies before crocheting. Keep the stitch marker close by so you can track the start of each round, especially while shaping the pumpkin.
- Orange yarn, luminous white yarn, and black yarn
- 2.0 mm crochet hook
- Scissors
- Stitch marker
- Darning needle
- Iron wire
- Stuffing cotton
- Flower rod
- Hot-melt glue
Stitches and Abbreviations
- ch: Chain stitch.
- sc: Single crochet.
- 2 sc in next st: Increase by working two single crochet stitches into the next stitch.
- BLO: Back loops only.
- sc2tog: Single crochet two together; a decrease.
- ss: Slip stitch.
- R1, R2, R3, and so on: Round 1, Round 2, Round 3, and so on.
Special Stitch Notes
For sc2tog, work two single crochet stitches together to reduce the stitch count. For BLO, insert the hook through only the back loop of the stitch. Working in the back loops can create a ridged texture. The pattern is written in US crochet terms.
Before You Begin
- The pattern uses US crochet terminology.
- Use a stitch marker to identify the beginning of each round.
- Check the stated stitch sequence as you work, and keep track of each round.
- The slip stitch and chain at the end of a round do not count as stitches.
- Notes in italics are additional instructions.
When using wire or hot-melt glue, handle them carefully and keep them away from children. Make sure the wire ends are covered or secured before displaying the bouquet.
Step-by-Step Crochet Halloween Pumpkin Bouquet Pattern
Make the Pumpkin
- Begin with a magic ring.
- R1: Work 8 sc in the round. Make 1 ss and 1 ch.
- R2: Repeat (2 sc in next st) 8 times. Make 1 ss and 1 ch.
- R3: Repeat (1 sc, 2 sc in next st) 8 times. Make 1 ss and 1 ch.
- R4: Repeat (2 sc, 2 sc in next st) 8 times. Make 1 ss and 1 ch.
- R5: Repeat (3 sc, 2 sc in next st) 8 times. Make 1 ss and 1 ch.
- R6: Repeat (4 sc, 2 sc in next st) 8 times. Make 1 ss and 1 ch.
- R7–15: Work 48 sc in each round. Make 1 ss and 1 ch after each round.
- R16: Repeat (2 sc, sc2tog, 2 sc) 8 times. Make 1 ss and 1 ch.
- R17: Repeat (3 sc, sc2tog) 8 times. Make 1 ss and 1 ch.
- R18: Repeat (1 sc, sc2tog, 1 sc) 8 times. Make 1 ss and 1 ch.
- R19: Repeat (1 sc, sc2tog) 8 times. Make 1 ss and 1 ch, then add stuffing cotton.
- R20: Repeat sc2tog 8 times. Make 1 ss in the first stitch. Cut the yarn and weave in the end.
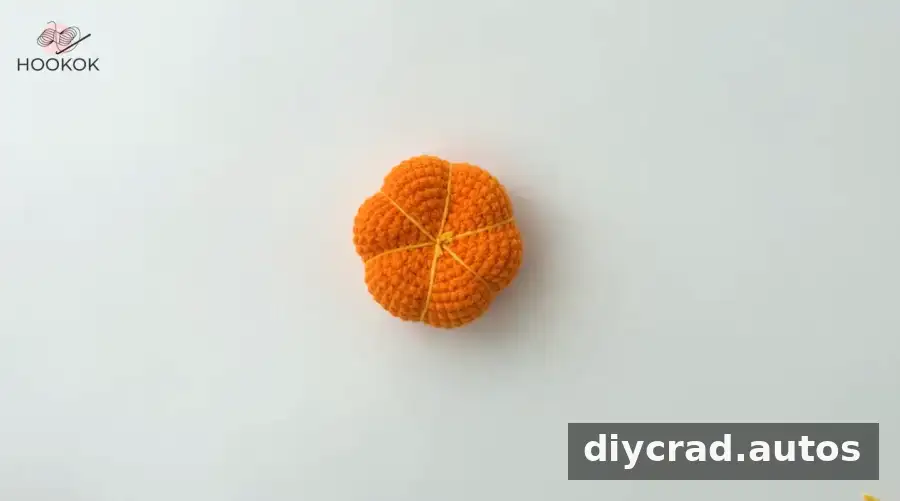
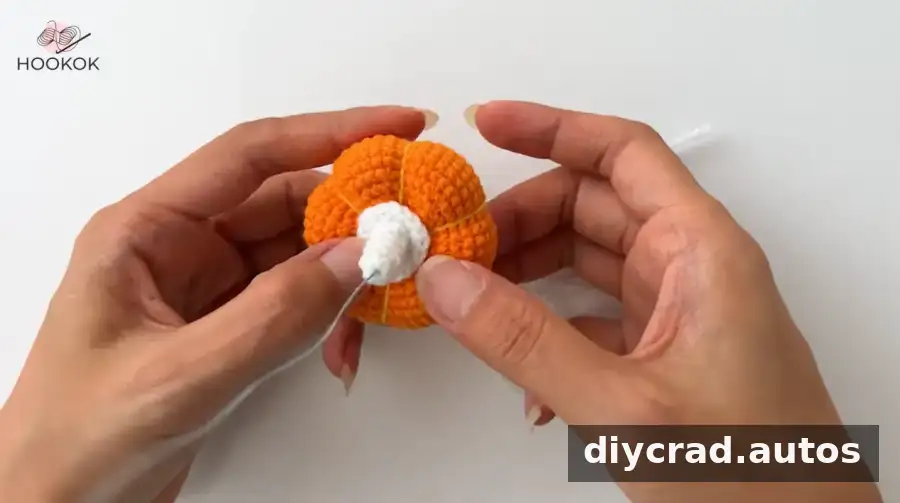
- Using yellow yarn, sew six lines around the crocheted ball and pull them tight to form the pumpkin shape.
Shape the pumpkin gently after stuffing so the filling is distributed evenly. Avoid pulling the shaping yarn so tightly that it breaks.
Make the Pumpkin Stem
- Begin with a magic ring.
- R1: Work 6 sc in the round. Make 1 ss and 1 ch.
- R2–5: Work 6 sc in each round. Make 1 ss and 1 ch after each round.
- R6: Repeat (2 sc in next st) 6 times. Make 1 ss and 1 ch.
- R7: Repeat (1 sc, 2 sc in next st, 1 sc) 4 times. Cut the yarn, leaving a long tail.
- Take a piece of wire and tie yarn of the same color around its middle. Fold the wire in half, tighten it, and insert it into the center of the stem.
- Sew the stem onto the pumpkin with a needle. Use the remaining yarn to wrap the wire to its end.
Secure the wire and cover any exposed ends before attaching the stem. This helps keep the finished decoration neat and safer to handle.
Make One White Leaf and One Black Leaf
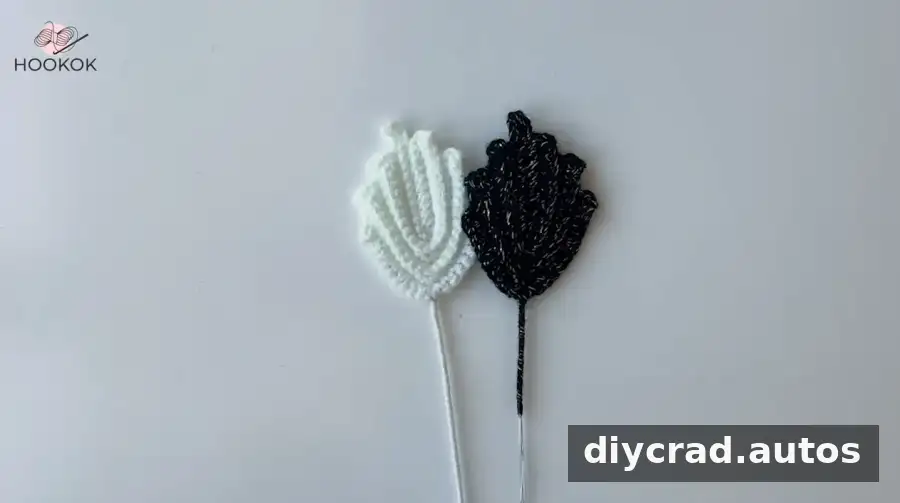
- R1: Make a foundation chain of 14 ch.
- R2: Starting in the second chain from the hook, work 12 sc, 3 sc in the same stitch, then work 10 sc.
- R3: Make 1 ch and turn. Working in BLO, make 11 sc, 3 sc in the same stitch, then 10 sc.
- R4–6: Repeat R3.
- R7: Add wire and repeat R3. Make 1 ch, cut the yarn, and leave a long tail. Hide the tail and wrap it around the wire.
Make one leaf in white yarn and one in black yarn. Work the stitches consistently along both leaves so they have a similar shape.
Refer to the video for a visual walkthrough of the crocheted Halloween pumpkin bouquet pattern.
Make the Wrapped Flower Elements
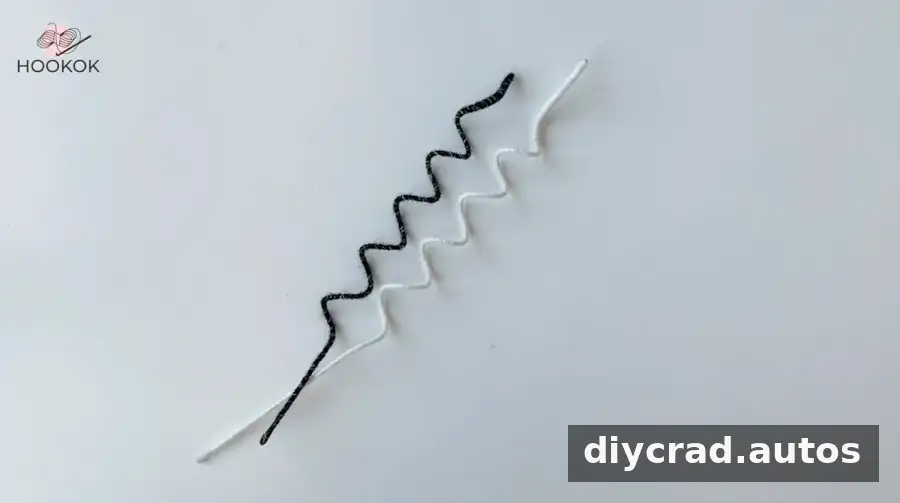
- Take a piece of wire and wrap yarn around it to the desired length. Secure the yarn tail with hot-melt glue.
- Wrap the wire around a wooden stick or pen in a spiral, then slide it off to create a curled shape.
Keep the curls similar in length if you want the bouquet to look balanced. Allow any glue to cool and set before assembling the pieces.
Assemble the Bouquet
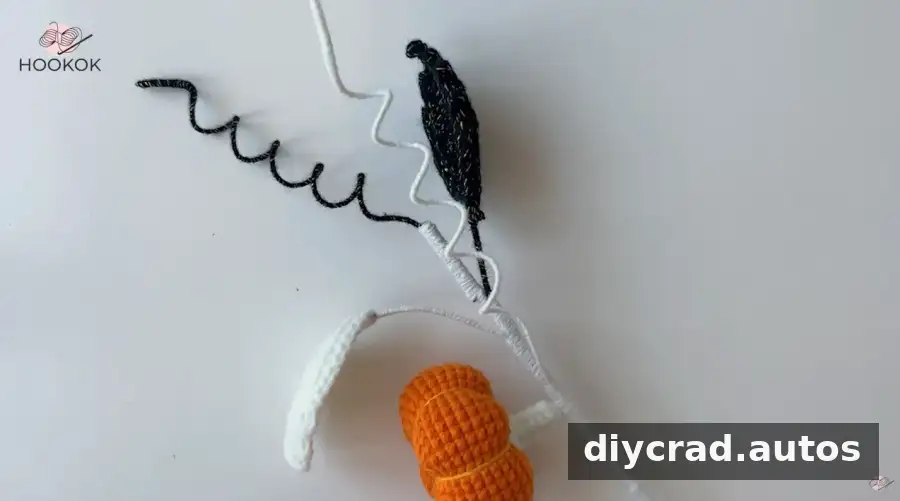
- Collect the flower rod, pumpkin, leaves, and wrapped wire elements.
- Wrap the flower rod with luminous white yarn.
- Add the leaves and pumpkin to the rod in turn, arranging them as desired.
- Fasten the yarn end with hot-melt glue so the pieces stay in place.
Check that each component is firmly attached before moving or displaying the bouquet. Use glue sparingly and keep it away from the visible yarn surface where possible.
The video can provide a visual reference for the finishing and assembly steps.
Finishing Tips
This Crochet Halloween Pumpkin Bouquet can be adjusted with yarn color choices while keeping the same pattern steps. A stitch marker helps prevent losing your place, and careful stuffing gives the pumpkin a more even shape. Take extra care when adding wire, wrapping the stem, and securing the finished bouquet.
Use the instructions in order: crochet the pumpkin, make and attach the stem, create both leaves, prepare the curled wire elements, and then assemble everything on the flower rod. These checks make it easier to spot loose ends or unsecured parts before the decoration is finished.