

This crochet ice cream applique pairs a textured brown cone with a white scoop and a tiny fruit topping. The free pattern includes instructions for both a strawberry and a cherry, so you can choose one or make both. It uses basic stitches, is written in US crochet terms, and is suitable for beginners. A step-by-step video tutorial is also available, and the project can be completed in about 30 minutes.
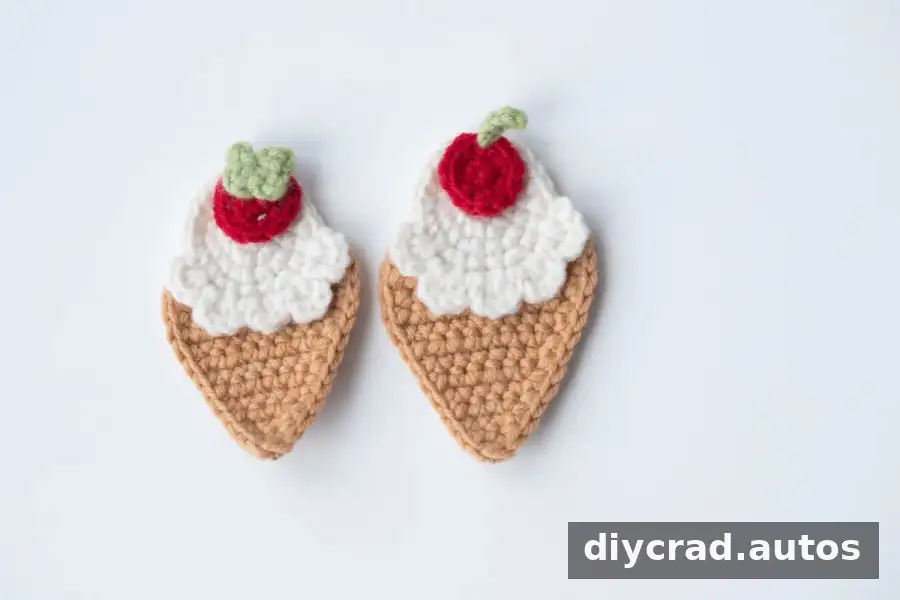
How to Use Your Crochet Ice Cream
Once assembled, the small crochet piece can be used as a hairpin or brooch, or attached to a bookmark. It can also decorate clothes, bags, hats, and other crochet projects. Before attaching it to an item, check that the finished piece is secure and that the chosen attachment method suits the material.
Crochet Ice Cream Pattern Notes
- The pattern uses US crochet terminology.
- A video tutorial is available for extra guidance.
- Choose either the strawberry or cherry topping; the pattern provides instructions for both.
- The cone, scoop, and topping are worked as separate pieces and joined at the end.
Use a stitch marker to keep track of your place, particularly when working into a magic ring. If you are new to the stitches, practise on a small swatch first and keep your tension consistent.
Materials for the Crochet Ice Cream
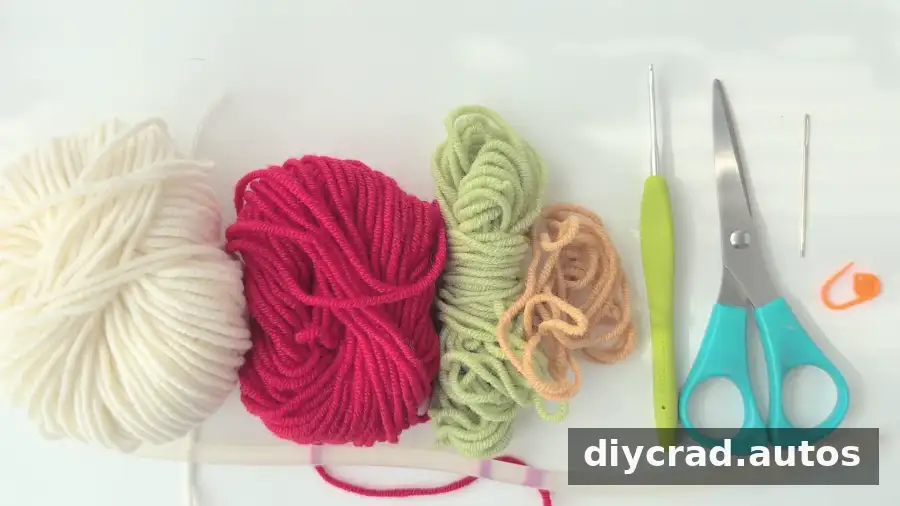
- Yarn in white, red, green, and brown
- 2.0 mm crochet hook
- Scissors
- Darning needle
- Stitch marker
- Hot-melt adhesive
Stitches and Abbreviations
- ss: slip stitch
- ch: chain stitch
- sc: single crochet
- hdc: half double crochet
- R: round or row, as indicated by the instructions
“In the next st” means to work into the following stitch. When an instruction says to repeat a sequence a set number of times, complete the full sequence for each repeat.
Step-by-Step Crochet Ice Cream Instructions
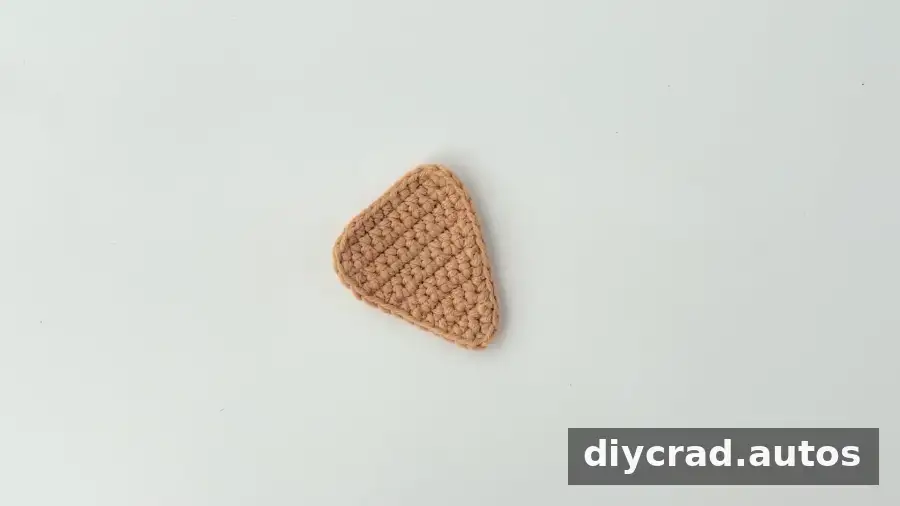
Make the Brown Cone
- R1: Ch 2. In the 2nd stitch from the hook, work 2 sc in one stitch.
- R2: Turn, ch 1, work 1 sc, then 2 sc in the next stitch.
- R3: Turn, ch 1, work 2 sc, then 2 sc in the next stitch.
- R4: Turn, ch 1, work 3 sc, then 2 sc in the next stitch.
- R5: Turn, ch 1, work 4 sc, then 2 sc in the next stitch.
- R6: Turn, ch 1, work 5 sc, then 2 sc in the next stitch.
- R7: Turn, ch 1, work 6 sc, then 2 sc in the next stitch.
- R8: Turn, ch 1, work 7 sc, then 2 sc in the next stitch.
- R9: Turn, ch 1, work 8 sc, then 2 sc in the next stitch.
- R10–12: Turn, ch 1, work 10 sc, then ch 1.
- Finish by working sc around the piece.
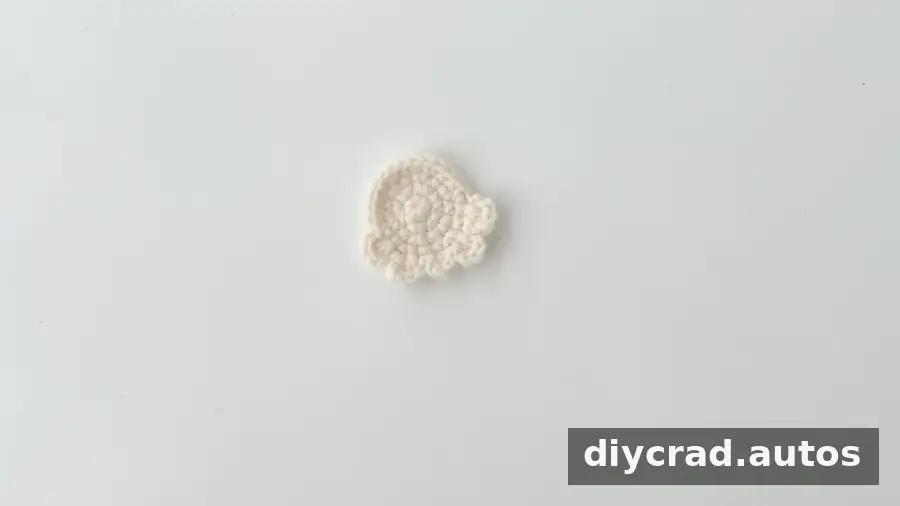
Make the White Ice Cream Scoop
- Begin with a magic ring.
- R1: Work 6 sc into the ring. Tighten the loop, then work 1 ss and ch 1.
- R2: Work 2 sc in the next stitch, 6 times; work 1 ss and ch 1.
- R3: Repeat (1 sc, 2 sc in the next stitch) 6 times; work 1 ss and ch 1.
- R4: Repeat (1 sc, 2 sc in the next stitch, 1 sc) 6 times.
- R5: Repeat [1 ss, then in the same stitch work ch 1, 3 hdc, ch 1, followed by 1 ss in the next stitch] 5 times. Finish with ch 1.
Make the Strawberry
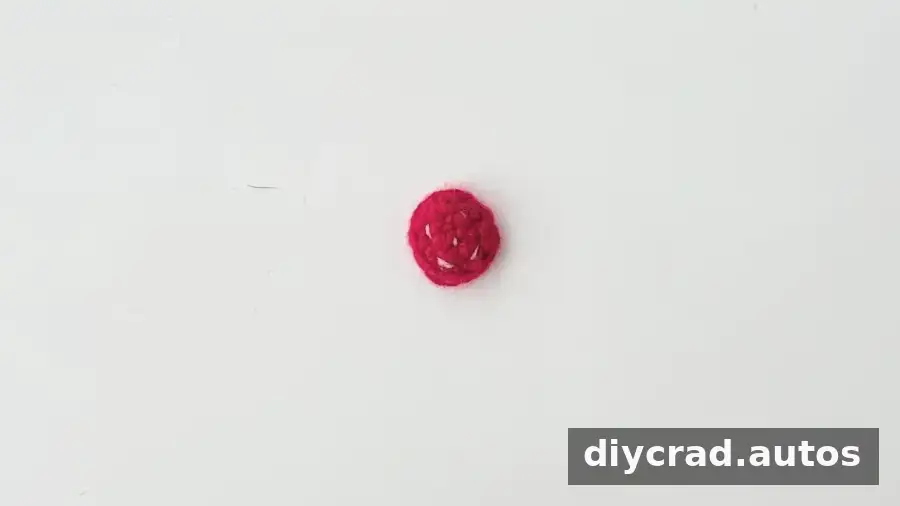
- R1: Ch 4. Starting in the 2nd stitch from the hook, work 2 sc, 3 sc in the same stitch, 1 sc, then 2 sc in the next stitch.
- R2: Work 1 ss, 2 sc in the next stitch, 6 sc, then 2 sc in the next stitch.
- Use a strand of thin white yarn to sew on the strawberry seeds.
Make the Strawberry Leaf
Begin with a magic ring. Into the ring, repeat (ch 1, 1 hdc, ch 1, 1 ss) 4 times.
Make the Cherry
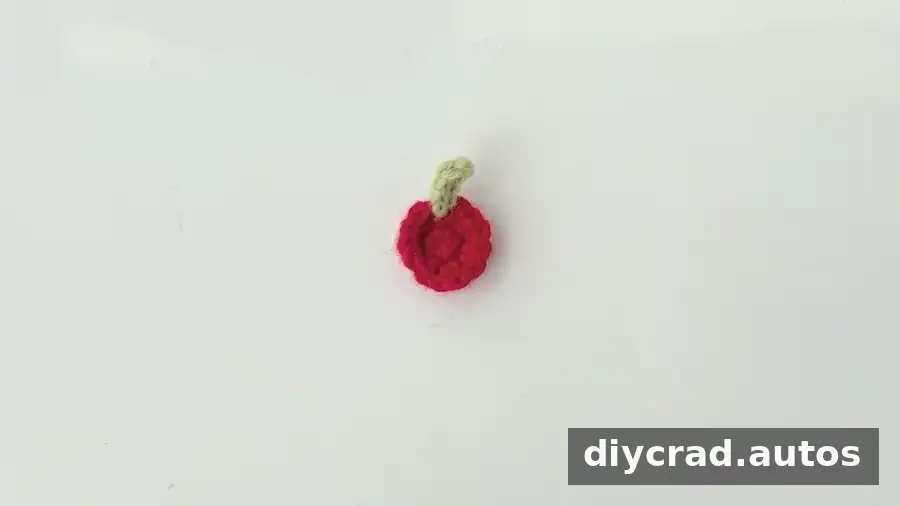
- Begin with a magic ring.
- R1: Work 6 sc, then 1 ss and ch 1.
- R2: Work 2 sc in the next stitch, 6 times.
Make the Cherry Stalk
Join green yarn to any stitch in the cherry and ch 4. Starting in the 2nd chain from the hook, work 4 ss.
Assemble the Crochet Ice Cream
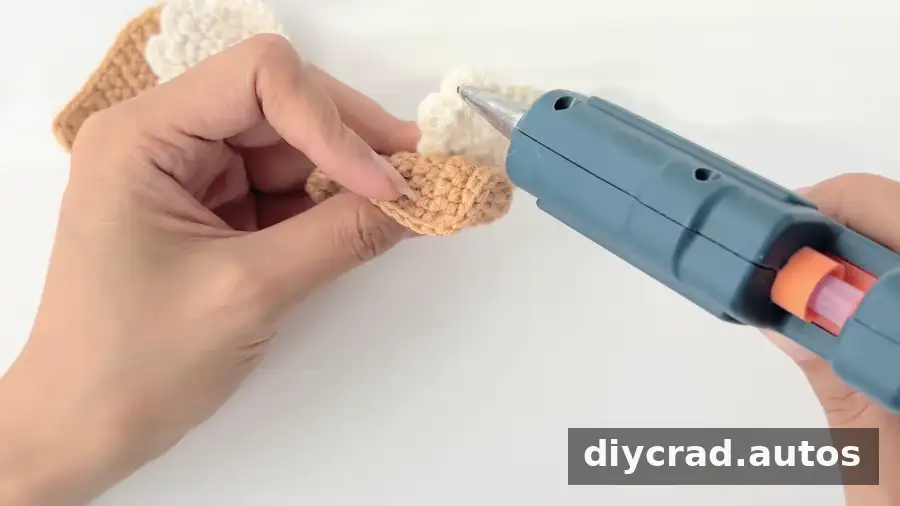
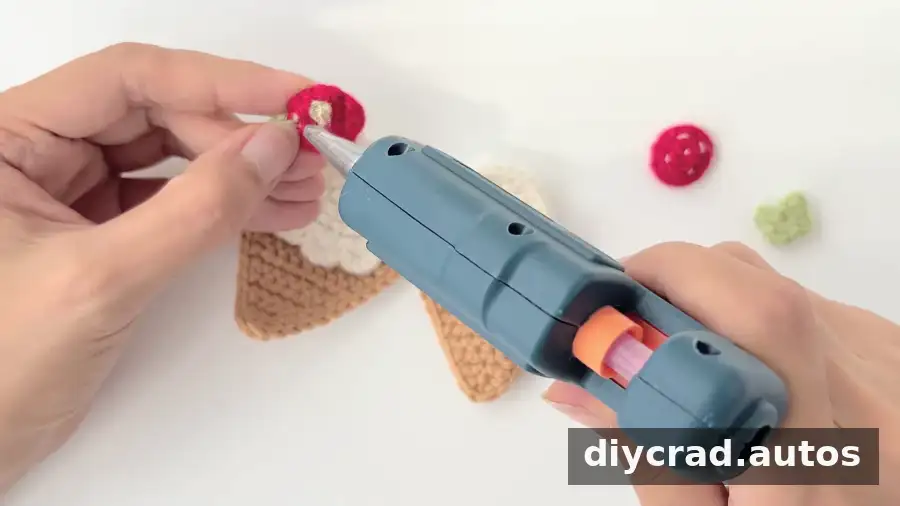
Arrange the scoop on the cone and place your chosen fruit topping on the scoop. Use hot-melt adhesive to attach the pieces. Follow the adhesive product’s safety directions, keep it away from children while hot, and allow the assembled applique to cool fully before handling or attaching it to another item.
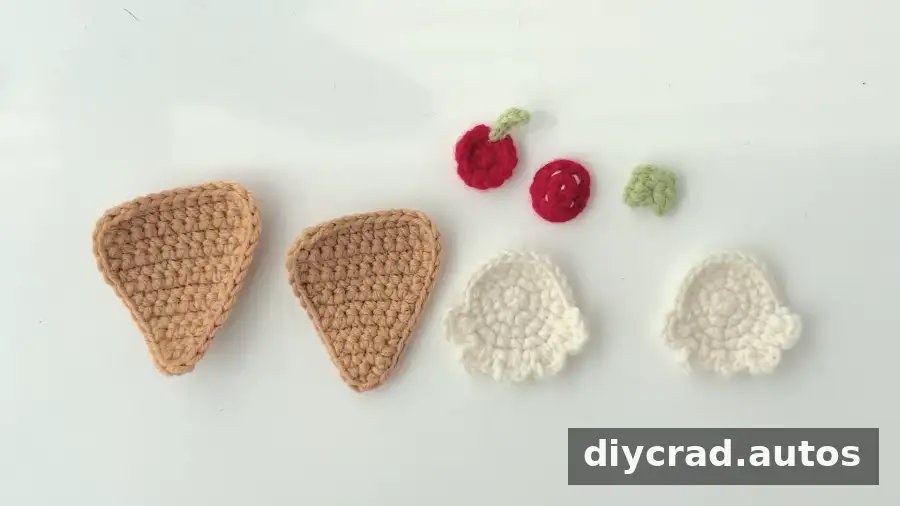
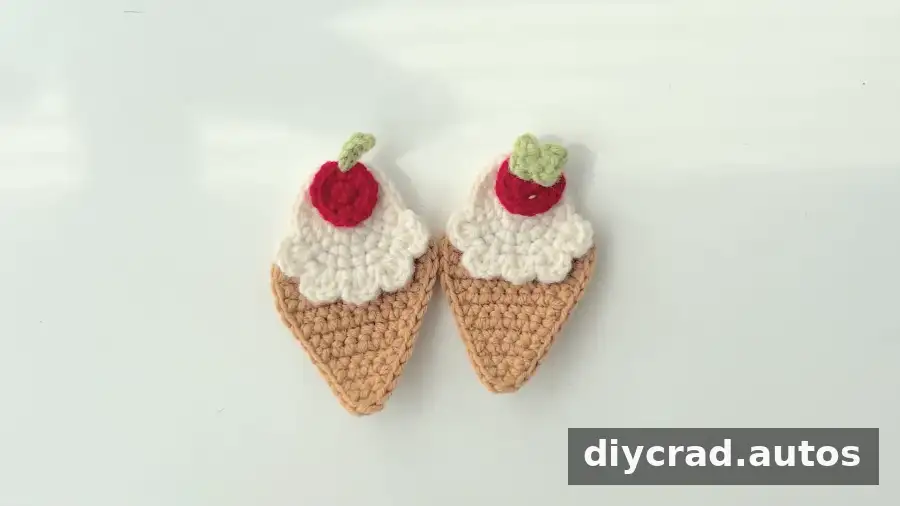
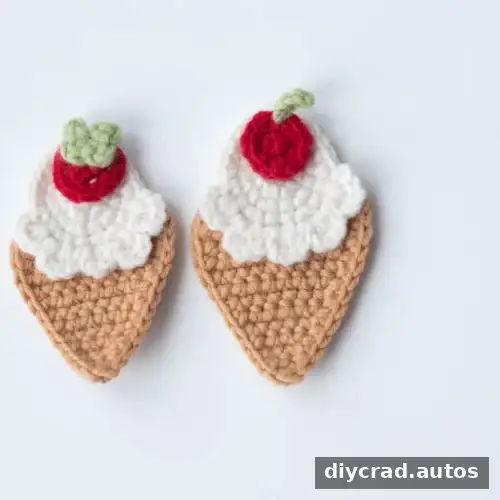
Make a second version with the other topping, or change the yarn colors to create a different flavor effect. Keep the stitch pattern the same when changing colors so the shape remains consistent. For a neat finish, weave in any loose yarn ends with the darning needle before assembly.
More Tips for This Crochet Ice Cream Pattern
This small project works well as a decorative applique and can be adapted to suit different craft projects. Check the finished size against the item you plan to decorate before attaching it. If making a hair accessory or brooch, use an attachment that is appropriate for the intended use and make sure all parts are firmly secured.
The crochet ice cream pattern offers a simple way to practise chains, single crochet, half double crochet, slip stitches, and increases. Follow the written steps in order, refer to the video tutorial if you need to see a stitch demonstrated, and choose the strawberry or cherry finish that best suits your project.

