

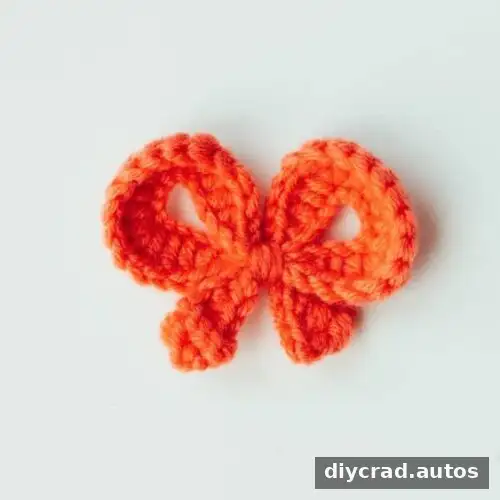
This crochet ribbon bowknot is a small decorative project shaped like a ribbon bow, with curved sections that resemble butterfly wings. The beginner-friendly pattern uses basic crochet stitches and red yarn, and can be completed in about 15 minutes, depending on your pace. A video tutorial is also available to help you follow the steps.
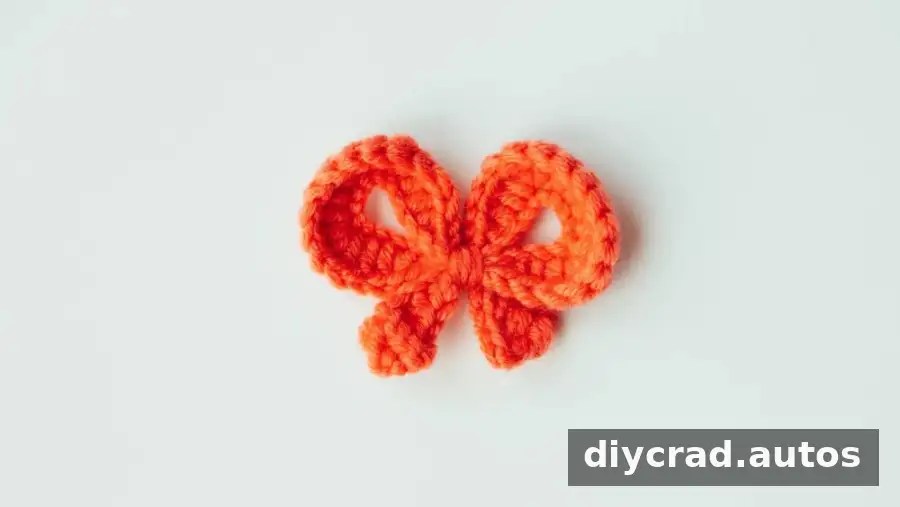
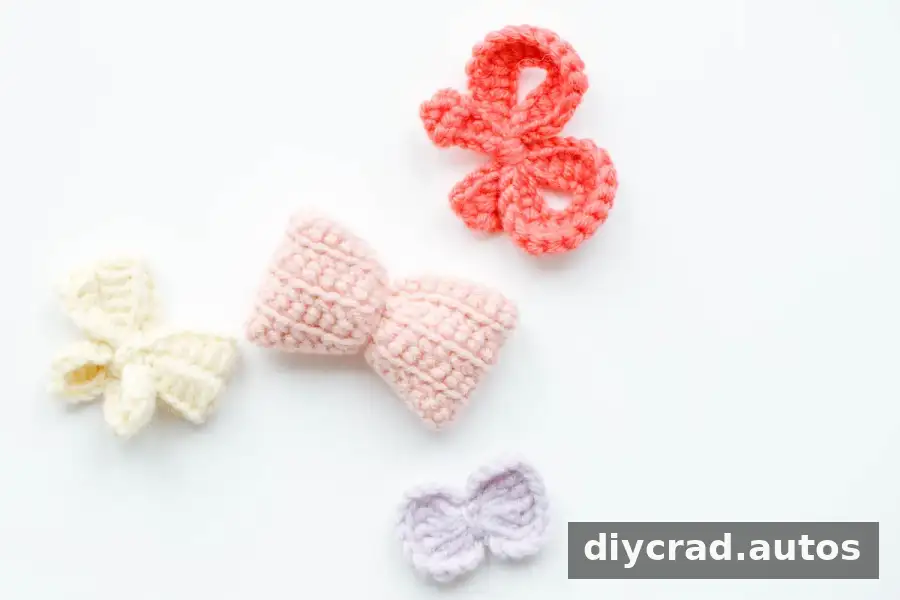
Use the finished bow as a hair accessory, brooch, bookmark decoration, or embellishment for a hat, bag, or garment. You can make it in a different yarn color to coordinate with your project. If you are choosing a yarn for a small accessory, a smooth yarn can make the stitches easier to see while you work.
Crochet Ribbon Bowknot Pattern at a Glance
- Skill level: Easy
- Project type: Flat crochet
- Terminology: US crochet terms
- Hook: 2.0 mm
- Estimated time: About 15 minutes
The pattern is written using US stitch names. Check the stitch key below before you begin, especially if you usually follow patterns written in UK terms, where some stitch names differ.
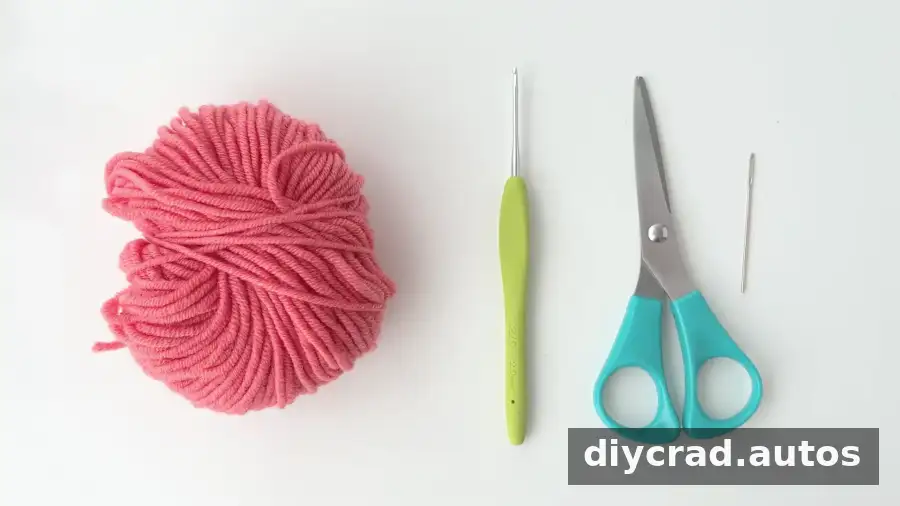
Materials for the Crochet Ribbon Bowknot
- Red yarn
- 2.0 mm crochet hook
- Scissors
- Darning needle
Keep the scissors and darning needle nearby for finishing. The pattern uses a separate section of yarn to tie the crochet piece into a bow, so leave enough yarn available for that final step.
Stitches and Abbreviations
- ss: slip stitch
- ch: chain stitch
- sc: single crochet
- hdc: half double crochet
- dc: double crochet
- tr: treble crochet
Read each stitch abbreviation carefully as you work. The changes in stitch height help create the bow’s shaped edges, while the stitches worked together in one stitch form the fuller sections.
How to Crochet the Ribbon Bowknot
Begin with a foundation chain of 45 stitches. The following sequence starts in the fourth stitch from the hook. Work the stitches in the order listed, keeping track of the groups so the shape stays balanced.
- Make 45 ch.
- Starting from the fourth stitch from the hook, work: 1 tr, 2 hdc, 1 sc, 2 ss, 1 sc, 1 hdc, 2 dc, 3 dc in the same st, 4 dc, 3 dc in the same st, 2 dc, 1 hdc, 1 sc, 2 ss, 1 sc, 1 hdc, 2 dc, 3 dc in the same st, 4 dc, 3 dc in the same st, 2 dc, 1 hdc, 1 sc, 2 ss, 1 sc, 1 hdc, 1 dc, 1 tr, 1 ch.
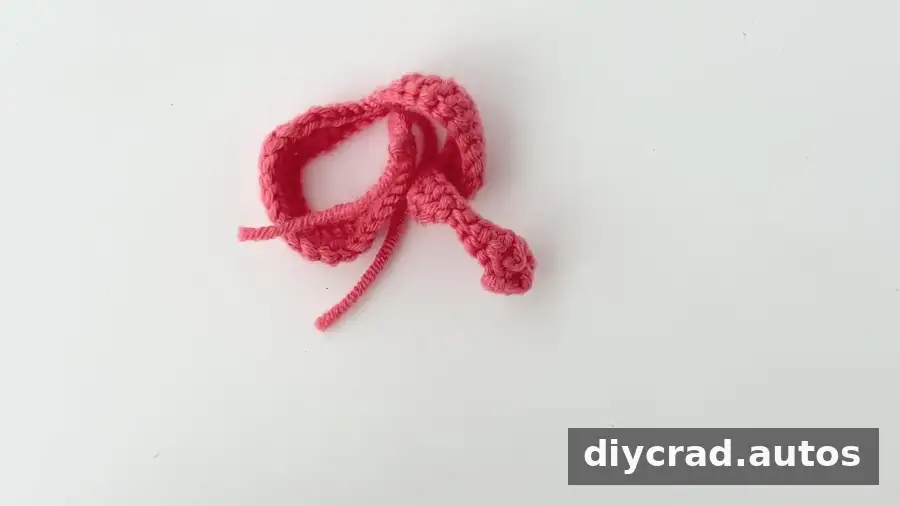
- Use another section of yarn to tie the crocheted piece into a bow.
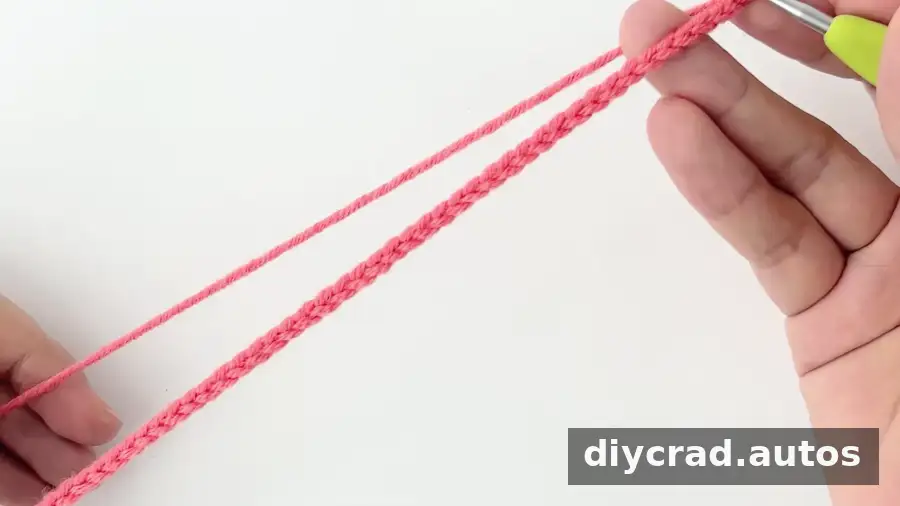
As you crochet, check that you are working into the intended stitches and placing each group of three double crochets in the same stitch as instructed. If you are new to these stitches, the video can provide a visual guide to the sequence and shaping.
Finishing and Ways to Use Your Bow
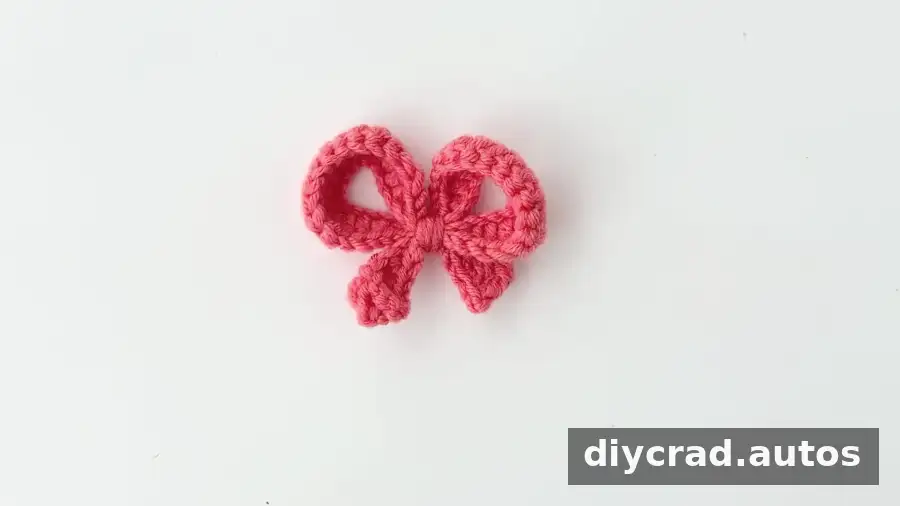
After completing the stitch sequence, gently arrange the two sides and tie the center with a separate piece of yarn to form the bow. Use the darning needle to secure or neatly weave in any loose ends. Avoid pulling the center tie so tightly that the bow loses its shape.
The finished crochet ribbon bowknot can be attached to a hairpin or brooch, used as a decorative detail on a bookmark, or added to other crochet projects such as clothes, bags, and hats. Before attaching it to an item, position the bow where you want it and check that it sits evenly.
Helpful Tips for This Crochet Ribbon Bowknot
- Use the stated 2.0 mm hook and yarn to follow the pattern as written.
- Count the foundation chain before beginning the stitch sequence: it should contain 45 chains.
- Refer to the US stitch abbreviations above if you are unsure which stitch comes next.
- Try a different yarn color when making bows for different decorations or projects.
- Use the video tutorial for additional visual guidance while working through the pattern.
Conclusion
This crochet ribbon bowknot is a quick, beginner-friendly project that turns a short stitch sequence into a useful handmade embellishment. With red yarn, a 2.0 mm hook, and the instructions above, you can make a bow for a hair accessory, brooch, bookmark, or other decoration. Keep the stitch count and US terminology in mind, and use the video tutorial if you would like extra guidance as you make your crochet ribbon bowknot.

