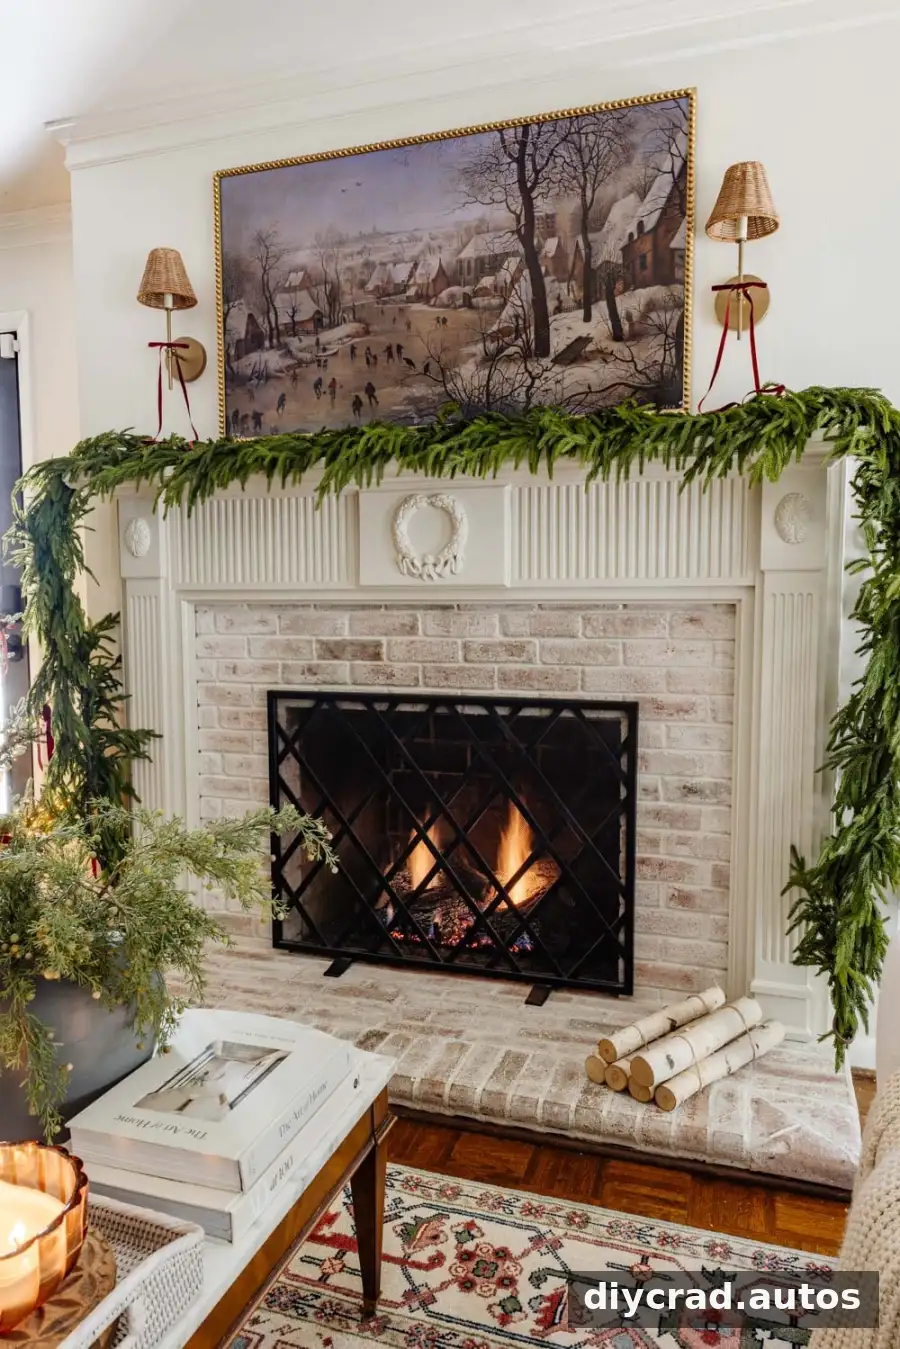
A DIY fireplace molding makeover can give a simple mantel more traditional character and help it suit the architecture of your home. This project updates a plain mantel with fluted pilasters, a detailed header, and decorative onlays. The work took two days, and the listed supplies cost $393, not including power tools.
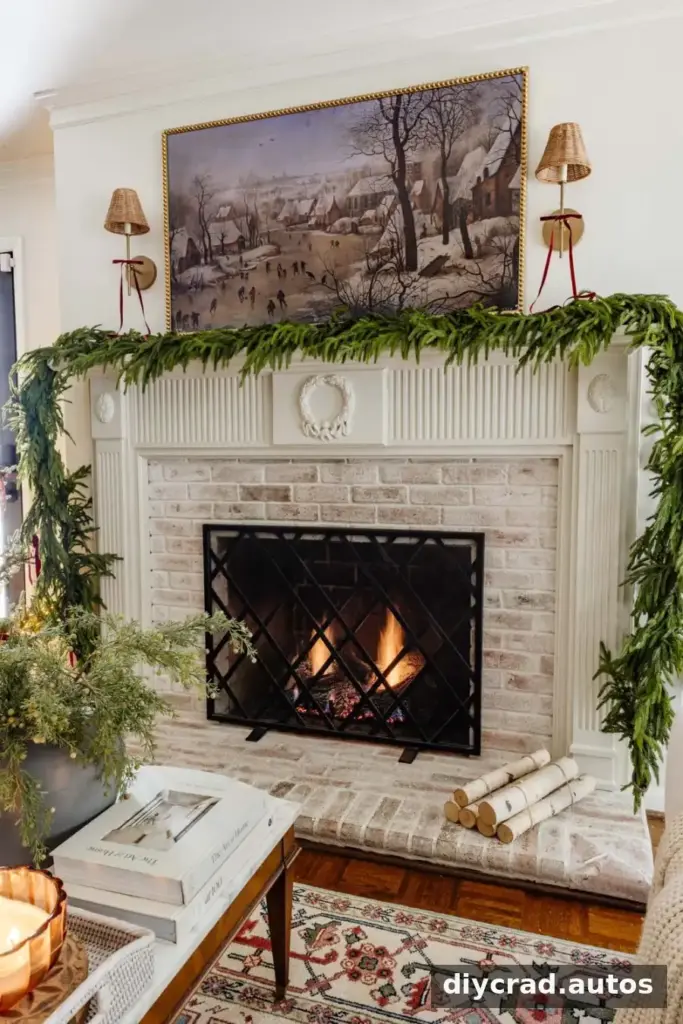
The existing mantel was structurally usable but needed repainting. Adding molding at the same time created a more finished look without replacing the mantel. Before starting, measure each section carefully and check that the added details will not interfere with the fireplace opening or nearby surfaces.
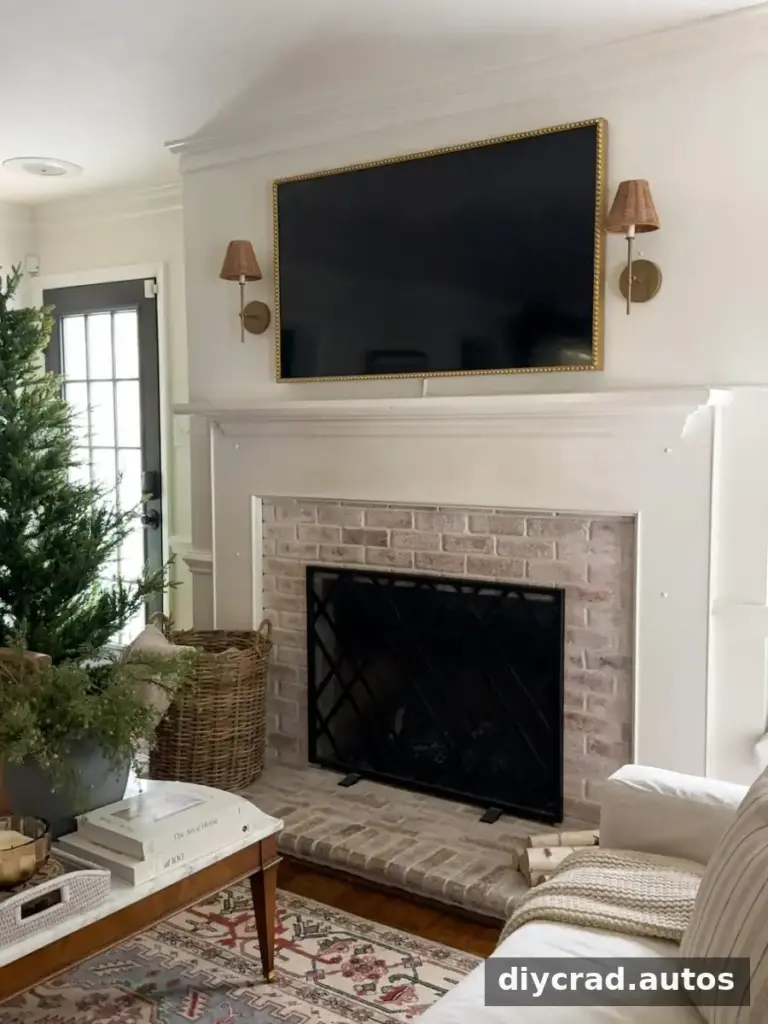
How to Add Traditional Molding to a Mantel
With materials prepared and cuts planned, this makeover can be completed over a weekend. The project is adaptable to different tool budgets: a compound miter saw is the quickest option, but a miter box and hand saw can also make the required cuts.
The supplies cost $393 in total, excluding power tools. Costs can vary by location and material availability, so measure your own mantel and make a cut list before purchasing. That helps reduce waste and avoids buying more molding than the project requires.
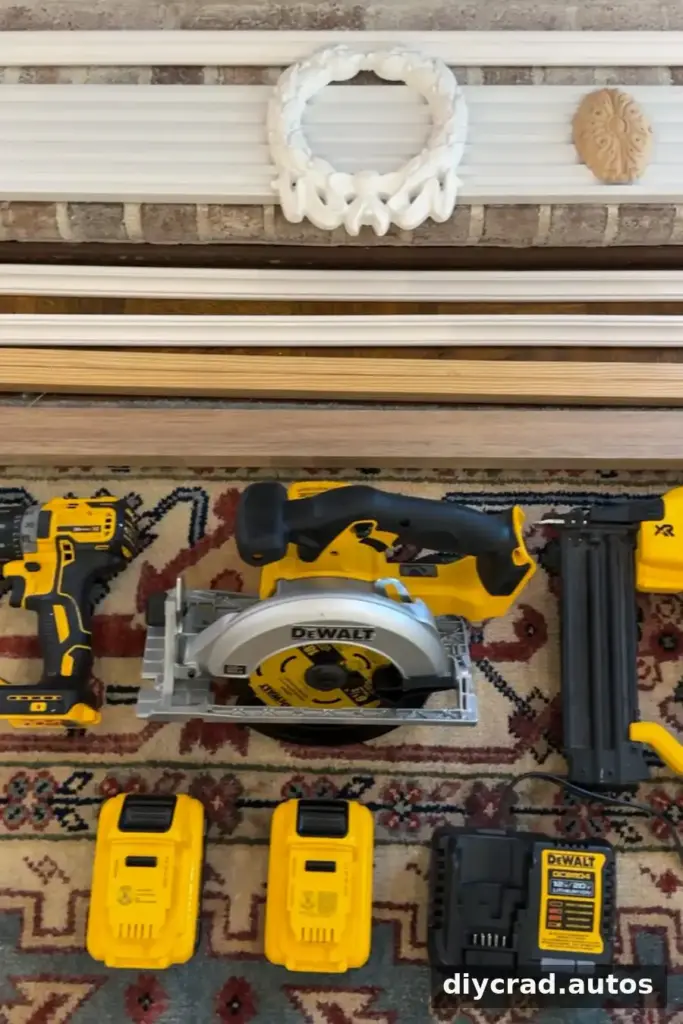
Materials
- Two fluted PVC pilaster moldings, 2 in. x 6 in. x 72 in.
- Two pieces of MDF fluted casing, 3/4 in. x 5-1/4 in. x 8 ft.
- Four pieces of primed traditional hardwood panel molding, 1 in. deep x 1 in. wide x 48 in. long
- 16 linear feet of solid pine S4S molding, 1/2 in. x 3/4 in.
- One decorative wreath onlay, 8 3/4 in. x 7 3/4 in. x 3/4 in.
- Two oval rosettes, 5/8 in. x 3 in. x 4-1/4 in.
- One piece of edge-glued hardwood, 1 in. x 12 in. x 16 in.
- Heavy-duty construction adhesive
- Latex caulk and wood filler
- Bonding primer and cabinet-and-trim enamel in Even Better Beige
- Fine-grit sandpaper, tape measure, level, and pry bar
Tools and lower-cost alternatives
- Power drill/driver
- 23-gauge pin nailer
- Compound miter saw
- Compact router kit (optional; it can add detail to the center block)
A miter box and hand saw are the lowest-cost option, although cutting takes longer. A circular saw can handle straight cuts, while angled cuts still require a miter box and hand saw. A compound miter saw is the fastest option for repeated precise angles. Renting a saw may be an alternative to buying one.
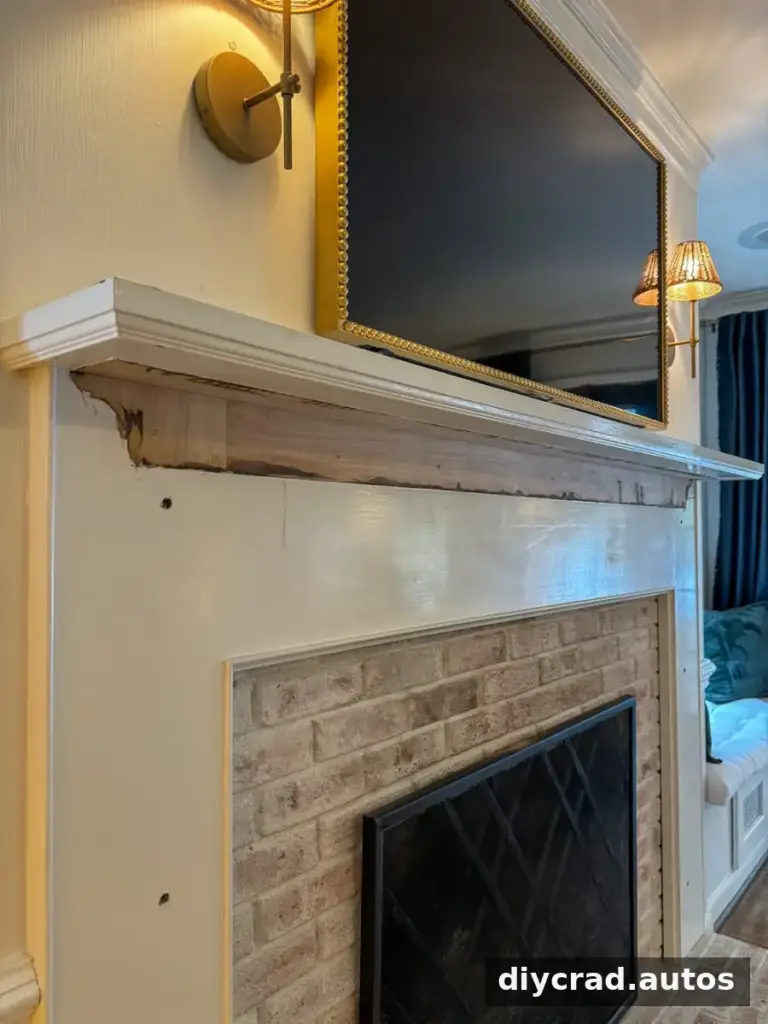
First, use a pry bar to remove the existing molding below the mantel shelf. Work carefully to avoid damaging the mantel or surrounding wall, and clear loose debris before measuring the new pieces.
DIY Fireplace Molding: Add Pilasters to the Mantel Legs
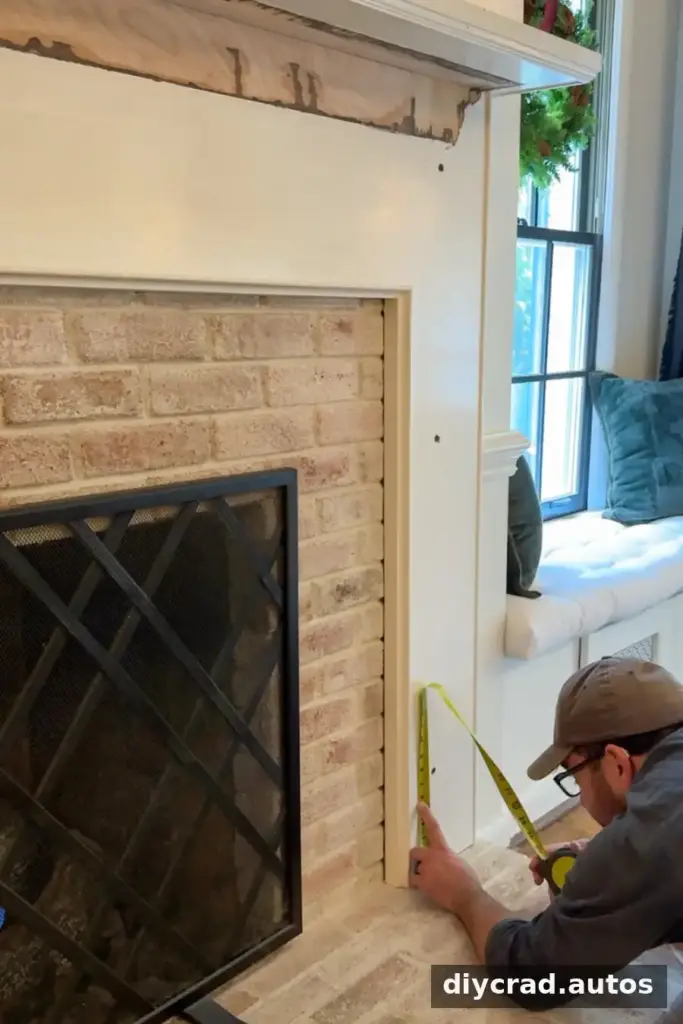
- Measure each mantel leg from the hearth to the underside of the shelf. Check both sides separately, since the measurements may differ.
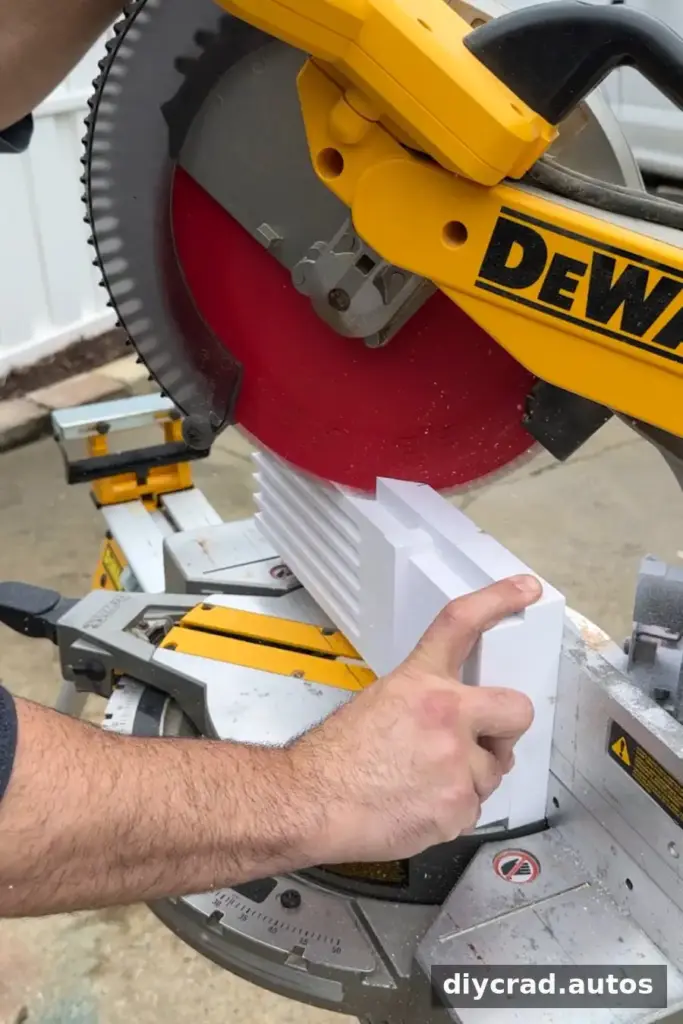
2. Cut the pilaster molding to fit the leg, dividing it into upper and lower sections. The original method uses an angled cut near the middle with a miter saw. Test the fit before fastening the pieces.
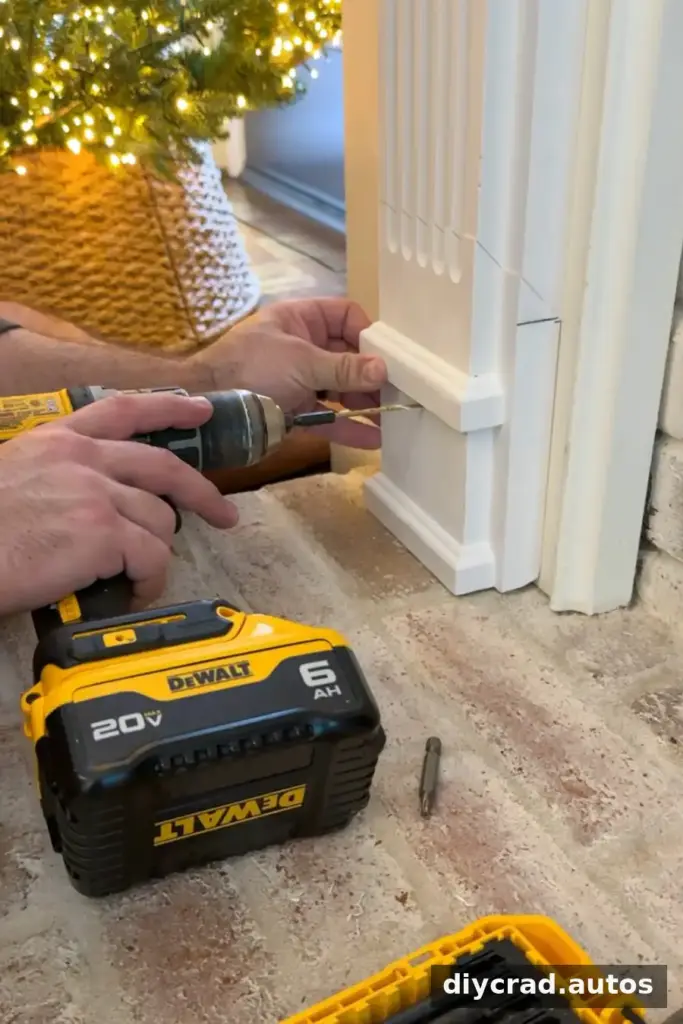
3. Position the upper pilaster section. Pre-drill at the plinth area, then secure the molding to the facing leg with screws. Pre-drilling helps reduce the chance of splitting the material.
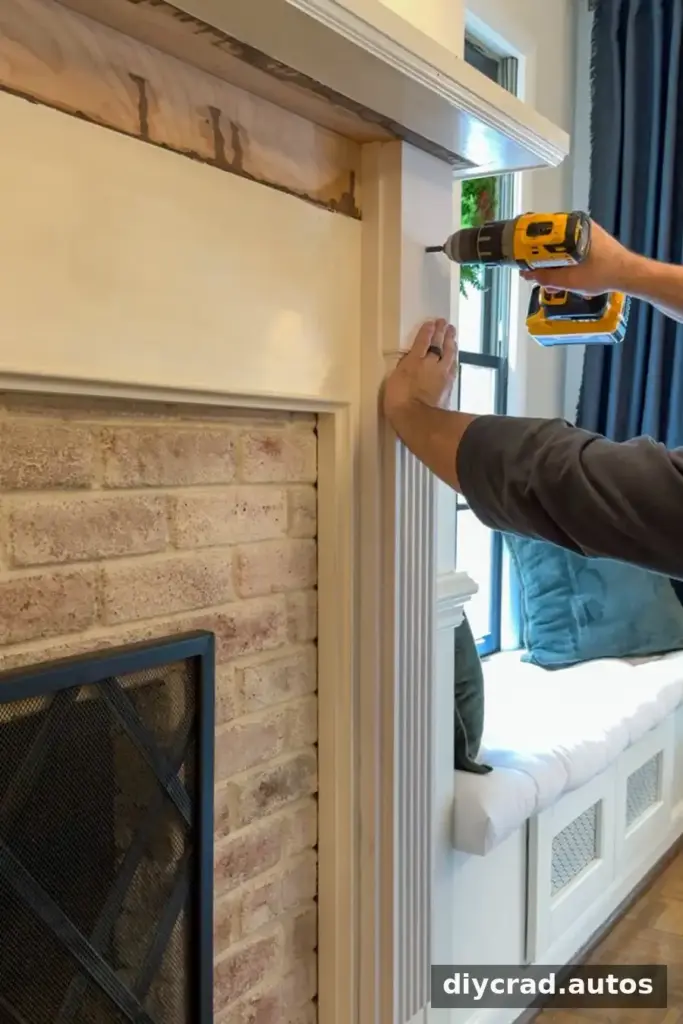
4. Attach the lower pilaster section in the same way.
5. Repeat the measuring, cutting, and installation steps on the other mantel leg.
Build a Fluted Mantel Header
- Measure the width of the header opening between the two mantel legs. Measure at the intended installation point to account for any variation.
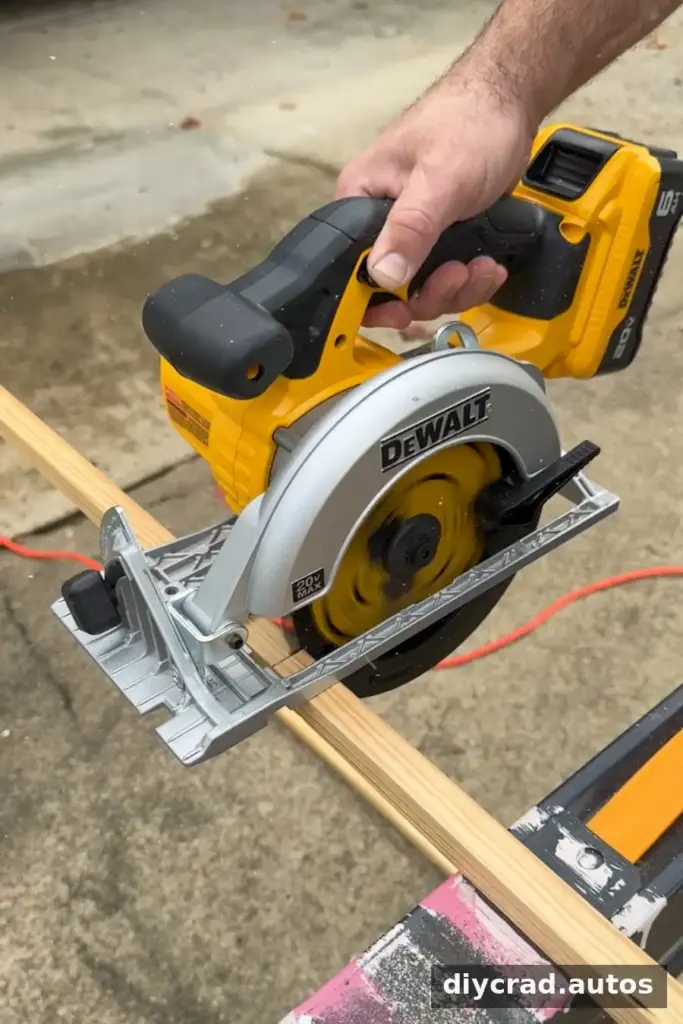
2. Cut two pieces of square molding to the measured width. These will form the top and bottom edges of the header frame.
3. Use a level to mark guide lines between the mantel legs. Position the top square molding 1 inch below the shelf.
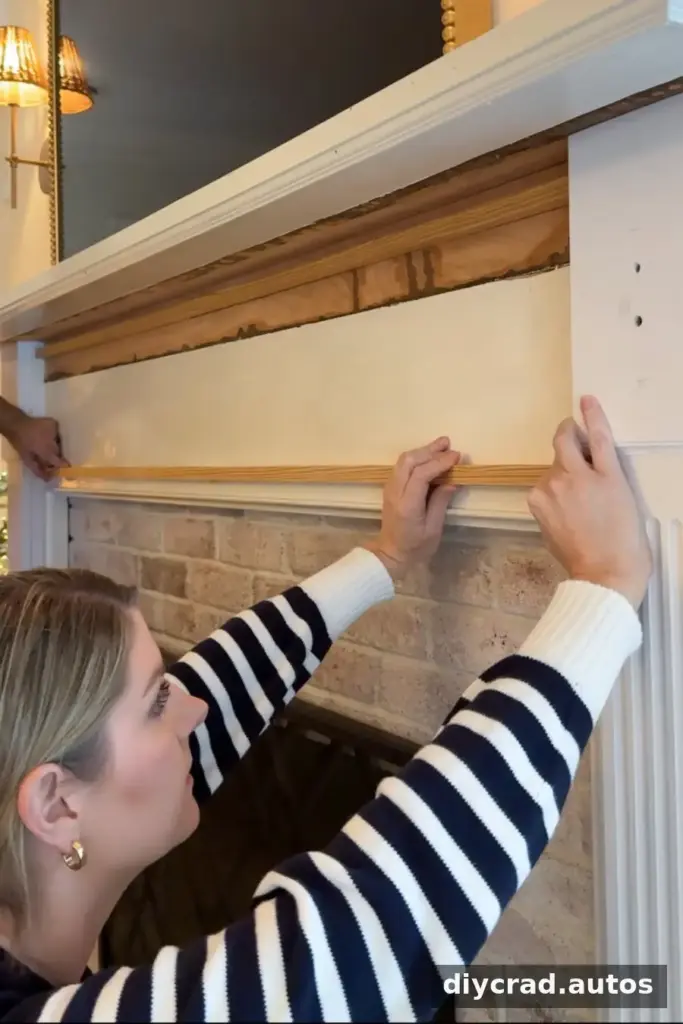
4. Use a pin nailer to attach the square molding along the upper and lower guide lines.
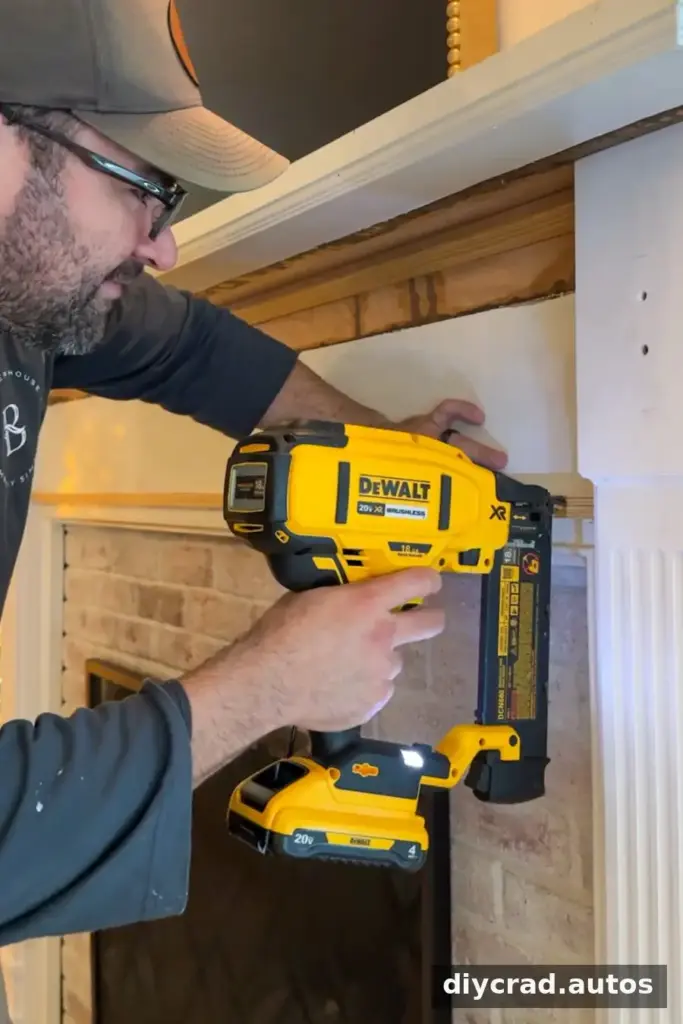
5. Measure the distance between the two installed pieces. Cut two additional square molding pieces to that length for the sides of the frame.
6. Cut several pieces of fluted casing to the same length as the side pieces. Trim the casing edges as needed so the fluted pattern appears continuous when the pieces sit together.
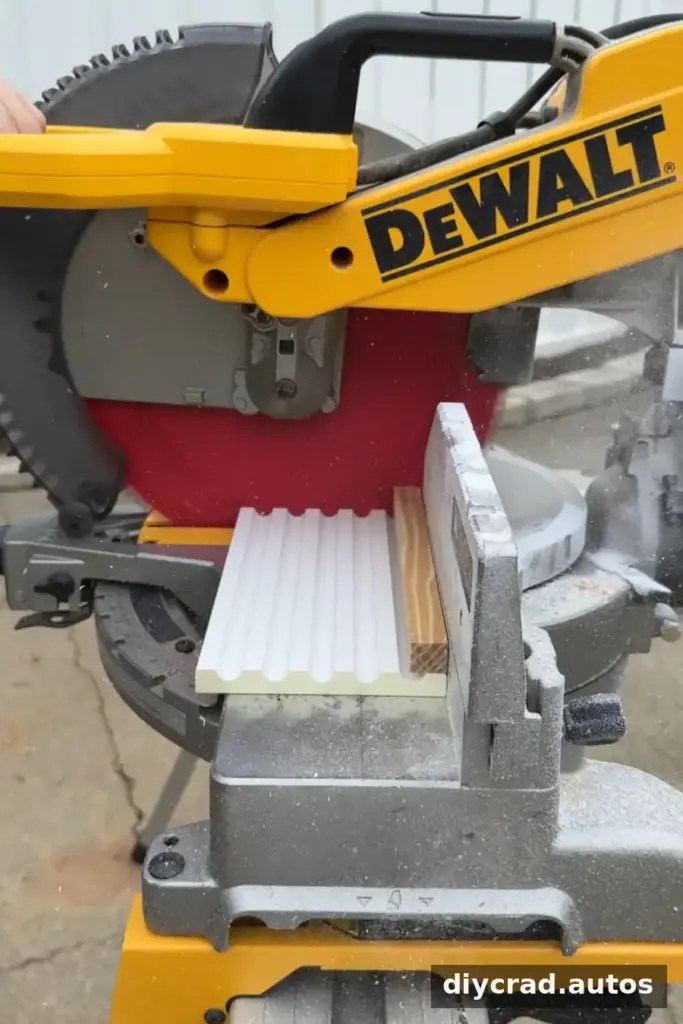
7. Attach the side pieces to create a rectangular molding frame, then fit and fasten the fluted casing inside it. Check the alignment as you work so the pattern remains even across the header.
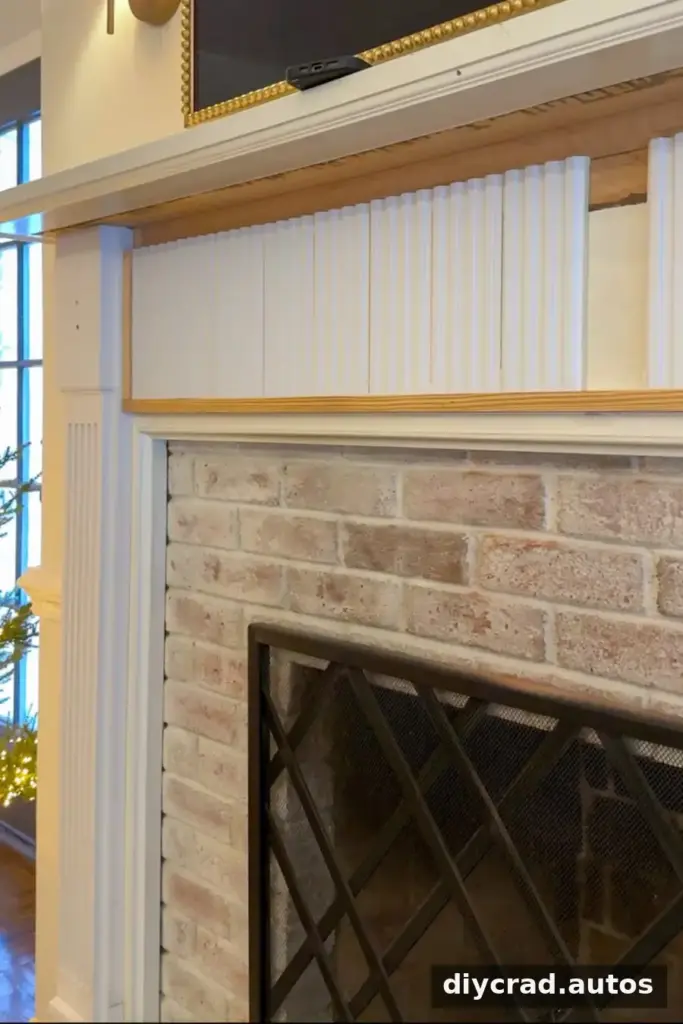
8. Add the 1-inch traditional panel molding beneath the shelf and around the plinth blocks. Use a miter saw or a miter box and hand saw for angled joints. Small gaps can be filled with caulk before painting.
Attach Decorative Onlays and Finish the Mantel
1. Find and mark the center of each plinth block on the pilaster molding. Centering the decorative pieces helps the two sides look balanced.
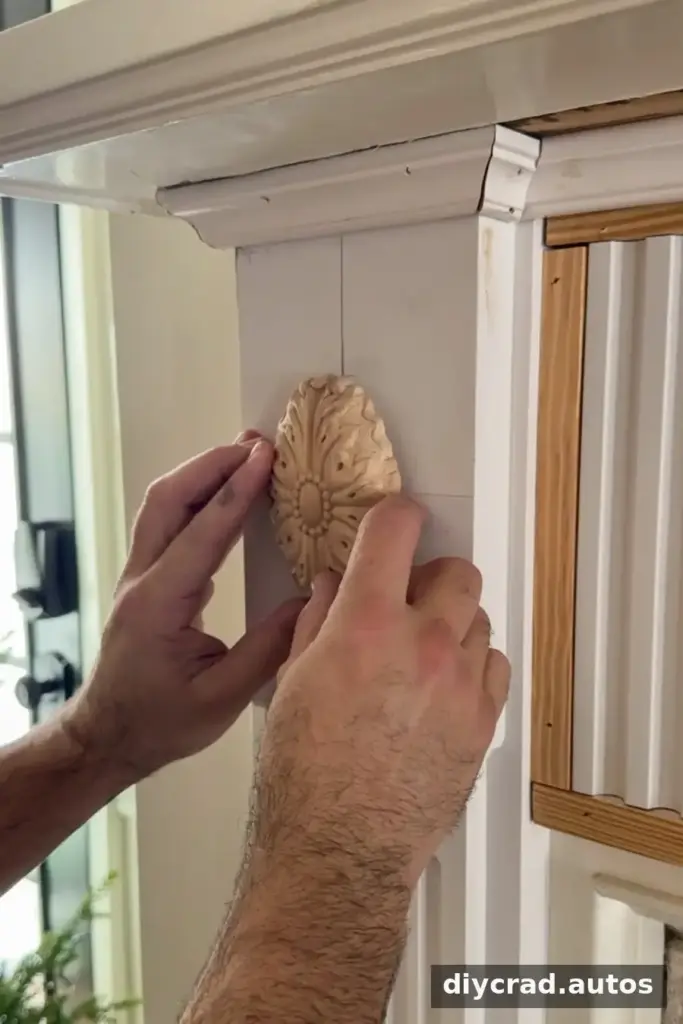
2. Attach the oval rosettes to the centers of the plinth blocks with heavy-duty construction adhesive. Follow the adhesive instructions and allow it to dry before continuing.
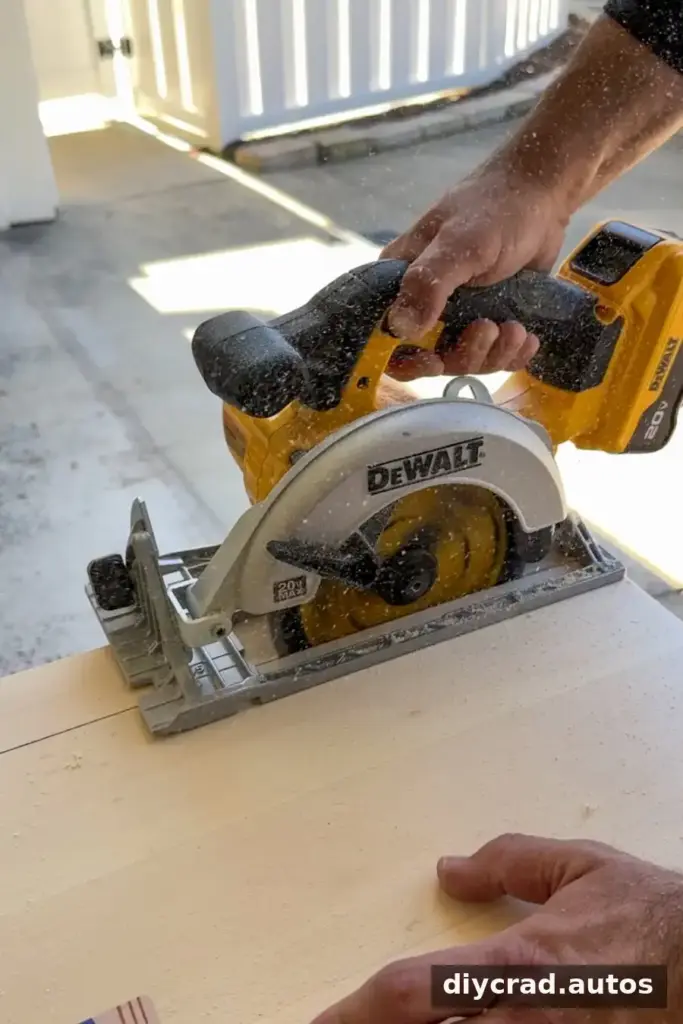
3. Cut the edge-glued hardwood to make a center block that fits over the fluted header.
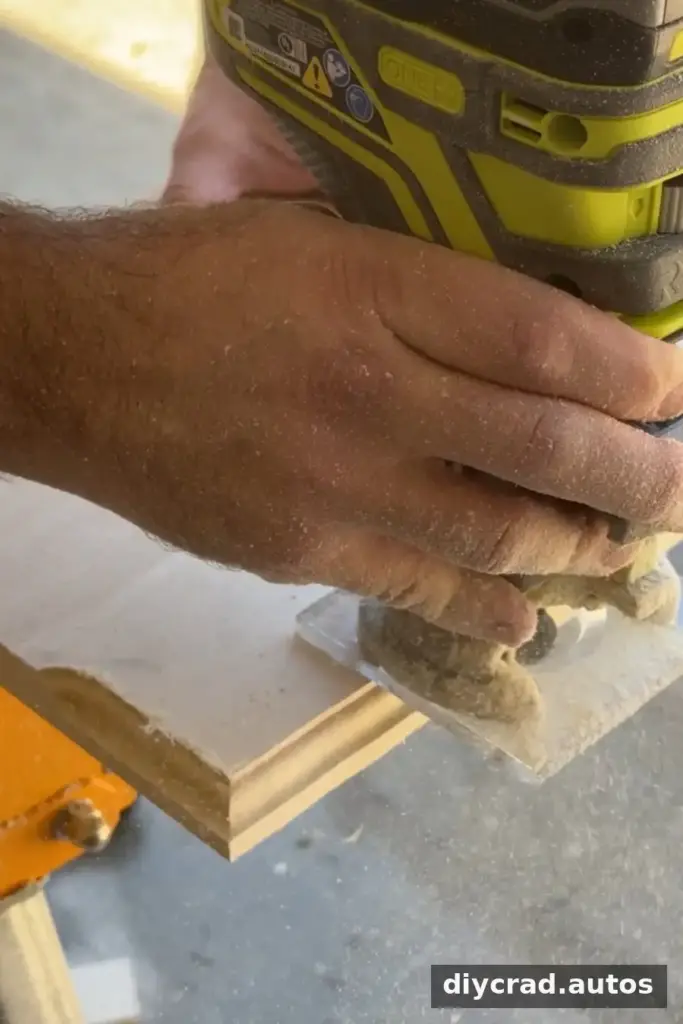
4. The block can keep its straight edges, or you can route them for a more traditional profile. If using a router, follow the tool’s safety instructions and secure the workpiece firmly.
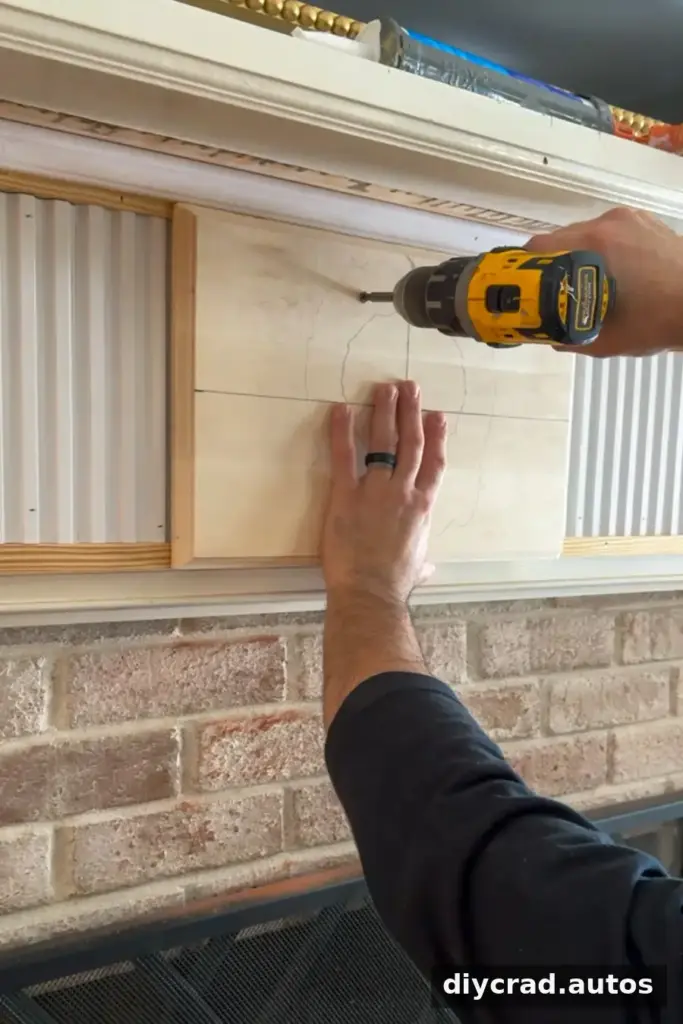
5. Pre-drill the center block, then fasten it to the middle of the header with wood screws.
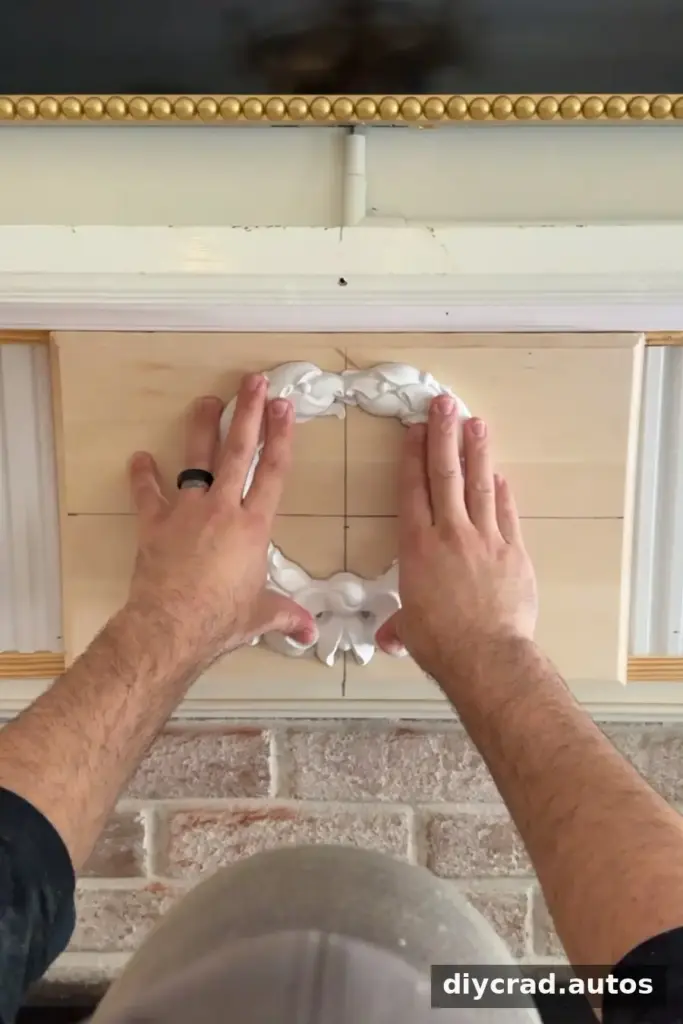
6. Attach the wreath onlay to the center block with construction adhesive.
7. Once the adhesive has dried, caulk the edges and fill pin and screw holes with wood filler.
8. After the filler dries, sand the repaired areas smooth. Remove sanding dust before priming.
9. Apply bonding primer, then paint with cabinet-and-trim enamel. Follow the product label for surface preparation and drying times; adequate ventilation is important while painting.
Finished Traditional Fireplace Molding
The added pilasters, fluted header, and decorative details give the mantel a more formal appearance while retaining its original structure. A soft beige finish can distinguish the molding subtly from white walls without making it overpower the room.
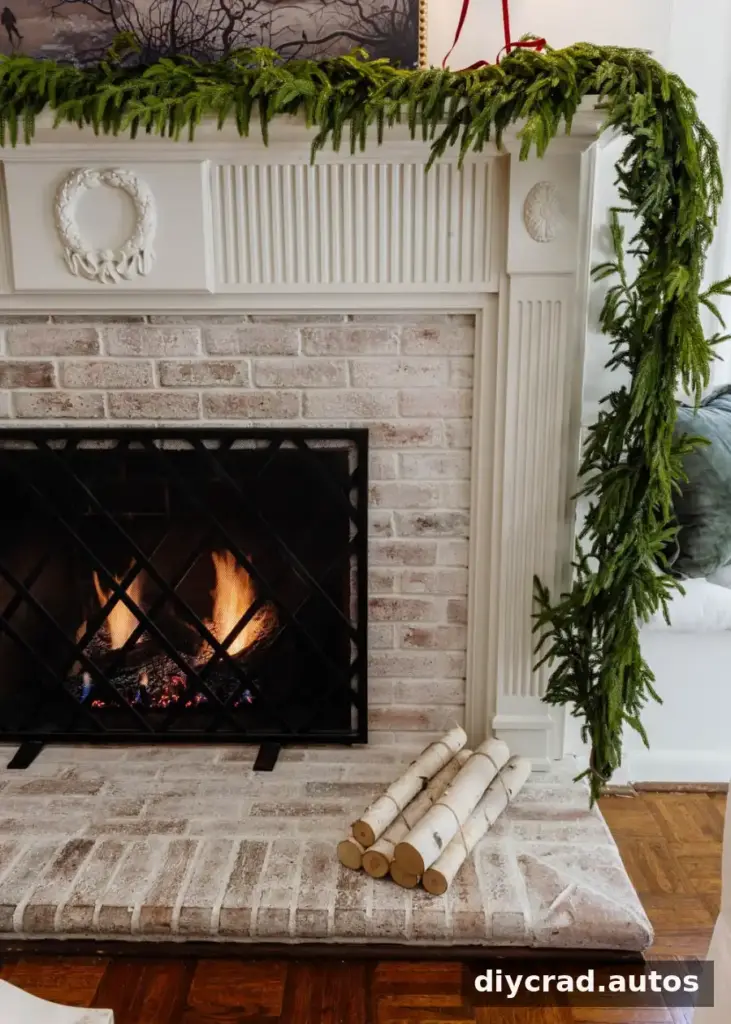
Once the paint is fully dry, the mantel can be styled with seasonal greenery or other decor. Keep decorations, garlands, and other combustible items at a safe distance from the firebox and follow the fireplace manufacturer’s clearance guidance.

A fireplace screen can also be updated, but any coating used on or near it must be appropriate for the temperatures it may encounter. Check the product’s heat rating and instructions before applying paint or other finishes.
Conclusion
This DIY fireplace molding project combines straightforward trim work with decorative accents to create a traditional mantel update. Careful measuring, a suitable cutting method, and time for adhesive and paint to dry are key to a neat result. Adapt the details to your mantel, and use the same planning steps to make your DIY fireplace molding installation safer and more consistent.