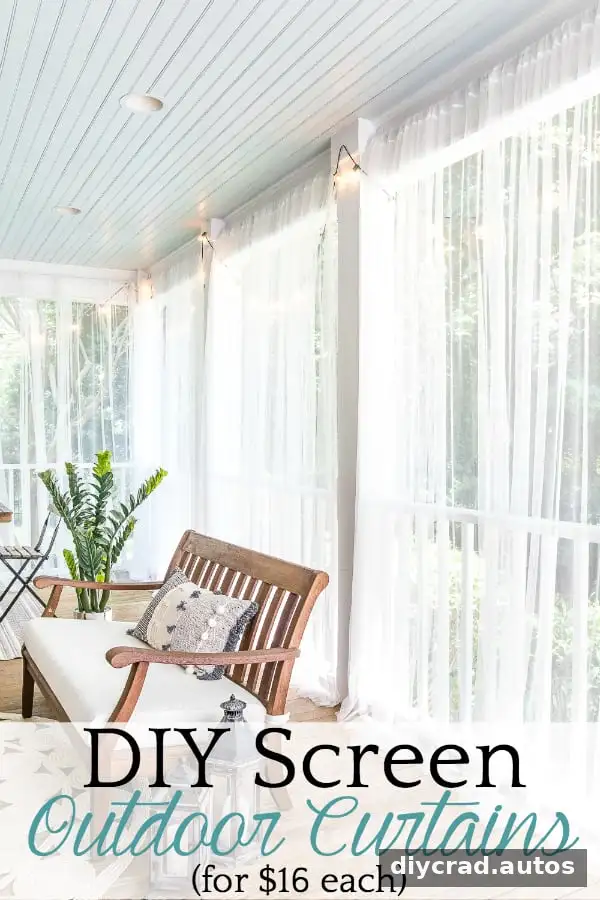
DIY outdoor curtains offer a simple way to make a porch more comfortable during bug season without installing permanent screens. Lightweight mosquito-net panels can be opened when you want an unobstructed view and drawn closed when insects become a problem. This project cost less than $100 for six panels, rods, hooks, and fabric water-repellent spray.
The approach may suit porches where a fully enclosed screen structure feels too expensive or would make the space feel less connected to the backyard. Keep in mind that curtain panels are not a sealed enclosure, so small gaps can remain around the edges.
The porch had already been refreshed with limewashed brick and painted doors before the curtain project began.
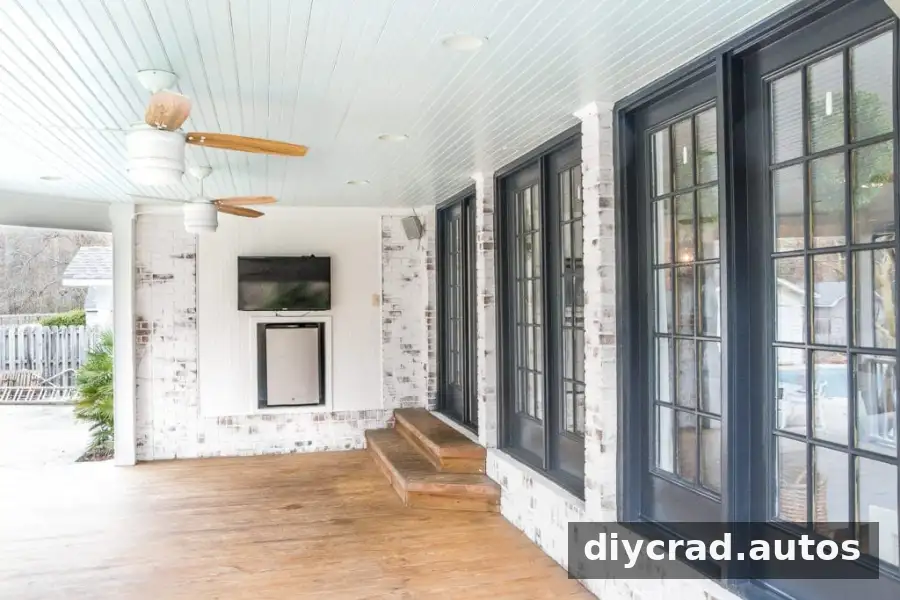
DIY Outdoor Curtains as a Screen Porch Alternative
Bugs were a recurring nuisance in summer, especially in the evening. Permanent screening was not the preferred solution because of its added expense and installation work, as well as the desire to keep the porch feeling open.
Instead, inexpensive mosquito-net curtain panels were used to create a flexible barrier. They can be pulled closed as needed and opened again when the porch is not in use or when a more open view is preferred. For best results, measure each opening before shopping so the panels provide enough coverage without dragging on the floor.
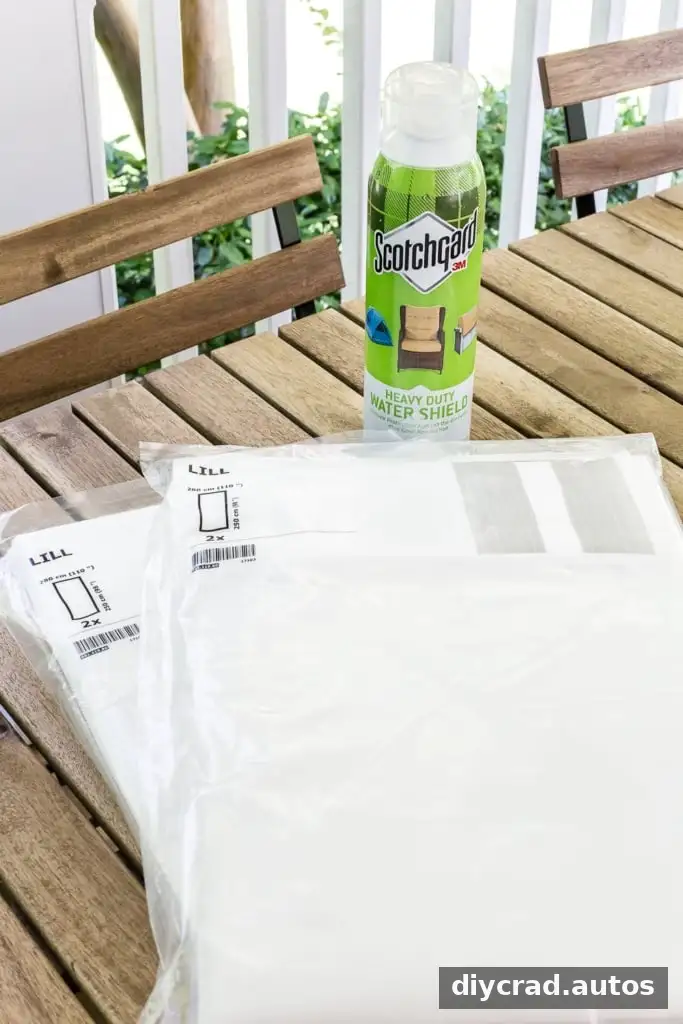
Supplies for the DIY Outdoor Curtains
- Lightweight mosquito-net curtain panels
- Fabric water-repellent spray suitable for outdoor use
- Tension rods
- Removable adhesive hooks rated for 5 pounds
The total for six panels and the other materials was under $100, or about $16 per panel on average. The tension rods cost about $6 each, and two bottles of water-repellent spray cost about $10. Prices can vary, so check current costs and the package quantities before starting.
How to Hang Outdoor Curtain Screens
Step 1: Apply Water-Repellent Spray
The panels were treated with outdoor fabric water-repellent spray to help protect them from rain and sun exposure. The spray was applied before hanging, following the product directions. This treatment may help protect fabric, but it does not make delicate netting fully weatherproof or prevent all fading and wear.
Test the spray on a small, inconspicuous section first and allow the fabric to dry as directed. Check the care instructions for the curtain material and the spray label to confirm they are compatible.
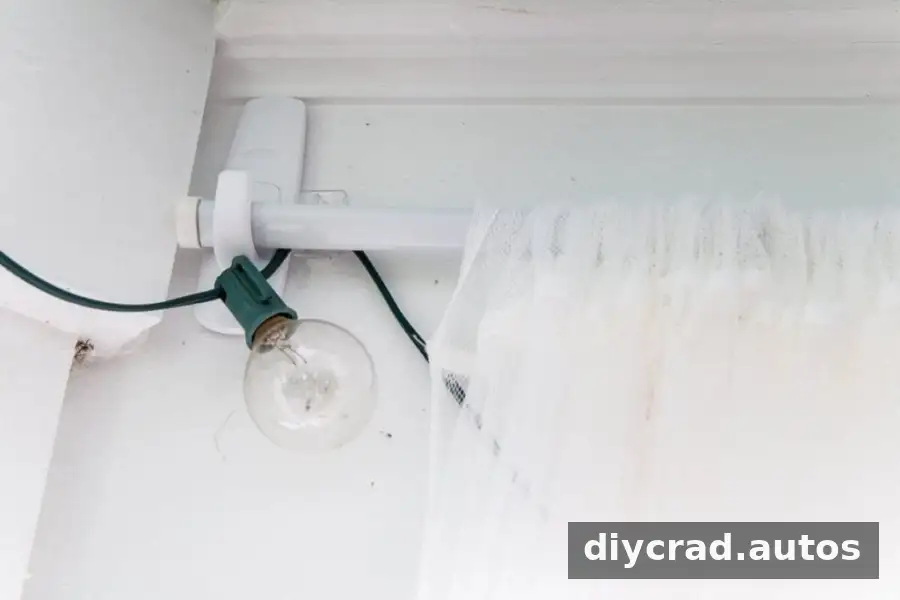
Step 2: Install the Tension Rods and Hooks
Six tension rods were positioned high near the porch ceiling and held in place with removable adhesive hooks. This setup was quick to install and avoided drilling screw holes. Before mounting, make sure the surface is clean, dry, and suitable for the hooks. Follow the weight rating and installation directions; adhesive performance can vary with surface texture, temperature, and outdoor exposure.
Fit each rod securely and check that it stays in place before hanging a panel. Avoid overloading the hooks, and inspect them periodically, particularly after strong wind or heavy rain.
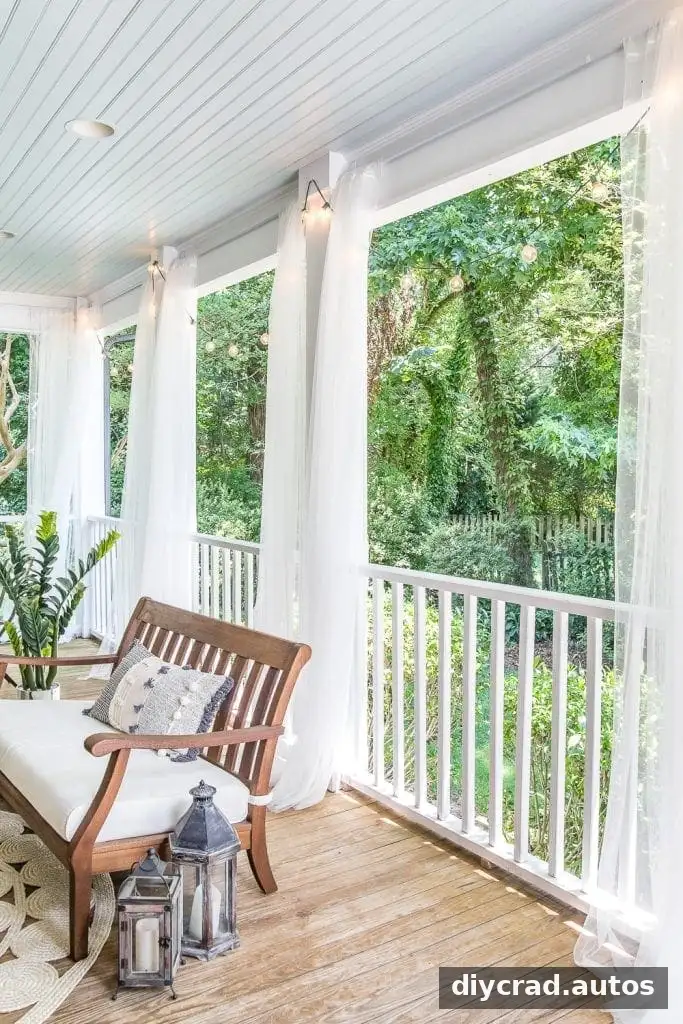
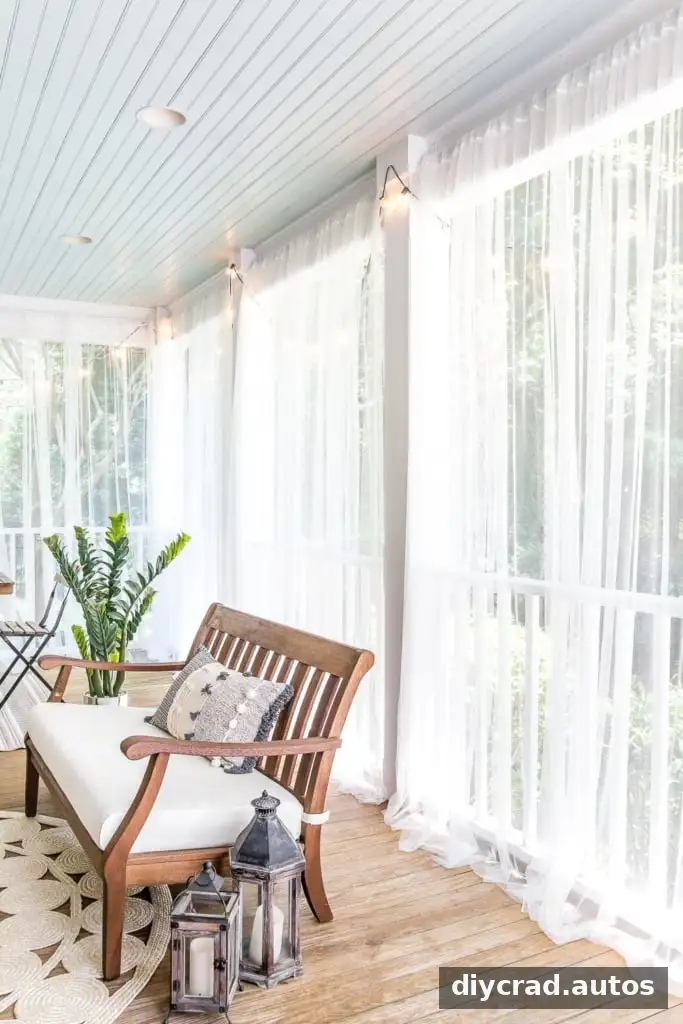
Once installed, the panels can be opened or closed as conditions change. They also soften the look of the porch while keeping the space visually connected to the yard. Since net curtains allow air to pass through, they can move in a breeze, and their coverage may be less complete than a fixed screen.
Step 3: Secure the Panels if Needed
If the curtains swing around in the wind, secure their lower corners to porch posts with ties. Another option is to sew small fishing weights into the bottom hems, provided the fabric can safely support them. Use a light touch so the added weight does not strain the netting or curtain rod.
When tying panels back, leave enough slack for easy opening and closing. Remove or secure the curtains during severe weather if the rods, hooks, or fabric are not designed to withstand it.
What to Expect from This Porch Update
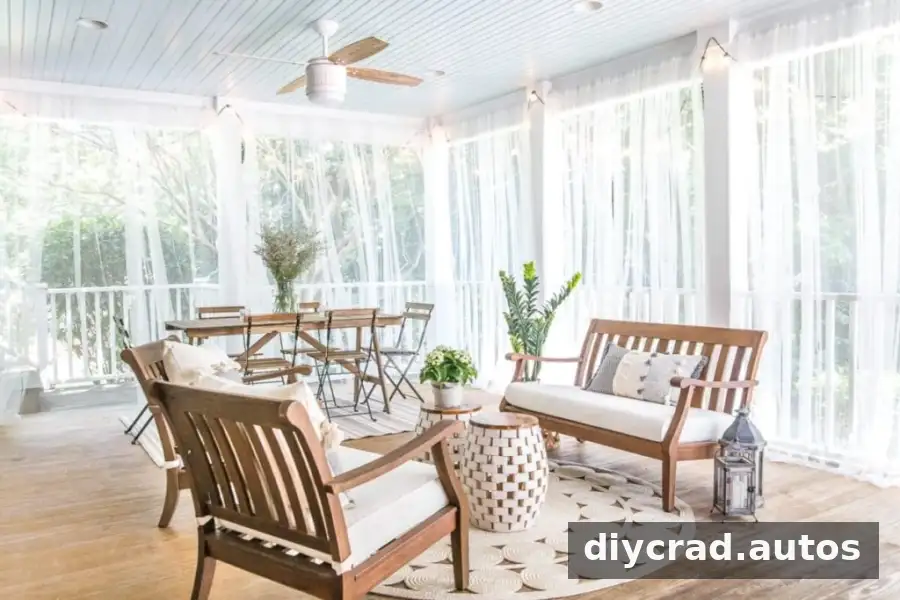
These DIY outdoor curtains provide a flexible, low-cost alternative to permanent screening, and the panels can make a porch feel more finished without blocking the view completely. They are most useful when you want a temporary barrier that can be adjusted throughout the day.
Before beginning, measure the openings, confirm the hooks are appropriate for the mounting surface, and check the care and use instructions for both the fabric and spray. For stronger insect protection, consider whether gaps at the sides or between panels need additional coverage.
Save this project idea for later: