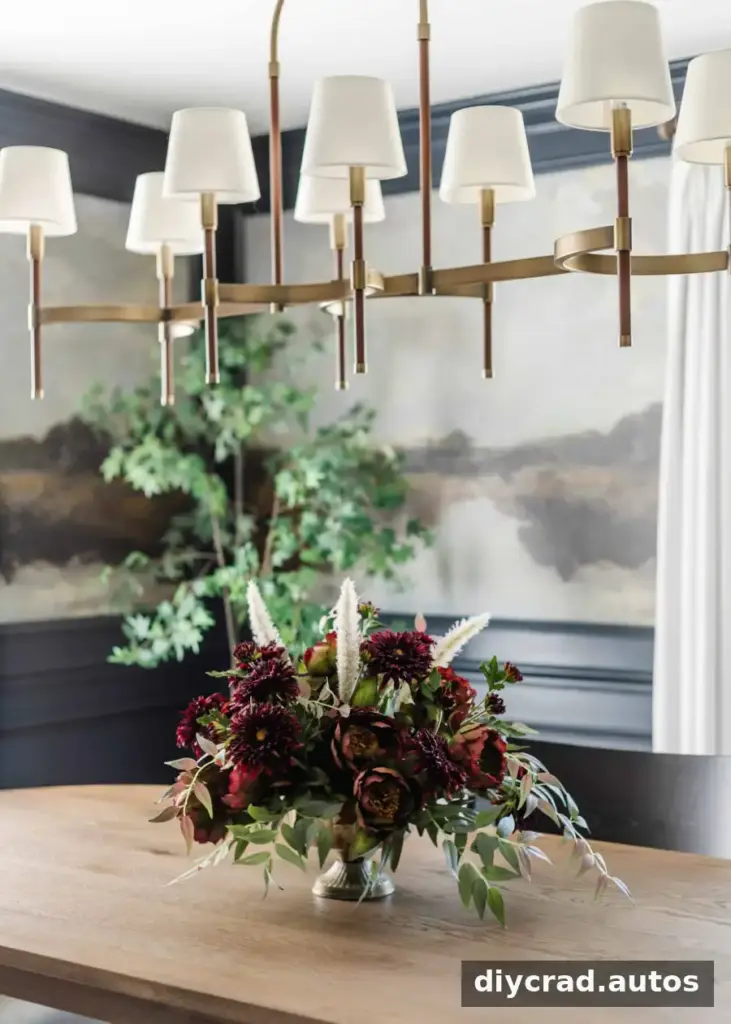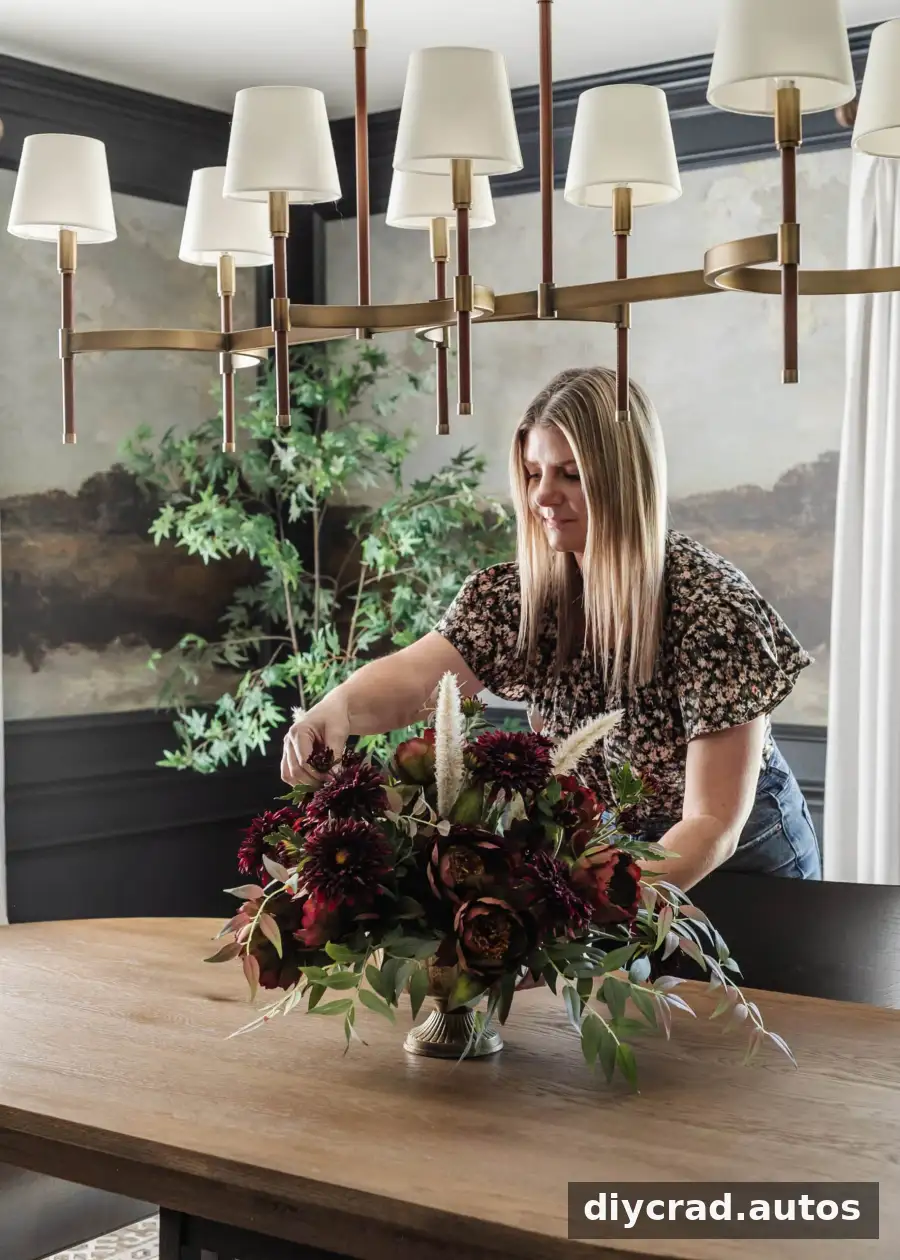
Create a welcoming seasonal centerpiece with a fall floral arrangement made from warm-colored blooms, foliage, and a simple foam base. This step-by-step guide explains how to prepare the materials, build a balanced shape, and care for the finished design. Use faux flowers for a long-lasting display or adapt the method for fresh flowers at home or an event.
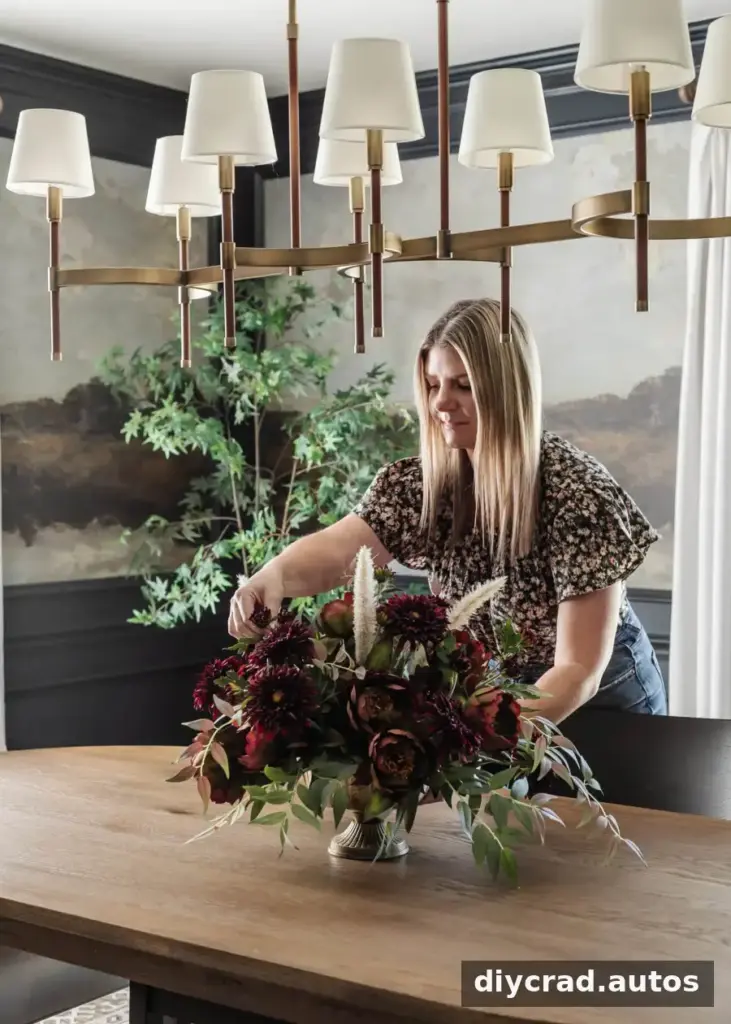
DIY Simple Fall Floral Arrangement Centerpiece
A floral project can be a creative way to add seasonal color to an entryway table, dining table, coffee table, or event space. The arrangement described here uses purple and green peonies, burgundy mums, and foliage in a rounded shape. The same basic method works with other fall blooms and containers.
For a wedding or gathering, choose a container and flower colors that suit the setting. Before buying stems, measure the table or display area so the centerpiece feels appropriately sized and leaves enough room for guests and place settings.
Supplies for a Fall Floral Arrangement
Faux flowers are suitable for a reusable decoration, while fresh or dried stems can also be used. Select flowers in a warm palette, such as deep red, orange, yellow, and purple. Dahlias, sunflowers, roses, chrysanthemums, and marigolds are possible choices. Seasonal foliage, including eucalyptus, maple leaves, or oak branches, can add contrast and texture.
Gather the following general supplies:
- Flowers and foliage suited to your chosen color palette
- A vase or container that fits the planned arrangement
- A half-sphere floral foam base compatible with your flowers
- Wire snips for faux stems or pruning shears for fresh stems
- For fresh flowers, clean water and flower food
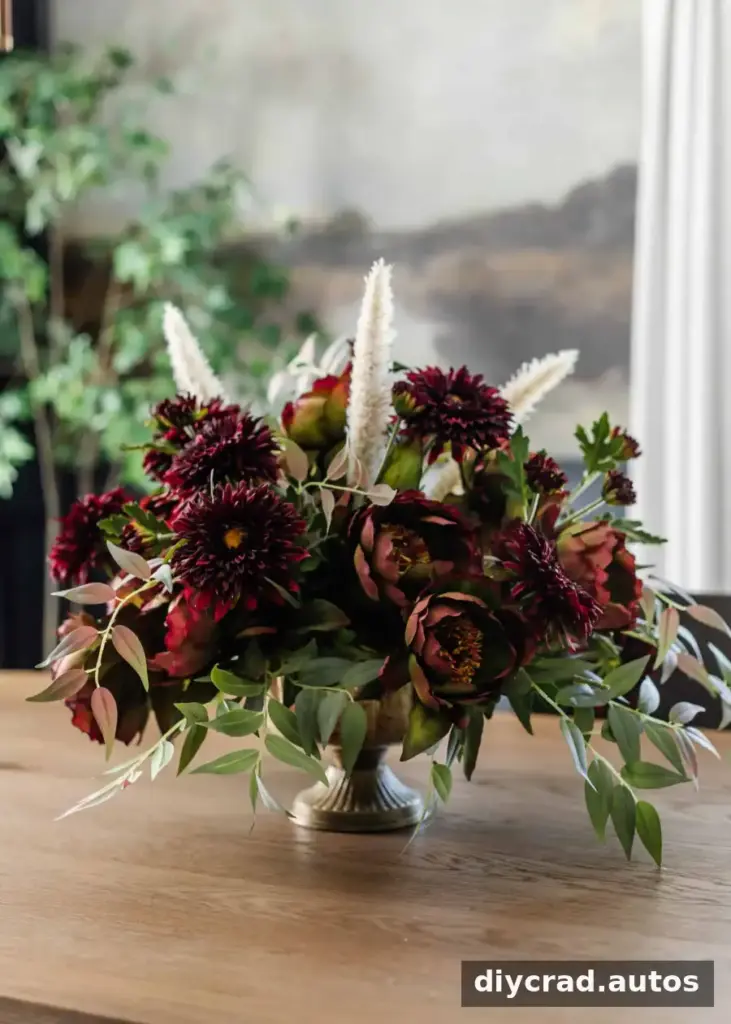
The materials used for the example arrangement were:
- 1 distressed gold metal compote bowl
- 1 8-inch half-sphere florist foam
- 12 green and purple peonies
- 12 burgundy mums
- 3 mauve and green Italian ruscus stems
- 1 foxtail grass stem, cut into sections
- Floral wire snips
Practical tip: Check whether the foam is intended for fresh or artificial flowers. Wet floral foam is used with fresh stems; dry foam is generally used for faux stems. Choose a container that holds the foam securely.
Step 1: Prepare the Stems
Prepare the flowers before inserting them into the foam. This makes placement easier and helps fresh stems take up water.
- Trim the stems. Cut stems at an angle with sharp shears. In this example, the stems were trimmed to about 10 inches. Adjust the length to suit your container and desired centerpiece height.
- Remove lower foliage. Strip leaves or branches from the section that will sit in the foam or water. For a vase of fresh flowers, keep leaves below the waterline off the stems.
- Condition fresh flowers. Place cut flowers in clean water with flower food for a few hours before arranging, if possible. Keep faux stems dry.
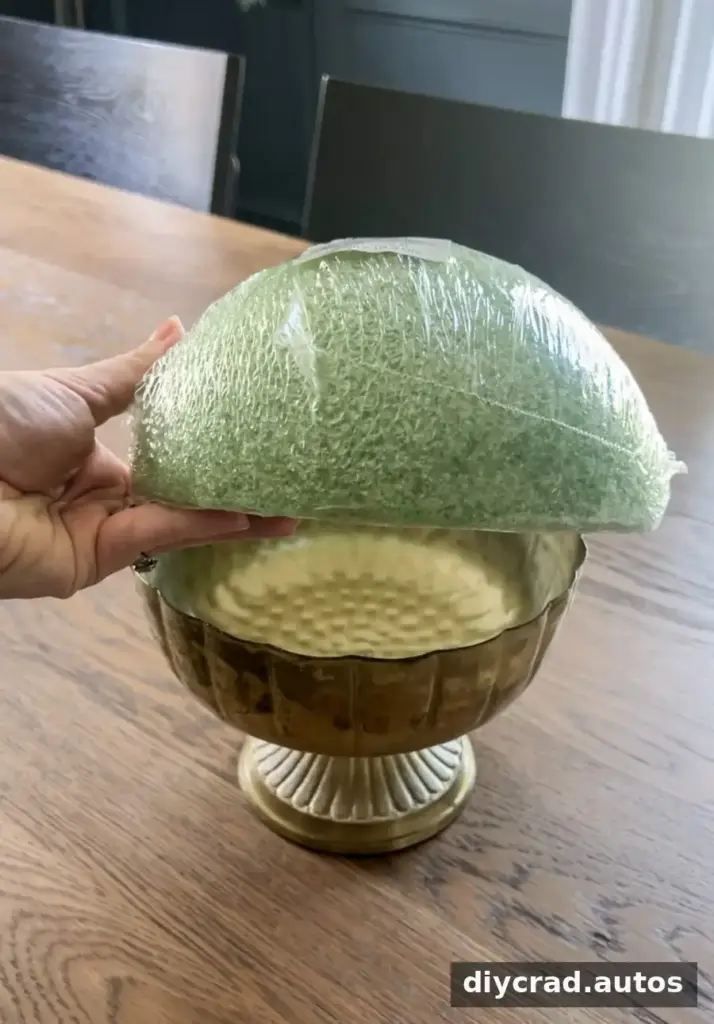
Step 2: Create the Base
Set the half-sphere foam inside the compote bowl or vase. It should fit snugly without wobbling. If needed, carefully trim the foam around its edge to fit the container; use a suitable cutting tool and keep fingers clear of the blade.
For fresh flowers, use wet floral foam and let it absorb water until saturated before arranging. For faux flowers, use dry foam. Avoid forcing wet foam under water, as it may not absorb evenly.
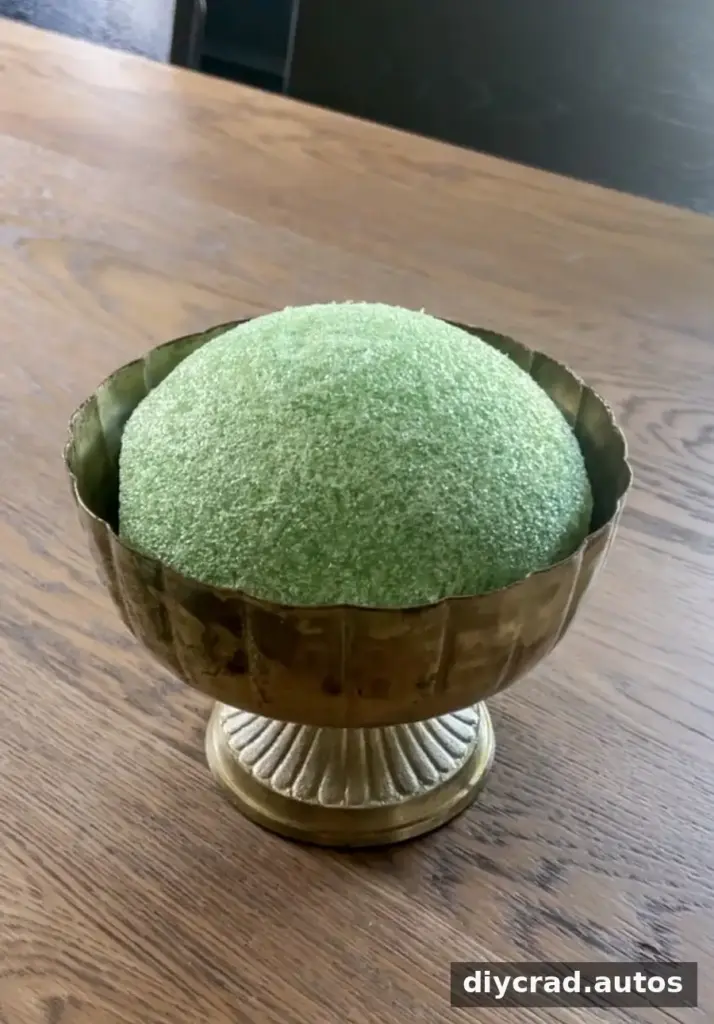
Step 3: Build the Arrangement
Work from the center outward, distributing stems around the half-sphere. Insert each stem far enough to hold it securely, but avoid repeatedly moving it, which can loosen the foam.
- Set the height with a focal flower. Place one of the largest blooms at the top center of the sphere. This first stem establishes the approximate height of the centerpiece. The example uses a purple and green peony.
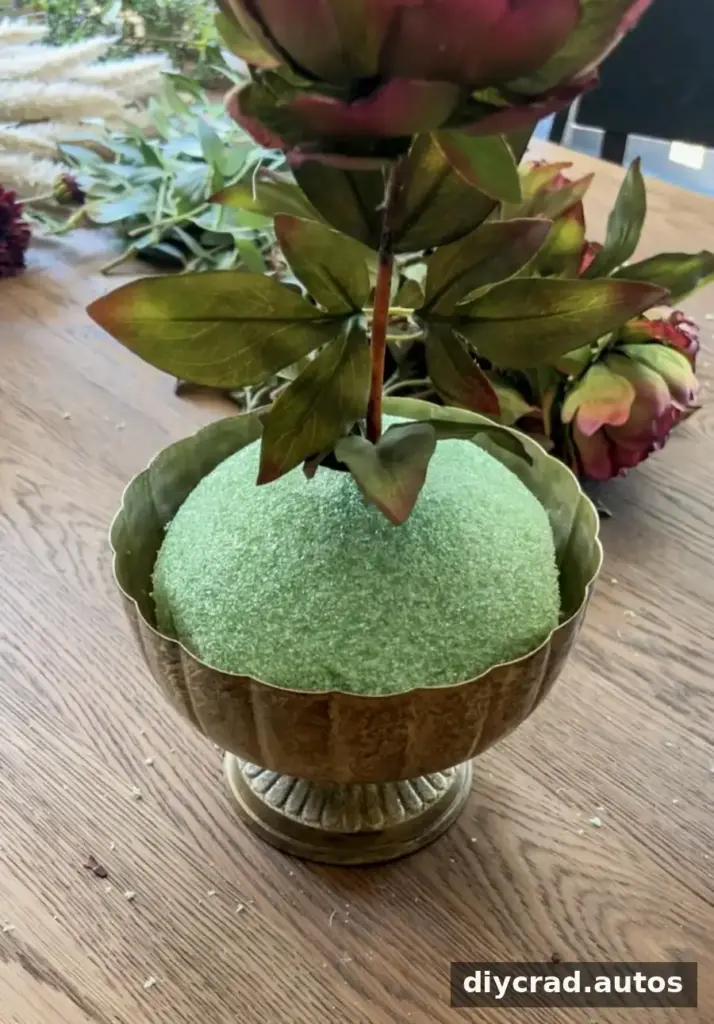
Place four more stems of the same variety at evenly spaced points around the first bloom, about halfway down the sphere. Even spacing helps the design look balanced from different sides.
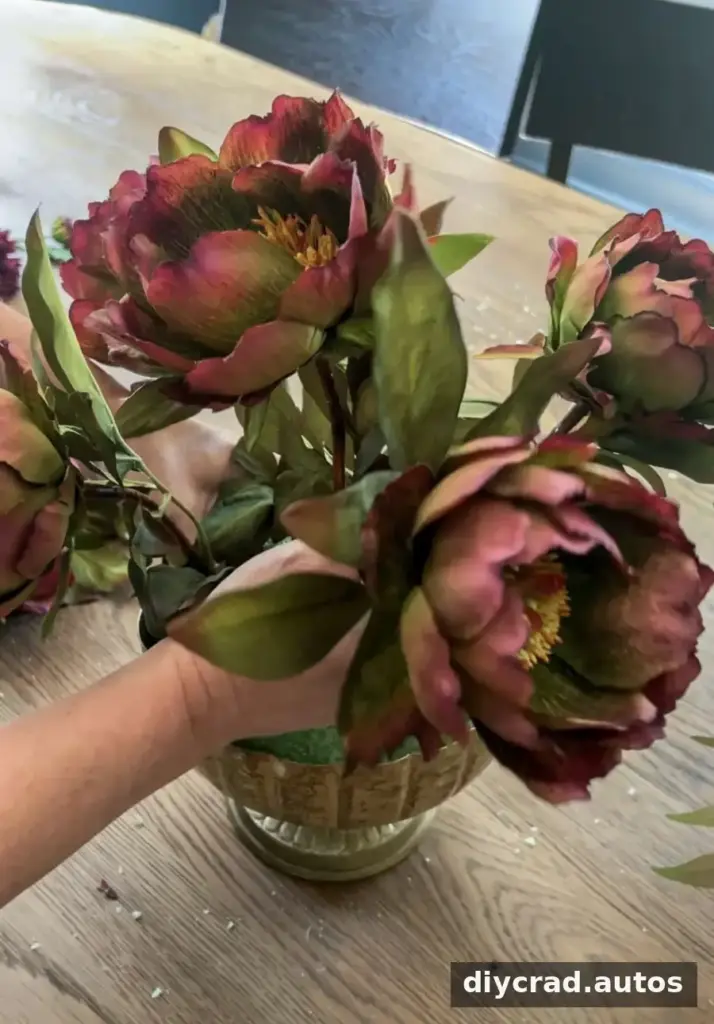
Add six to eight additional stems around the lower part of the foam sphere. Turn the container as you work to check that the flowers are distributed evenly rather than concentrated on one side.
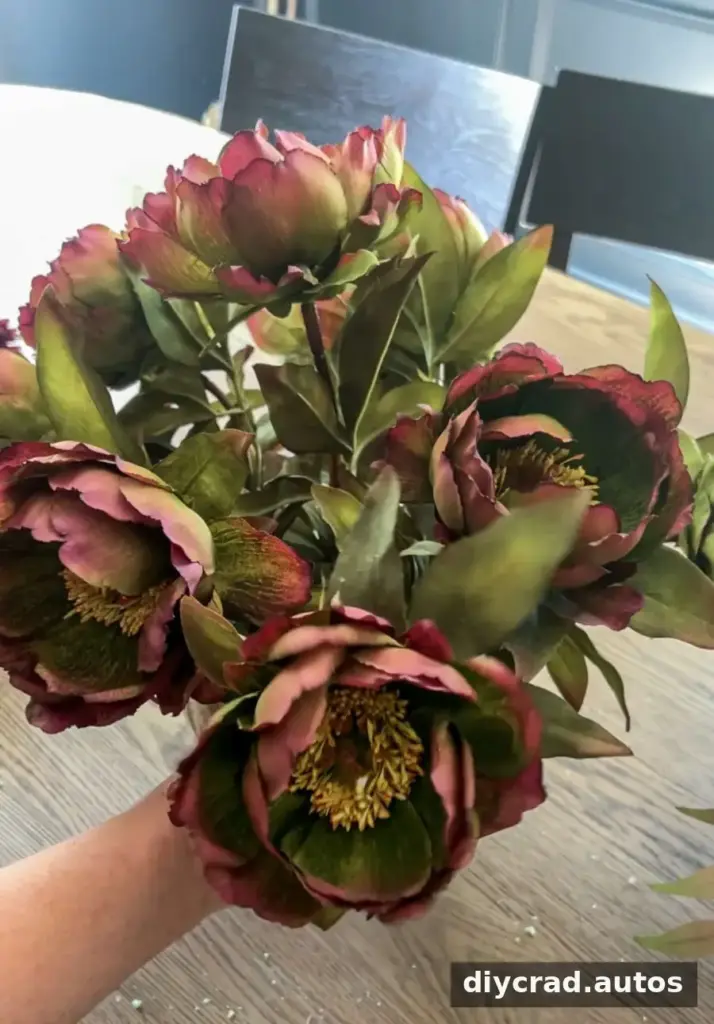
Choose a second flower variety with a slightly smaller or otherwise complementary bloom. Burgundy mums were used in this arrangement to contrast with the peonies.
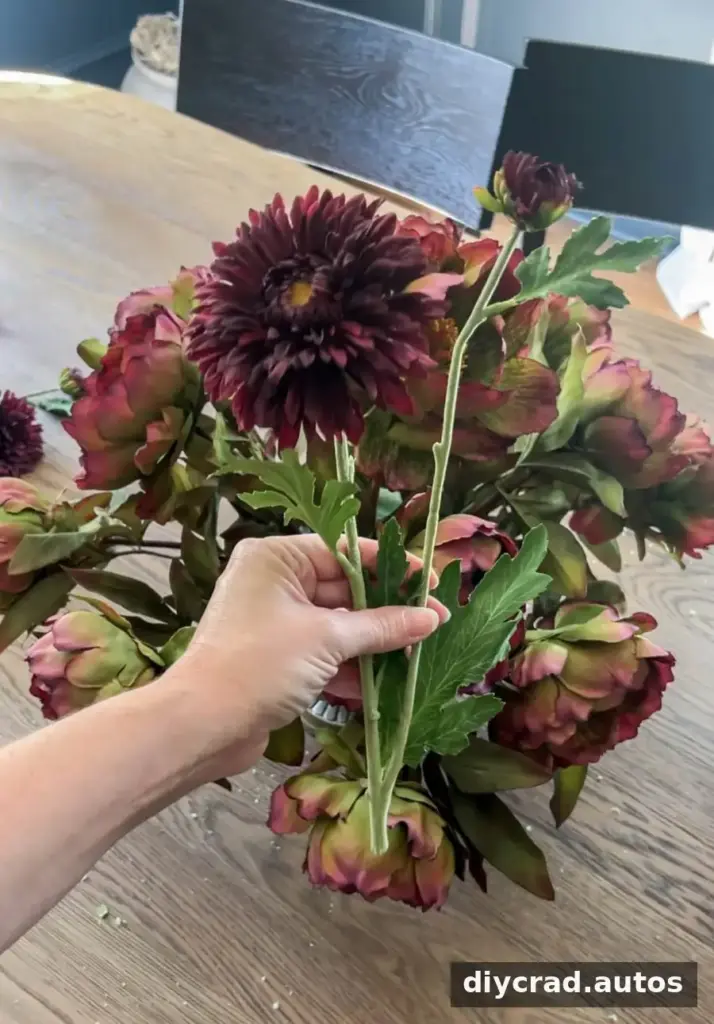
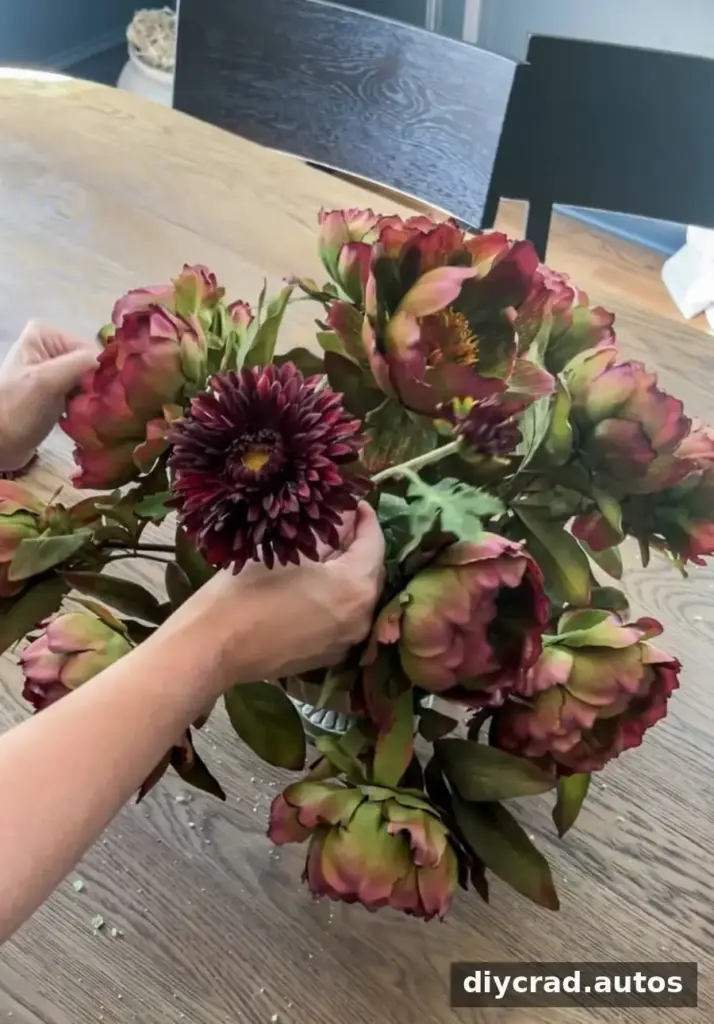
Insert the second flower variety into the open spaces between the first flowers. Vary the placement slightly so the blooms do not form rigid rows.
Select leafy stems for filler. The example uses three large mauve and green Italian ruscus stems, each cut into thirds. For faux foliage, use wire snips; for fresh foliage, use clean pruning shears.
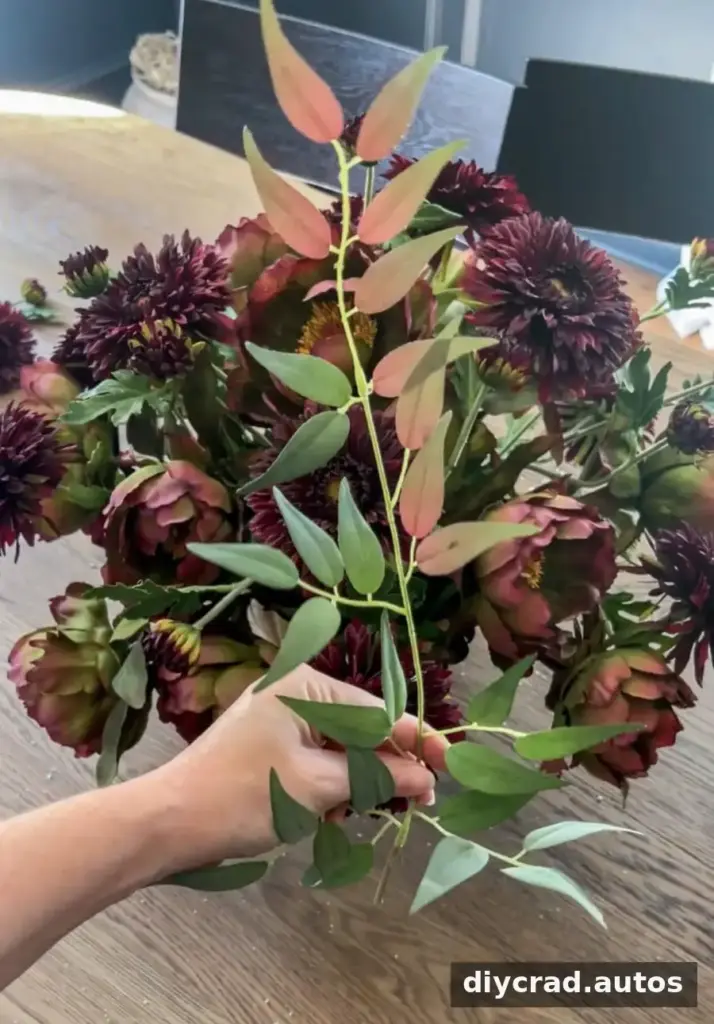
Fill visible gaps with greenery to add volume and texture and to cover exposed foam. Add foliage gradually so it supports the flowers without hiding the focal blooms.
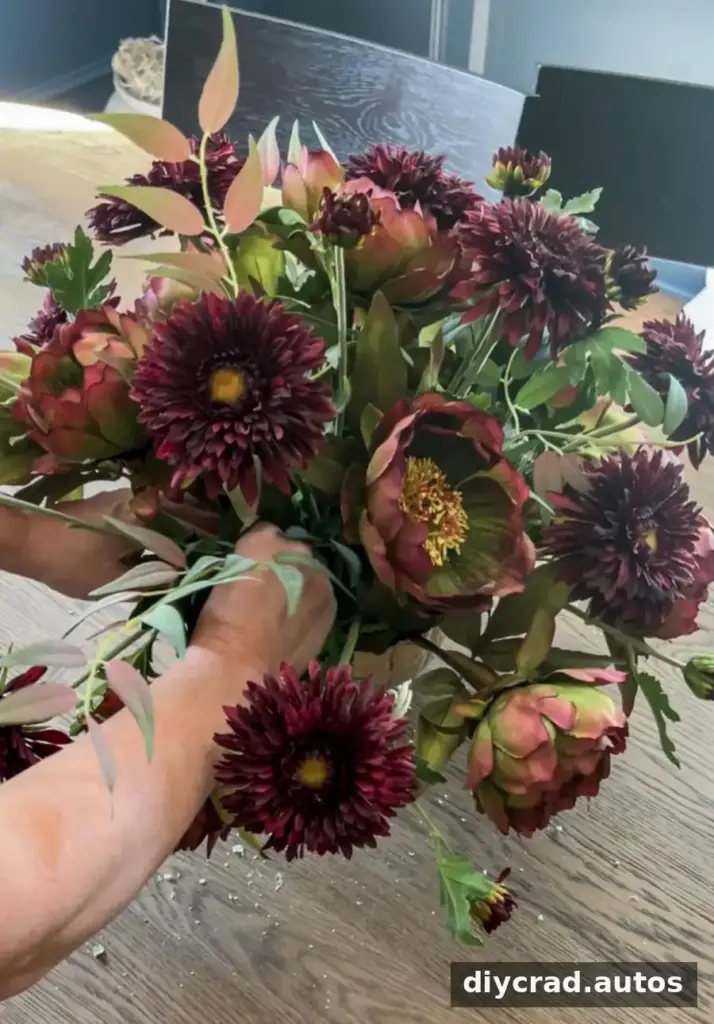
Tuck additional leafy stems around the base of the arrangement to conceal the foam and create a finished edge.
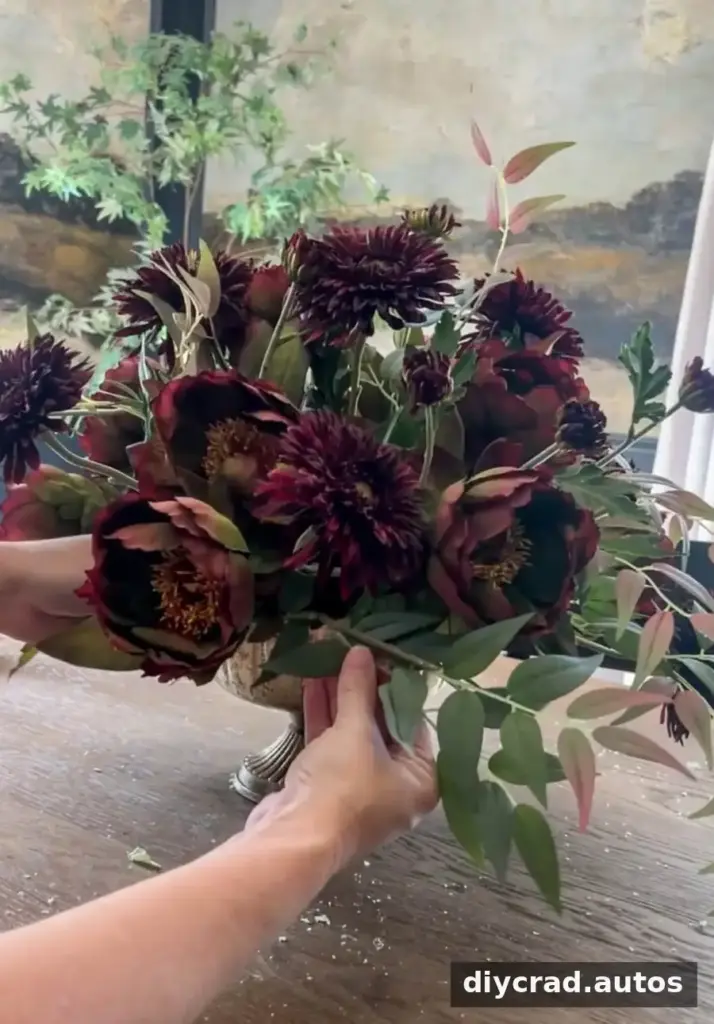
Finish with a few pieces of seasonal foliage, placing them among the flowers for extra texture and color. This step is optional; use foliage sparingly if you want the blooms to remain the main feature.
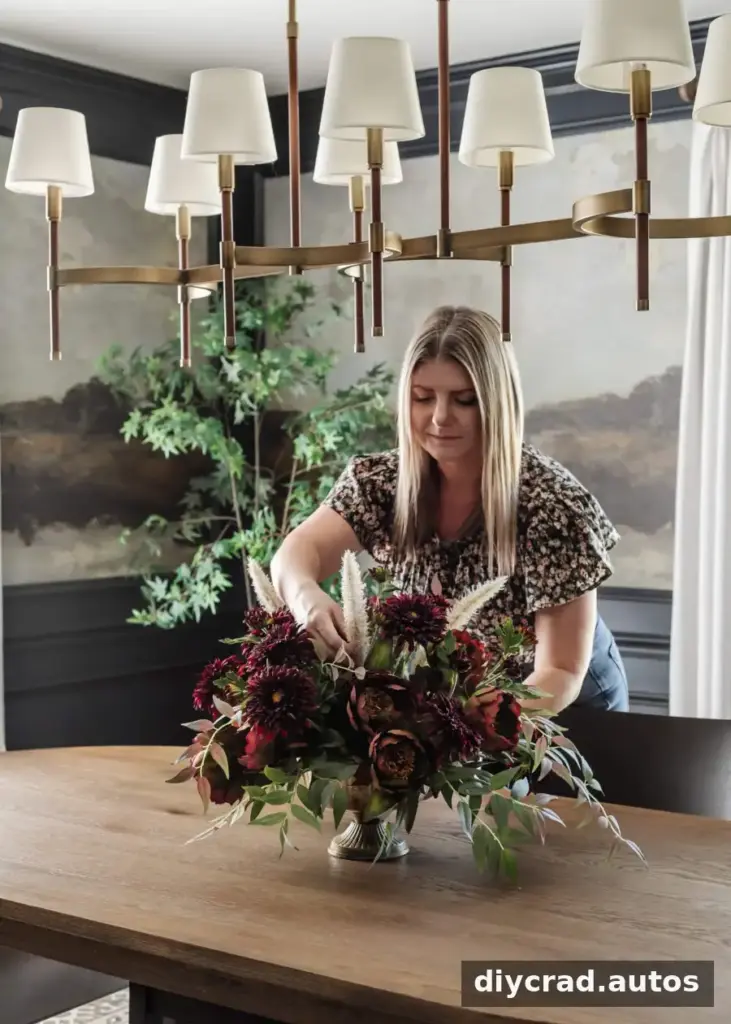
Step 4: Care and Maintenance
Fresh and faux arrangements need different care. For fresh flowers, check the water regularly and top it up as needed. If the foam is wet, keep it from drying out by adding water carefully to the base of the arrangement.
- Refresh the water. For arrangements made in a vase without foam, replace the water regularly and keep the container clean.
- Trim fresh stems. When refreshing a vase arrangement, recut the stems at an angle every few days. Follow the flower-food instructions for the amount to use.
- Keep faux flowers dry. Dust them gently as needed and store the arrangement away from direct damage or crushing when it is not on display.
The finished design combines purple, green, and burgundy for a seasonal look that can suit home decor, an altar, or a fall event. Faux flowers make the arrangement reusable, while fresh stems offer a natural option for a shorter display.
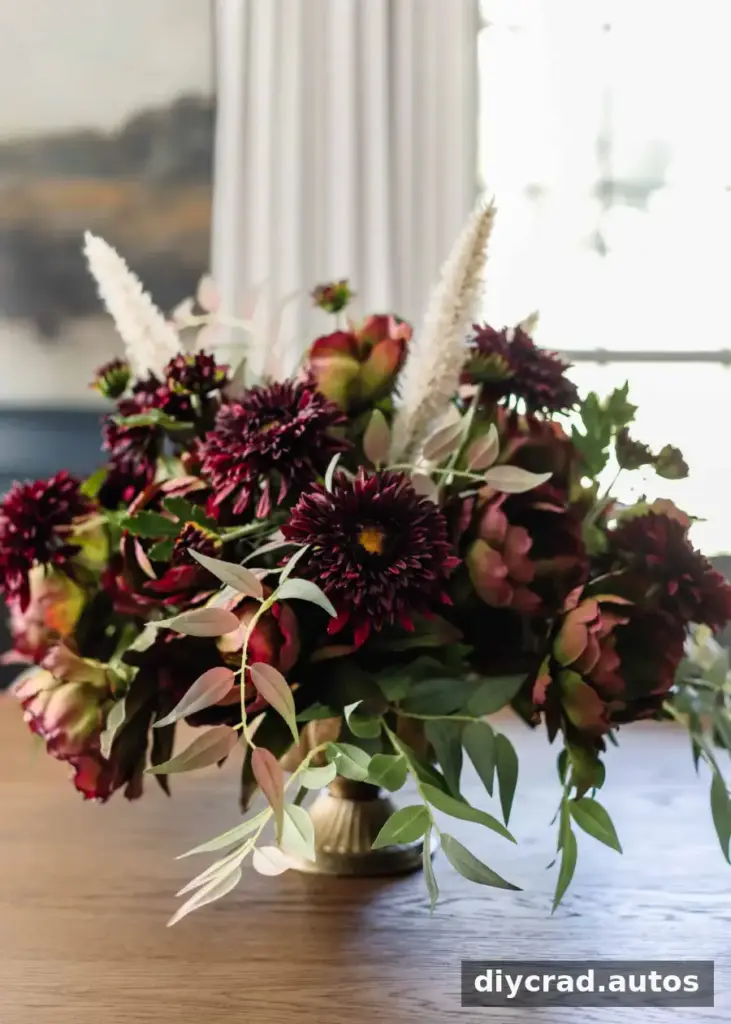
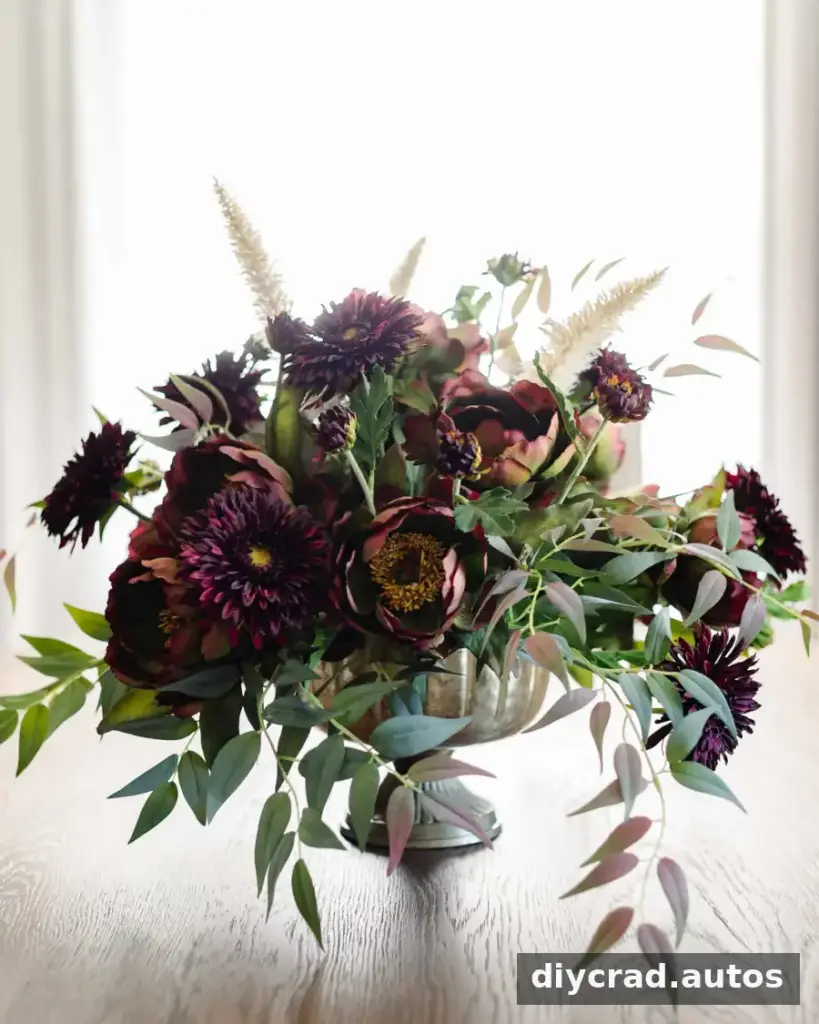
Once you have finished, view the centerpiece from several angles and adjust any stems that look crowded or uneven. The same approach can be adapted for a fall table or Thanksgiving display by changing the flowers, foliage, or container.
Conclusion: Make a Fall Floral Arrangement Your Own
A fall floral arrangement is easy to customize with seasonal colors, a suitable container, and a mix of focal flowers, secondary blooms, and greenery. Prepare the base and stems first, then build the shape from the center outward and check the balance as you go. With the right foam for fresh or faux stems, this method creates a practical centerpiece for home decor or an event.