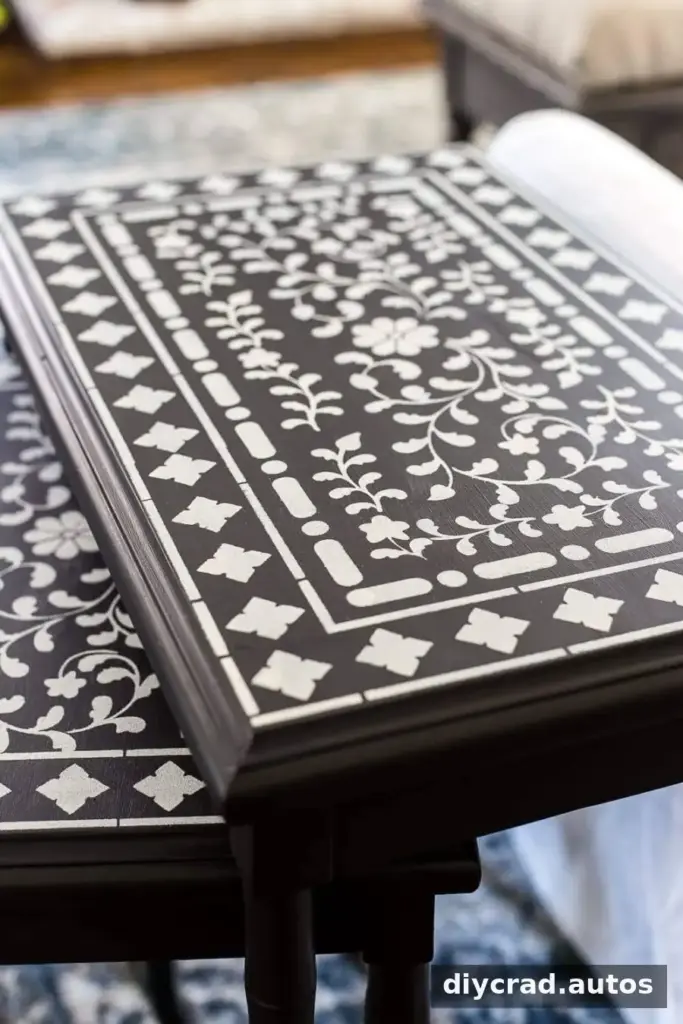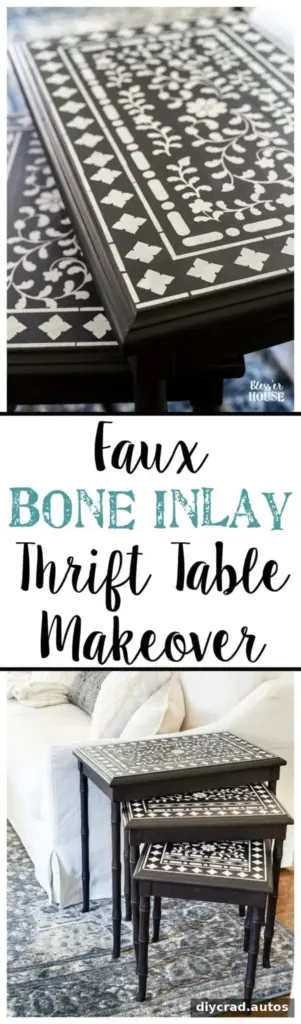
Faux Bone Inlay Nesting Tables can bring decorative detail to a living room without the cost of replacing serviceable furniture. This makeover uses black and ivory-toned paint, stencils, and a protective finish to refresh a secondhand set. The tables in this project cost $20, and the completed makeover cost $84. With careful stencil placement and light layers of paint, you can create a coordinated look that suits your own space.
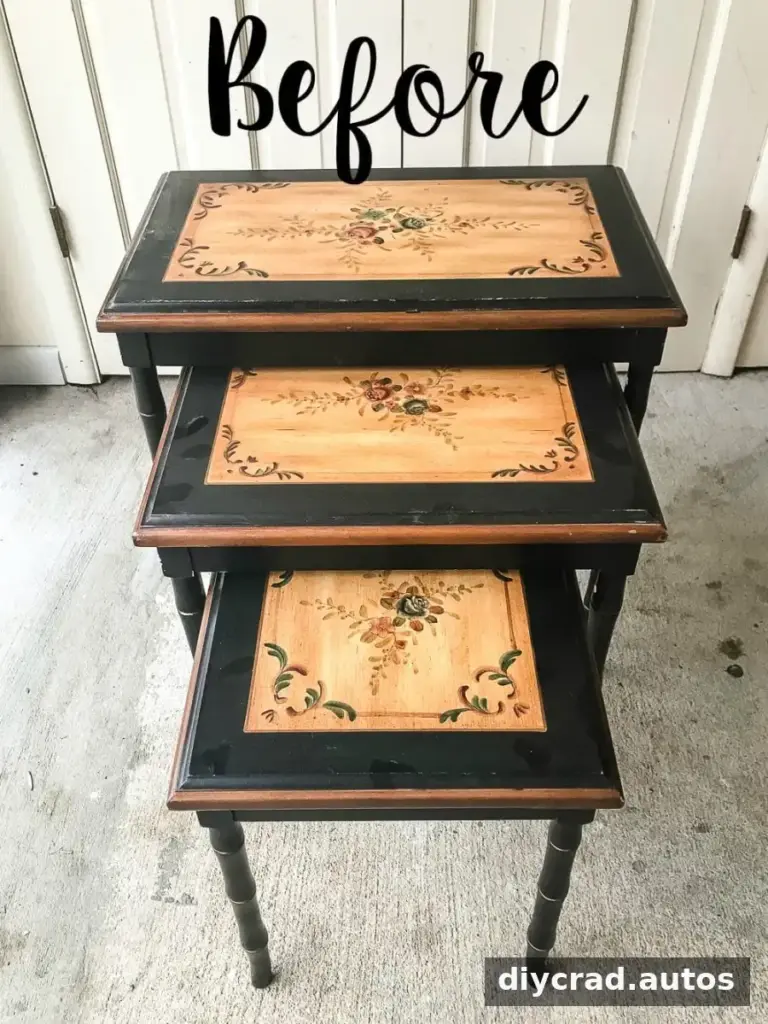
Why Give Nesting Tables a Makeover?
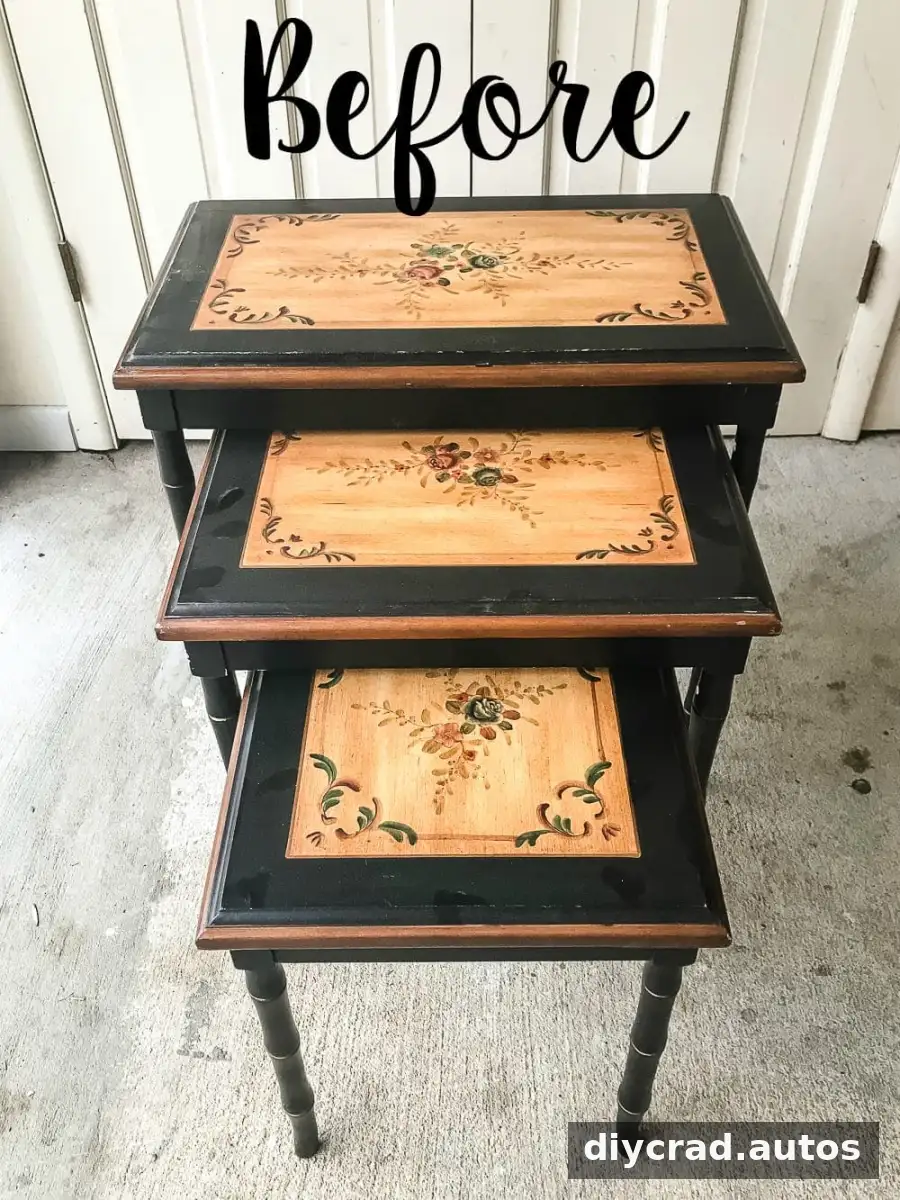
The thrifted tables were sturdy, with no wobbly legs, but their original tabletop designs did not suit the intended style. Nesting tables are especially useful when space is limited: separate them beside chairs when needed, then slide them together to save room. Before starting any furniture project, check that the pieces are stable and clean, and make sure the surface is suitable for painting.

Supplies for Faux Bone Inlay Nesting Tables
The project relies on a dark base coat and a lighter stencil color to create contrast. Gather the following materials before you begin:
- Stencil brush
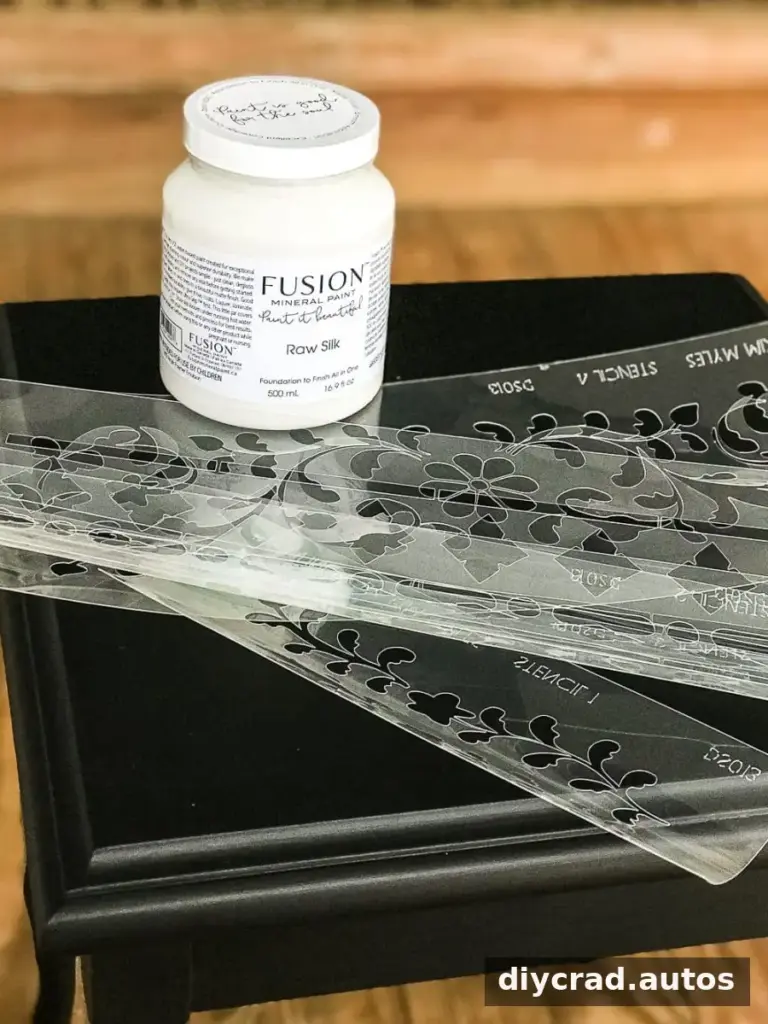
- Indian inlay stencils
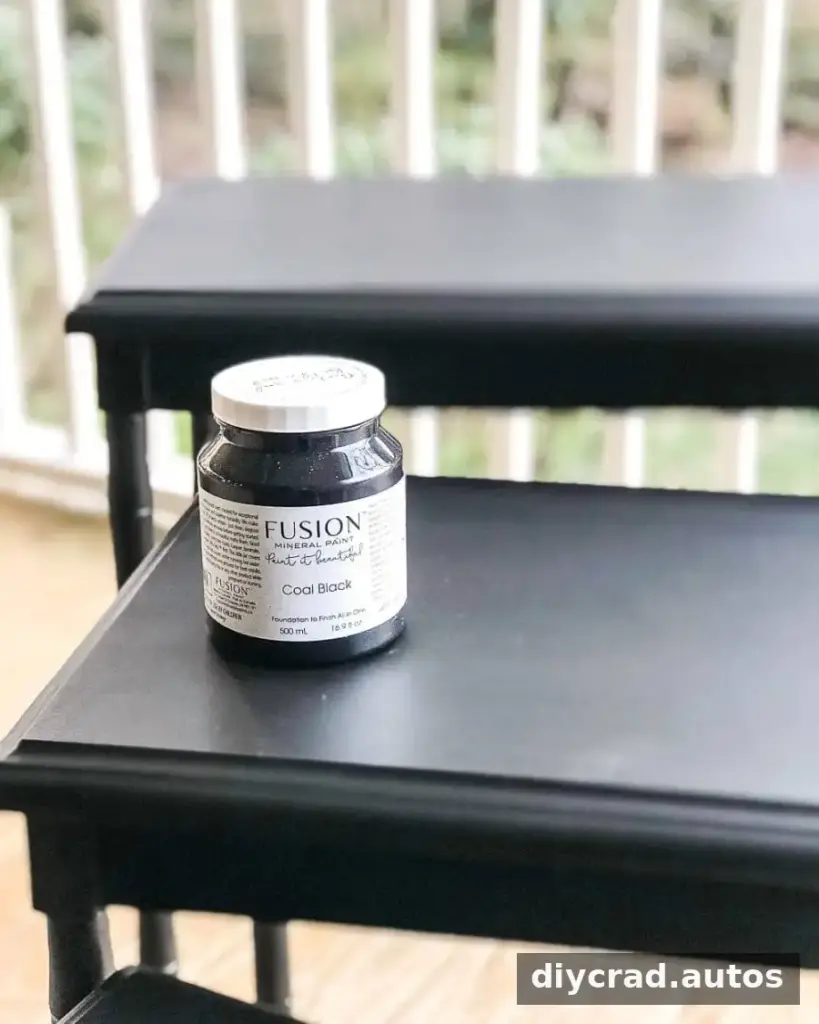
- Mineral paint in Coal Black
- Mineral paint in Raw Silk; a tester size is enough for this project
- Paper towels
- Natural-bristle brush
- Small artist brush
- Painter’s tape
- Matte polycrylic
Set up a clean, well-ventilated work area and protect the floor beneath the tables. If you are using a paint or sealer for the first time, read its label for application and drying guidance.
How to Make Faux Bone Inlay Nesting Tables
1. Paint the base
Apply two coats of Coal Black paint to the tables with a natural-bristle brush, covering the original patterns. Allow the paint to dry between coats according to the product directions. Good coverage at this stage gives the lighter stencil design a consistent background.
2. Plan the stencil layout
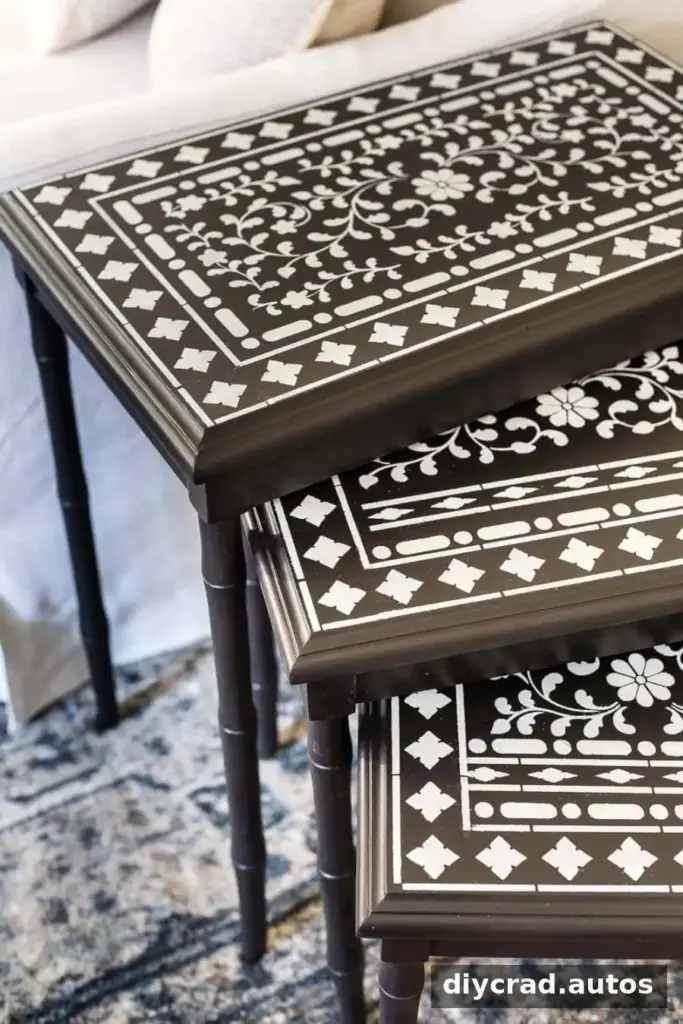
Once the black paint is dry, use Raw Silk for the stencil pattern. The stencil set includes multiple designs, so arrange them to fit each tabletop. In this makeover, geometric motifs form the outer border, while floral patterns fill the centers. Test the layout before painting so the design feels balanced and the edges are accounted for.
3. Apply the pattern with a light touch
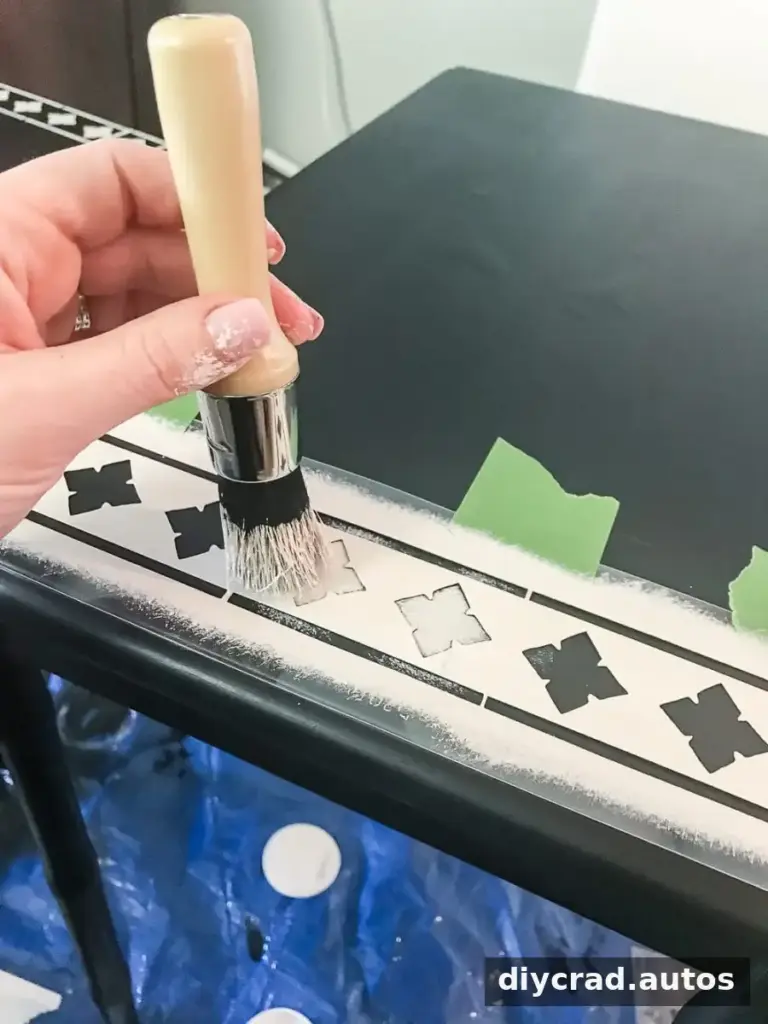
Secure the first stencil with painter’s tape. Dip only the tip of the stencil brush into the light paint, then remove excess paint on a paper towel until the brush is barely loaded. Dab over the stencil rather than brushing back and forth. Using a small amount of paint helps reduce seepage beneath the stencil and keeps the pattern crisp.
4. Let overlapping areas dry
As you move between stencil sections, pause for a few minutes before overlapping freshly painted areas. This simple wait helps prevent smudges and keeps your hands and stencil from transferring wet paint onto finished sections.
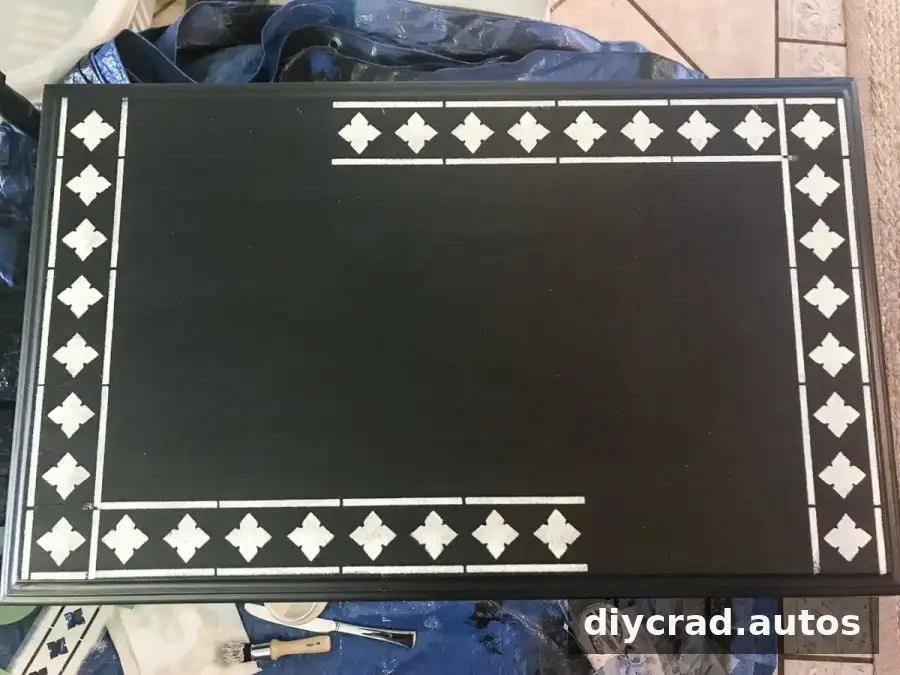
5. Control the pattern at the edges
If a stencil is larger than the area you want to decorate, place a strip of painter’s tape where the pattern should stop. Check that the tape is firmly attached before dabbing paint near the edge, and remove it carefully to help maintain a neat line.
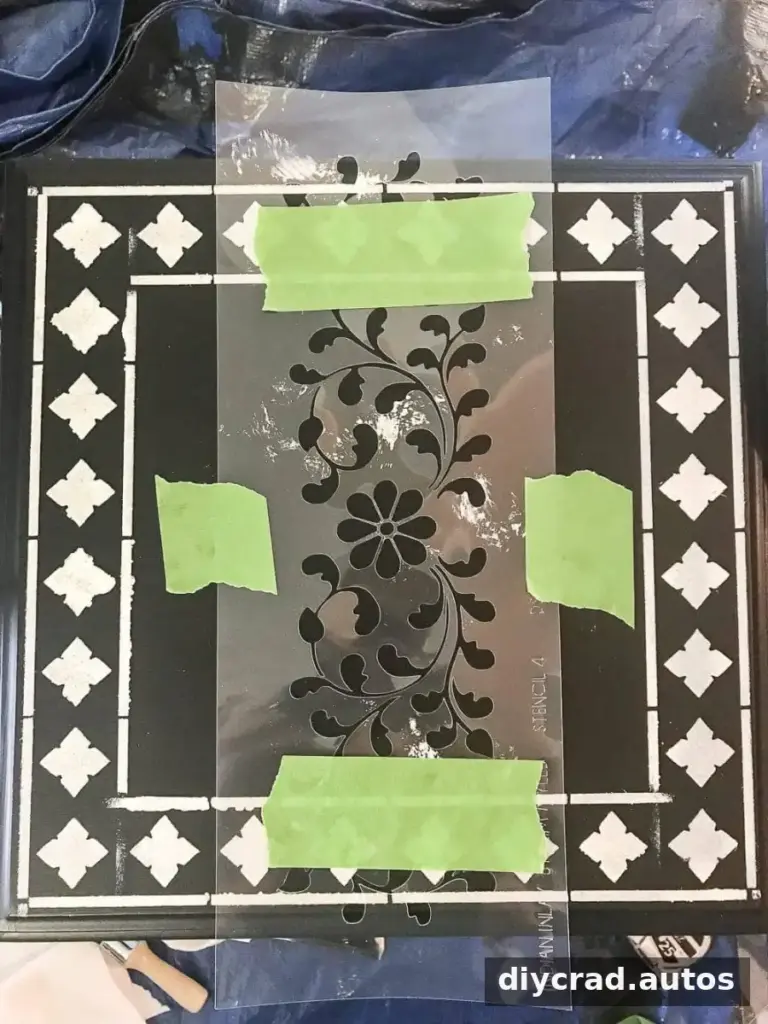
6. Touch up small imperfections
After completing the stencil work, inspect the design for paint that has bled under the stencil or small smudges. Use a small artist brush to make careful touch-ups. Step back occasionally as you work; it can be easier to spot uneven areas from a little distance.
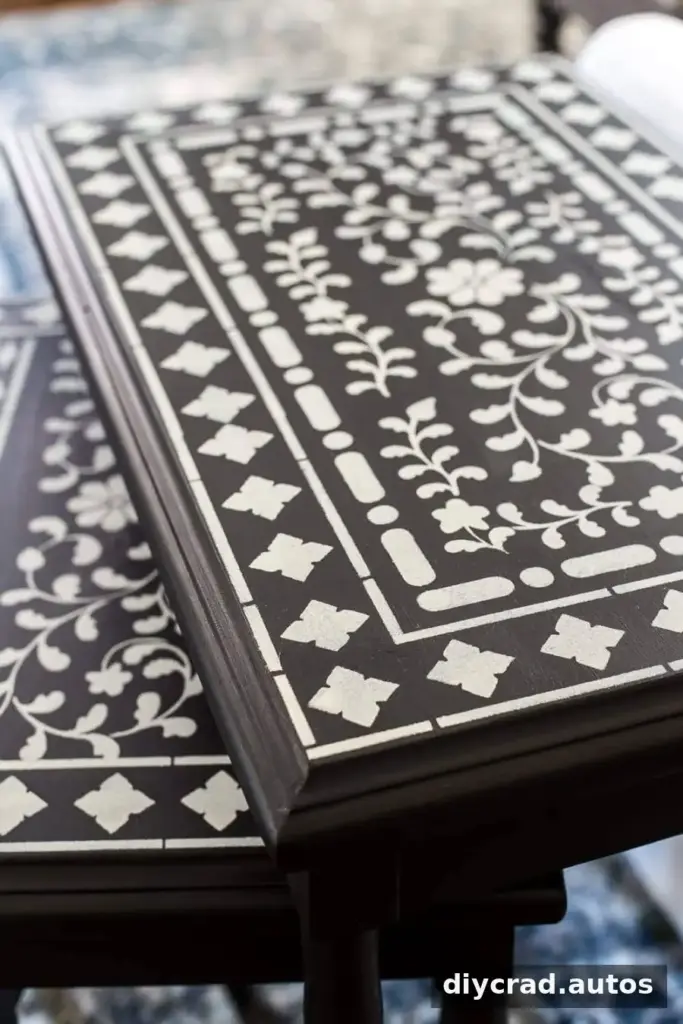
7. Protect the finished surface
Seal the tabletops with matte polycrylic to help protect the painted finish. Follow the sealer’s directions for application and drying time, and let the finish cure as recommended before placing objects on the tables. A compatible protective topcoat is particularly useful on surfaces that will hold drinks or everyday items.
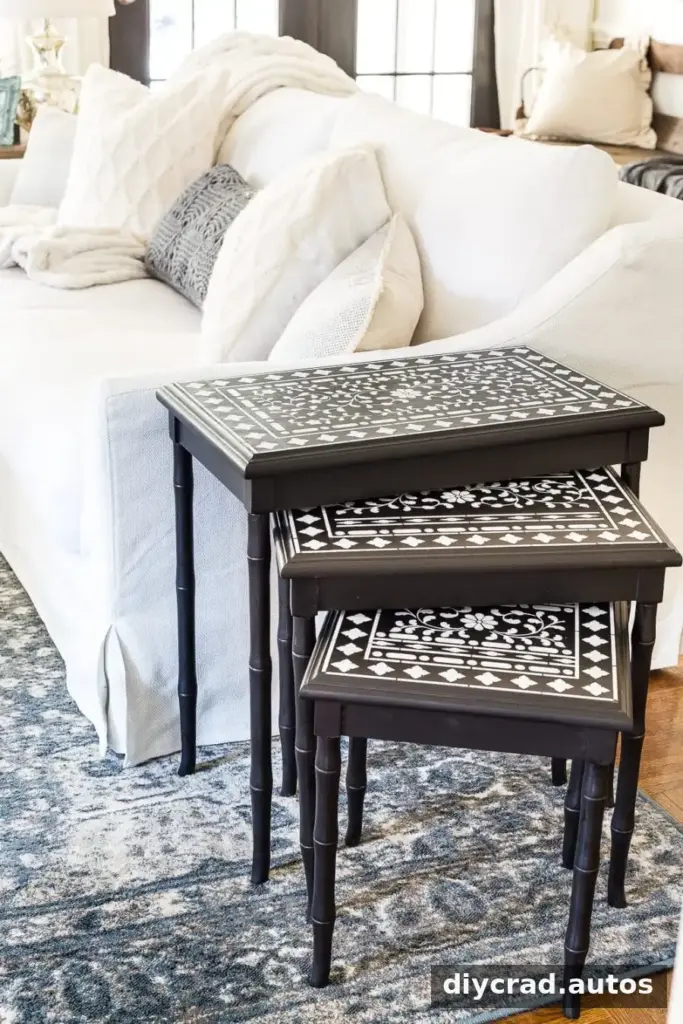
Using and Styling the Finished Tables
The completed tables have a decorative, bone-inlay-inspired appearance, while the painted pattern remains a stencil design rather than actual bone inlay. Their nesting form makes them practical beside accent chairs that do not have their own end tables. They can also be separated when guests need an extra surface and nested together afterward.
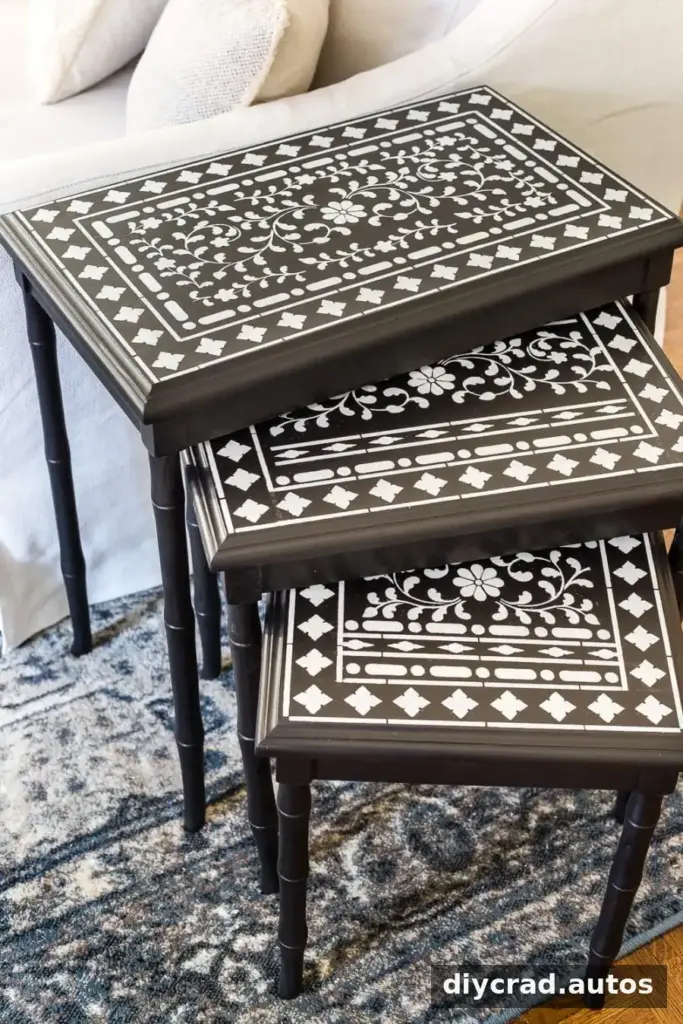
For a cohesive room, repeat one of the tabletop colors in nearby accessories, or leave the tables as a contrasting focal point. Keep the surfaces clear enough for daily use, and use coasters to help protect the finish from moisture and heat.
Final Thoughts on Faux Bone Inlay Nesting Tables
This project shows how paint and stencils can update sturdy secondhand furniture without changing its useful shape. For Faux Bone Inlay Nesting Tables with a cleaner pattern, plan the layout first, load the stencil brush lightly, allow overlapping sections to dry, and finish with a protective coat. The result is a flexible set of accent tables for small living spaces, made for a total project cost of $84.