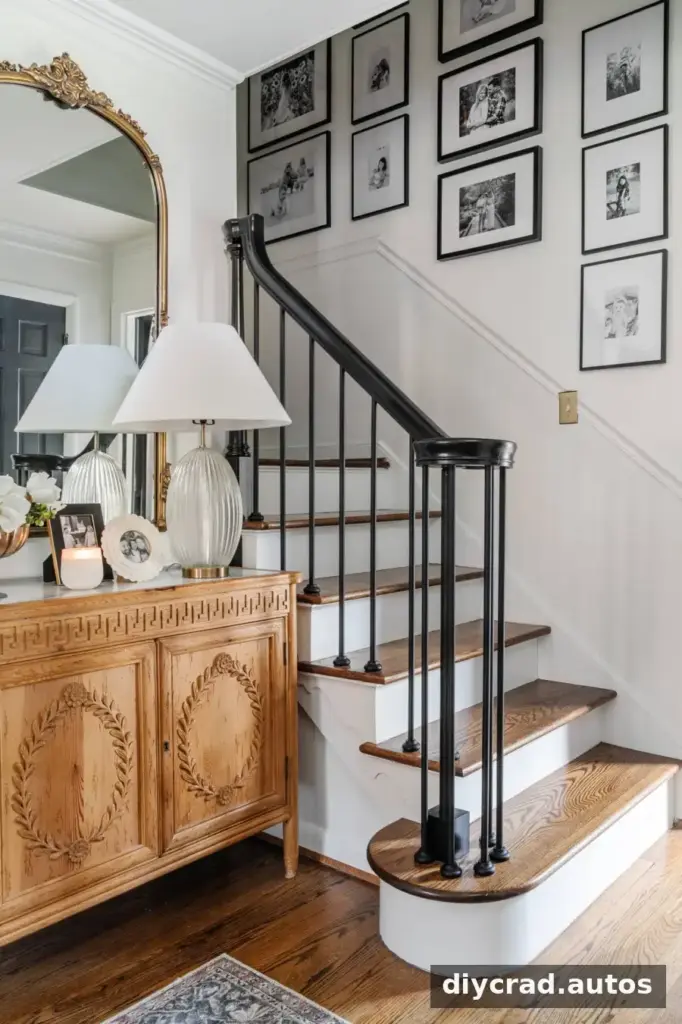
Learning how to hang a gallery wall can make it easier to display family photos, favorite artwork, mirrors, and other meaningful objects in one thoughtfully arranged space. The key is to plan the layout before putting holes in the wall. With paper templates, careful spacing, and the right hanging hardware, you can create a balanced display while avoiding unnecessary repairs.
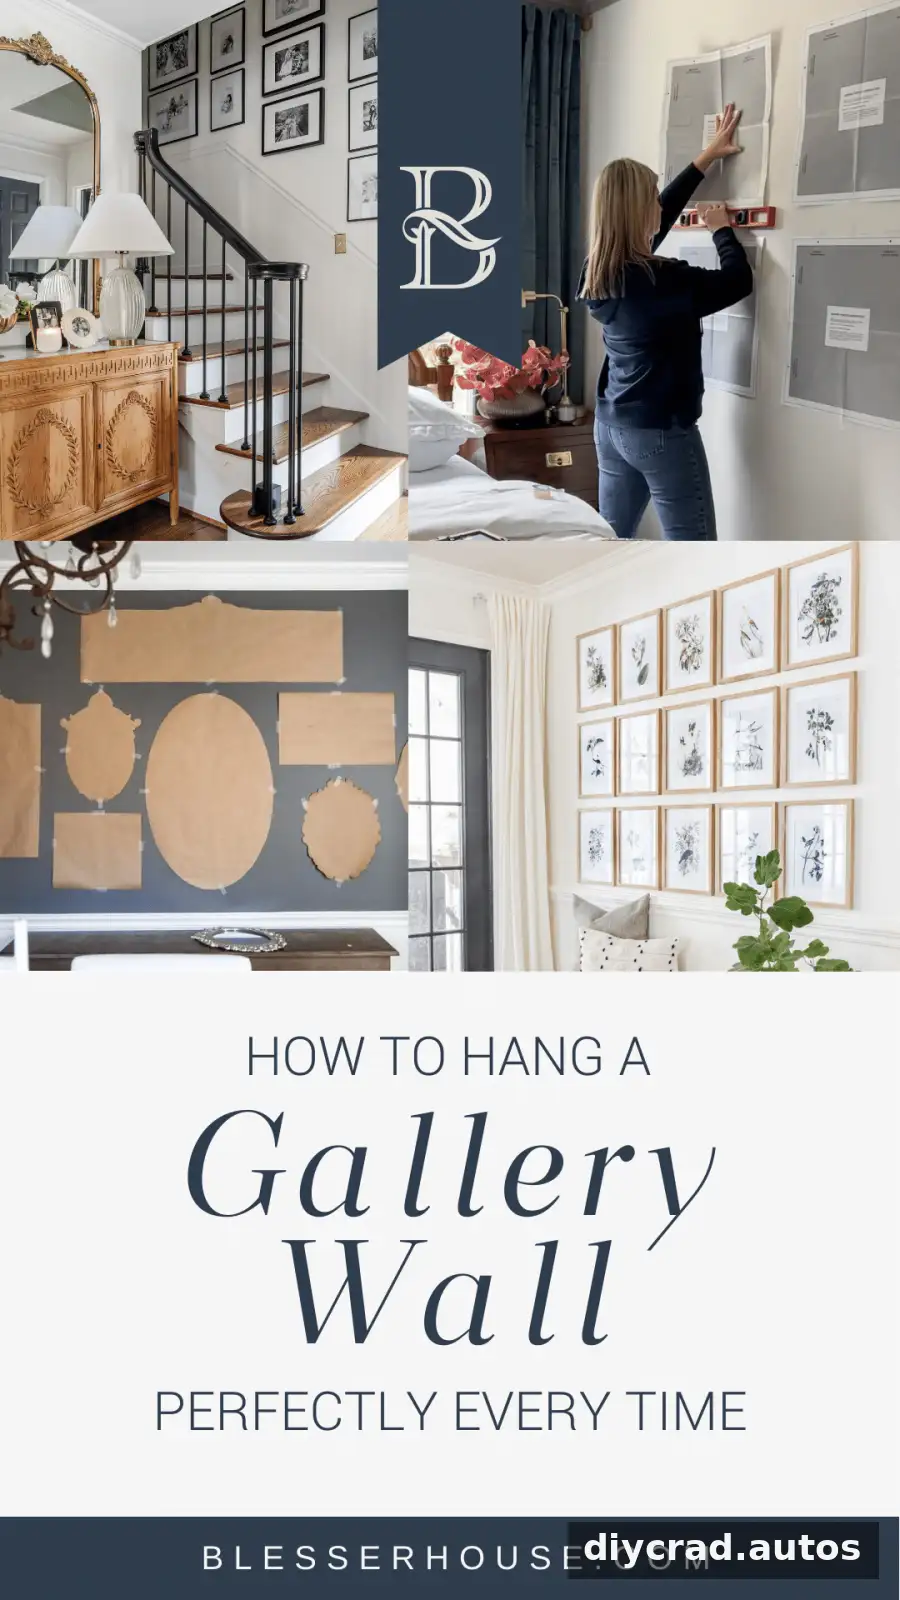
How to Hang a Gallery Wall Like a Pro
A gallery wall can bring personality to a living room, hallway, staircase, or bedroom. It may include matching frames for a clean look, a mix of artwork and photographs, or a few unframed objects for a more eclectic effect. Planning each piece in advance helps the collection feel intentional rather than crowded.
Before starting, gather the items you want to display and check that their colors, styles, or subject matter work together. You do not need every frame to match, but a shared visual detail—such as a consistent palette or similar frame finish—can help the arrangement feel cohesive.
Supplies for a Gallery Wall
- Frames and artwork: Gather the pieces for your display and note each frame’s dimensions.
- Measuring tape: Use it to check wall space and keep gaps consistent.
- Pencil: Mark template positions and hanger locations lightly.
- Level: Check that frames and rows sit straight before hanging.
- Hammer and nails or wall anchors: Select hardware suited to the frame’s weight and your wall type.
- Transparent tape: Use it to temporarily arrange paper templates on the wall.
- Wrapping paper or kraft paper and scissors: Make reusable-size templates that match your frames.
Step 1: Make Paper Templates
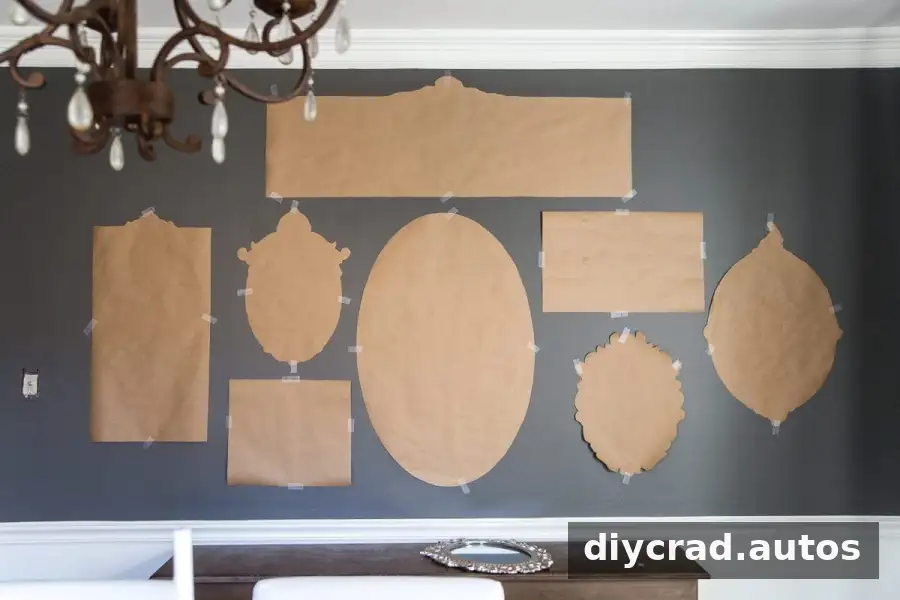
Eyeballing the positions of several frames can lead to uneven spacing and extra nail holes. Instead, trace each frame or object onto wrapping paper or kraft paper, then cut out the shapes. Label each template so you know which artwork it represents.
Measure the hanger or hanging wire position on the back of each frame and mark that spot on its paper template. This detail makes it possible to place the nail accurately later, rather than guessing based on the frame’s outer edge.
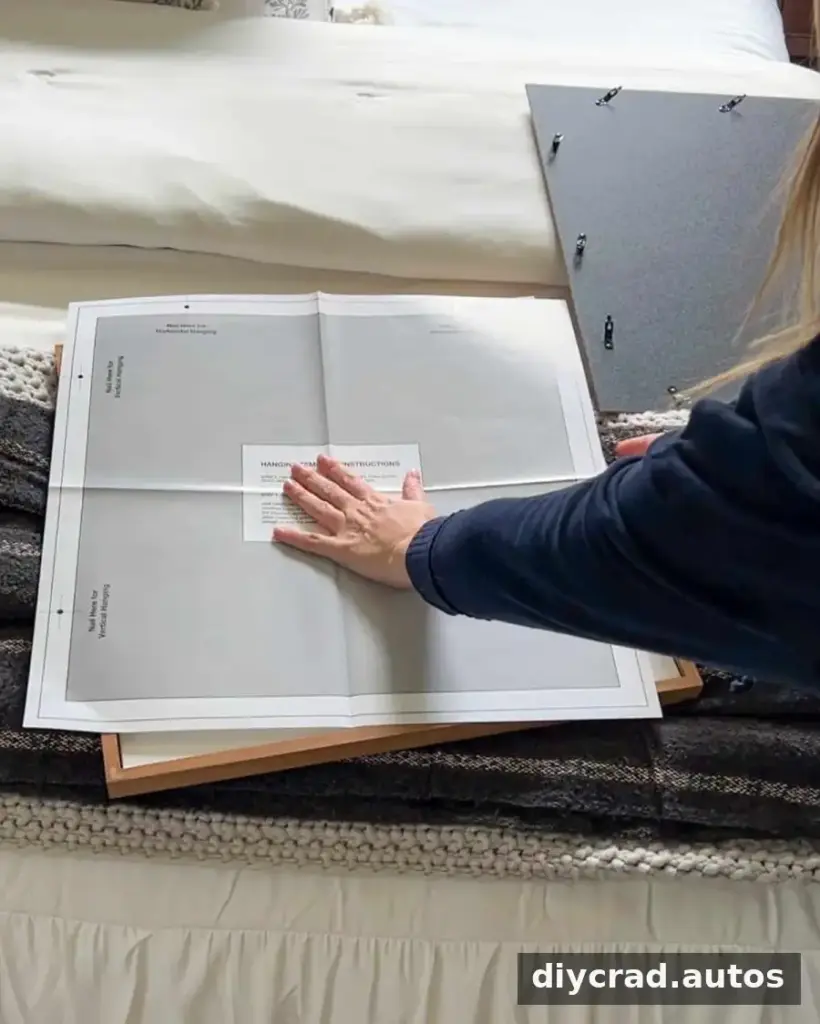
Templates for Ready-Made and Secondhand Frames
Some frame sets include paper guides, which can save time when arranging a group. If your frames do not come with templates, tracing them yourself works just as well. This is especially useful when combining frames of different sizes or using secondhand pieces.
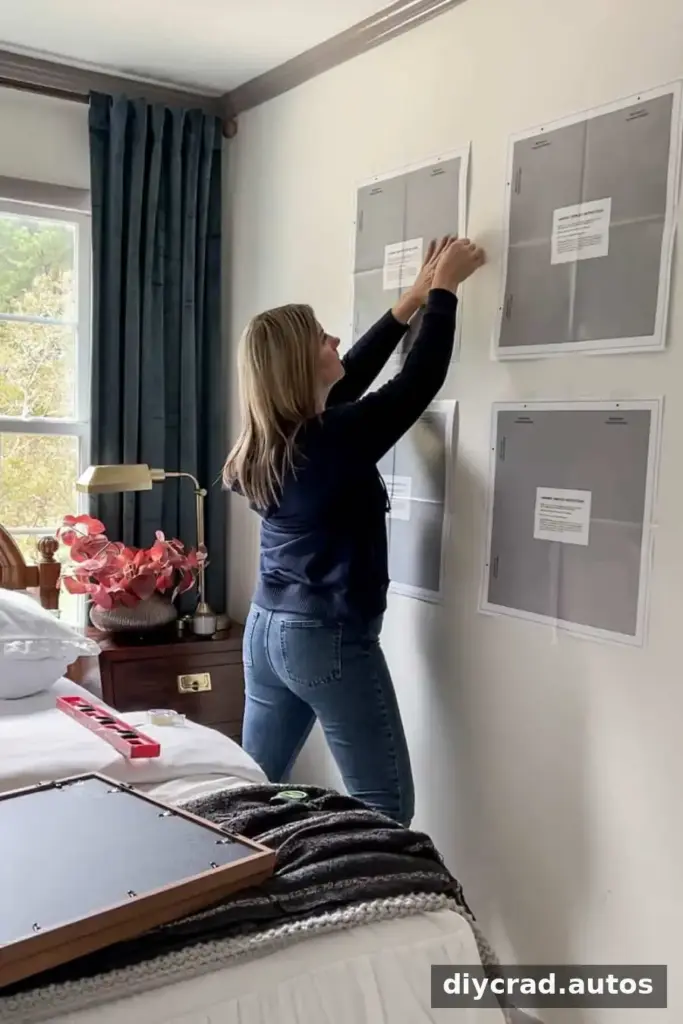
Step 2: Test Gallery Wall Layout Ideas
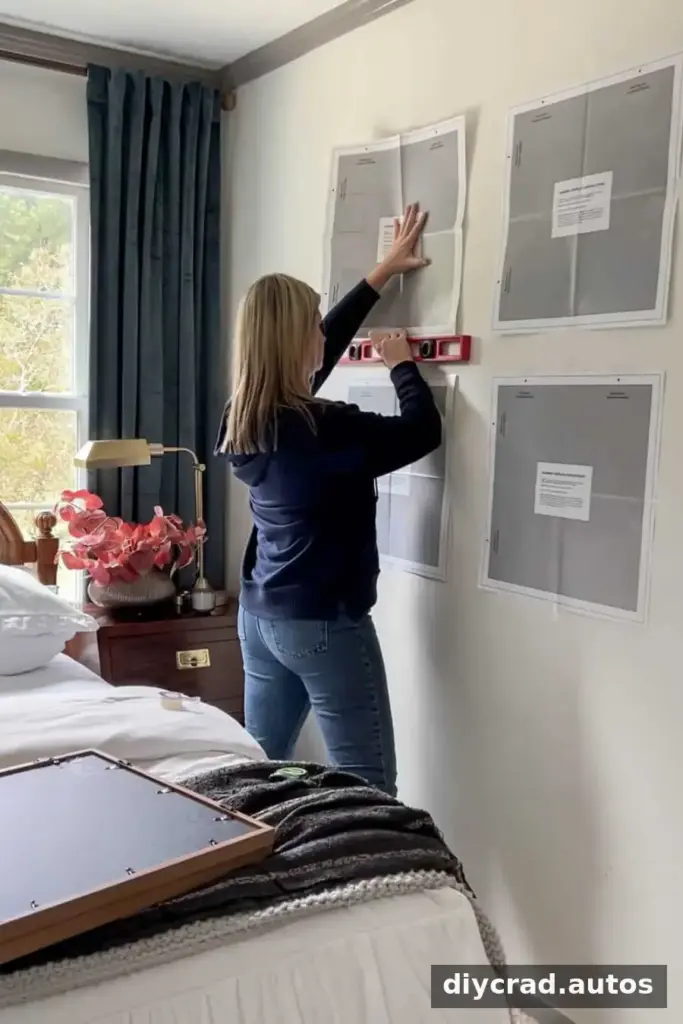
Tape the paper templates to the wall and move them around until the composition feels balanced. Transparent tape makes it easier to focus on the shapes and spacing without introducing a strong color into the layout. Use tape that is suitable for your wall surface, and test it in an inconspicuous spot if you are unsure.
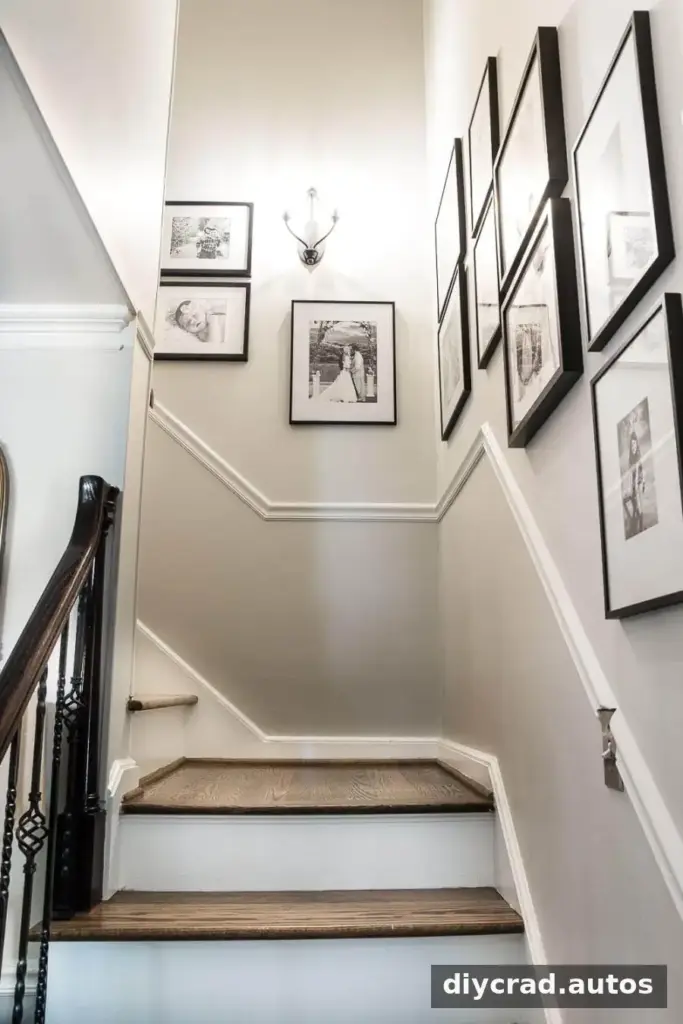
For a staircase gallery wall, a long diagonal guide along the base of the arrangement can help you position the lower corners of the frames. Keep the overall display aligned with the stairs while checking that individual pieces do not look tilted.
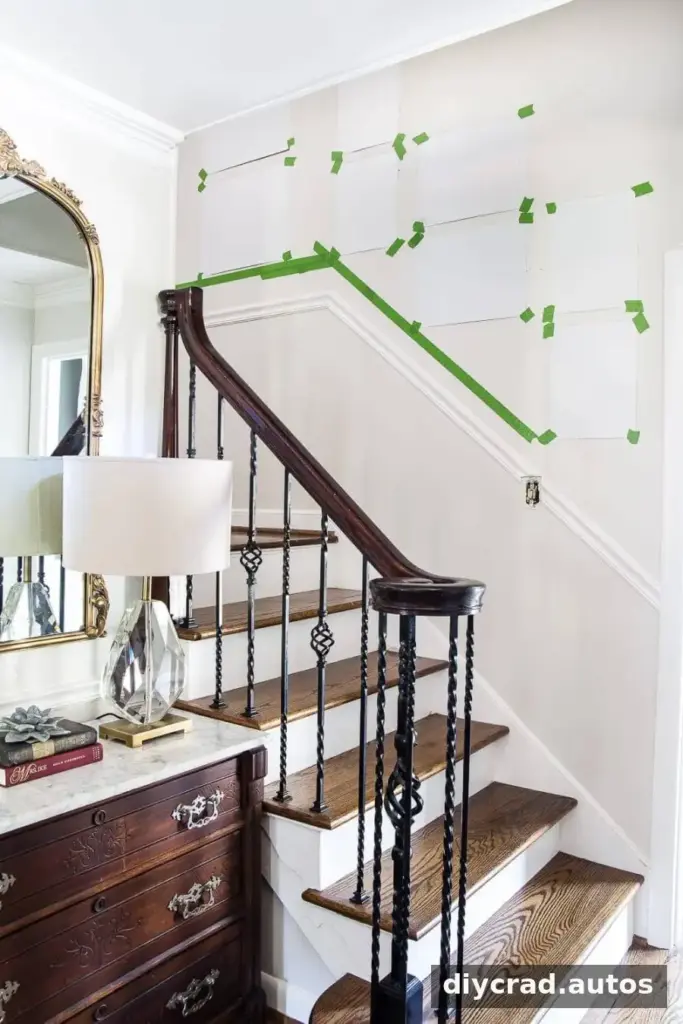
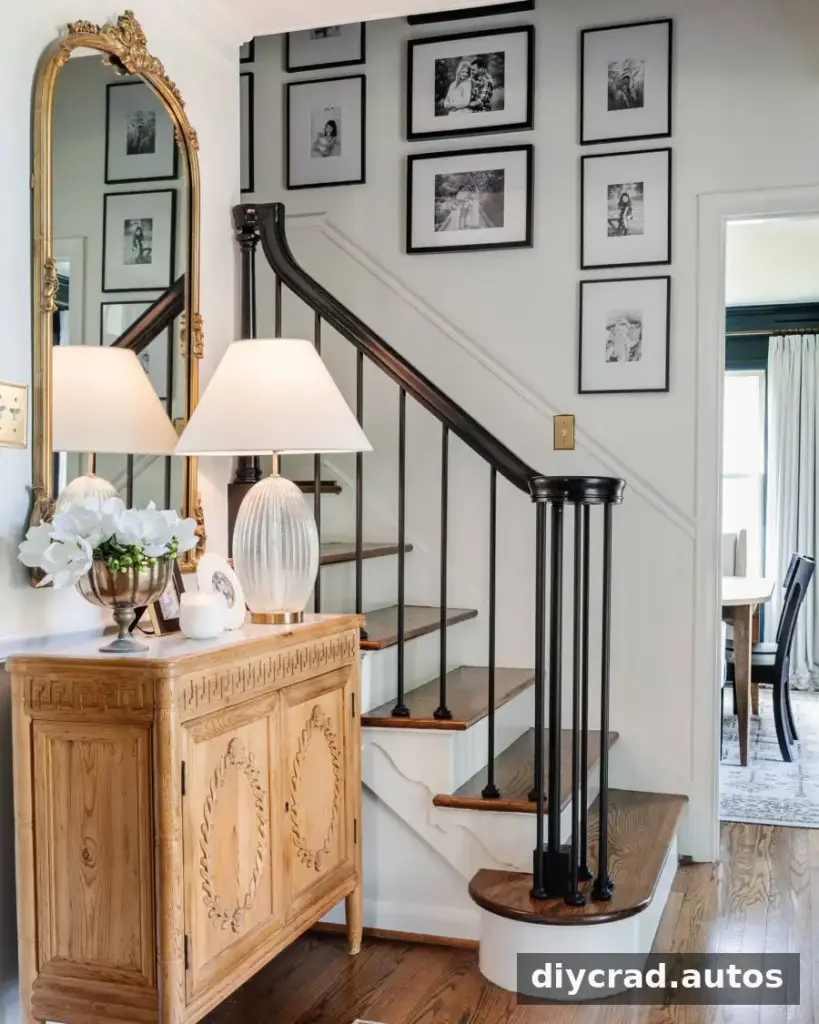
Try several arrangements before committing. Step back from the wall regularly; viewing the templates from across the room can reveal gaps or crowded areas that are hard to notice up close.
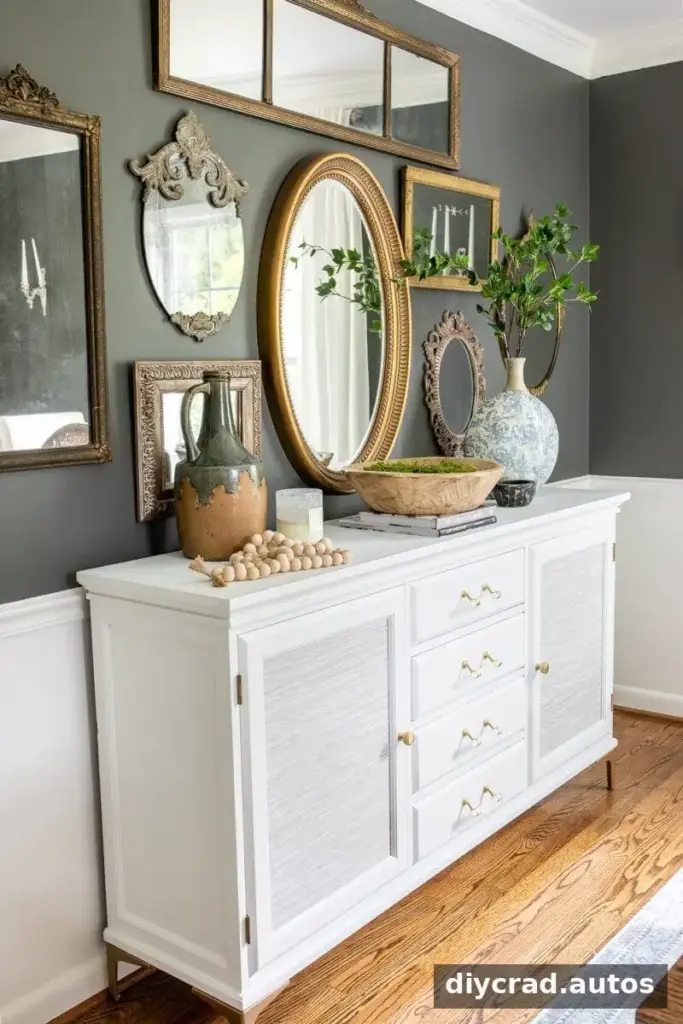
Choose a Balanced Layout
Begin with Larger Pieces
A group made only of small frames can look scattered, particularly on a large wall or in a room with tall ceilings. Start by placing a few larger pieces, such as 11×14, 16×20, or 20×24 frames, depending on the available wall space. These larger elements help anchor the arrangement.
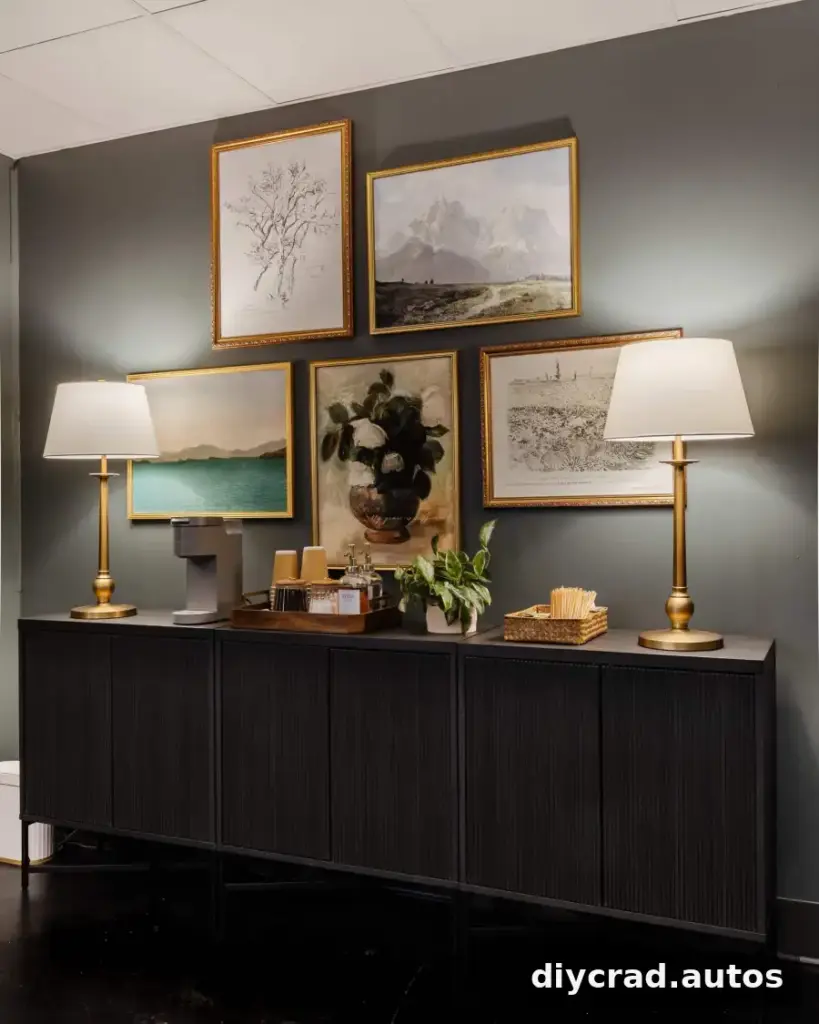
Fill the Gaps with Smaller Frames
Once the larger pieces are in position, use smaller frames to fill the remaining spaces. Keep the distance between frames consistent where possible. A simple grid can create a tidy, minimalist look, while a more varied arrangement can feel relaxed as long as the overall balance is maintained.
Add Unframed Objects Thoughtfully
Hats, baskets, pennants, ribbons, or a ukulele can add texture and personality alongside framed art. These objects work well as finishing touches, especially in a children’s room or a casual space. Check that each item can be securely mounted and does not interfere with doors, furniture, or walkways.
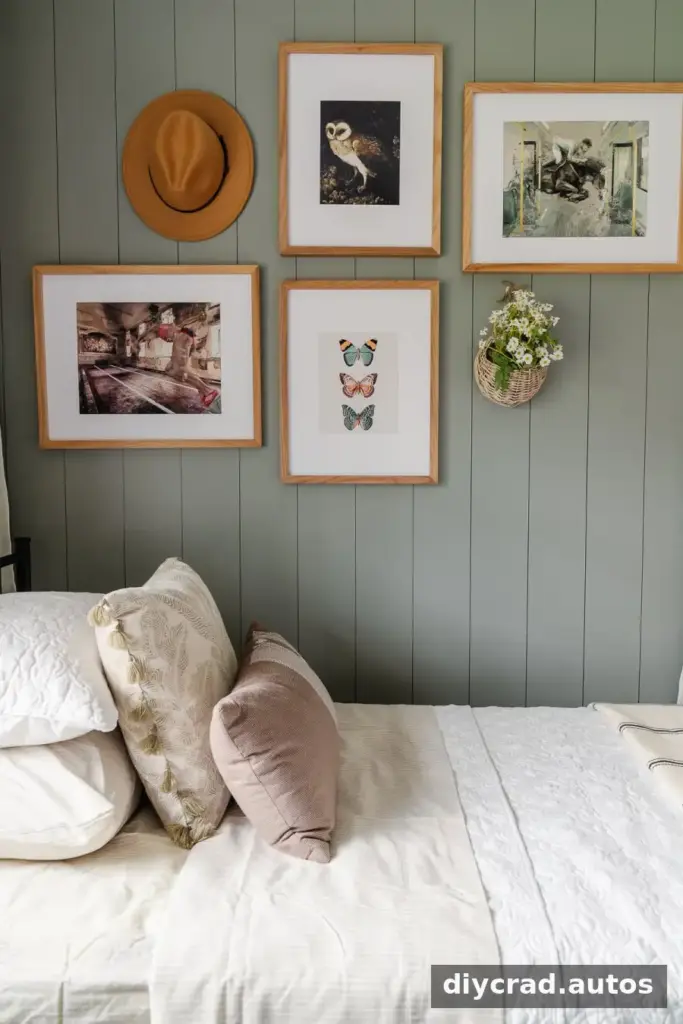
Unframed objects have different shapes from rectangular frames, so they can soften a formal arrangement. Use them sparingly and consider their weight and hanging method before adding them to the layout.
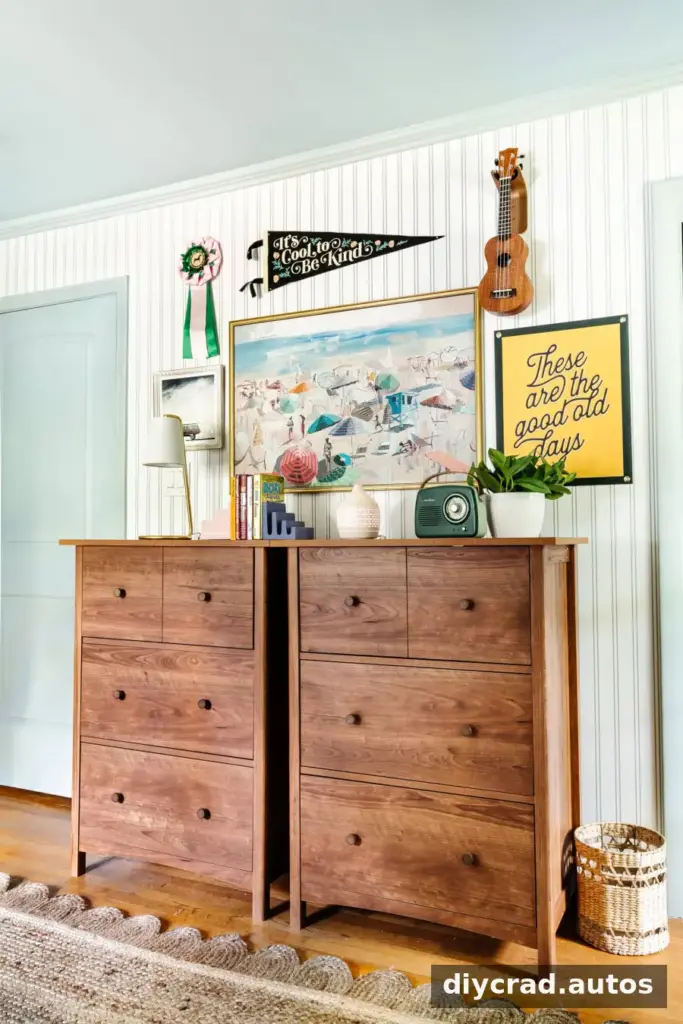
Use a Consistent Color Scheme
A limited palette can help a collection feel connected, even when the artwork and frames vary. Black and white is a classic option; pastels, primary colors, or different shades of blue can also work. As the number of pieces increases, repeating a few colors can prevent the display from feeling visually busy.
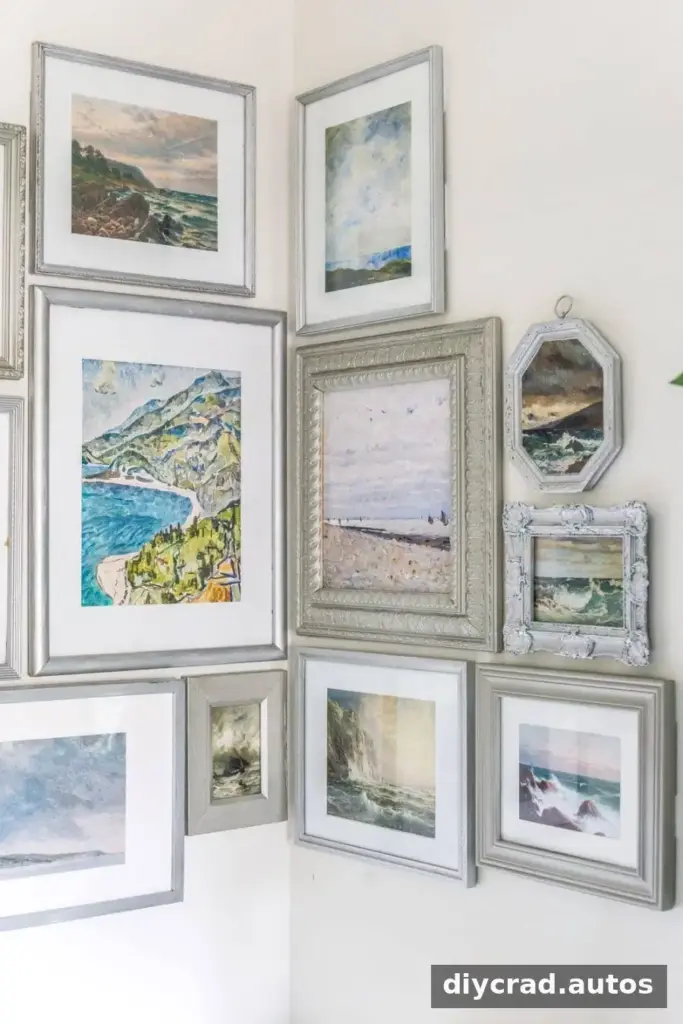
Consider Matting
A mat creates a border around a photograph or artwork and can give a collection a more finished appearance. White mats paired with black frames offer a crisp, traditional combination, while ornate frames can suit a more decorative style. Pre-cut mats are an option for frames that do not already include one; check that the mat opening fits the artwork before purchasing.
If you are reusing frames, a consistent finish can help tie them together. Make any refinishing decisions before hanging, and allow painted frames to dry fully before placing artwork inside.
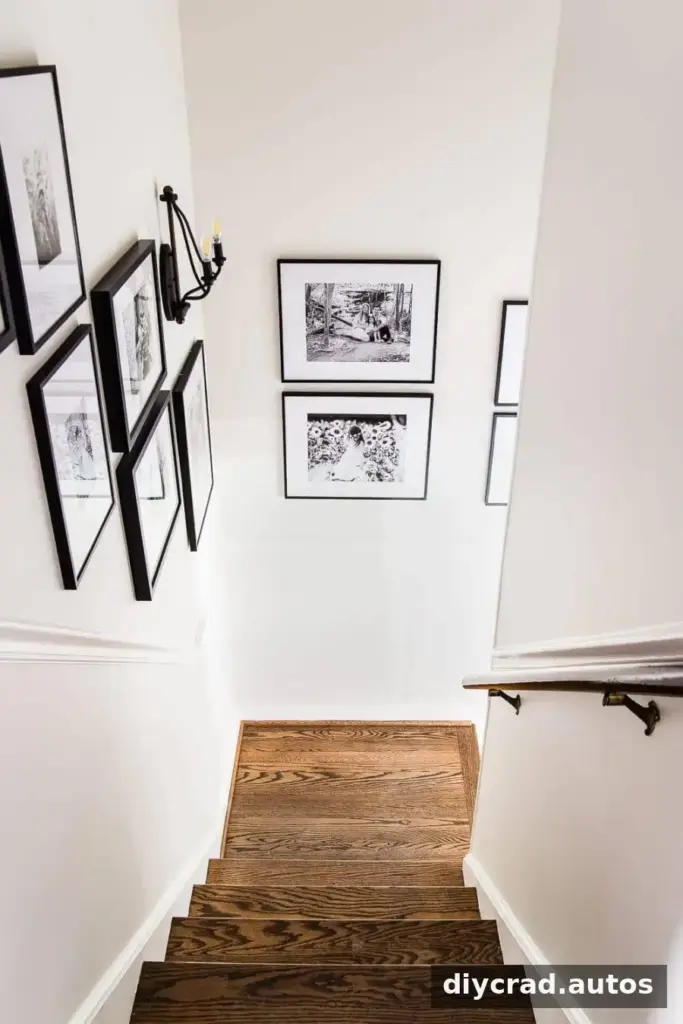
Simple Gallery Wall Layout Ideas
A grid is a reliable choice when the frames are similar in size and you want a clean, orderly result. For a more varied display, anchor the arrangement with larger pieces and distribute smaller frames and objects around them. In either layout, keeping the visual weight balanced on both sides helps the wall feel composed.
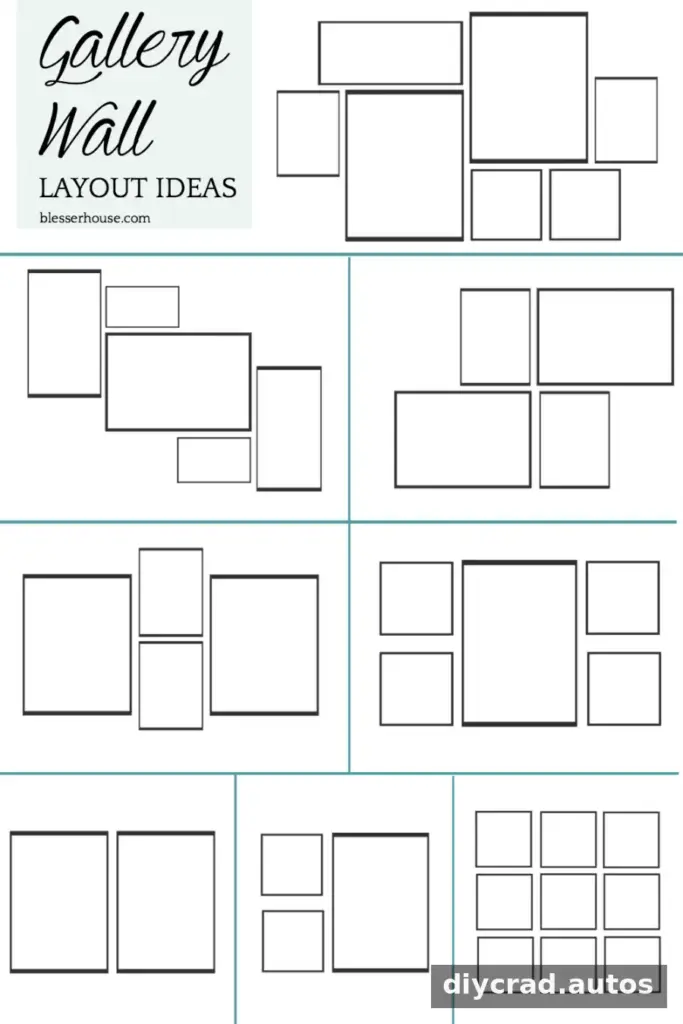
When you are unsure where to begin, arrange matching prints in a simple grid. It is easy to measure, straightforward to adjust, and well suited to a coordinated set of artwork.
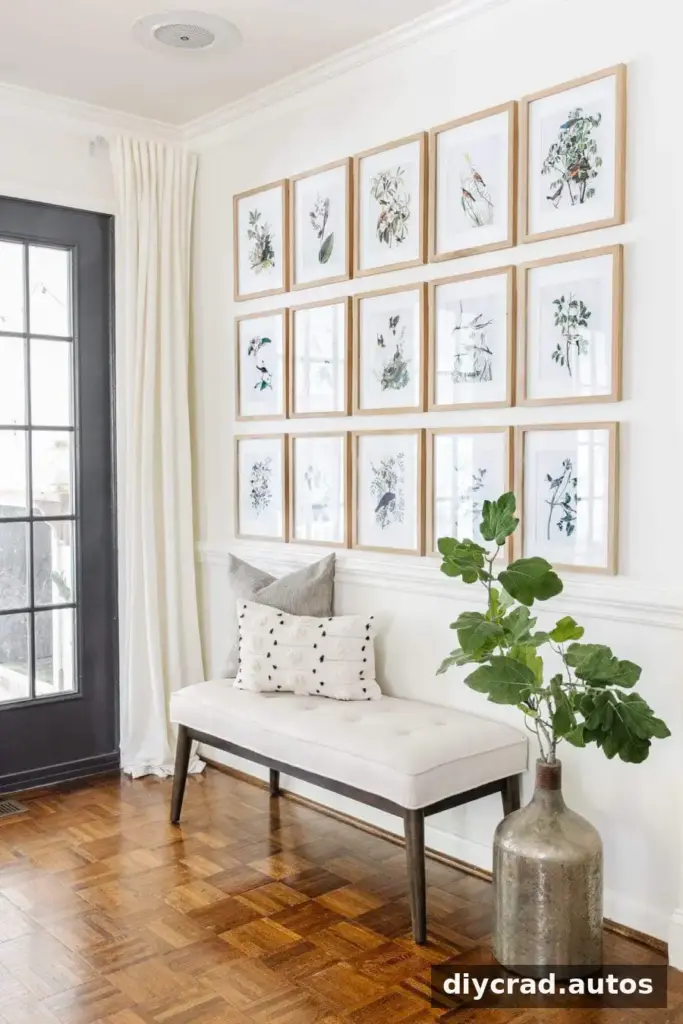
Step 3: Measure and Level the Arrangement
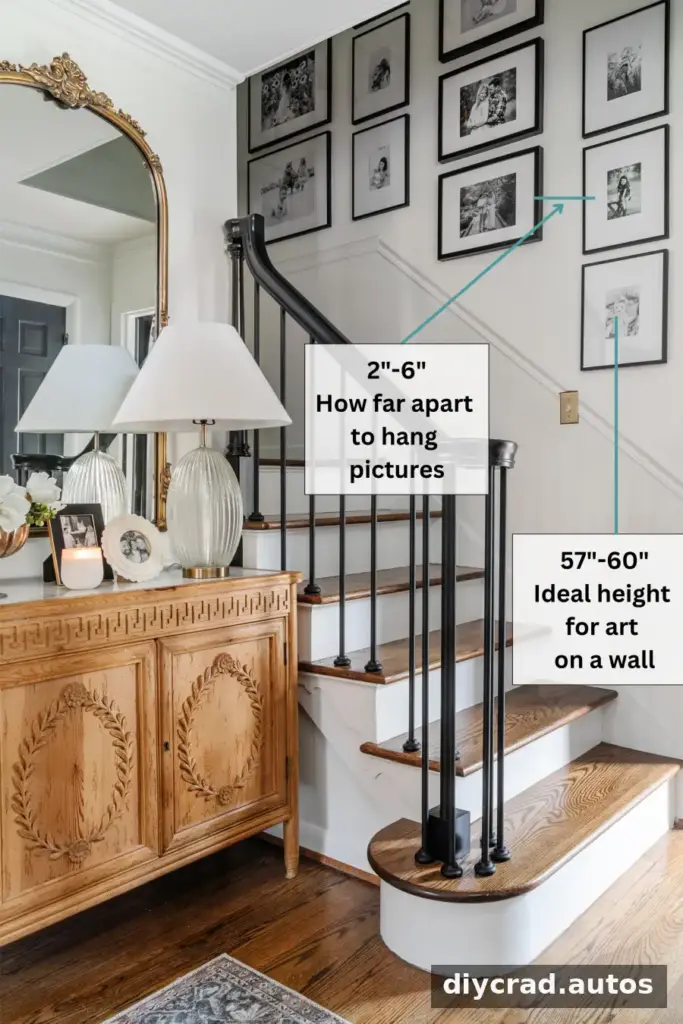
Leave about 2–6 inches between frames so the pieces read as one group without appearing crowded. The ideal spacing may vary with frame size, so check the whole arrangement from a distance before settling on the final positions.
As a general guideline, place the center of the gallery wall around eye level—approximately 60 inches from the floor to the center for most people. If the display is above furniture or follows a staircase, adjust its position to suit the room and keep the composition visually connected to its surroundings.
Before making any holes, use a level to check the templates and make final adjustments. Confirm that the arrangement fits the available wall area and that the planned hanging points are clear of switches, trim, and other obstacles.
Step 4: Hang the Frames
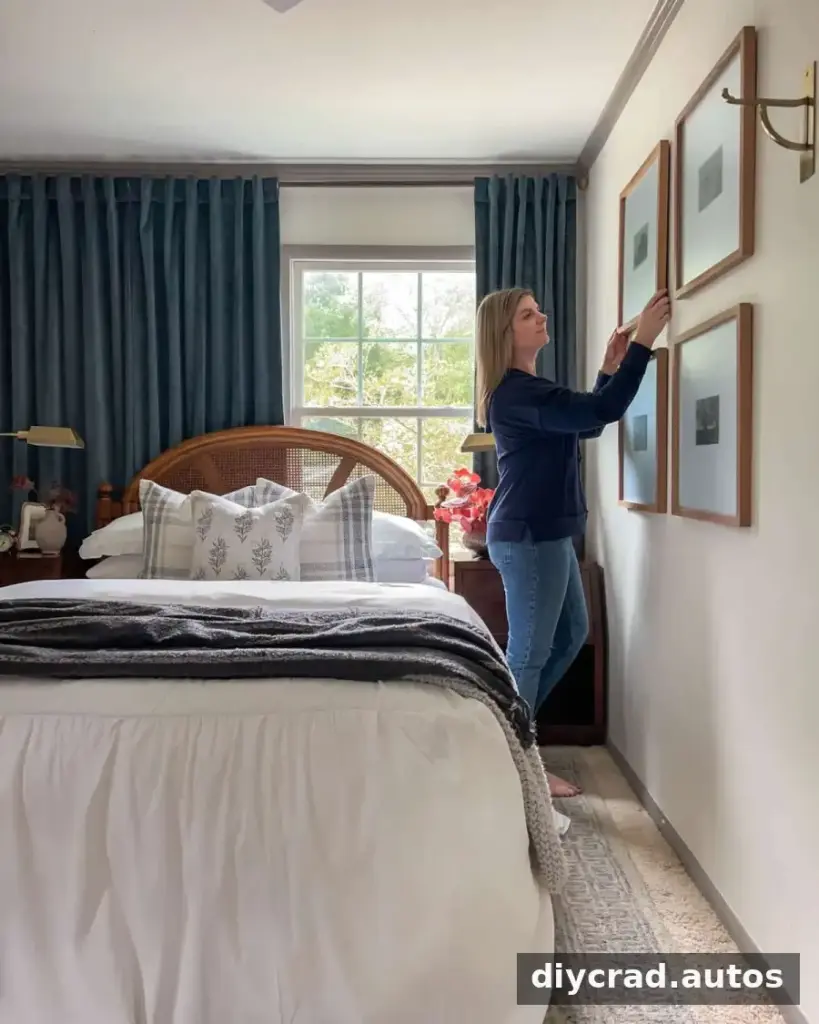
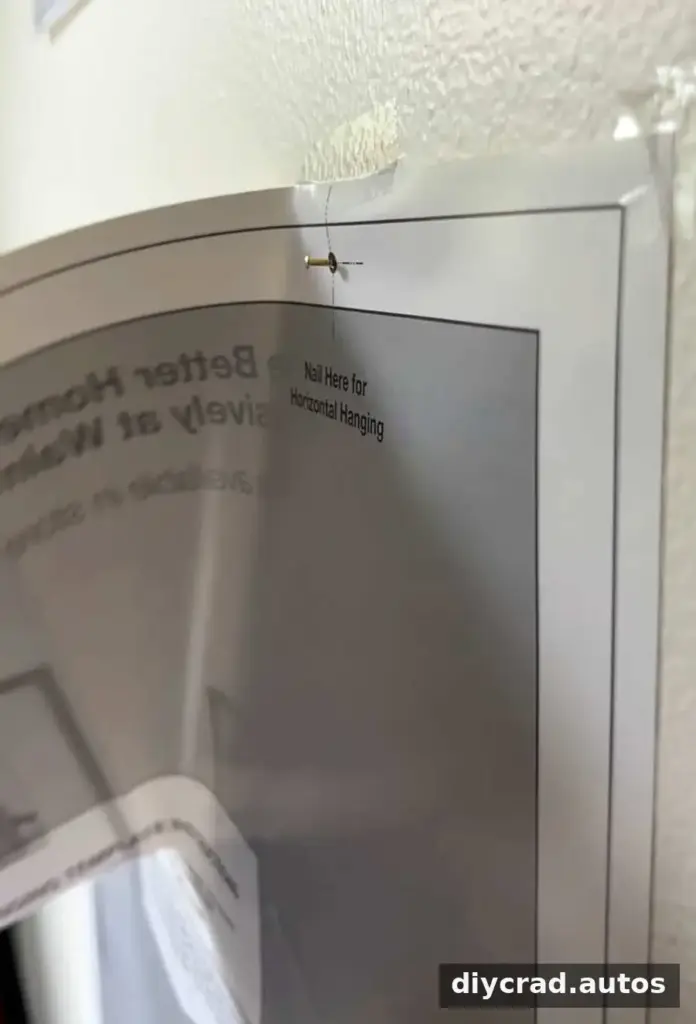
Use the hanger marks on each template to locate the nail or anchor position. Secure the appropriate hardware through the marked spot, then remove the paper and tape. Hang the frame and check its alignment before moving on to the next piece.
For heavier frames, use wall anchors or other hardware appropriate for the wall material and the frame’s weight. Follow the hardware instructions, and avoid relying on a small nail when a stronger fixing is required.
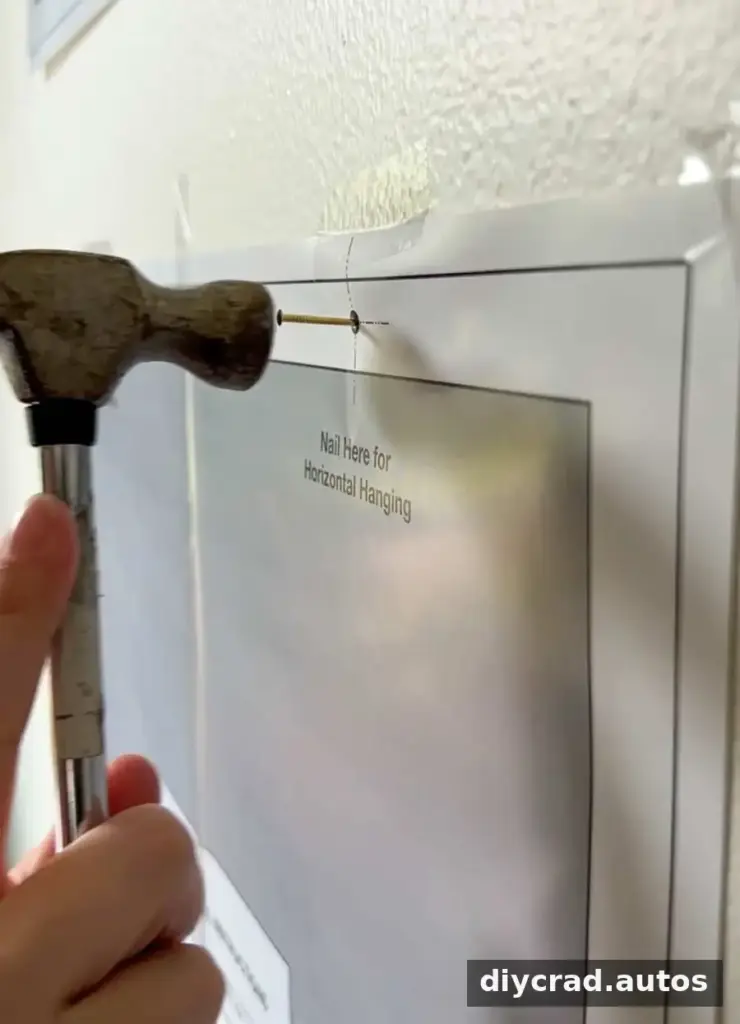
The same method works whether your frames come with guides or you make templates from wrapping paper or kraft paper. Taking time to mark the hanger position accurately can reduce guesswork and help the finished layout match your plan.
Final Tips for a Polished Gallery Wall
- Plan the full arrangement on the floor or with paper templates before hanging anything.
- Use larger pieces to establish the layout, then add smaller frames and decorative objects.
- Keep spacing consistent and check the display from several points in the room.
- Choose hanging hardware based on both the wall surface and the weight of each item.
- Make small adjustments before installation; templates are easy to move, but filled nail holes take more work to conceal.
A thoughtfully arranged display can turn a blank wall into a personal focal point, whether it features family photographs, artwork, or a mix of objects. For how to hang a gallery wall successfully, the most useful steps are to make templates, test the layout, measure carefully, and choose secure hardware. Planning first helps the finished collection look balanced and makes the installation more straightforward.