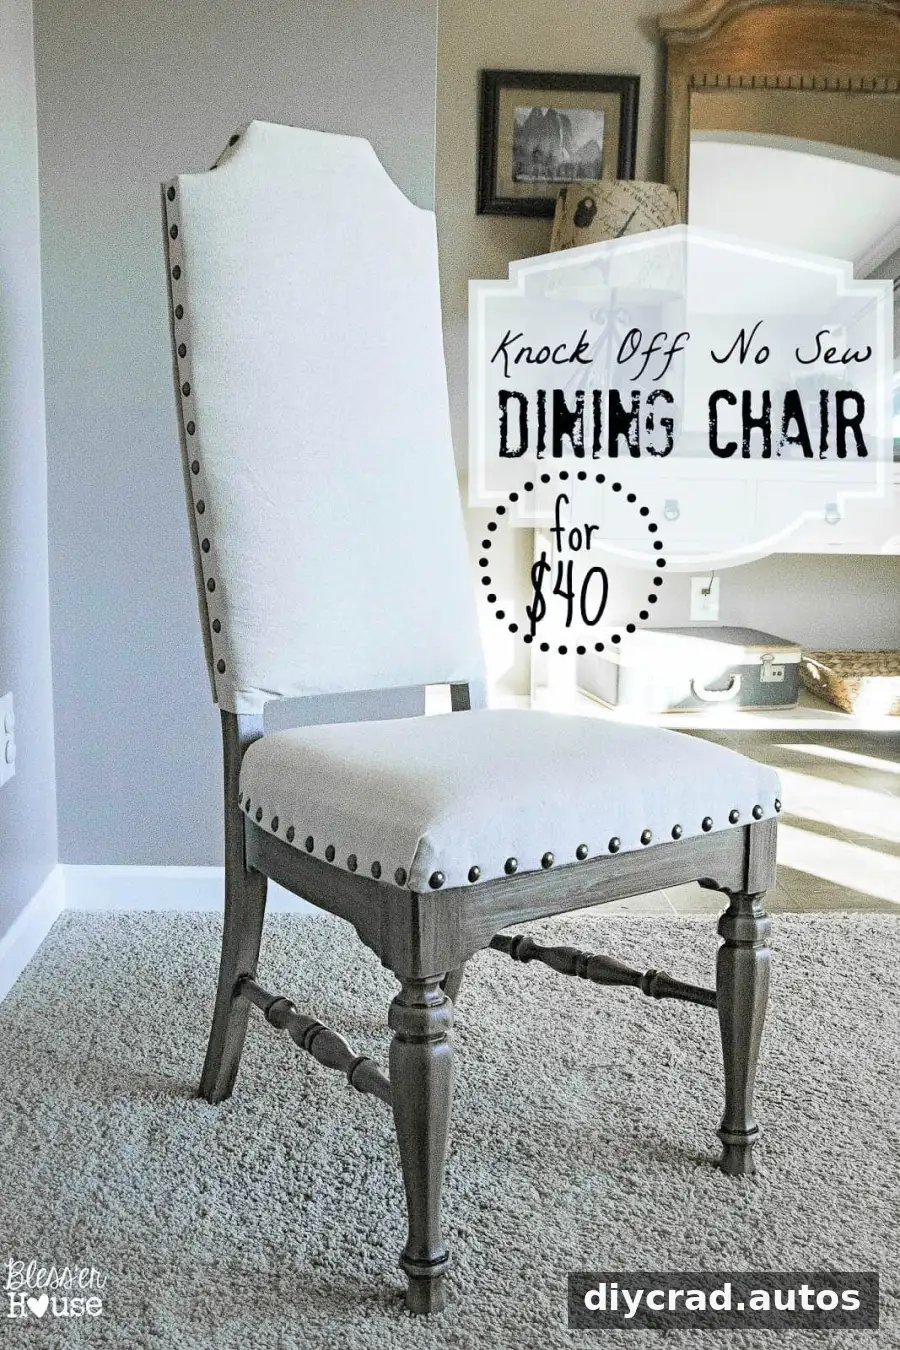
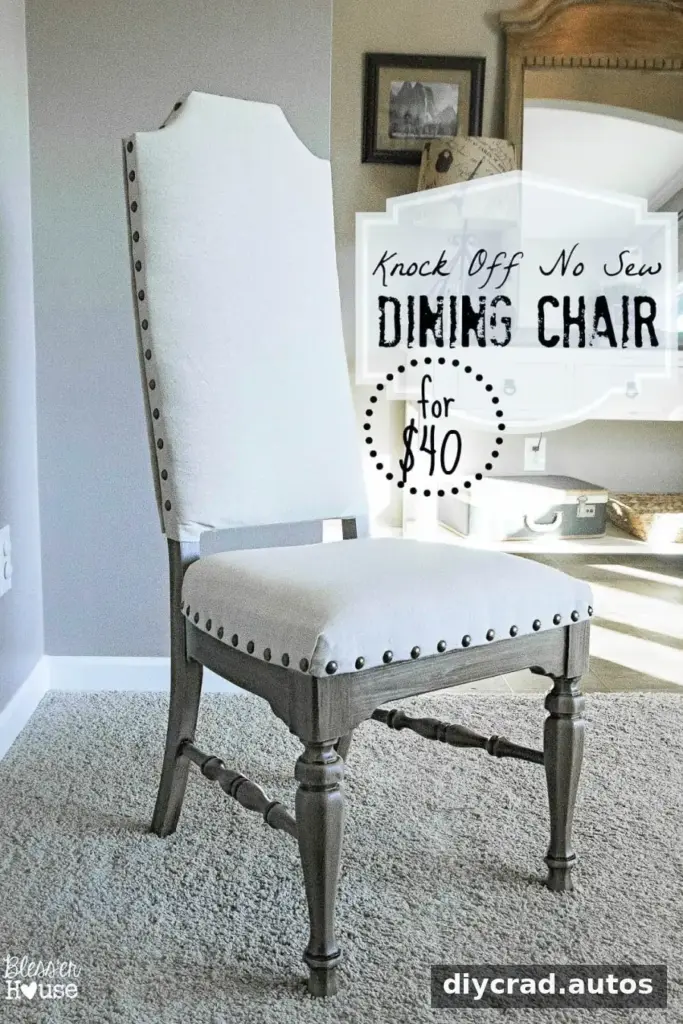
No-sew dining chairs can give a dining room an upholstered, polished look without the cost of buying a full set of designer chairs. This project transforms sturdy secondhand chairs with paint, a drop cloth, foam, and decorative nailheads. The work involves cutting and upholstering, so a helper can make several steps easier, but the materials and process are straightforward to plan.
No-Sew Dining Chairs: The Inspiration and Starting Point
The goal was to create chairs with light linen- or canvas-style upholstery, nailhead trim, and weathered-looking wood legs. Comparable retail chairs were priced at $449, $349, and $429 each, making a six-chair set costing around $2,400 impractical for the budget.
The project began with 1970s chairs purchased secondhand for $20 each. Their original upholstery and finish needed updating, but the frames were sturdy and had good underlying construction. They were made by a quality furniture manufacturer, which made them suitable candidates for a makeover.
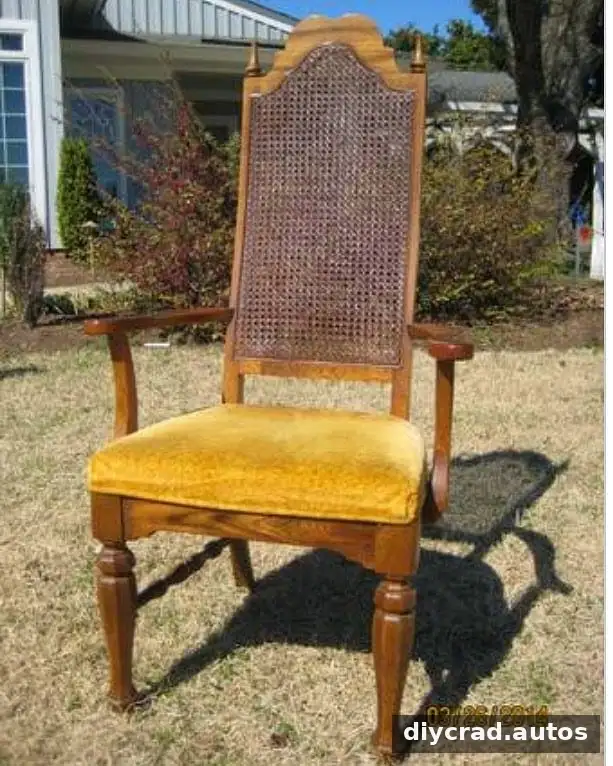
The original golden-toned finish was far from the intended look, but the chair frames offered a solid starting point.
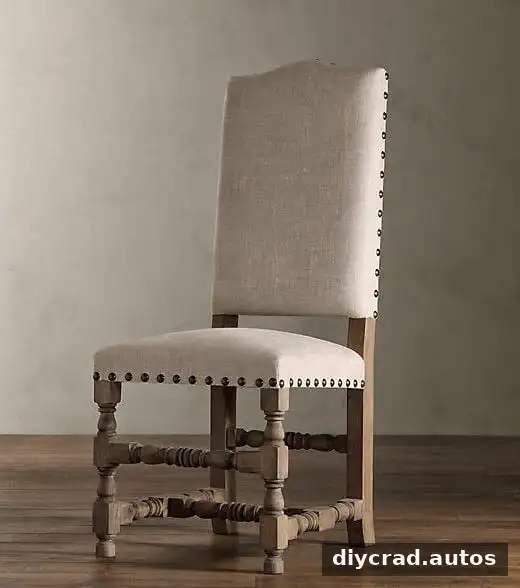
One reference chair was listed at $449.
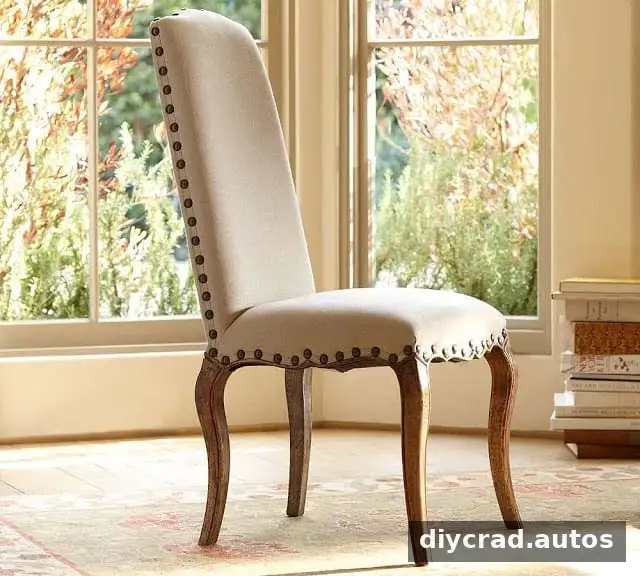
Another comparable chair was listed at $349, while a third reference design was priced at $429.
Rather than purchase six chairs at those prices, the secondhand set was refinished and upholstered. The final reported cost was $40 per chair, including the $20 purchase price. The full set of six cost less than one of the comparable retail chairs.
Materials and Tools
Gather supplies before starting so the chairs can be worked on in stages. The project used:
- Jigsaw and mouse sander
- Pneumatic staple gun and electric drill
- Primer and flat paint in Montpelier Ashlar Gray
- Dark Walnut stain, several rags, and a 1 1/2-inch paintbrush
- Sponge paintbrush
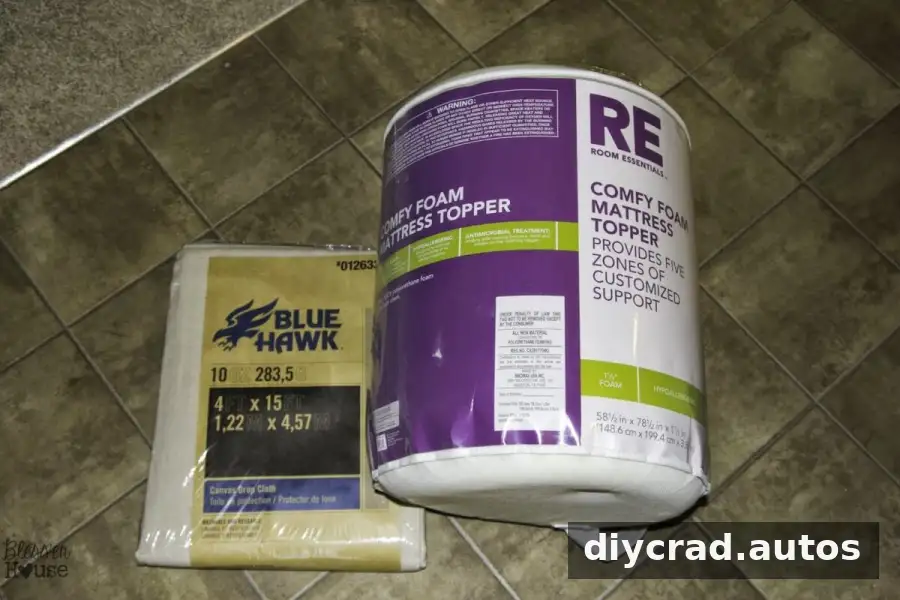
- Mattress egg-crate foam and spray upholstery adhesive
- Canvas drop cloth, fabric scissors, and staples
- Sharpie marker and a medium cardboard box
- Hot glue gun and glue sticks
- Contact cement
- Antique-gold 5/8-inch nailheads, about four packs per chair
- Tape measure and pencil
Some supplies were already available or borrowed, so the out-of-pocket cost covered the nailheads, drop cloth, spray adhesive, cardboard, and foam. Your total may differ depending on what you own and local prices. Before cutting or drilling, check that the chair is stable and use appropriate eye and dust protection.
Prepare and Refinish the Chair Frames
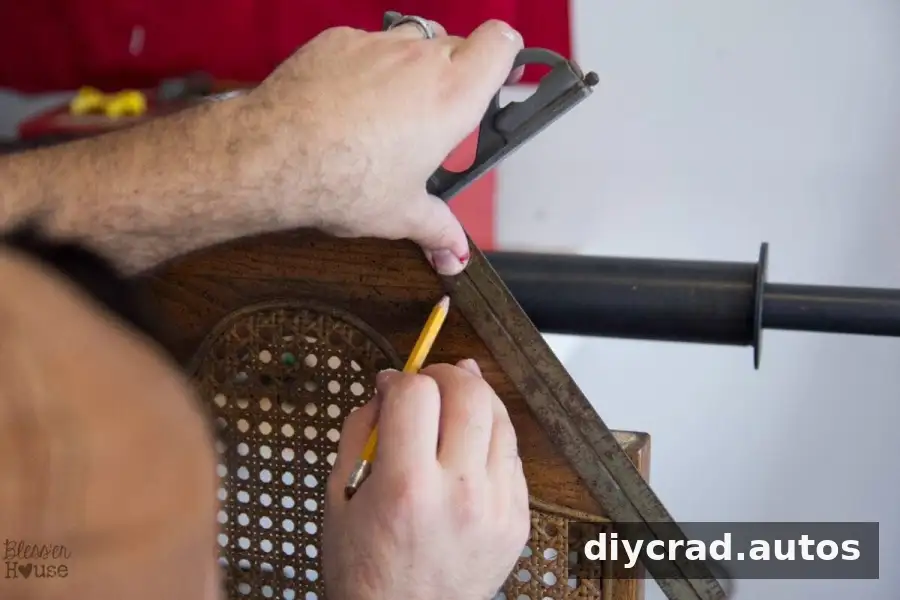
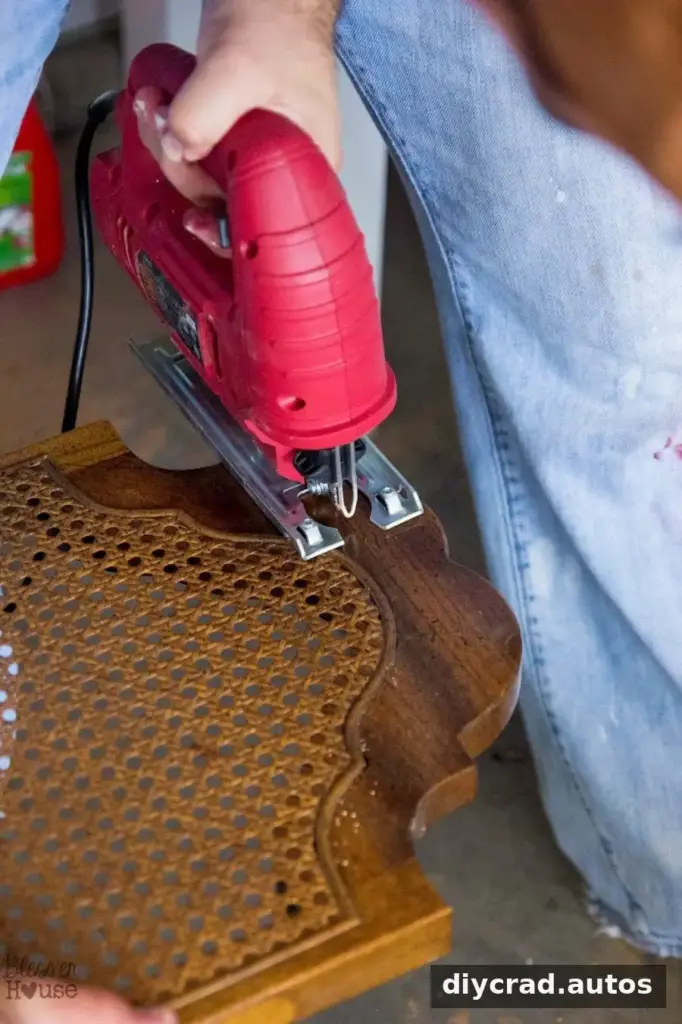
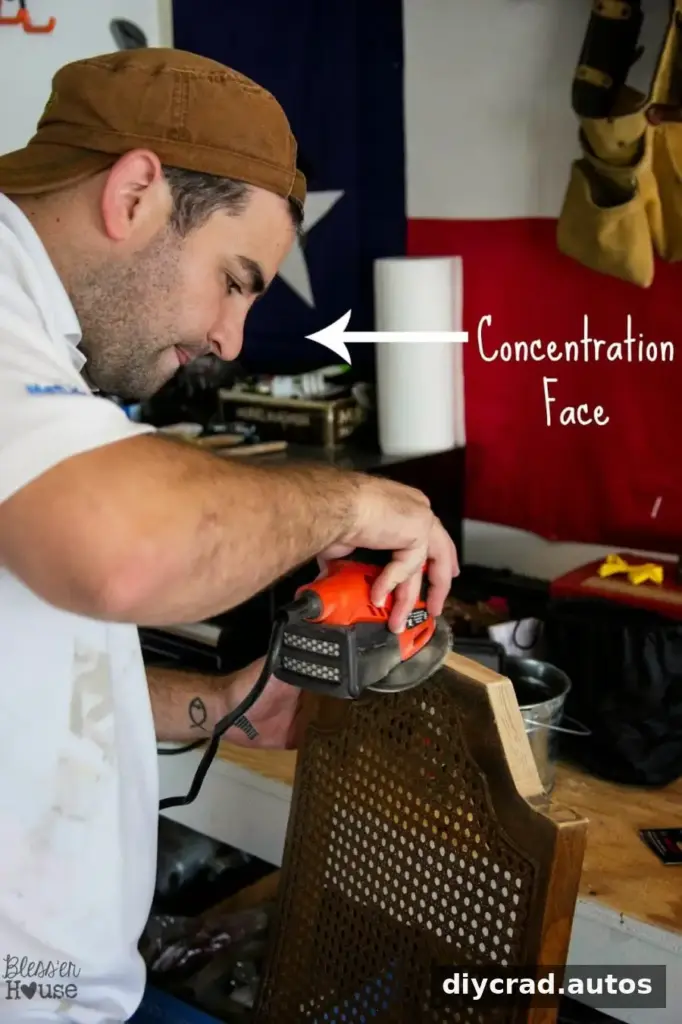
Because the chair backs had curved tops, the finials were removed first to make full upholstery easier. Straight cut lines were marked with a level, taking care not to cut into the caning. The tops were then cut with a jigsaw and the edges sanded smooth.
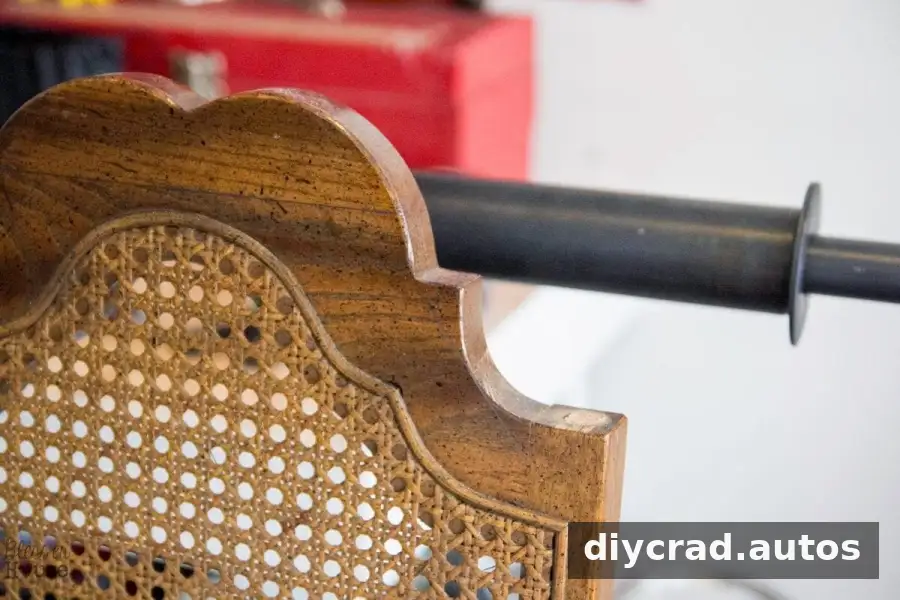
Marking straight, even lines helps create a consistent shape across the chairs.
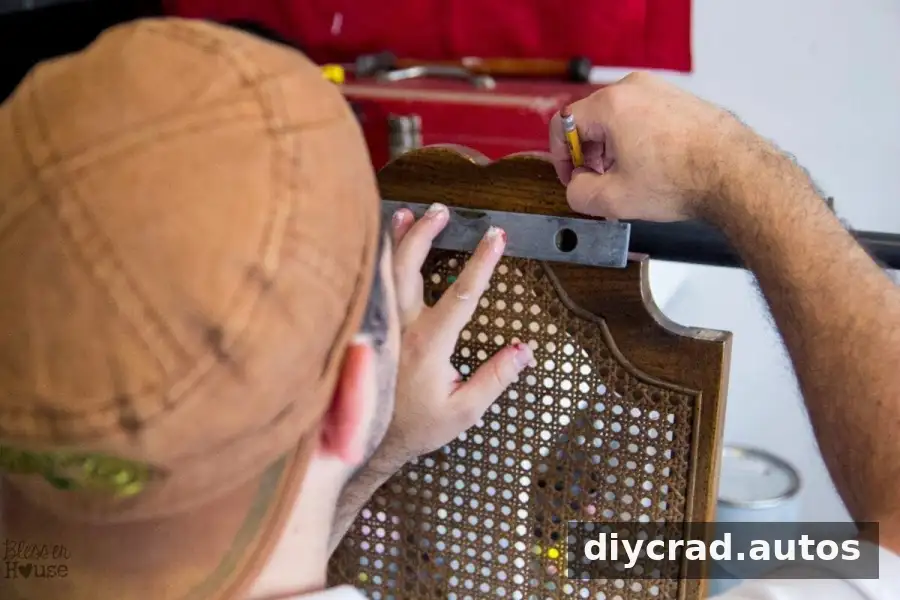
Keep the cut line clear of the caning so it remains intact.
Follow the marked lines with the jigsaw, using care to control the cut.
Sand the newly cut edges to smooth rough spots.
With the curved tops removed, the lower chair frames were ready for refinishing.
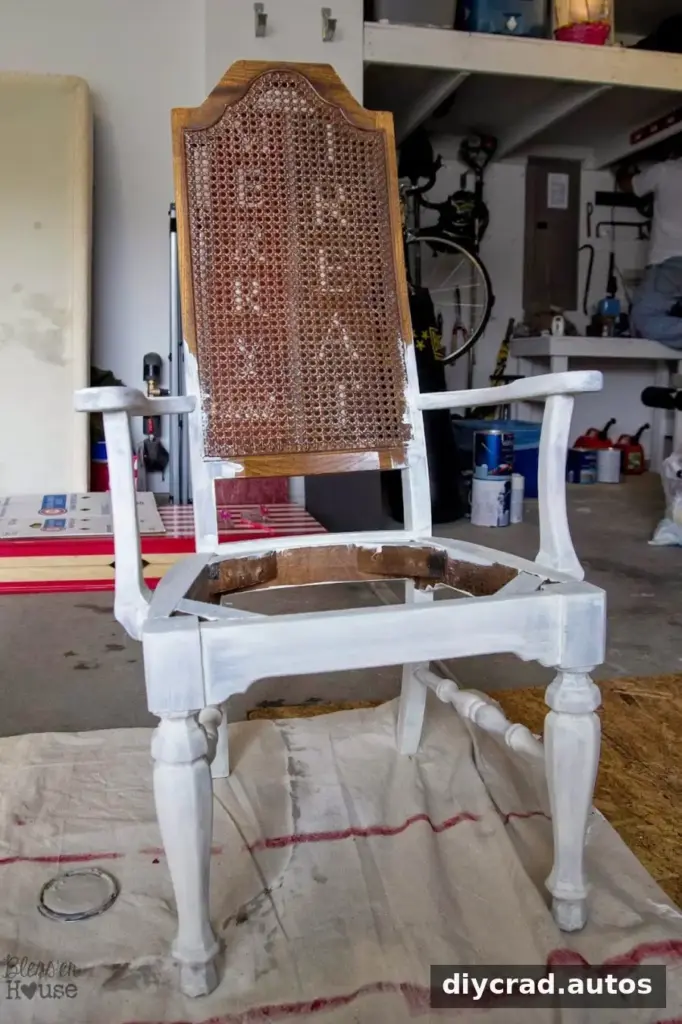
Apply primer, then paint the lower frames with two coats of flat Montpelier Ashlar Gray. Allow the paint to dry before applying stain.
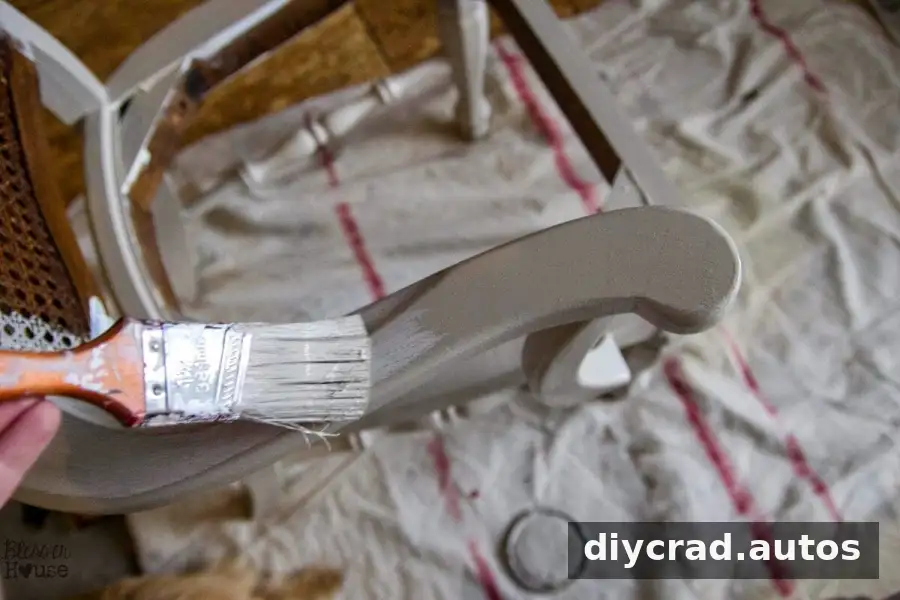
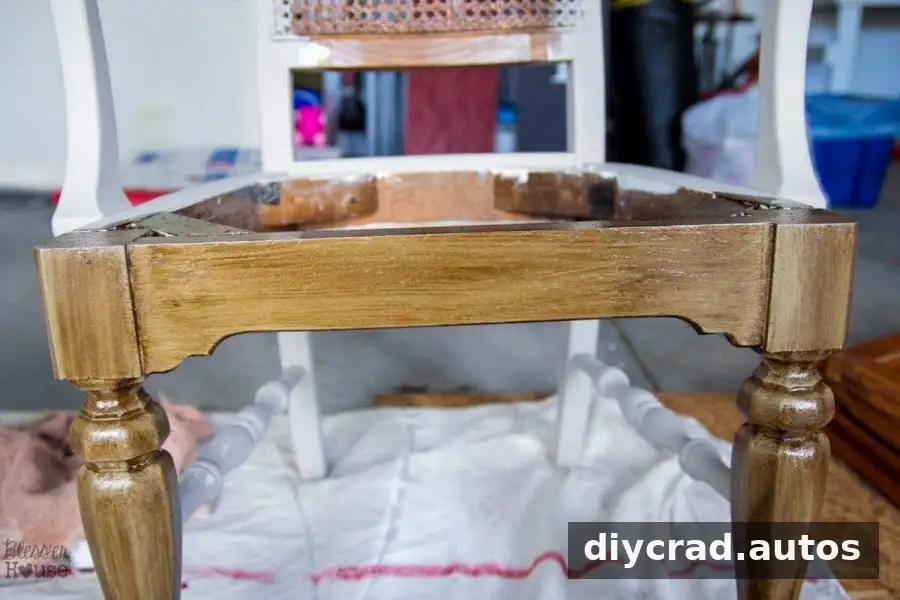
Use a sponge brush to apply Dark Walnut stain in manageable sections. Let it sit for about 10 minutes, then wipe away the excess with a rag.
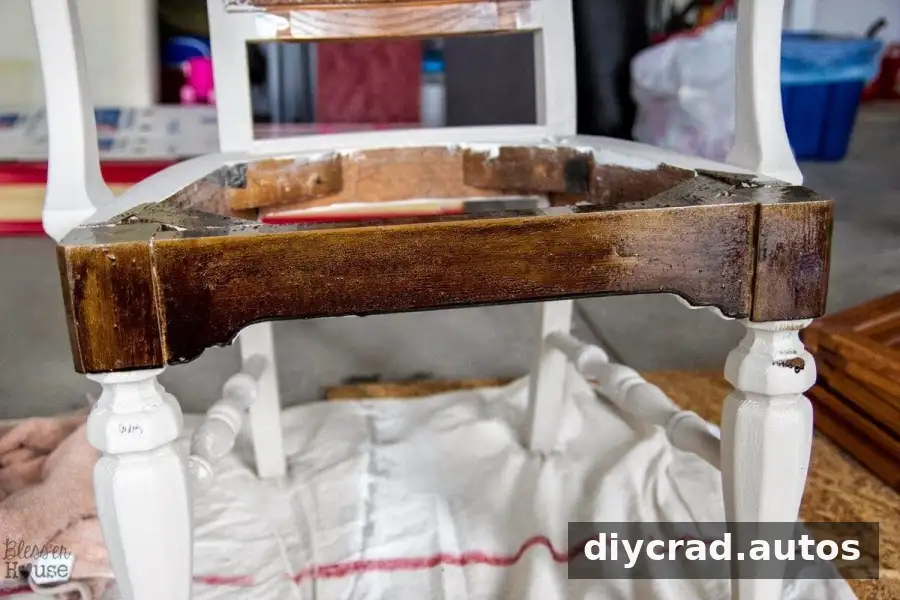
The layered finish leaves a rich wood tone with some gray showing through, while keeping the visible wood grain.
Make the Padded Chair Backs
Once the frames were dry, the upholstery work began. Mattress egg-crate foam was used as padding; it can be a lower-cost alternative to specialty upholstery batting for this kind of project. Use a cardboard template to keep the shape consistent from chair to chair.
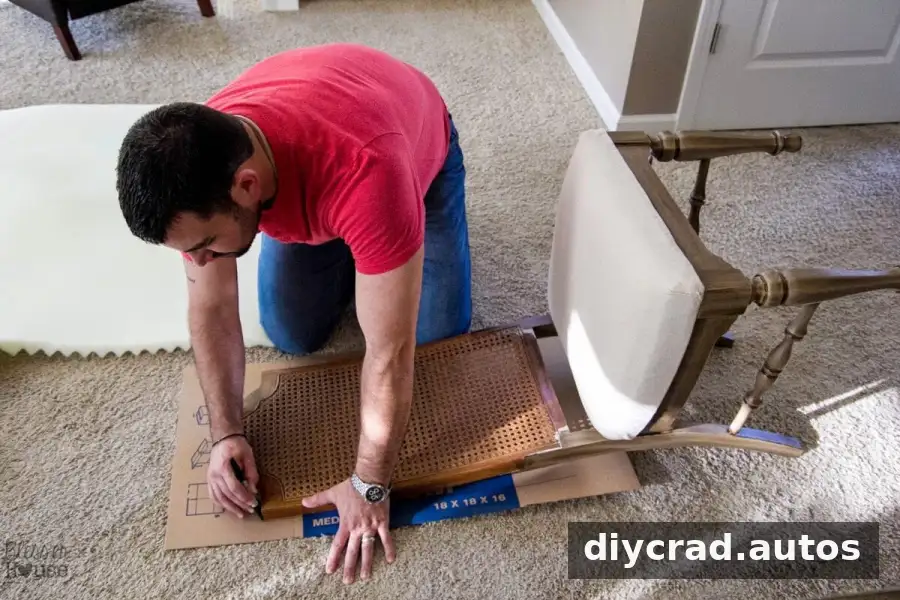
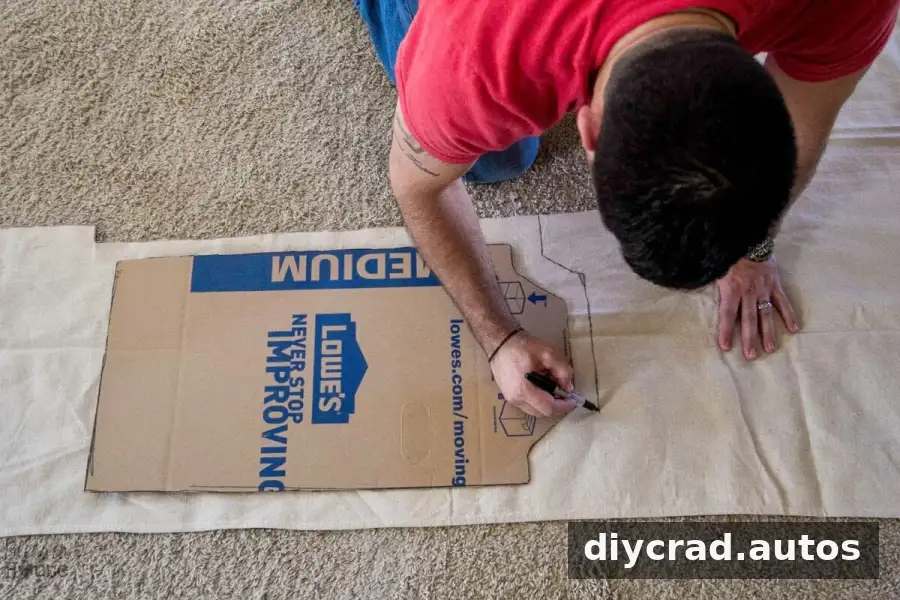
Trace the back of the chair onto cardboard with a marker.
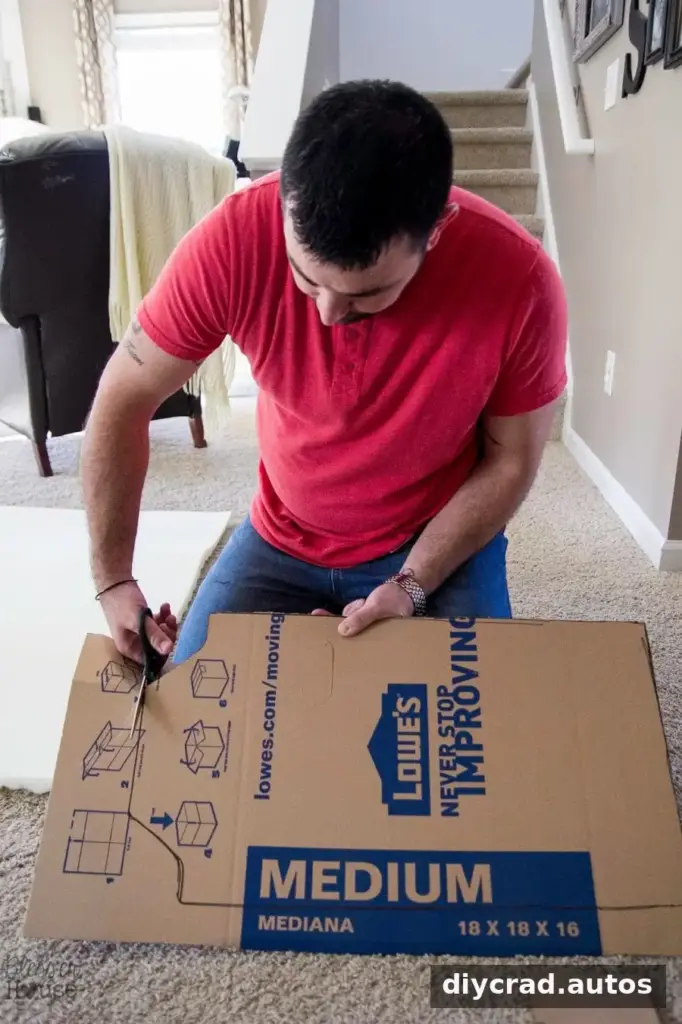
Cut out the traced template.
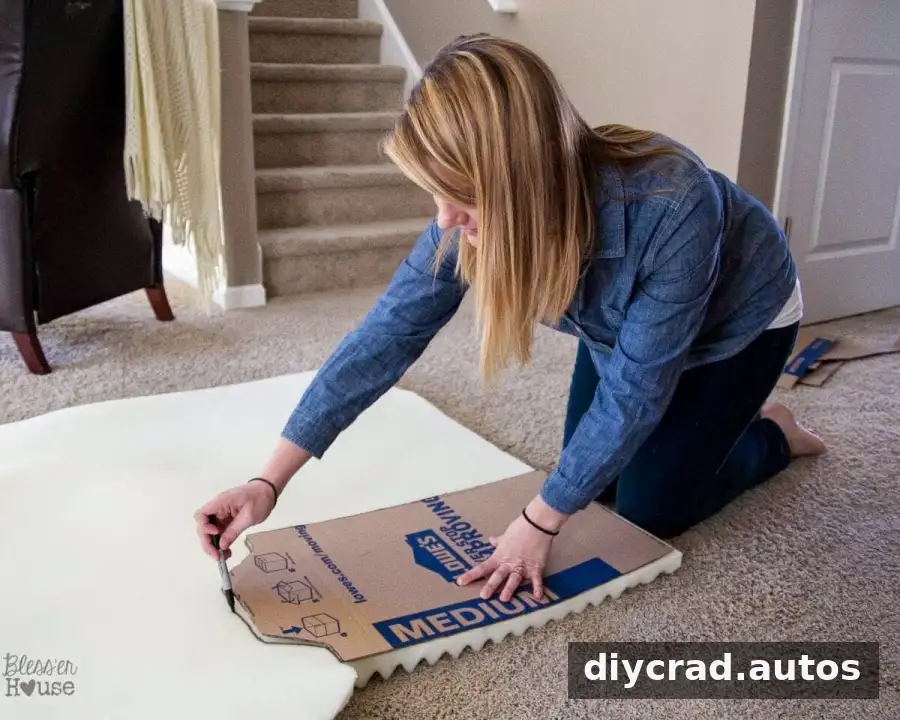
Place the template over the foam and trace around it.
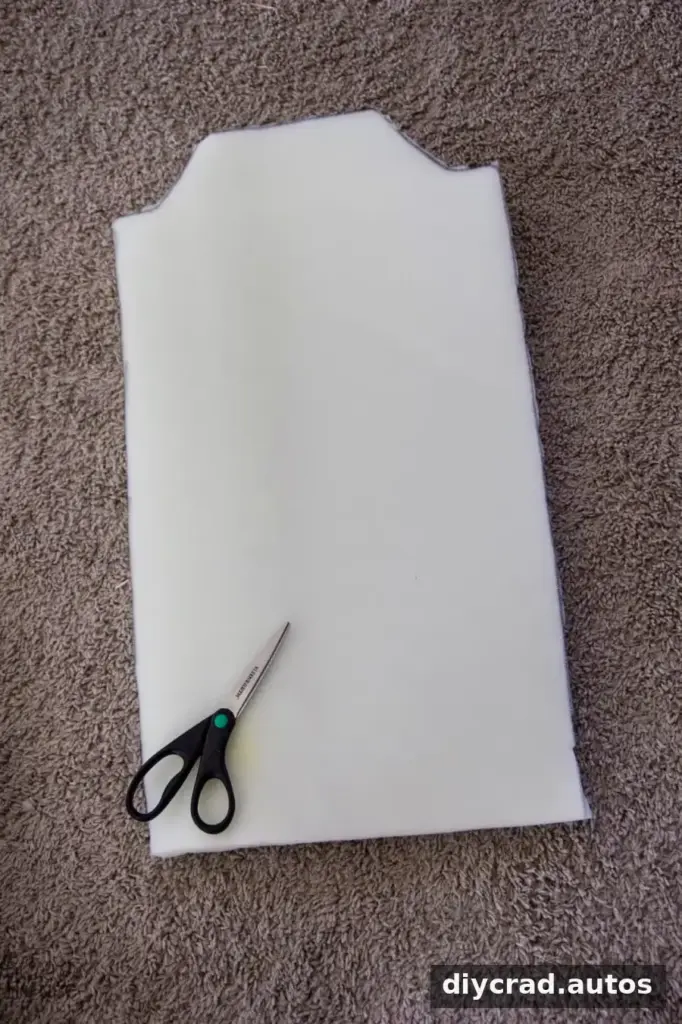
Cut the foam to size with scissors.
Spray upholstery adhesive onto the front of the chair back, following the adhesive product’s directions.
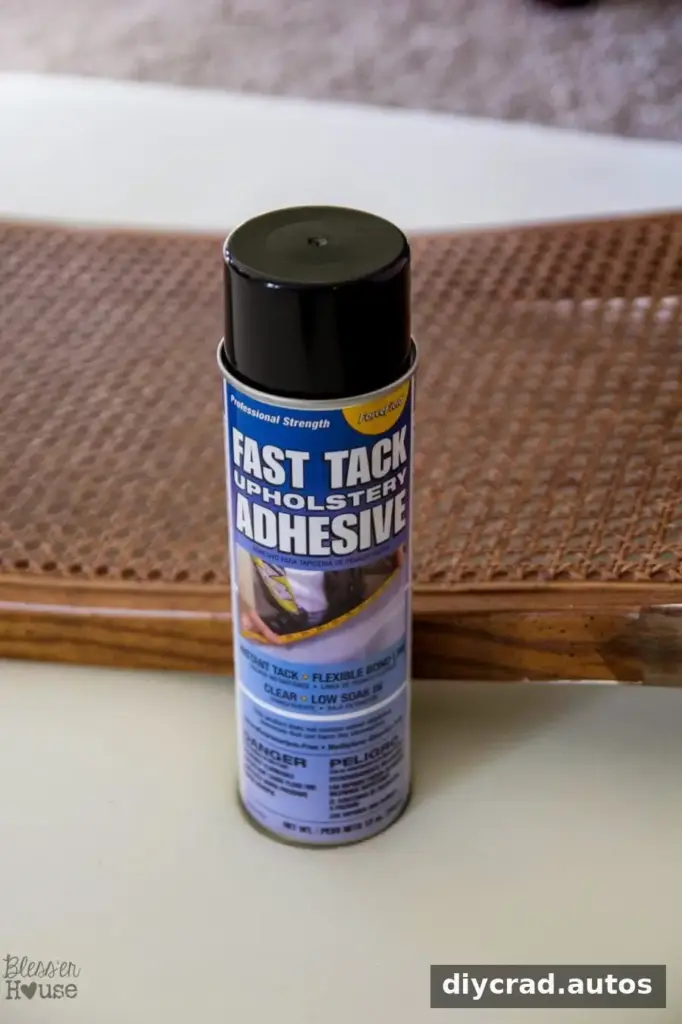
Press the foam onto the chair back and smooth it into place.
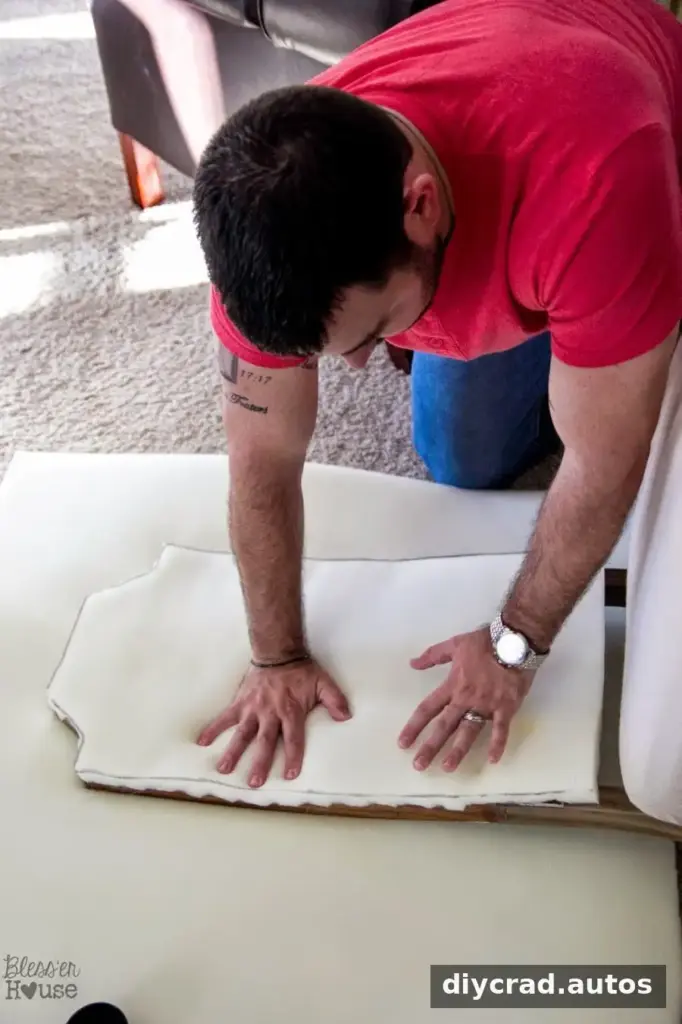
Once the foam is attached, the chair back is ready for fabric. The seat fabric was stapled into place while the frames dried.
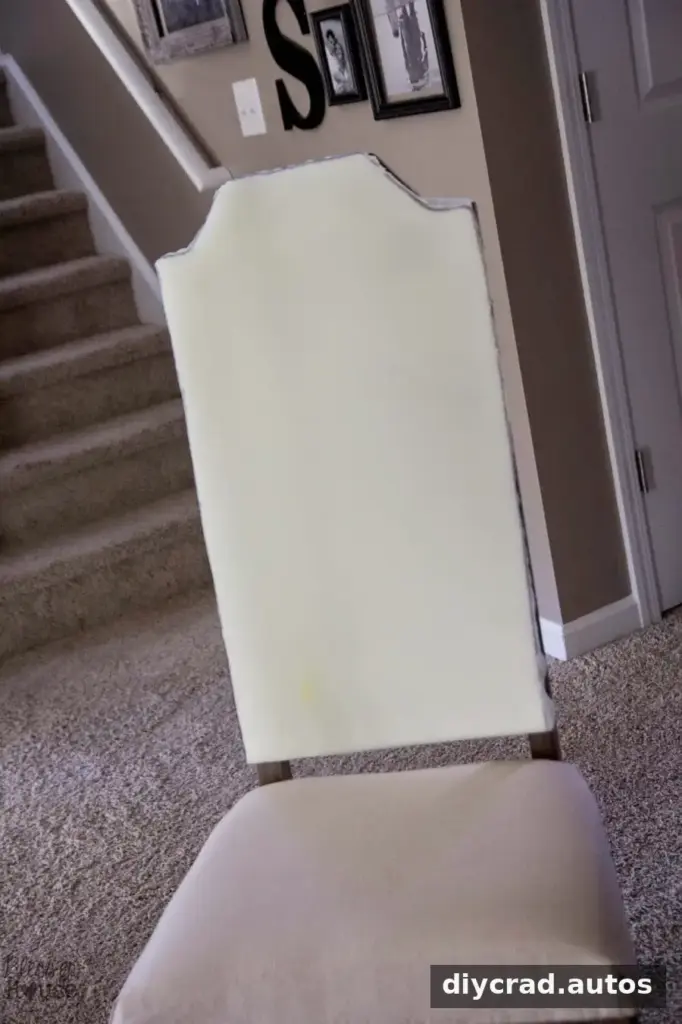
Measure, Cut, and Attach the Fabric
Measure the chair back and add 4 inches around the dimensions to allow enough fabric to wrap over the edges and staple at the back. For these chairs, the backs measured 16 by 28 inches, so the front fabric pieces were cut to 24 by 36 inches.
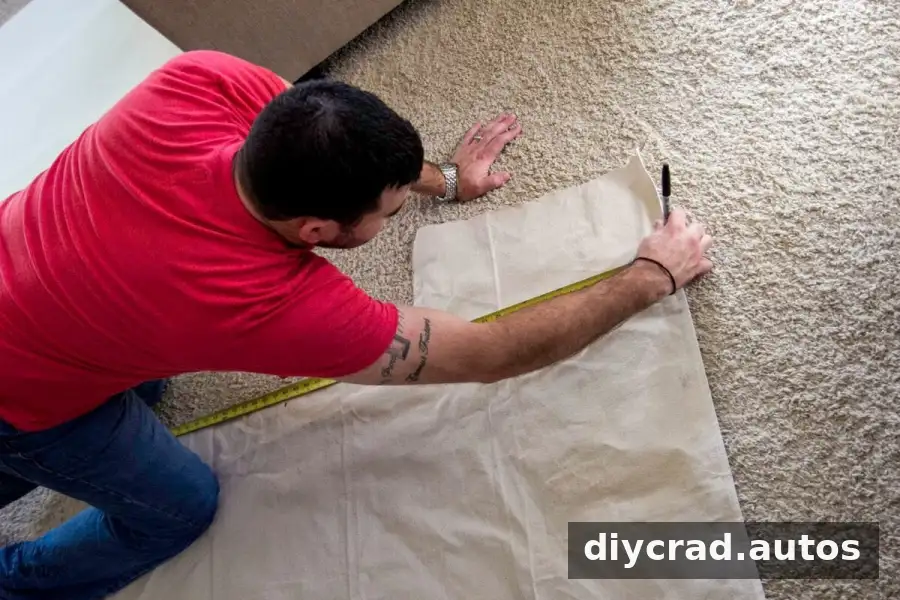
Cut the measured front fabric pieces.
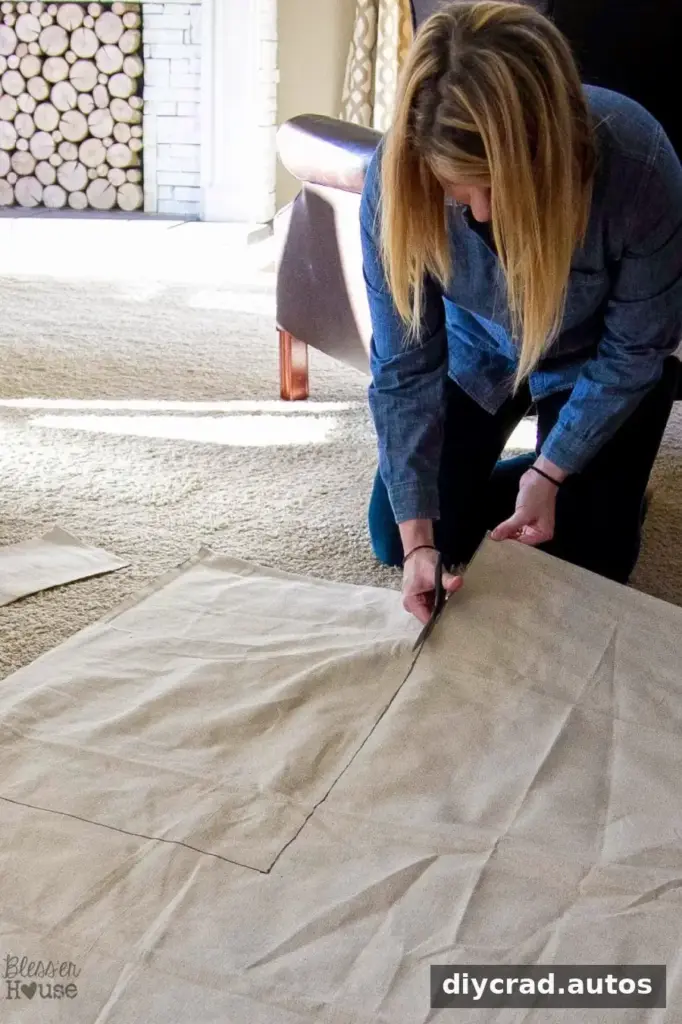
Use the cardboard template to trace the back panel pieces, leaving about 2 inches of extra fabric around the outline. Set these pieces aside for the finishing step.
Center the front fabric over the padding and begin by stapling at the bottom center. Starting in the middle helps keep the fabric aligned as you work toward the sides.
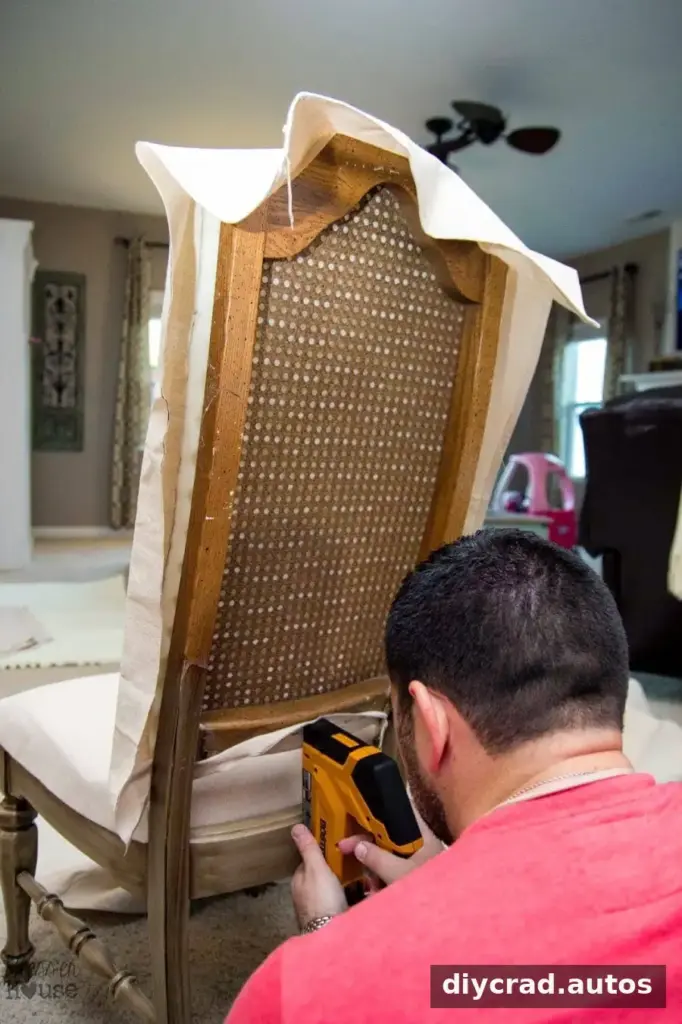
Fold the lower flap neatly and staple the fabric around the back of the chair.
Work with a helper if possible: one person can hold and stretch the fabric while the other staples it at the back. Keep the front smooth and check for puckers as you go.
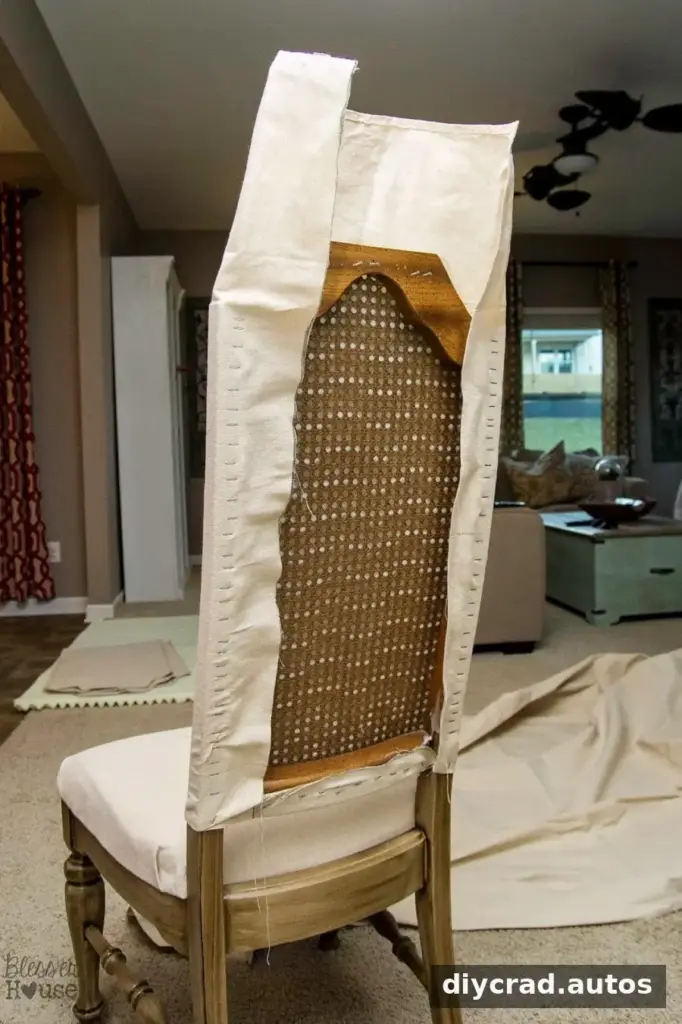
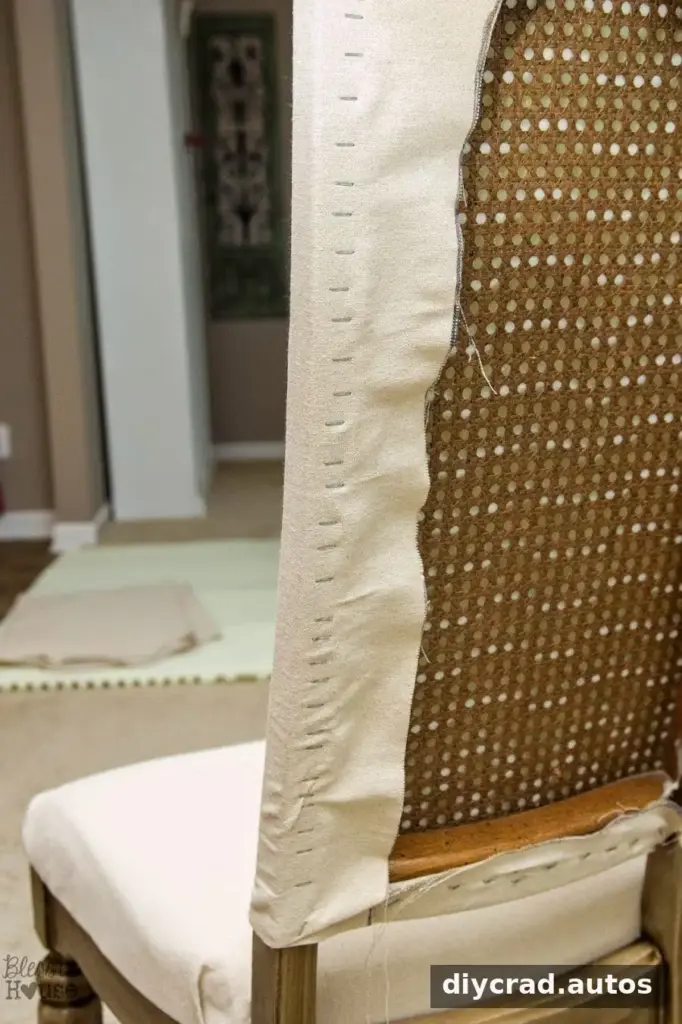
Continue gradually up both sides, keeping the fabric tension even rather than pulling hard in one spot.
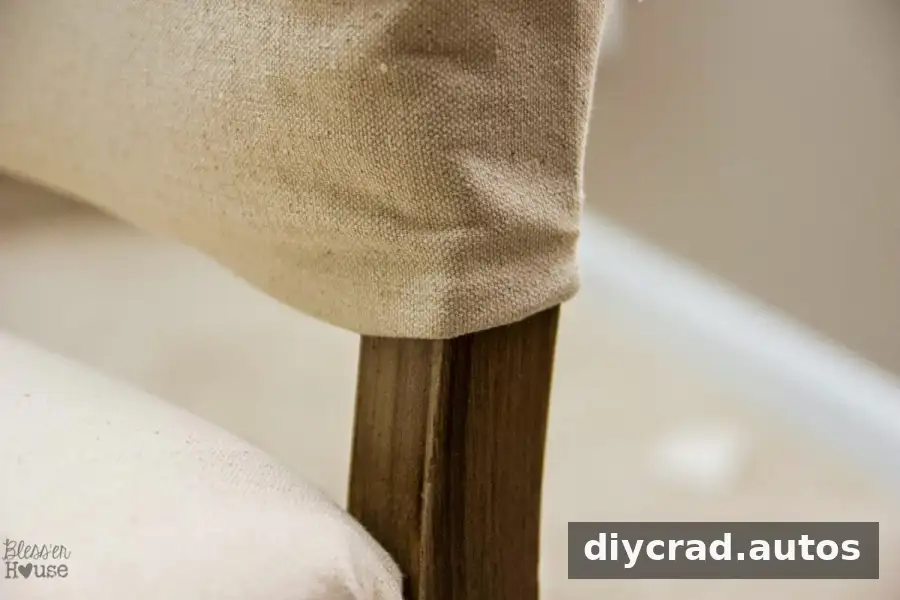
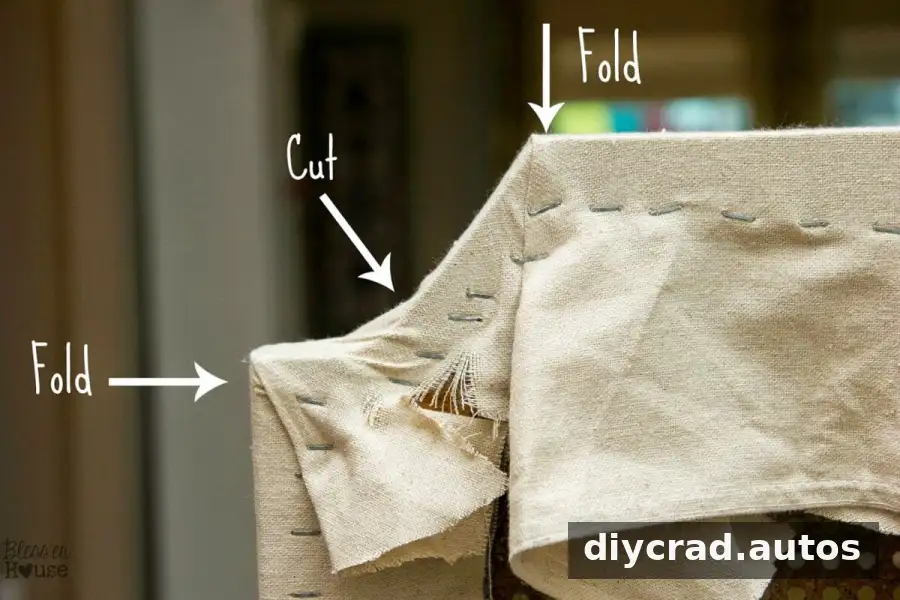
At the top, fold the corners and make small cuts only where needed to help the fabric lie flat. Take care not to cut too close to the staple line.
After securing the fabric, check the front for wrinkles and adjust the tension before finishing the back.
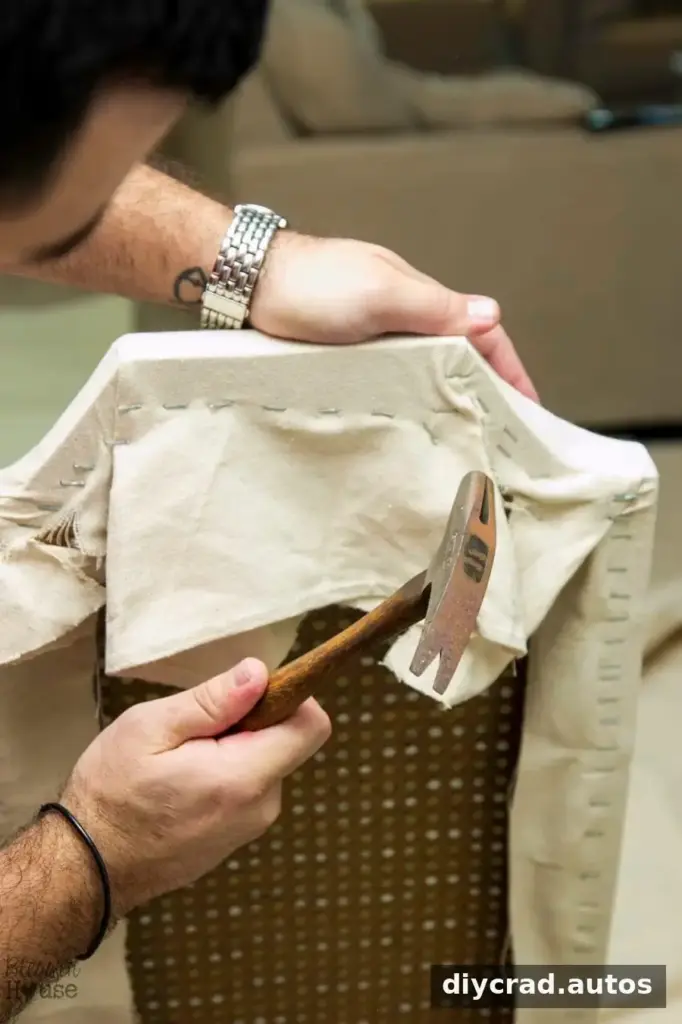
Tap any raised staples into place with a hammer and trim excess fabric from the back.
Cover the Back Panel
Use the saved fabric piece and cardboard template to make a neat backing panel. Apply hot glue to the edges of the cardboard, pull the fabric taut, and secure it, beginning at the bottom. Fold and glue the top corners so the panel has a tidy finish.
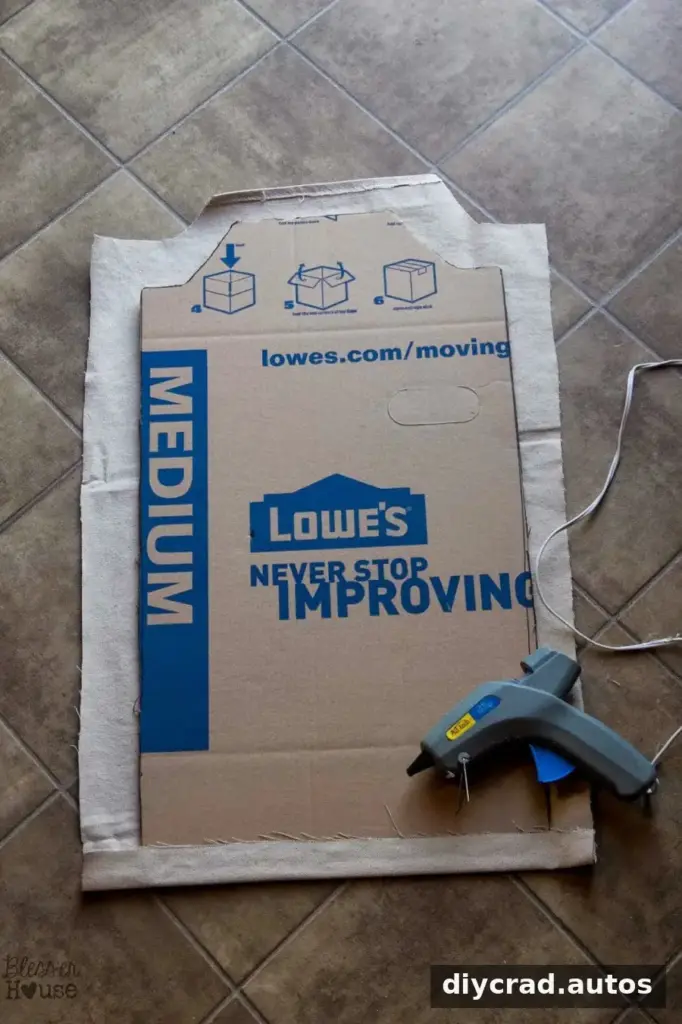
Pull the fabric firmly over the cardboard as you glue the edges.
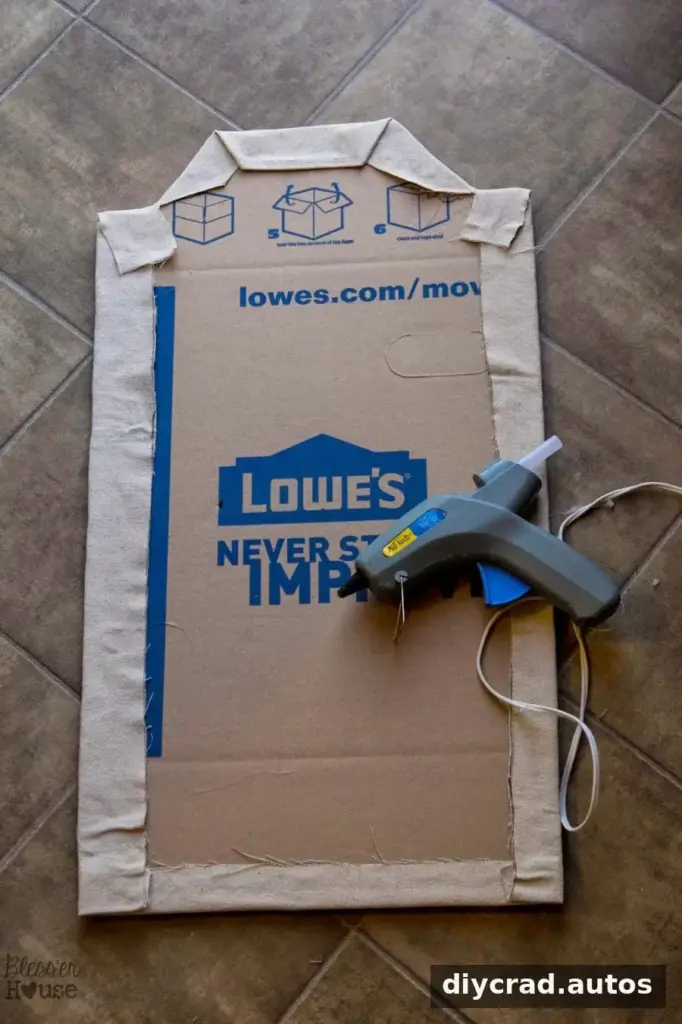
Trim and fold the corners so the back panel sits smoothly.
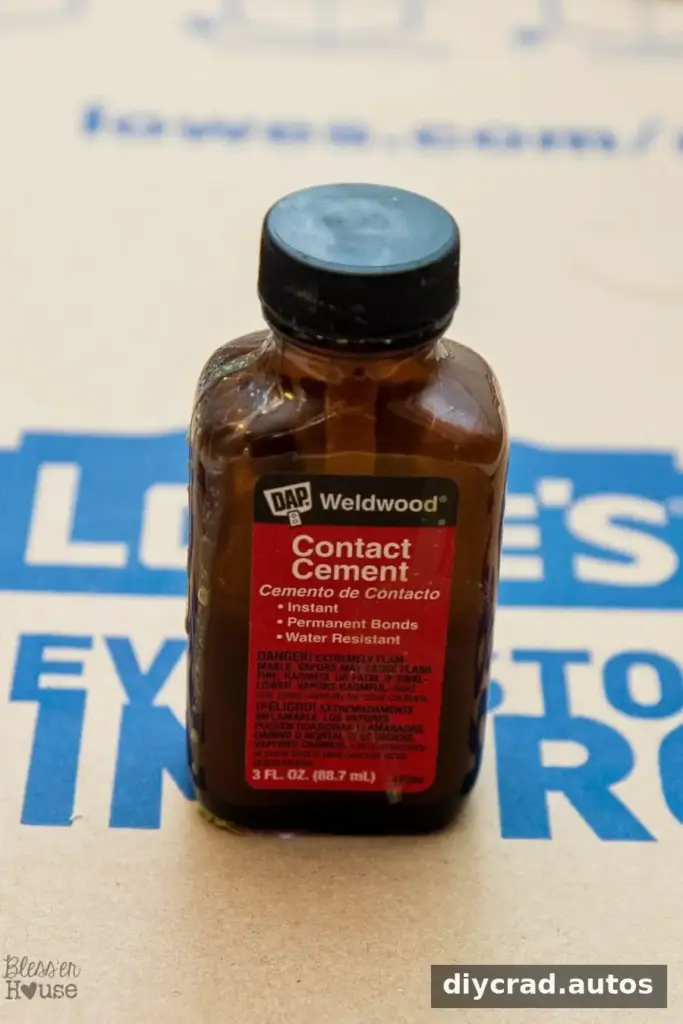
Apply contact cement to the panel edges and the stapled fabric area on the chair back. Follow the product directions; in this project, the adhesive was left for about 10 minutes before the panel was pressed into place. Hot glue was also applied under the edges.
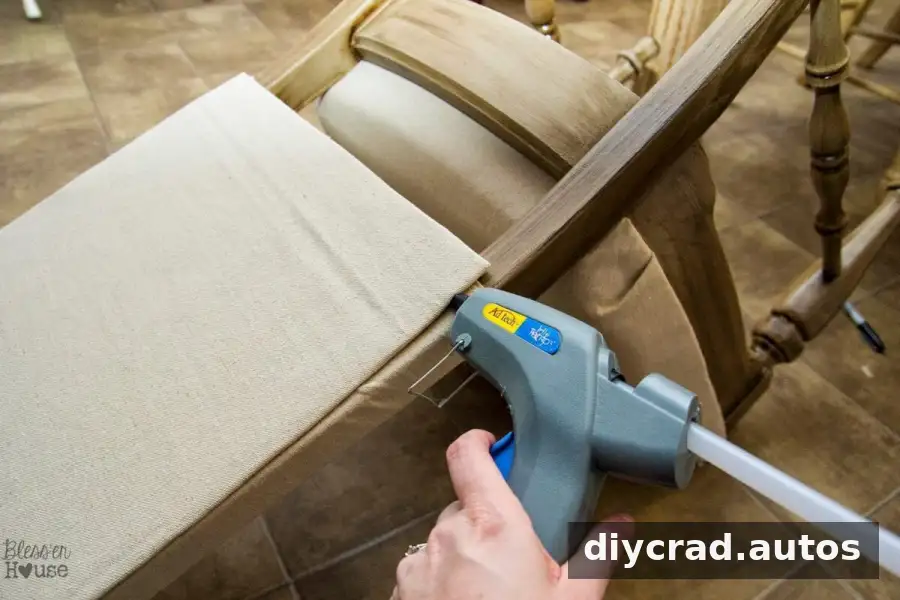
Press the panel firmly onto the chair back. Smooth any visible wrinkles before moving on to the trim.
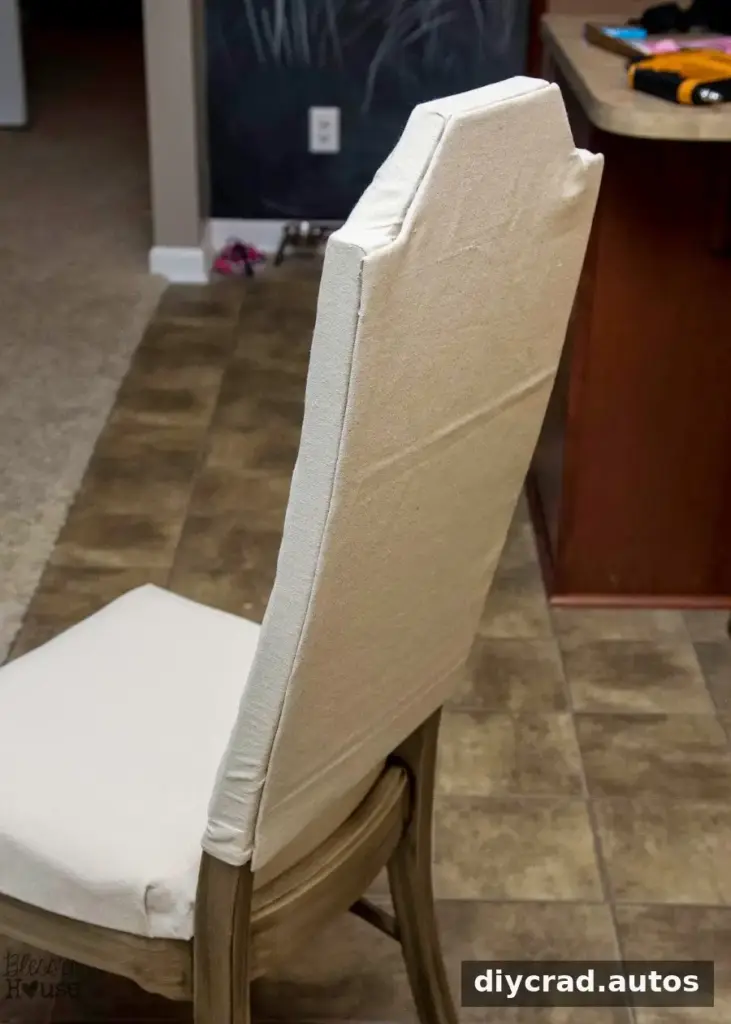
Add Nailhead Trim and Finish the Chairs
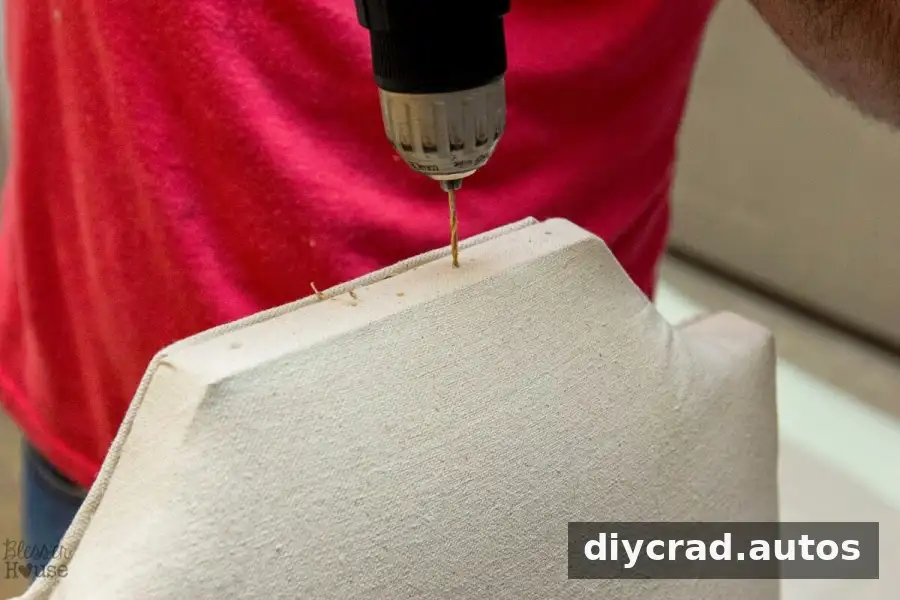
Measure and mark the nailhead positions with a pencil, spacing them 1.75 inches apart. On these chairs, the wood was hard, so a small drill bit was used to make starter holes before the nailheads were hammered in. Measure carefully and test the placement before repeating it around the chair.
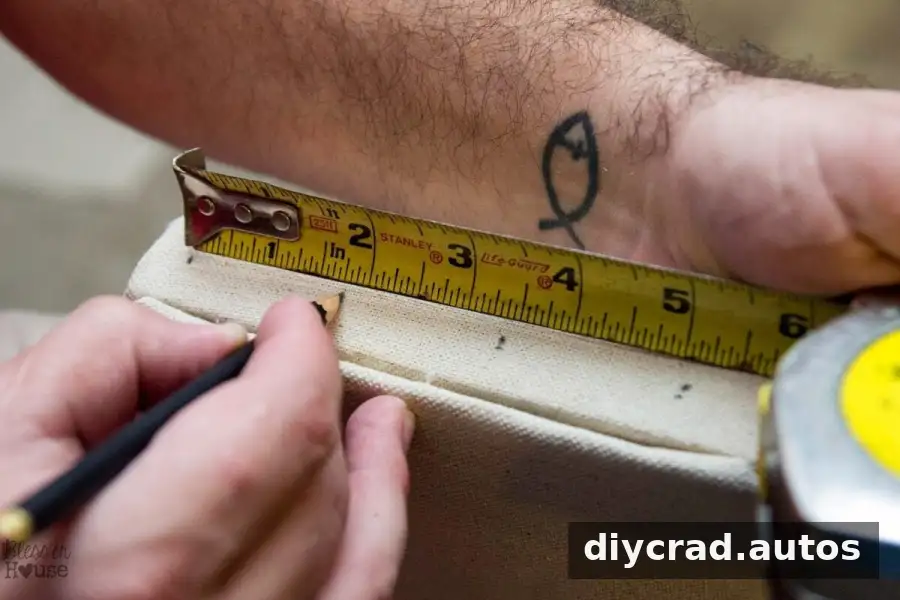
Starter holes can help guide the nailheads when the wood is particularly hard.
Hammer the nailheads into place along the marked positions.
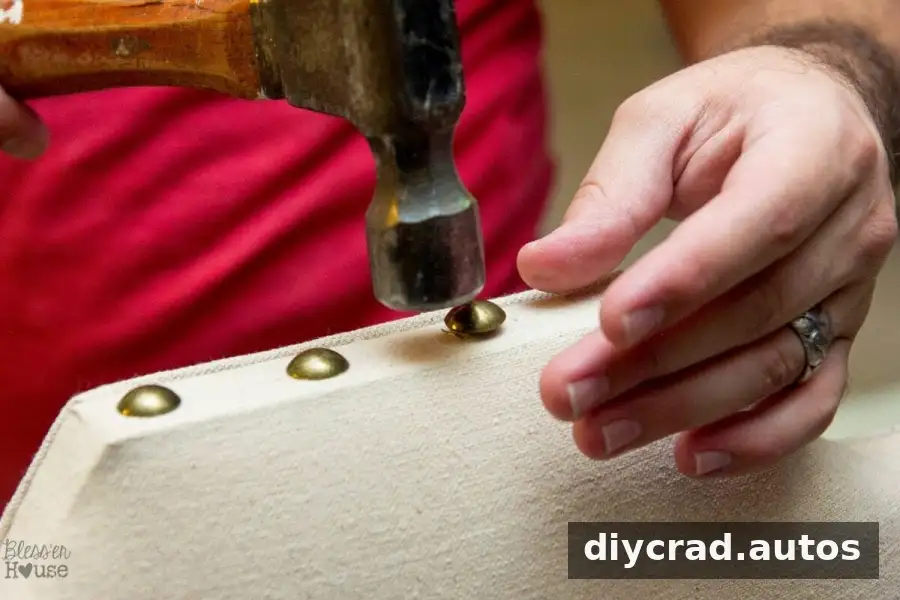
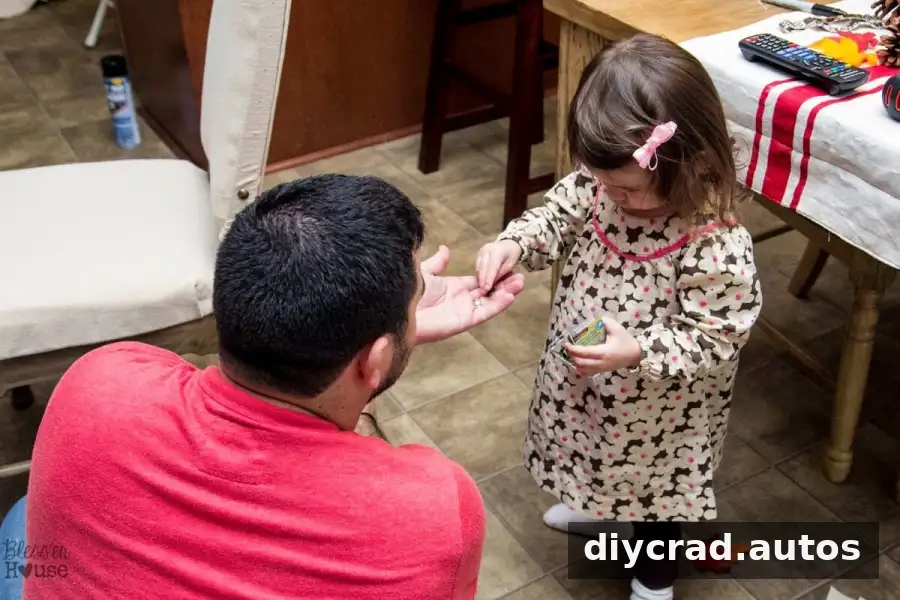
Keep small hardware organized while working, especially if children are nearby.
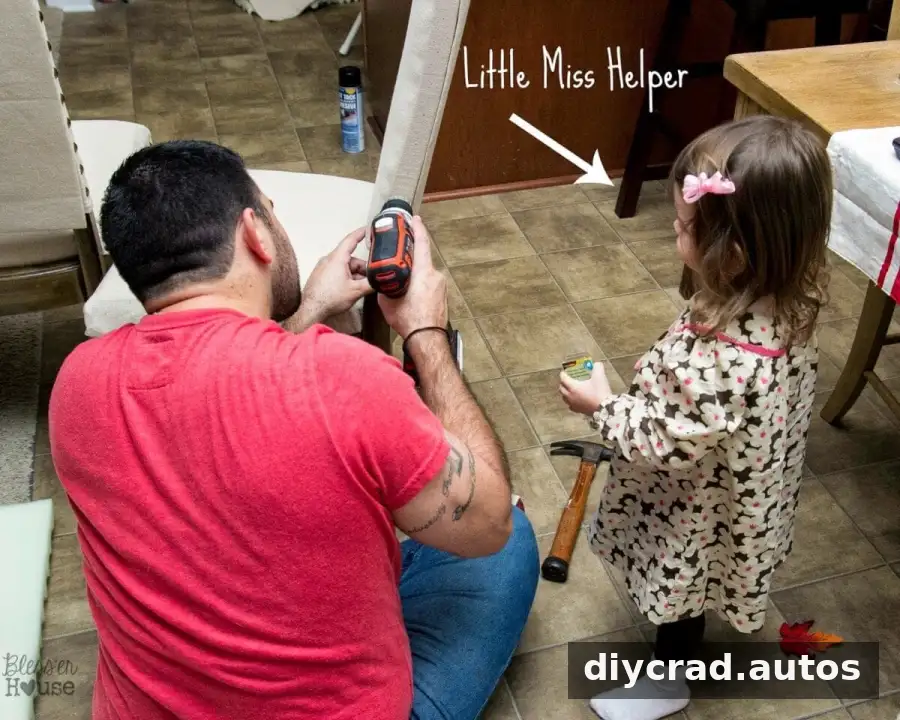
Handing over one nailhead at a time can help keep the work area orderly.
With the trim installed, the upholstered chair makeover is complete.
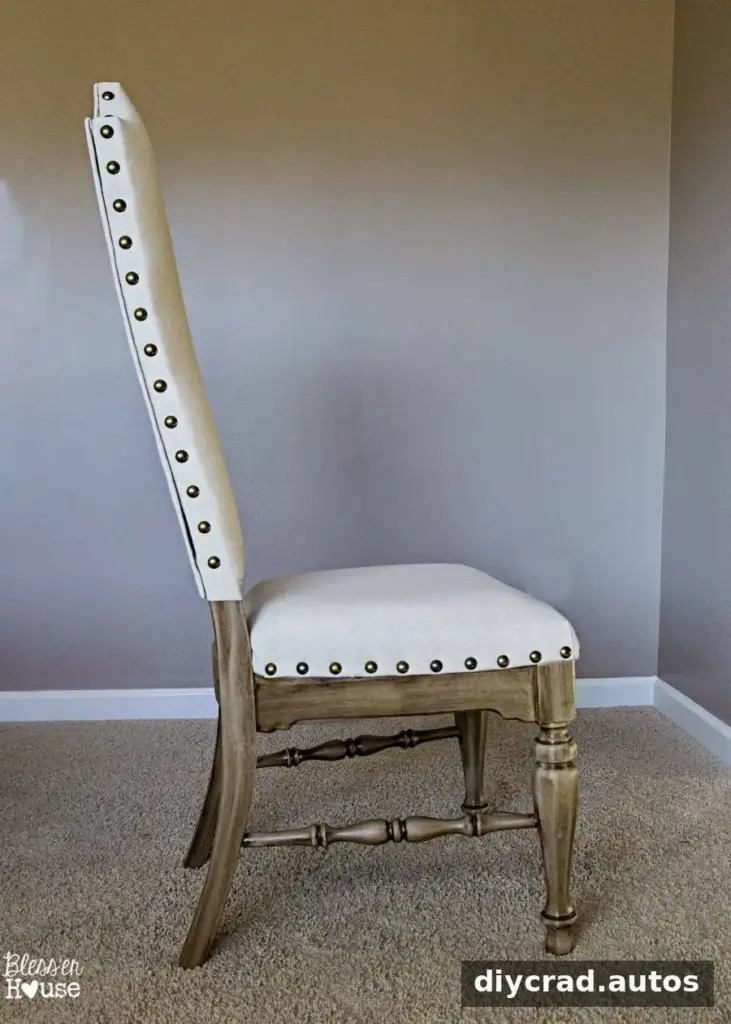
The finished chairs may not have perfectly professional upholstery, but they combine a refreshed wood finish, padded backs, canvas-style fabric, and decorative nailheads. Taking time to smooth the fabric and check the trim spacing helps create a more consistent result.
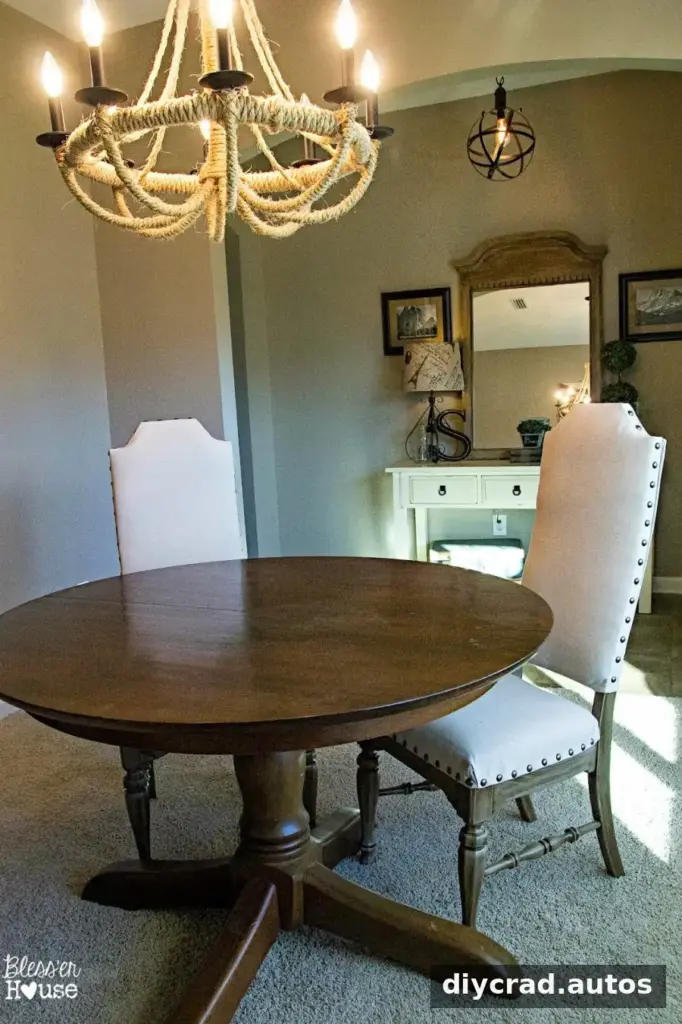
Two chairs were completed first, with four more planned. The remaining chairs had arms, which made their upholstery more challenging. A later update confirmed that all six chairs were finished.
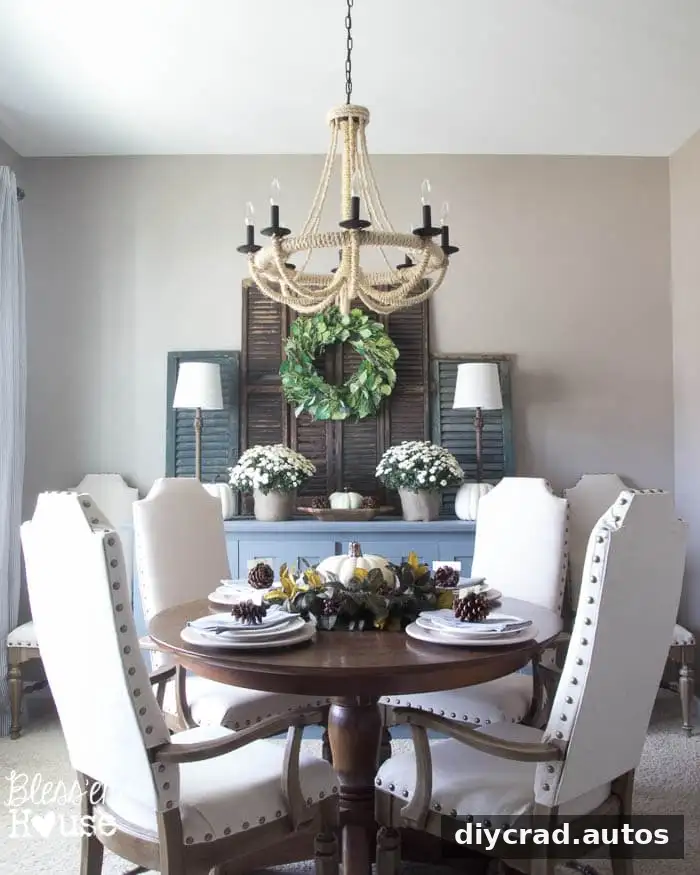
The completed set brought a more furnished look to the dining room while keeping the overall project cost below the price of one comparable new chair.
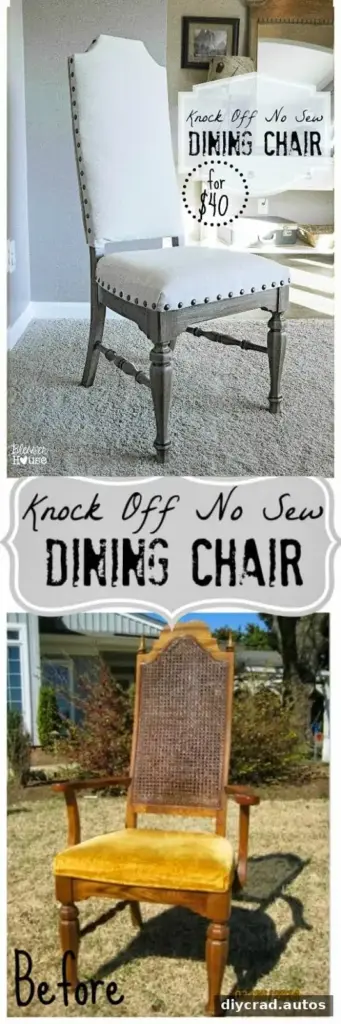
This makeover shows how no-sew dining chairs can be created from sturdy secondhand furniture with careful measuring, basic upholstery techniques, and a manageable materials list. Plan extra fabric, work patiently around the corners, and enlist help when stretching and stapling large pieces.