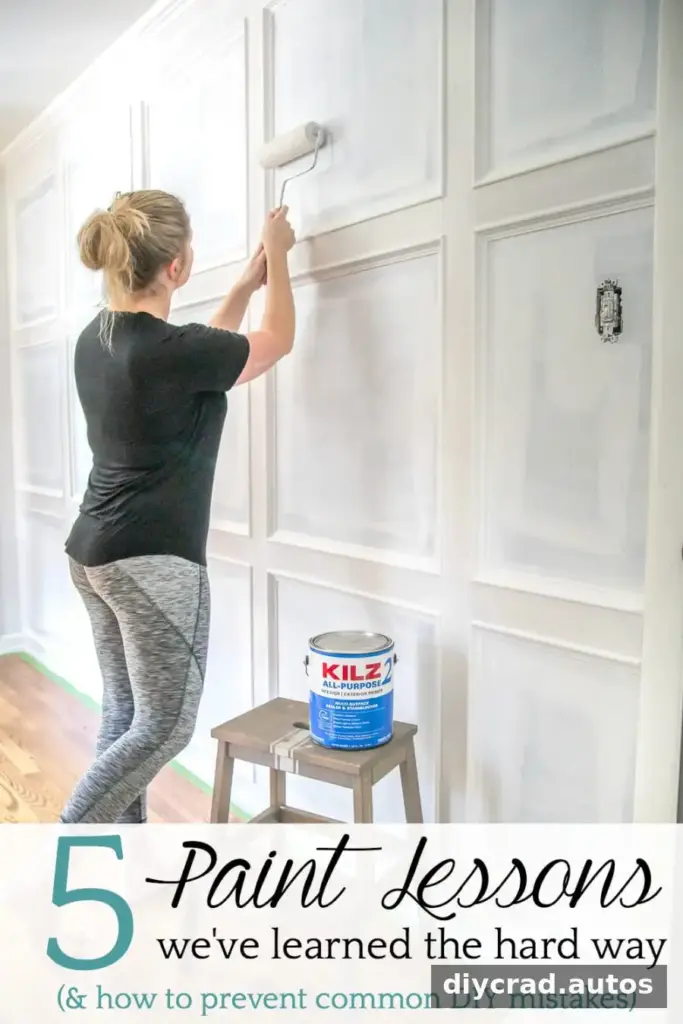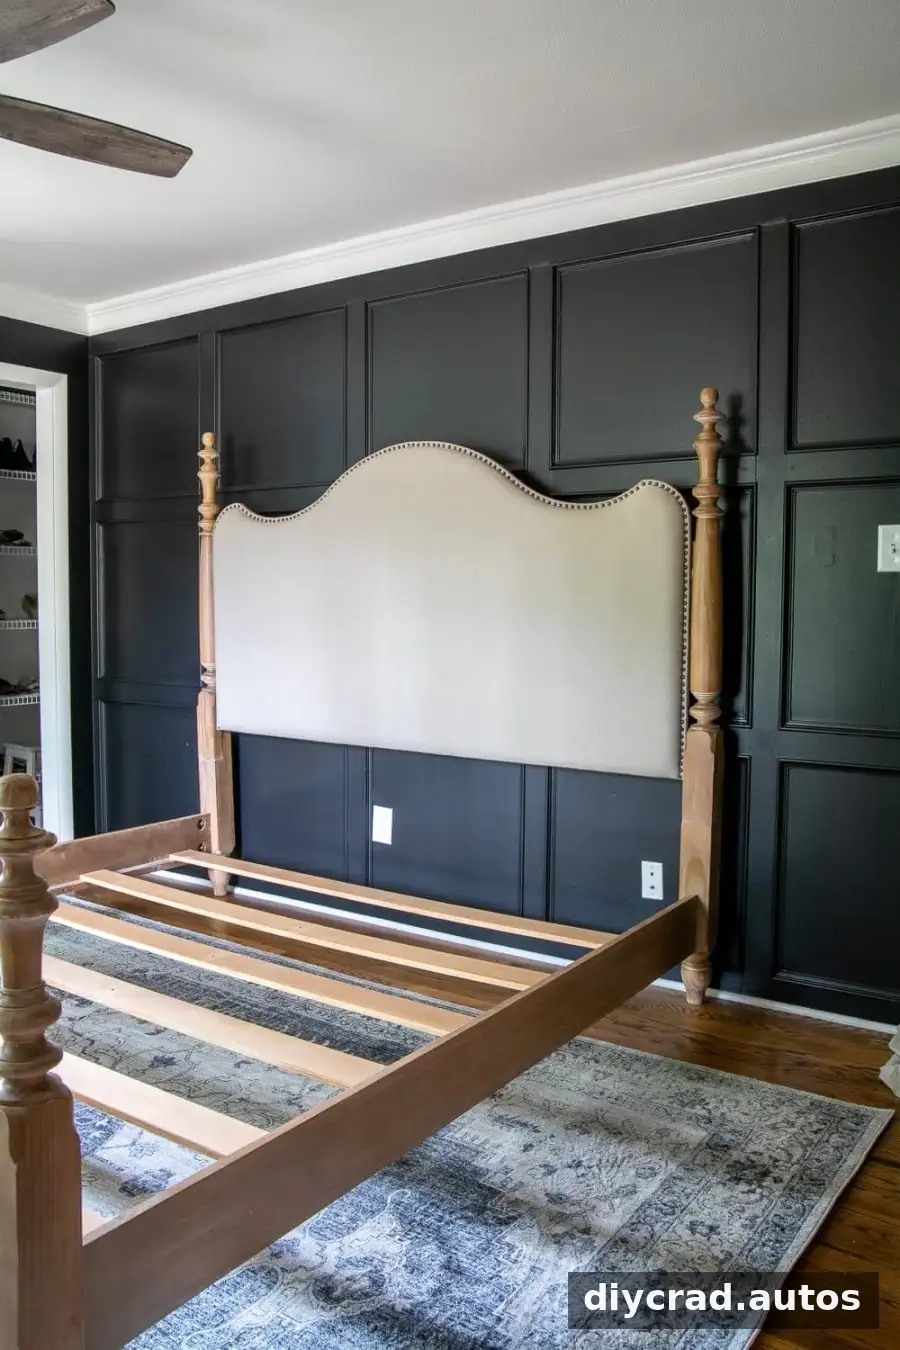
These primer and paint lessons can help DIYers get more consistent color and a longer-lasting finish on walls, doors, trim, and molding. A bedroom makeover with dark walls and a grid-molding feature wall shows why careful surface preparation matters: skipping primer can lead to extra coats, unexpected undertones, and paint that wears sooner than expected.
Five primer and paint lessons for a bedroom update
Before starting a paint project, consider the surface, the existing color, and how much wear the area will receive. Primer is not always interchangeable with paint, and a product labeled “paint and primer in one” may not be enough for every surface or color change.
- Prime cabinets before painting. Cabinets are handled frequently, so a suitable primer can help prepare the surface for a more durable paint finish. Follow the product directions for surface preparation and drying time.
- Prime doors before painting. Doors can pick up scuffs and marks through everyday use. A primer layer can help create a more reliable base for the topcoat.
- Prime wood trim and molding. Bare or porous wood may absorb paint unevenly, which can mean more coats are needed. Primer helps create a more uniform surface before painting.
- Use primer when changing wall colors. A strong or contrasting existing color can affect how a new shade looks. Priming between colors can help reduce unwanted undertones and make the final color appear closer to the chosen shade.
- Do not rely on “paint and primer in one” for every situation. It may work well for some jobs, but porous surfaces, dramatic color changes, or surfaces needing extra preparation may call for a separate primer. Check the paint and primer labels for guidance.
Preparing a grid-molding feature wall
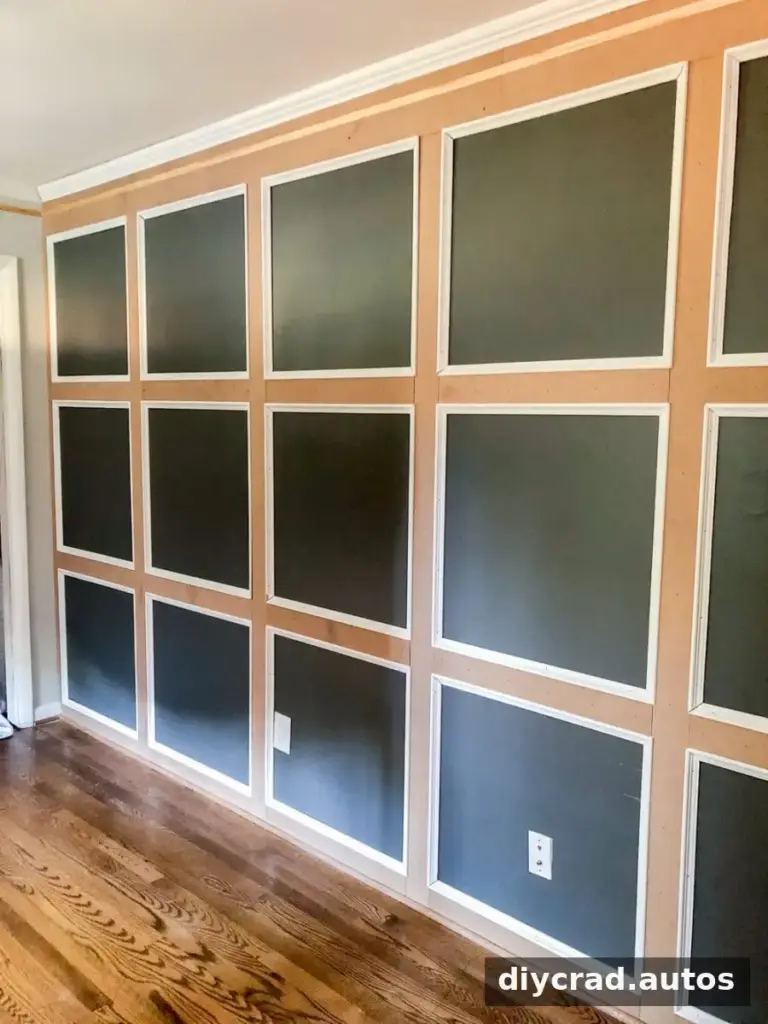
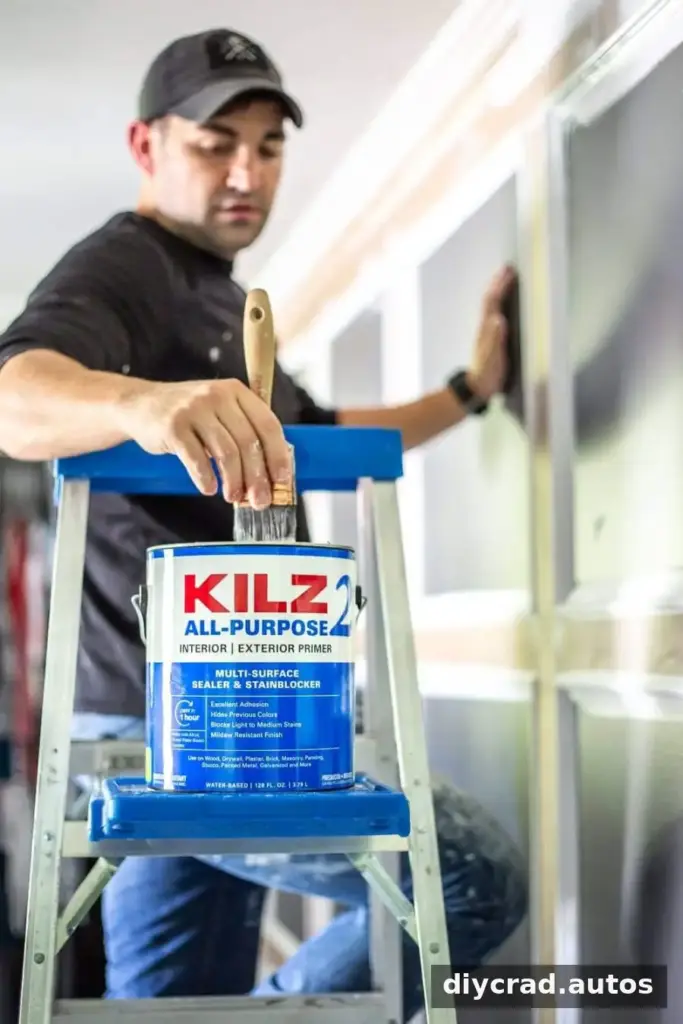
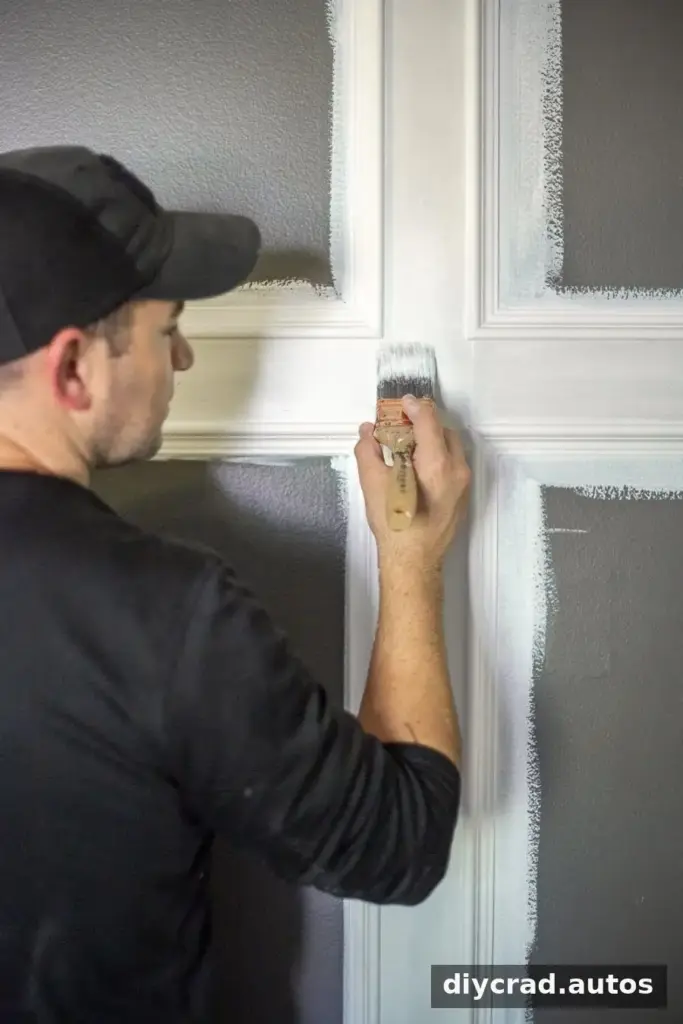
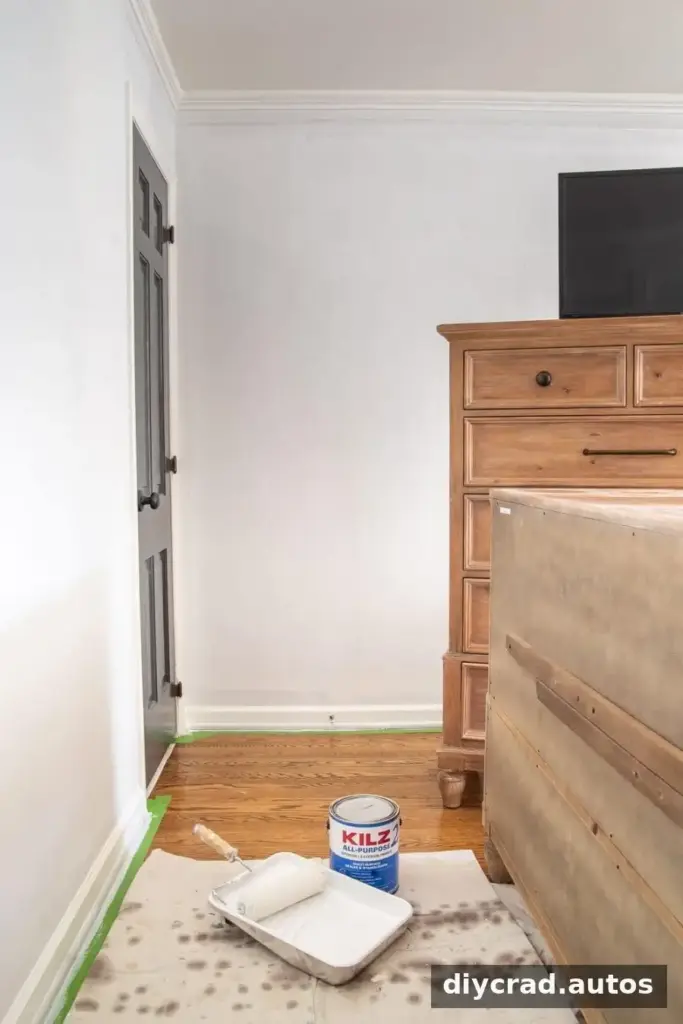
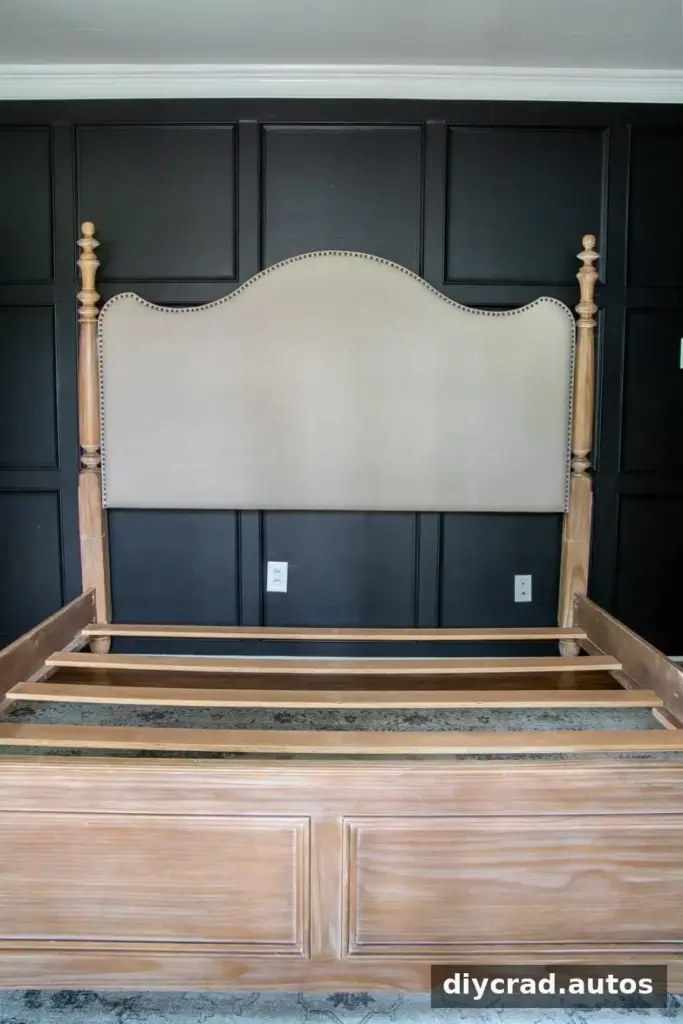
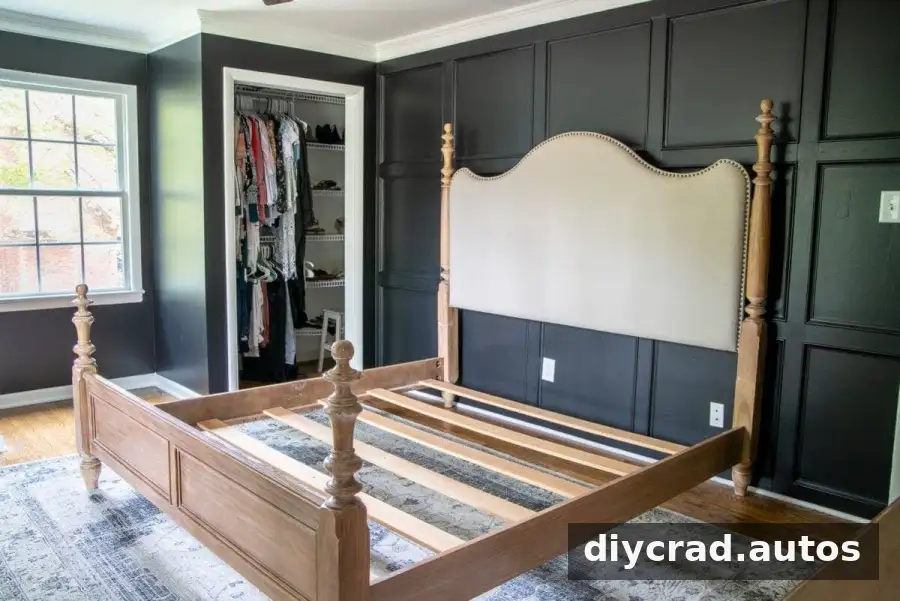
The bedroom update included a grid-molding focal wall made with MDF. Before applying the finish paint, an all-purpose primer was brushed and rolled onto the molding. Priming the MDF helped prepare it for paint and reduced the risk of the material absorbing the topcoat unevenly.
Porous materials can be “thirsty,” so applying paint directly may require additional coats to achieve even coverage. Use the primer recommended for the specific material, and let each coat dry as directed before moving on.
Why primer matters when painting over an existing color
The other three bedroom walls had previously been painted sage green. A neutral gray was applied without a separate primer coat. Although the paint was labeled “paint and primer in one,” the existing green influenced the appearance of the gray, leaving it with a noticeable green undertone.
A small sample on white cardstock may look different from the same paint applied over a colored wall. For a more useful color check, prepare the wall as planned and test the shade on the actual surface. When covering a strong existing color, a compatible primer can help create a more neutral base.
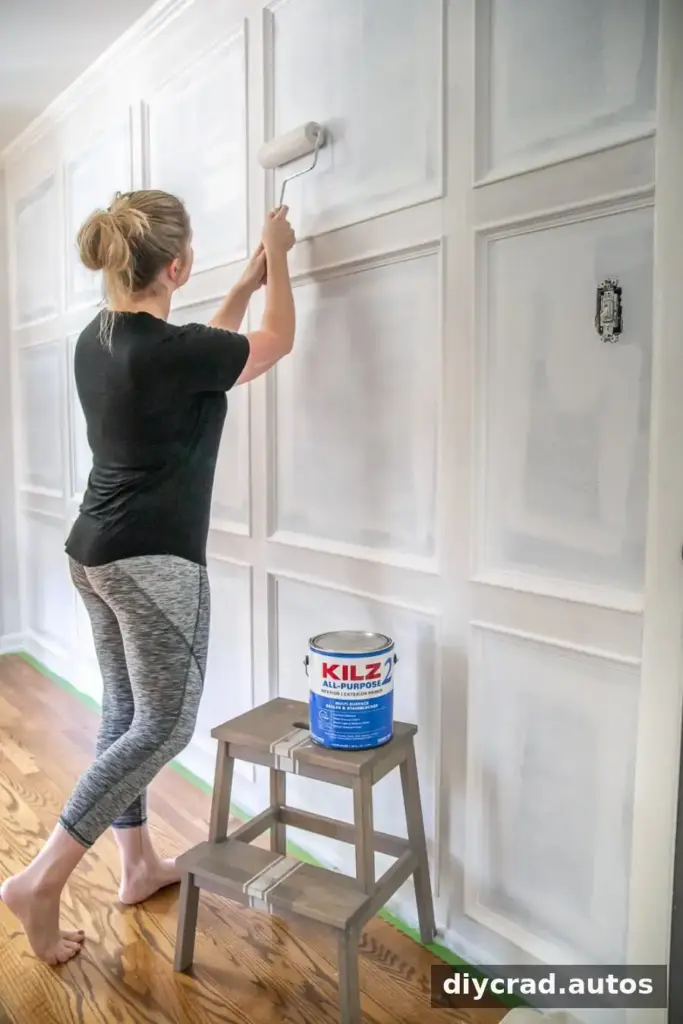
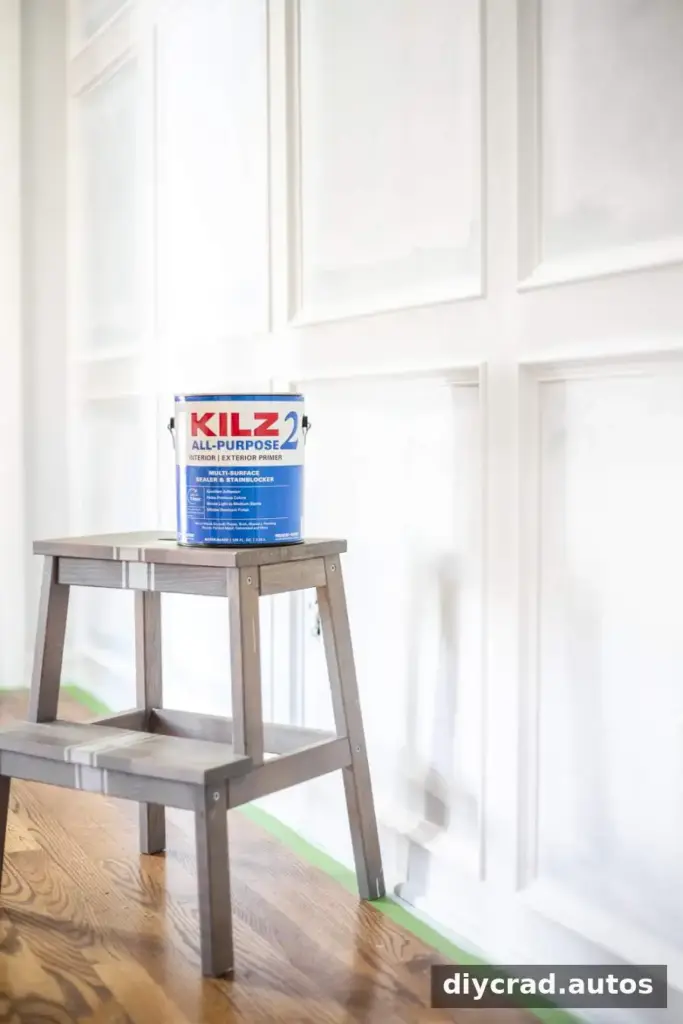
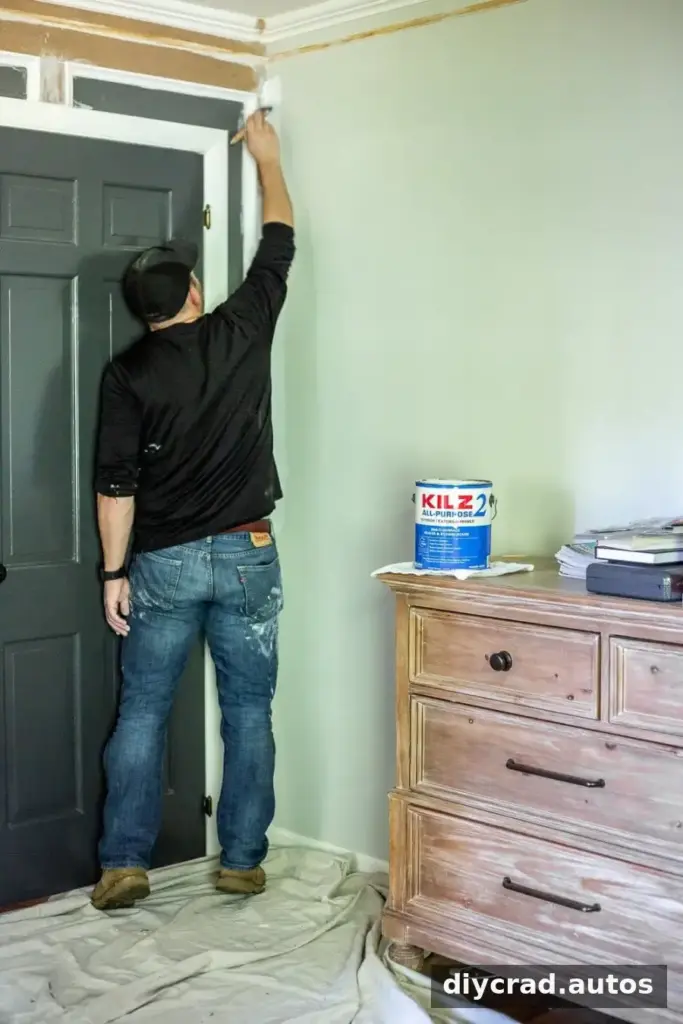
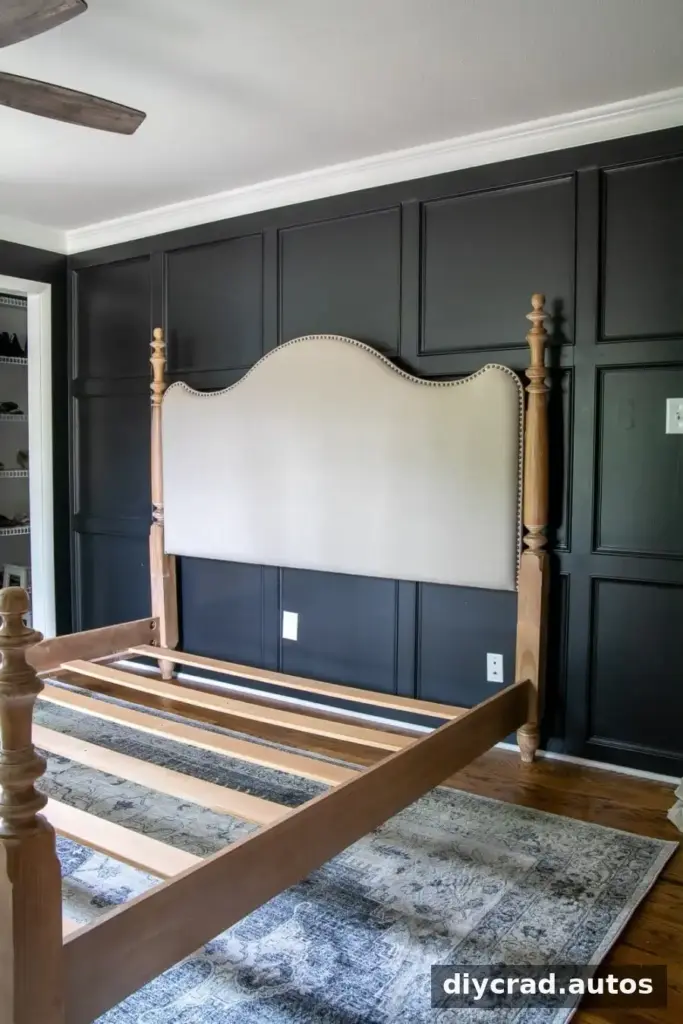
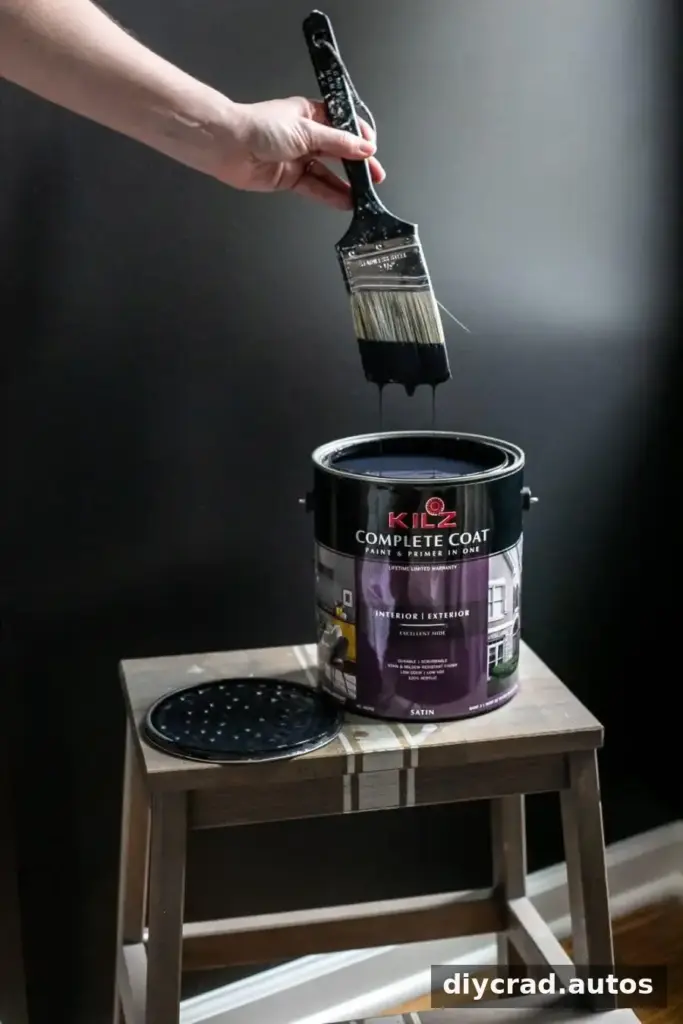
For the updated room, primer was applied before a topcoat in the color Rebel. The resulting walls had a more consistent appearance without the unwanted undertone described in the earlier paint job. The selected paint was also described as scrubbable and resistant to fading, staining, and peeling; check the current product label to confirm performance claims and recommended use.
Planning the remaining bedroom work
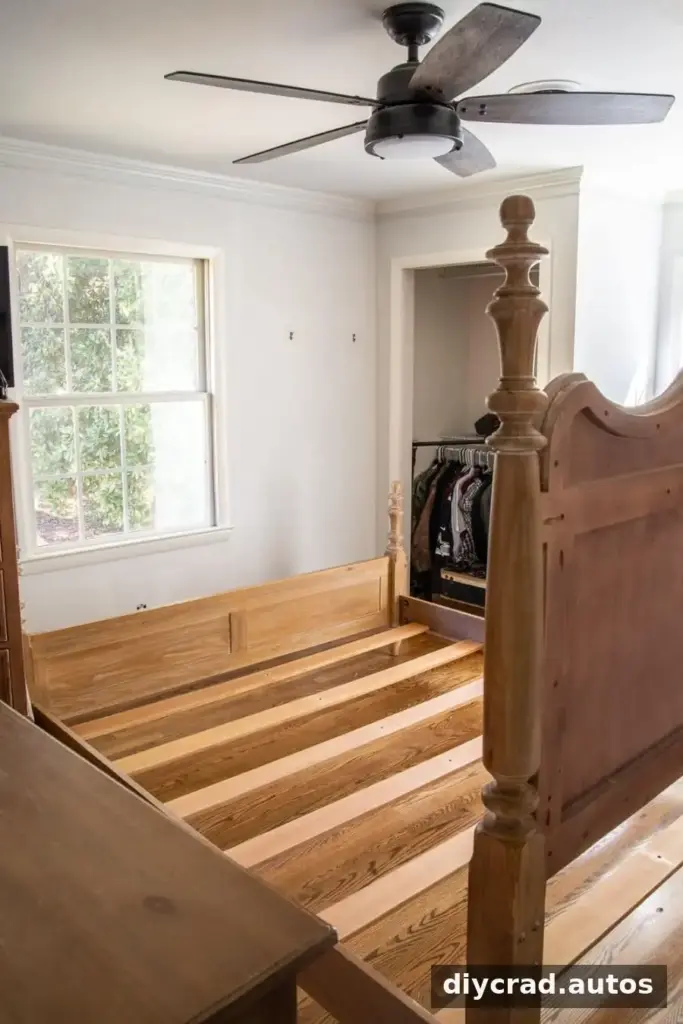
The dark walls give the room a deeper, more dramatic look. New closet doors were planned to replace the existing bi-fold doors, with primer intended to help prepare them for paint and everyday use. When painting doors, make sure the surface is clean and prepared according to the coating instructions.
The remaining project list included:
- Install, prime, and paint new closet doors
- Hang curtains and window shades
- Install a new ceiling fan and sconces
- Make DIY art
- Decorate the room
Adding curtains, doors, and white bedding was expected to brighten the space and balance the dark walls. Planning the full room—not only the paint color—can help finishes and furnishings work together.

Conclusion: Put these primer and paint lessons to work
The main primer and paint lessons are simple: prepare the surface, use primer where the material or color change calls for it, and do not assume a combined paint-and-primer product will solve every preparation issue. Test colors on the intended surface, follow product directions, and allow coats to dry as recommended. These steps can help create a more even, durable finish for a bedroom refresh or other home painting project.