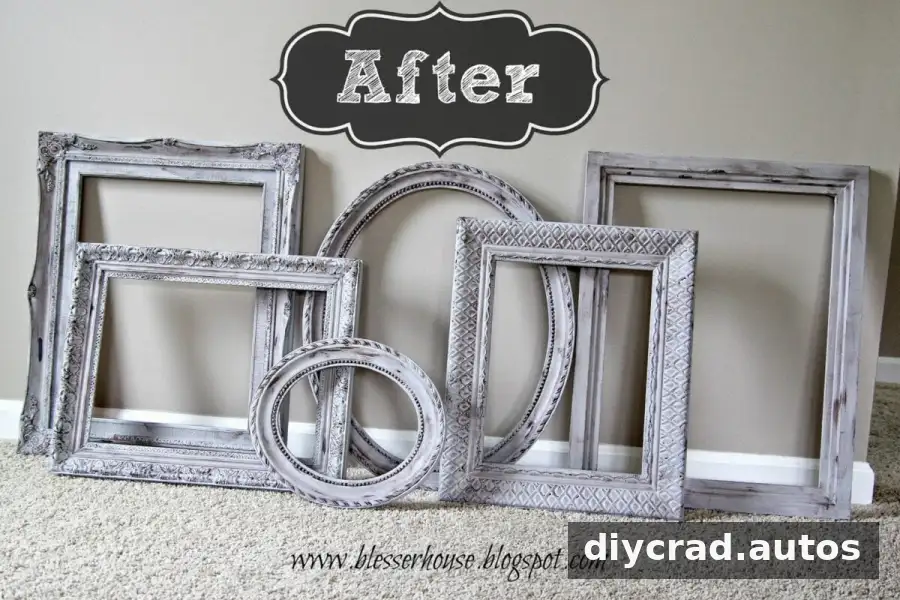
A Vaseline distressing technique can give thrifted picture frames a layered, vintage-inspired finish with minimal effort. By applying petroleum jelly to selected areas between two coats of paint, you can create worn-looking edges and details without sanding. The method works especially well on decorative frames, but test it on an inconspicuous spot first because paint adhesion varies by material and finish.
How the Vaseline distressing technique works
Vaseline acts as a barrier between the base coat and the top coat. The upper layer does not bond as readily where the jelly has been applied, so it can be wiped away after drying to reveal parts of the color underneath. The result is a distressed effect that looks most natural when concentrated on edges, corners, and raised details.
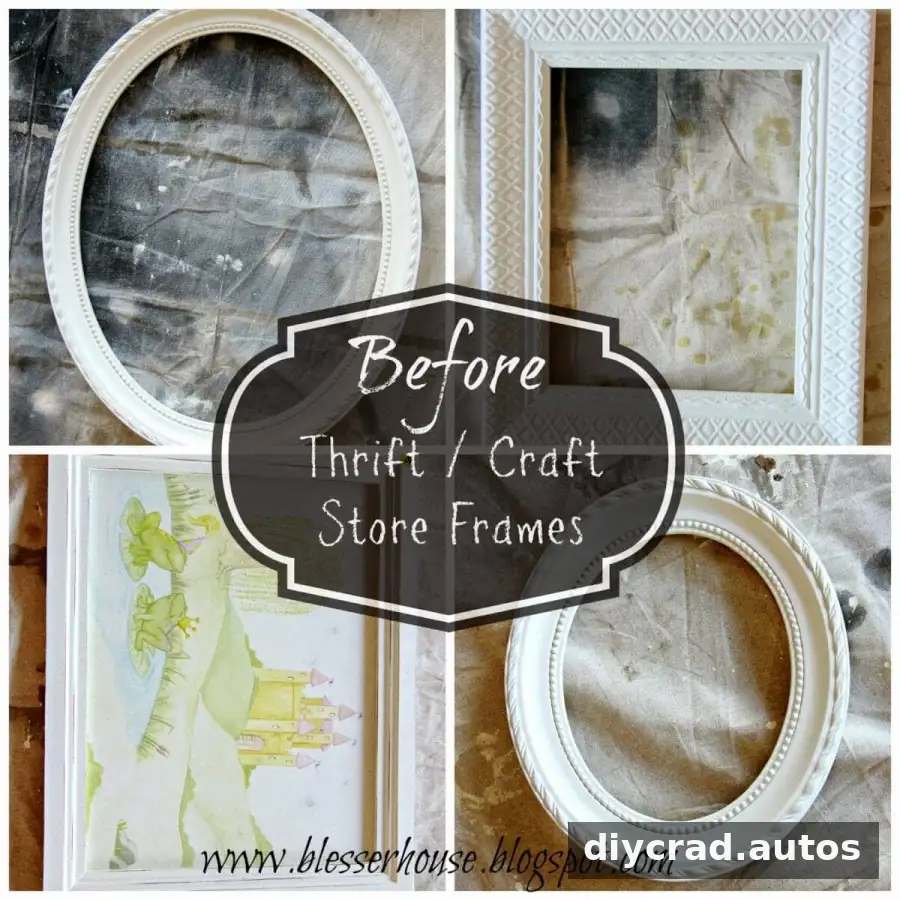
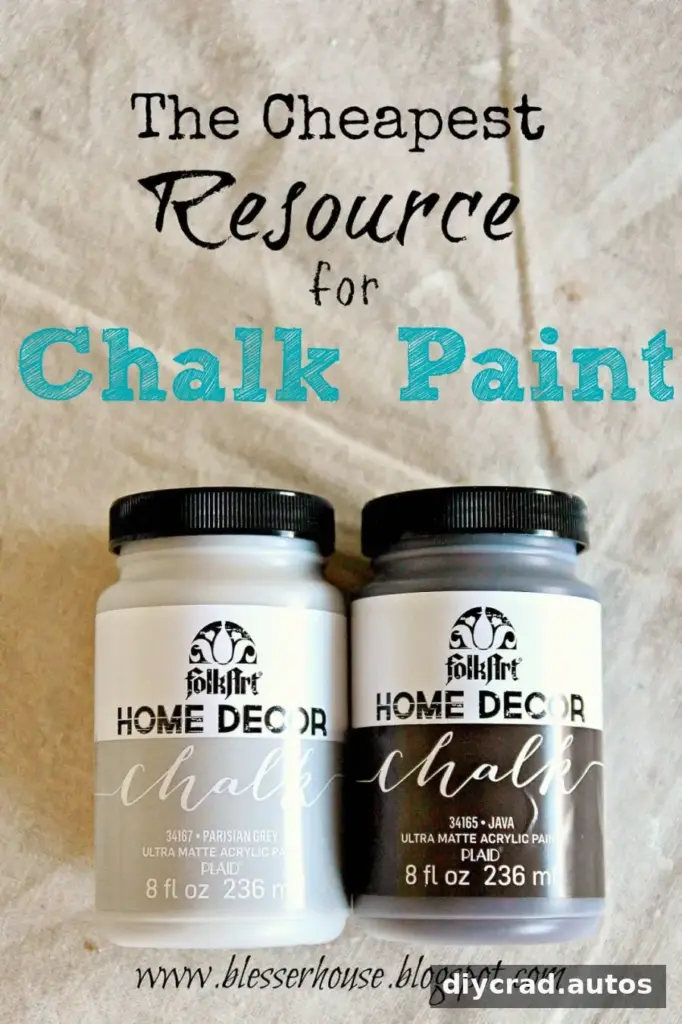
This project used a collection of six frames gathered from thrift and craft stores. Four frames received a chalk-paint base coat in Java, while two were painted with an oil-rubbed bronze finish. Both approaches worked for the project. A Parisian Grey chalk paint was used as the top coat. Choose colors with enough contrast for the exposed base layer to be visible.

Materials for distressing picture frames
- Two paint colors: a base color and a top coat
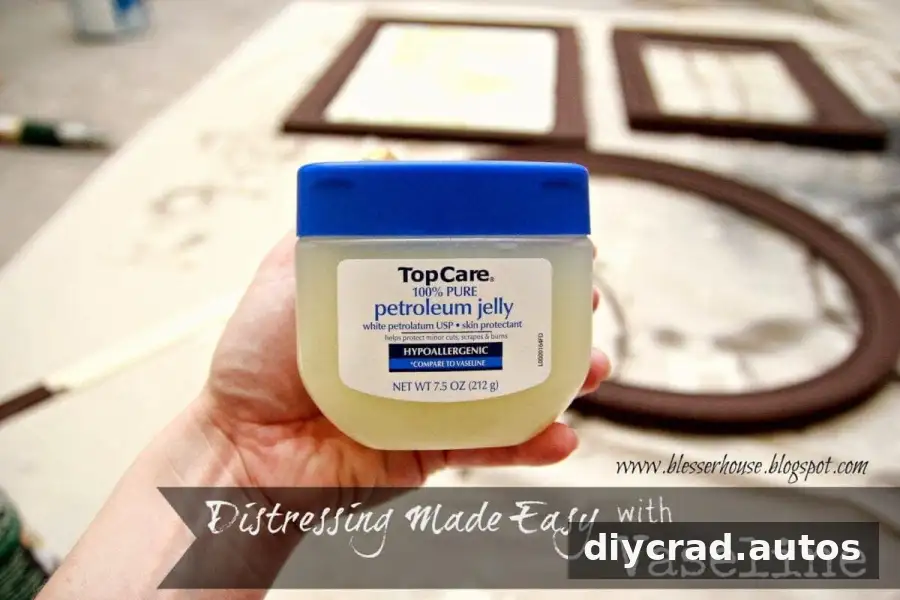
- Vaseline
- A clean, dry rag
- Paper towels
- Two or three large artist brushes
Before beginning, remove the glass, backing, and any hardware that could get in the way. Clean the frame and let it dry. If it has a glossy or slick surface, check the paint label for preparation instructions and test the finish in a hidden area. This small test helps confirm that the paint will adhere as expected.
Steps for a distressed vintage finish
1. Apply the base coat
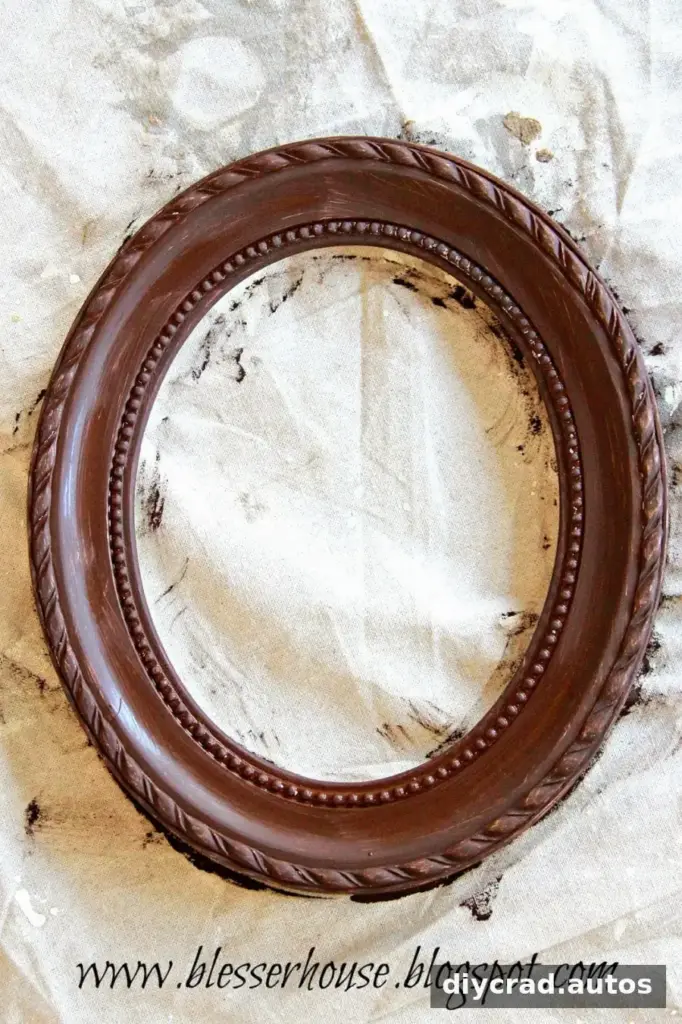
Paint the frame with the color you want to show through the distressed areas. Cover the surface evenly and allow it to dry according to the paint instructions. The project used Java on four frames and an oil-rubbed bronze paint on the other two. A smooth, complete base layer makes the contrast easier to see later.
2. Add Vaseline where wear would naturally appear
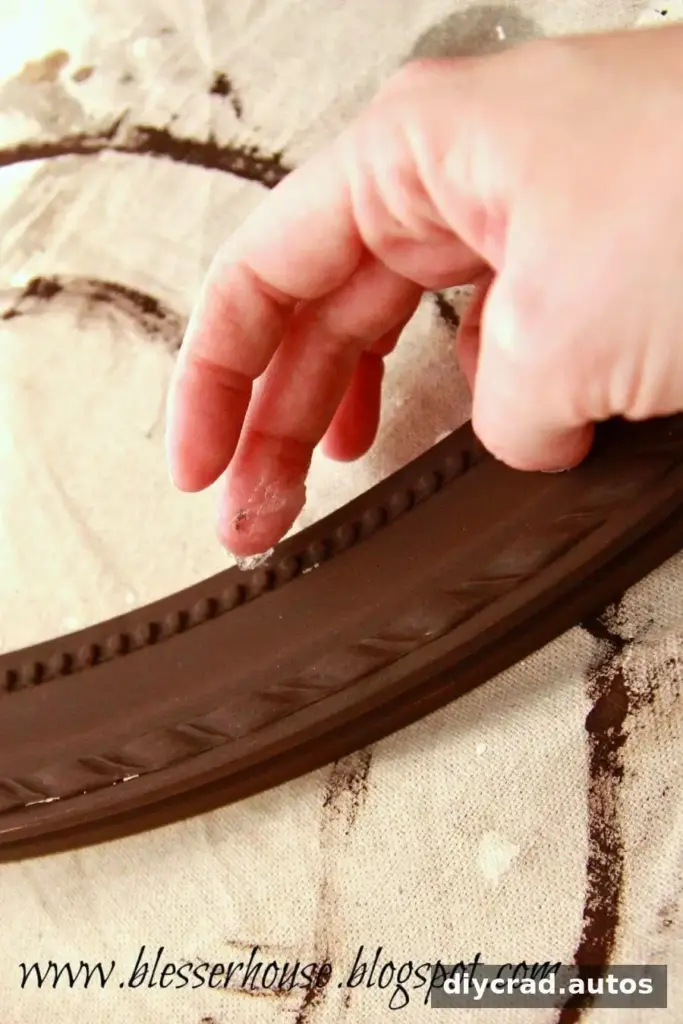
Rub a small amount of Vaseline onto selected areas of the dry base coat. Focus on corners, outer edges, and raised decorative details, where an old frame might naturally show wear. Use a light touch: too much jelly can make the top coat difficult to manage and create larger exposed patches than intended.
3. Paint the top coat
Apply the second color over the frame, including areas covered with Vaseline. You do not need to force paint into every groove or crevice; slight variation can add character to the finish. In this project, Parisian Grey was used as the top coat. The paint can be applied after the Vaseline, but follow the instructions for your chosen paint, especially when using spray paint.
The areas treated with Vaseline may look different as you work. Avoid repeatedly brushing over them, since that can disturb the barrier and produce an uneven result.
4. Wipe away the barrier and add optional detail
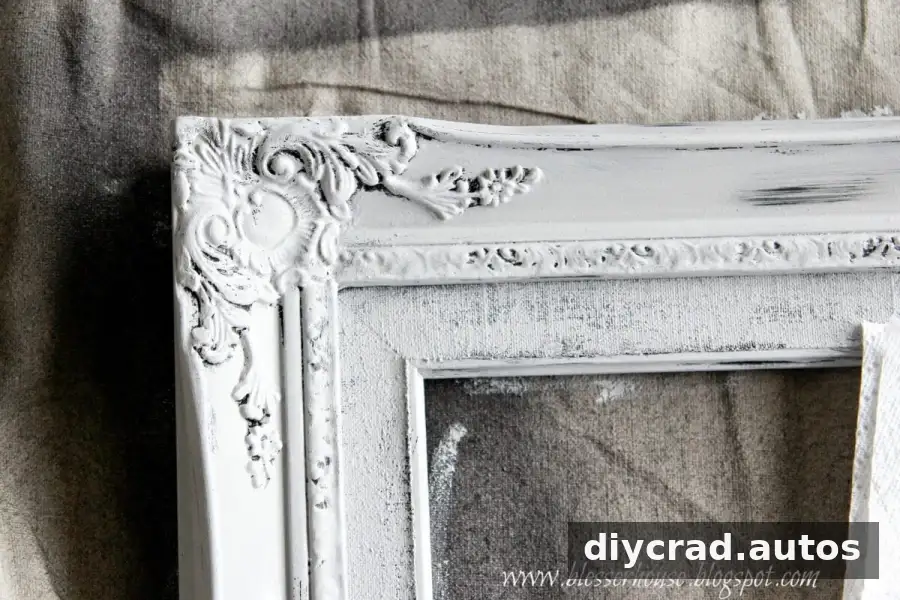
Once the top coat is dry, gently wipe the frame with a clean, dry rag to remove the Vaseline and the paint that did not adhere over it. Work slowly and check the effect as you go. If more of the base color needs to show, add or adjust distressing only in small areas rather than scraping broadly across the frame.
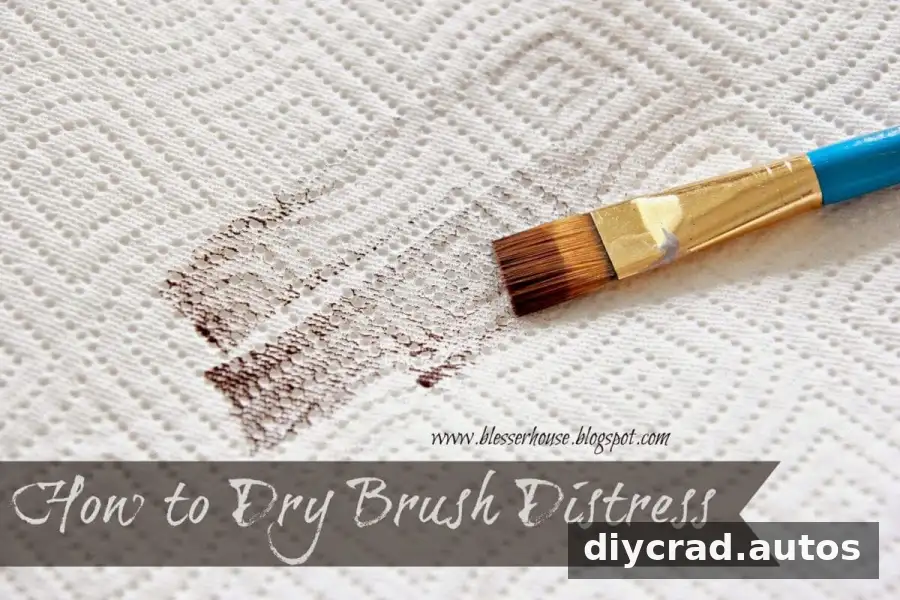
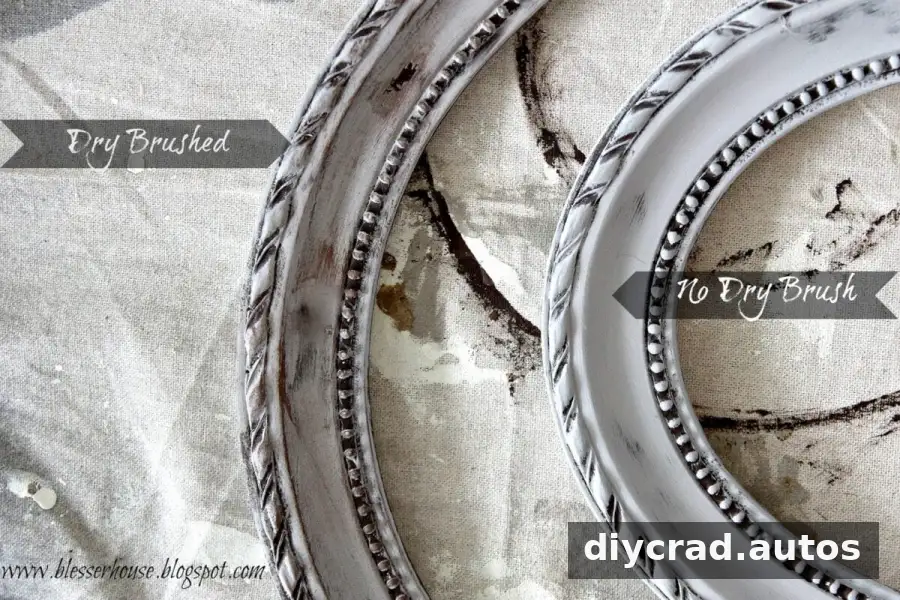
For extra dimension, try dry brushing with the base color. Dip an artist brush into the paint, then wipe most of it onto a paper towel until only a small amount remains on the bristles. Lightly brush over raised details and edges. Build the effect gradually; a faint layer usually looks more natural than a heavy coat.
Tips for frames made from different materials
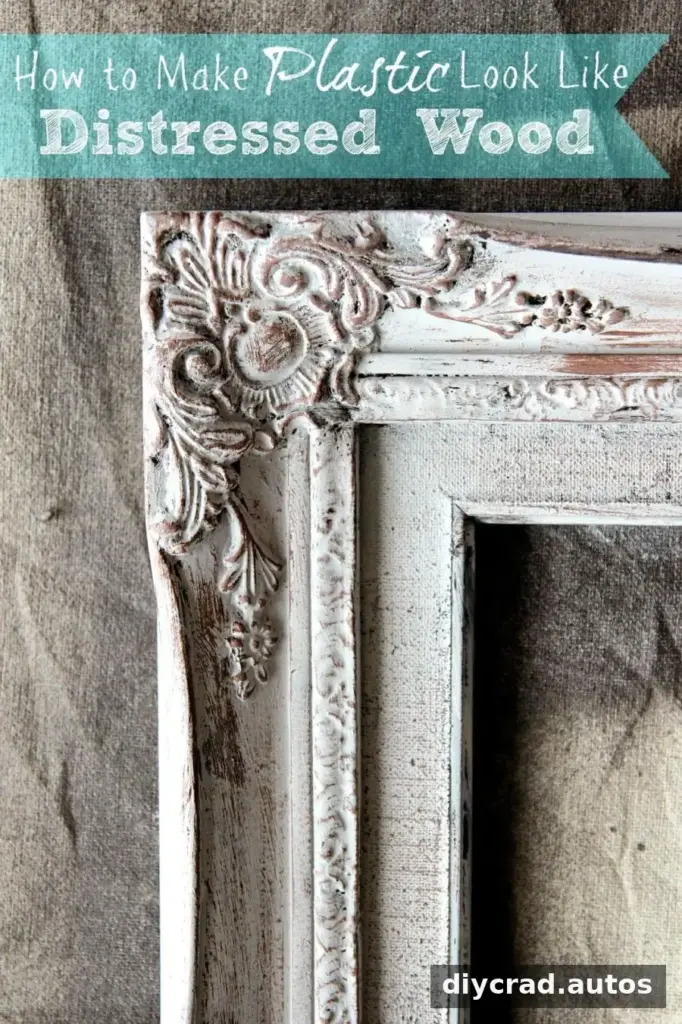
The technique does not require sanding to create the distressed appearance, and it was used on plastic frames as well as other frame types. In the project, two plastic frames ended up with a finish that resembled distressed painted wood. However, appearance and durability depend on the material and the paint. Use a paint suitable for the frame’s surface, and test first on plastic, glass, resin, or any slick finish.
- Use a small amount of Vaseline at first; you can add more where needed.
- Let each coat dry as directed on its label before moving to the next step.
- Keep the exposed base color focused on edges and raised details for a more convincing aged look.
- Allow the finished frame to cure as recommended before rehanging or handling it frequently.
Finish and display your frames
After the frame is fully dry, reassemble it and use it as part of a gallery wall or as a standalone accent. Mixing distressed frames with darker, solid-colored frames can add contrast and keep a group of pictures from looking too uniform. When planning a gallery wall, arrange the frames on the floor first to compare spacing and colors before hanging them.
This Vaseline distressing technique is a straightforward way to refresh thrifted frames with two paint colors and a few basic supplies. Start with a subtle application, check the result as you wipe, and adjust the amount of distressing to suit the frame and the look you want.