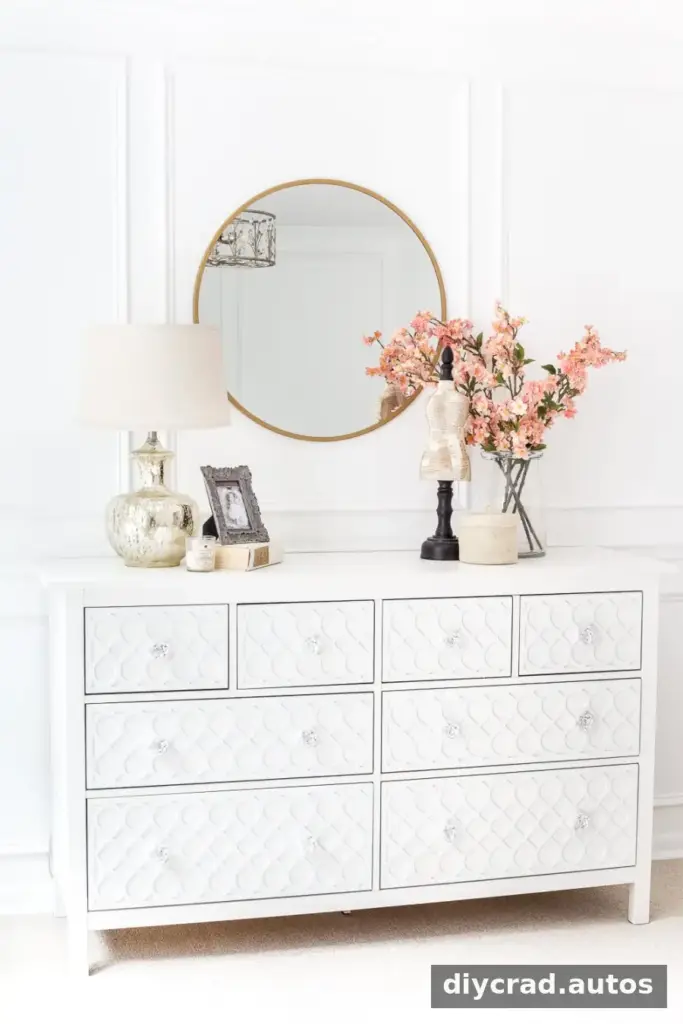
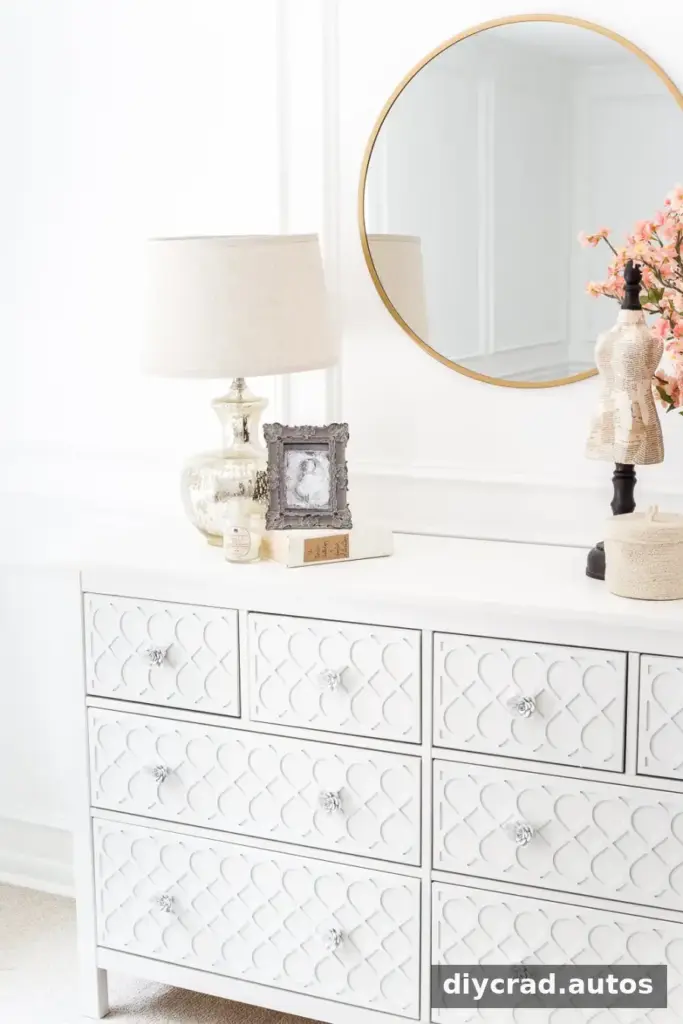
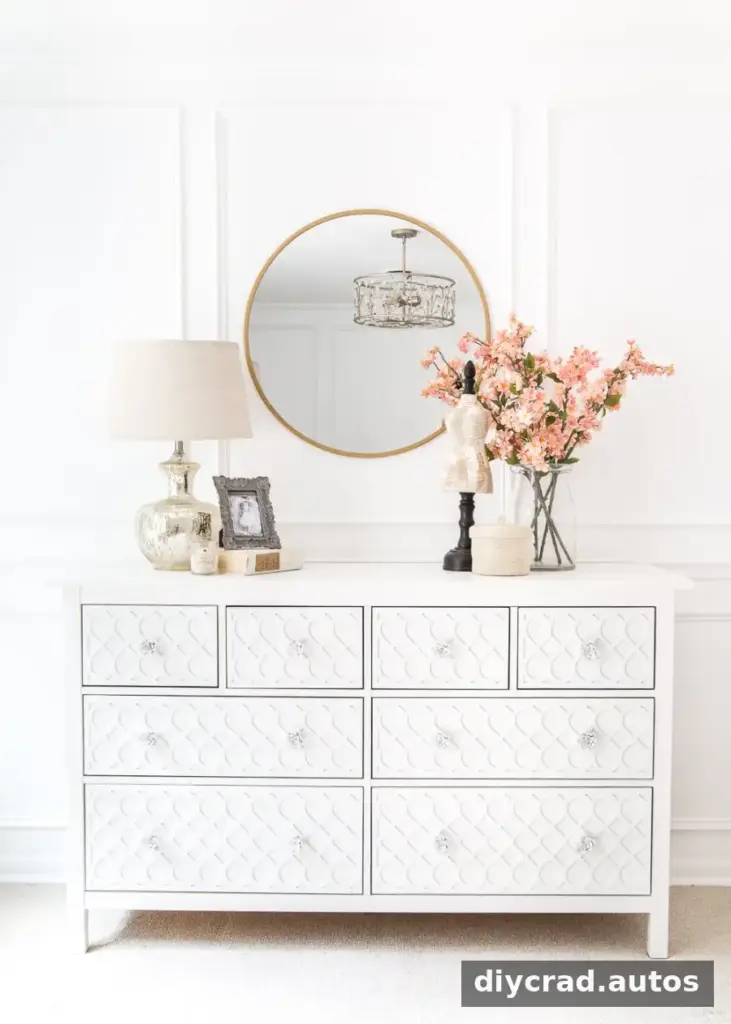
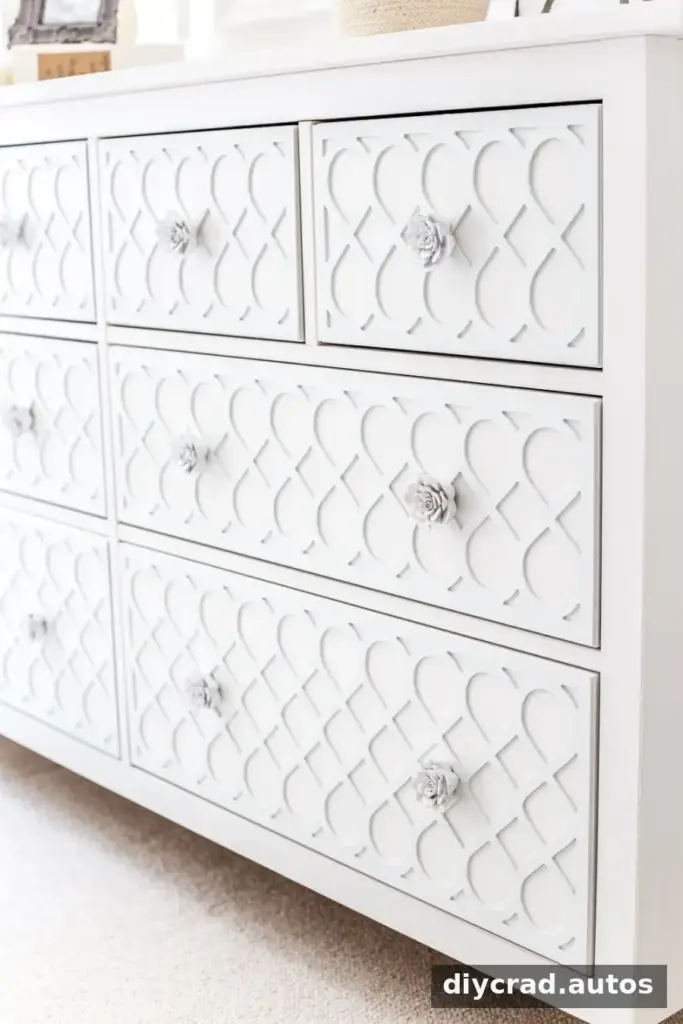
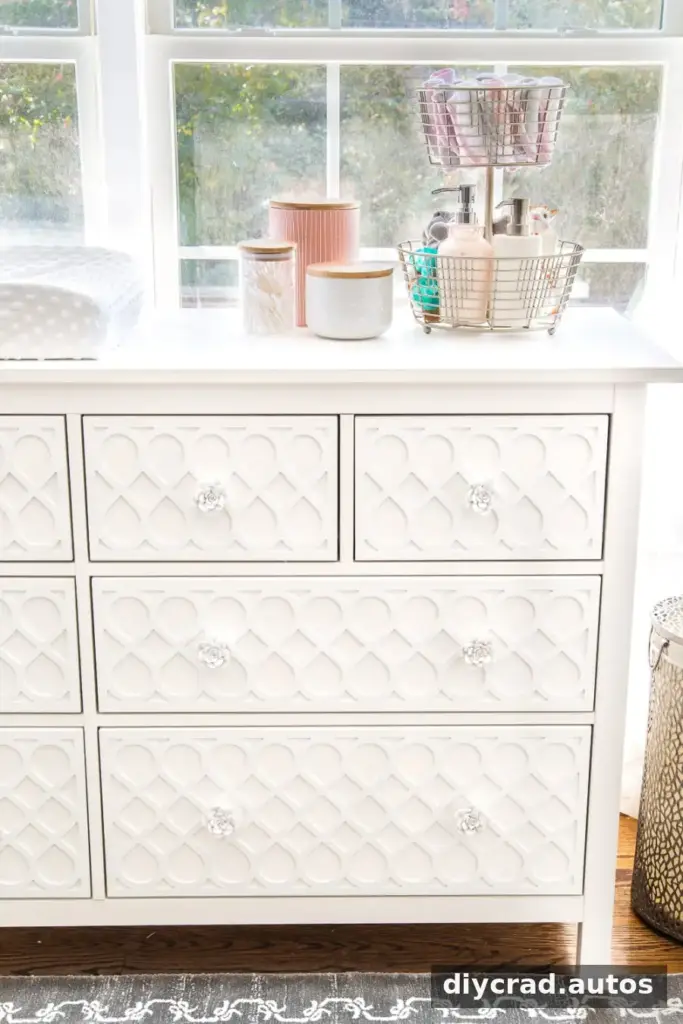
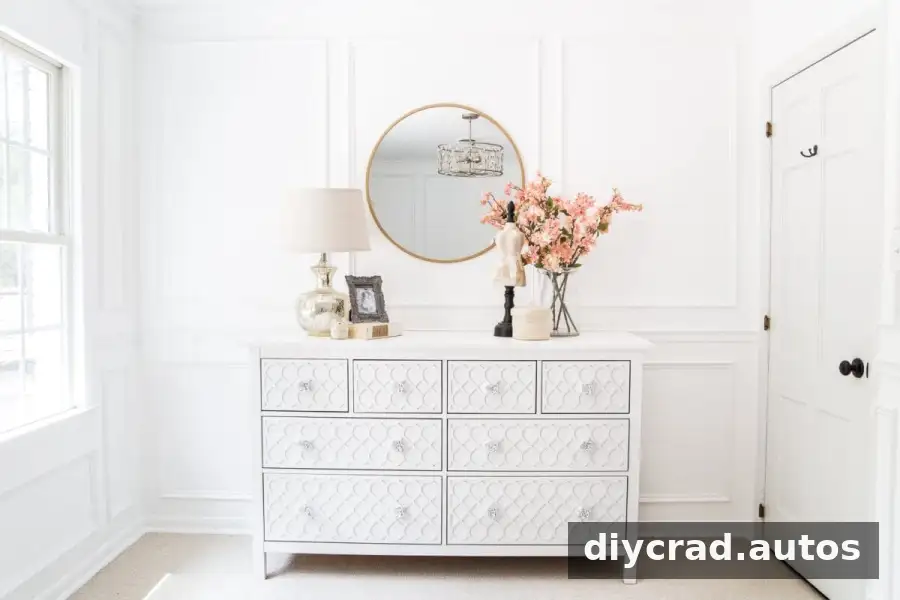
An IKEA Hemnes dresser hack can give a plain, white dresser a more detailed, furniture-inspired look without replacing it with a higher-priced piece. Decorative appliques, carefully matched paint, and new drawer knobs add dimension while keeping the original dresser useful for a nursery or bedroom.
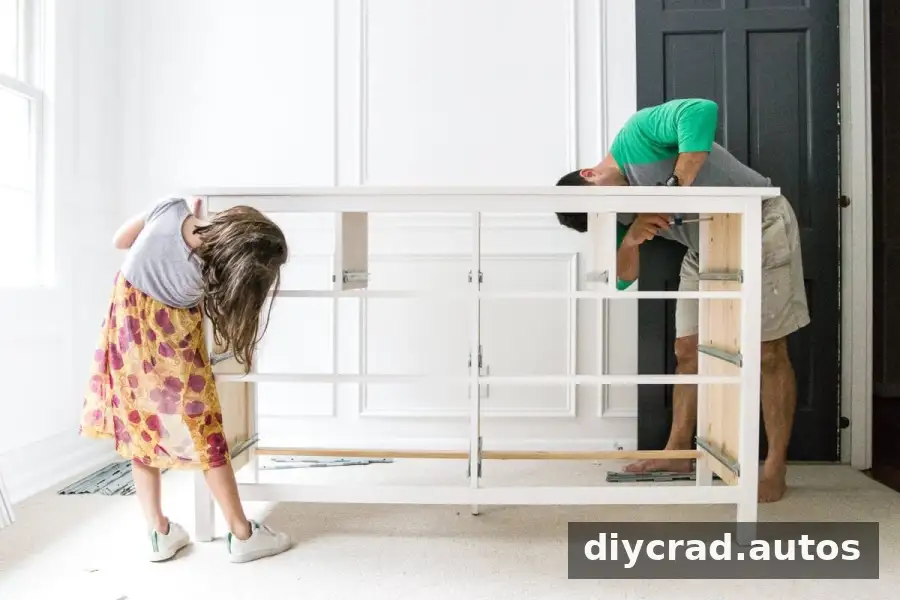
This project focuses on decorating the drawer fronts rather than painting the entire dresser. That approach can save time, but matching the paint to the existing finish is important: even two shades described as white may look different next to each other.

Why Choose an IKEA Hemnes Dresser?
A new dresser can be a practical choice when a suitable secondhand piece would need repairs or extensive refinishing. A ready-to-assemble option also avoids having to fix damaged drawers, and compatible drawer organizers can make it easier to sort clothing and everyday supplies.
Before buying, check that the dresser fits the room and that drawers open fully without blocking a doorway. For a nursery, also plan where the dresser will be secured and how frequently used items will be stored.
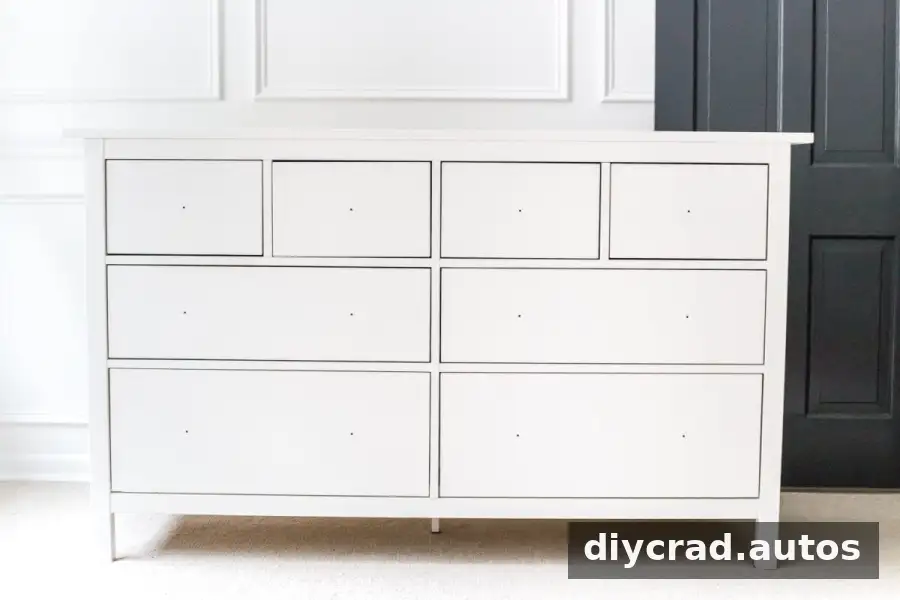
IKEA Hemnes Dresser Hack: Adding a Carved-Look Detail
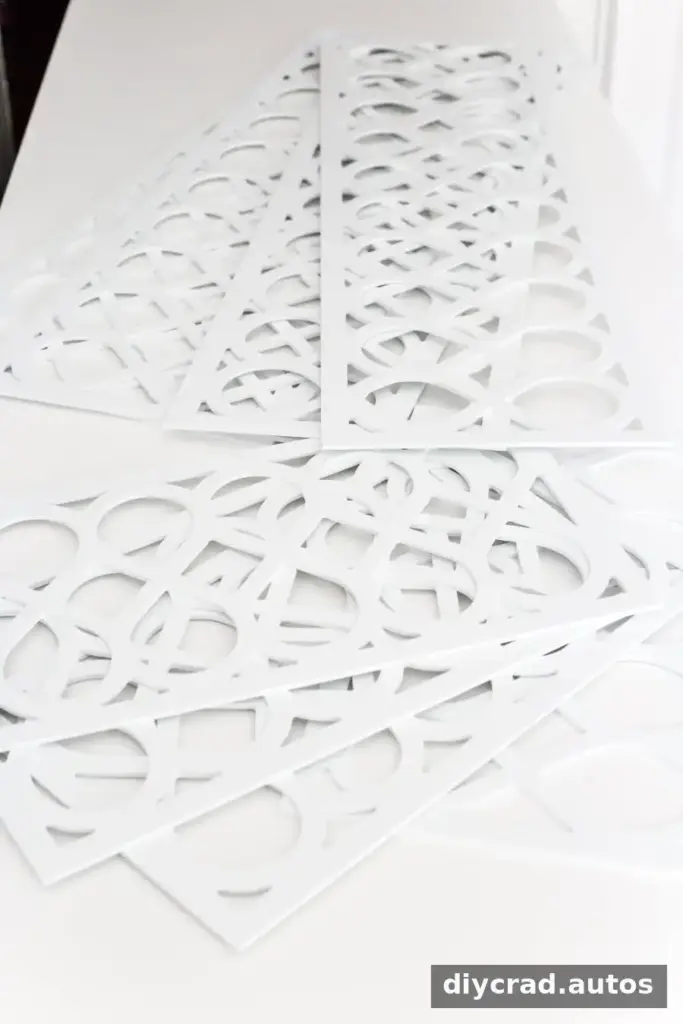
Decorative panels can create a raised, ornamental effect on otherwise plain drawer fronts. Choose a design that fits each drawer and leaves enough room for the existing hardware. The panels used for this project were 1/8 inch deep.
Although the inspiration was the look of more elaborately detailed furniture, the finished result is a customized version of a basic dresser—not a replica of another piece. Measure the drawer fronts before ordering panels so their proportions suit the furniture.
Supplies for the Dresser Makeover
- Fiona Panel Kit by O’verlays
- One quart of Sherwin-Williams ProClassic satin paint in standard white base
- A drop cloth and a high-quality 1.5-inch angled paintbrush, or a paint sprayer
- Two bottles of Gorilla Super Glue Gel
- Optional: drawer knobs or pulls of your choice
- Power drill
Use an appropriate workspace and protect nearby surfaces from paint and adhesive. Follow the product labels for application and drying guidance, and make sure the dresser is stable before working on its drawers.
How to Make the Applique IKEA Hemnes Dresser
Because the dresser was already white, only the decorative panels were painted. To find a close match, take a drawer to a paint store and ask for a color match with a similar sheen. Matching both color and finish helps the appliques blend more naturally with the dresser.
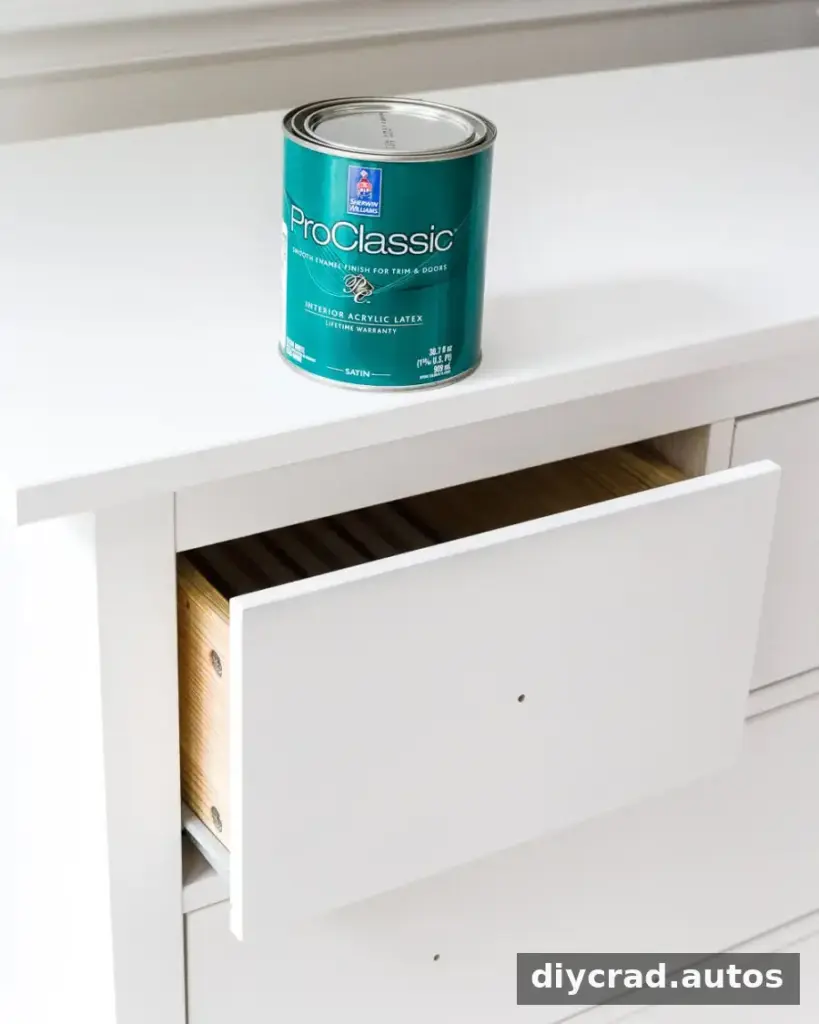
1. Paint the Decorative Panels
Lay the panels on a protected drop cloth and apply two light coats of paint. Let each coat dry according to the paint instructions before handling or attaching the panels. A sprayer is another option, particularly for detailed shapes, but use it in a properly ventilated area.
2. Attach the Panels to the Drawer Fronts
Apply gel adhesive along the back edges of each panel and at a few points in the center, following the adhesive manufacturer’s directions. Align the panel carefully on the drawer front, then press it into place. The original project held each panel for about 10 seconds; drying and curing times can vary, so check the adhesive label before using the drawers.
Work on one drawer at a time and check that the panel is straight before pressing it down. This makes small alignment corrections easier.
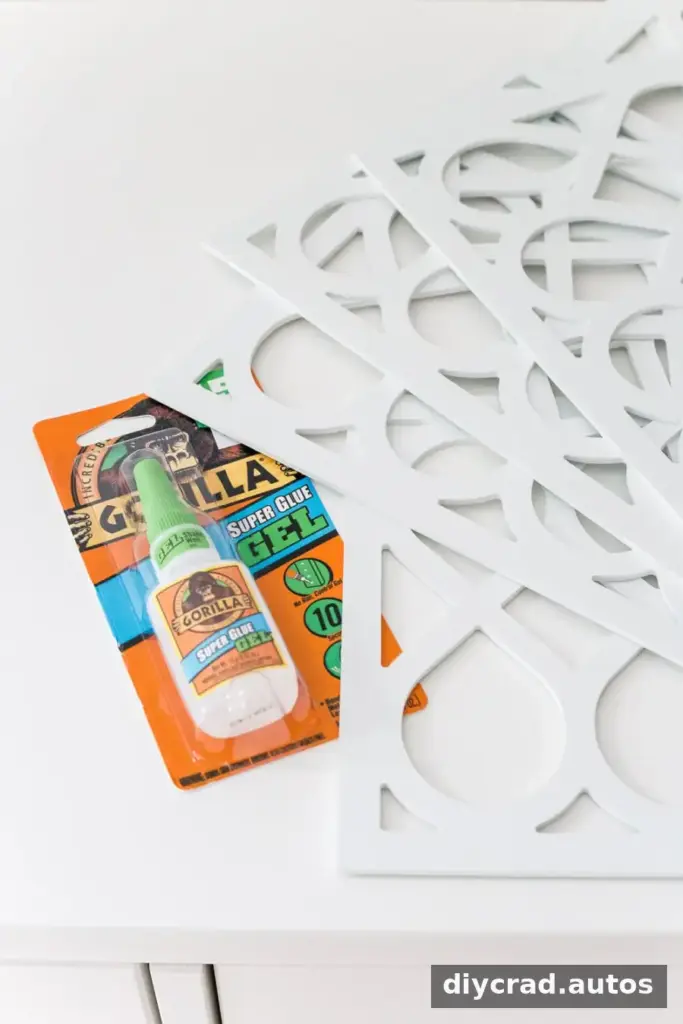
3. Install the Drawer Hardware
If the new knobs use the existing drawer holes, locate the hole through the panel and drill carefully through that spot. Support the drawer front and use a drill bit suitable for the hardware and material. Remove any loose dust, then install and tighten the knobs without overtightening.
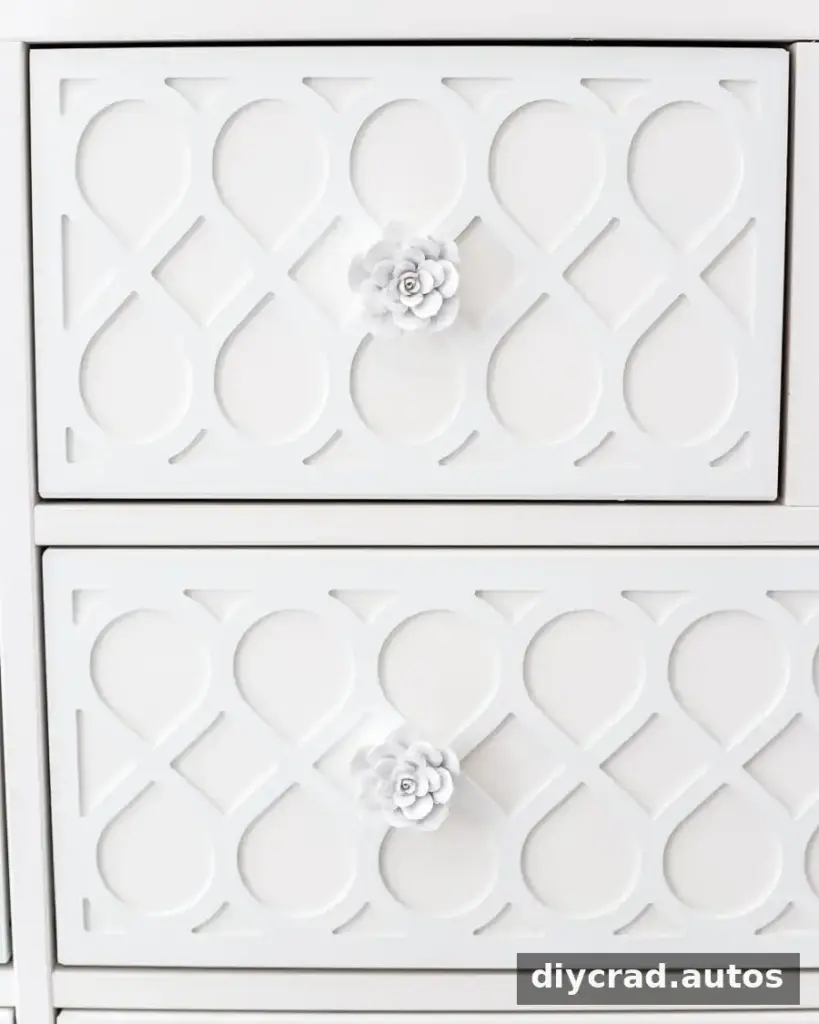
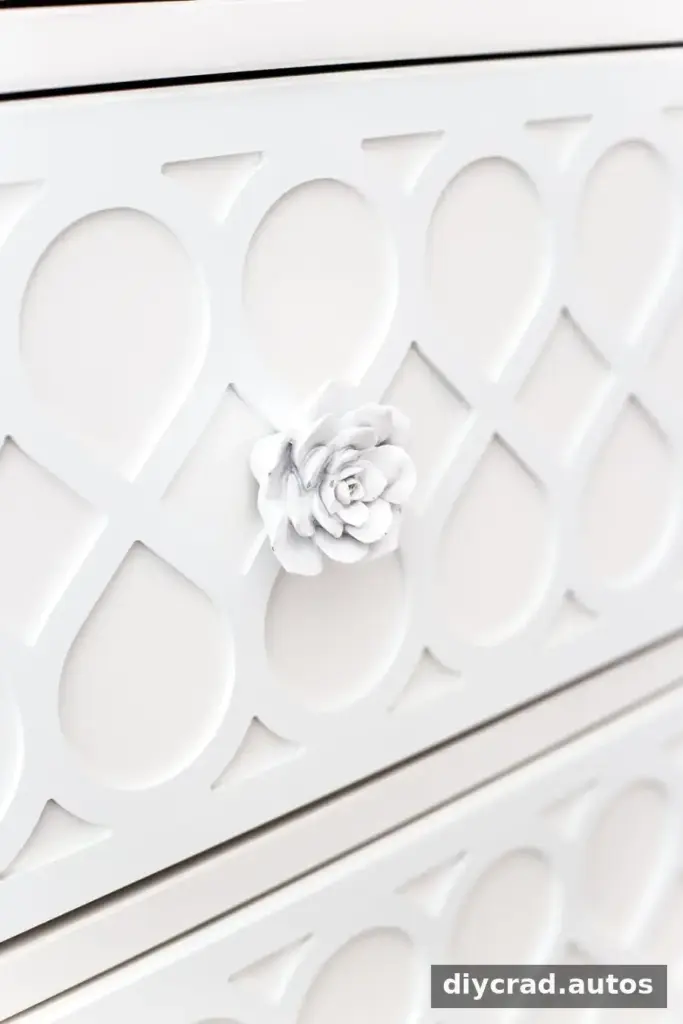
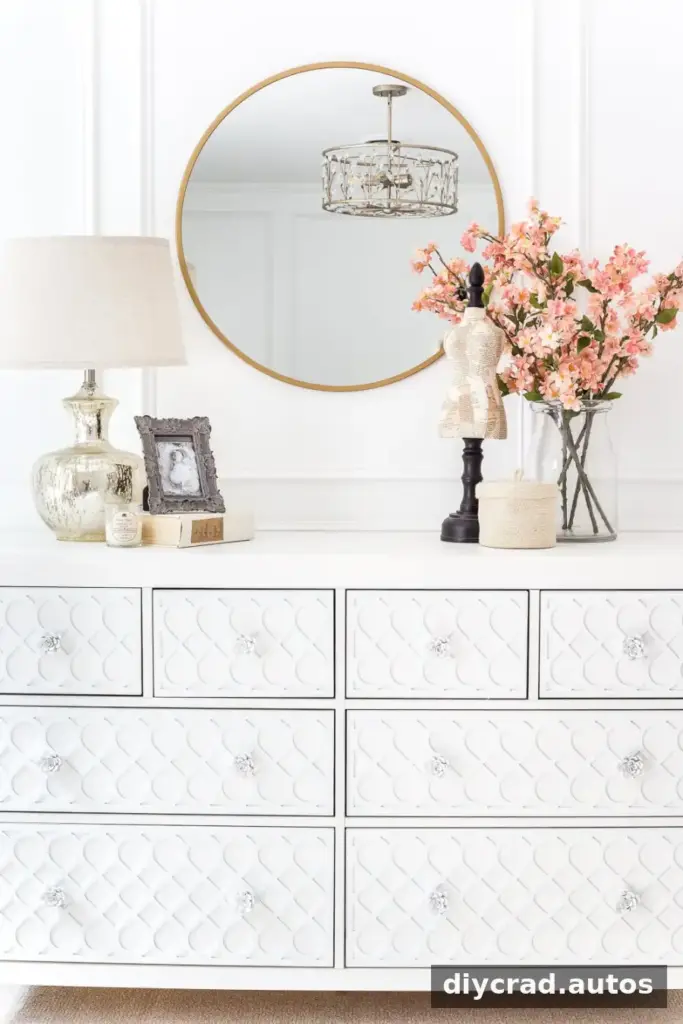
Once the panels and hardware are secure, the dresser can be styled with nursery or bedroom essentials. Keep the top surface organized so frequently used items are easy to reach.
Using the Dresser in a Nursery
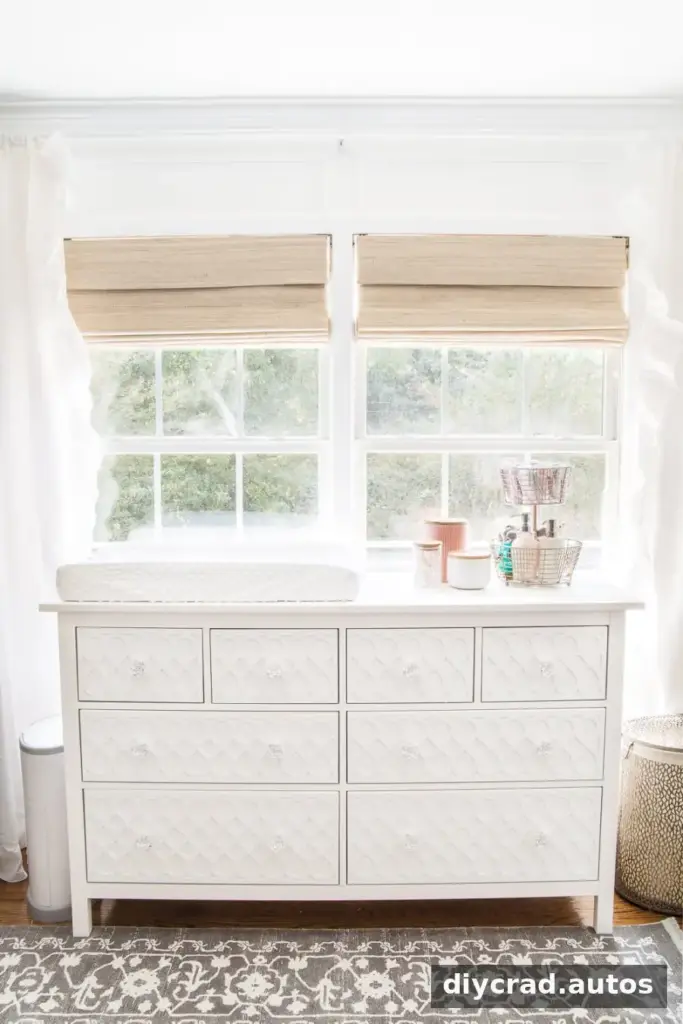
Consider the room layout before choosing a permanent position. Leave enough clearance for the nursery door to swing open and for drawers to extend without hitting nearby furniture. A changing pad may be placed on top only if it is designed for that use and can be secured as directed by its manufacturer.
For safety, secure the dresser to the wall using the appropriate anti-tip hardware. Keep heavier items in lower drawers, and do not leave a child unattended on a changing surface.
IKEA Hemnes Dresser Hack Cost
The combined cost of the dresser, panels, knobs, and paint was $476 for this project. The makeover was compared with elaborately detailed dressers priced at more than $1,000, but actual costs vary by location, product availability, and the hardware selected.
To estimate a similar project, add the dresser price to the cost of the appliques, paint, adhesive, and knobs. Check whether you already have basic tools before buying supplies.
Organizing a Nursery Dresser
Sort baby clothes and nursery essentials by category so commonly used items are easy to find. Drawer dividers or appropriately sized bins can help keep small items separate. Place supplies within convenient reach for an adult, while keeping anything unsafe for a child out of reach.
When planning other room updates, consider how flooring work, door access, and furniture placement fit together. It is easier to move a dresser before renovation work begins than to maneuver it around an active work area.
Frequently Asked Questions
What white paint matches IKEA white furniture?
The project used Sherwin-Williams standard white base in a satin sheen as a close match. White finishes can vary, so bring a drawer or an inconspicuous removable part to the paint counter for a more reliable match.
What depth of applique was used?
The panels used for this makeover were 1/8 inch deep. Check the drawer profile and available space before selecting a panel thickness.
Can decorative panels be added to other furniture?
Panels can be used on other flat furniture surfaces when their size, material, and attachment method are suitable. Test the finish and adhesive on an inconspicuous area first, and follow the adhesive instructions.
Final Thoughts on the IKEA Hemnes Dresser Hack
This IKEA Hemnes dresser hack uses painted decorative panels and replacement knobs to give a simple dresser a more customized appearance. Careful measuring, a close paint match, and patient installation can improve the result. For nursery use, finish the project by securing the dresser to the wall and arranging the room so drawers and doors remain accessible.