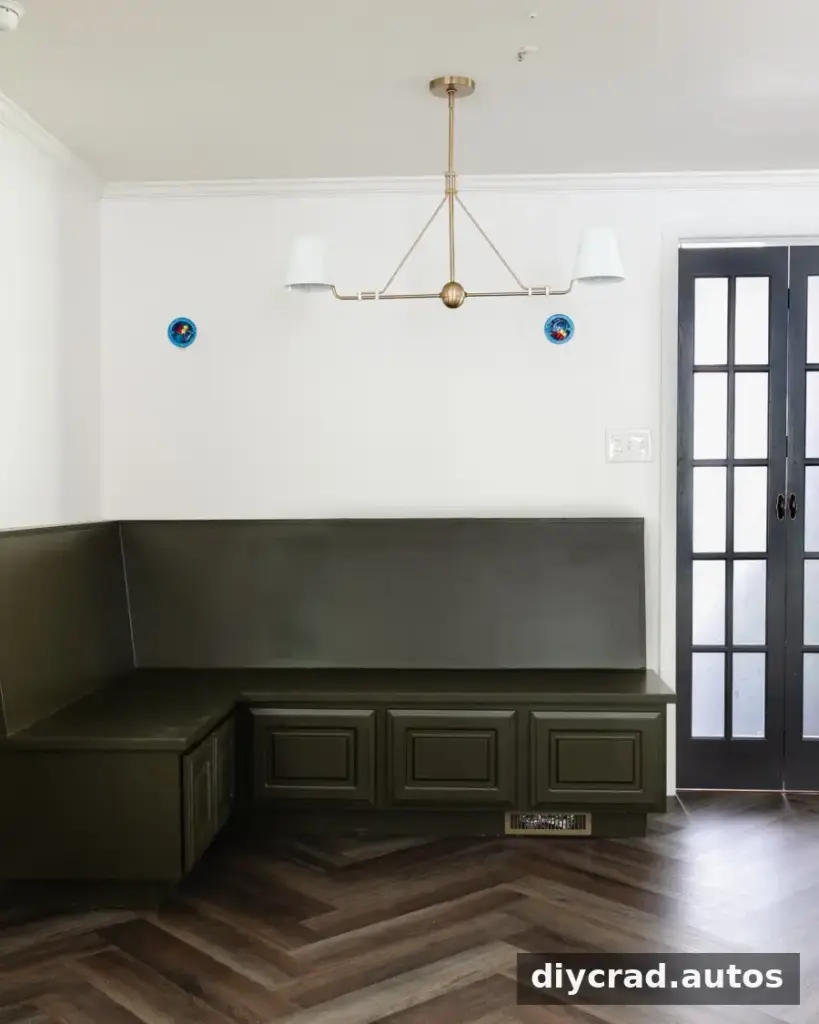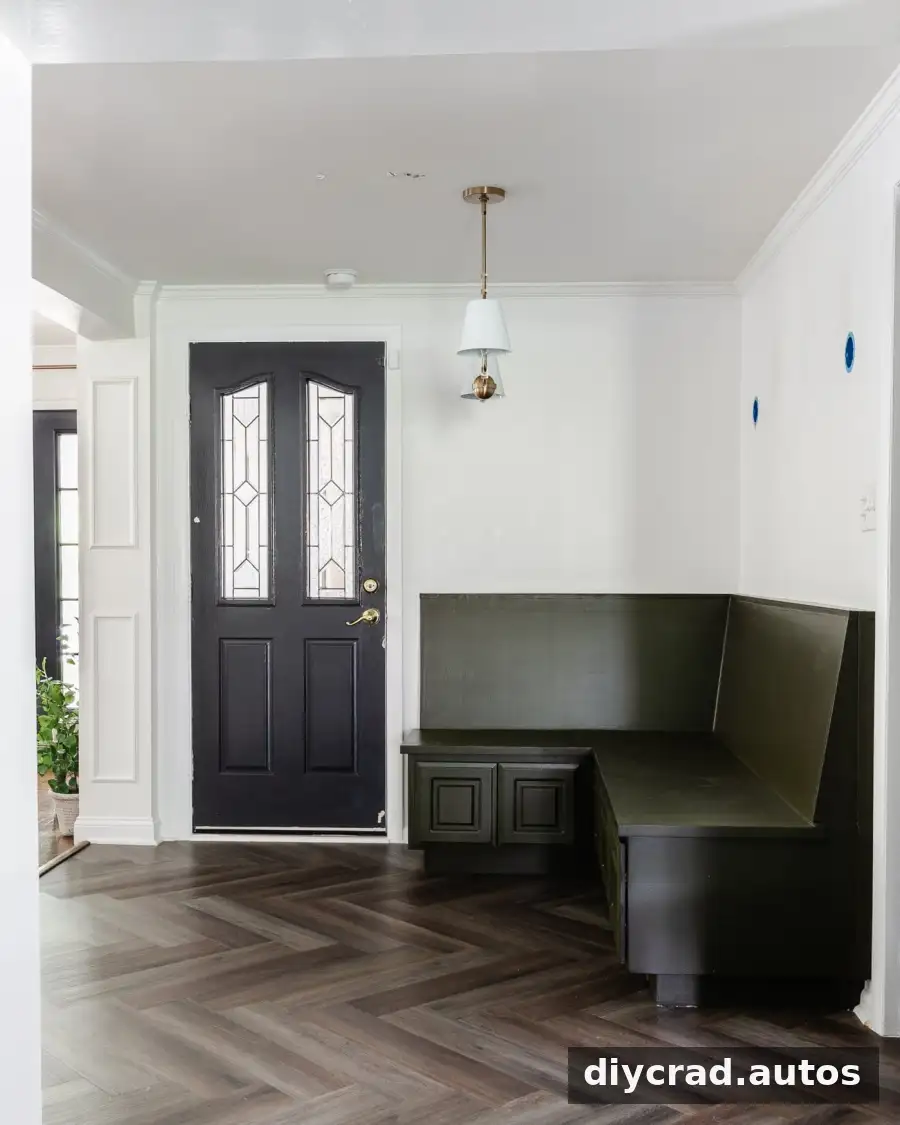
A corner banquette makeover can turn an underused corner into a welcoming dining nook, but built-in seating may create practical challenges as well as design opportunities. In this project, a secondhand banquette was refreshed with paint, while a floor air vent beneath the seating was redirected so the airflow would not be blocked.
Planning a Corner Banquette Makeover
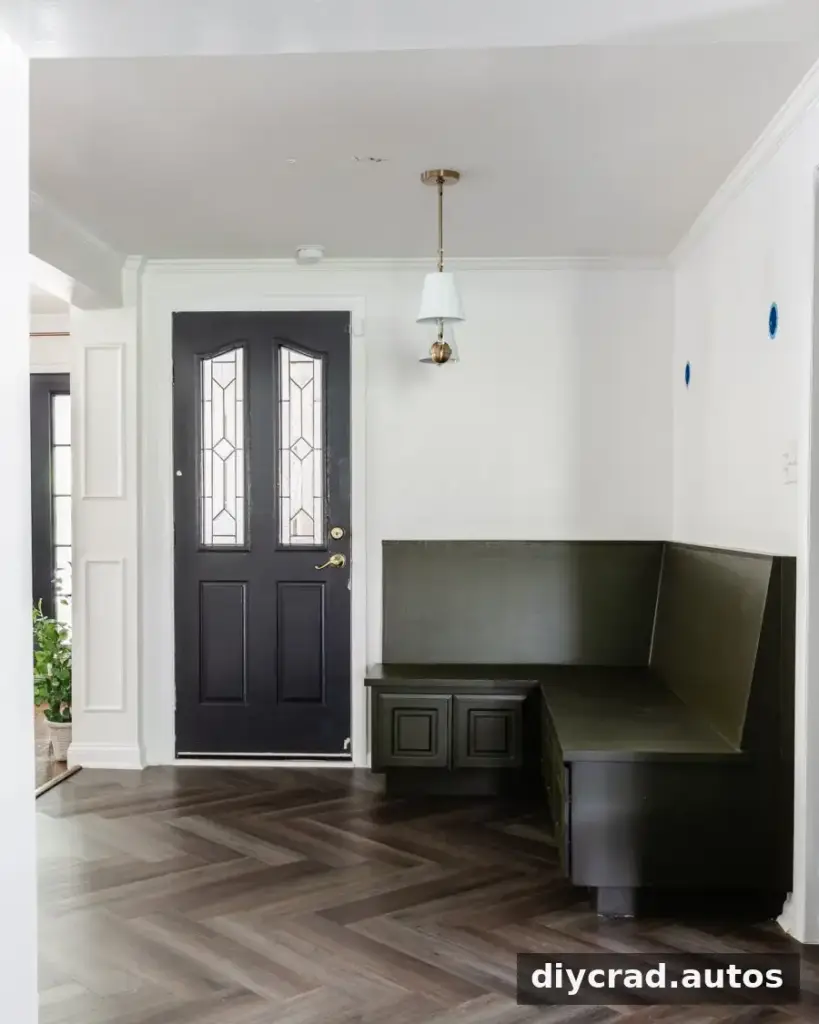
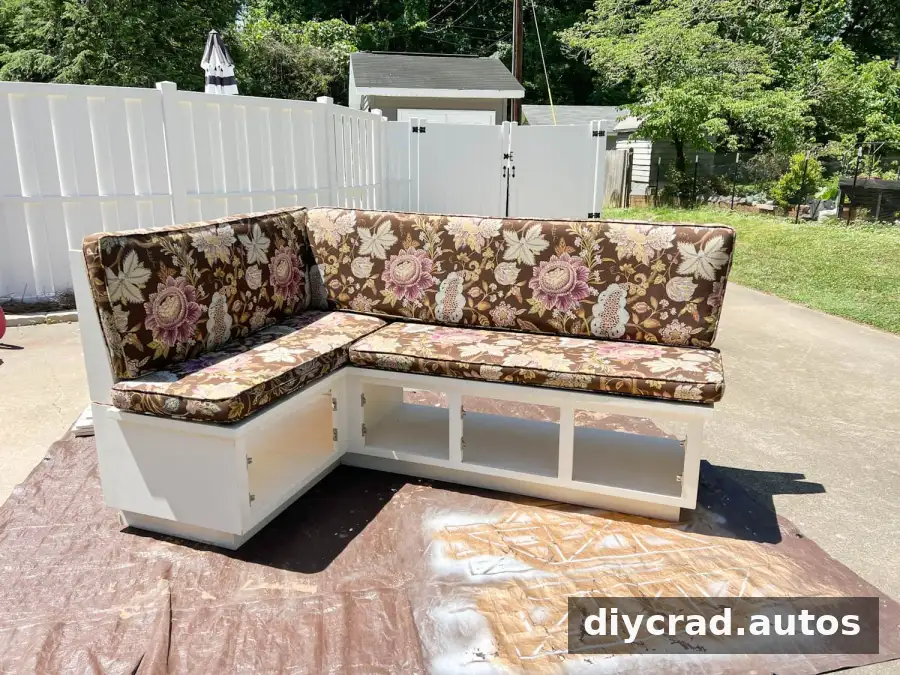
The makeover involved several stages: finding a secondhand corner banquette, preparing the room, addressing the floor vent, and painting the built-in seating. The banquette was installed in a dining area with a narrow rectangular table planned for the space. Sconce boxes and a linear chandelier were also added to provide lighting in the windowless nook.
The seating can be used before the cushions are reupholstered, but finished cushions can help make a banquette more comfortable and bring color or pattern into the dining area. Before positioning any built-in furniture, check whether it will cover a heating or cooling register. A vent should not simply be sealed beneath cabinetry; airflow needs a clear route into the room.
How to Redirect Air Vents Under Cabinets
A floor register beneath a cabinet, window seat, or corner banquette can be redirected through the toe kick using a vent redirect kit. The kit used for this project was a Toe Ductor, which can also be used with wall and baseboard registers. The installation routes air from the original floor vent through flexible ducting and out through a new grille in the furniture toe kick.
Allow at least 4 inches of space beneath the cabinet or built-in, as recommended for this setup. Confirm that the kit suits the existing register and furniture layout before cutting. If the vent location, duct connection, or airflow requirements are unclear, consult an HVAC professional rather than covering the register.
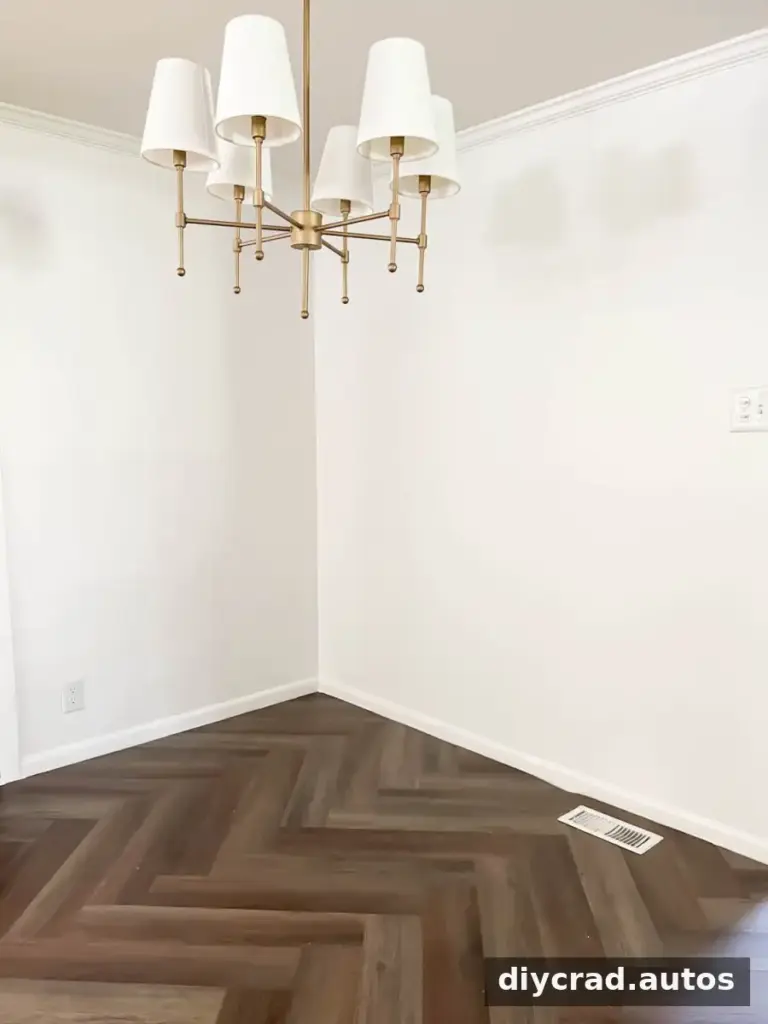
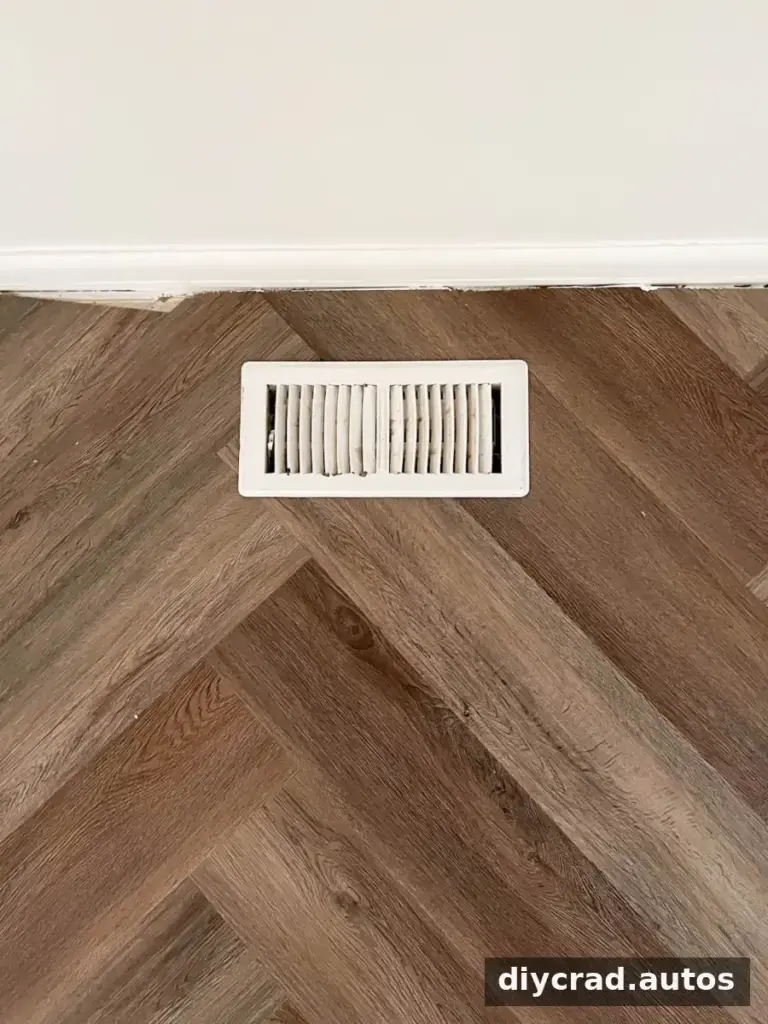
Supplies
- Toe Ductor kit; wall vent and baseboard vent versions are also available
- Drill
- 1/2-inch wood screws
- Oscillating tool
- Duct tape
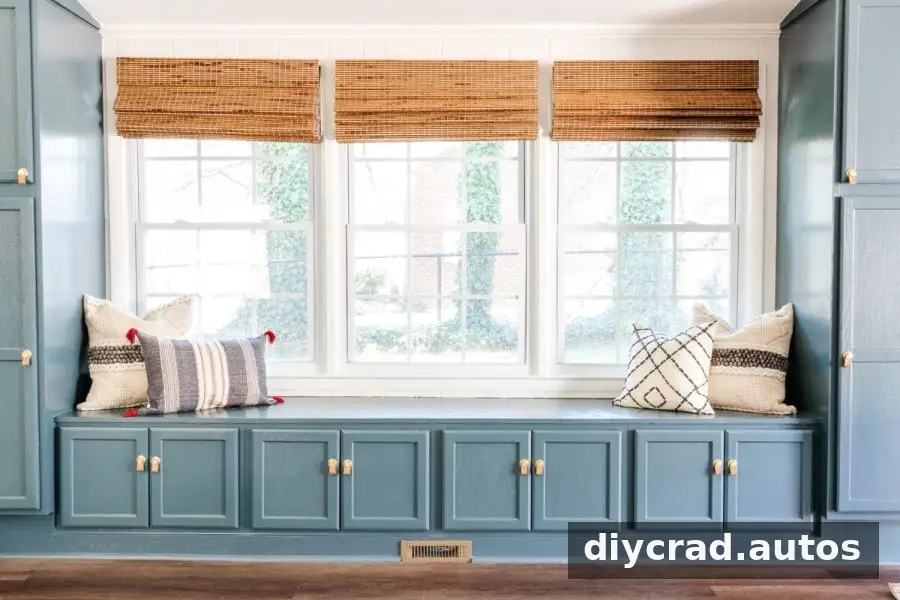
Step 1: Attach the Box to the Floor Vent
Place the kit’s box over the floor vent and fasten it to the floor with screws. Make sure it sits securely before connecting the flexible duct.
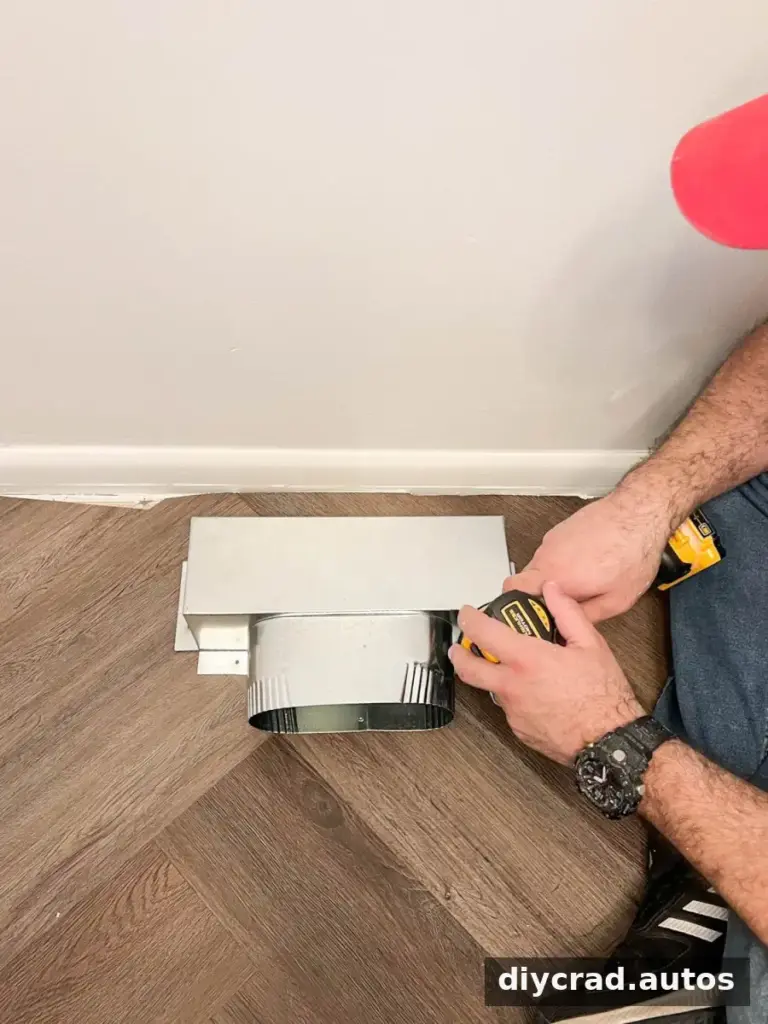
Step 2: Measure and Cut the Toe Kick Opening
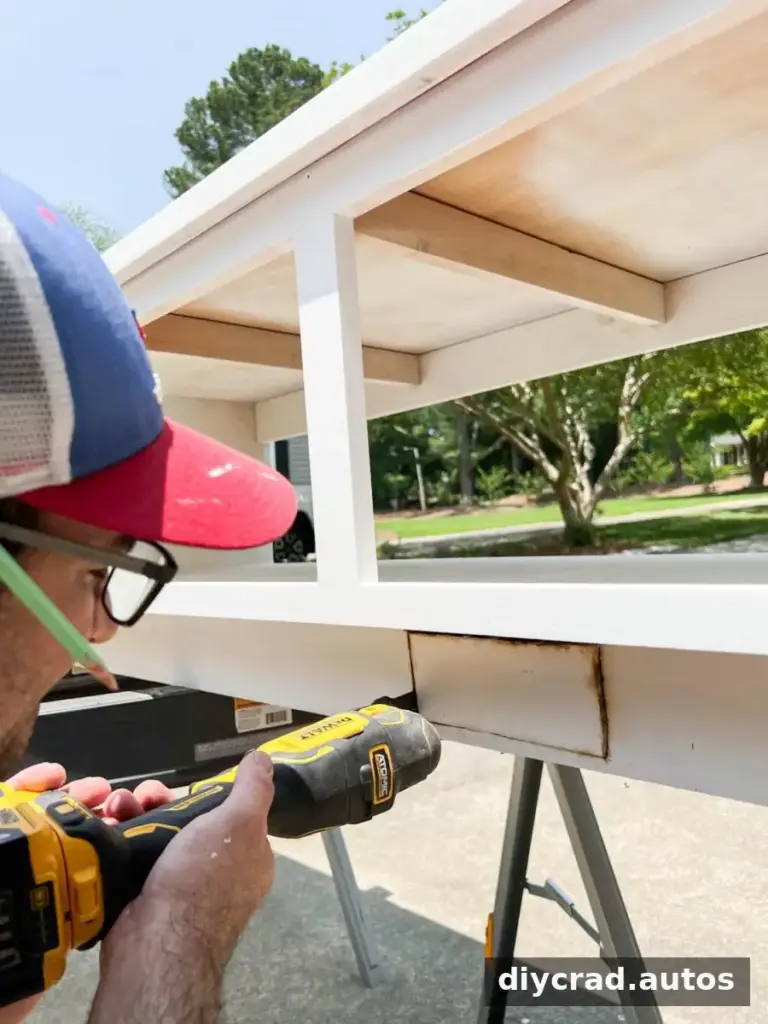
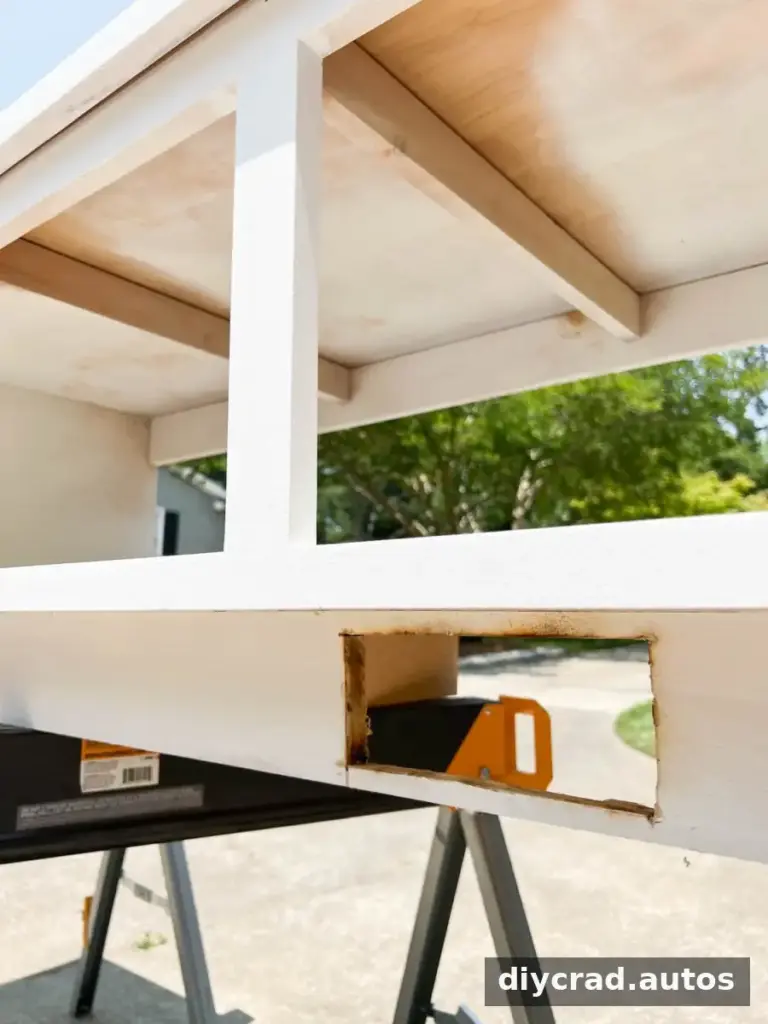
Choose where the new grille will sit on the built-in’s toe kick. Measure and mark the opening, then use an oscillating tool to cut out a rectangular section. Measure carefully before cutting, and check that the opening aligns with the vent and duct path.
Step 3: Attach the New Vent
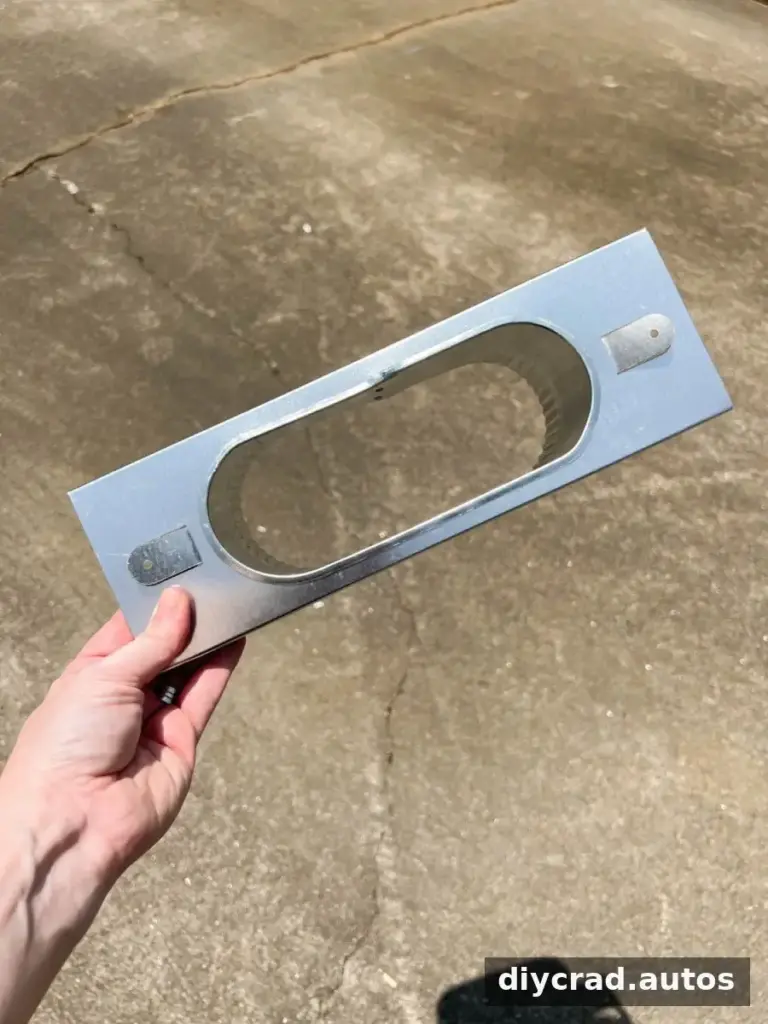
From the back of the opening, attach the new vent to the toe kick with screws. Check that the grille is positioned correctly and sits securely.
Step 4: Connect the Flexible Duct
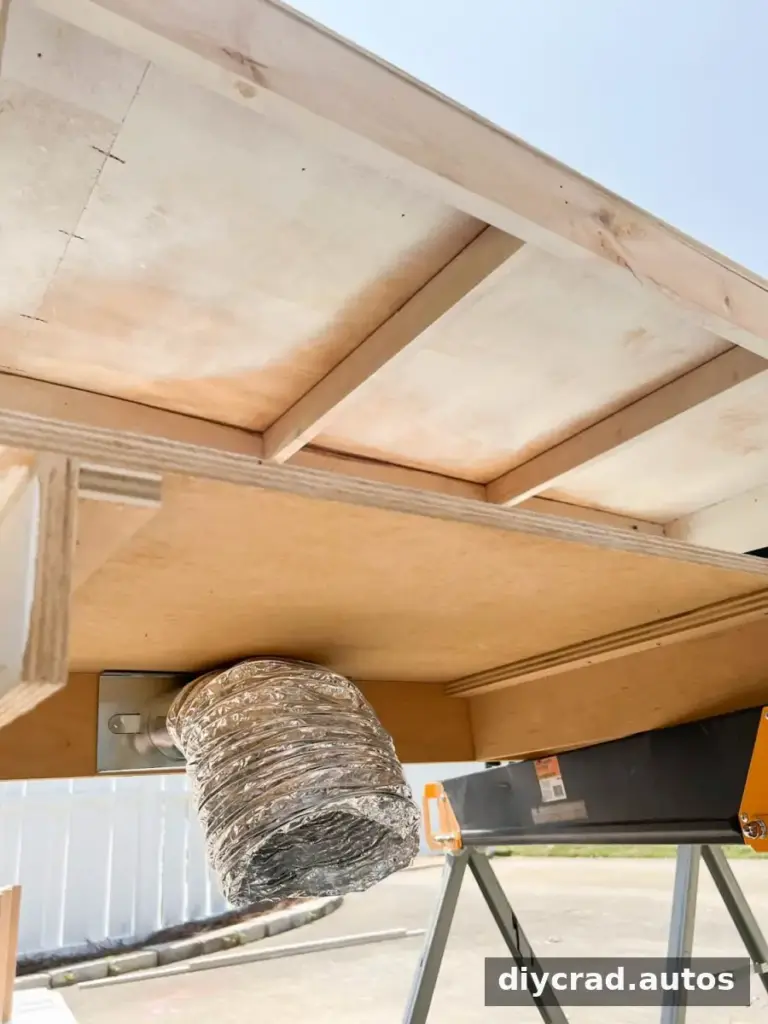
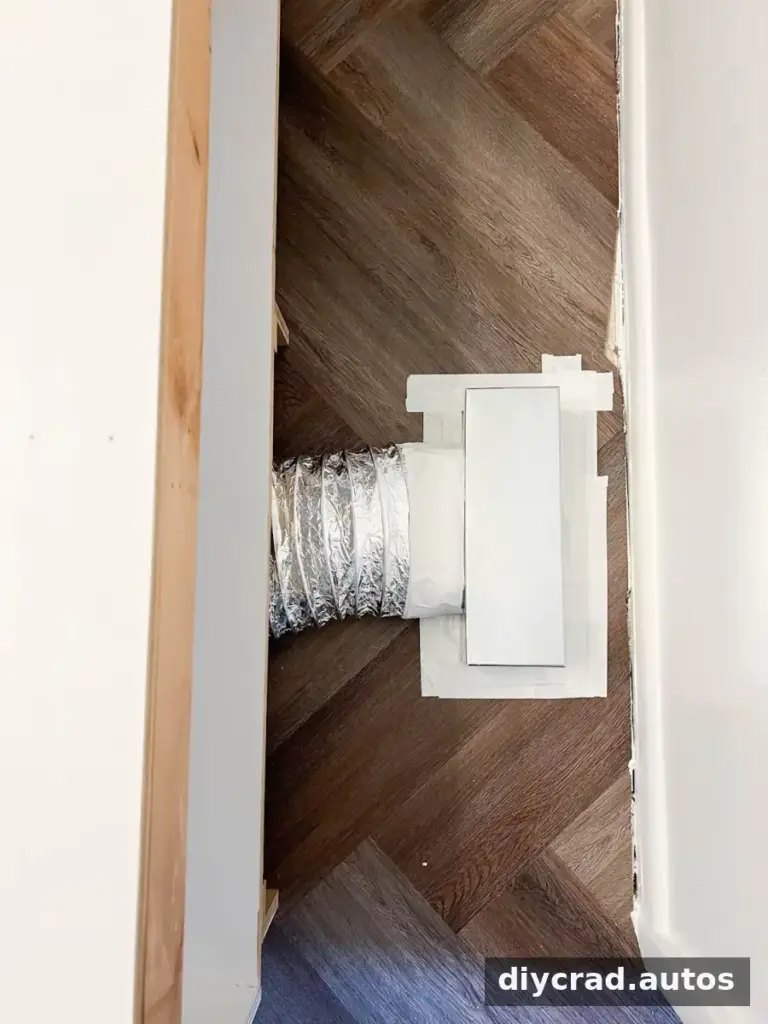
Use the provided metal strip to fasten the flexible duct to the back of the new vent. The metal strip in this installation was difficult to secure, so duct tape was added as reinforcement.
Step 5: Connect the Duct to the Box
Extend the flexible duct beneath the banquette and attach it to the floor box using the kit’s metal strip. Duct tape was also used at this connection to help prevent air from escaping. Position the cabinet or built-in over the box and anchor it to the wall as appropriate. The toe-kick grille can be fitted after painting.
Step 6: Prepare and Paint the Banquette
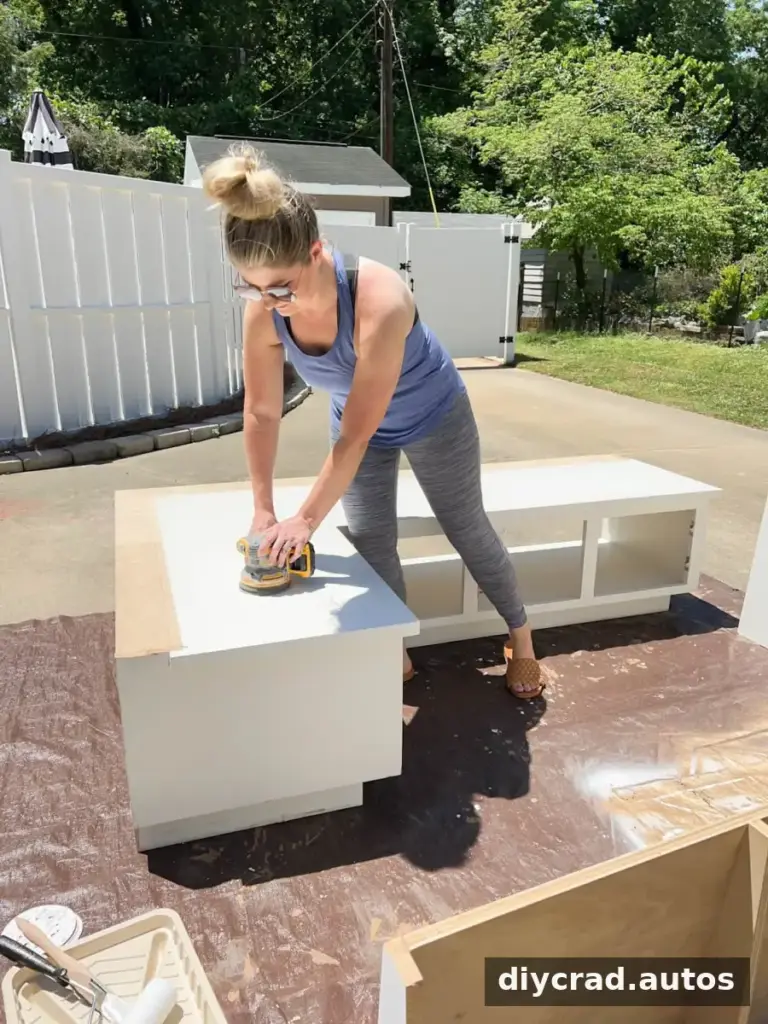
Because the banquette is similar to cabinetry, the same preparation approach was used for its painted finish:
- Sand with an orbital sander using medium- or fine-grit sandpaper.
- Vacuum the surface and remove remaining dust with a tack cloth.
- Apply liquid sander deglosser.
- Prime with a shellac-based primer.
- Paint with satin enamel.
Follow the product labels for preparation, application, and drying times. Careful dust removal between sanding and painting helps create a cleaner finish.
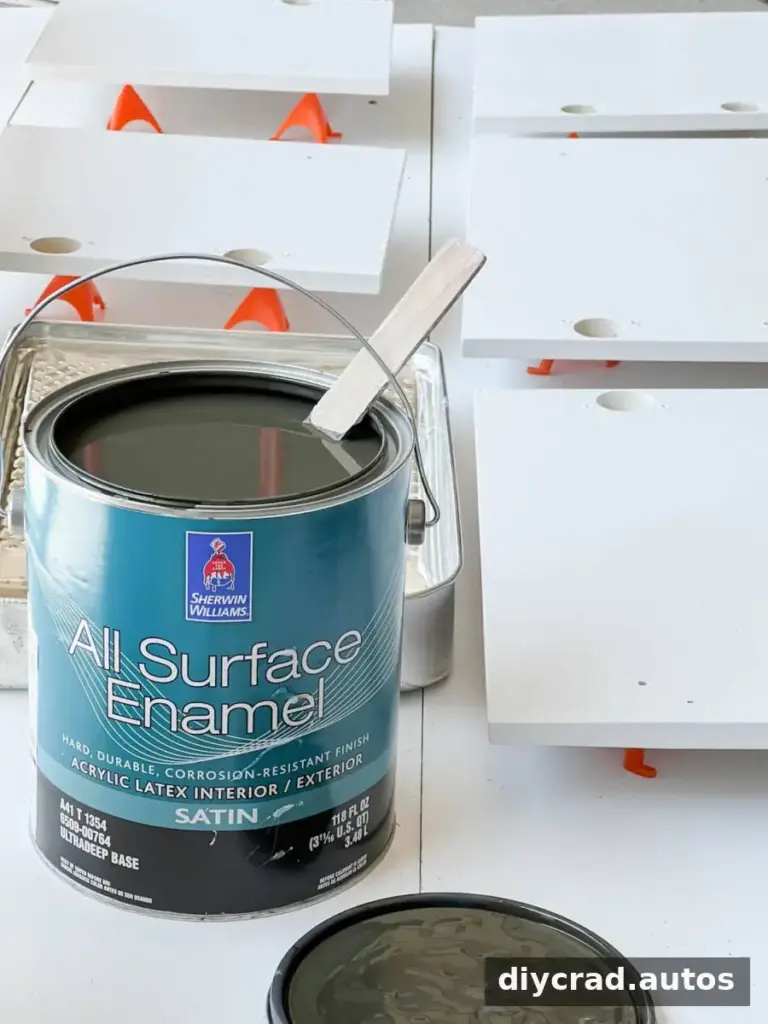
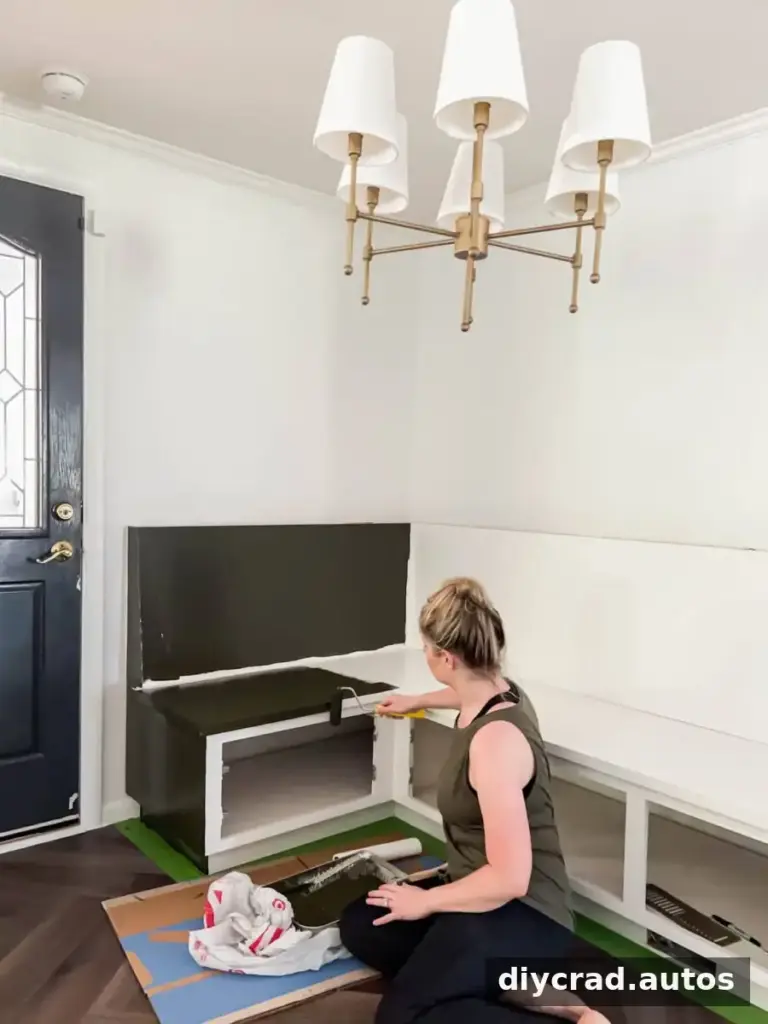
The banquette was painted Benjamin Moore Southern Vines, a deep, desaturated olive green. It provides a subdued contrast with the kitchen’s more vibrant hunter-green cabinets. The secondhand seating was also anchored to the wall, an important step for keeping built-in furniture stable during everyday use.
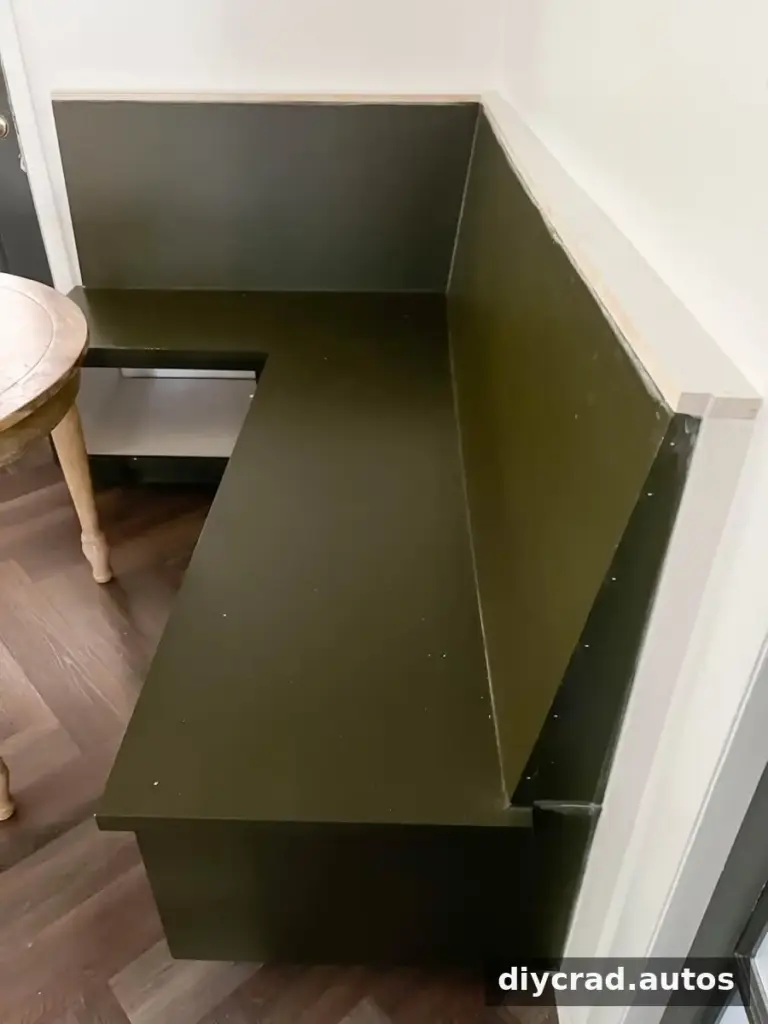
The Finished Painted Corner Banquette
The painted seating gives the dining nook a defined focal point, while striped cushions are planned for a later update. A linear chandelier suits the narrow rectangular table planned for the area, and wall sconces add lighting to the windowless corner.
The vent cover can be painted Benjamin Moore Southern Vines to help it blend with the banquette. Before painting a grille, make sure its openings remain clear so air can flow freely.
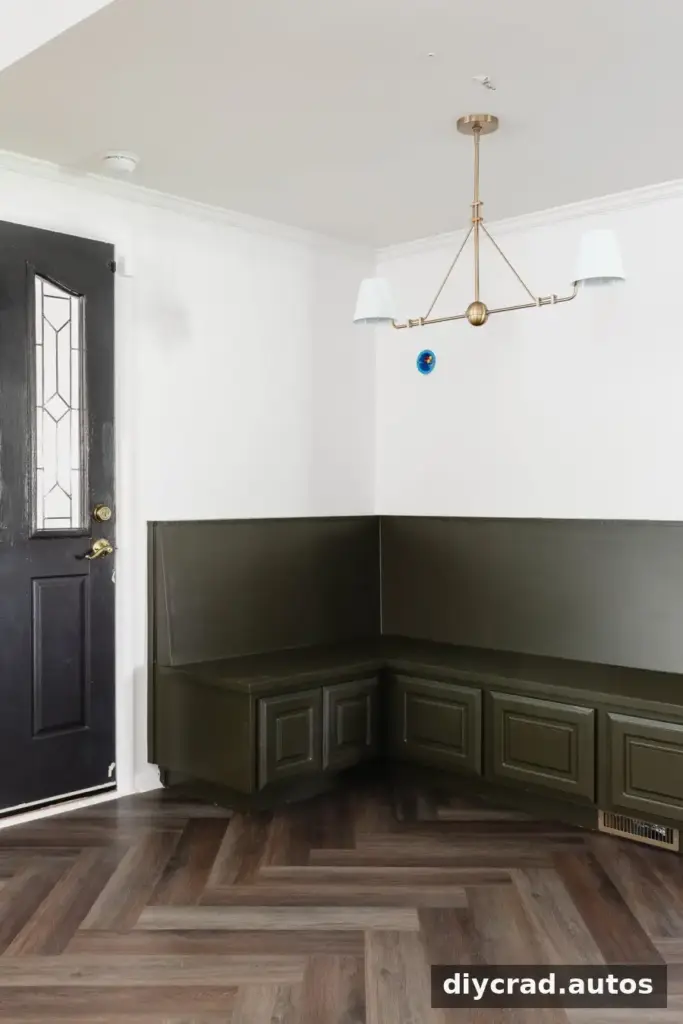
This corner banquette makeover combines a refreshed secondhand bench with a vent route that keeps the floor register from being blocked by the built-in. Measure the toe-kick opening carefully, secure the duct connections, and maintain the required clearance beneath the furniture. Those practical details help the finished dining nook look cohesive while allowing the heating or cooling airflow to reach the room.