

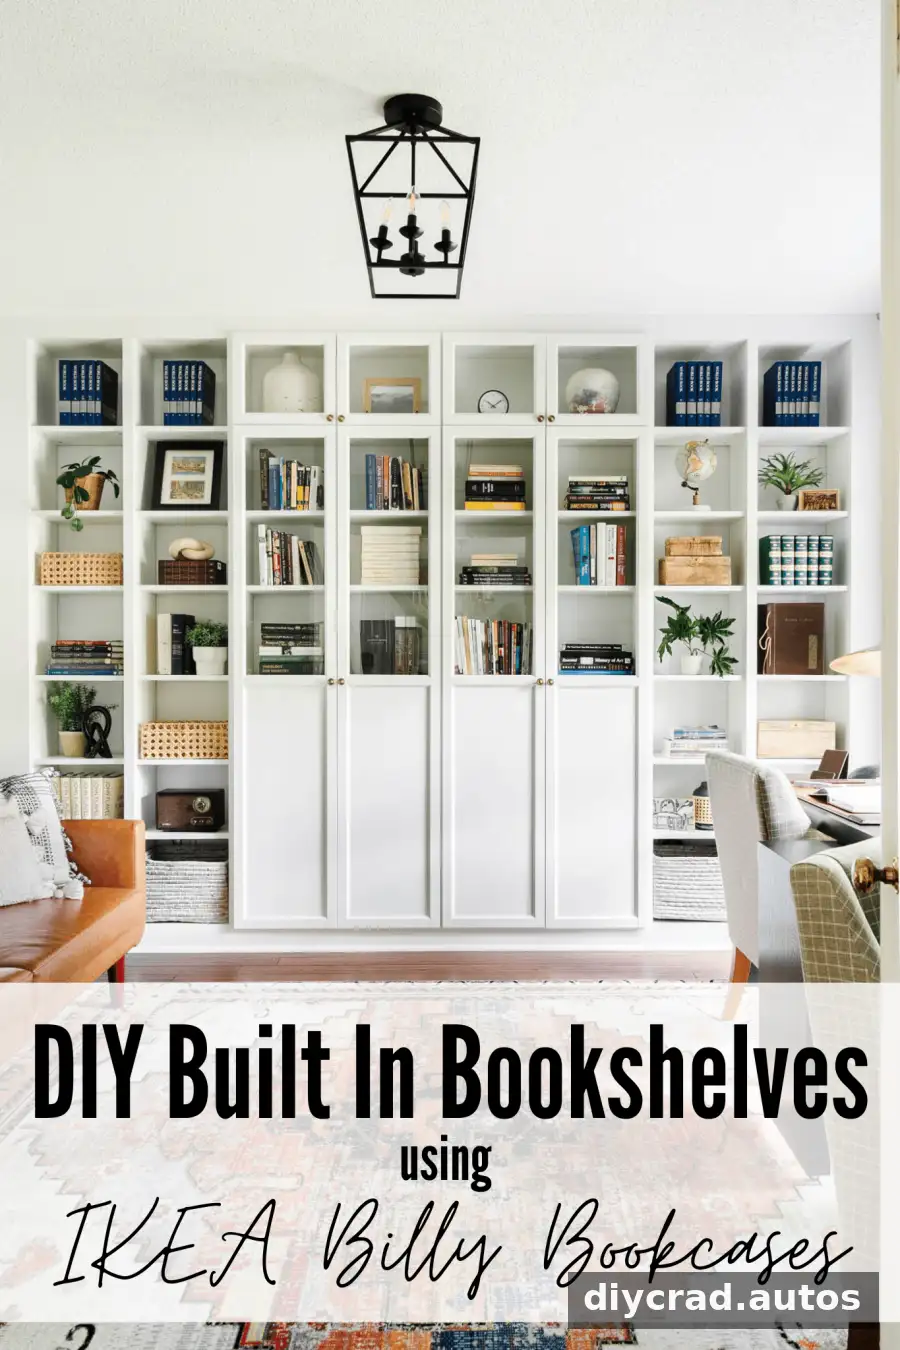
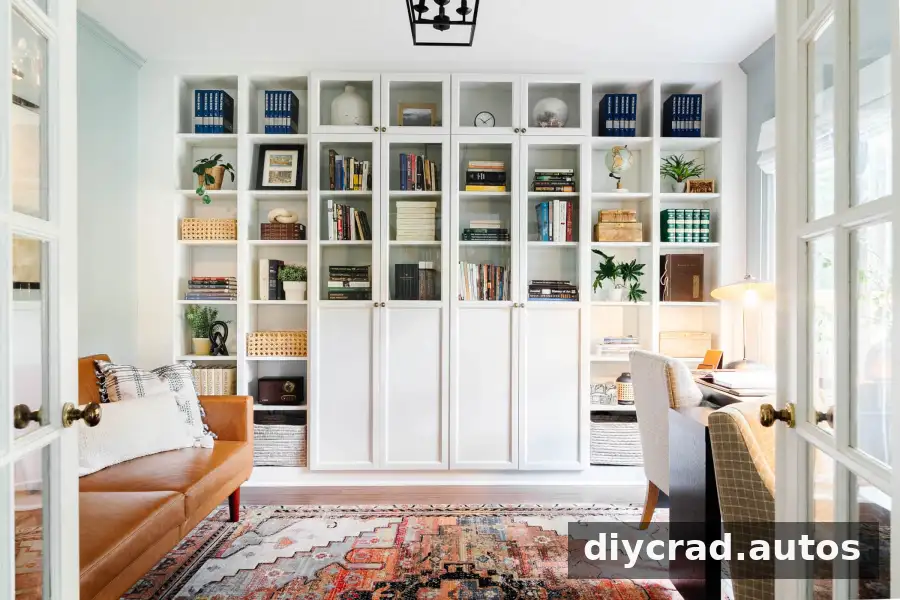
DIY built-in bookshelves can add practical storage and a custom look without requiring you to build every cabinet from scratch. This project uses narrow IKEA BILLY bookcases, trim boards, and optional OXBERG glass-panel doors to create a wall-to-wall shelving unit. The instructions below explain the key measurements, materials, assembly steps, and finishing details to consider before you begin.

The method can be adapted to different wall widths and bookcase availability, but the number and size of units will affect the trim and support materials needed. Measure your wall and ceiling carefully, and check the current dimensions and compatibility of any bookcases and doors before purchasing.
Why Choose DIY Built-In Bookshelves?
BILLY-based built-ins can suit a living room, playroom, media room, home office, or dining area. Using ready-made bookcases simplifies the project compared with building cabinet boxes from the beginning, while trim helps create a more integrated appearance.
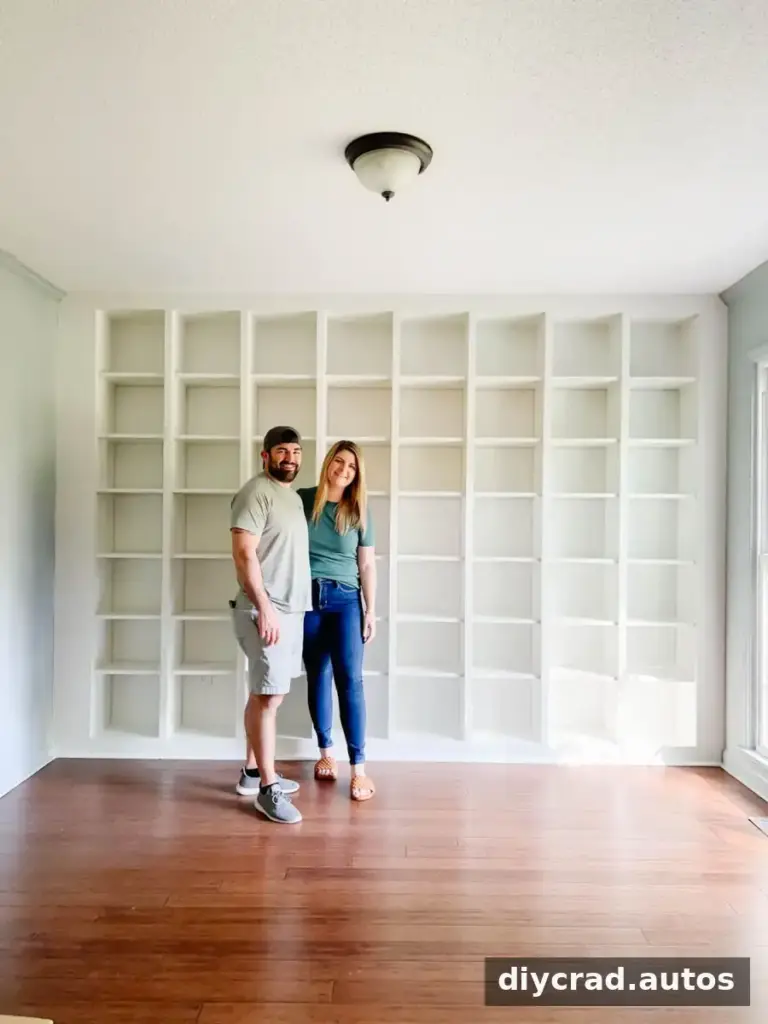
For this example, the wall was 11.5 feet wide with 8-foot ceilings. The assembled bookcases were about 7.5 feet tall, leaving roughly 6 inches at the top for trim. These are reference measurements, not a universal layout: confirm clearances in your own room before cutting boards.
The project was installed on hardwood flooring. If your room has carpet, plan how the bookcases will sit before installation; the original project recommends removing the carpet beneath the units. Also locate wall studs and keep access to outlets in mind.
Materials and Tools for the IKEA BILLY Hack
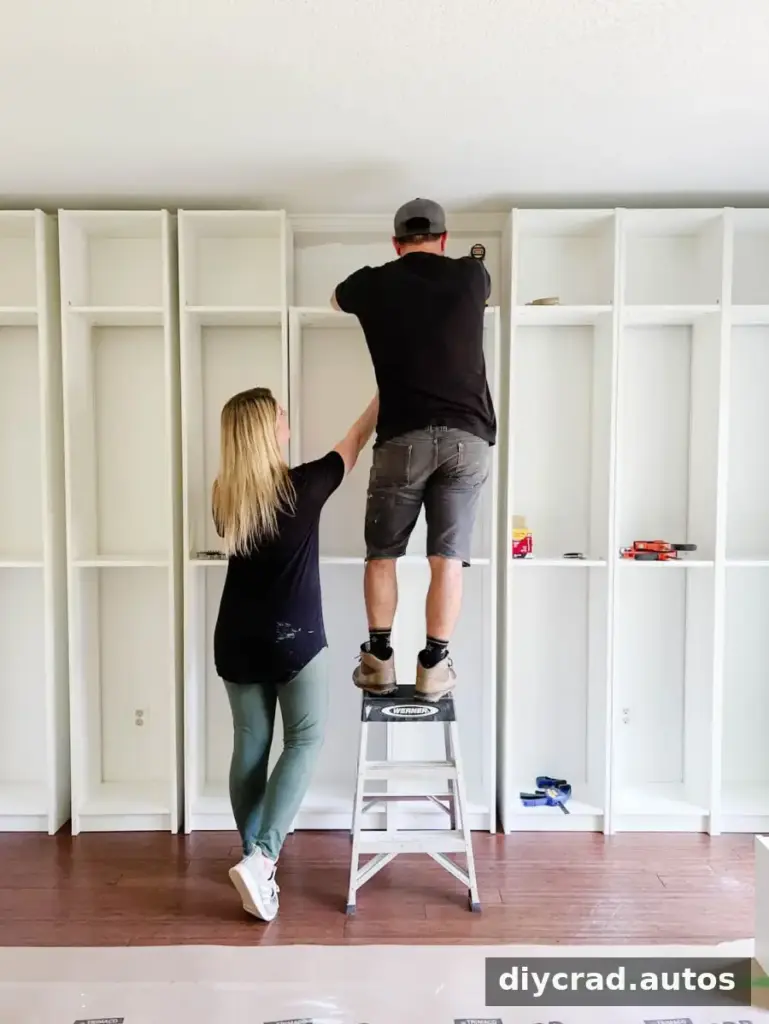
The original setup used eight 15 3/4″ x 93 1/4″ BILLY bookcases, four long OXBERG glass/panel doors, and four short OXBERG glass/panel doors. Adjust quantities to suit your wall and chosen configuration.
Materials
- 8 BILLY bookcases, 15 3/4″ x 93 1/4″
- 4 long and 4 short OXBERG panel/glass doors
- #8 1 1/2″ wood screws and the supplied bookcase anchors
- 5 pine boards, 2x4x8
- 2 pre-primed 1x10x8 boards and 4 pre-primed 1x4x8 boards
- 1×2 boards for closing the rear gap and covering joints between units
- Finishing nails, caulk, wood filler, and Loctite foam for larger gaps
- Painters tape and satin-finish paint matched to the bookcases
- Optional cabinet knobs or pulls
Tools
- Circular saw or table saw, coping saw or jigsaw, and sawhorses
- Power drill and bits, clamps, and cordless brad nailer
- Orbital sander with medium- to fine-grit sanding pads
- Hammer, pry bar, utility knife, tape measure, and step ladder
- Combination square and shop vacuum
Allow approximately 1 hour of preparation and 3 days of active work, for a listed total of 3 days and 1 hour. The stated project cost was $1,300. Actual time and cost depend on local prices, wall conditions, and the materials required for your layout.
How to Build DIY Built-In Bookshelves
1. Remove the baseboard
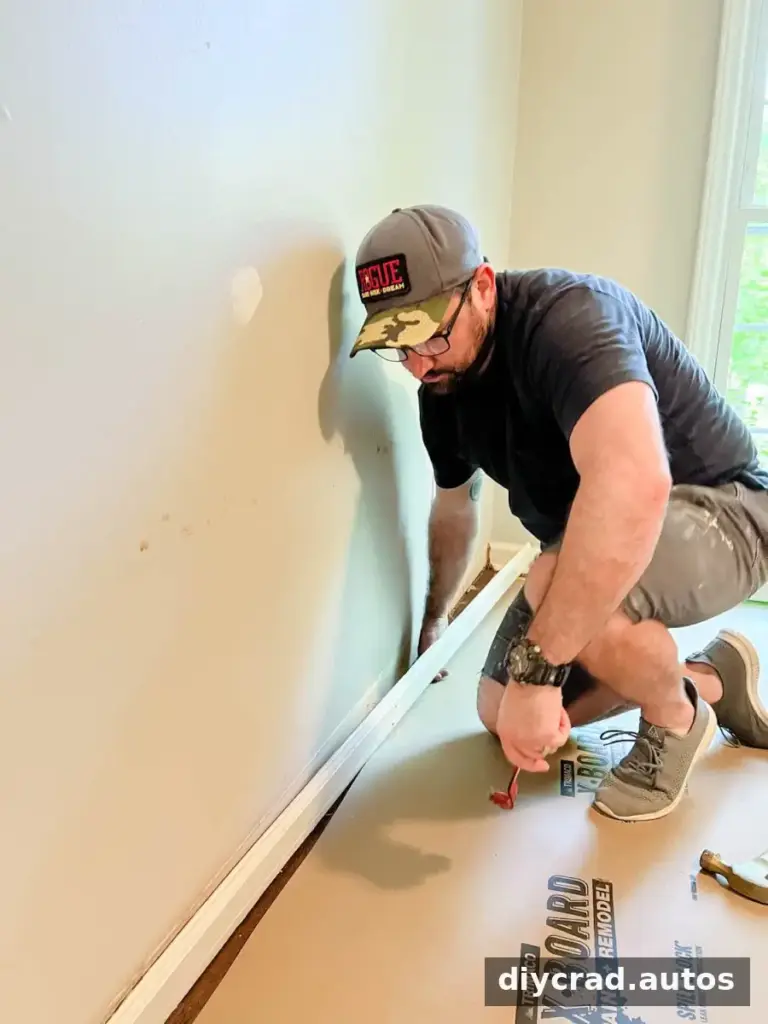
To position the bookcases close to the wall, score the caulk along the baseboard with a utility knife. Carefully loosen and remove the baseboard and shoe molding with a claw hammer and small pry bar. Work slowly to reduce damage to the wall, and take care around electrical outlets.
2. Assemble the bookcases
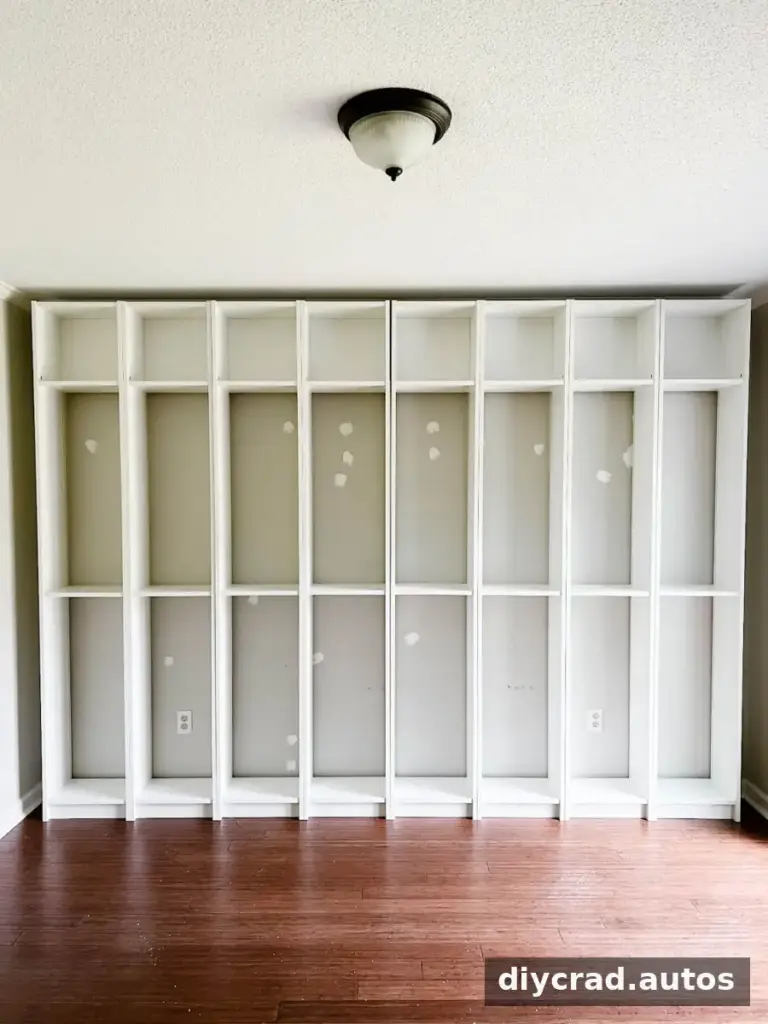
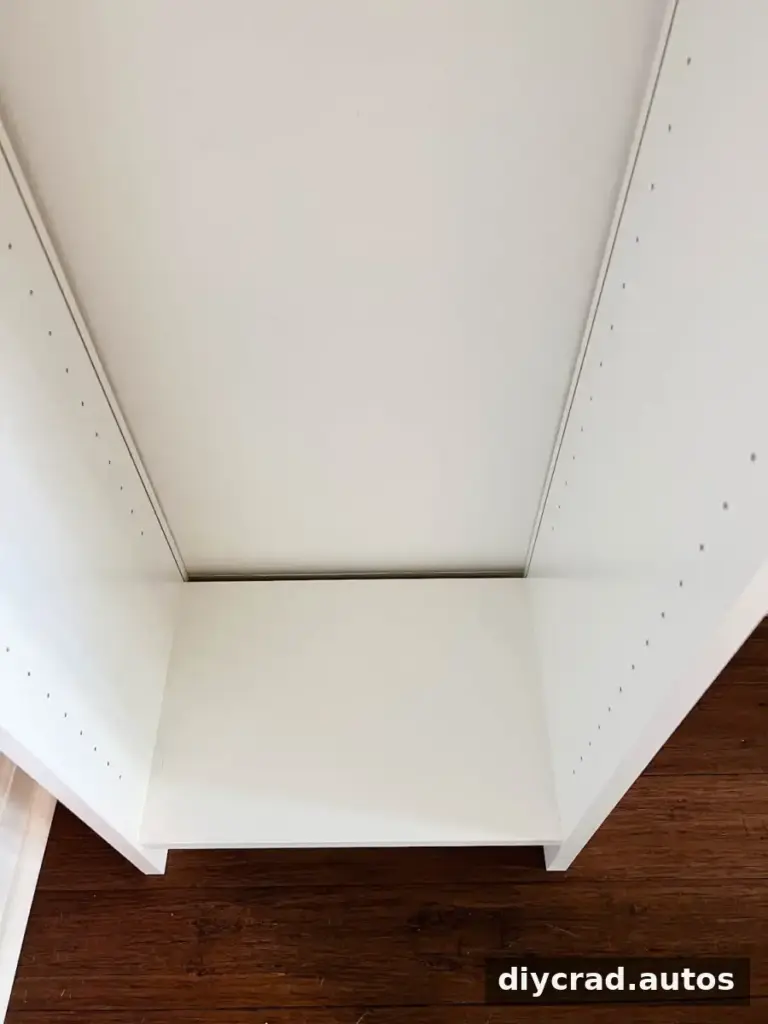
Assemble the BILLY units and their height extensions. For this built-in approach, leave off the thin supplied backs so the wall forms the rear surface and outlets remain accessible. The height extensions can be fitted after the units are anchored.
3. Close the gap at the back
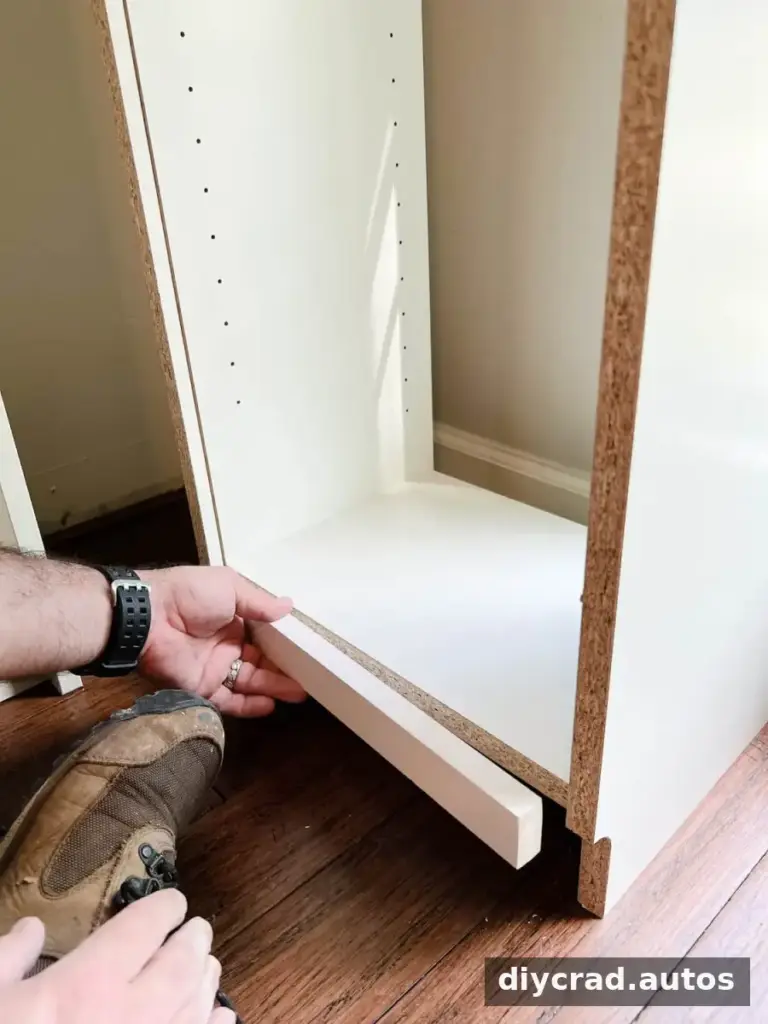
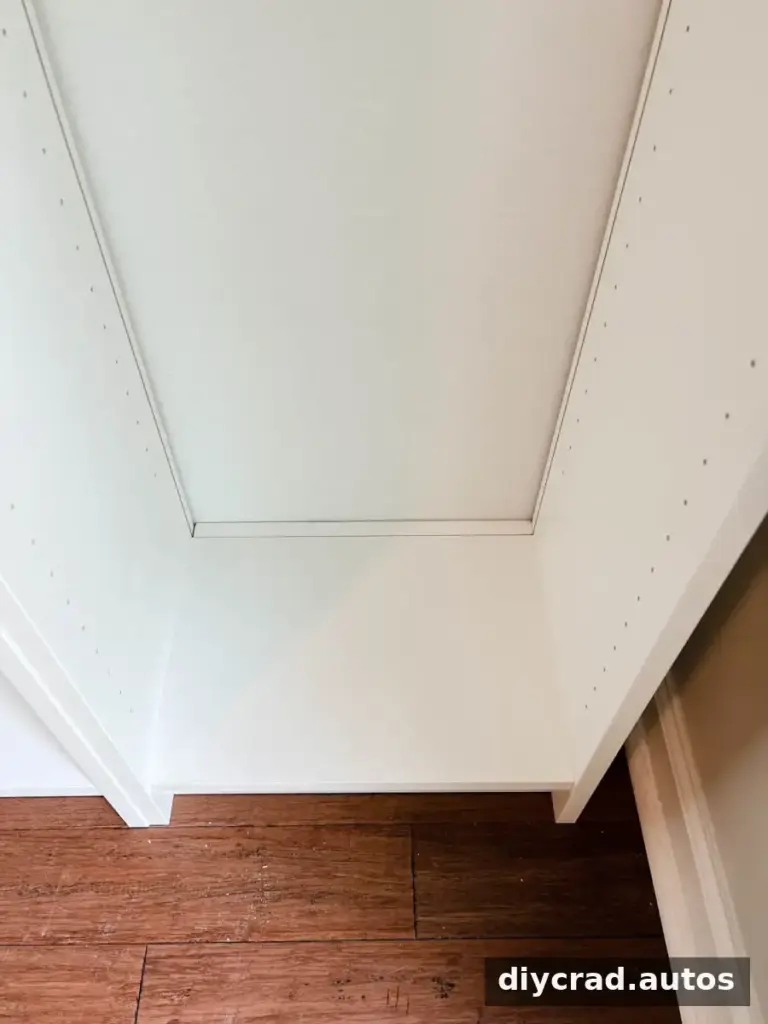
Without the supplied backing, a gap may remain behind the lower part of each bookcase. Measure the gap, cut a 1×2 board to fit, and attach it along the lower rear with finishing nails. Caulk can be used later for small cracks. Check that the finished arrangement does not block outlets.
4. Position and anchor the shelves
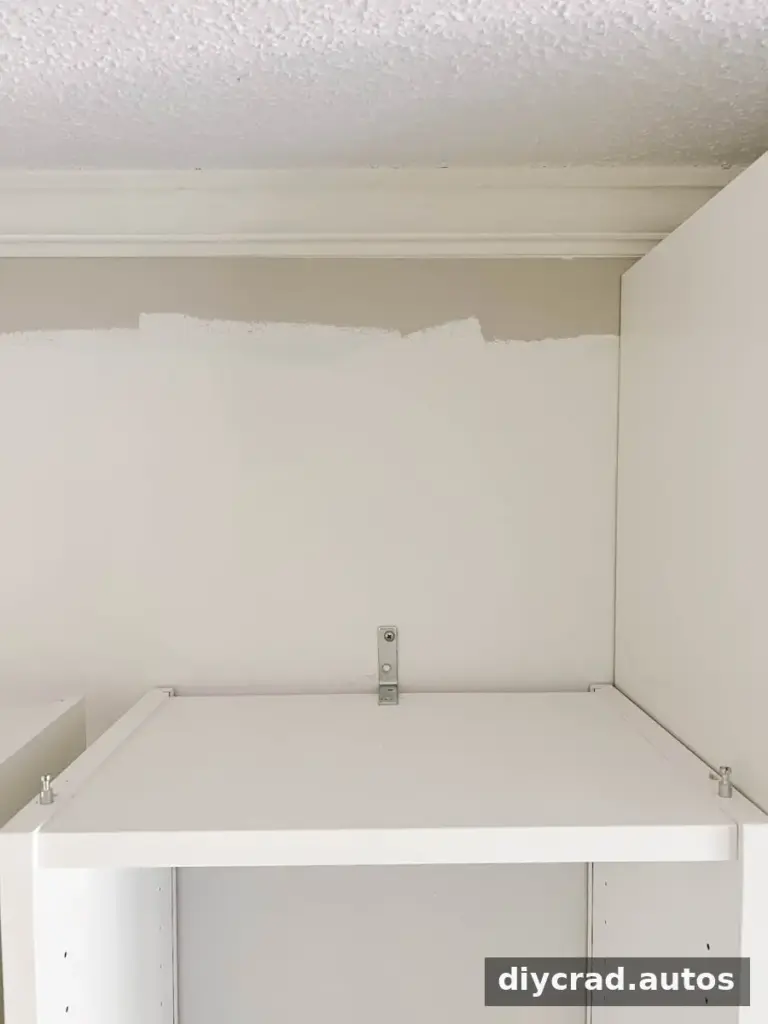
Measure the wall, center the units, and confirm their final positions before fastening anything. Use a stud finder to locate studs, then anchor the middle bookcase to a stud using the supplied anchors and appropriate installation instructions. Secure every unit against tipping; do not rely on the bookcases being joined together as a substitute for wall anchoring.
5. Join the bookcases
Clamp the sides of adjacent bookcases tightly together. Drill and drive #8 1 1/2″ wood screws through the sides to connect the units. Keep the fronts aligned, and avoid overtightening screws into the bookcase material.
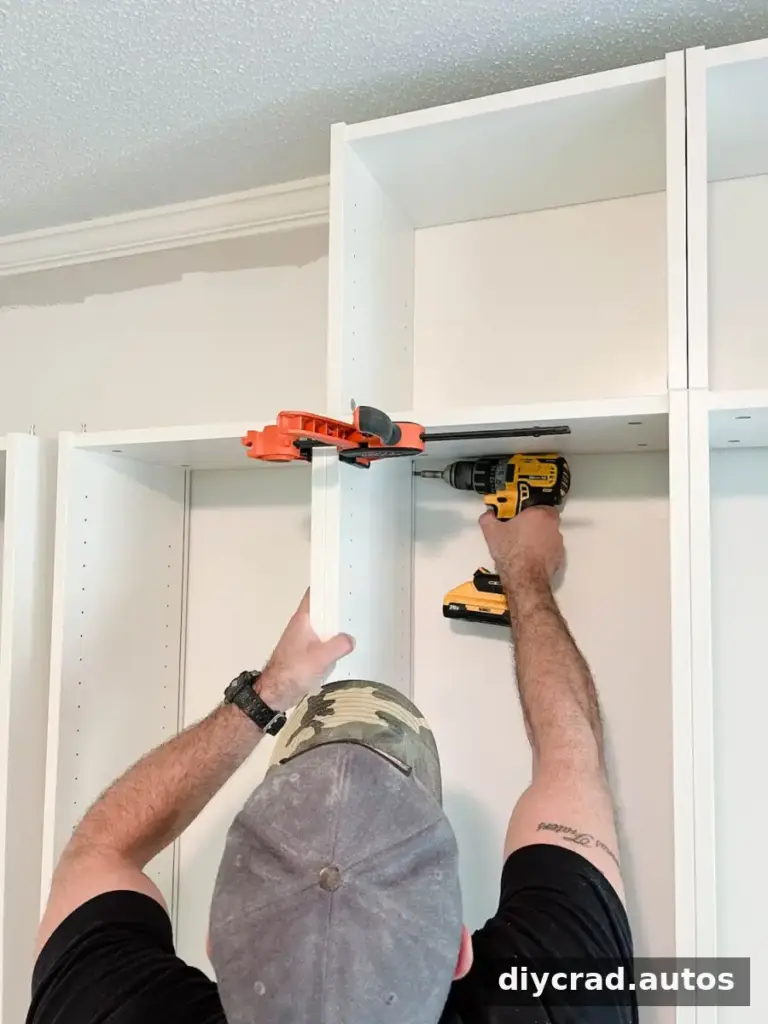
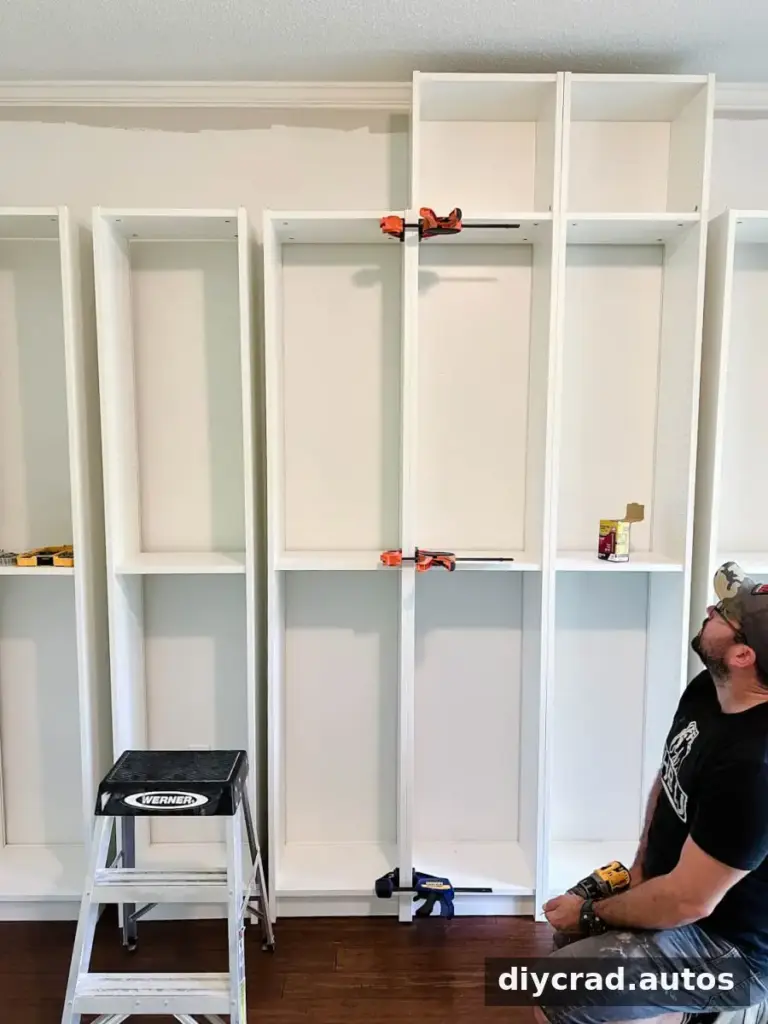
6. Plan the filler framing
Measure the open spaces at the sides and above the bookcases. These gaps are filled with framing and trim so the group of units reads as one continuous installation. Measure each opening individually because walls and ceilings may not be perfectly square.
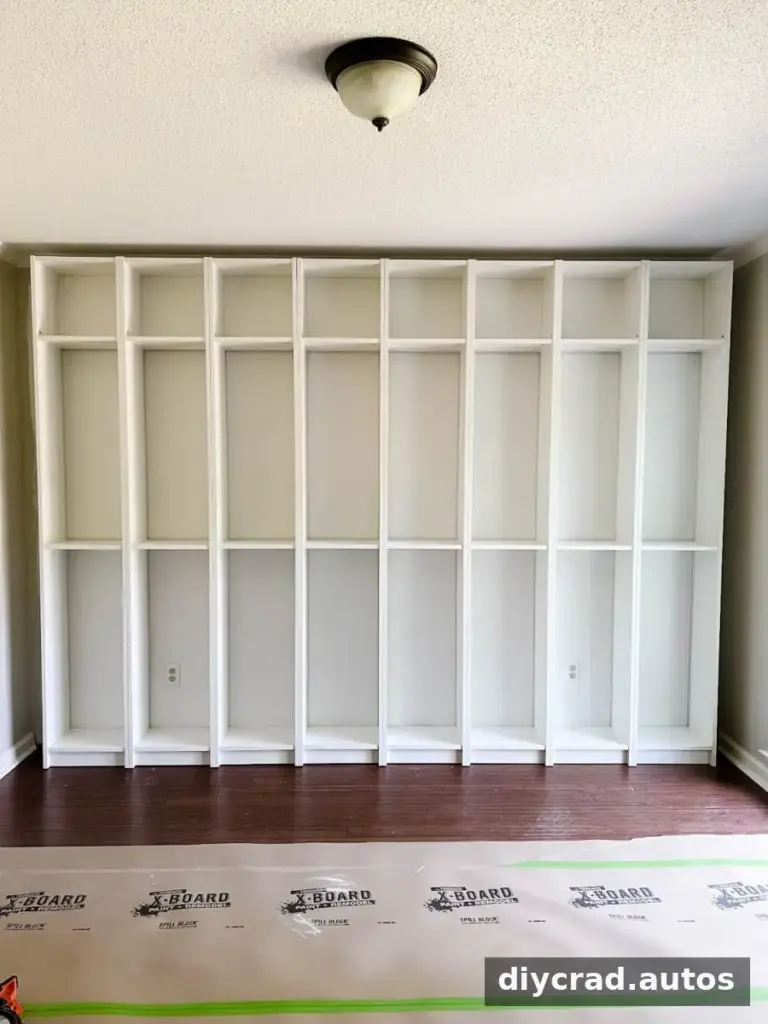
7. Fit the 2×4 supports
Install 2×4 boards in the small side gaps, fastening them to the wall and the sides of the bookcases as appropriate. Repeat along the top of the shelving unit. Locate wall studs before fastening into the wall, and verify that the framing is secure and level.
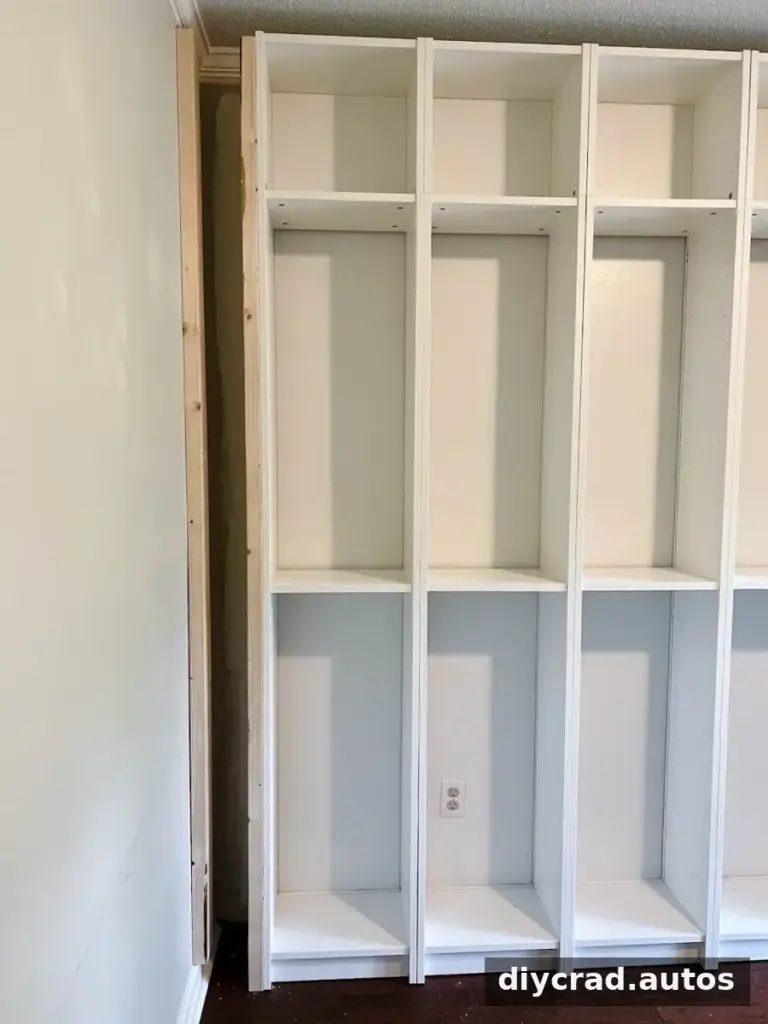
Use the same careful measuring approach for the upper gap.
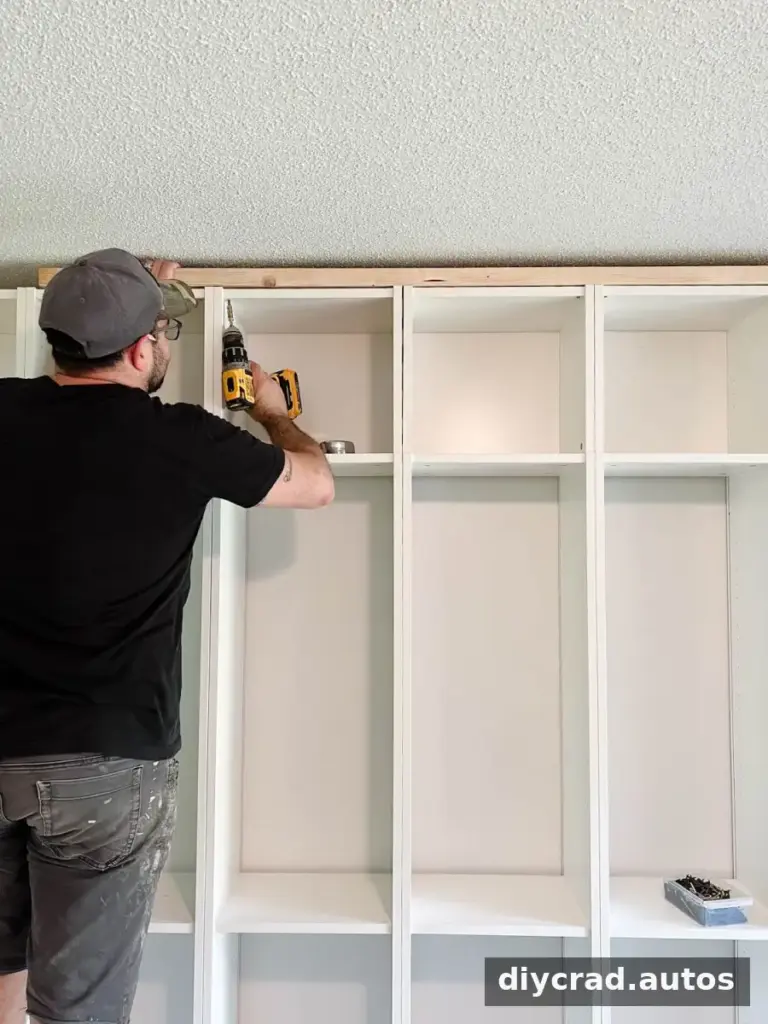
8. Add the front 1×4 trim
Attach pre-primed 1×4 boards along the bottom to create the appearance of a continuous base. Use a coping saw or jigsaw to shape the ends around the existing baseboard profile. Repeat at the top, shaping the trim to meet the crown molding where present. Small imperfections can be filled later, but accurate cuts make finishing easier.
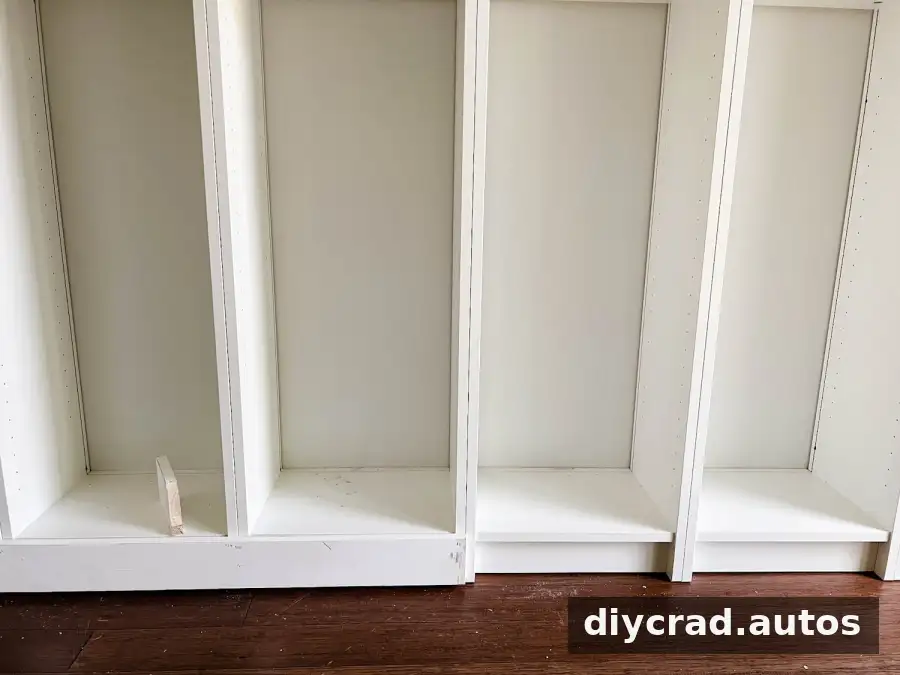
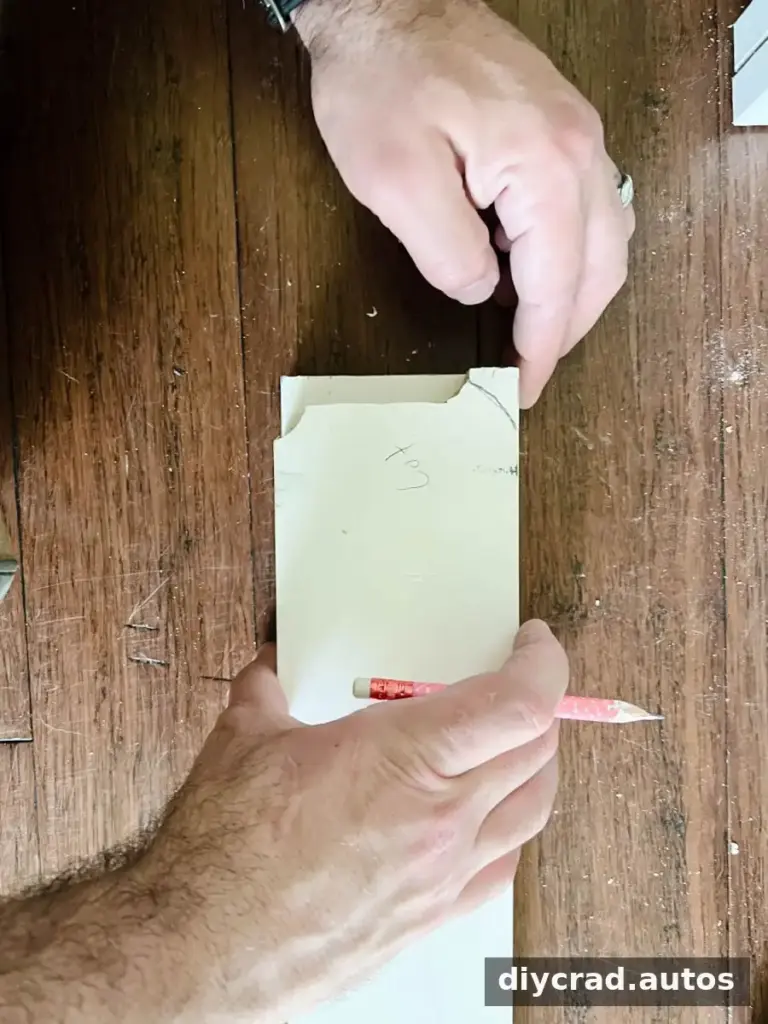
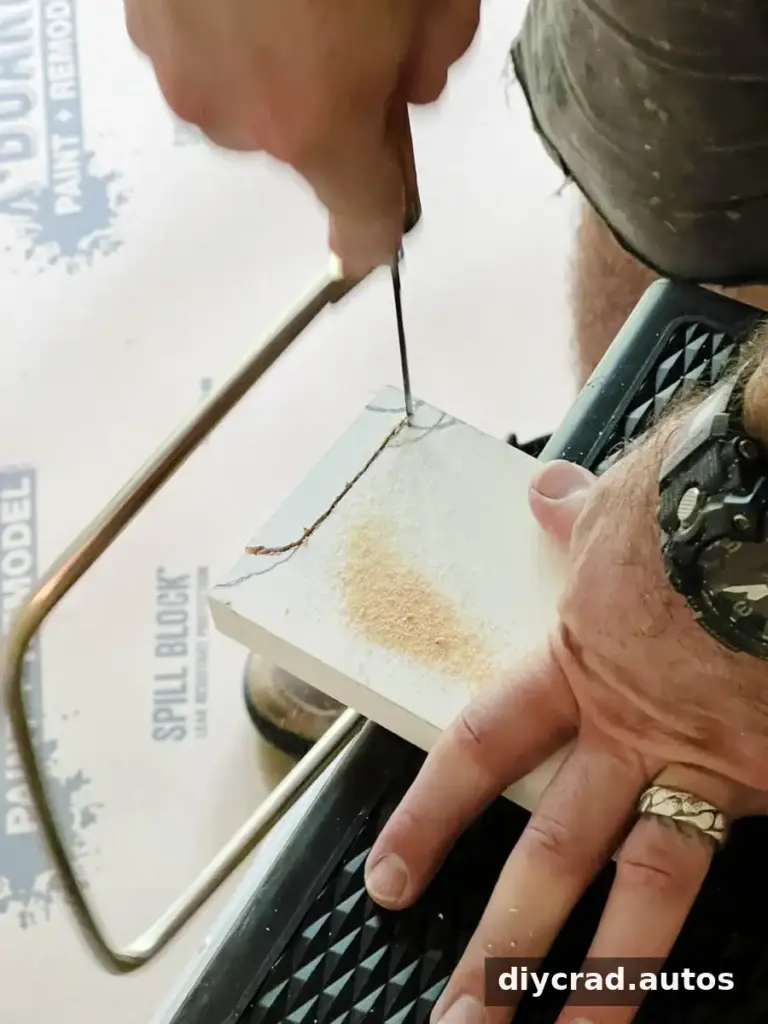
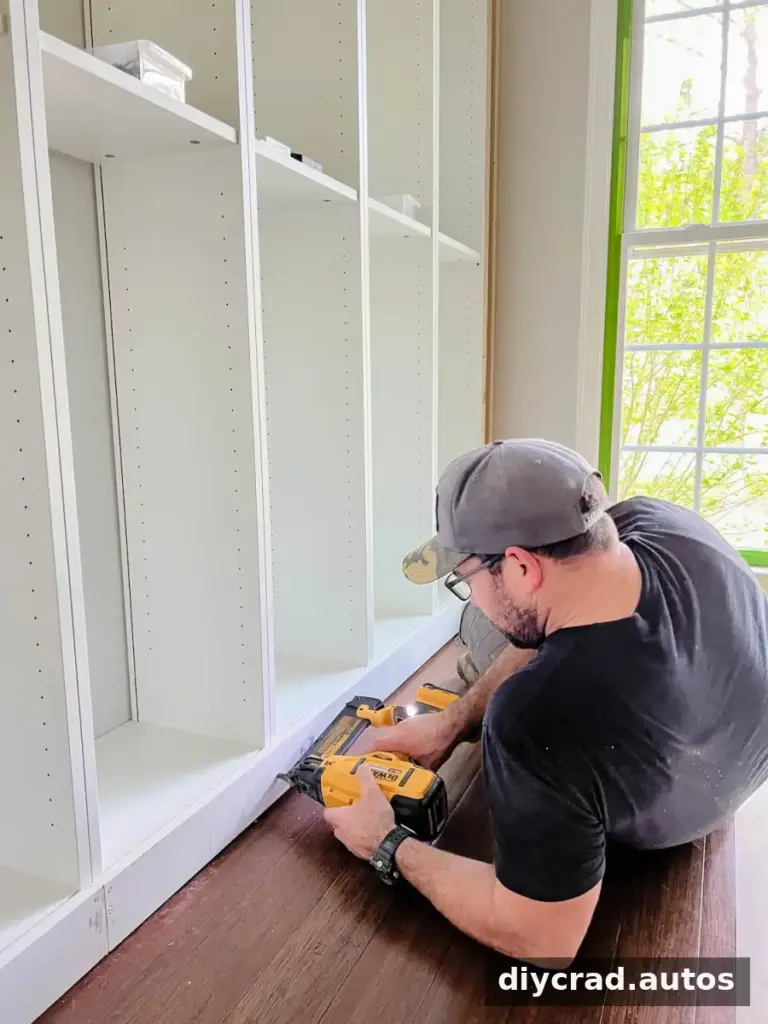
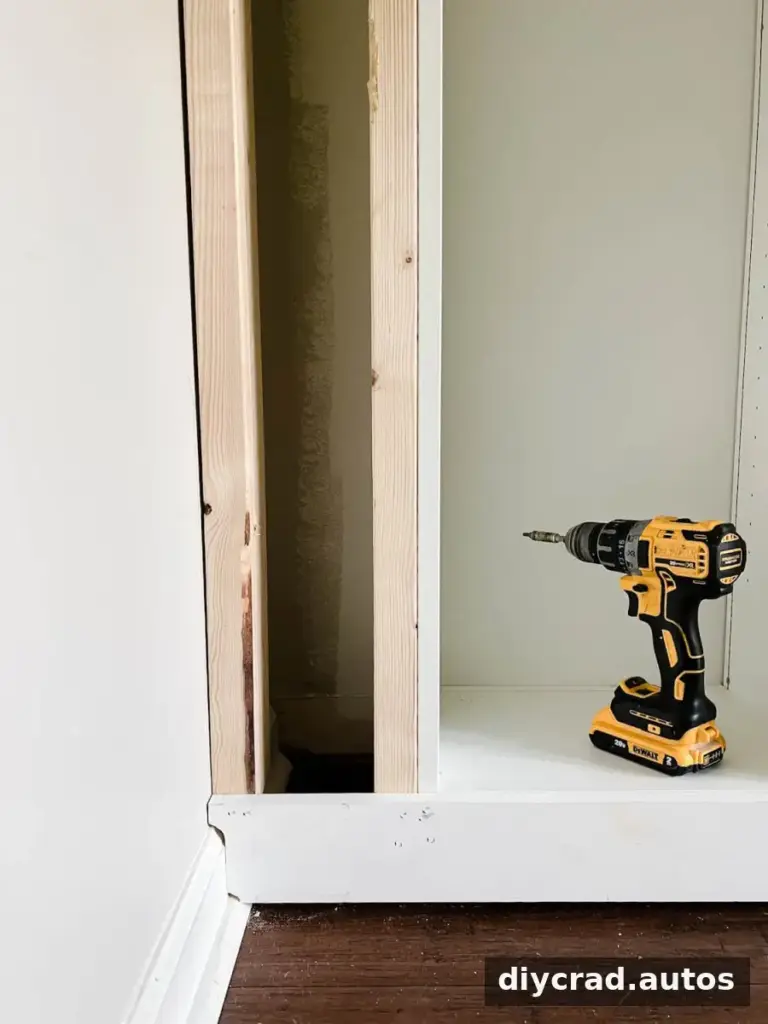
9. Fit the side boards
Measure the gap between each outside bookcase and the wall. Cut the pre-primed 1×10 boards to the required width with a circular saw or table saw, then fit them as side-facing trim. Measure at more than one point if the wall is uneven.
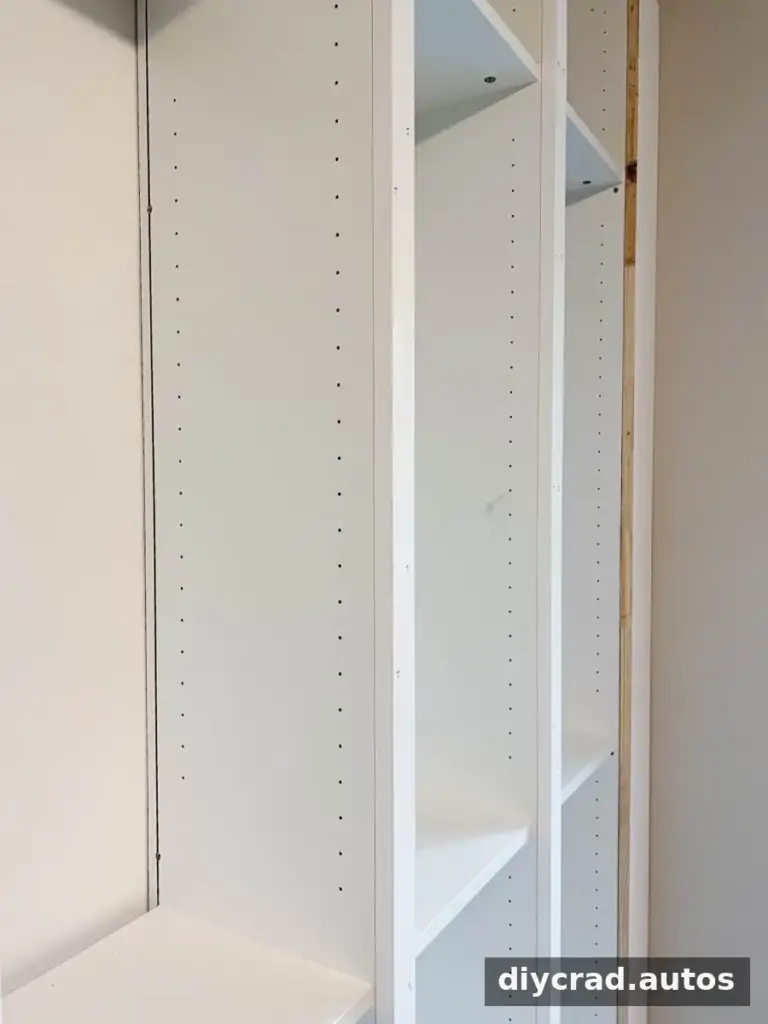
10. Cover the joints between units
Nail 1×2 boards to the fronts of the bookcases where the units meet. These strips conceal the seams and help the row look more continuous. Check that they sit straight and do not interfere with shelves or optional doors.
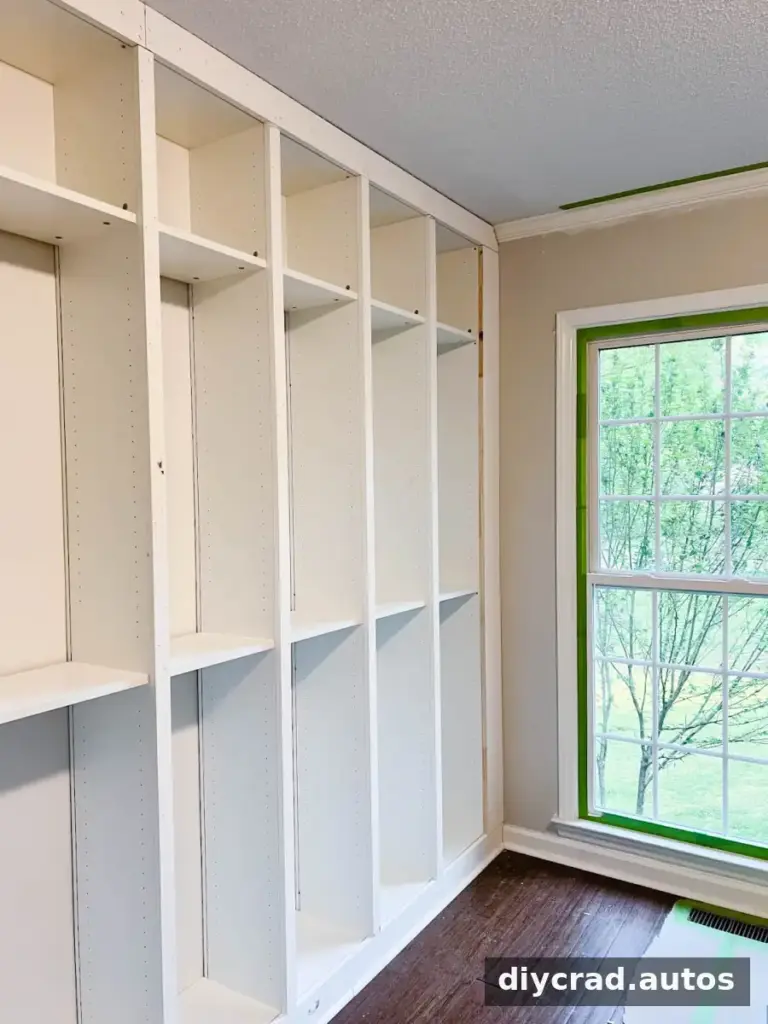
At this stage, the trim should make the installation look more unified, although gaps and nail holes still need finishing.
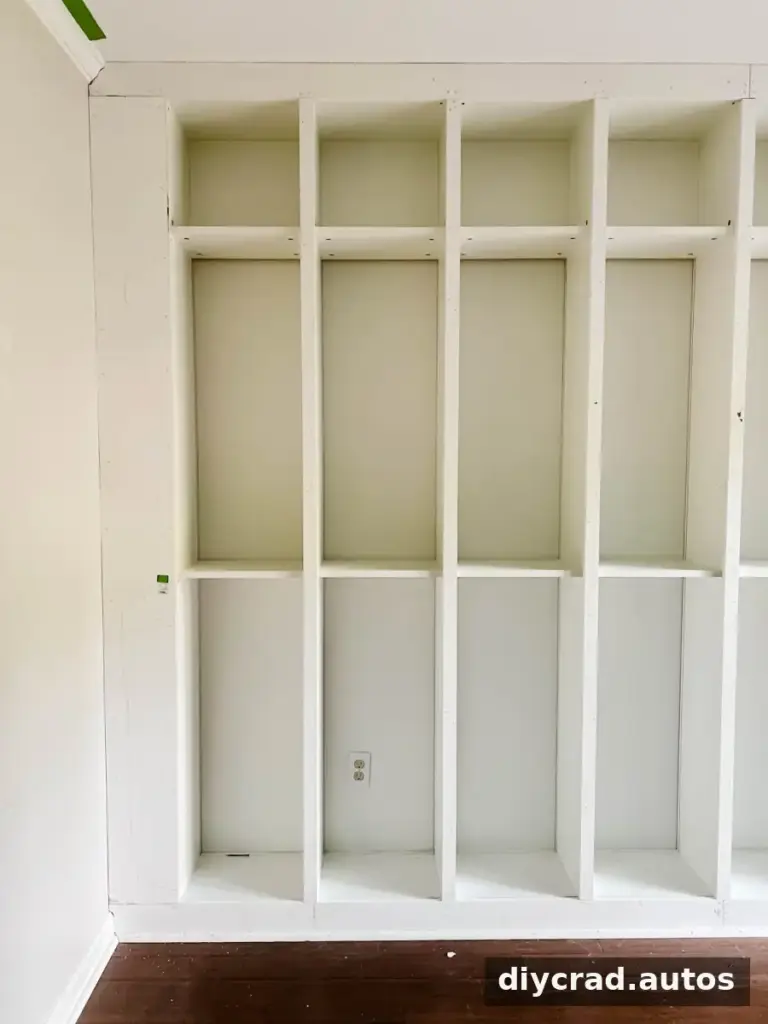
11. Fill gaps and nail holes
Use Loctite foam for larger openings, including gaps too wide for caulk. Once the foam has dried, trim the excess and sand it smooth. Apply caulk to narrow cracks between the wall and boards, then use wood filler for nail holes and joints in the trim. Follow product directions and allow each filler to dry before sanding.
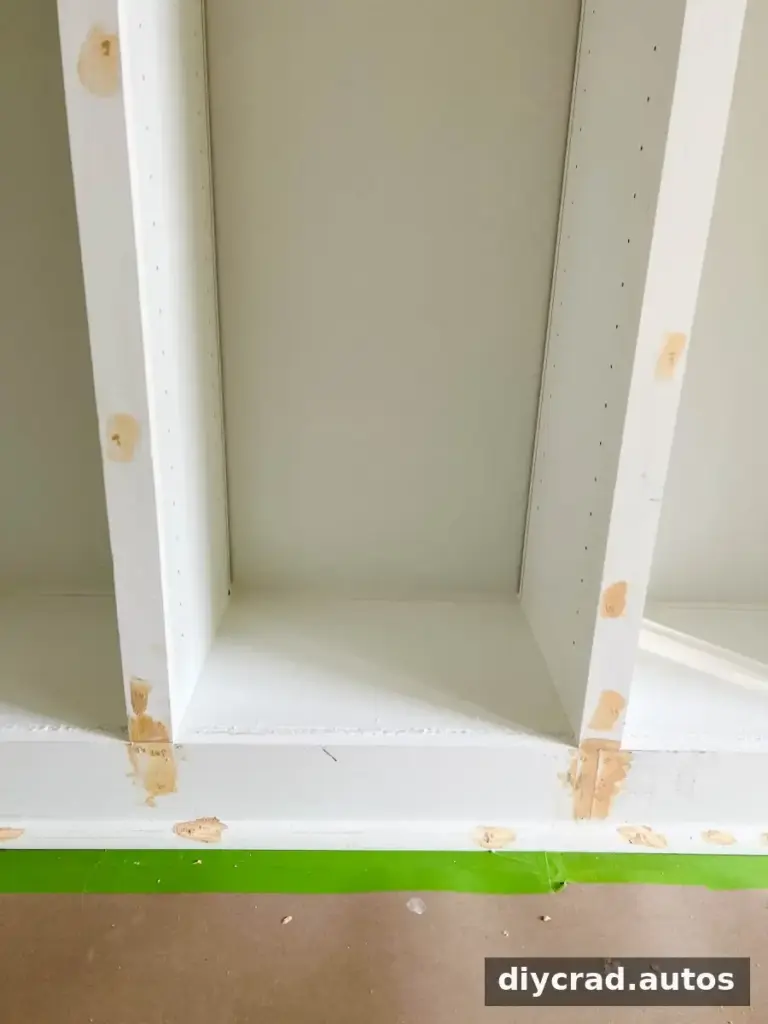
12. Sand and remove dust
Sand the dried filler and visible trim with an orbital sander until the surfaces feel smooth. Vacuum away dust with a shop vacuum before painting; dust left behind can affect the finish.
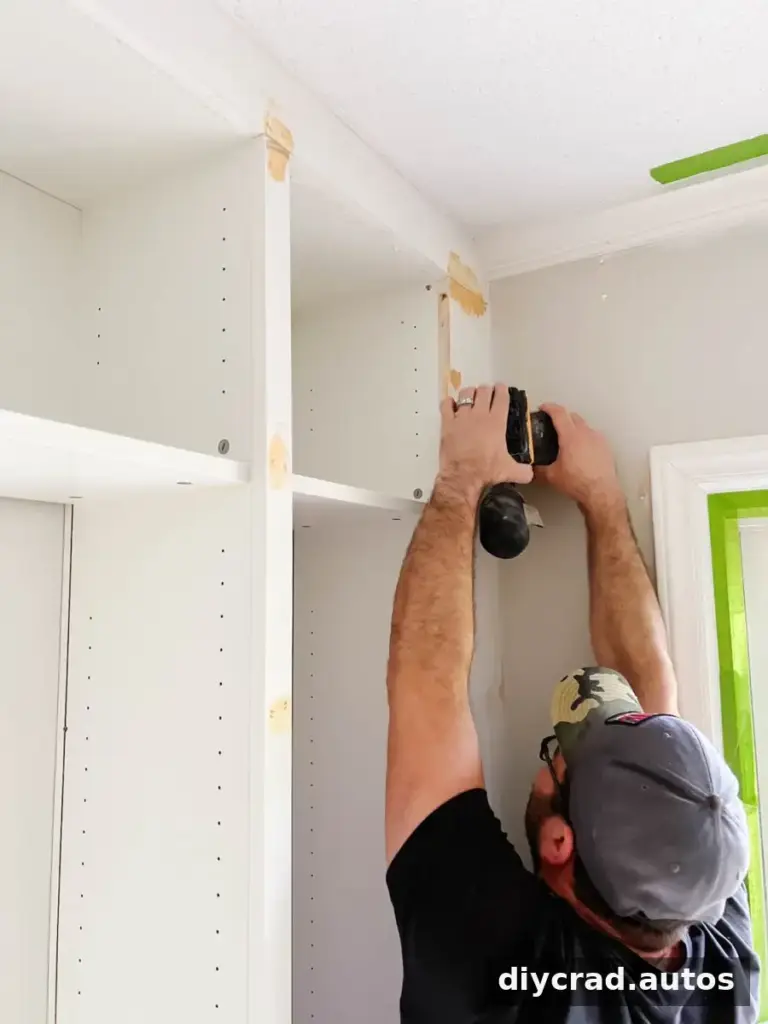
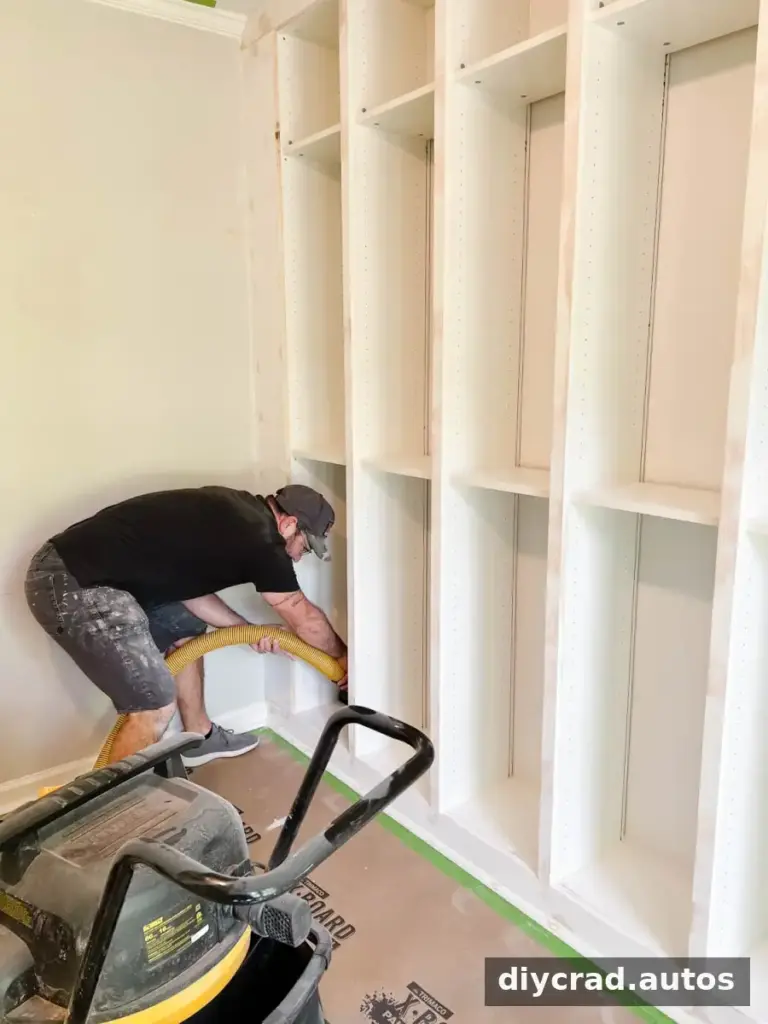
13. Paint the trim
Paint the visible boards with satin-finish paint matched to the bookcases. In the original project, a detachable shelf board was used for color matching, and Sherwin Williams base white was noted as a close match for IKEA white. Check the color on a small area under your room’s lighting before painting all the trim.
The bookcases themselves do not need to be painted if the goal is simply to match the new boards. If painting the bookcases, lightly sand the surface, apply a shellac-based primer, and use urethane alkyd enamel. Benjamin Moore Advance was named as a preferred cabinet and furniture paint in the original project. Follow the paint manufacturer’s preparation and curing instructions.
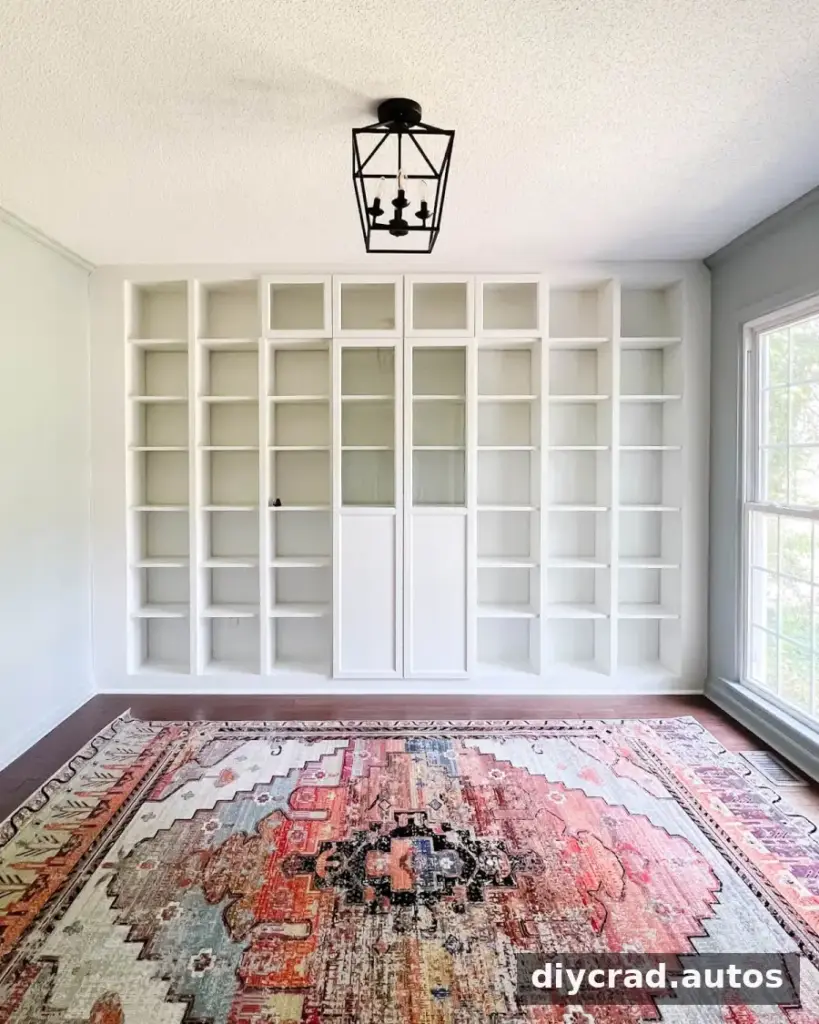
14. Add optional OXBERG doors
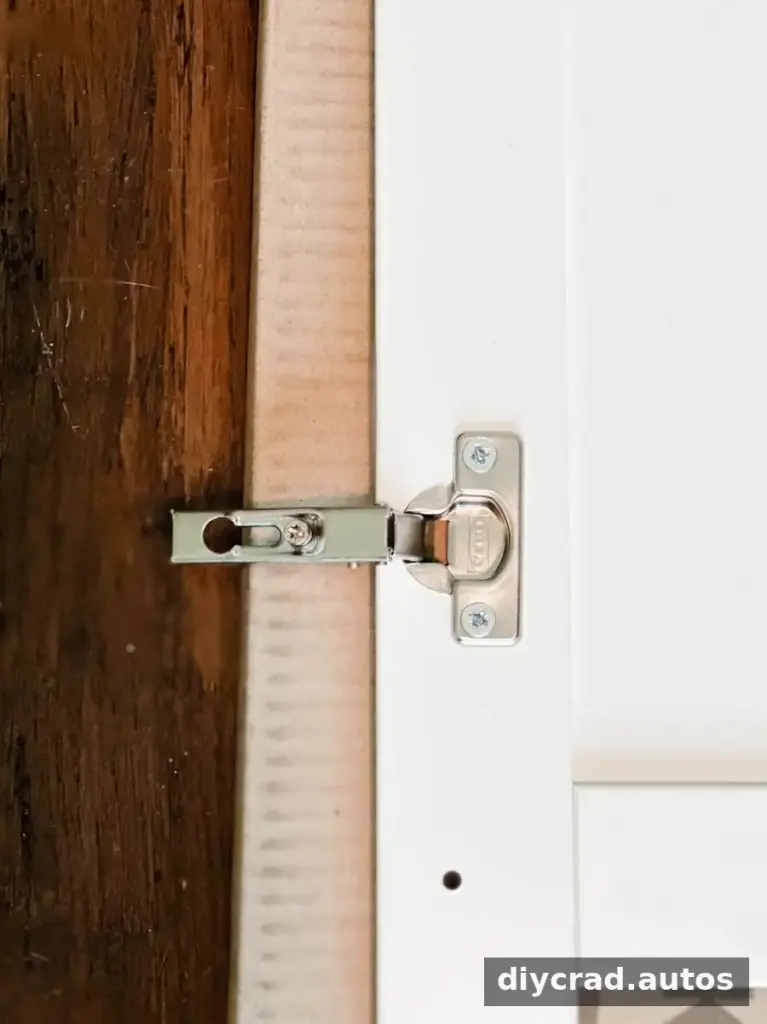
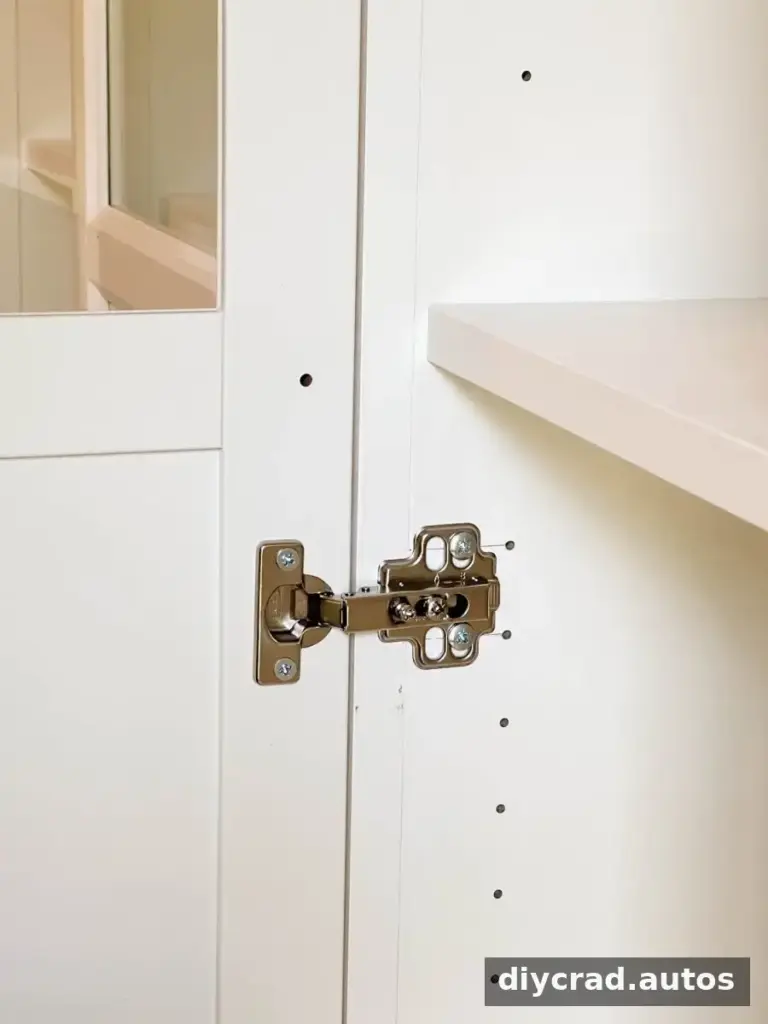
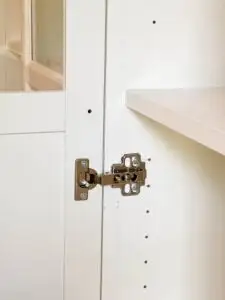
Glass/panel OXBERG doors add concealed storage to selected sections. Because the front 1×2 trim changes the position of the bookcase face, the original mounting holes may not align with the door hardware. Plan to mark and drill new holes carefully.
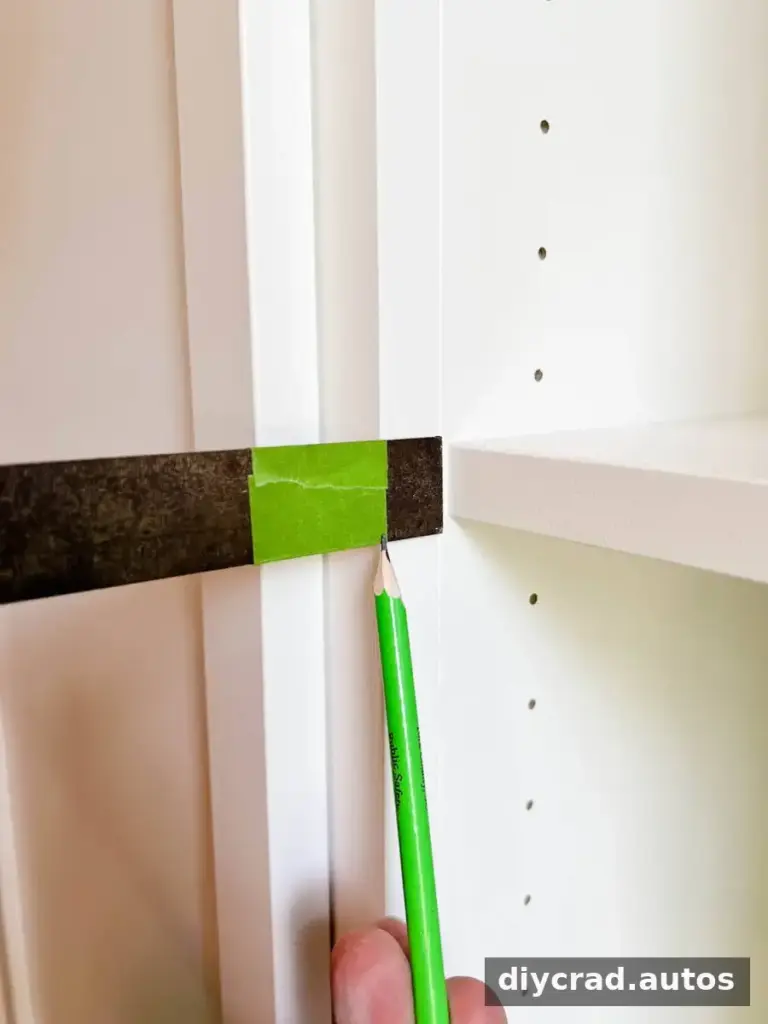
15. Mark the new hinge position
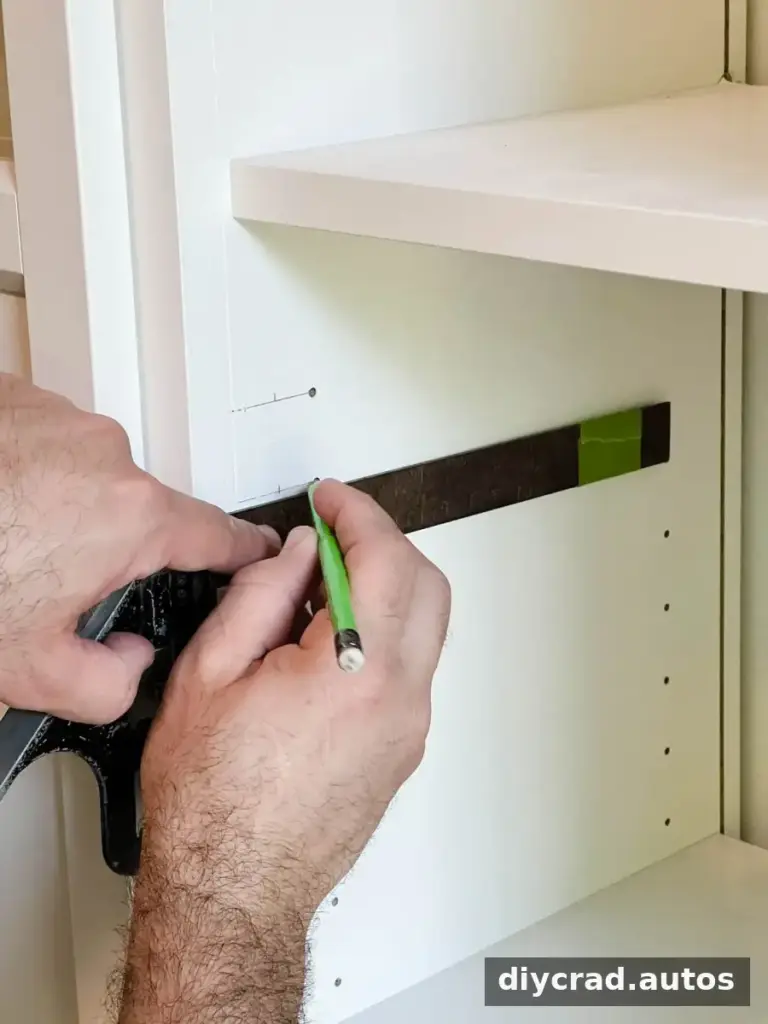
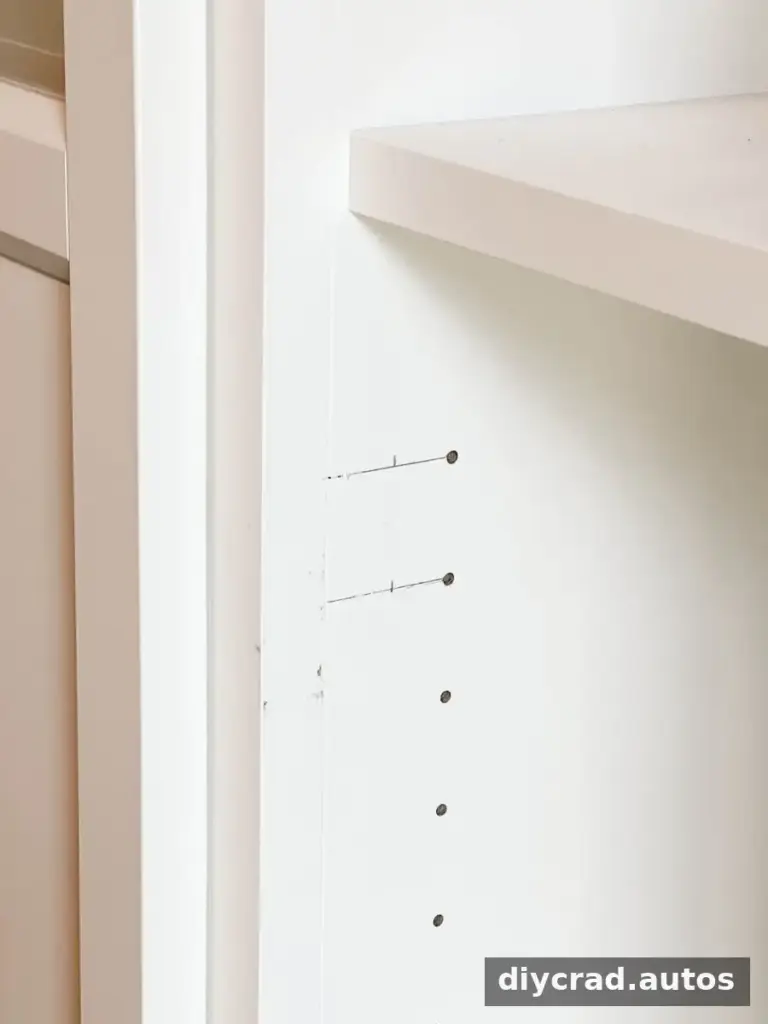
Place a combination square against the 1×2 trim and mark its depth with painters tape. Use that measurement to determine where the new door-hardware holes need to sit closer to the front of the bookcase.
Transfer the measurement to each door position, keeping the marks consistent so the doors can align.
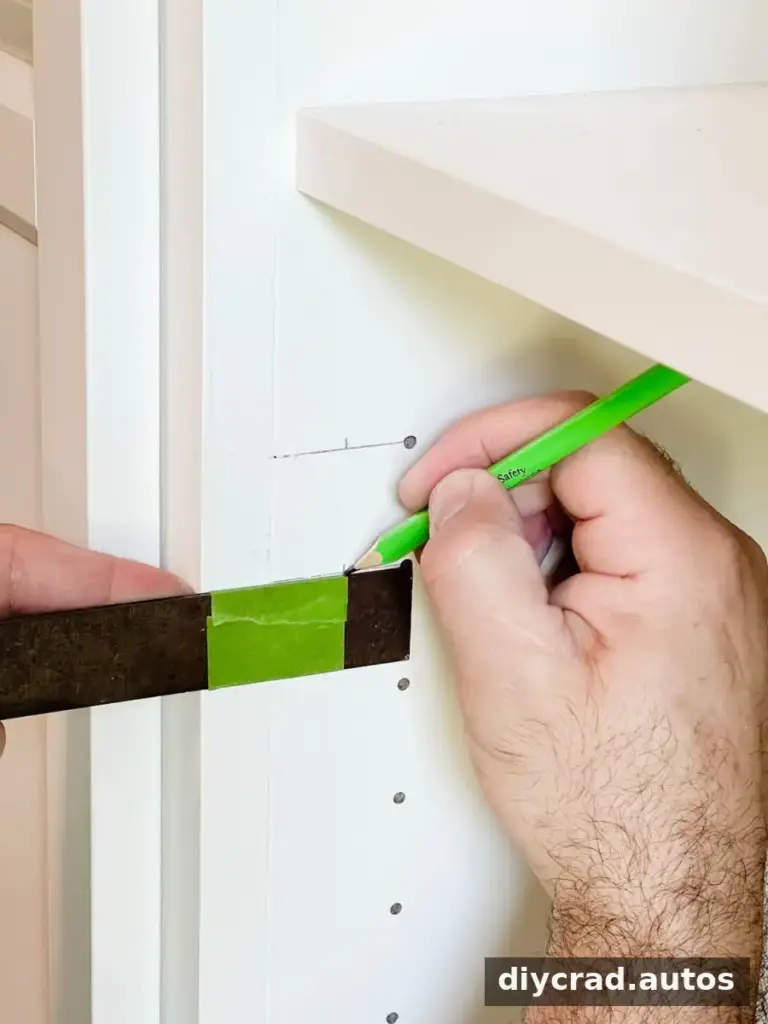
16. Drill to a controlled depth
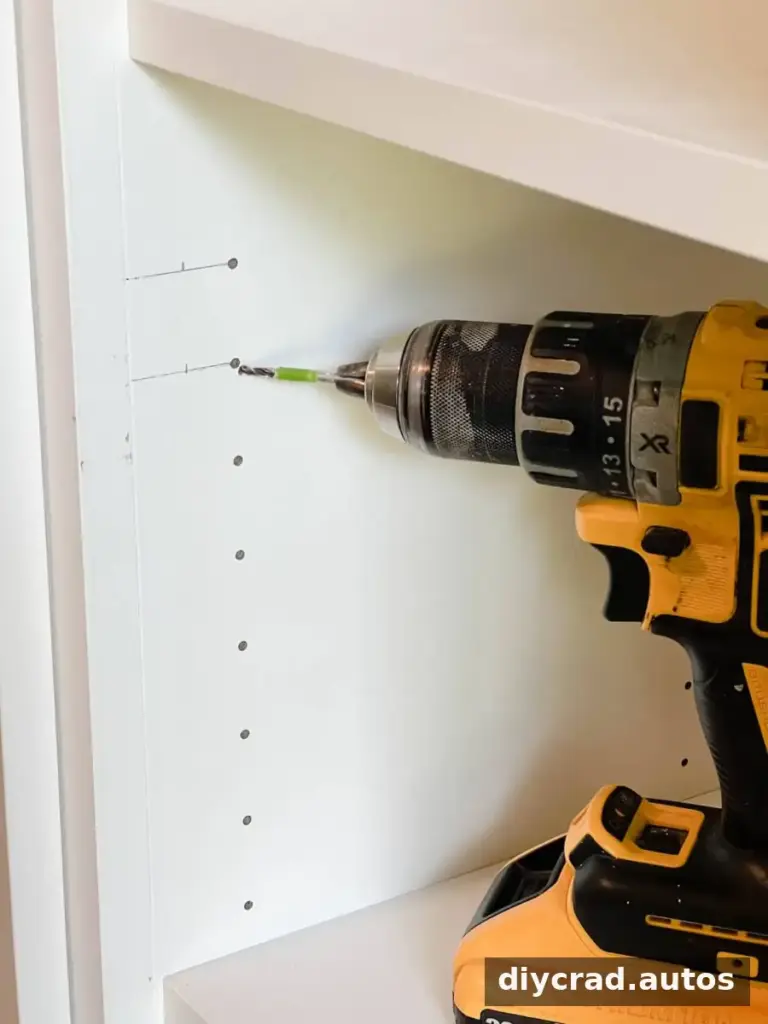
Use an existing bookcase hole as a reference for the required hole depth. Mark the drill bit with tape so you can stop at the intended depth, then drill at the new marked positions. Work slowly and avoid drilling through the opposite side of the panel.
17. Install the hinges and doors
Fasten the door hardware into the new holes and attach the hinges to the doors. Hang each OXBERG door, check that the fronts align, and make adjustments before installing the knobs or pulls.
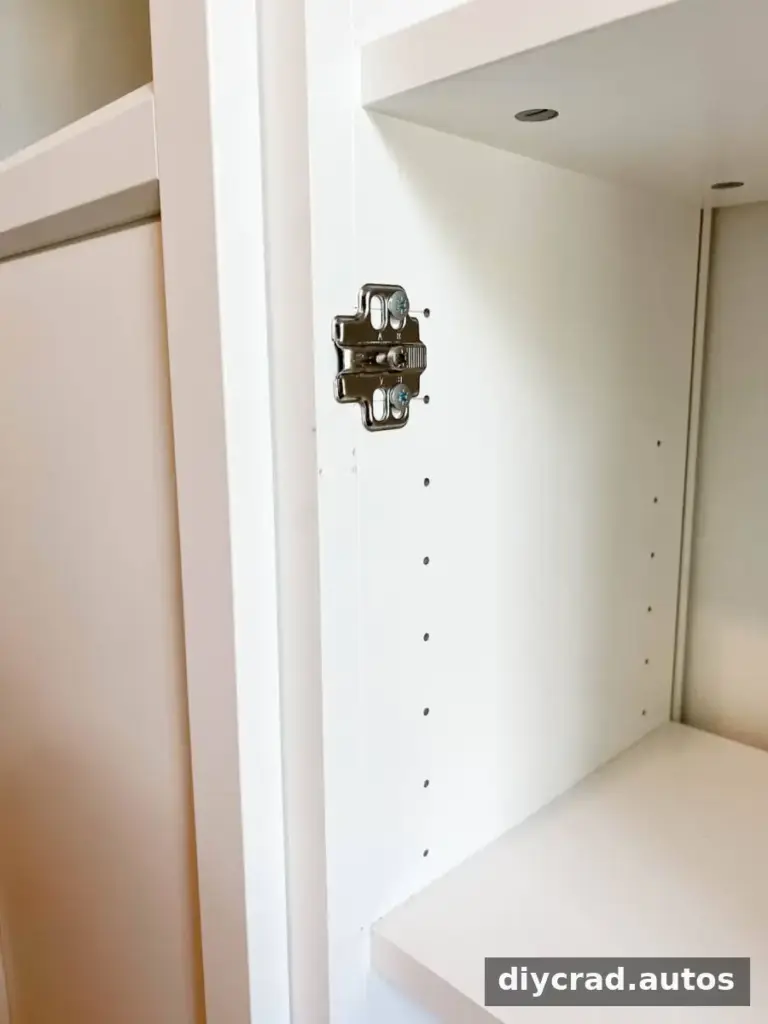
Finish by fitting the pulls or knobs and checking that every door opens and closes freely.
Style and Finish the Shelves
Arrange books and decorative objects in a mix of upright and horizontal stacks. Varying heights and shapes can make the display feel balanced, while leaving some open space keeps the shelves from looking crowded. Keep heavier items on lower shelves and avoid overloading the bookcases.
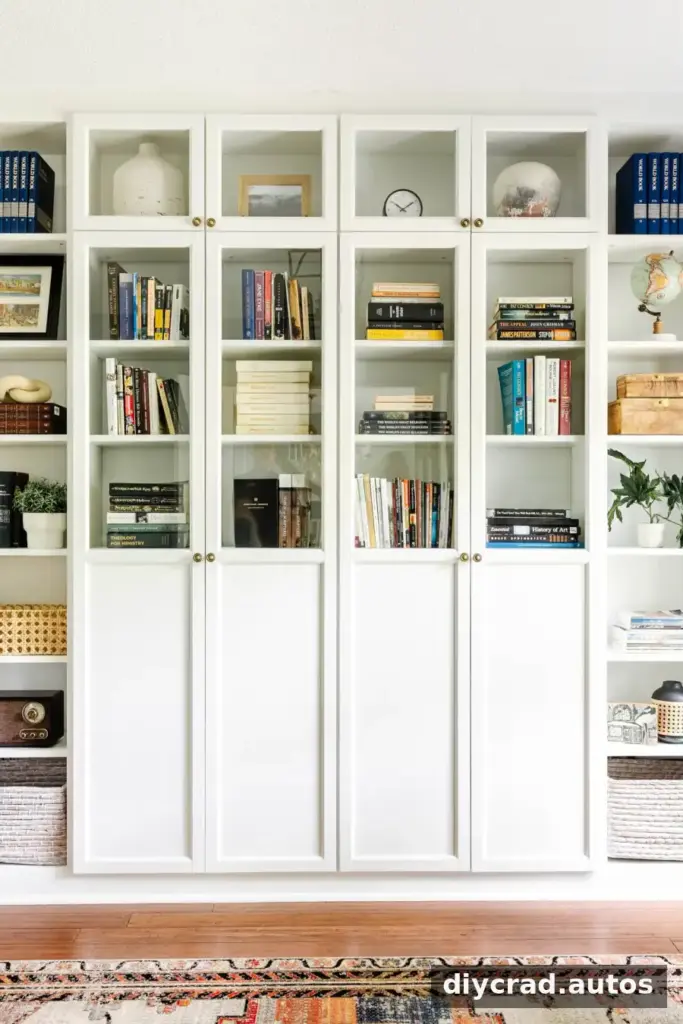
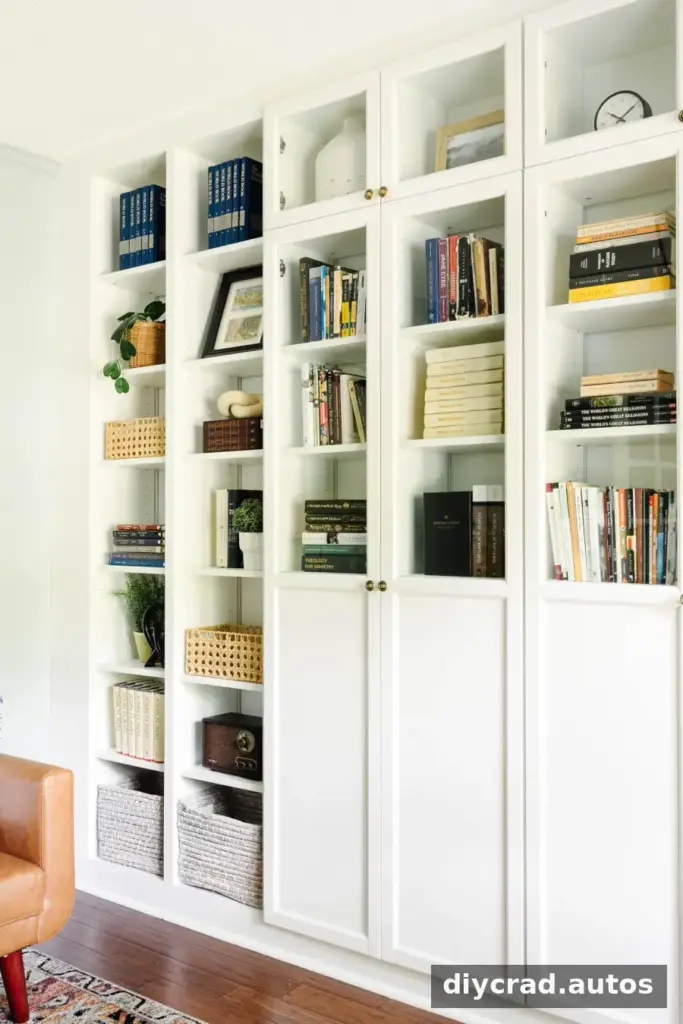
The completed narrow-unit layout can provide substantial book storage, with each case supporting its own shelves. Before loading the finished built-ins, confirm that all units are securely anchored and that the doors and shelves operate as intended.
Project Summary
Yield: 1 built-in bookcase wall. Listed cost: $1,300. Estimated time: 1 hour prep and 3 days active work.
These figures describe the example project; your total will vary according to the number of bookcases, trim requirements, paint, and local material prices. Check current product availability and measurements before purchasing, as product designs and stock can change.
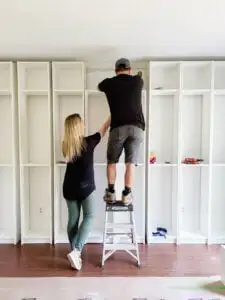
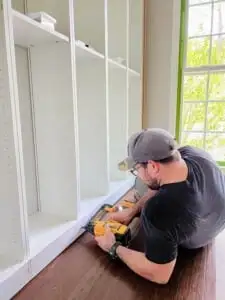
The key stages are assembling and anchoring the bookcases, adding framing and trim, filling and sanding joints, painting, and fitting optional doors.
For doors, make the new hinge holes only after accounting for the added 1×2 front trim. Test the alignment before attaching all hardware.
Frequently Asked Questions
Is the BILLY bookcase design or availability subject to change?
Product designs and availability can change over time and may differ by location. Confirm the dimensions, finish, and compatible door options of the version currently available before planning your built-ins.
What should I use if BILLY bookcases are unavailable?
Look for bookcases with dimensions that suit your wall and a construction that can be safely anchored. Even a similar-looking unit may have different dimensions or door compatibility, so recalculate the filler boards and trim rather than assuming the measurements will match.
Conclusion
DIY built-in bookshelves made from BILLY bookcases can create a practical, custom-looking storage wall with careful measuring, secure anchoring, and well-fitted trim. Adapt the layout to your room, verify current product dimensions, and take time with the finishing work for a more seamless result.

