This DIY built-in cabinets and window seat project uses stock kitchen cabinets, a simple 2×4 base, and trim boards to create useful storage and a seating area. The installation took about a week, and the step-by-step process below covers planning around floor vents, leveling the cabinets, and finishing the built-in appearance.
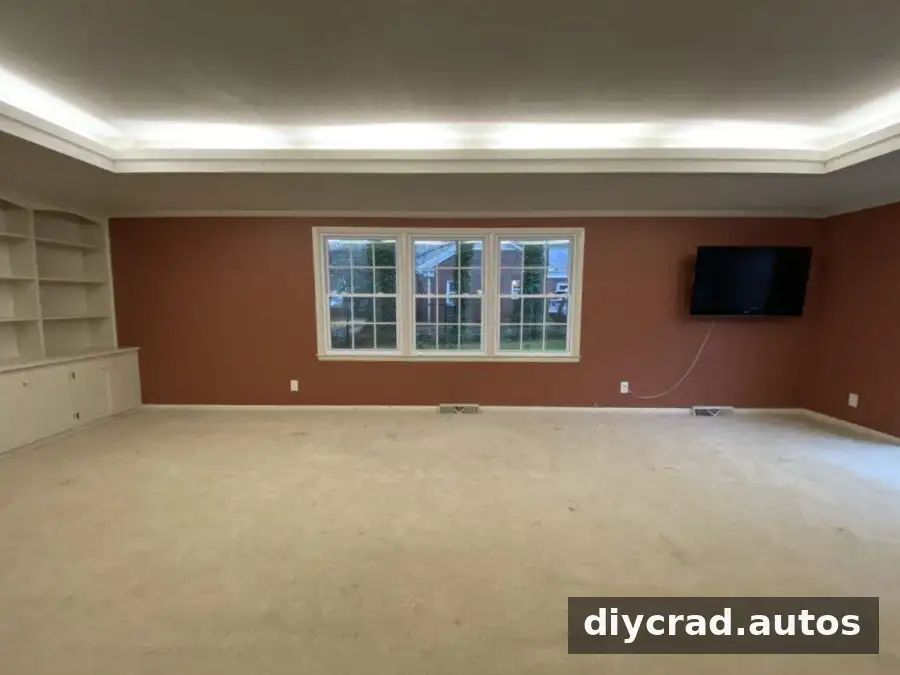
The original plan was to use a particular retailer’s cabinets, but they were unavailable. Stock cabinets from a hardware store provided an alternative. The room also had baseboard vents on the wall where the built-ins were planned, so the layout needed to keep airflow moving rather than sealing the vents behind permanent cabinetry.
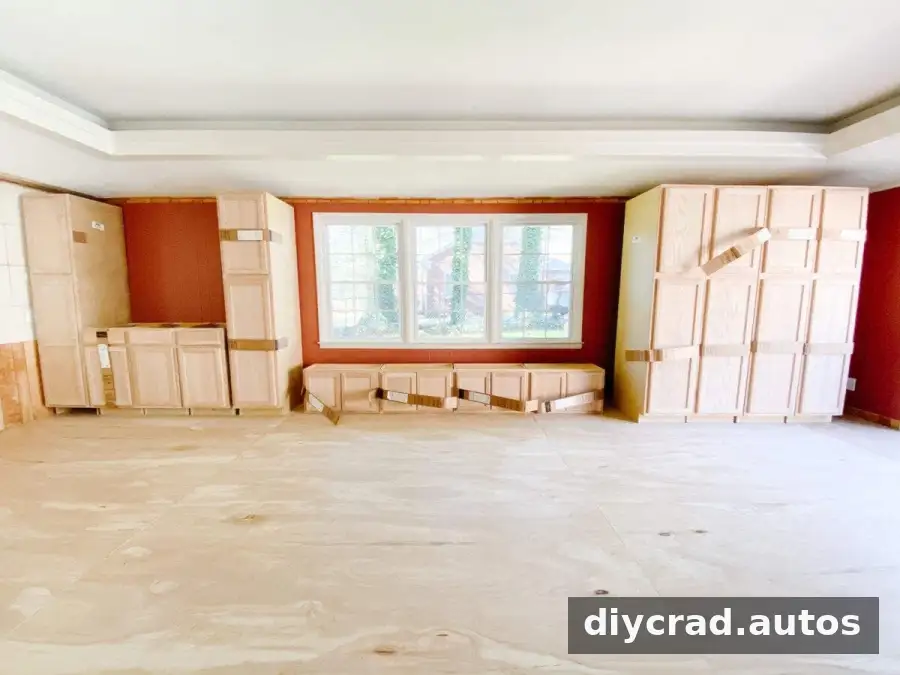
After the cabinets were assembled in place, the installation began to take shape. The doors, flooring, and paint were still to come at that stage.
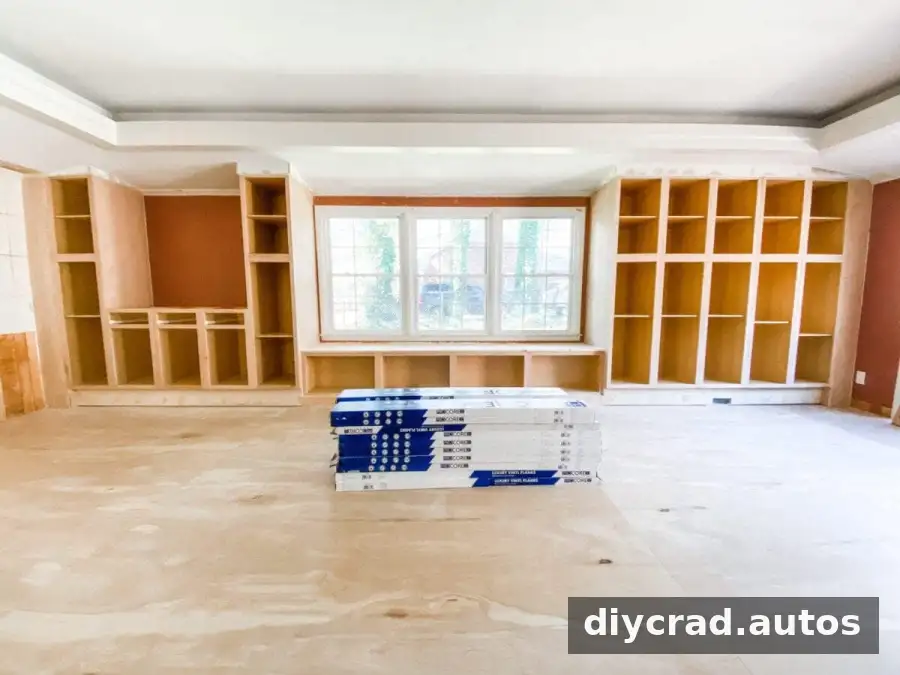
Before starting a similar project, measure the wall, window, cabinet depths, and vent locations carefully. Check that the planned arrangement leaves enough space for the seat and that all cabinet sections can be secured to suitable framing.
DIY Built-In Cabinets and Window Seat: Materials and Tools
Materials
- 7 stock pantry cabinets
- 4 stock refrigerator cabinets for the window seat section
- 3 stock base cabinets
- 4 stock cabinet side panels for exposed cabinet sides
- 15 2×4 boards
- 2 1×12×8 poplar boards
- 1 1×10×10 pine board
- 1 1×12×10 pine board
- 4 1×4×8 pine boards
- 3 1×8×10 pine boards
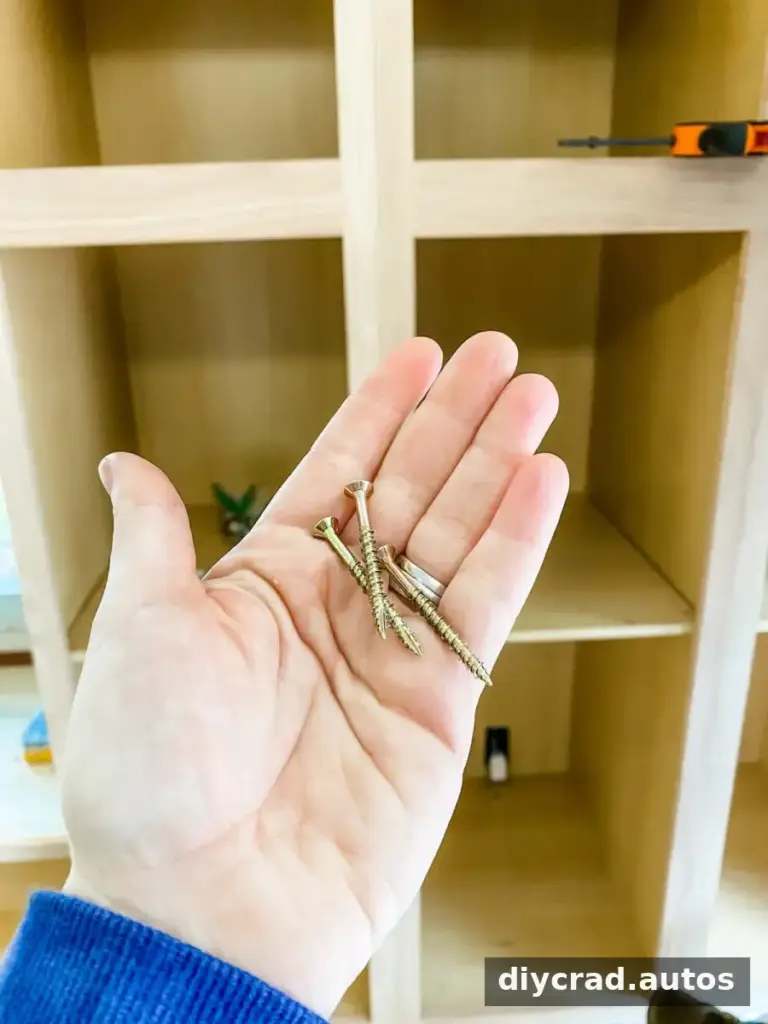
- #8 1 1/2-inch cabinet screws
- #8 1 5/8-inch deck screws
- Wood shims
- Toe ductors
- Wood filler and paintable caulk
Tools
- 4 clamps, a speed square, tape measure, chalk line, and level
- Drill and bit set, cordless finish nailer, and cordless crown nailer
- Utility knife, miter saw, jigsaw, and oscillating multi-tool
- Orbital sander
Cabinet sizes and wall conditions vary, so confirm the dimensions and quantities against your own layout before buying materials. Wear appropriate eye and hearing protection when cutting or fastening boards.
Build the Base and Keep the Vents Clear
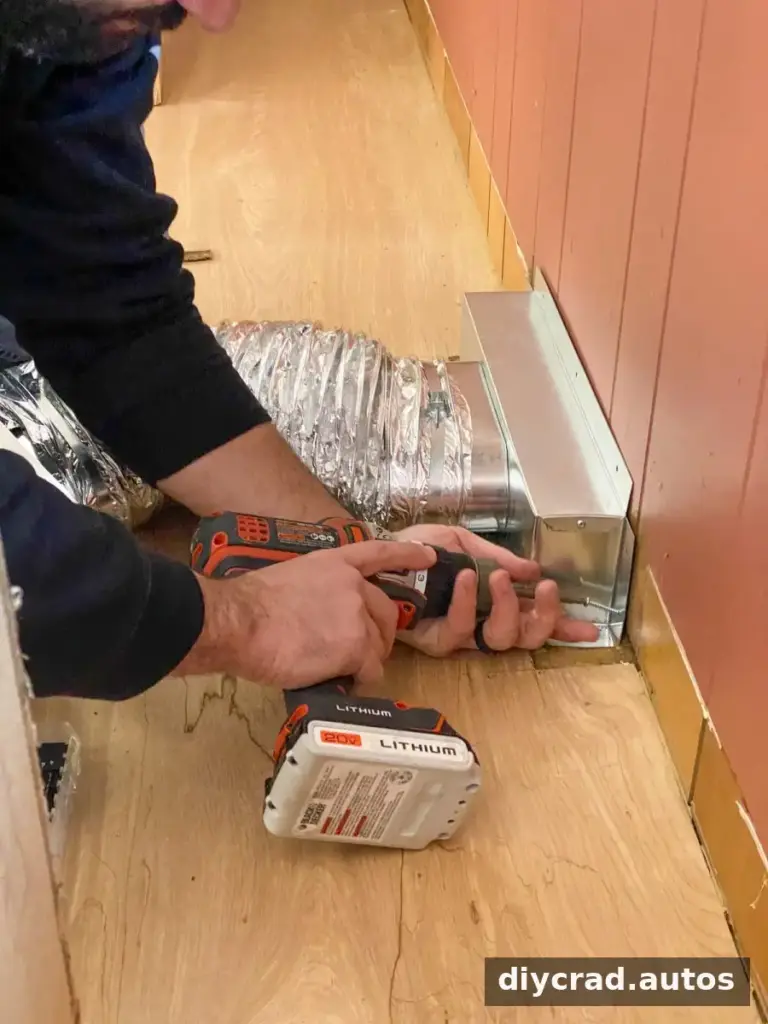
Make a level support base
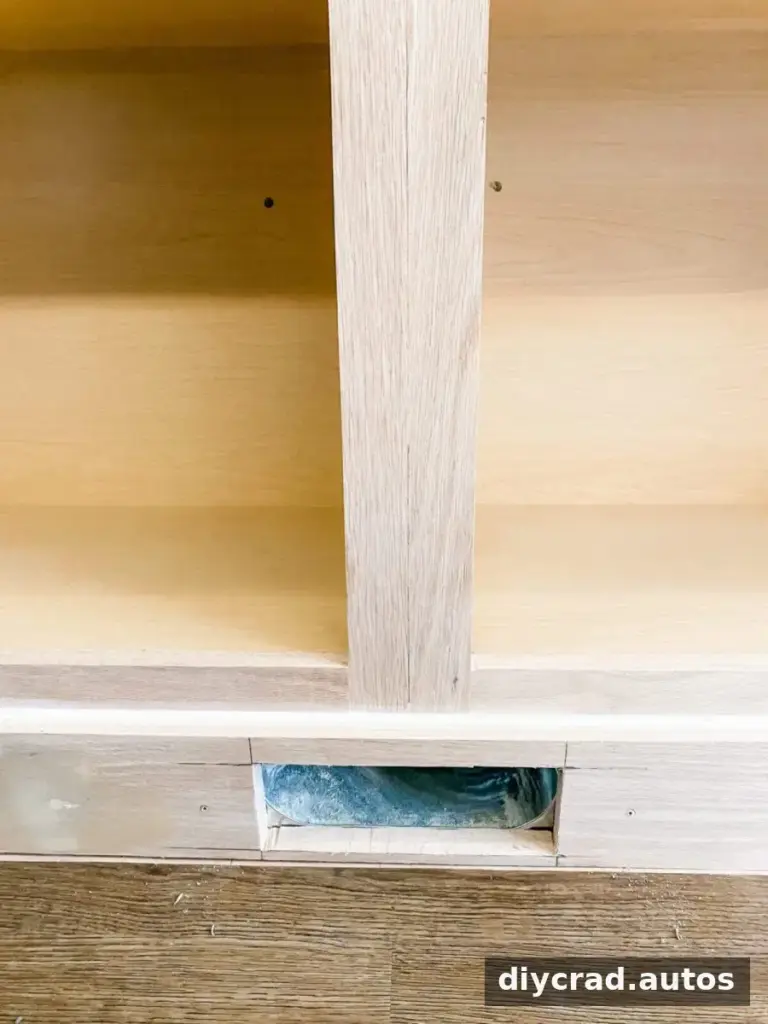
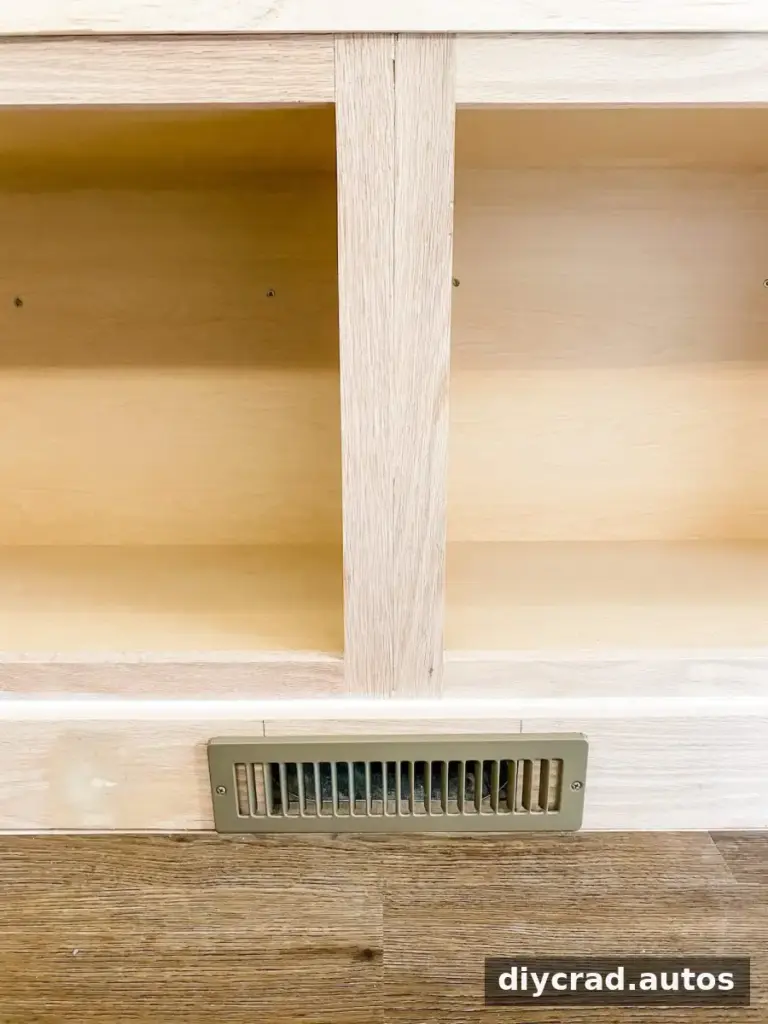
- Install toe ductors so air from the existing floor vents can travel beneath the cabinets and exit through the front of the base. Do not block or enclose a heating or ventilation outlet.
- Measure the cabinet depth and mark the intended front edge on the subfloor.
- Use a chalk line to mark the full length of the wall at that depth.
- Build the base from 2×4s, fastening the boards together and securing the base to the walls and floor with #8 1 5/8-inch deck screws.
- Place 2×4s on either side of the toe ductors, leaving the planned path for air to flow through the front.
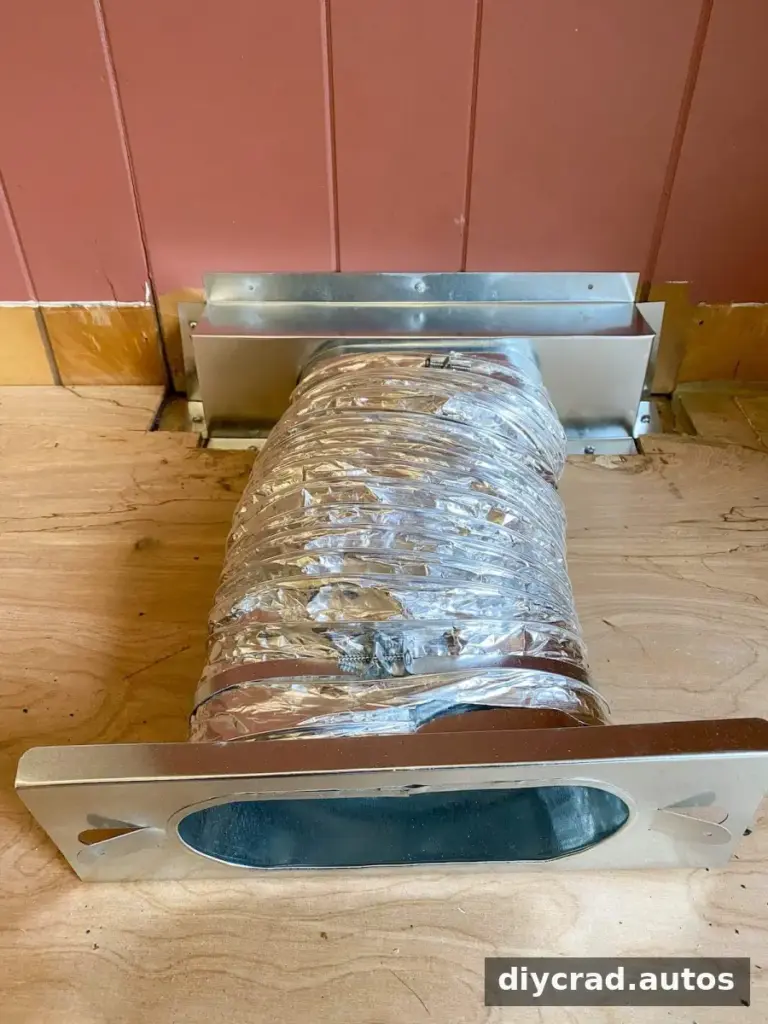
Check the base for level before adding cabinets. A flat, stable base makes it easier to align cabinet fronts and reduces the need for extensive shimming later.
Install the Window Seat Cabinets
Set and align the cabinet boxes
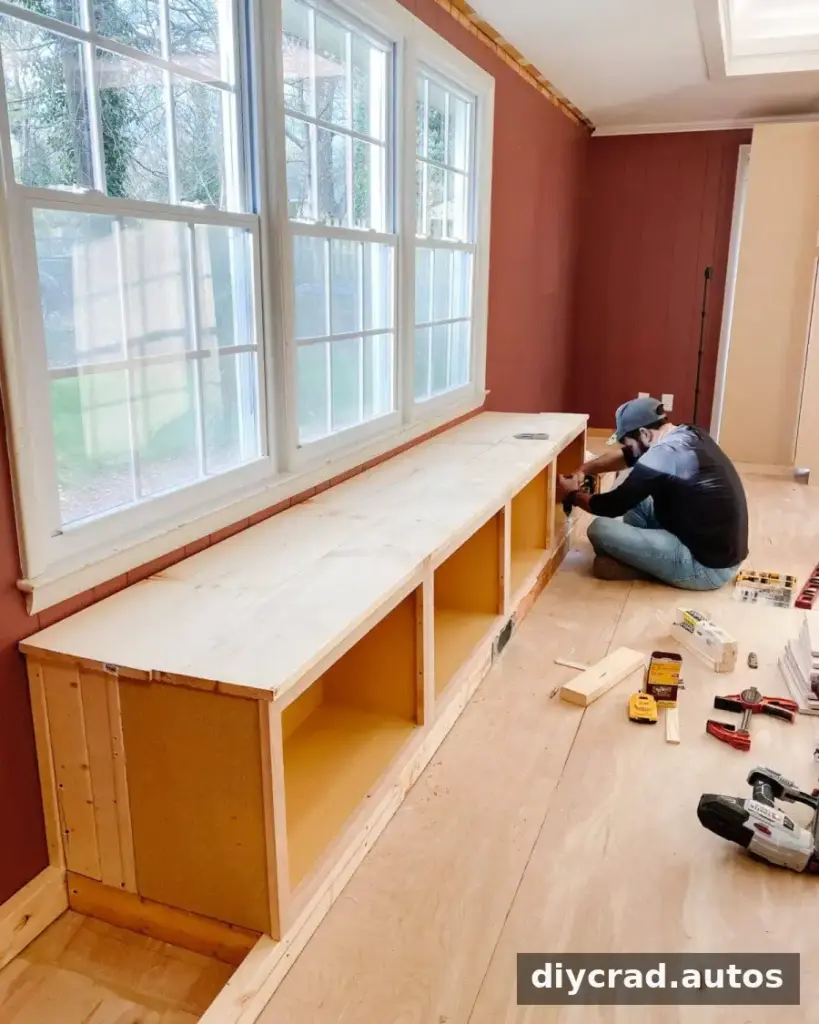
Build a 2×4 support behind the window-seat cabinets. The added depth helps make the seat more comfortable and brings its front into alignment with the taller cabinets planned on either side.
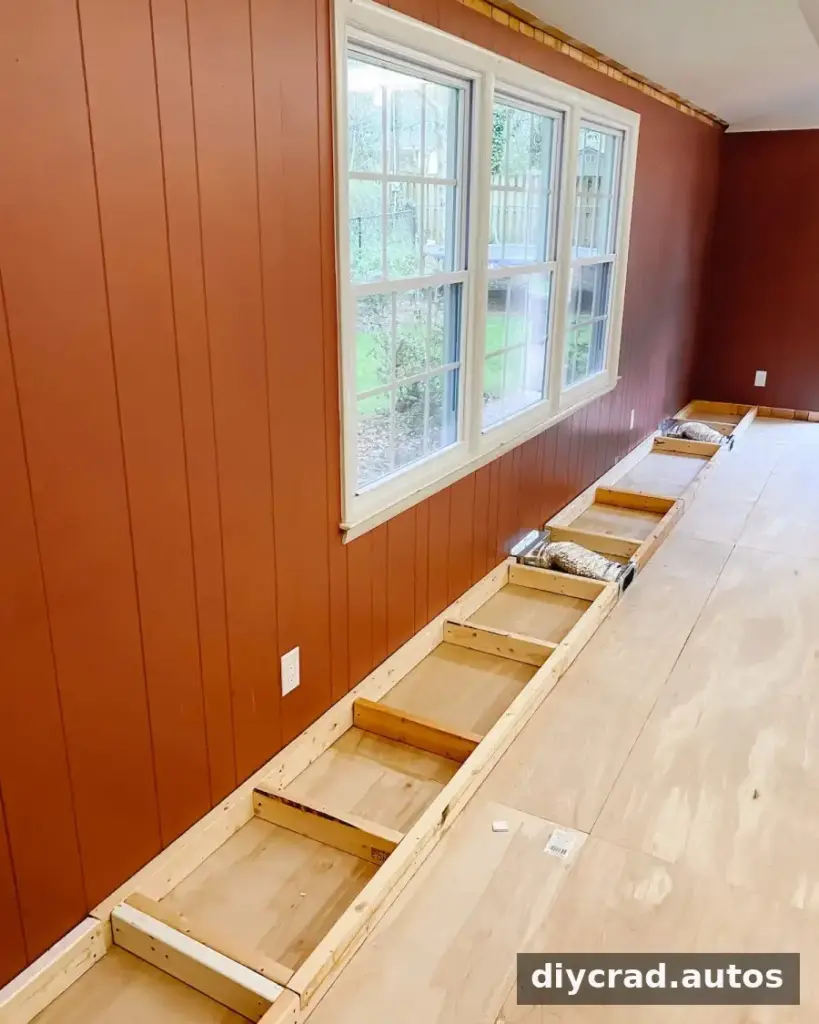
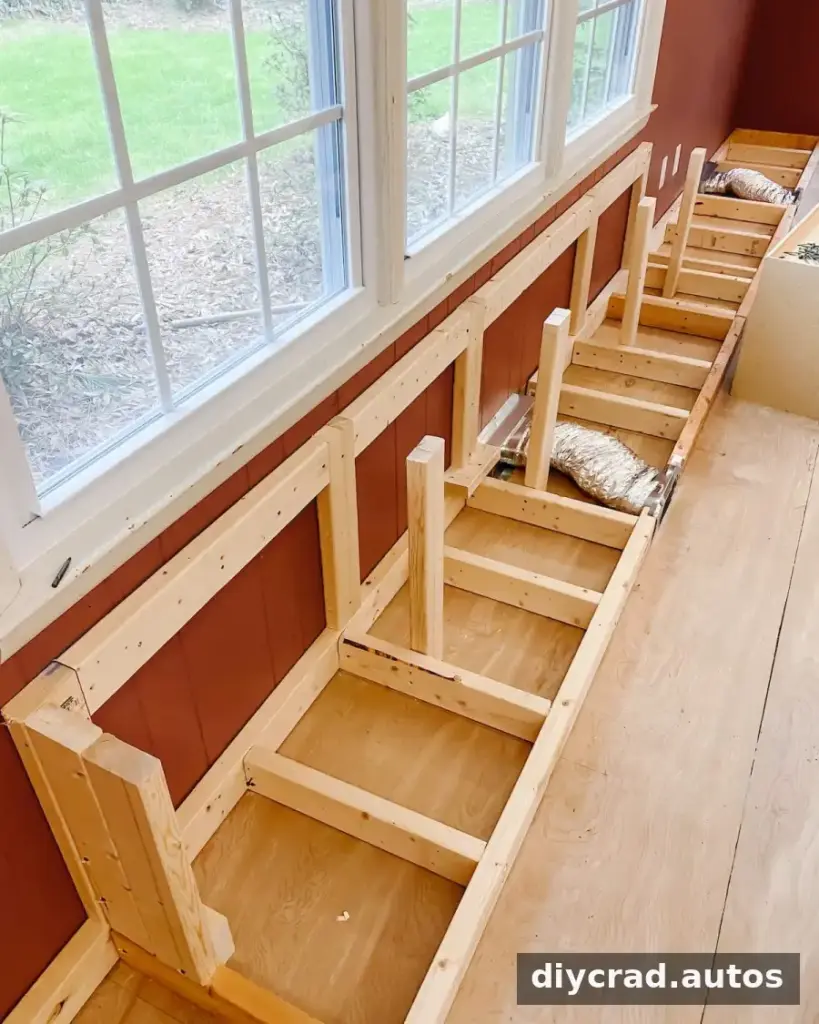
Fasten the backs of the cabinets to the 2×4 support with one #8 cabinet screw per cabinet at first. Leaving a little adjustment room at this stage makes it easier to line up the cabinet frames.
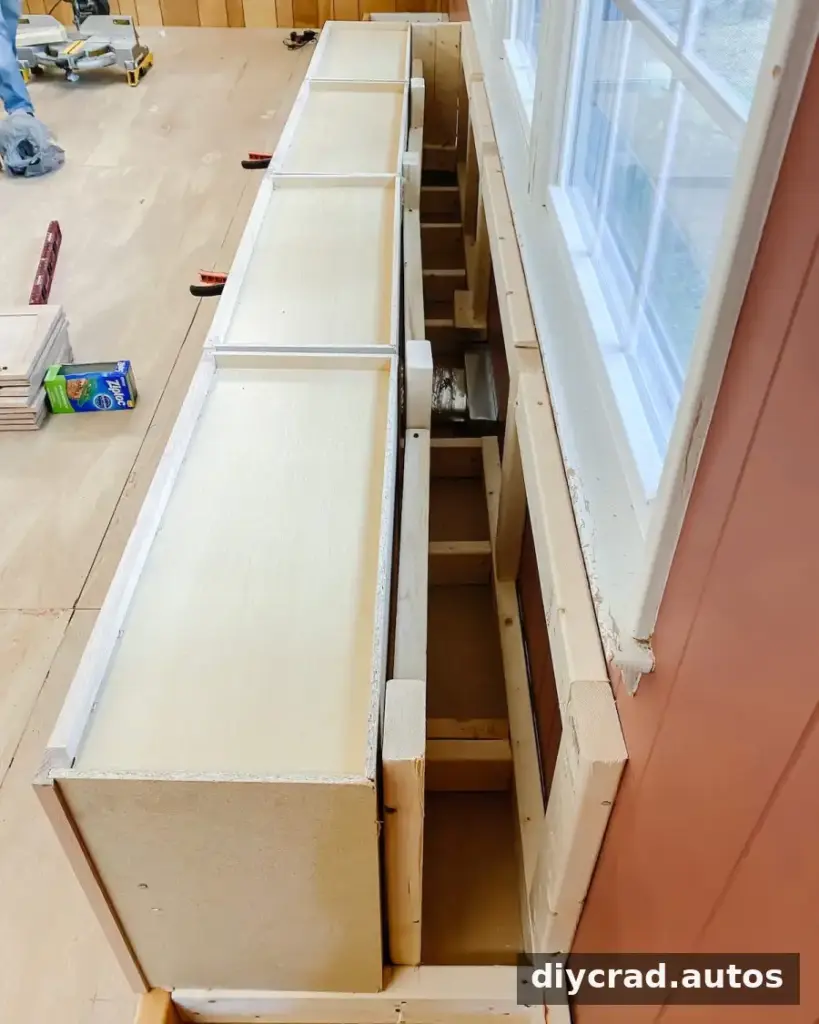
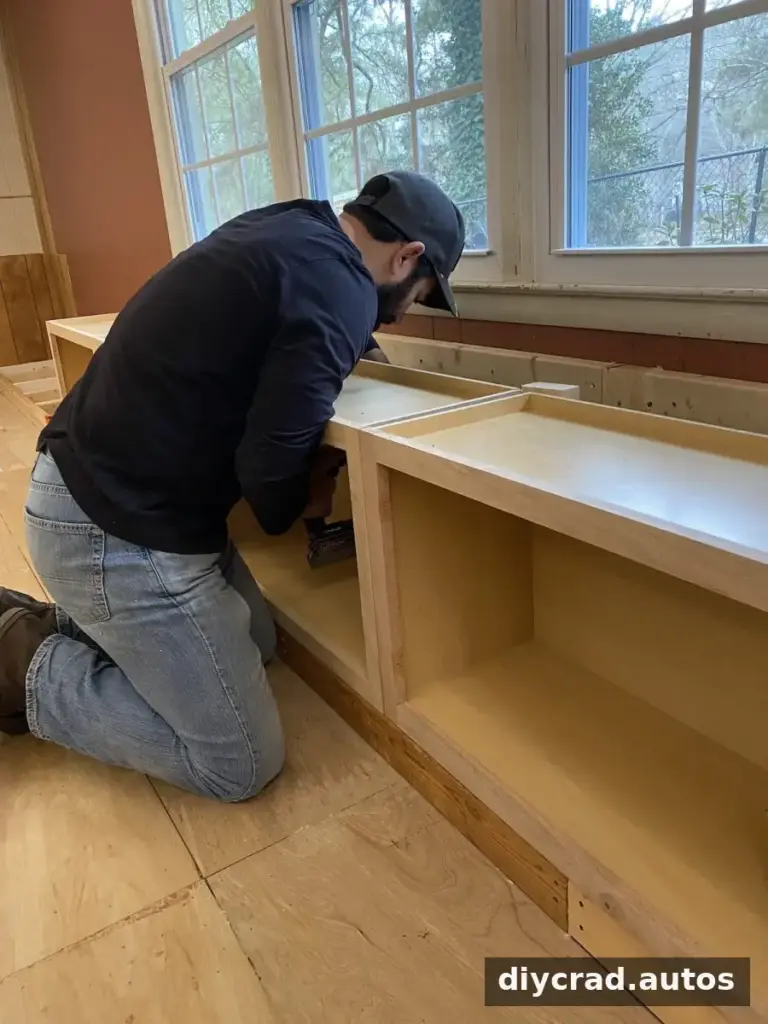
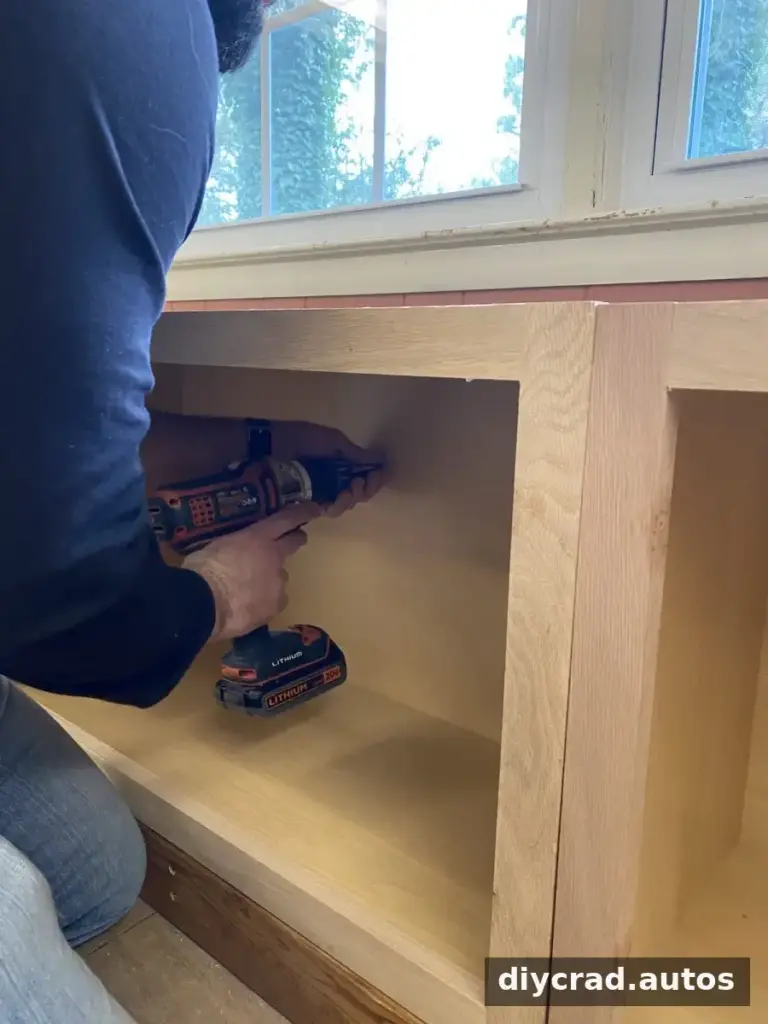
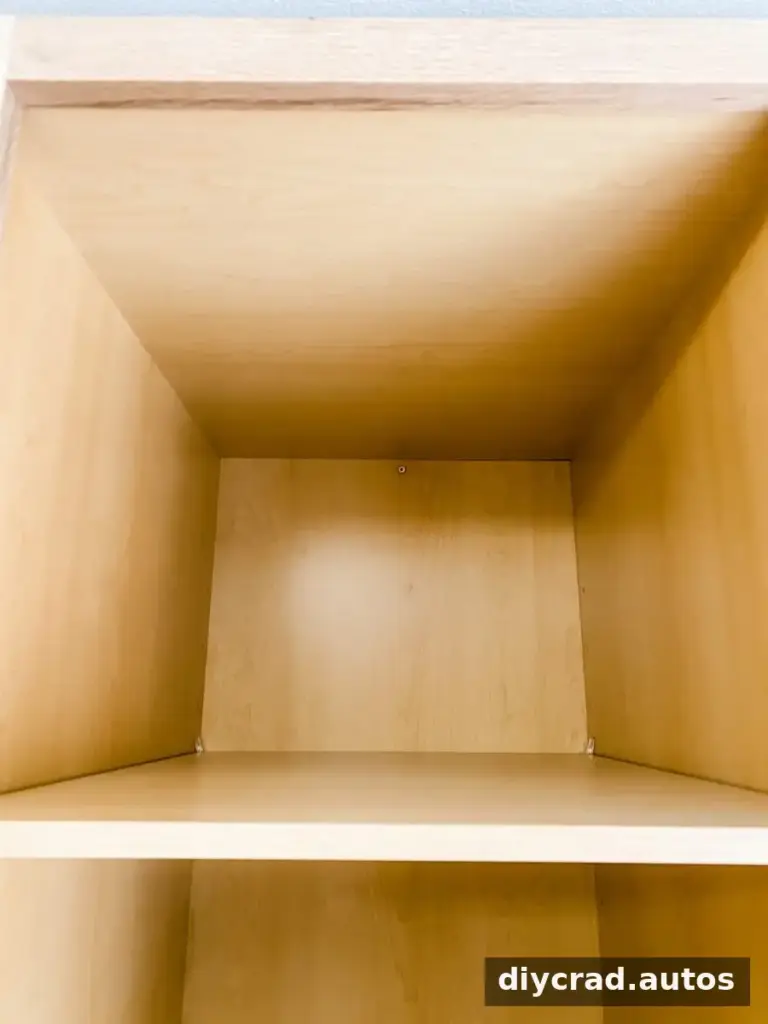
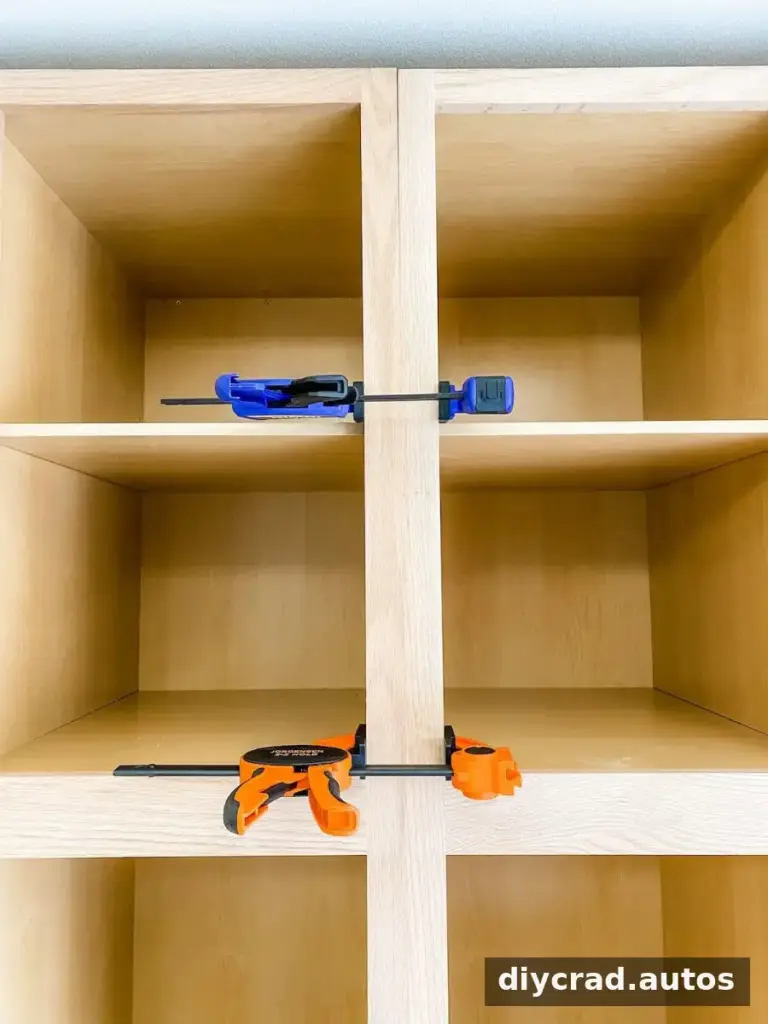
Place shims between the cabinet bottoms and the base as needed, then use a level to set each cabinet level. Clamp the front frames together and adjust them until the faces are flush.
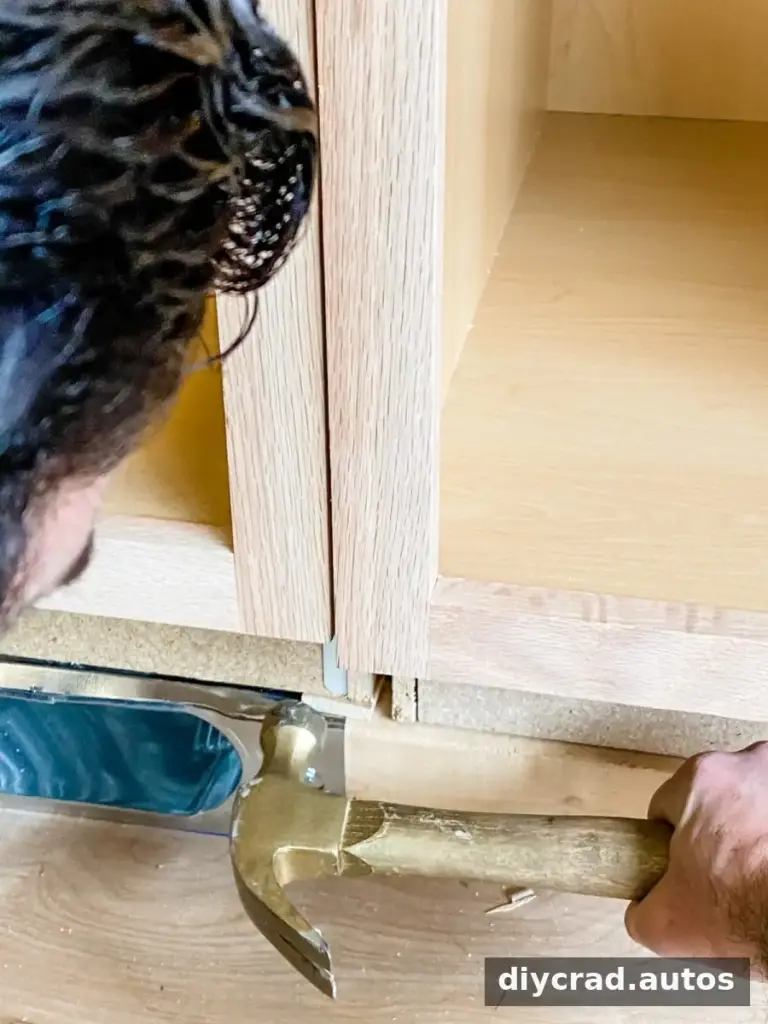
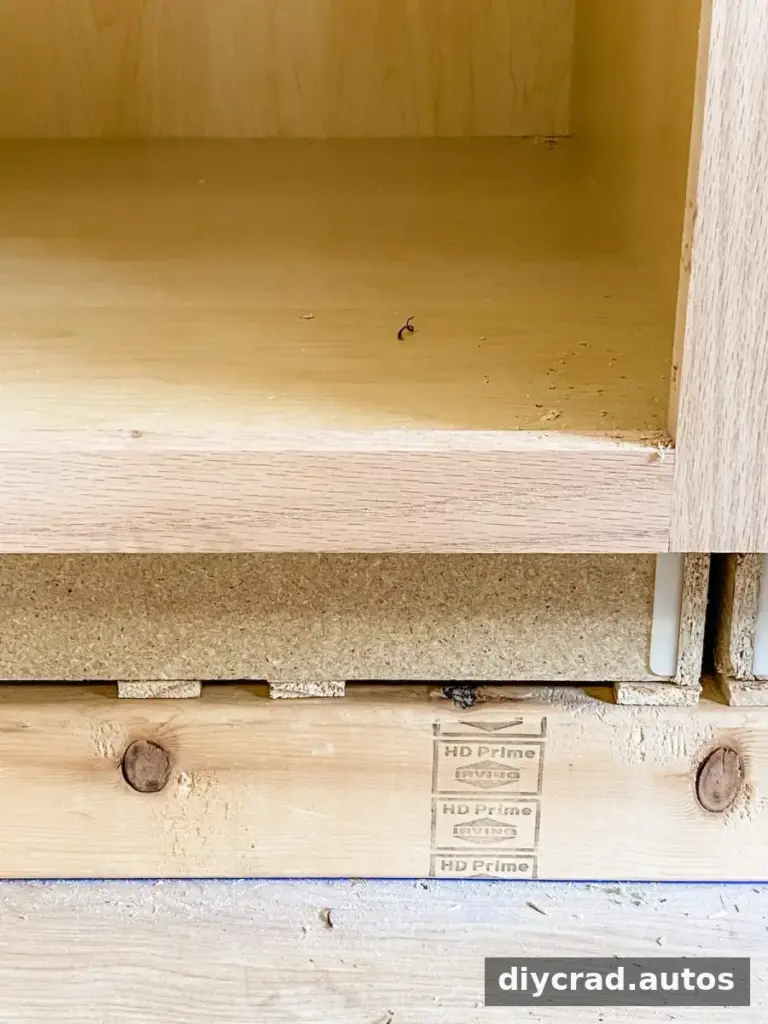
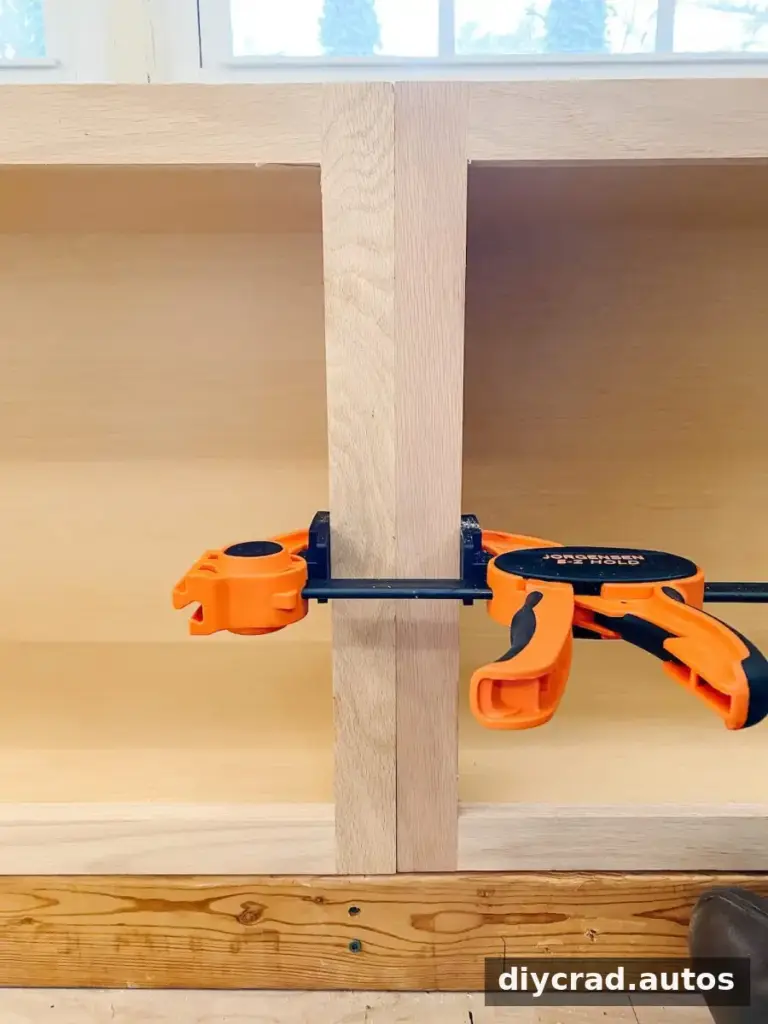
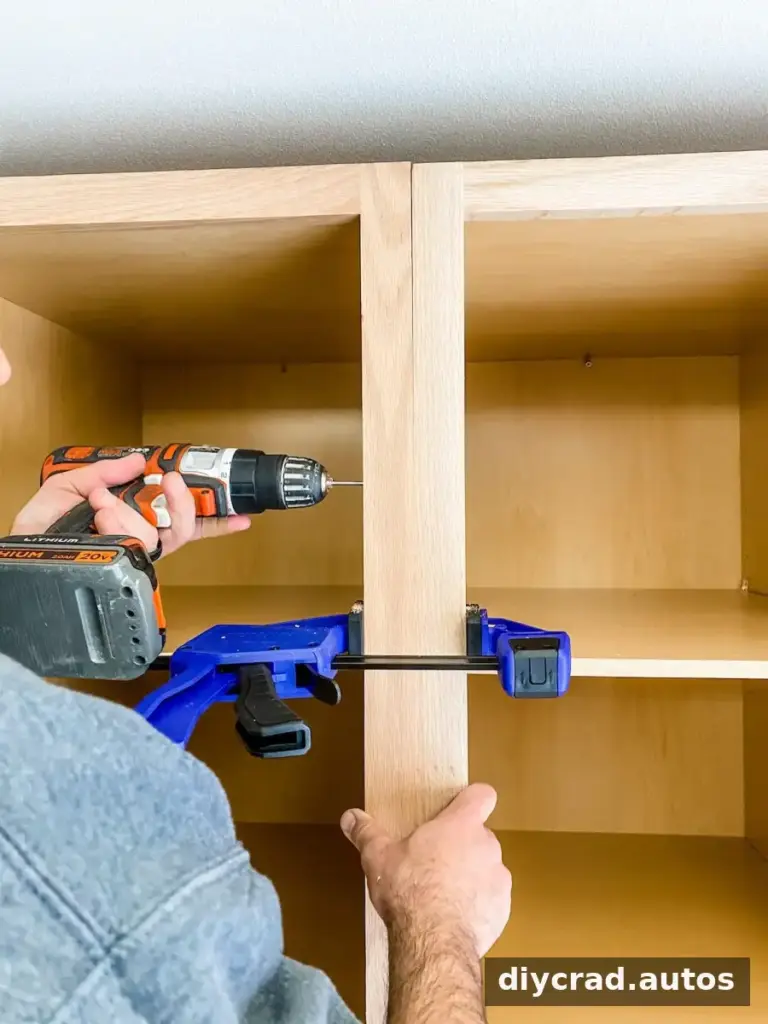
Pre-drill pilot holes before joining adjacent cabinet sides with cabinet screws. Once the four window-seat cabinets are aligned and connected, add two more screws through their backs to secure them to the support.
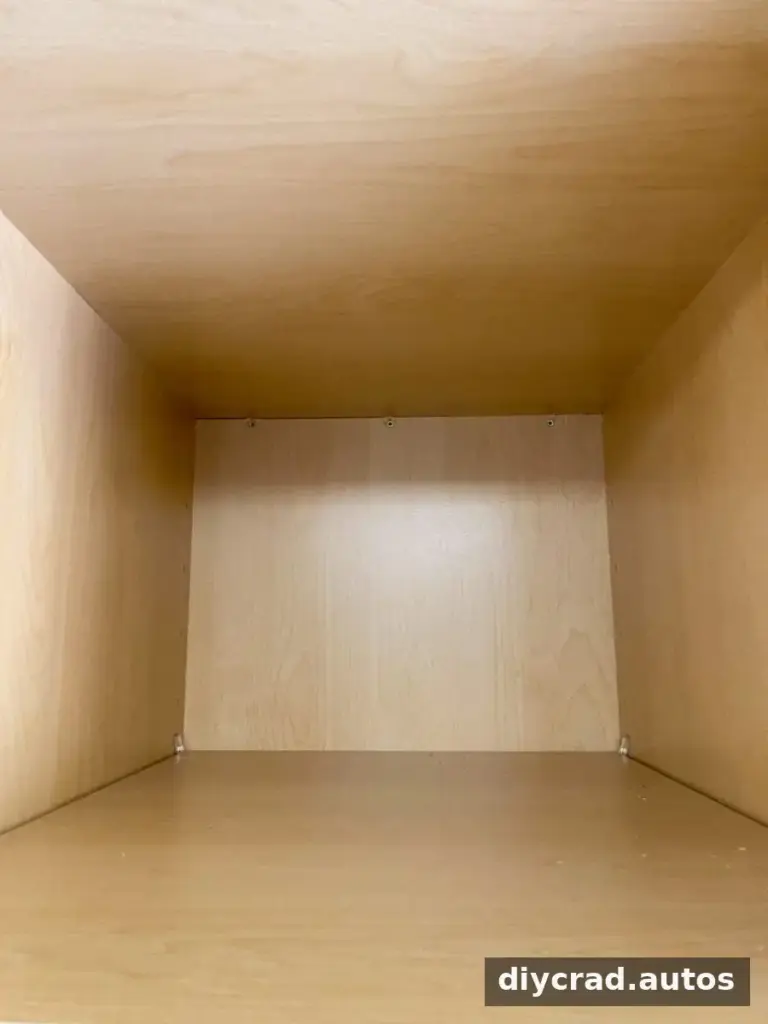
Recheck that the full row is level. Cut a 1×10 and a 1×12 pine board to the required length and screw them to the cabinet tops to form the window seat.
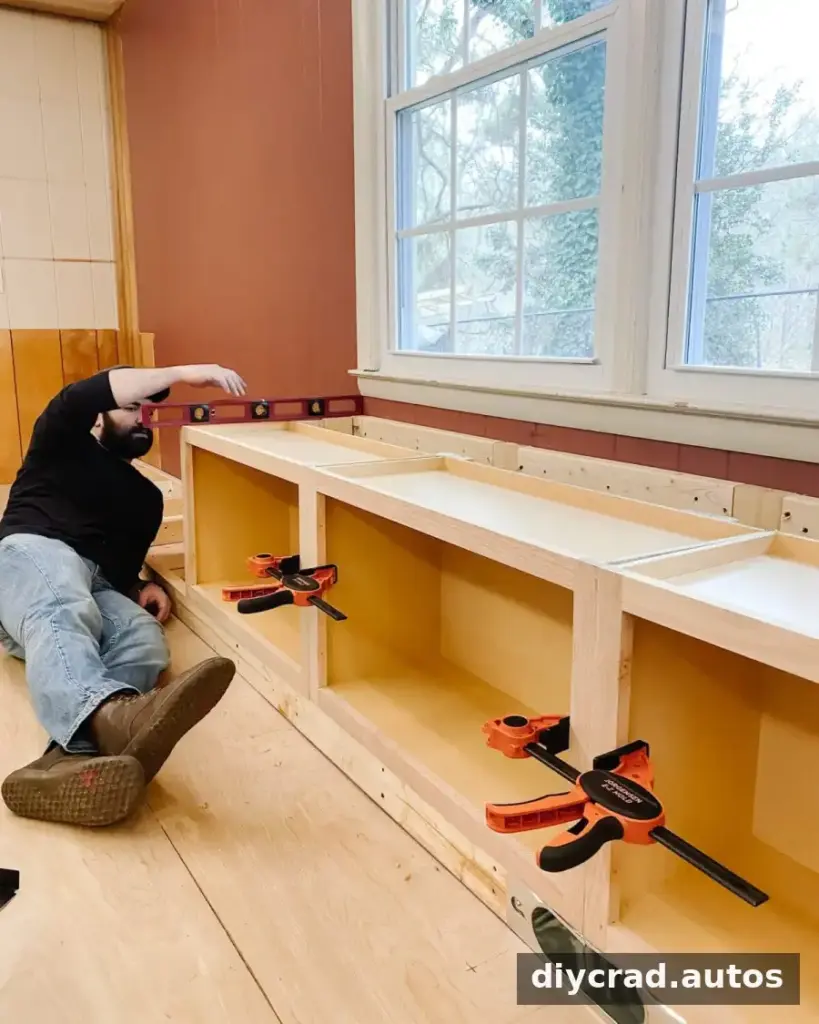
Secure the Tall Cabinets
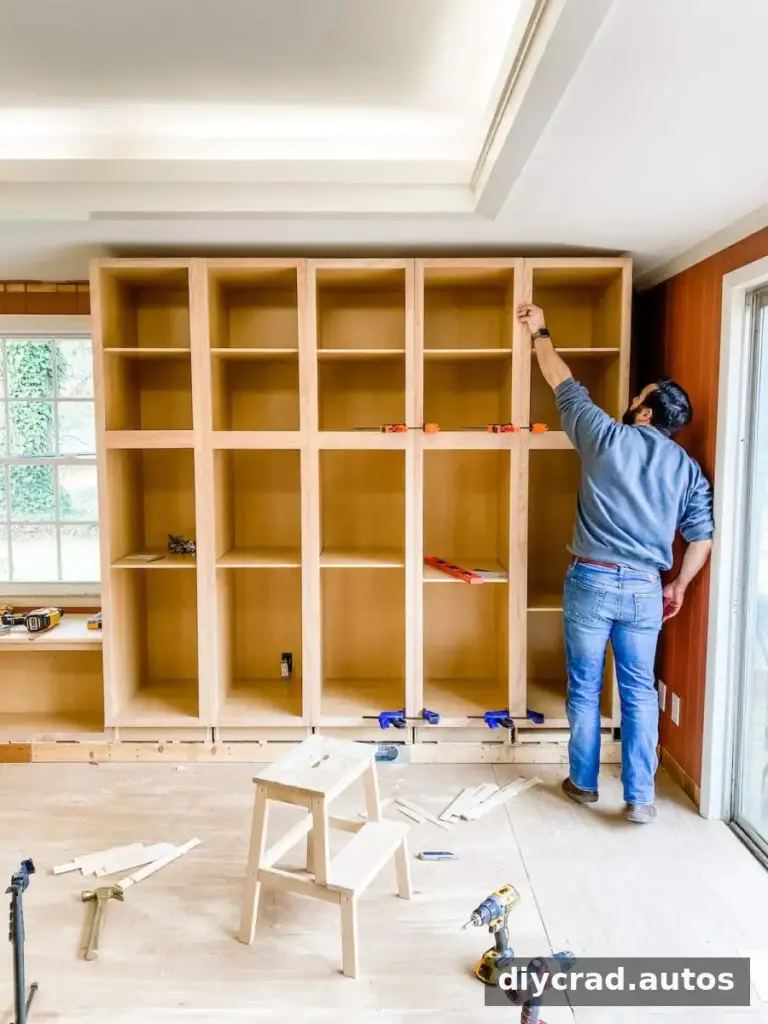
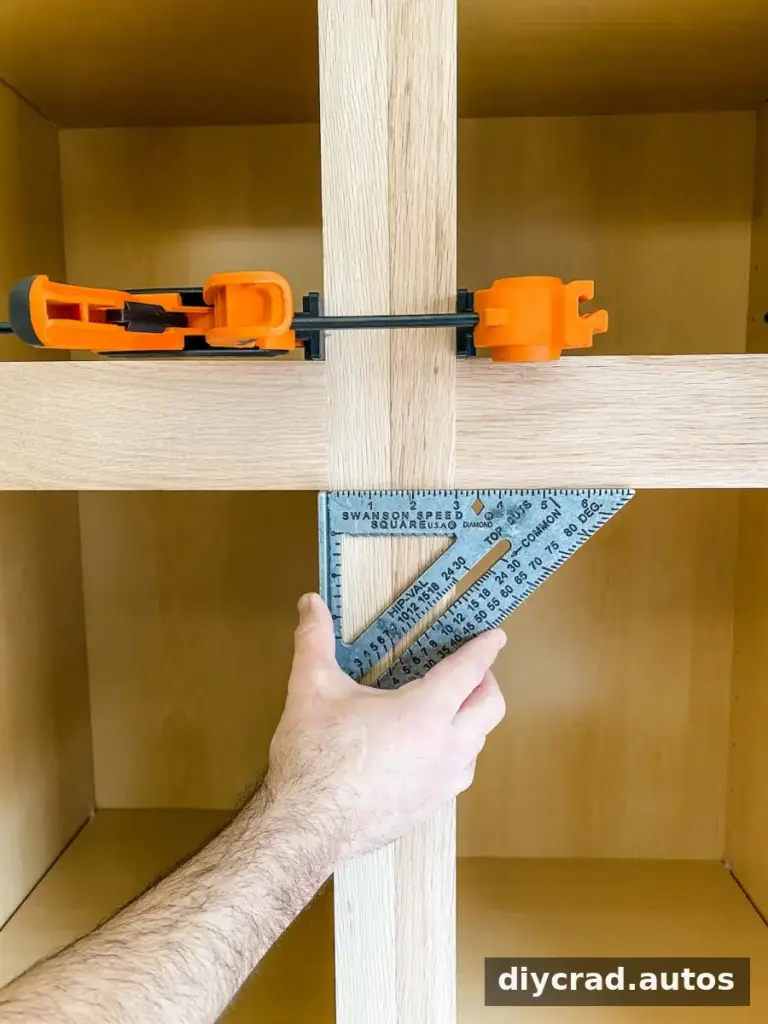
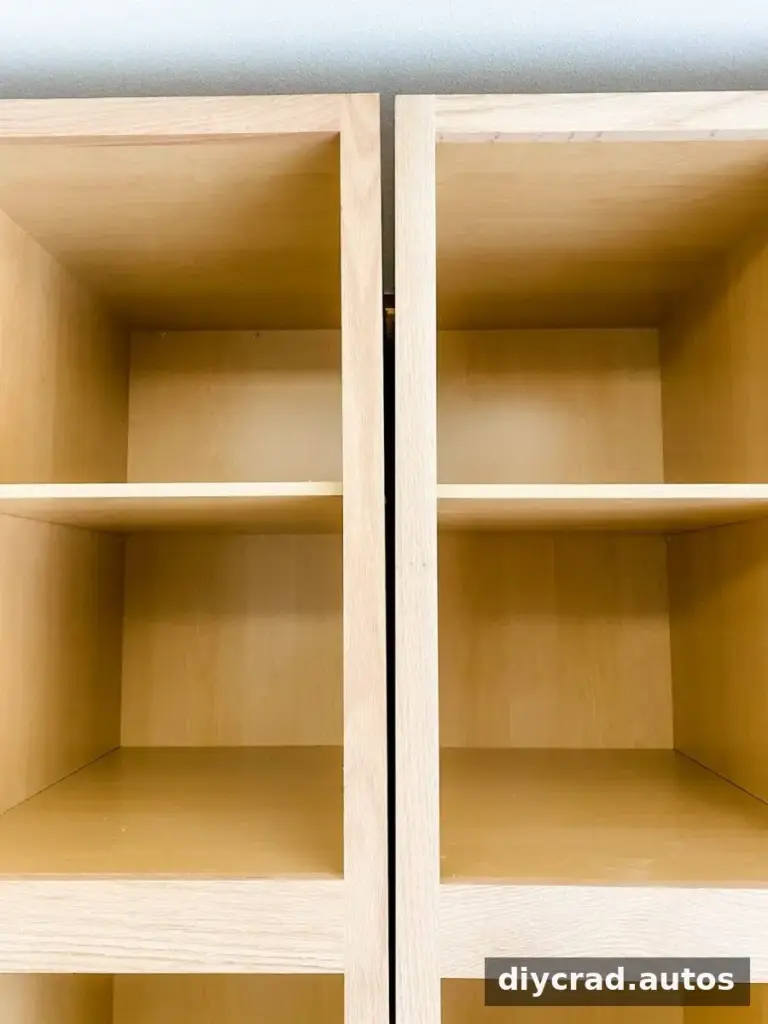
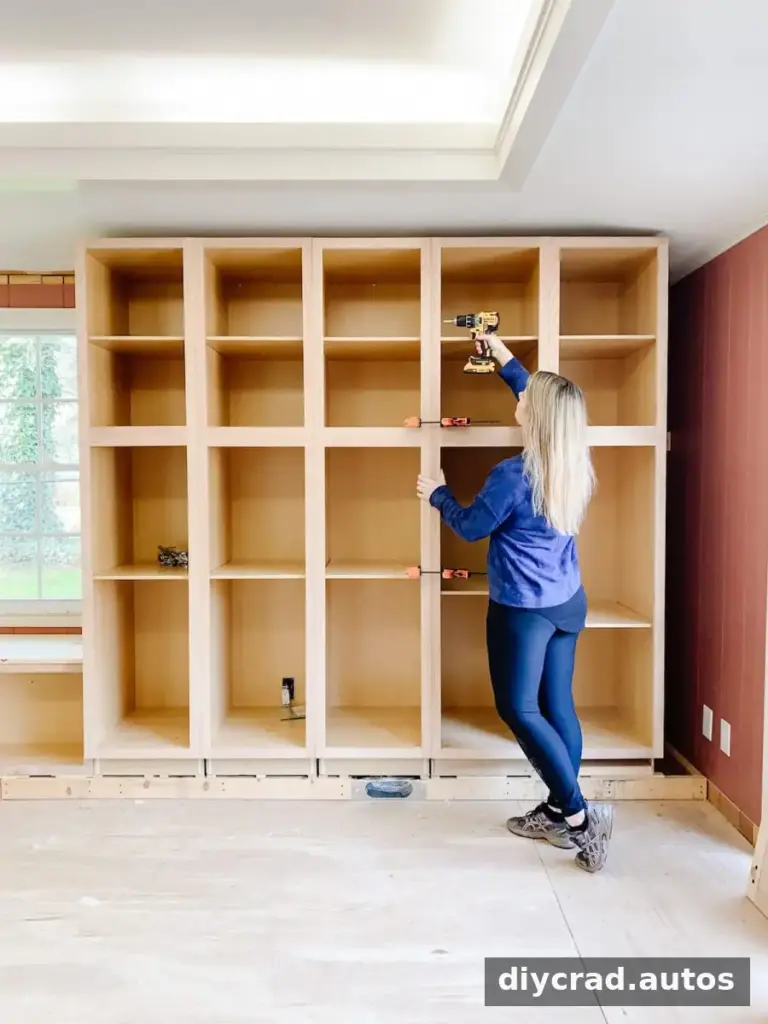
Repeat the cabinet-setting and alignment process on both sides of the window seat. Fasten the tall cabinets to the back wall at the studs, and use clamps and a square to bring neighboring cabinet frames into line before joining them together.
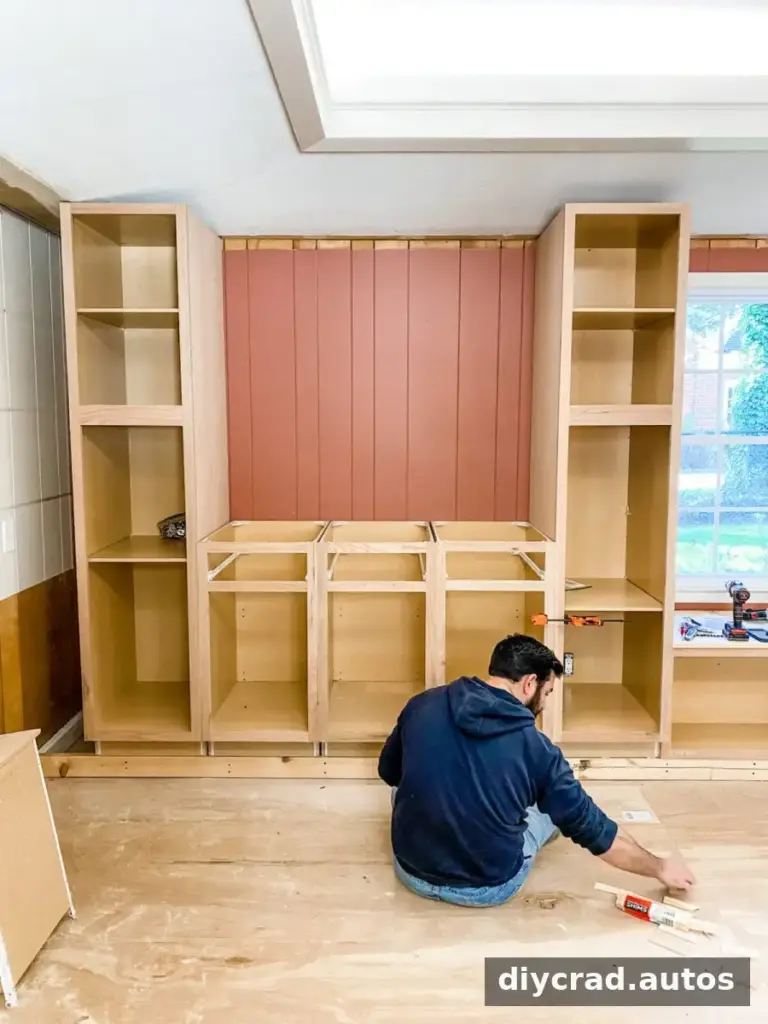
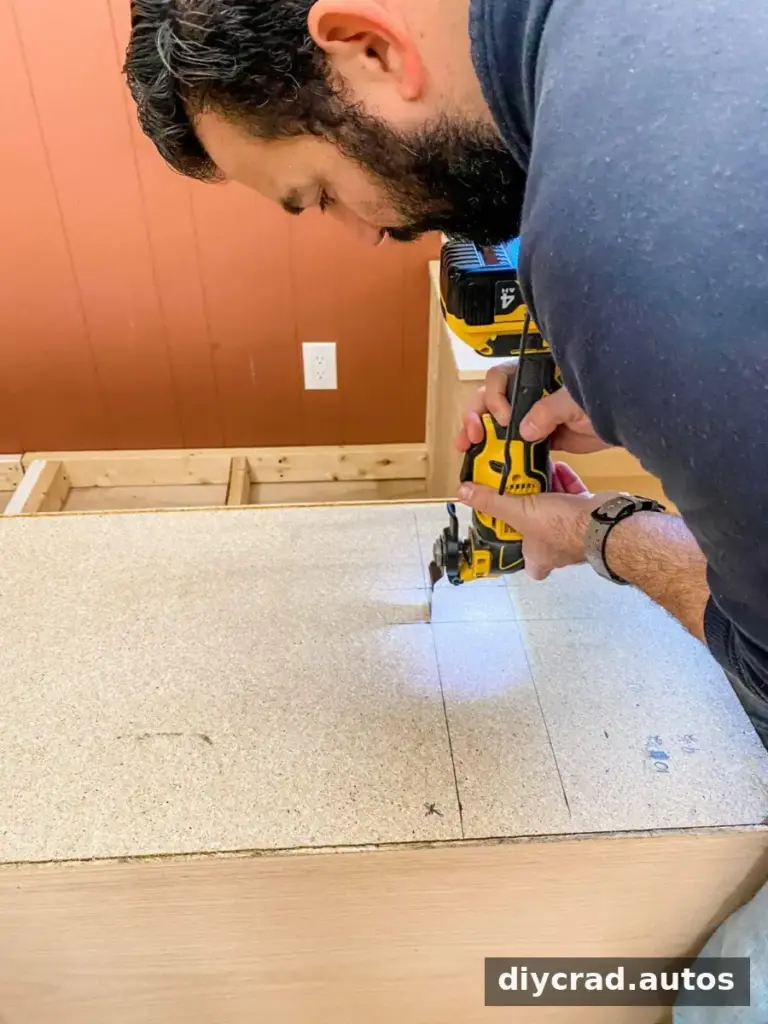
Where a wall outlet falls behind a cabinet, the cabinet back was cut with an oscillating multi-tool and outlet spacers were used to bring the outlet forward so its face plate remained accessible inside the cabinet. Electrical work and outlet extensions must follow local requirements; consult a qualified electrician if you are unsure how to keep an outlet safely accessible.
The five tall cabinets on the right side required extra care to align. Use a square and clamps to check that the faces are level and even, then pre-drill and fasten the cabinet sides together.
Add Trim and Finish the Built-Ins
To close the gaps at the sides, attach 2×4s between the cabinet sides and the wall, then fasten a 1×12×8 poplar board over the front. This creates a finished edge that visually connects the cabinetry to the walls.
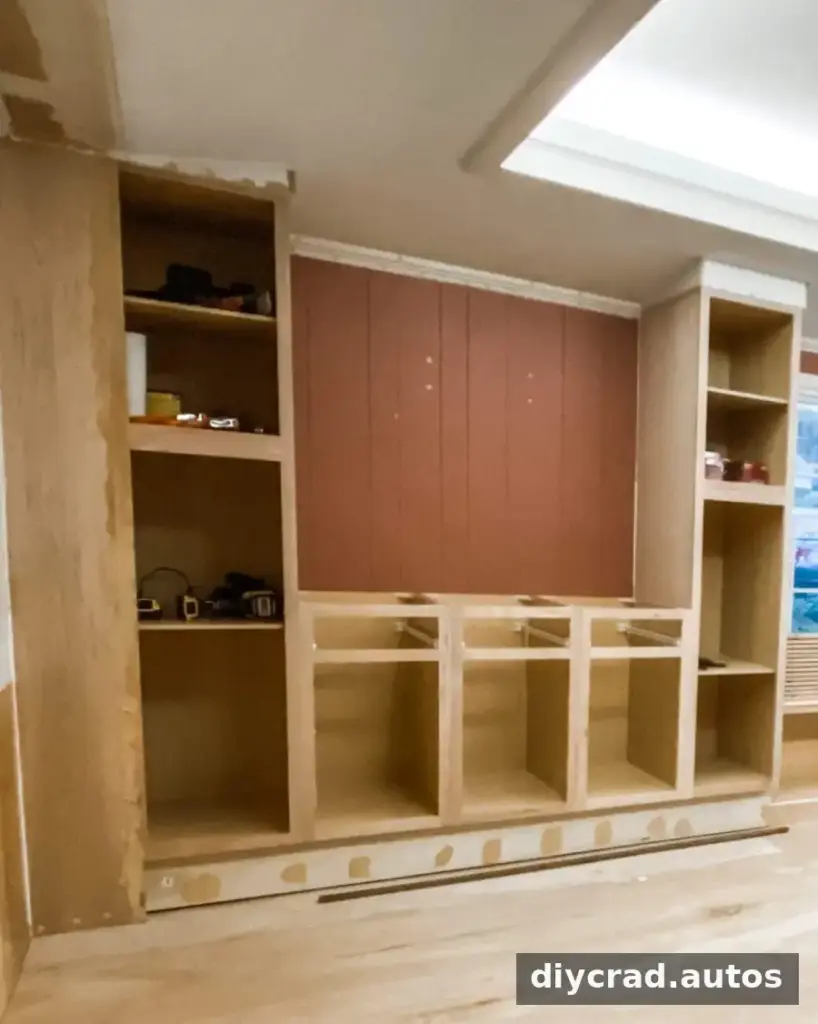
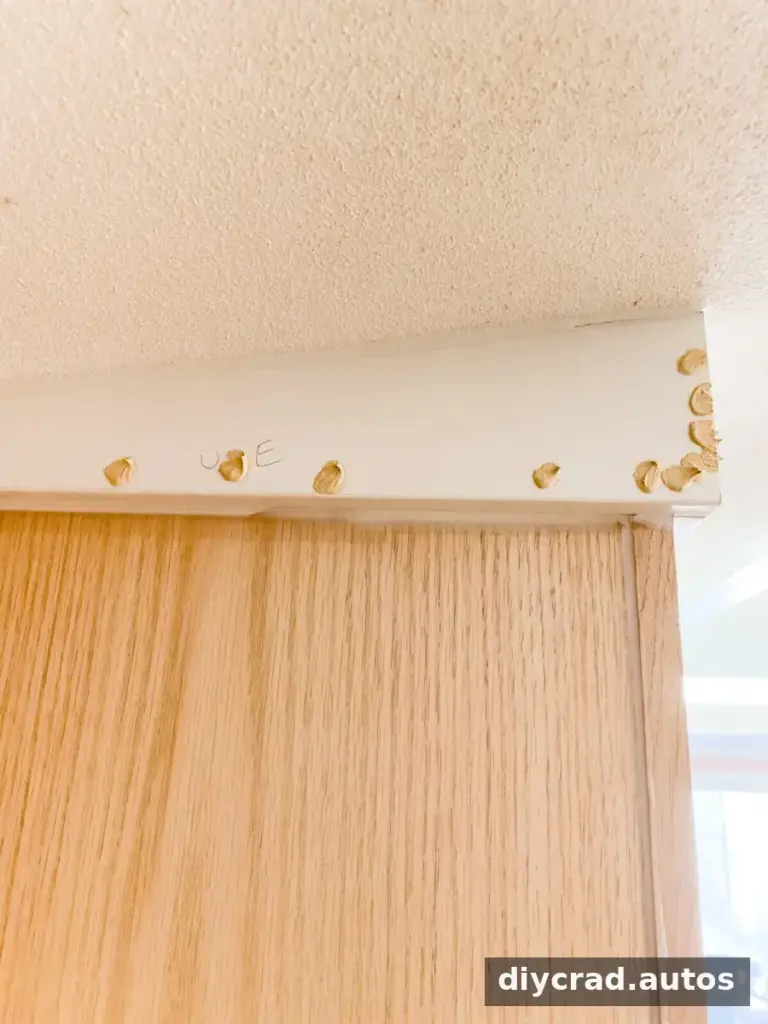
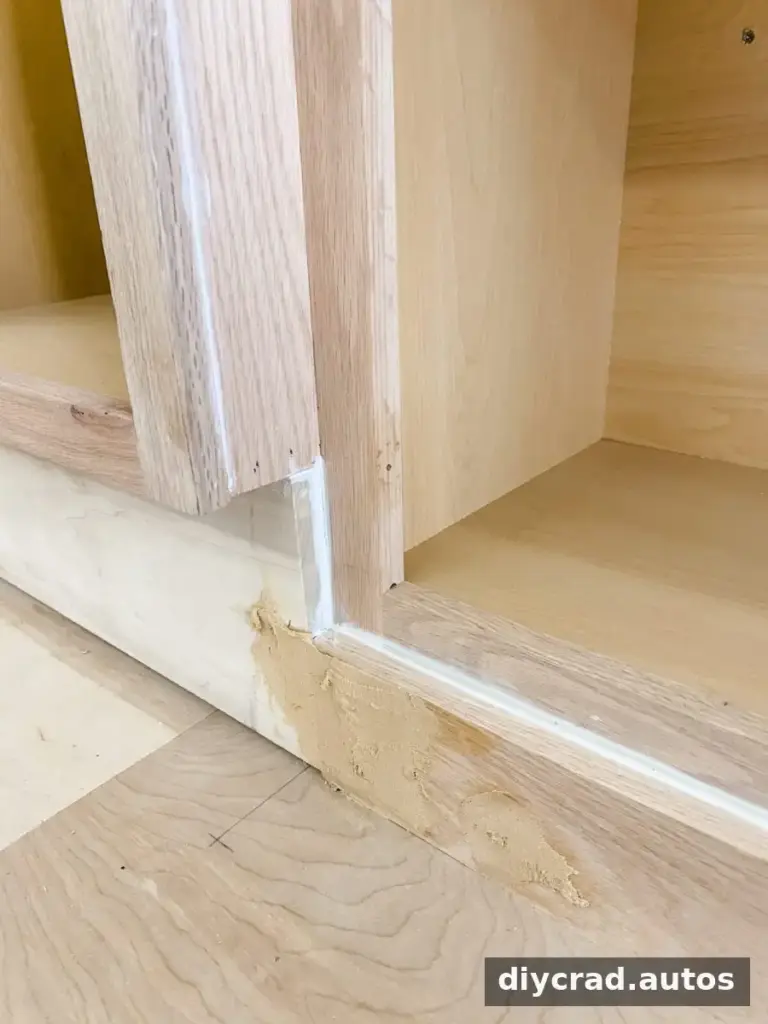
Attach 1×4 boards along the top of the cabinet frames. Cut the corner joints at 45-degree angles with a miter saw. For the bottom, fasten 1×8 boards across the front of the 2×4 base to create the toe kick.
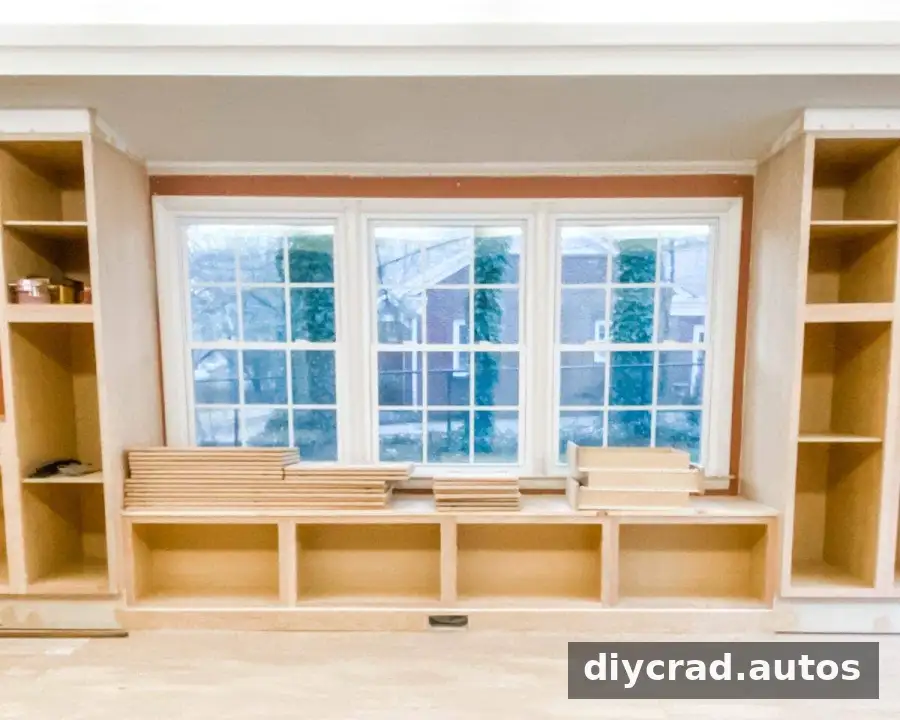
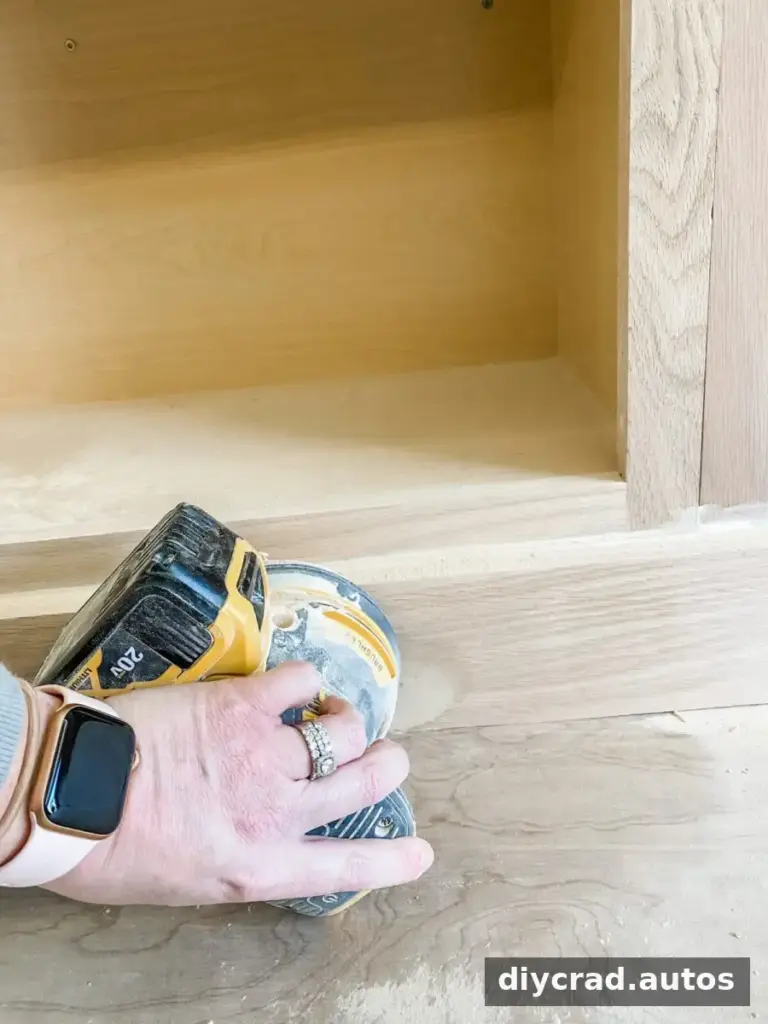
Fill nail holes with wood filler and seal visible gaps with paintable caulk. Let the filler dry, then sand it smooth. Finish by installing vent covers in the openings left for the toe ductors.
The Finished DIY Built-In Cabinets and Window Seat
The completed installation adds substantial storage while making the room feel more finished. The cabinet doors were left off temporarily because painting was planned for a later stage, and new flooring was also scheduled to follow. If you are painting your own project, plan the order of work so the cabinet surfaces and nearby flooring can be protected during preparation and finishing.
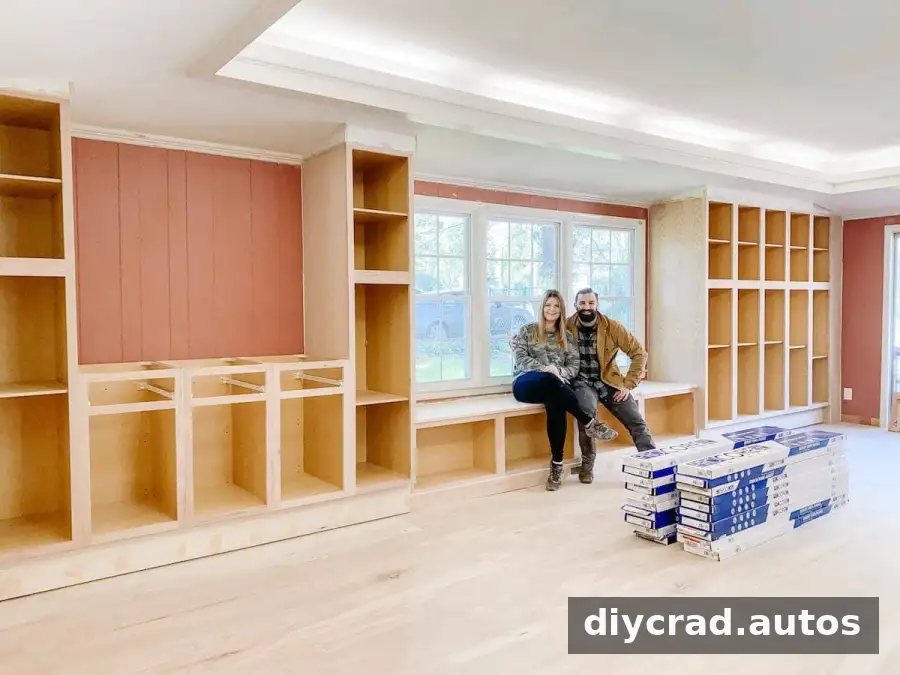
This approach shows how stock cabinets, a carefully measured support base, and straightforward trim can create a custom-looking result. For a durable DIY built-in cabinets and window seat project, prioritize a level base, secure attachment to wall studs, aligned cabinet fronts, and clear airflow through any existing vents.