DIY IKEA Billy bookcase built-ins can add practical vertical storage and a fitted look to a room without requiring you to build every shelf from scratch. With careful measuring, secure anchoring, and trim that suits your space, bookcase sections can be combined into a custom-looking wall of shelves for a playroom, office, living room, or closet.
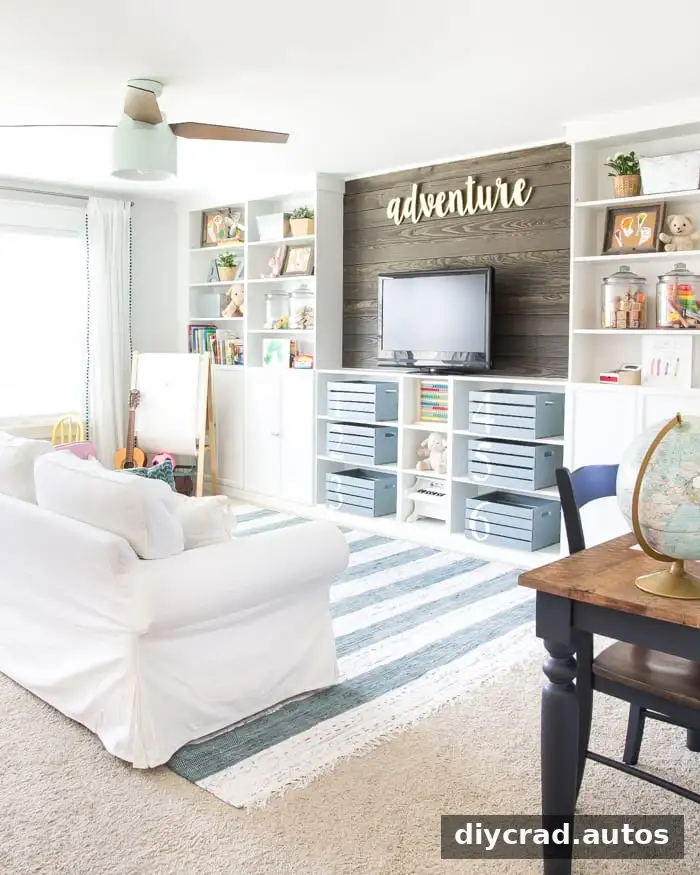
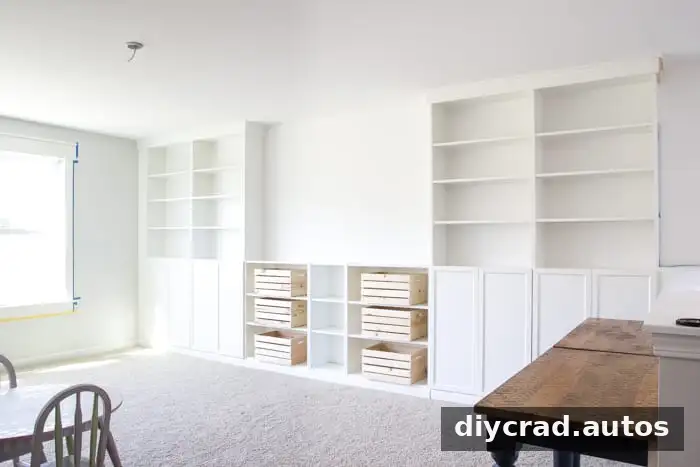
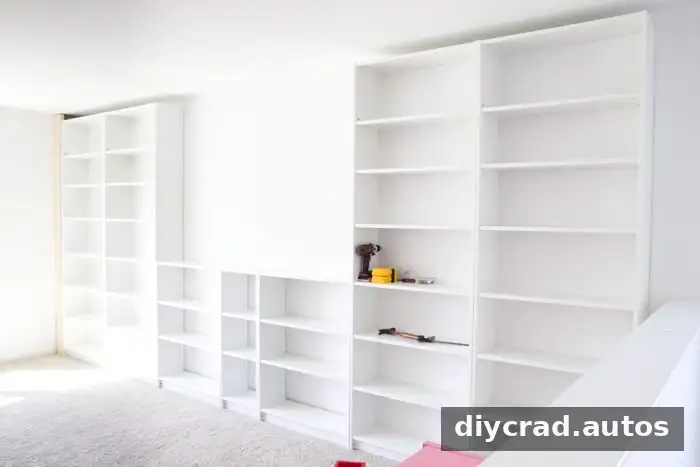
Why Use IKEA Billy Bookcases for Built-Ins?
A manageable project for beginner DIYers
The bookcase sections are already assembled from manufactured parts, which reduces the amount of carpentry compared with building complete bookcases from lumber. The remaining work involves planning the layout, anchoring the units, adding trim, and filling small gaps. If you are new to home projects, take time to identify wall studs and follow the bookcase anchoring instructions.
Cost and customization
Standard-height Billy bookcases were listed at $89 each when the original project was published. Prices can change, so check current costs and include trim, paint, hardware, and any optional doors in your budget. Billy accessories, including Oxberg doors, offer ways to adapt the storage to your room and keep some items out of sight.
Built-ins can be especially useful in a playroom or media room, where toys, craft supplies, books, and equipment need designated storage. They also work in bedrooms, home offices, rec rooms, closets, and dining rooms.
DIY IKEA Billy Bookcase Built-In Ideas
The same general approach can be adjusted for different layouts, including full-wall shelving, shorter units, glass-door storage, or a closet configuration. Choose a layout based on what you plan to store, the available wall width, and the room’s ceiling and baseboard details.
Home office shelves with glass doors
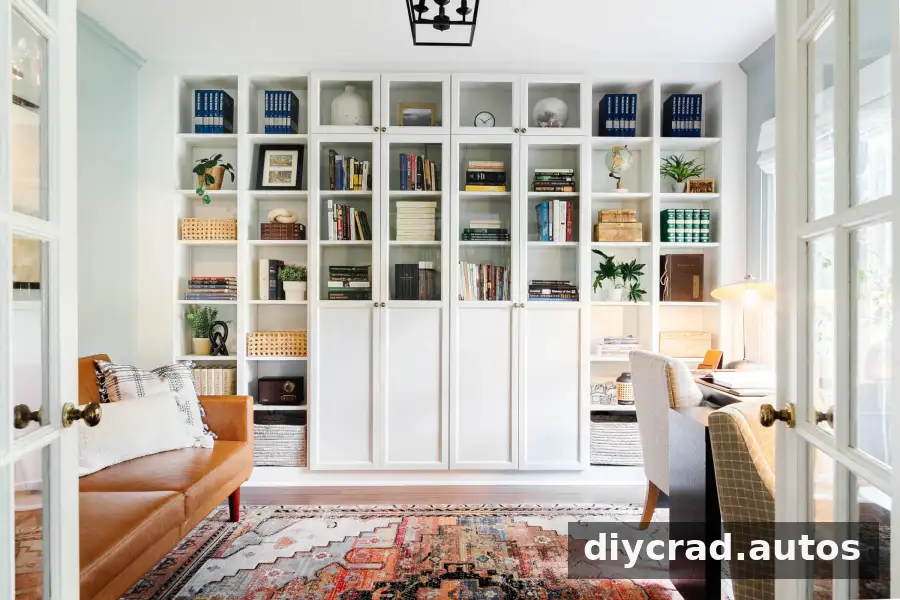
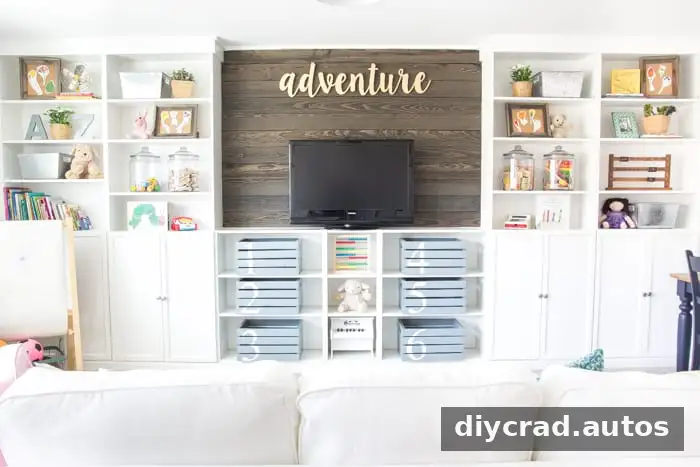
Full-wall playroom shelves
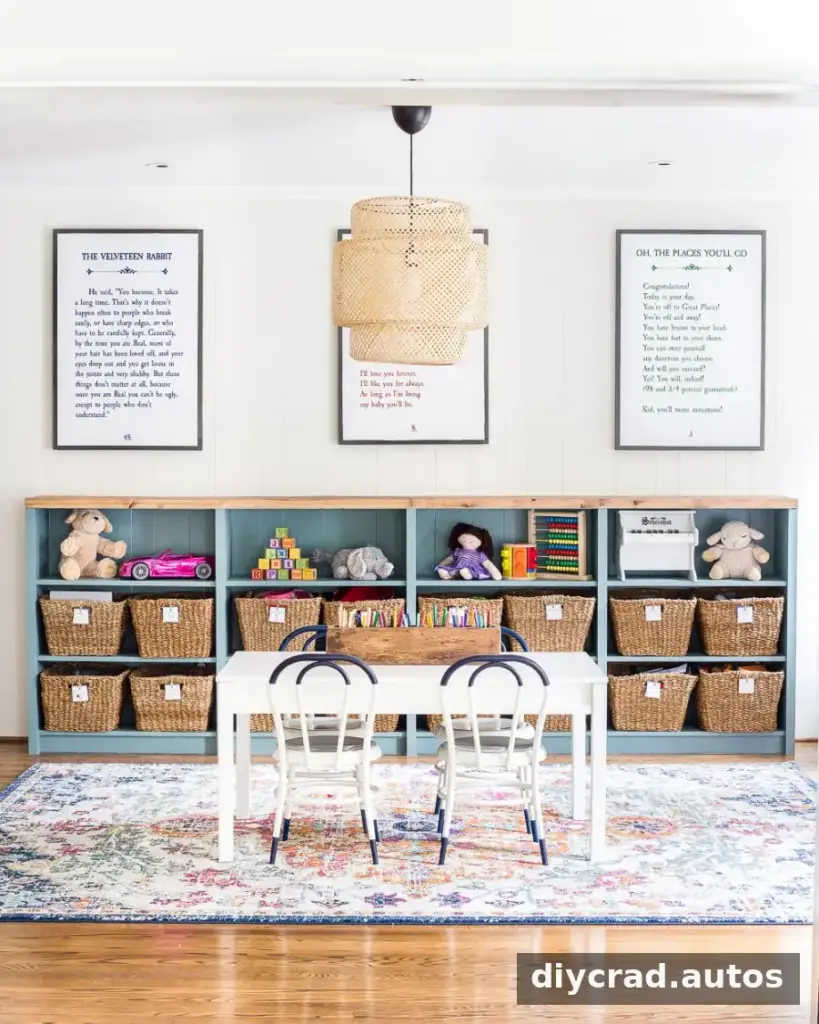
Half-height playroom shelves
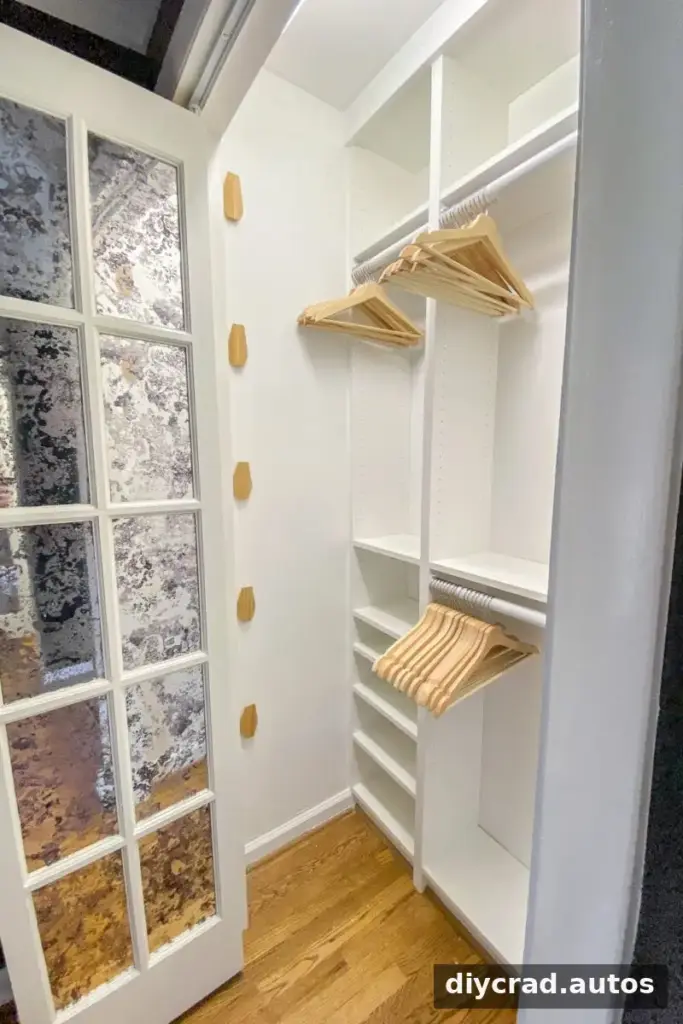
Closet built with Billy bookcases
Before choosing a configuration, consider whether you need open shelves, concealed storage, or a combination. Leave enough room for doors to open and for shelves to be adjusted if your storage needs may change.
Measure the Wall Before Buying
The project wall measured exactly 214 inches wide. The layout was planned to leave about 4 inches at each side for the boards used to finish and secure the bookcases. Measure your own wall at several points, since walls and corners may not be perfectly square, and use the narrowest measurement when planning the fit.
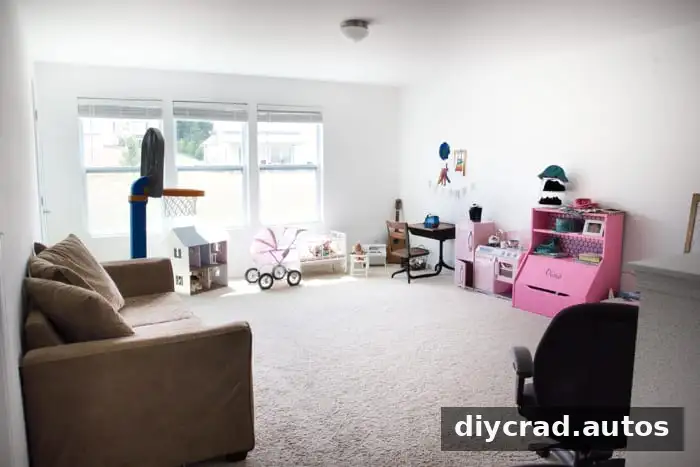
Billy bookcases are available in widths of 31 1/2 inches and 15 3/4 inches. For an initial estimate, the project recommends rounding up to the nearest inch and dividing the usable wall width by the selected bookcase widths. Allow at least 4 inches on each side for the anchor boards and finishing pieces, then check the full arrangement before purchasing.
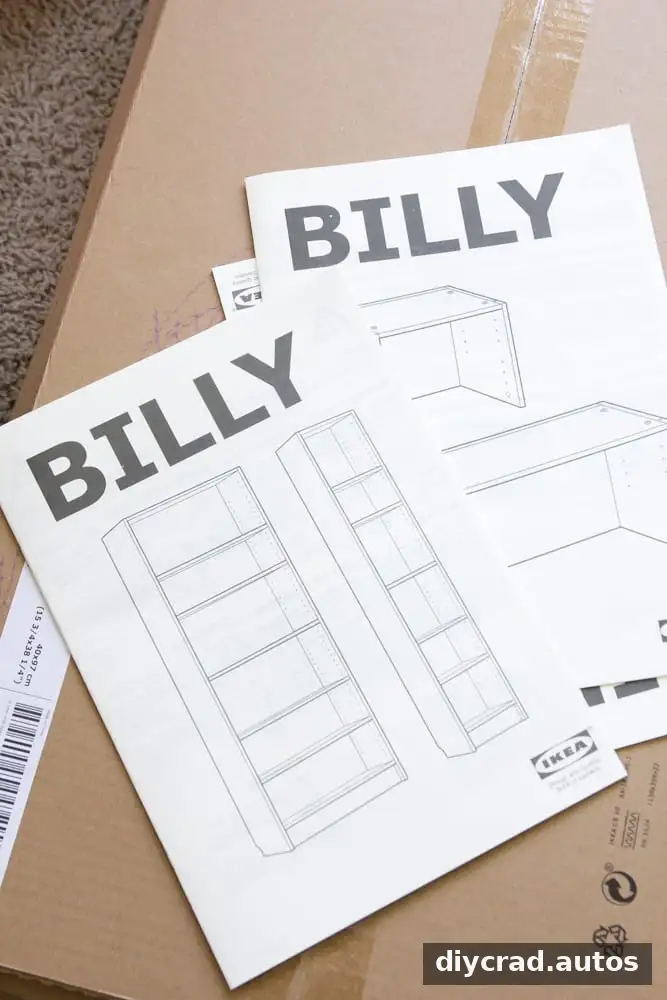
Also measure the ceiling height, baseboard depth, and any nearby outlets or switches. These details can affect where the units sit and how the trim must be cut.
Materials and Tools
The quantities below were used for the original 214-inch-wide project. Your requirements will vary with your wall dimensions and chosen layout.
- 4 32-inch-by-80-inch Billy bookcases
- 4 Billy bookcase height extenders
- 2 32-inch-by-42-inch Billy bookcases
- 1 16-inch-by-42-inch Billy bookcase
- 8 Oxberg doors
- 2 2x4x8 stud boards
- 2 1x6x8 pine boards
- 3 1x2x8 pine boards
- 2 1x4x8 pine boards
- 3 3.25-inch interior baseboards
- Circular saw and jigsaw
- Power drill, hammer, square tool, tape measure, and pencil
- 1.5-inch finishing nails and 1.5-inch wood screws
- Wood shims and white trim caulk
- Semigloss paint; Behr Ultra Pure White was reported as a close match for IKEA white
How to Make DIY IKEA Billy Bookcase Built-Ins
Assemble and position the bookcases
Assemble the bookcases according to their instructions. Arrange the sections along the wall, adjust the spacing, and check that the overall layout is centered before securing anything. Use the included anti-tip hardware and anchor the units to suitable wall framing as directed by the manufacturer.
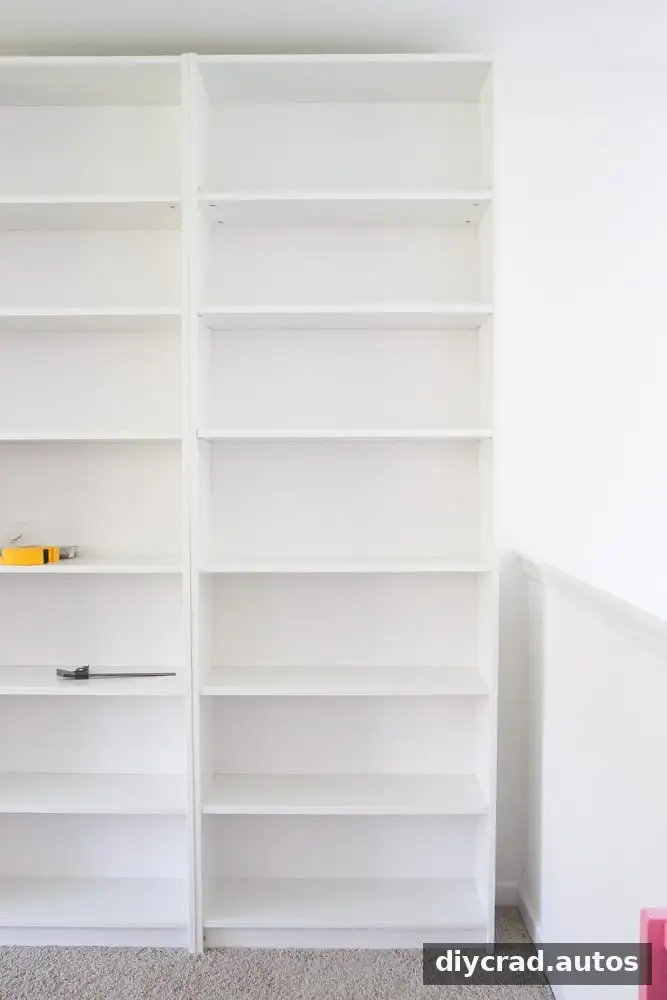
- Build out the sides. Where the bookcases meet a half wall, construct a frame from 2×4 boards and wood screws to provide a surface for the finishing boards. Secure the frame to the wall.
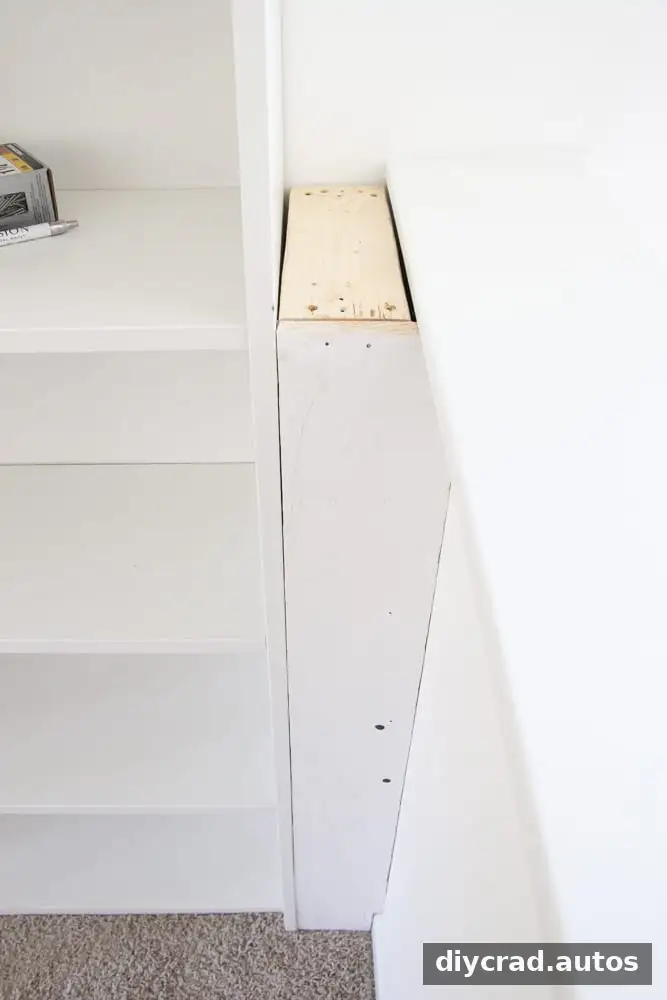
- Attach the side board. Measure the gap between the bookcase and wall, cut a pre-primed 1×6 to fit, and fasten it to the 2×4 frame with finishing nails. The bookcase can also be nailed to the frame.
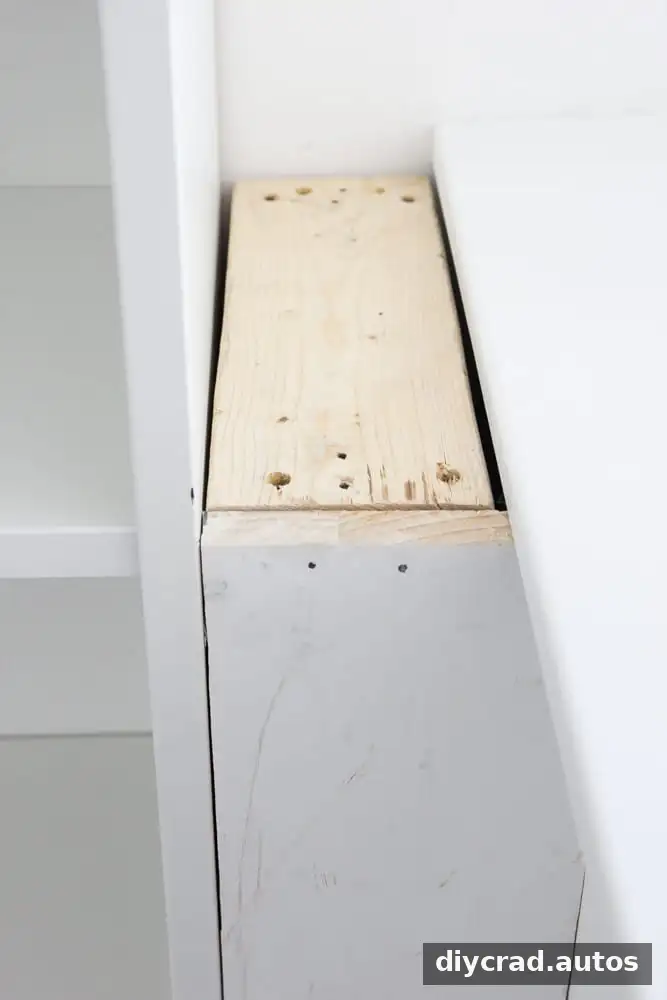
- Notch for the baseboard. Use a jigsaw to cut a notch in the 1×6 where the existing baseboard interferes. Measure the notch carefully; a small remaining gap can be filled later.
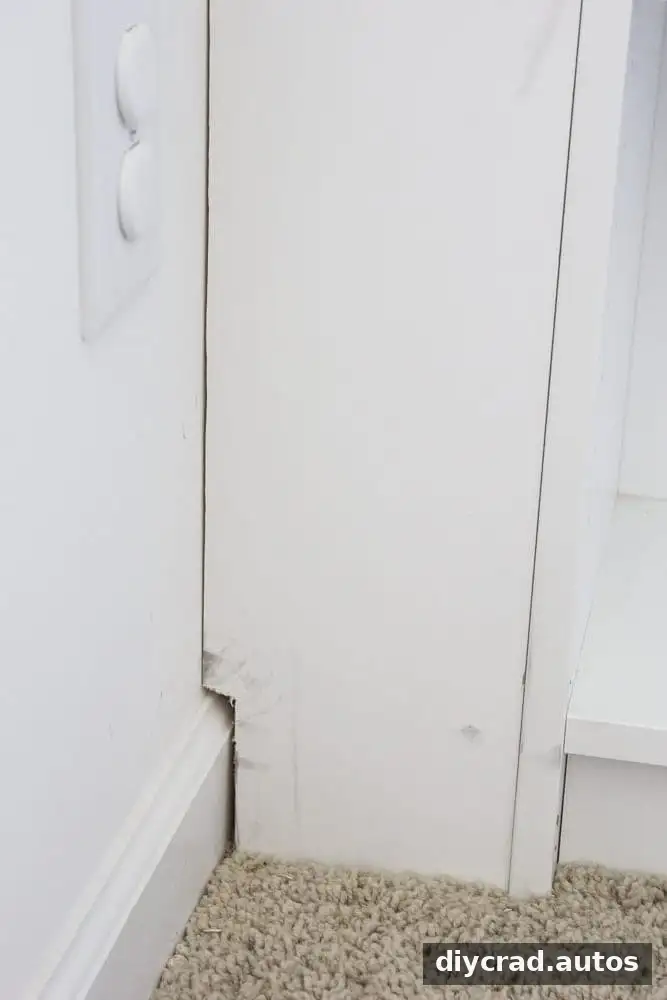
- Finish the half-wall side. Measure and cut another 1×6 piece to sit on top of the 2×4 frame. Position it so the finished surface lines up with the half wall, then secure it with finishing nails.
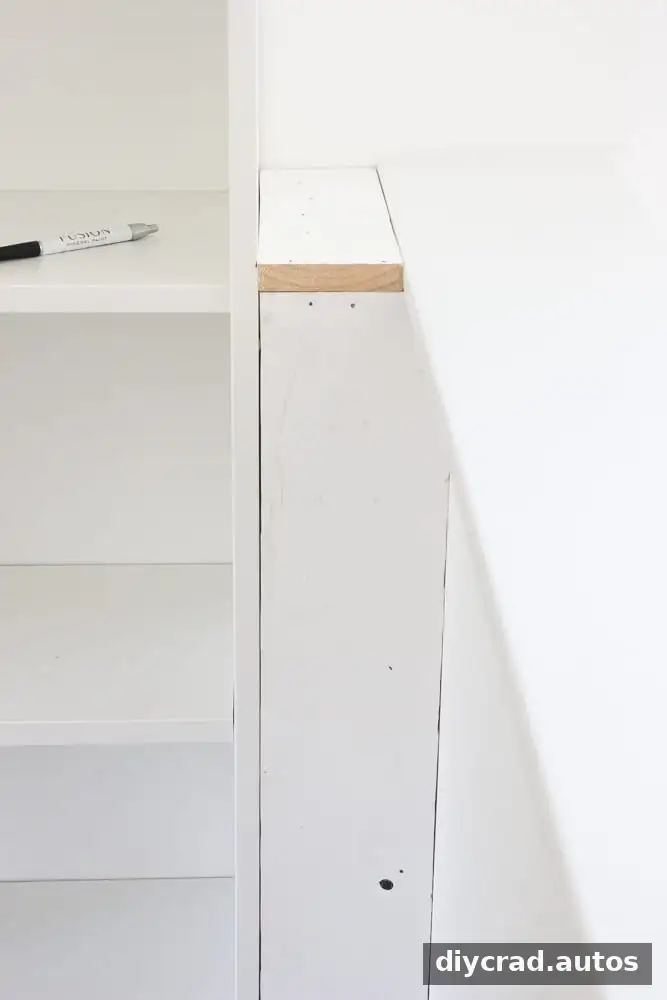
- Finish the opposite side. On the other side, attach a 2x4x8 board directly to the wall, then fasten a 1×6 over it with wood glue and nails. The 1×6 should sit flush with the bookcase; secure the bookcase to the board.
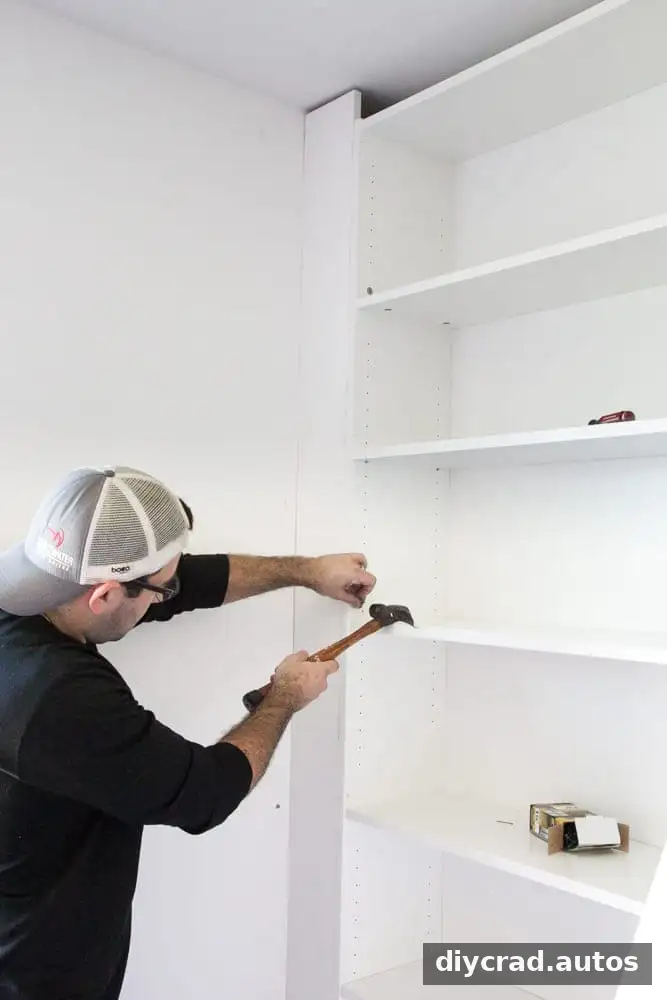
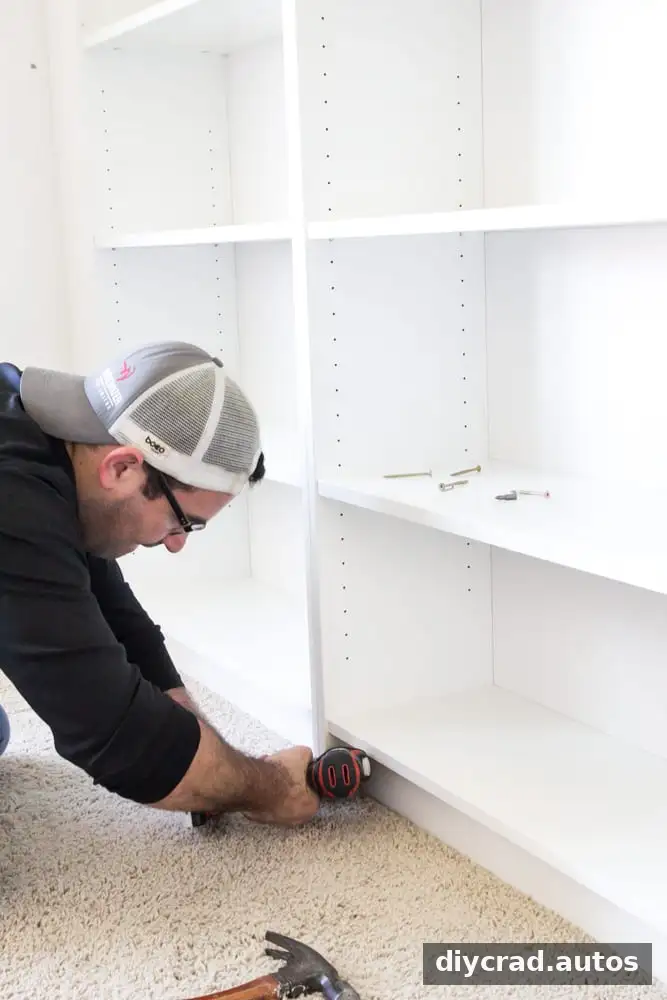
- Fasten the bookcases to the side boards. Add wood screws near the bases of the bookcases to reinforce their connection to the 1×6 boards.
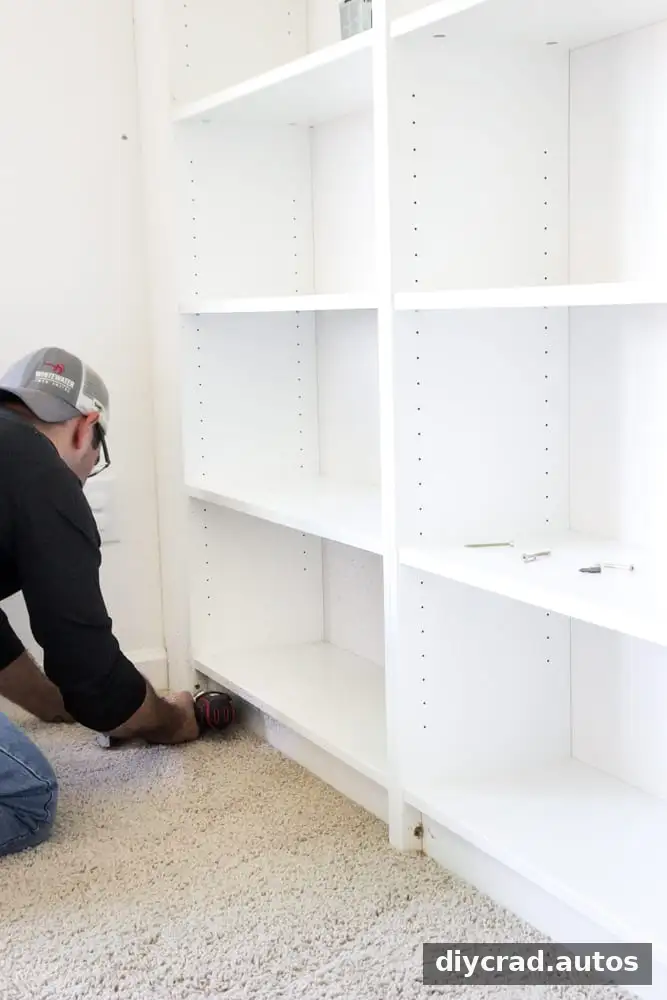
- Join neighboring units. Use wood screws near the base to connect the bookcases to one another. Check that the units remain aligned as you fasten them.
- Make a header. Create a header using a 1×2 and a 1×4 cut to match the depth of the bookcases. Screw the pieces together to form the top trim structure.
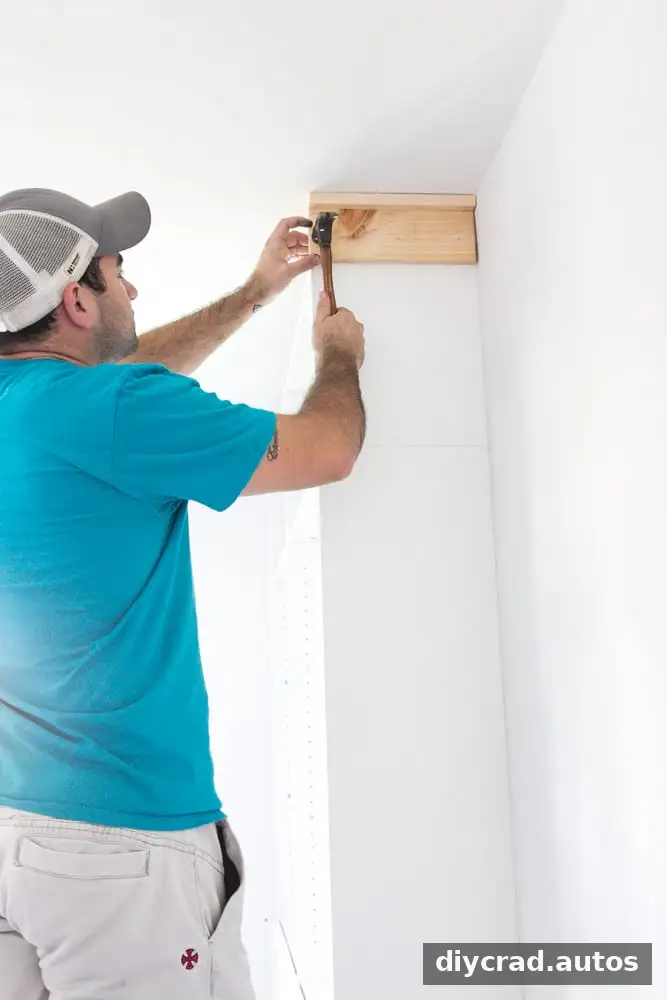
- Cover the ceiling gap. Position the header along the top outside edge of the bookcase and secure it with finishing nails. Measure the gap first so the trim covers it neatly.
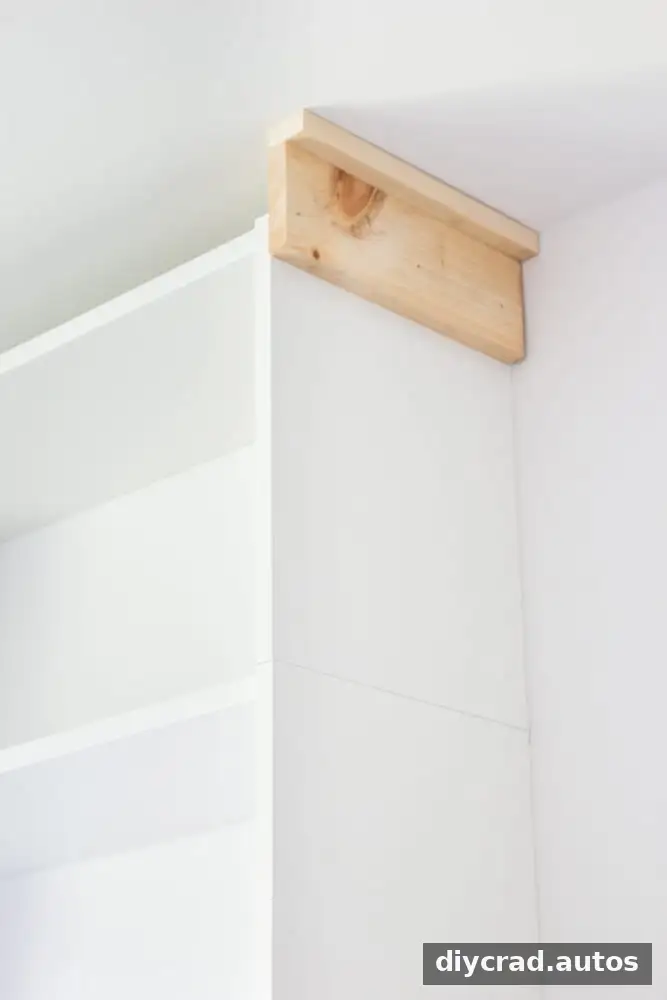
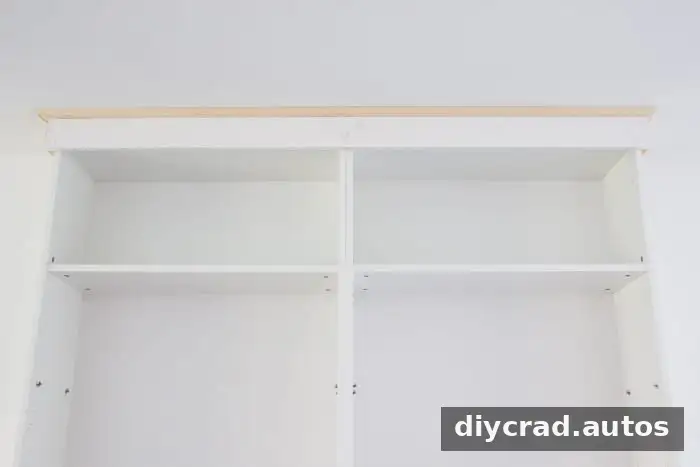
- Add molding if desired. A front trim piece can create a more traditional or Craftsman-inspired look. Crown molding is another option, but angled cuts may require a miter saw.
- Install Oxberg doors if desired. Attach the doors before fitting the baseboard so you can check clearance and make any necessary adjustments.
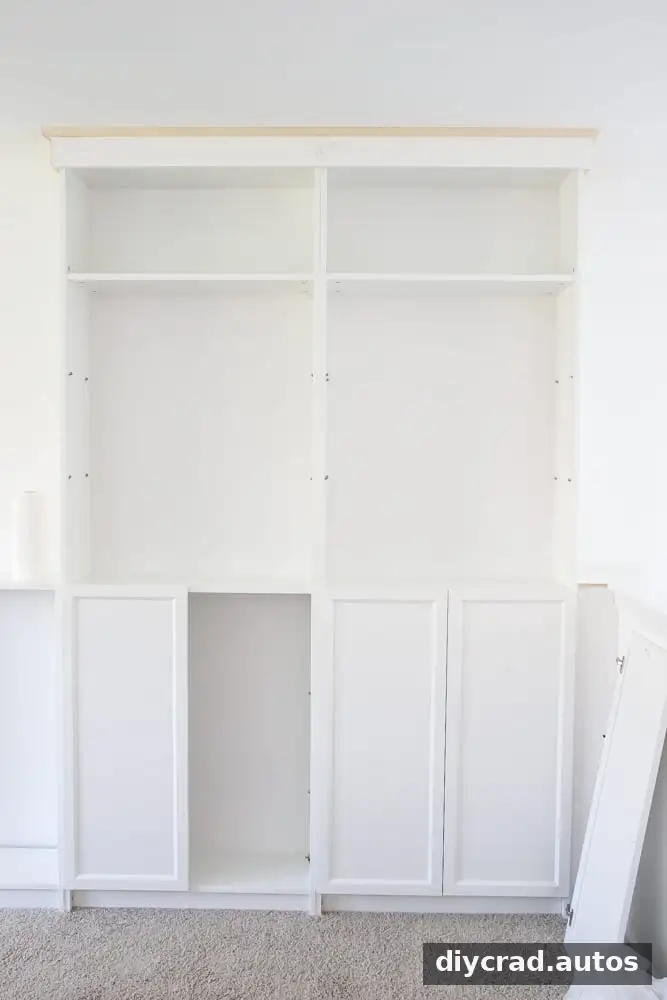
- Attach the baseboard. Fasten the baseboard along the bottom of the bookcases. In this project, about a quarter inch was trimmed from the baseboard to allow the doors to close. Check door movement before finalizing the cut.
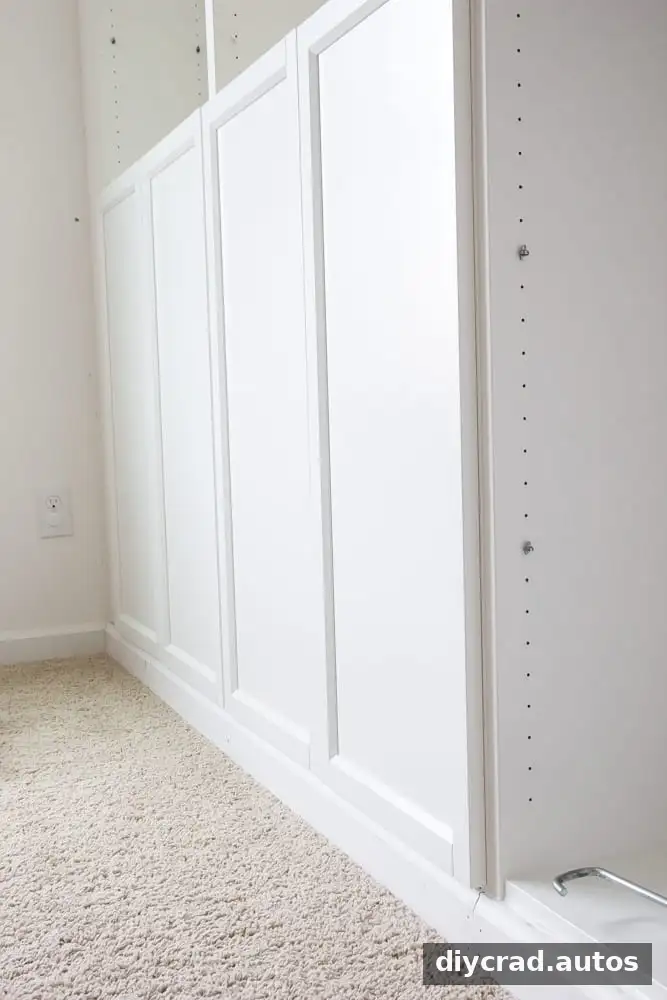
- Fill larger gaps with shims. Wood shims were placed between the bookcase base and baseboard where gaps remained. Trim excess material carefully.
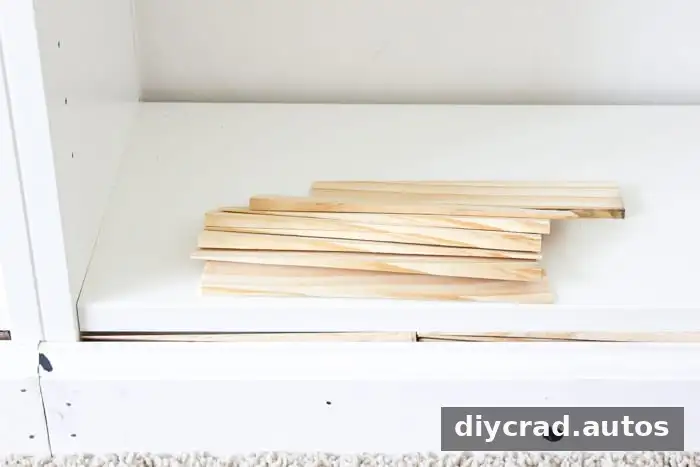
- Caulk and fill as needed. Apply caulk to small seams and use wood filler for nail holes or other imperfections. Shelf-pin holes can be left open if you may want to adjust shelf heights later. Let the products dry according to their instructions.
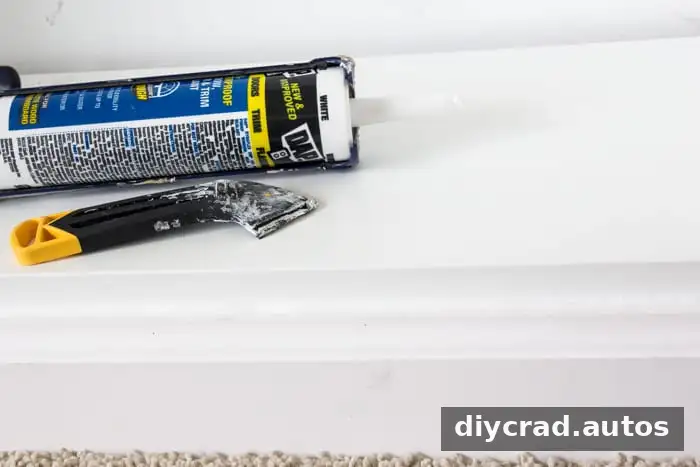
- Paint the trim and repaired areas. Once the caulk is dry, paint the caulk lines, filled spots, and added boards with semigloss paint. Test the color in an inconspicuous area; a paint match may vary with lighting and product batches.
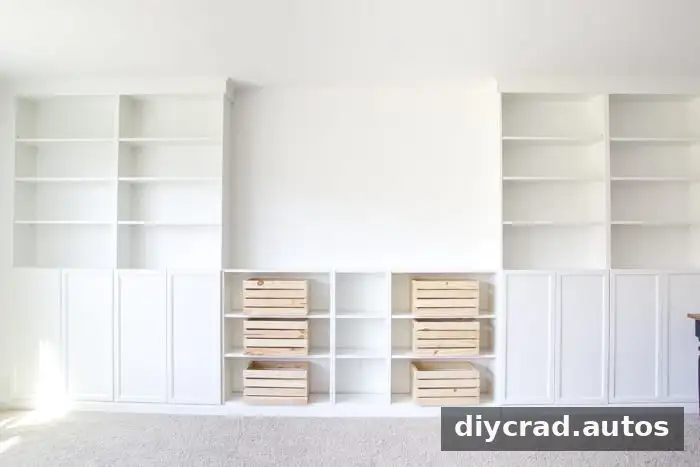
The Finished Built-In Shelving
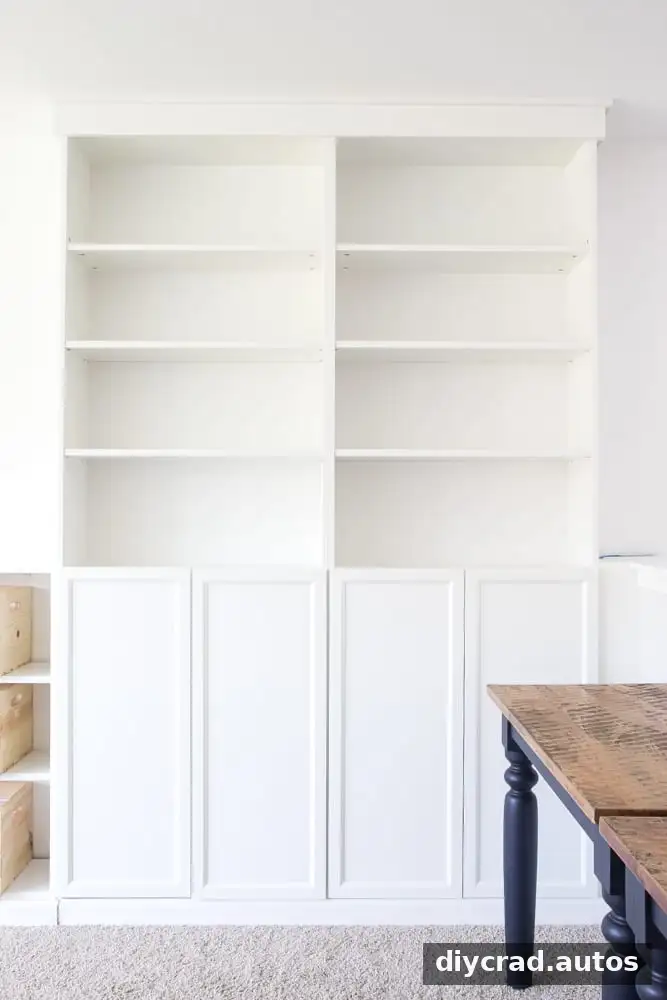
The completed wall provides a mix of display shelves and lower cabinet storage. Before loading the shelves, confirm that the bookcases and trim are firmly secured and that any doors open and close without catching. Keep heavier items on lower shelves and avoid exceeding the product’s stated weight limits.
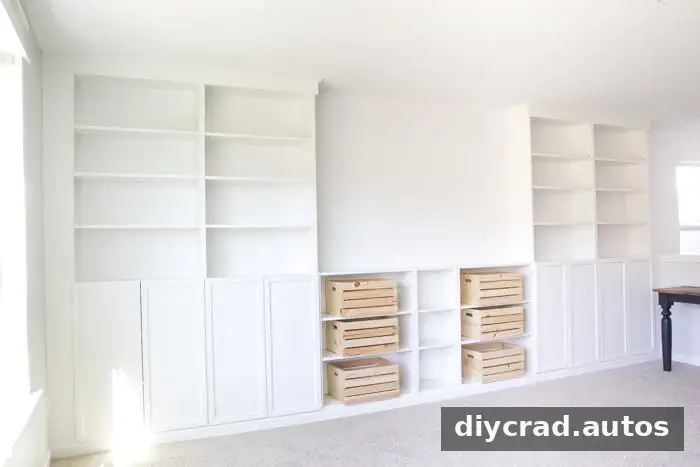
Careful measurement, anchoring, and finishing details are what help separate a row of bookcases from a cohesive built-in look. This approach can be adapted to many rooms, but the materials and cuts should always be planned around the specific wall and bookcase arrangement.
Frequently Asked Questions
What paint color matches IKEA white shelves and furniture?
Behr Ultra Pure White was reported as a close match for IKEA white in this project, but paint colors can look different depending on the finish, lighting, and product batch. For a closer comparison, take a removable shelf or drawer front to a paint store for color matching and test the result before painting the trim.
How can power cords be routed through built-ins used as an entertainment center?
A hole saw bit on a power drill can make an opening for cords where needed. Check the location carefully before drilling so you do not cut into wiring or other hidden services. If cords remain visible, cord covers can help organize and conceal them. Keep electrical connections accessible and follow applicable safety guidance.
Can this project be adapted to a different wall?
Yes. Recalculate the number and width of the bookcases, leave room for side boards and trim, and account for ceiling height, baseboards, and door clearance. The original 214-inch wall and listed material quantities are specific to that layout, not a universal cut list.