

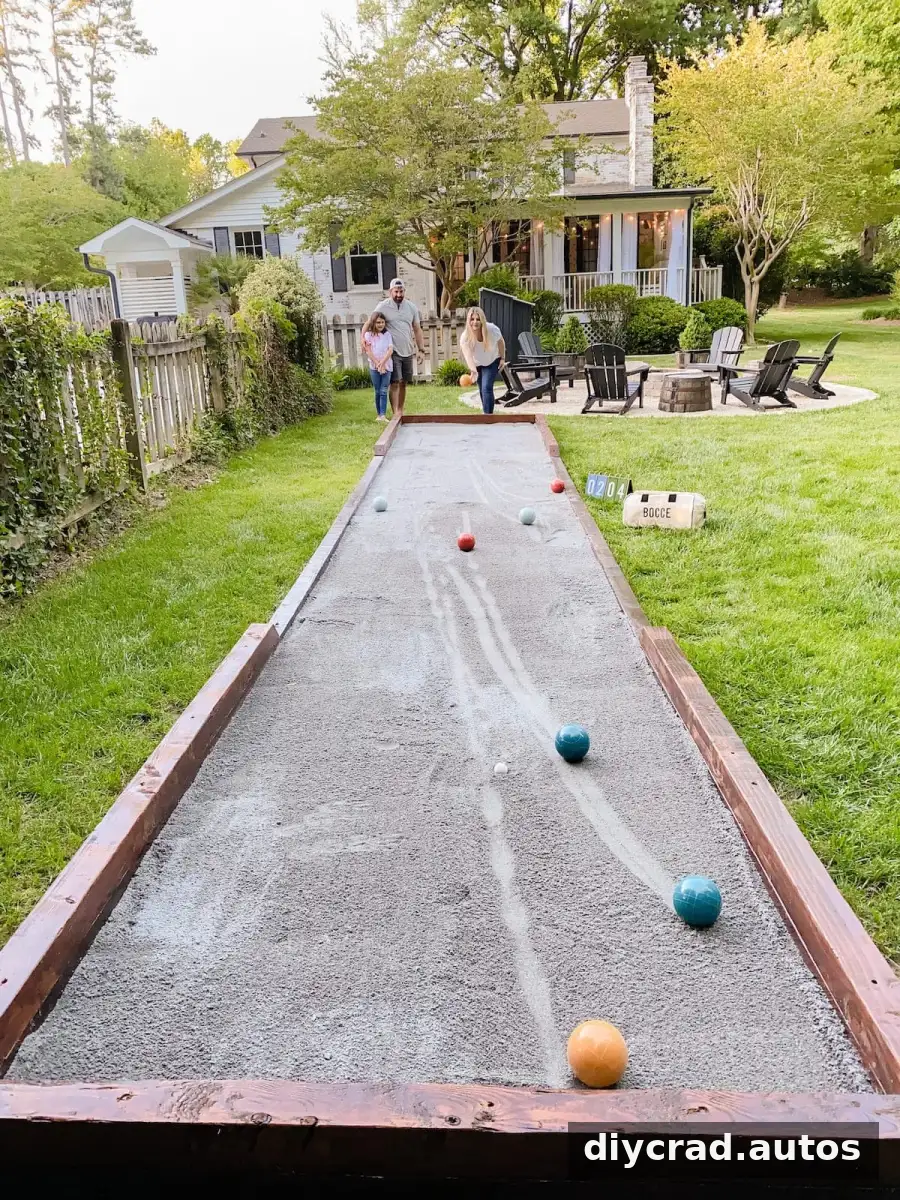
A DIY bocce ball court can turn an unused backyard area into a welcoming place for outdoor games and gatherings. This project uses a timber frame, a compacted paver-base layer, and a playing surface of decomposed granite or a similar material. The original build took about 14 hours, not including drying time, and can also be adapted for horseshoes.
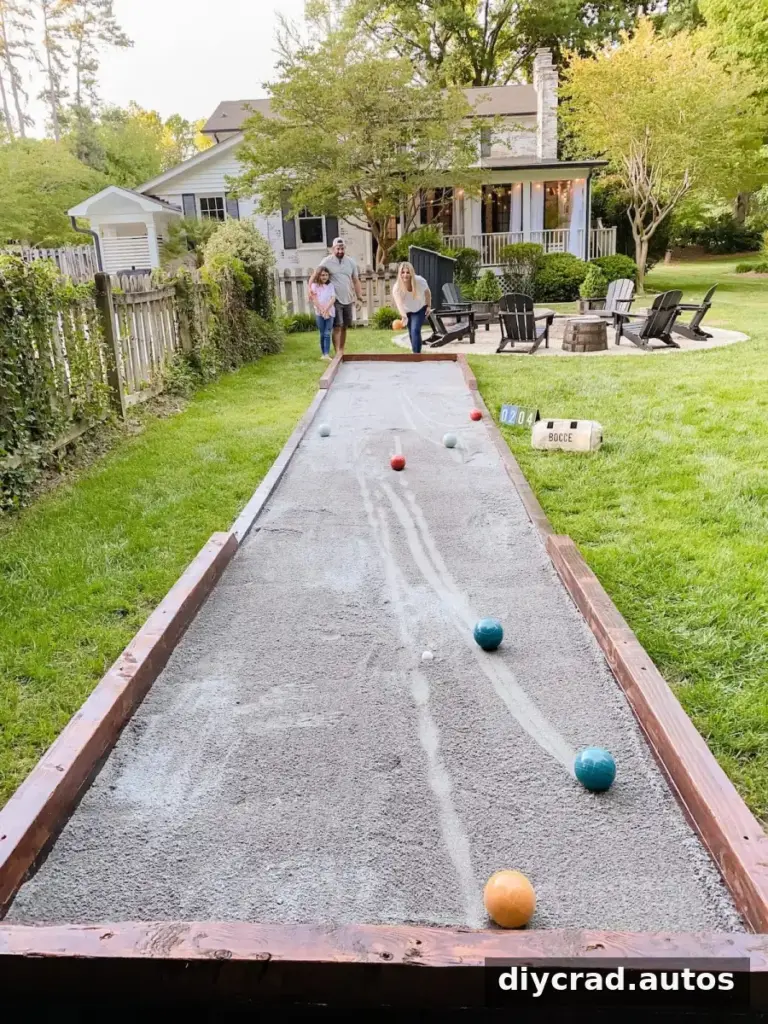
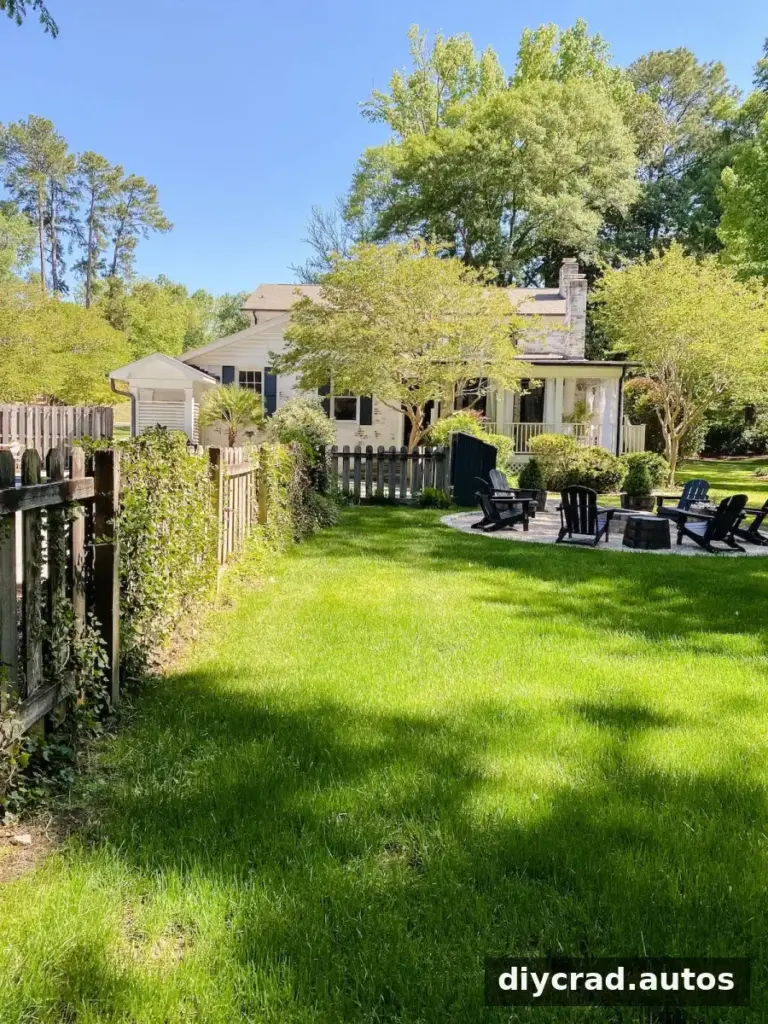
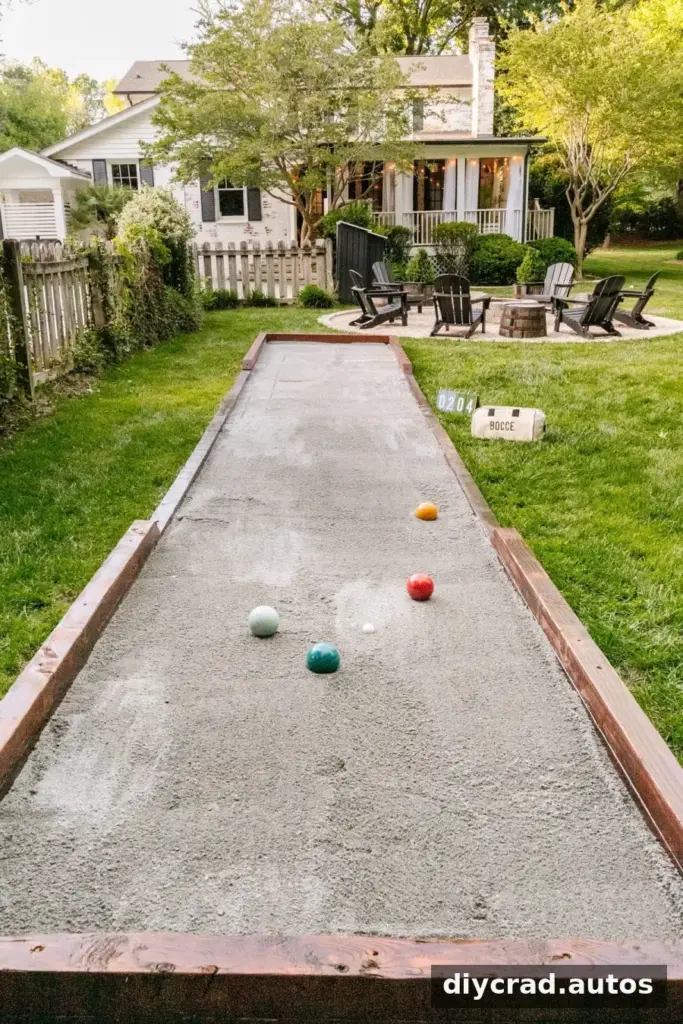
Before starting, choose a mostly level spot with good drainage and enough space for the court. A location beside a patio or fire pit can make the area convenient for guests, while a narrow side yard may also work well. Plan the layout so it does not obstruct regular foot traffic.
Planning a DIY Bocce Ball Court
Check the ground for slopes and places where water collects. A well-drained site helps the playing surface remain usable; if drainage is already a problem, consider addressing it before construction. A French drain may be an option where appropriate.
- Choose a size: The United States Bocce Federation and Bocce Builders of America figures cited for a regulation court are 86.92 feet long by 13.12 feet wide. The example court in this project was approximately one-third of regulation size.
- Mark the location: Leave room around the playing area to move and retrieve balls.
- Consider the surface: This build uses natural materials rather than artificial turf. Surface options depend on local availability.
Measure the site before buying materials. The listed paver base is intended to cover a 5-foot by 32-foot area at a depth of 1 1/2 inches, so adjust quantities if your planned court differs.
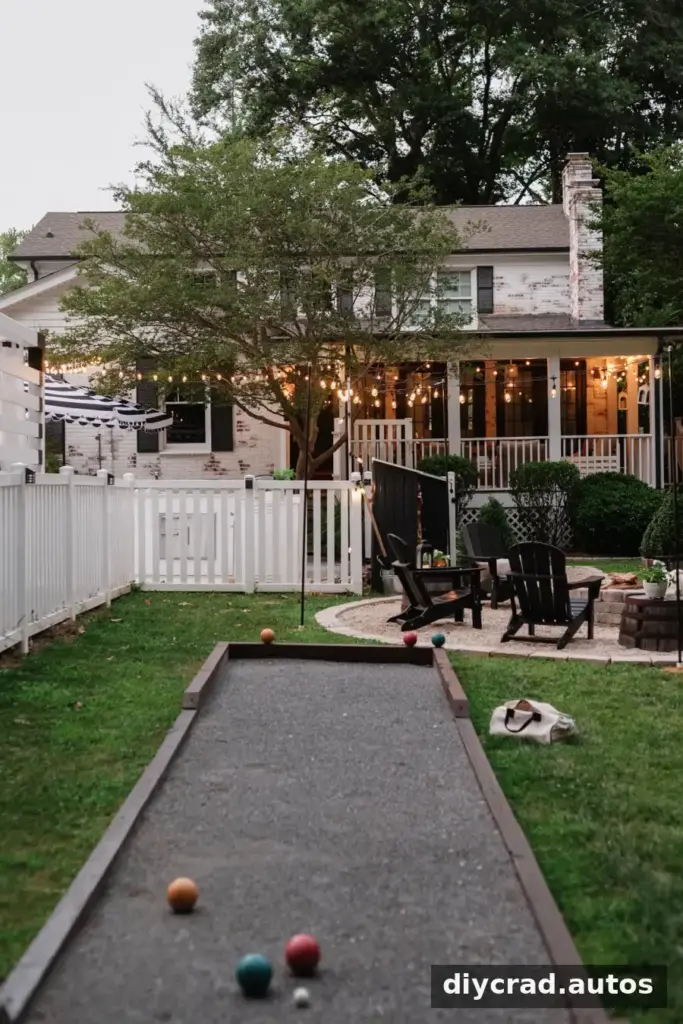
Materials and Tools for the Court
Most supplies can be sourced from a hardware store or landscape supplier. The reported total cost for the materials in this project was $660; actual prices can vary by location and over time.
Tools
- Edger and cultivator or tiller
- Drill with bits
- Miter saw
- Hammer and mallet
- Scissors or utility knife
- Wheelbarrow, shovels, and rake
- Tamper
- Safety equipment, including gloves and safety glasses
Supplies
- 16 boards measuring 4x4x8
- Waterproofing deck stain and stain brushes
- Tape measure, flag markers, string, and light-colored spray paint
- Weed-barrier fabric and landscaping staples
- 1/2-inch by 1-foot rebar
- #14 4 3/4-inch wood screws
- Paver base for a 5-foot by 32-foot area at 1 1/2 inches deep
- Decomposed granite, preferably, or screen washing for a 2-inch layer
- A 2×4 board cut slightly shorter than 5 feet
- Crushed oyster shell, optional
Wear suitable protective equipment when cutting, digging, or operating power tools. Follow each tool’s safety instructions, and keep the work area clear while assembling the frame.
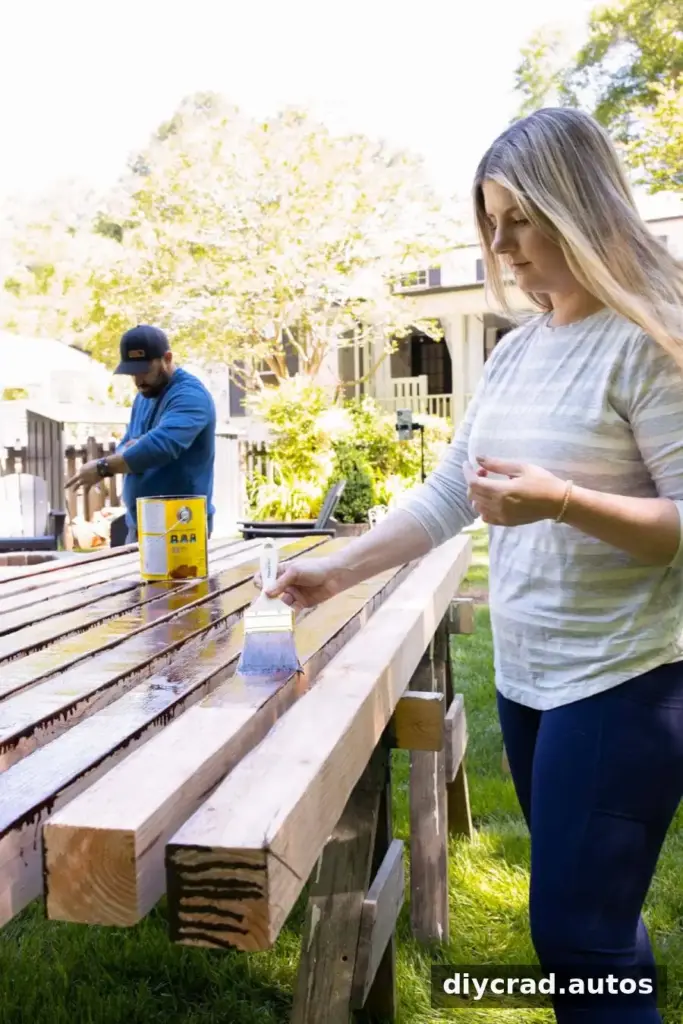
How to Build a DIY Bocce Ball Court
1. Stain the boards and mark the layout
Apply a couple of coats of waterproofing stain to all sides of the boards that will form the border. Let them dry according to the product directions. While they dry, measure the planned court, place flag markers, and use string to outline the perimeter. Mark the outline with light-colored spray paint.
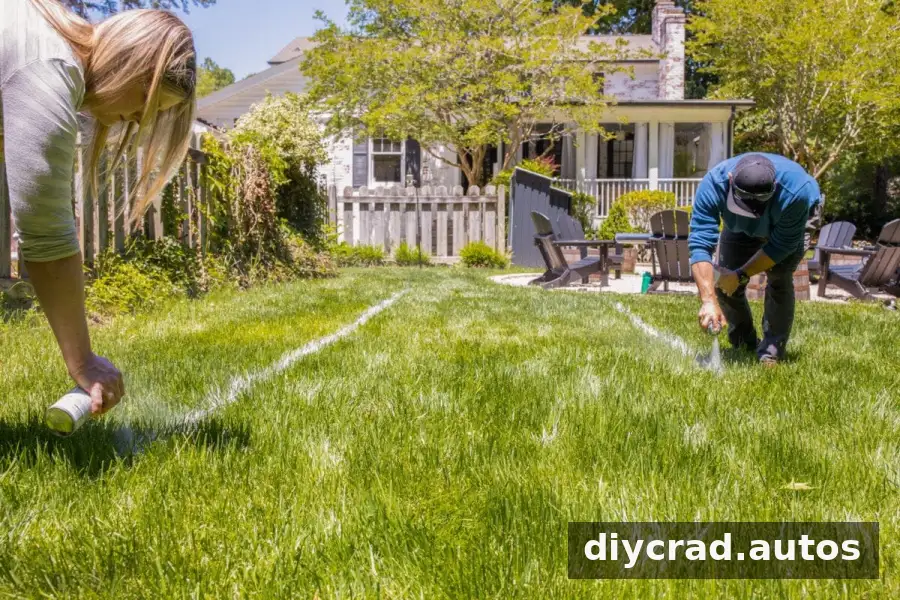
2. Cut the perimeter and clear the ground
Use an edger to cut along the marked lines. Inside the outline, loosen and remove the grass and approximately 1 to 2 inches of soil. Work across the full area, then haul away loose vegetation and soil so the base can be laid on a clean surface.
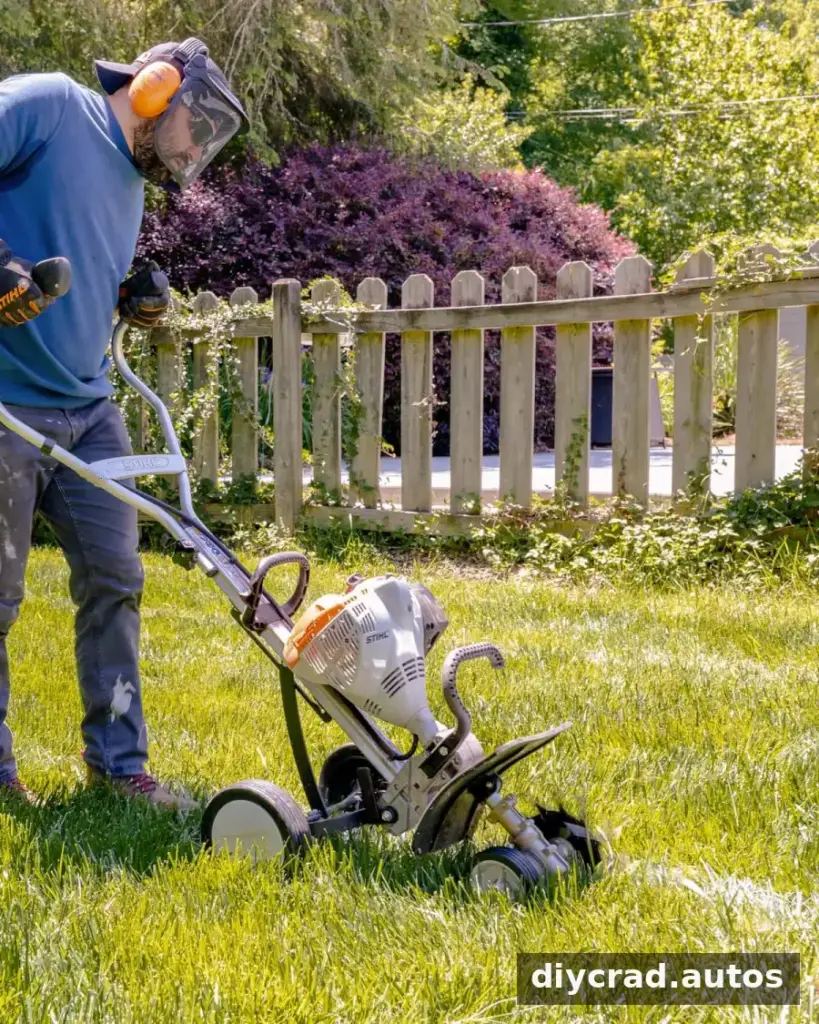
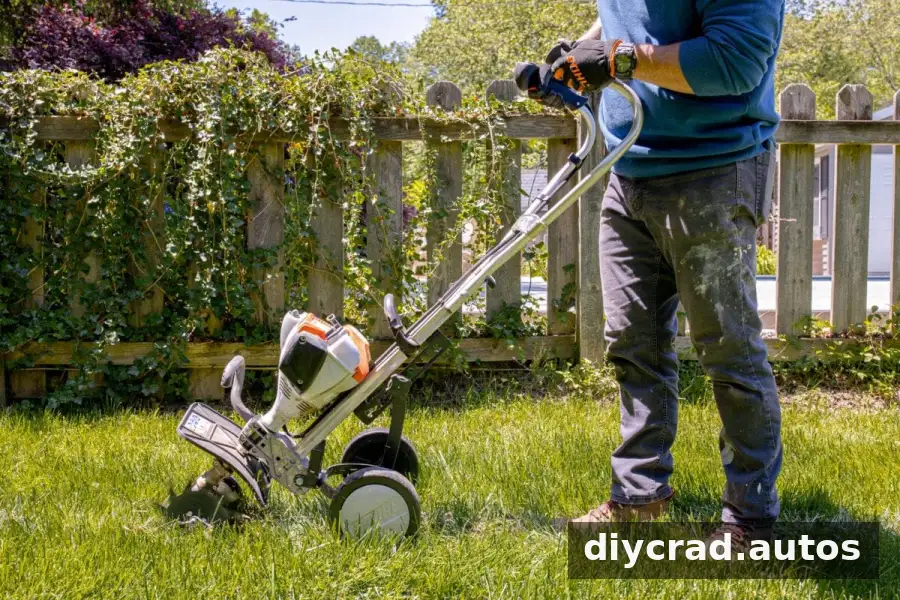
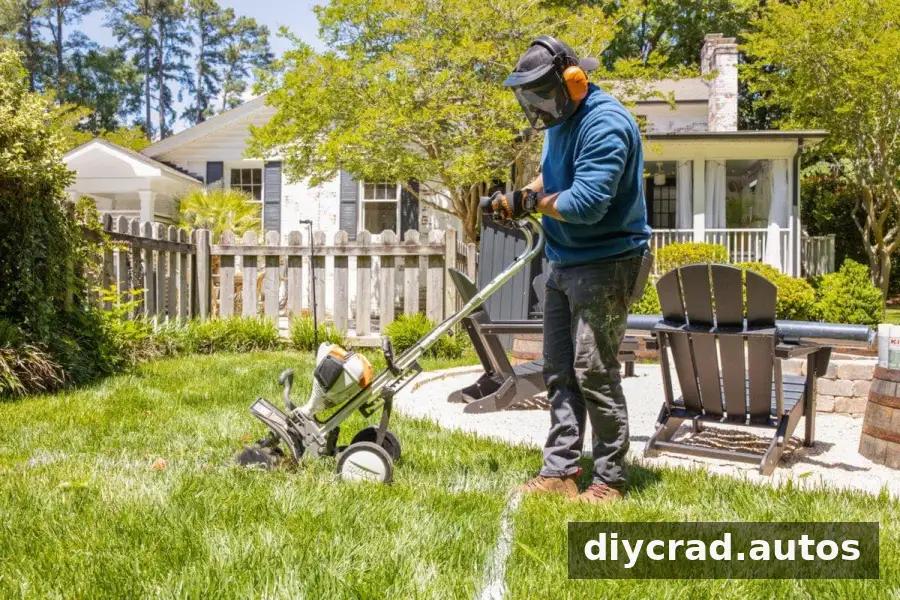
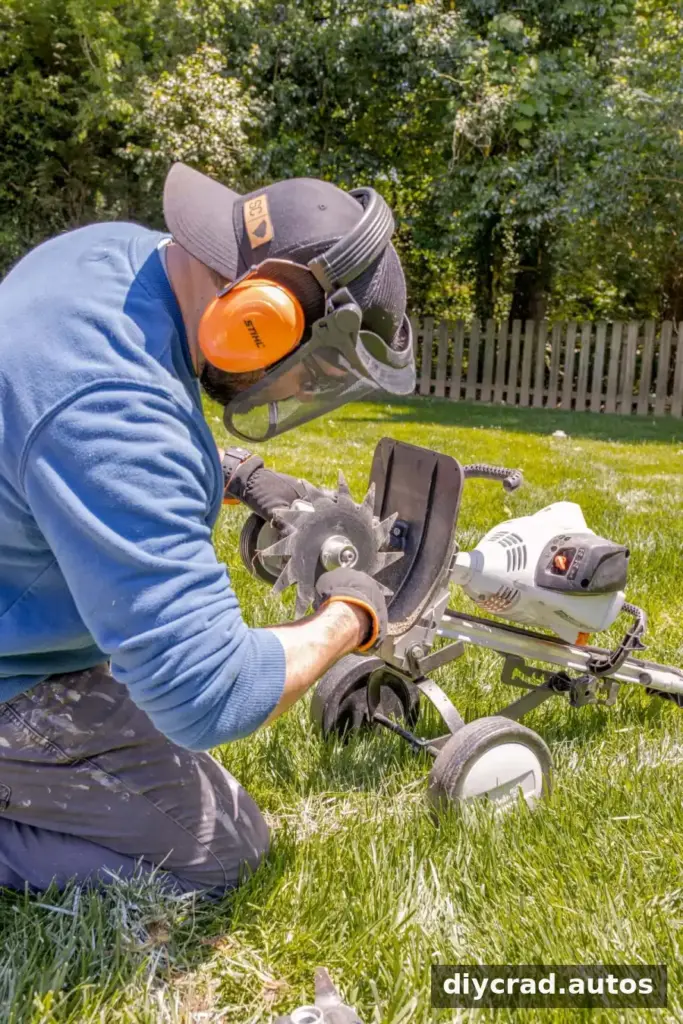
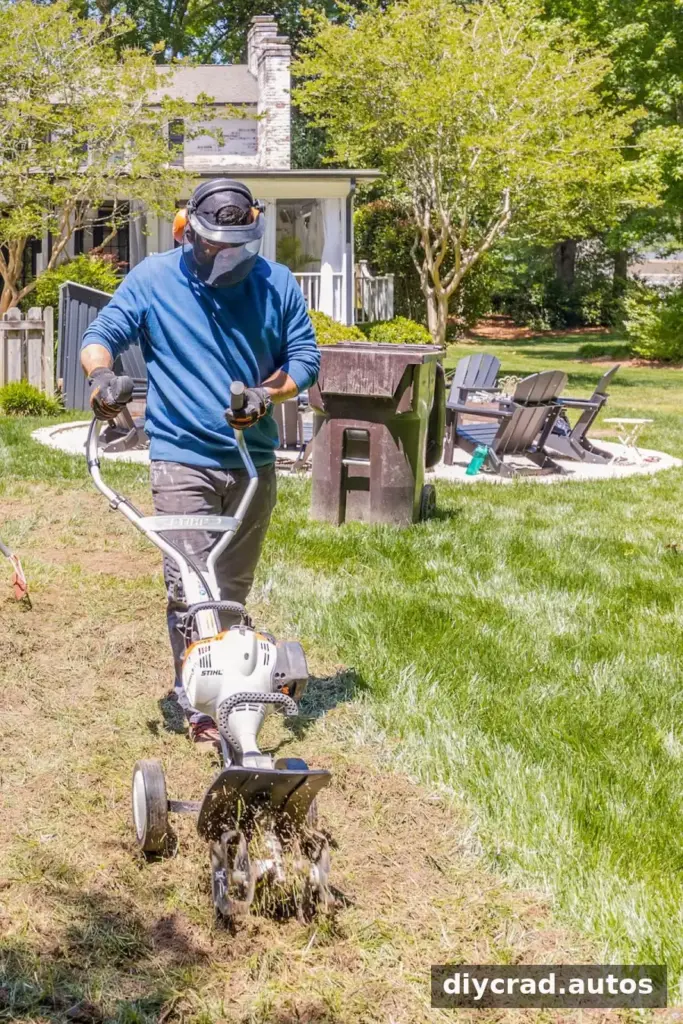
Continue removing the top layer until the playing area is prepared evenly. Check for remaining roots or soft patches, since these can affect how consistently the surface settles.
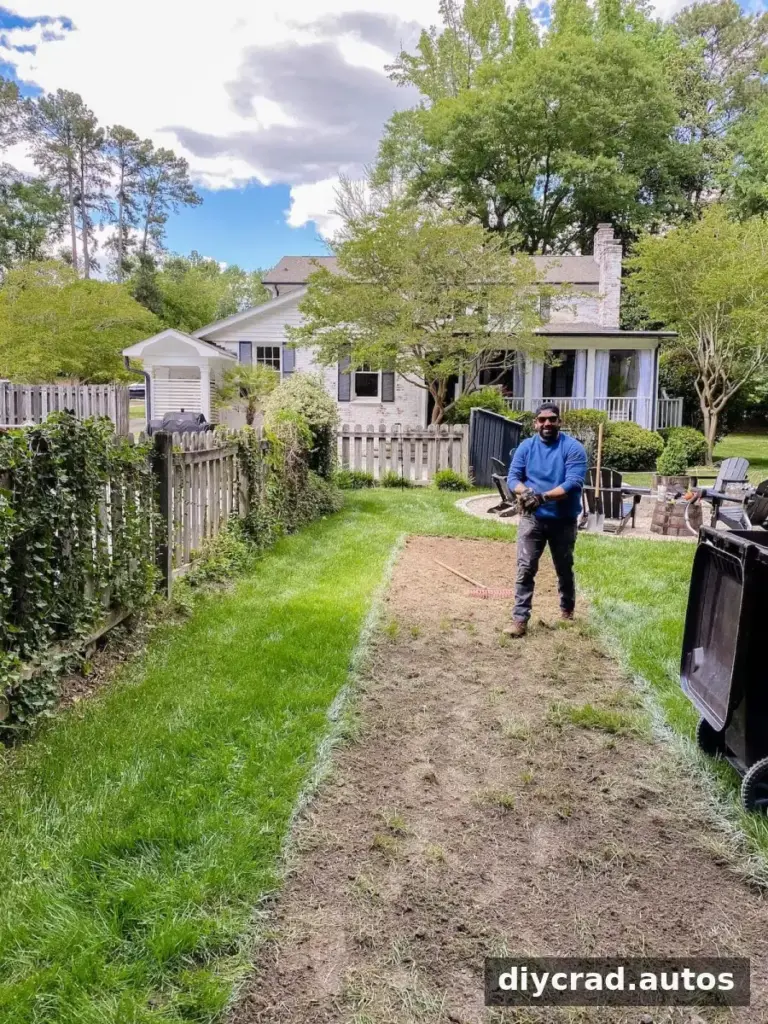
3. Install the weed barrier
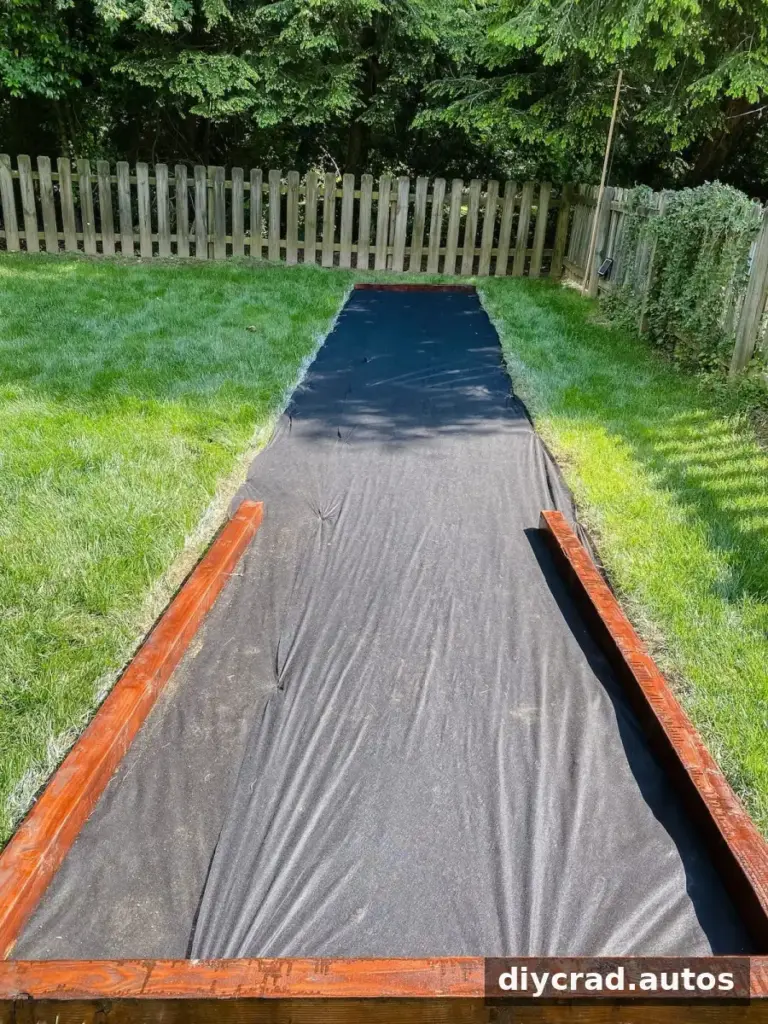
Roll out the weed-barrier fabric over the cleared ground, trim it to fit, and secure it with landscaping staples. Overlapping fabric edges can help cover the prepared area. Scrap cardboard is another material mentioned for placing beneath the fabric, but ensure the ground is clear and the barrier lies flat.
4. Assemble and anchor the wooden frame
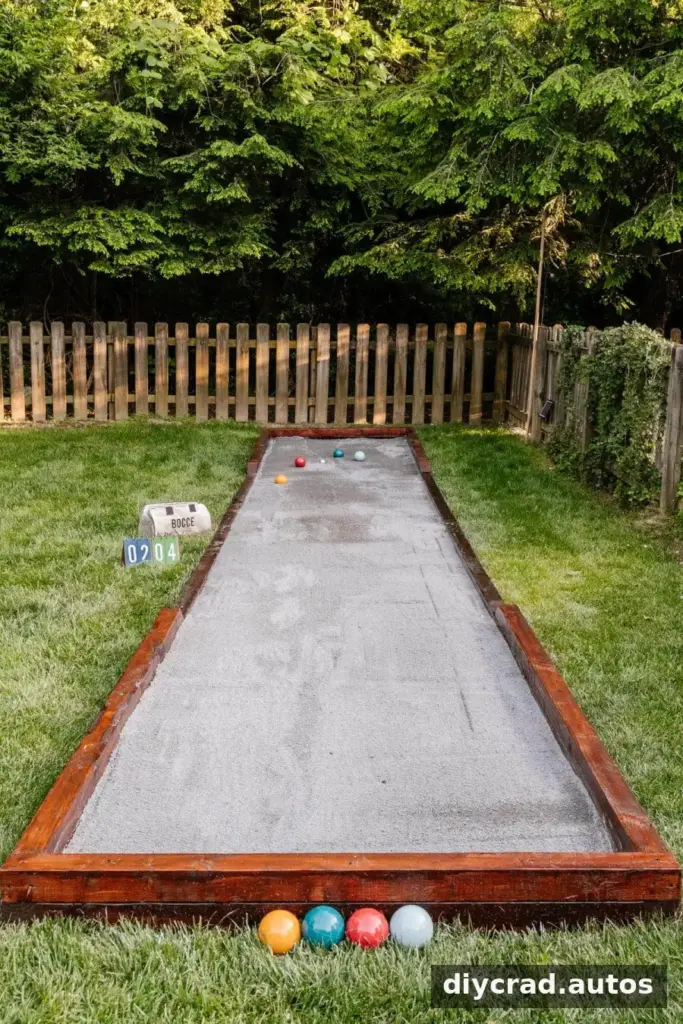
Cut the stained boards to fit the court perimeter and assemble the first frame. Fasten the corners with the specified wood screws, then secure adjoining boards along the sides. Add a second layer of boards on top. If desired, angle-cut the ends of four boards to create an entryway.
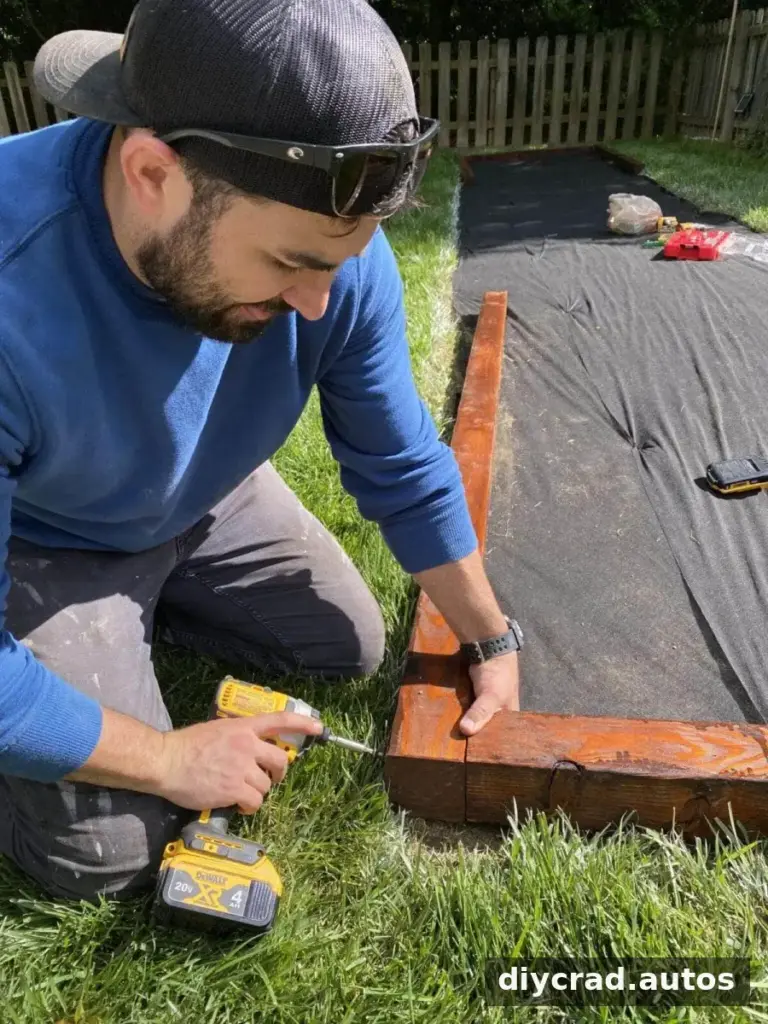
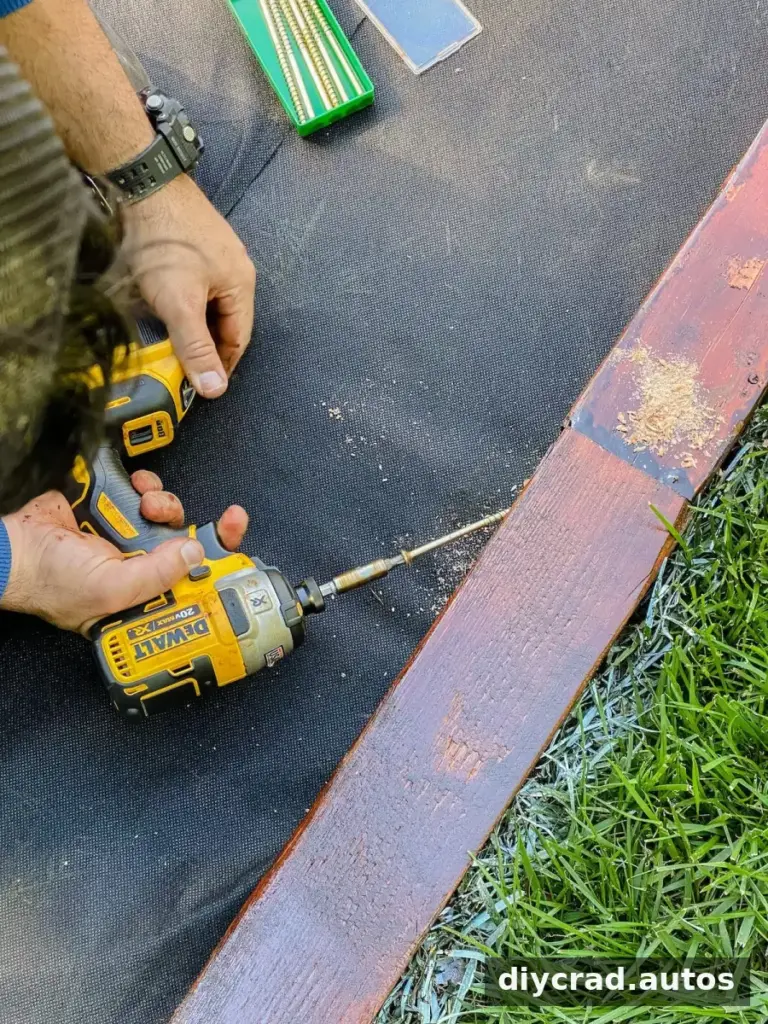
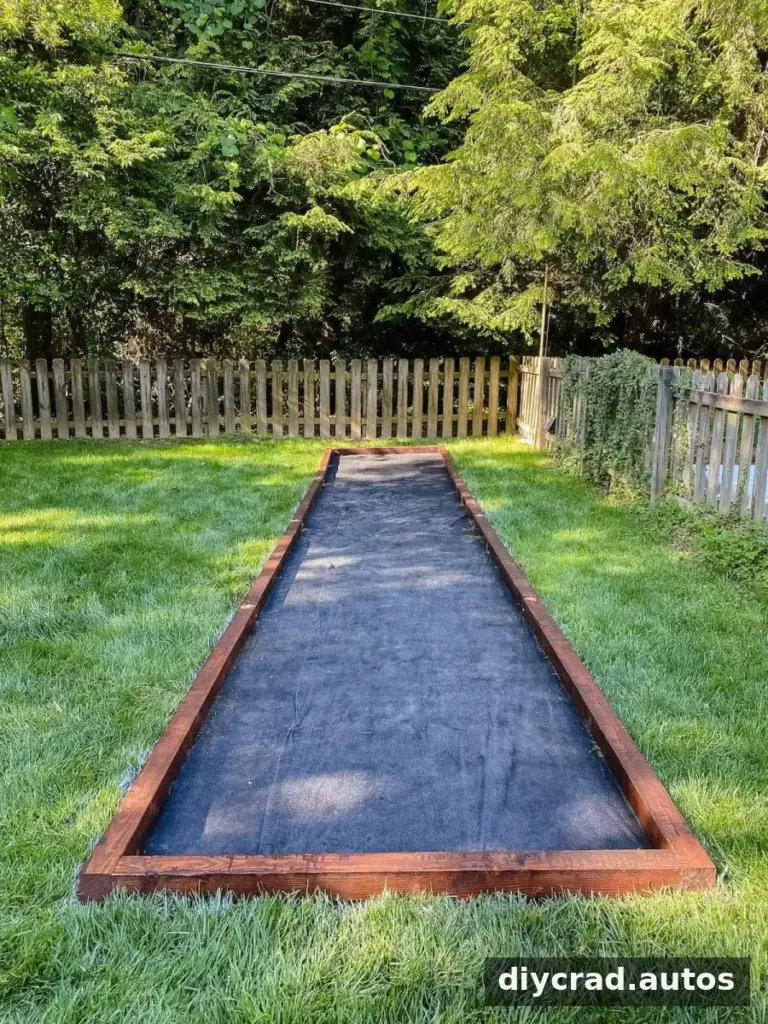
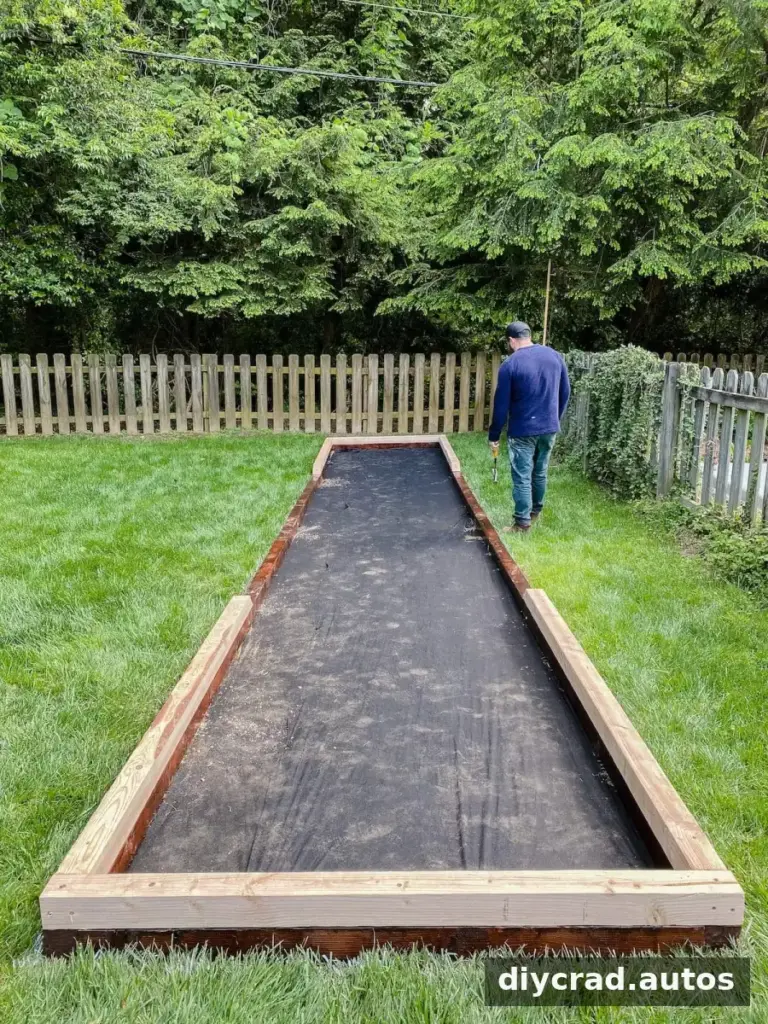
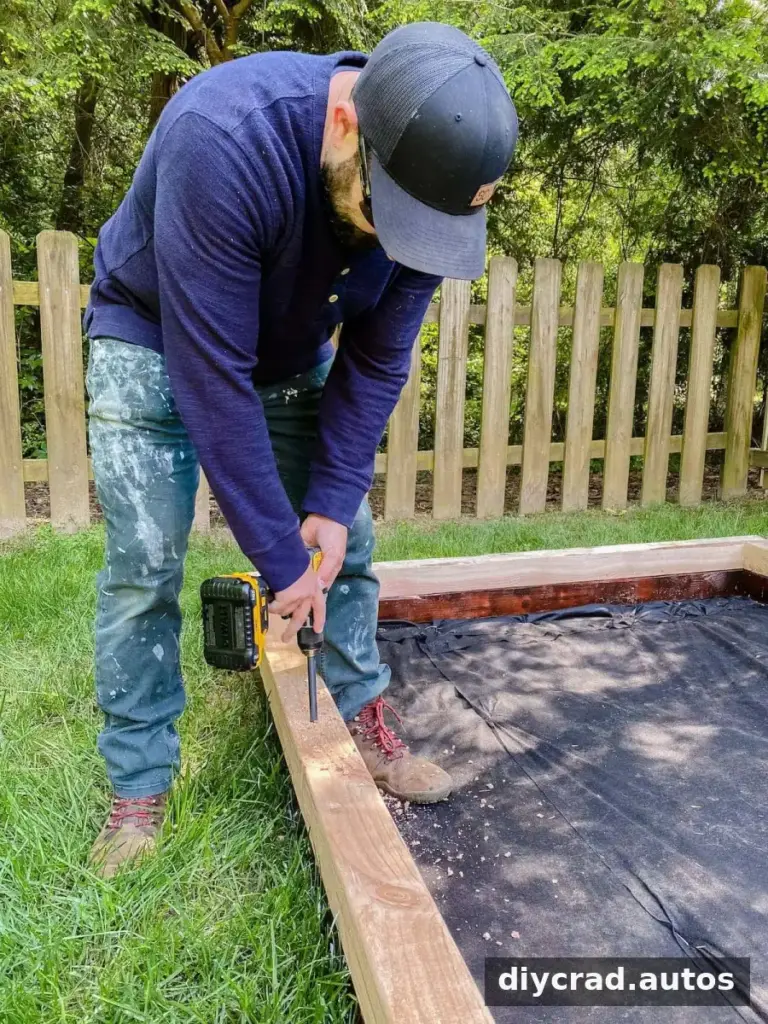
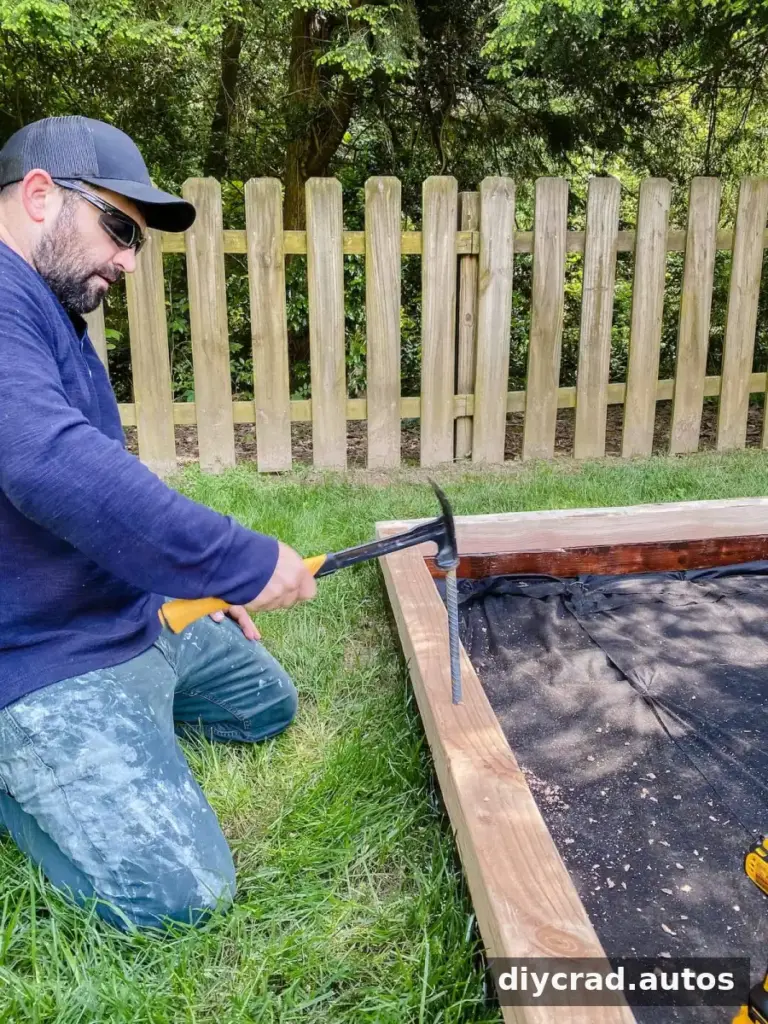
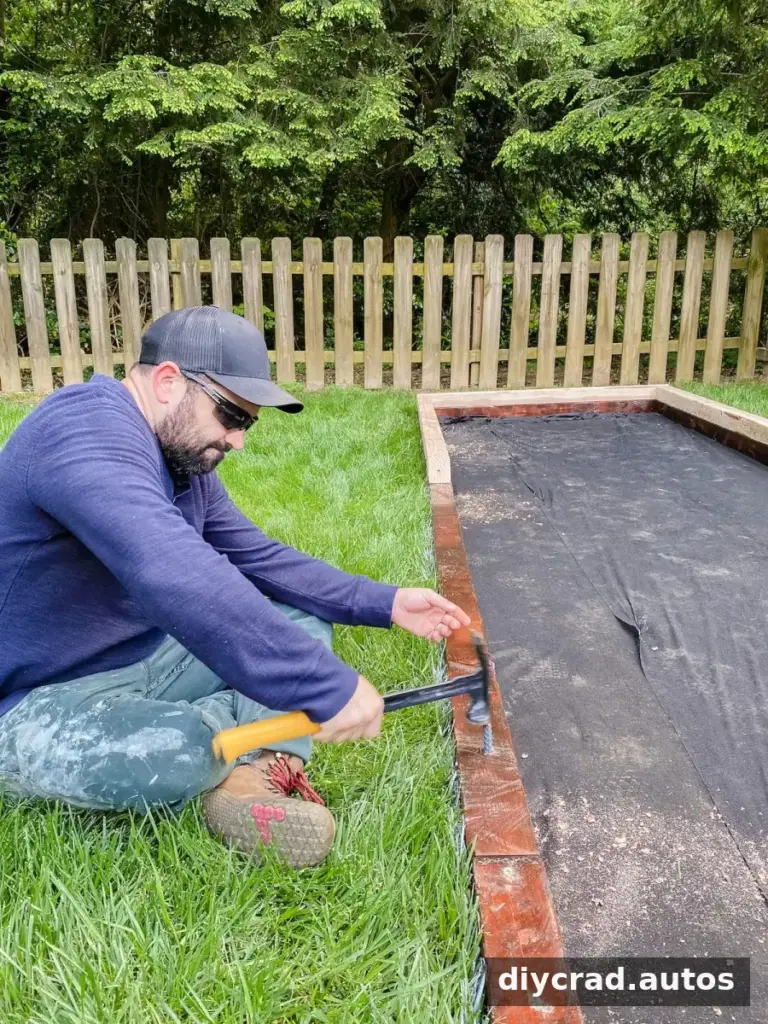
To hold the frame in place, drill pilot holes through the top and drive rebar into the ground. Repeat around the perimeter until the frame feels secure. Touch up any cut or exposed wood with waterproofing stain, and allow it to dry before adding the court fill.
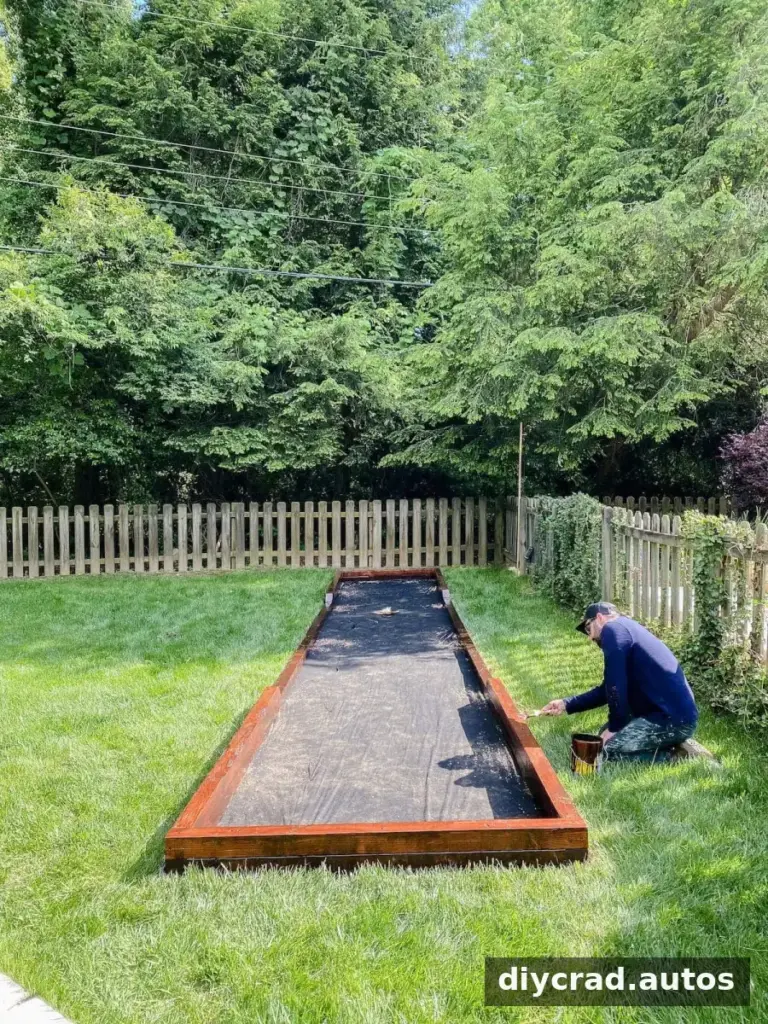
5. Add and level the playing surface
Spread the paver base evenly across the court in a 2- to 3-inch layer and compact it with a tamper. The materials list specifies enough base for a 1 1/2-inch depth over a 5-foot by 32-foot area, so confirm your intended depth and area before ordering.
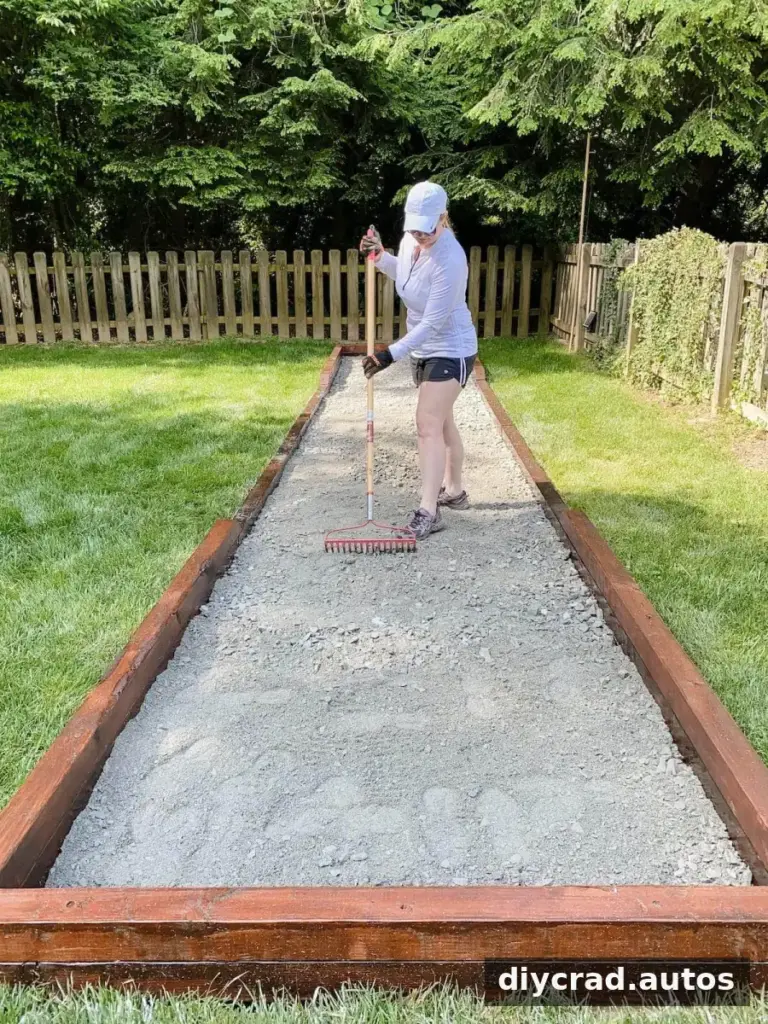
Spread decomposed granite in an even 2- to 3-inch layer and tamp it down. Screen washing was used as an alternative when decomposed granite was unavailable. Materials can settle over time, so compact the surface carefully during construction.
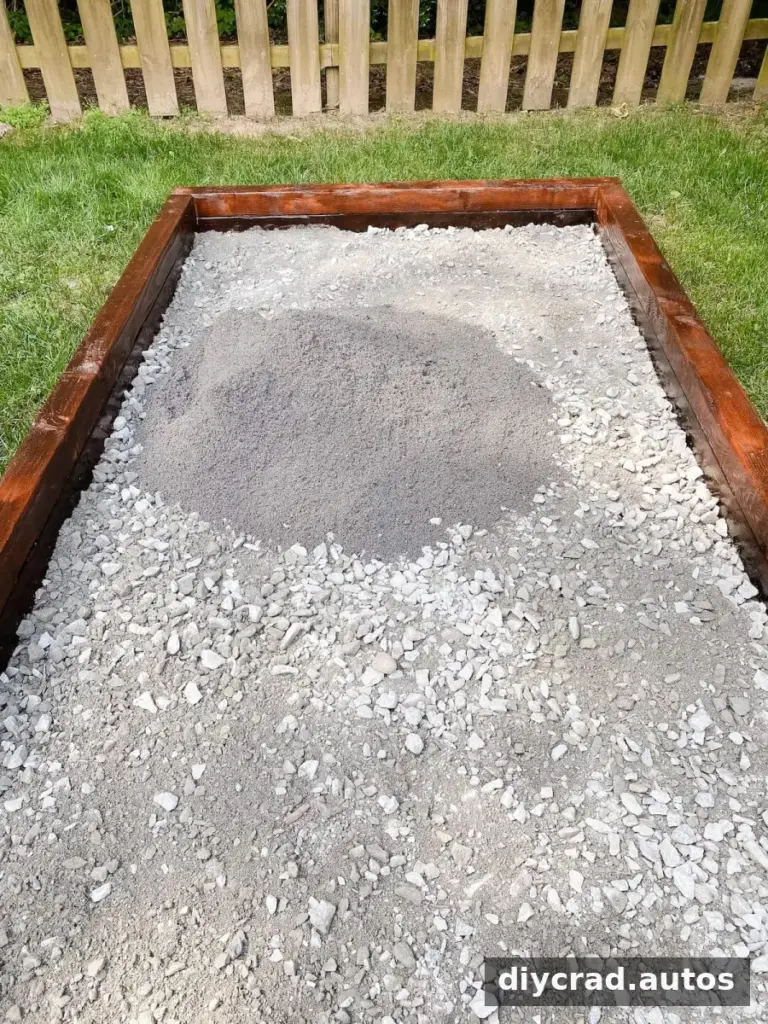
Use a 2×4 cut slightly shorter than the court’s width to draw across the surface and even it out. A wide squeegee can also help smooth the material. Check the playing area from several directions to spot uneven sections.
Optional surface: crushed oyster shell
Crushed oyster shell can be spread over the prepared surface as an optional top layer. The project instructions describe a 2-inch layer; spread it evenly, tamp it, and smooth it using the same method. Lightly misting the material with a garden hose can help it compact and reduce ball bounce. Avoid soaking the surface.
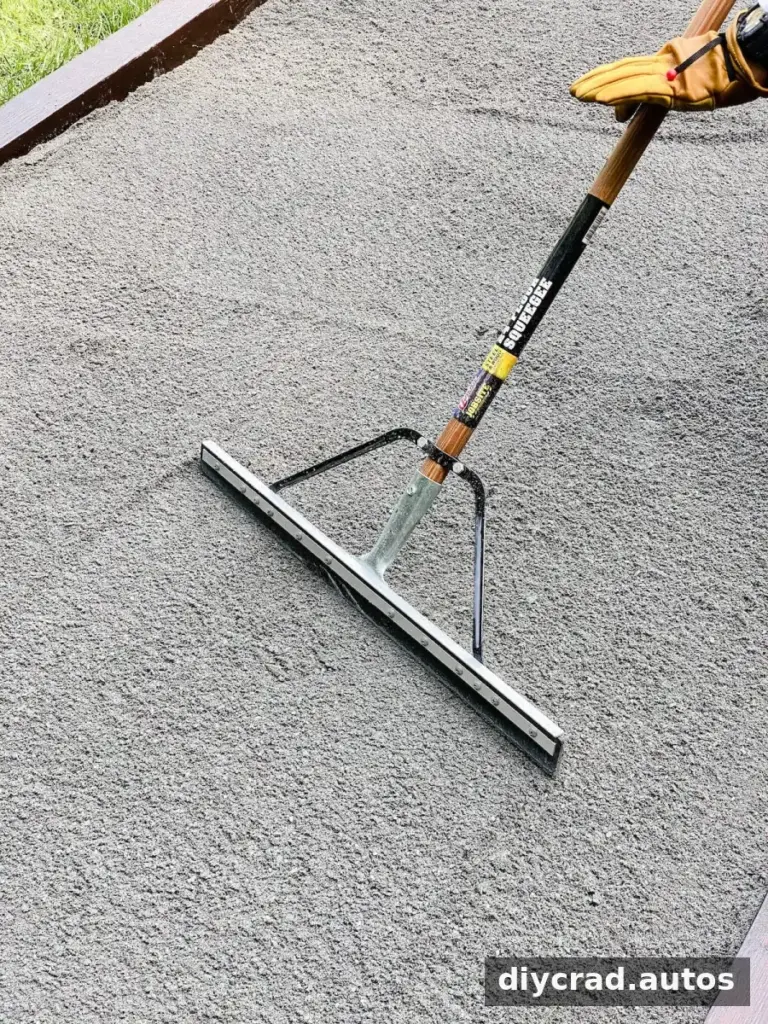
Once the surface is level and compacted, the court is ready for play. Set out a bocce ball set and scoreboard, or use a horseshoe kit if you want to use the space for that game as well.
DIY Bocce Ball Court Maintenance
This style of court is relatively low maintenance, but occasional attention can help keep it in good playing condition. Remove leaves and other debris as needed, and smooth the top layer with a wide broom or the back of a rake.
- Refresh the waterproofing stain on the 4×4 boards after a few years, following the stain manufacturer’s directions.
- Check the decomposed granite or oyster-shell layer periodically. The project estimates that it may need redressing every 3 to 4 years.
- Look for weeds, especially in spring. Remove them by hand where practical; if using a weed-control product, follow its label and take care to protect people, pets, and nearby plants.
- After rain, check for standing water or areas where the surface has shifted, and correct drainage or leveling issues as needed.
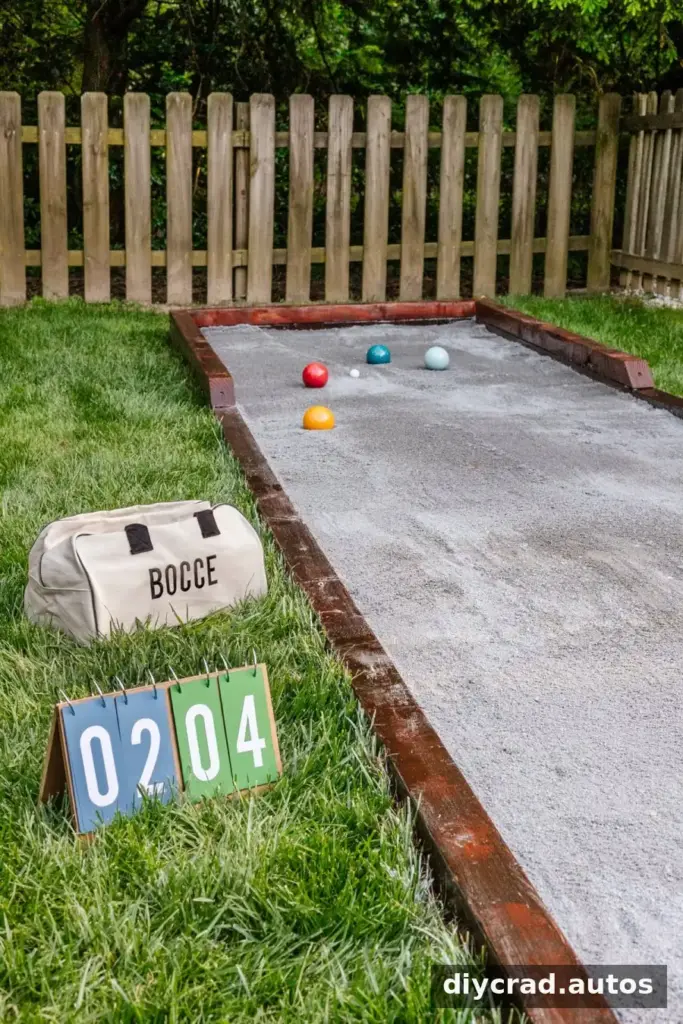
A backyard court can provide a shared activity for players of different ages and skill levels. Keeping the surface clear and level makes it easier to enjoy during cookouts and other outdoor get-togethers.
Frequently Asked Questions
Can you play bocce ball on grass?
Yes. Grass can be used as a playing area, although a prepared court provides a different surface and a defined boundary. The playing space can be sized to suit the yard. The source for this project also cites a regulation size of 91 feet by 13 feet; published dimensions may differ, so check the rules or organization you plan to follow when building to regulation specifications.
How do you play bocce ball?
Bocce is played by throwing balls toward a smaller target ball, with players aiming to place their balls closer to the target than their opponents. Rules and scoring details can vary by format, so agree on the rules before a casual game begins.
Conclusion
A DIY bocce ball court is a practical way to make use of an open backyard area. With a level, well-drained site, a securely anchored frame, and carefully compacted surface layers, the court can be ready for games after the materials have dried and settled. Plan the dimensions and quantities before construction, then keep the surface smooth with simple, periodic maintenance.

