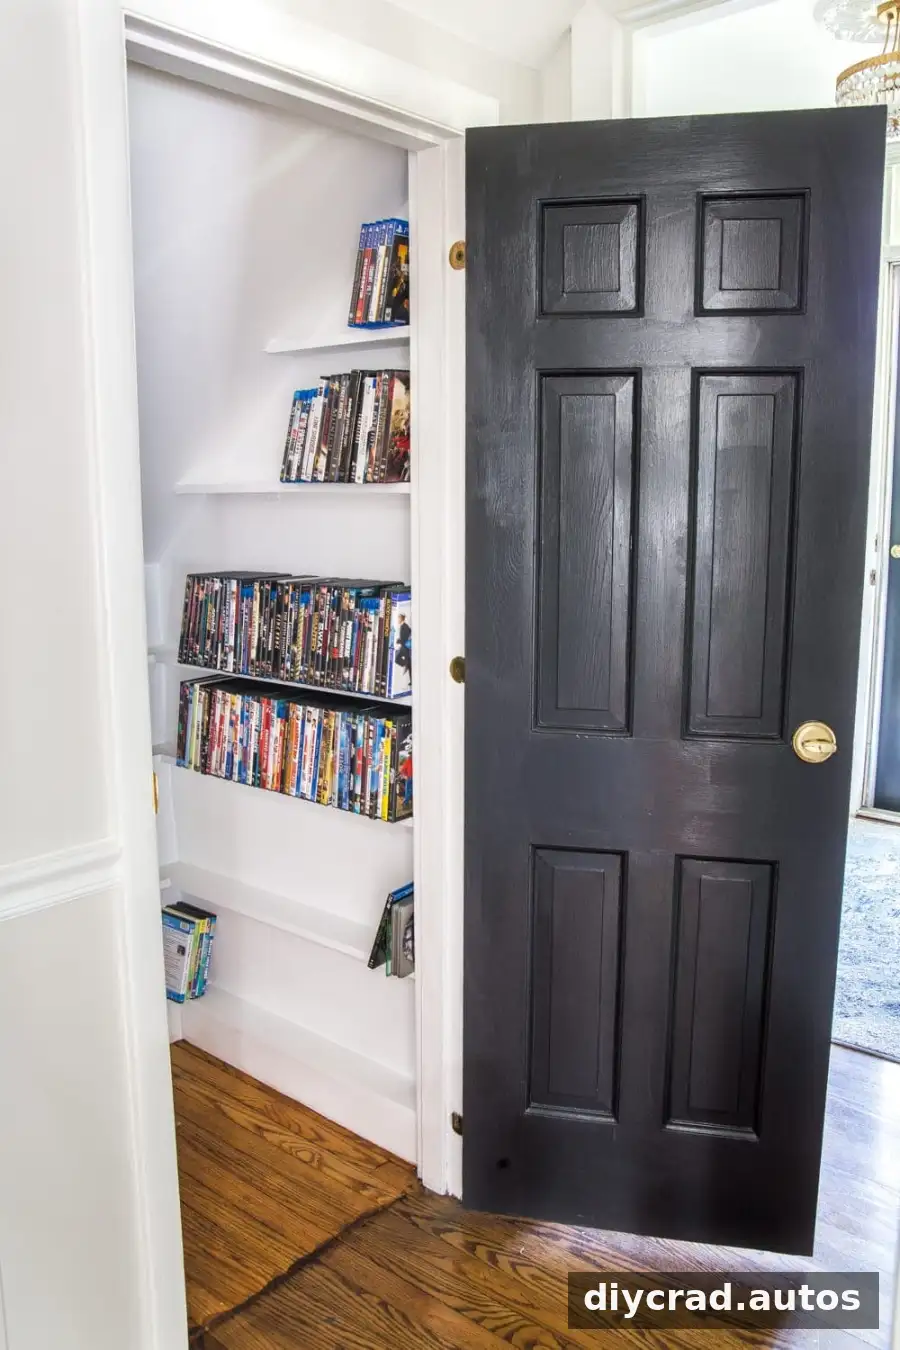
A DIY DVD storage closet can turn an awkward under-stairs space into a practical home for movies and other media. With a few pieces of lumber, basic tools, and careful measurements, this weekend project adds useful shelving without requiring a large room or complicated built-ins. The design below uses an angled closet wall and shelves spaced to suit DVD cases.
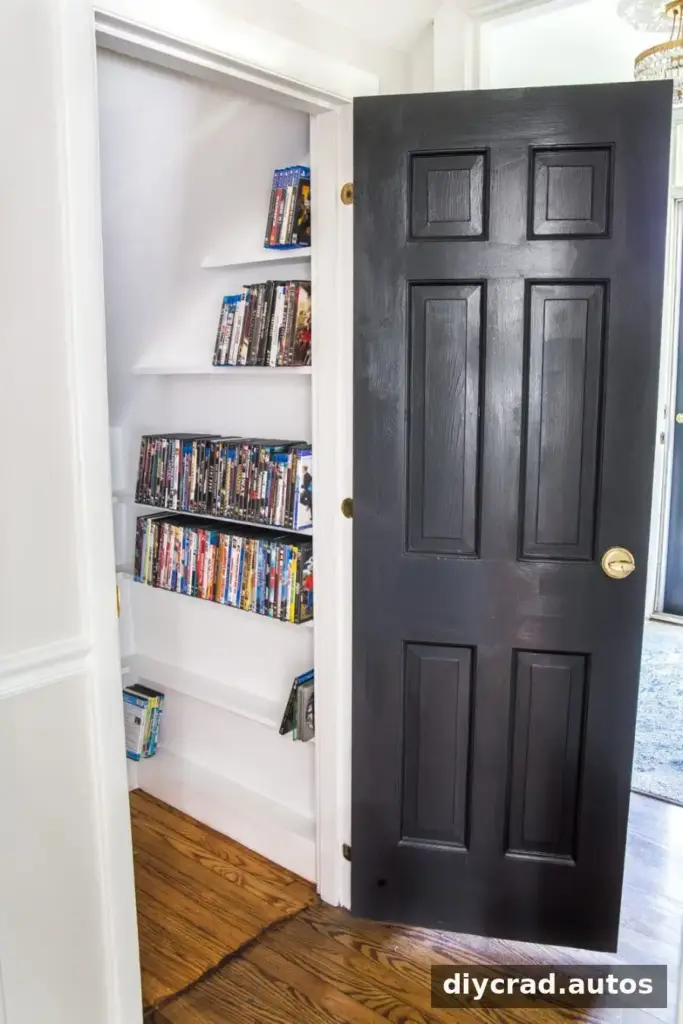
Planning a DIY DVD Storage Closet
Before building, look closely at the closet and decide which parts can be used safely. In this project, the space was oddly shaped and partly extended beneath an unusable section of the stairs. A framed wall was added to close off that area and create a more useful storage zone. The household already had a collection of DVD discs and wanted an organized place to keep them rather than switching entirely to digital viewing.
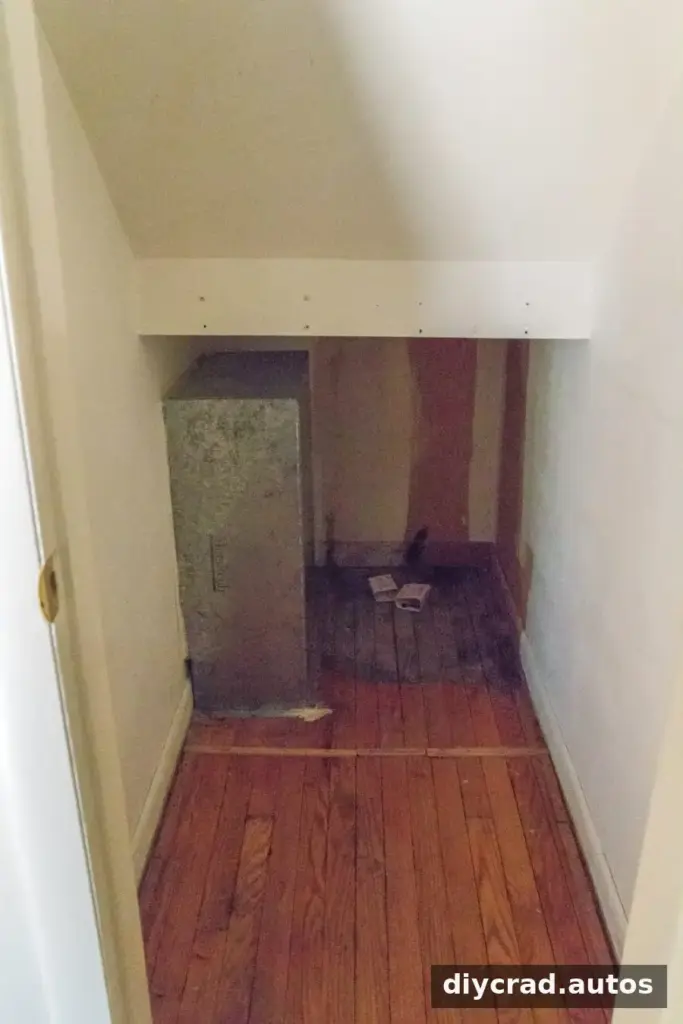
Start by measuring the available wall width at several heights. An under-stairs wall may slope, so one measurement may not be enough to determine the shelf lengths. Also identify vents, wiring, pipes, access panels, and other features before covering or fastening anything. Keep air returns and required access points unobstructed, and use fasteners appropriate for the wall and project.
Materials and Tools
- 2 2″x4″x8′ boards
- 1/4 plywood
- 1 1″x4″x8′ boards
- Circular saw
- Finishing nail gun
- 1 3/4″ finishing nails
- Power drill
- Wood screws
- Caulk and caulk gun
- Primer and/or paint and paint brush
- 1-1/2″ L brackets
Measure twice before cutting, and wear suitable eye and hearing protection when using power tools. The amount of lumber needed can vary with the closet’s dimensions, so confirm the measurements before purchasing materials.
How to Build the DVD Shelves
1. Frame the unused section
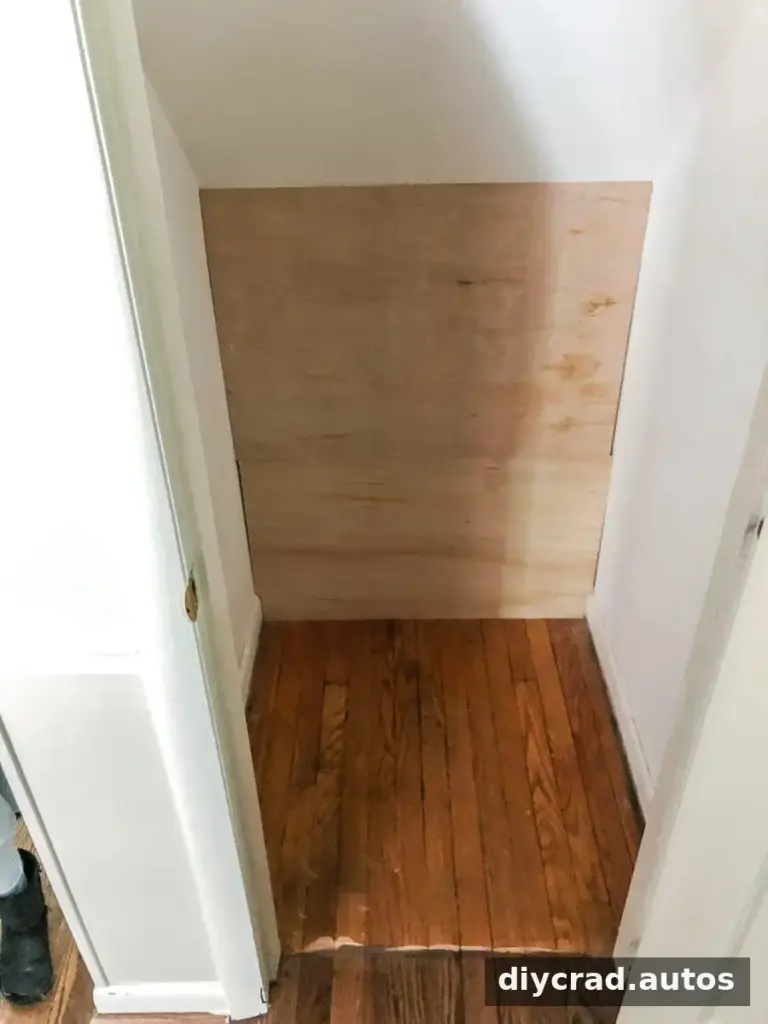
The first step was closing off the portion of the closet that extended beneath an unusable part of the stairs. A frame was built from 2″x4″ boards and wood screws to create studs. Before installing a similar frame, make sure the area does not contain a vent or utility that needs to remain accessible.
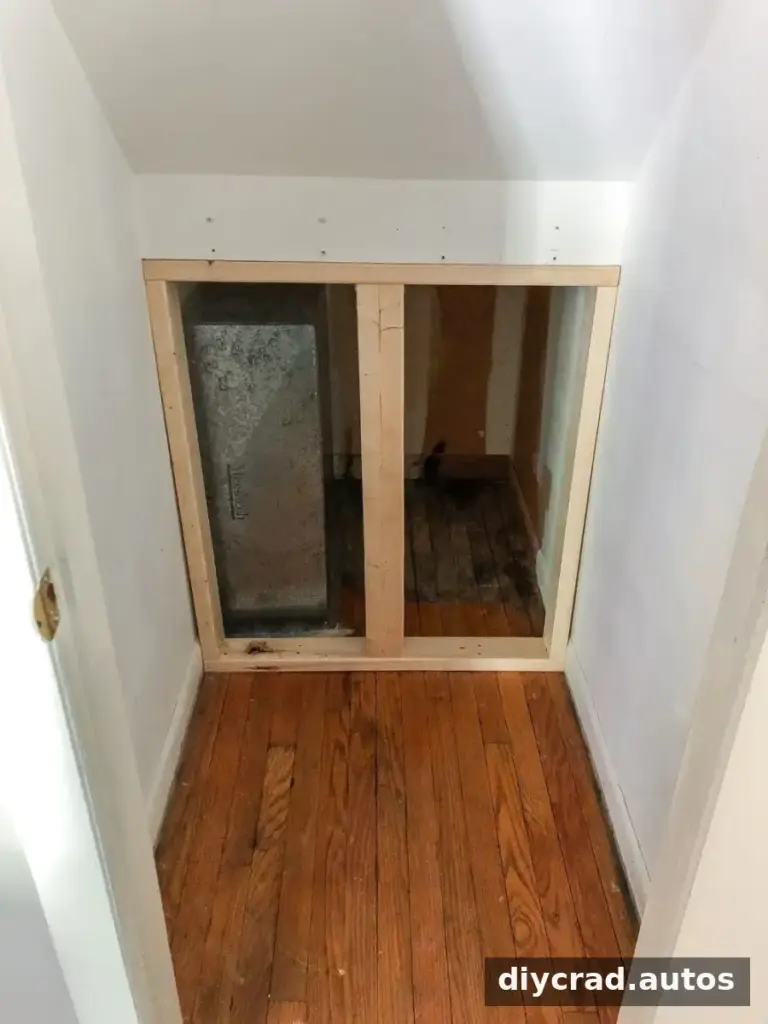
2. Add the wall surface
A scrap piece of plywood was used for the new wall. Cut the plywood to match the frame, then secure it in place with finishing nails. Sheetrock is another possible wall covering, depending on the finish desired and the materials available. Check that the panel sits securely and that its edges are supported by the frame.
3. Seal the edges
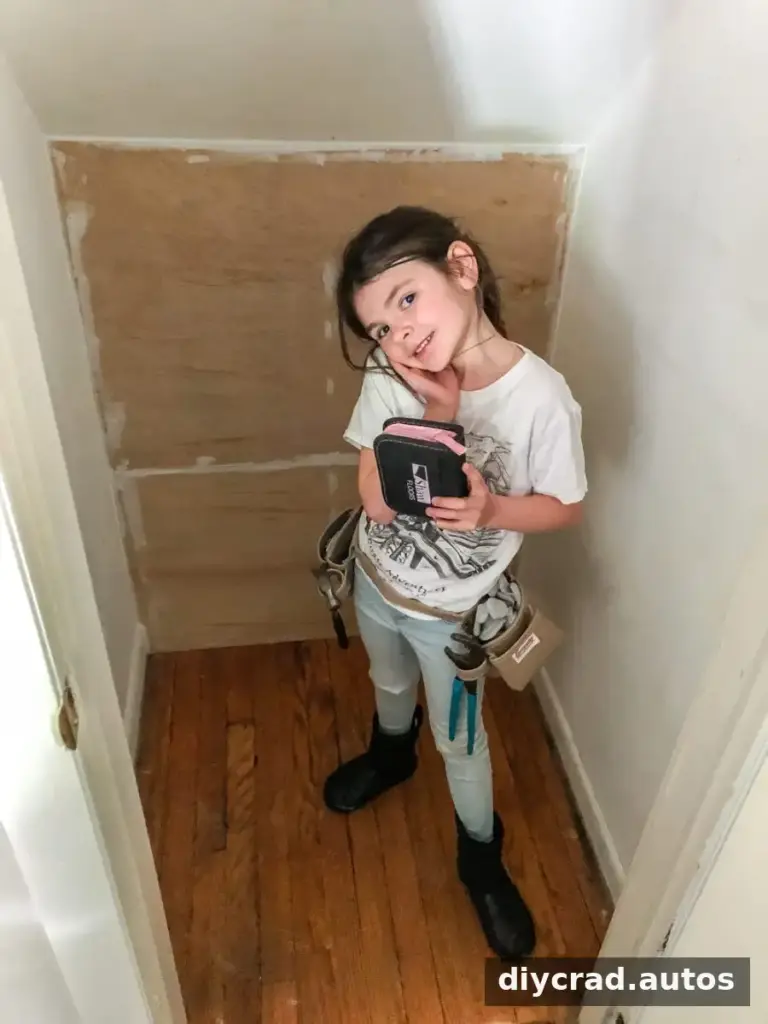
Apply caulk along the wall edges to create a neater finish. Smooth the caulk according to the product directions and allow it to dry before priming or painting. A clean, dry surface helps paint adhere more evenly.
4. Mark shelf positions
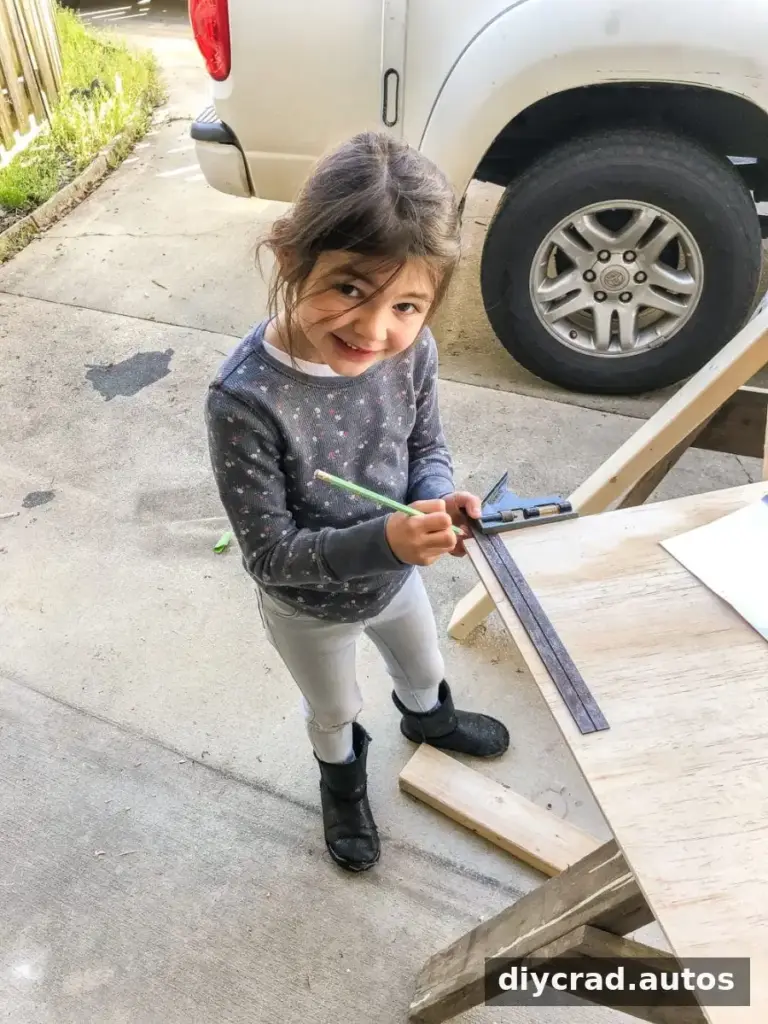
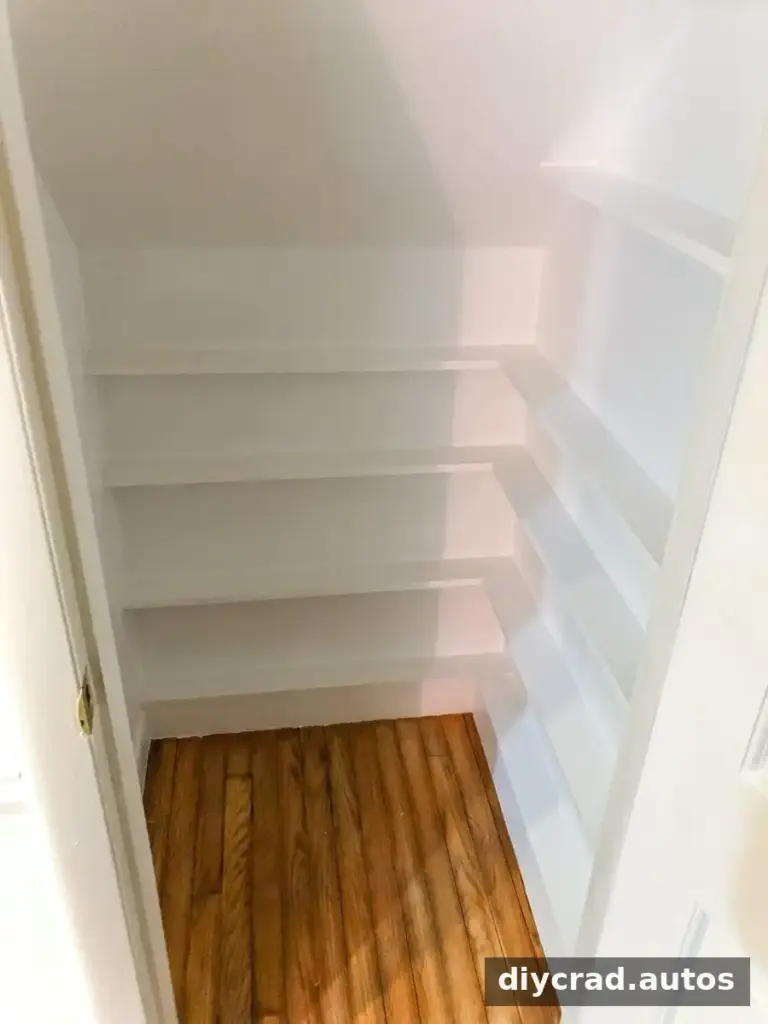
The planned shelf spacing was 10 inches. Measurements were taken across the wall at each shelf position because the closet wall was angled. Use a level or straightedge to mark consistent shelf locations, and check the height against the items you plan to store before making the cuts.
5. Cut the shelf boards
Cut the 1″x4″ boards to the widths measured for the angled wall. Label each piece as you cut it so it is easier to match the board to its position. Test the fit before fastening; small differences in an angled space can affect how a shelf sits.
6. Install the shelves
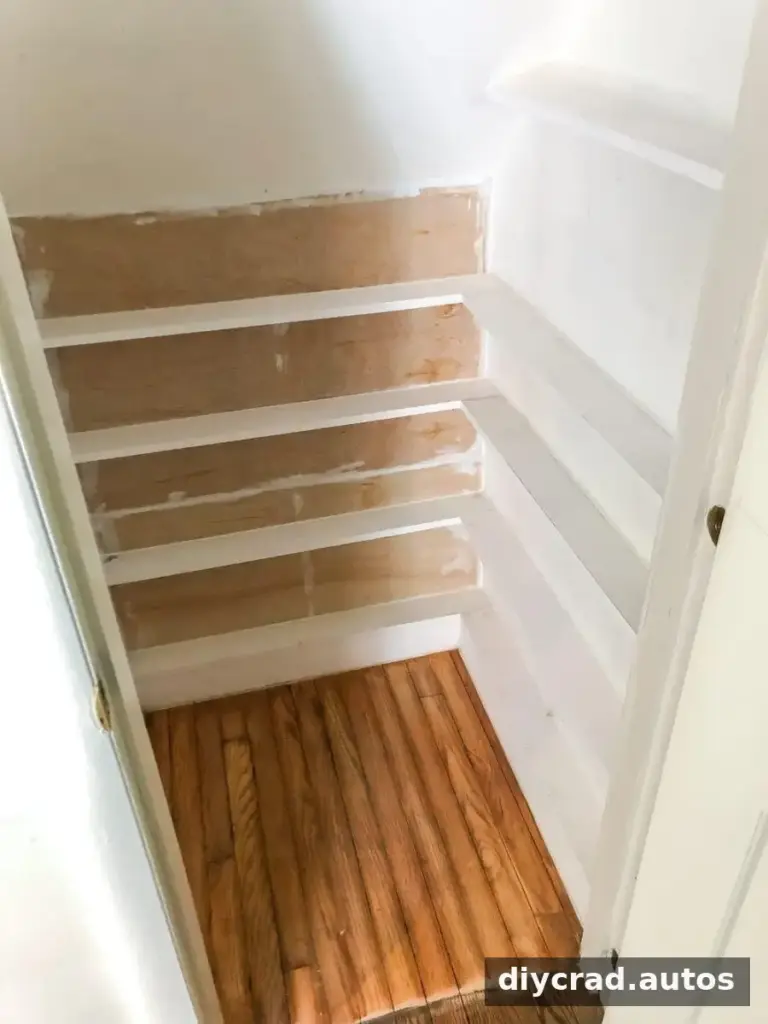
Use 1-1/2″ L brackets and screws to attach each 1″x4″ board to the wall. Position the brackets securely and make sure every shelf is level and firmly supported. The weight of the collection and the wall construction should guide how many brackets are used and where they are placed.
7. Finish the project
After all shelves are installed, caulk the joints as needed, then apply primer and paint. Follow the drying times on the product labels before placing DVDs on the shelves. This finishing step gives the closet a tidier appearance and helps the new storage blend with its surroundings.
Using the Finished Storage Space
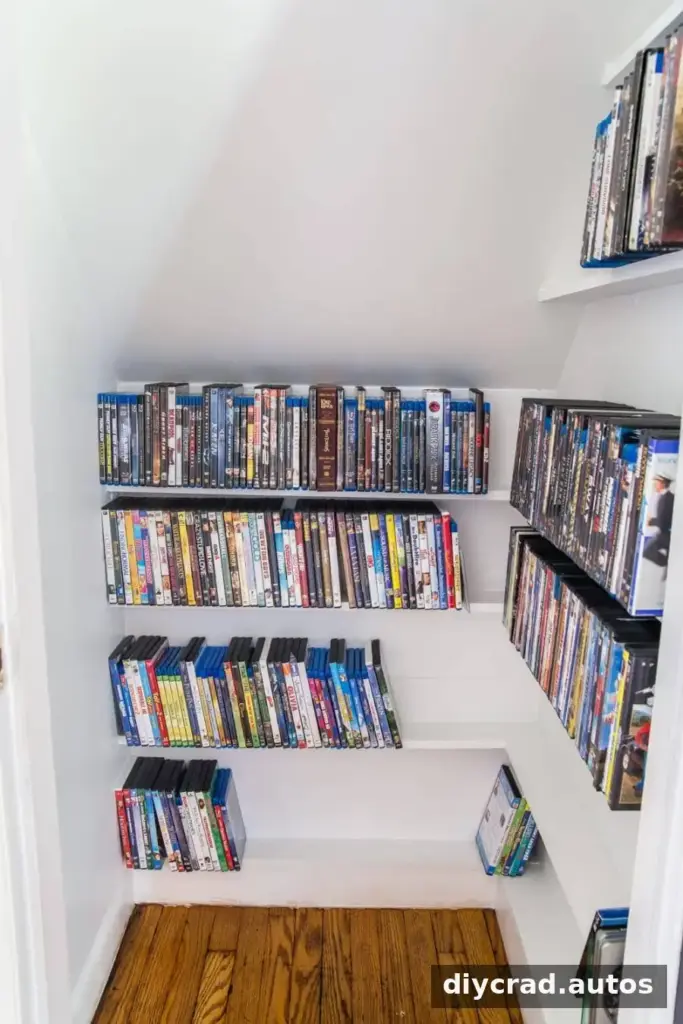
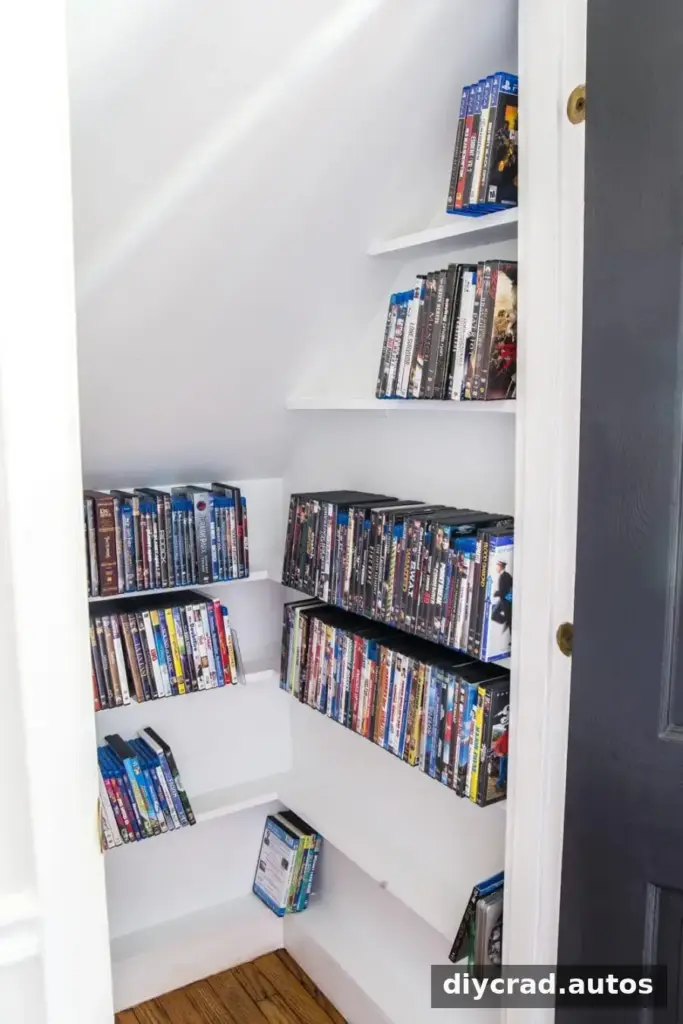
The completed shelves provide substantially more room for organizing DVDs in the previously underused closet. Arrange cases by genre, title, or frequency of use so the collection is easier to browse. If shelf space is tight, grouping less-used titles together can help keep everyday favorites accessible.
The goal of a DIY DVD storage closet is practical organization, not necessarily a showpiece. Even a simple, painted shelving setup can make an awkward space easier to use. Keep the shelves within comfortable reach and avoid stacking cases so high that they become difficult to remove safely.
Conclusion
This DIY DVD storage closet project shows how a small under-stairs area can be adapted with a basic frame, plywood, and measured 1″x4″ shelves. Careful planning, secure brackets, and attention to vents and other access points help make the result both useful and sensible. Whether a household keeps physical movies or stores most media digitally, making better use of an awkward closet can create valuable extra storage.