

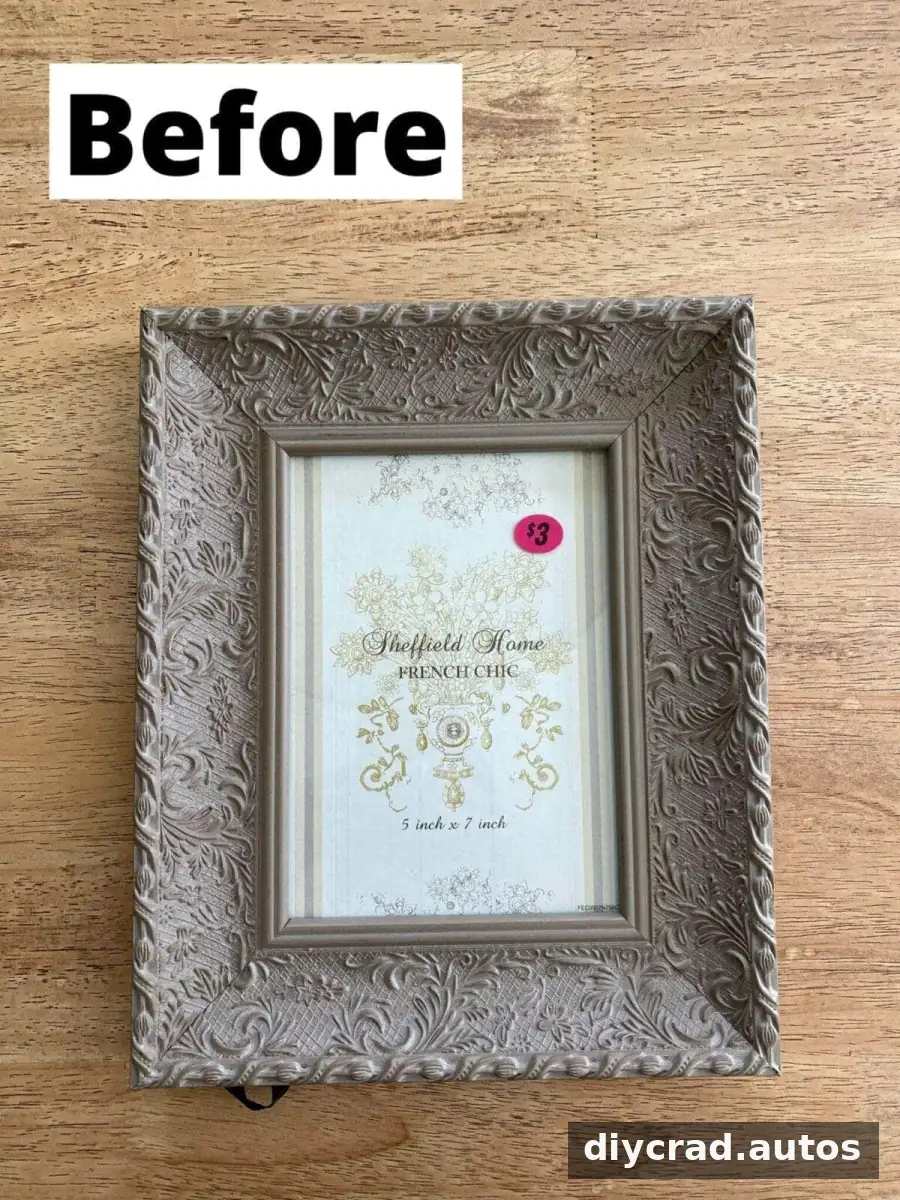
DIY art for beginners can be a relaxed, low-cost way to refresh a room without needing advanced drawing skills. This simple project turns a $2 thrifted frame and a few basic painting supplies into an abstract landscape. The goal is to enjoy experimenting with color and shapes—not to create a perfect, detailed picture.
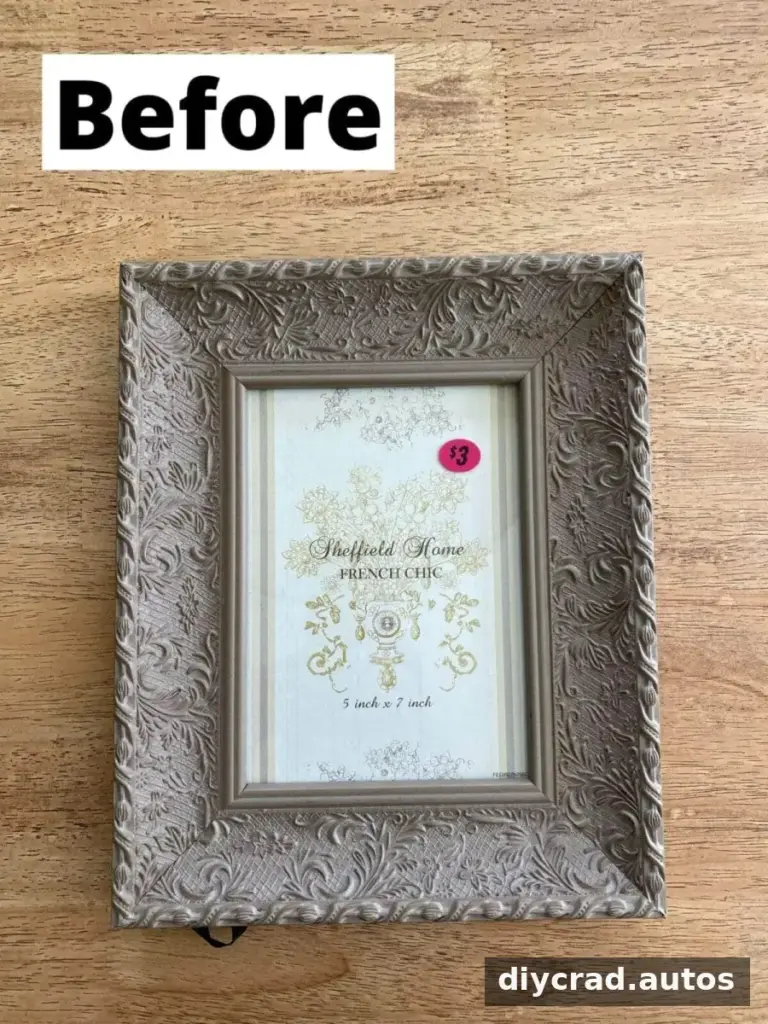
The frame had a decorative, shabby-chic look, while its original paper insert provided a convenient surface for a small painting. Instead of buying a canvas, the insert was turned over and used as the base. Heavyweight paper would have been a better choice for painting, but reusing what was already available kept the project simple.
Supplies for DIY Art for Beginners
Gather the materials before you begin so you can focus on painting. A disposable bowl and spoons make it easier to mix colors without needing extra dishes.
- A thrifted picture frame
- Antique gold finishing wax for the frame
- Acrylic paints
- A disposable bowl and spoons for mixing colors
- Paintbrushes in assorted sizes
- Heavyweight paper, if available
If you use the frame’s paper insert, check that it is clean and suitable for paint. Heavier paper generally provides a sturdier surface than a thin insert. Keep a spare sheet nearby to test color combinations and brush marks before applying them to the artwork.
How to Paint a Simple Landscape
This beginner-friendly approach does not require precise drawing. The landscape is built from loose areas of color, so small variations and imperfect brushstrokes can contribute to the abstract look.
- Prepare the frame. Apply antique gold finishing wax to the frame before adding the artwork. Follow the product’s directions and protect the work surface while applying it.
- Prepare your painting surface. Remove the paper insert, turn it over, and use the blank side. If you have heavyweight paper, consider using it instead.
- Mix a few colors. Put small amounts of acrylic paint into a disposable bowl and use a spoon to combine colors. Start with modest quantities so you can adjust the shades as you work.
- Build the landscape with broad shapes. Use larger brushes for larger areas and smaller brushes for narrow marks or details. Allow the composition to stay loose rather than trying to draw every element precisely.
- Let the paint dry before framing. Check that the surface is dry before placing it back into the frame to help prevent smudging.
A short process video accompanies the project. It can be useful to watch the sequence of mixing colors and applying paint, especially if you prefer seeing brushwork rather than following written instructions.
Keep the Painting Playful
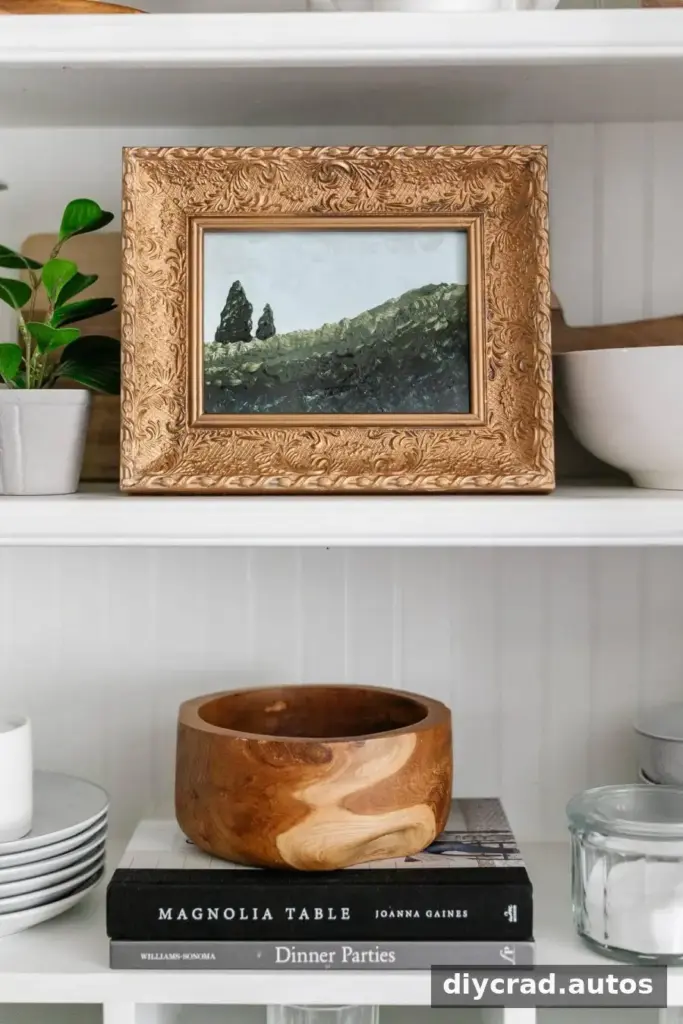
The finished landscape is intentionally informal, with uneven tree shapes and an amateur, abstract quality. From a distance, the overall arrangement may read more clearly than it does up close. That is a helpful reminder for beginner projects: step back occasionally to see how the colors and shapes work together, instead of judging every brushstroke at close range.
If the result does not suit your space, the frame can still be reused with another piece of art, such as a free printable. The painted version is also easy to approach as a practice project: experiment with the colors, change the brush size, or leave out details that feel difficult.
Conclusion: Enjoy DIY Art for Beginners
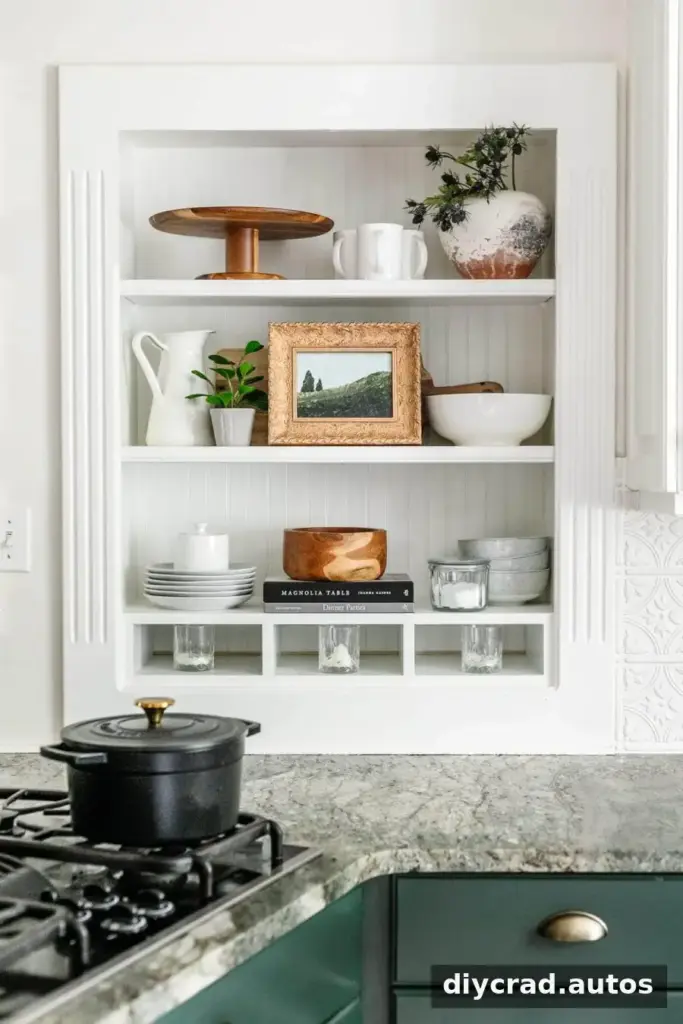
This DIY art for beginners project combines an inexpensive thrifted frame with acrylic paint and a simple, expressive landscape. Reusing the frame insert keeps the process accessible, while heavyweight paper is a practical alternative if you have it on hand. Focus on having fun with color and broad shapes; the finished piece does not need to look polished to make the project worthwhile.

