

DIY window trim is a straightforward way to give a plain window more architectural character and help it feel larger. This method uses simple straight cuts instead of complicated miter joints, so it can suit beginners and can be completed with hand tools or power tools.
Basic windows in newer homes can look unfinished beside more detailed features in a room. Adding a wider sill, side casings, a header, and an apron creates a more substantial frame. Plain pine lumber was used for this project, but MDF or other suitable wood varieties can also work.
Before starting, check that the boards are straight and plan the frame dimensions around your particular window. Careful fitting matters more than making angled cuts: the trim pieces meet with square ends, and small gaps can be finished with paintable caulk.
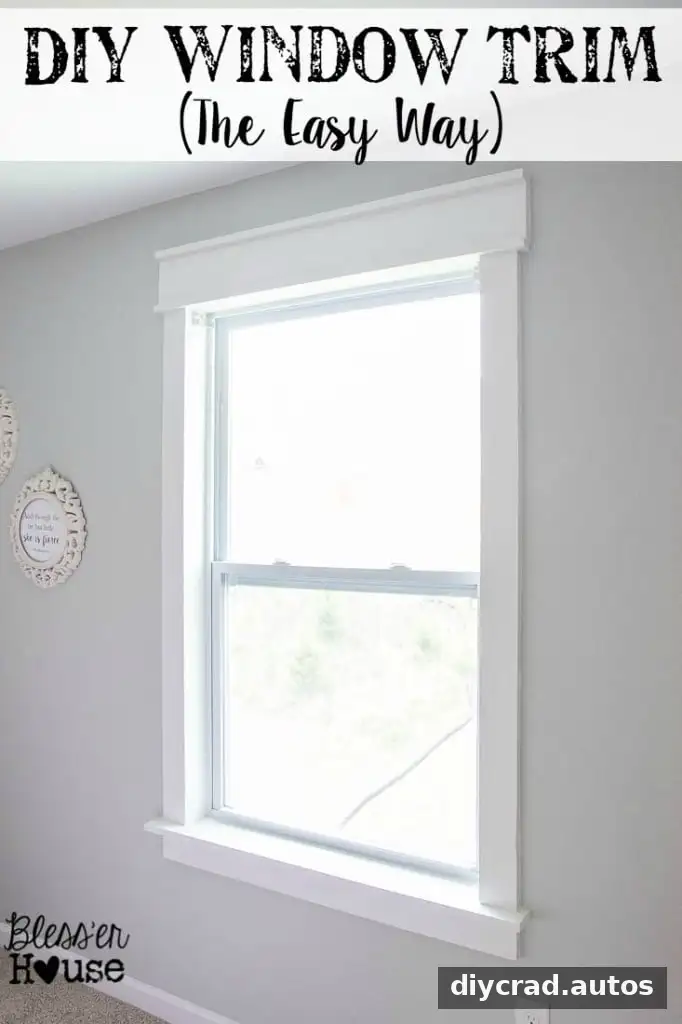
Why Choose DIY Window Trim Without Miter Cuts?
This approach relies on straight cuts and simple board shapes rather than mitered corners. It can be a practical option if you are new to trim work or do not have a miter saw. A hand saw can be used, although a suitable power saw can make cutting faster.
Chunkier casing can also give a small or simple-looking window more visual presence. For a coordinated room, consider repeating the same trim style on other windows, while choosing a paint color that works with the walls and existing woodwork.
Materials and Tools
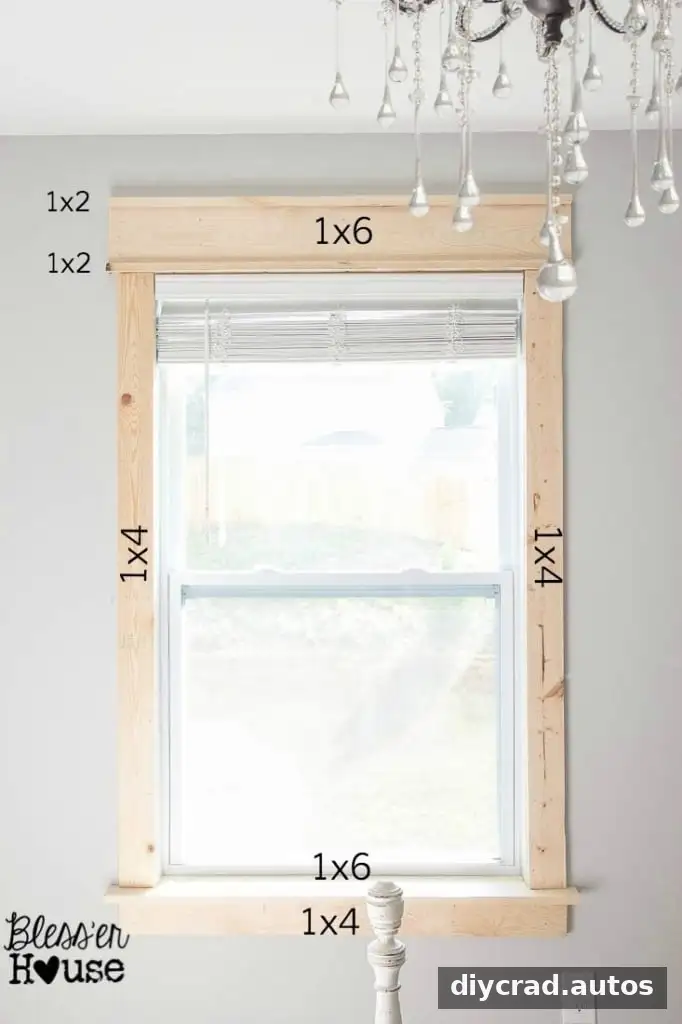
- One 1×2 board, with enough length for the window header
- Two 1×4 boards for the side casings
- One 1×6 board for the sill and header
- Brad nails and wood screws
- Hammer, or a brad nailer to speed up fastening
- Paintable caulk and wood filler
- Primer and paint
- Jigsaw or another saw; a hand saw is also an option
- Nail setter and fine-grit sandpaper
- Pry bar and utility knife, if removing existing trim
Prime raw wood before painting to help the finish look more even and reduce the chance of knots showing through. For exterior window trim, use preservative-treated wood or composite materials to help prevent moisture problems; this guide focuses on interior trim.
Prepare the Window Opening
If replacing existing casing, score the caulk along the inner and outer edges of the side pieces, head casing, and sill with a utility knife. Carefully loosen the trim with a pry bar. Work gradually to reduce damage to the surrounding wall, and take care around the glass and window frame.
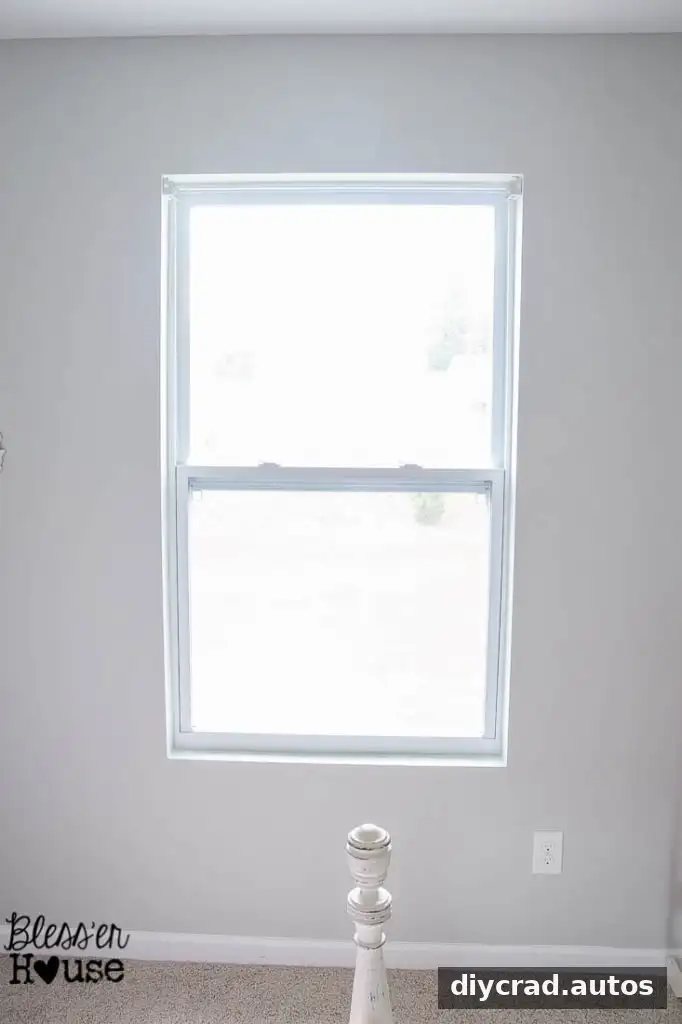
DIY Window Trim: Step-by-Step Instructions
1. Cut and Fit the Window Sill
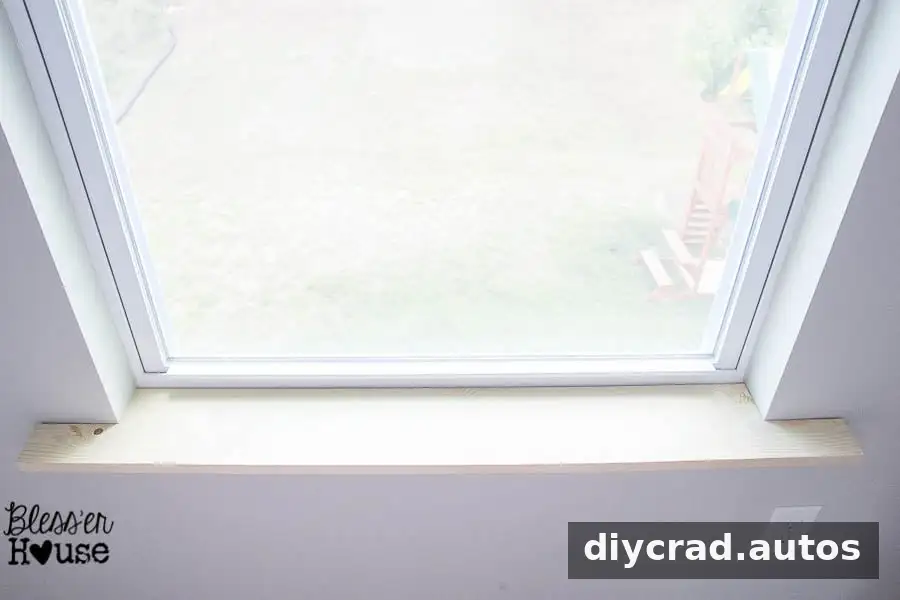
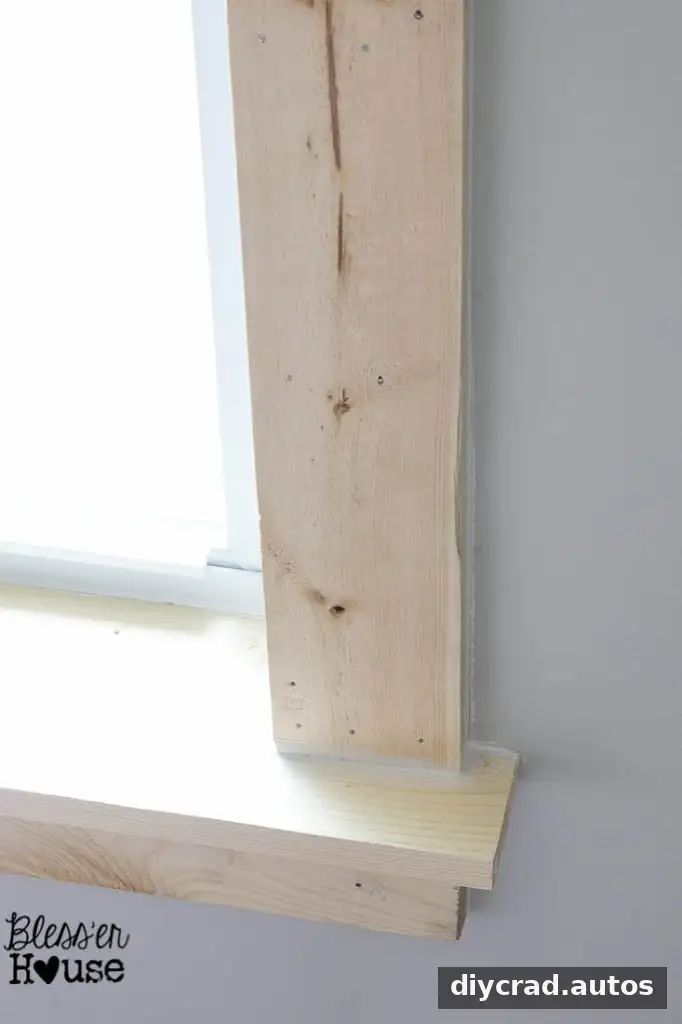
Cut the 1×6 to the window width plus 10 inches, leaving an overhang of 5 inches on each side. Hold the board against the bottom of the window and mark the corners that need to be removed so the sill fits around the window base. Test the fit before fastening.
Attach the fitted sill with brad nails. A nailer can make this step quicker, but a hammer can also be used.
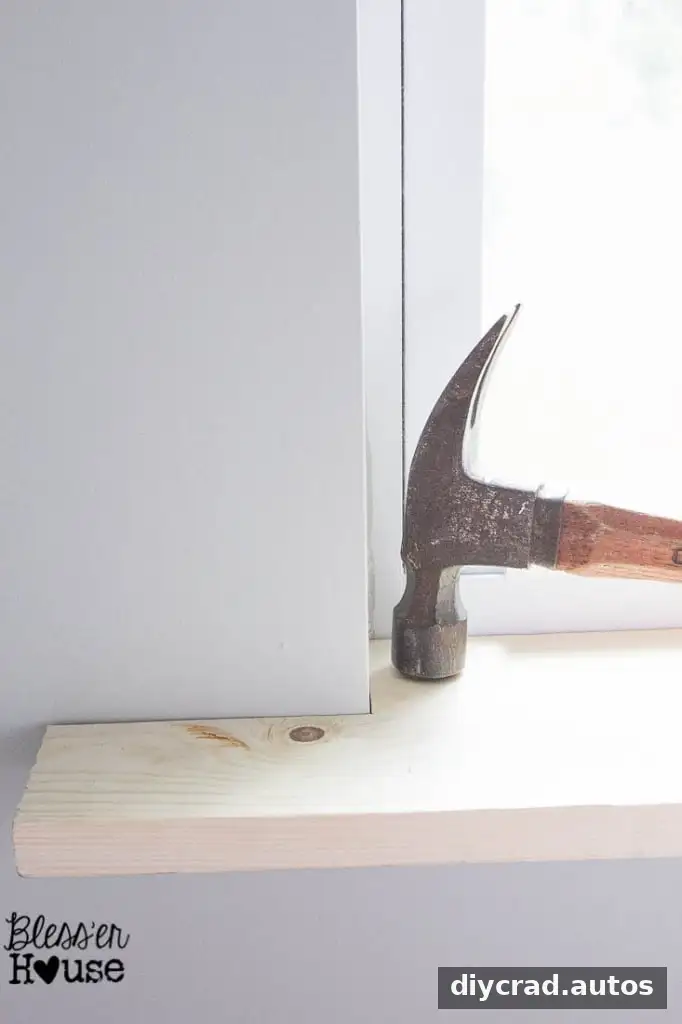
2. Add the Side Casings
Hold each 1×4 beside the window, mark the required length, and cut the boards to fit. Checking each piece directly against the opening can help account for small differences in the wall or window. Keep the boards aligned and confirm they sit neatly against the sill before nailing them in place.
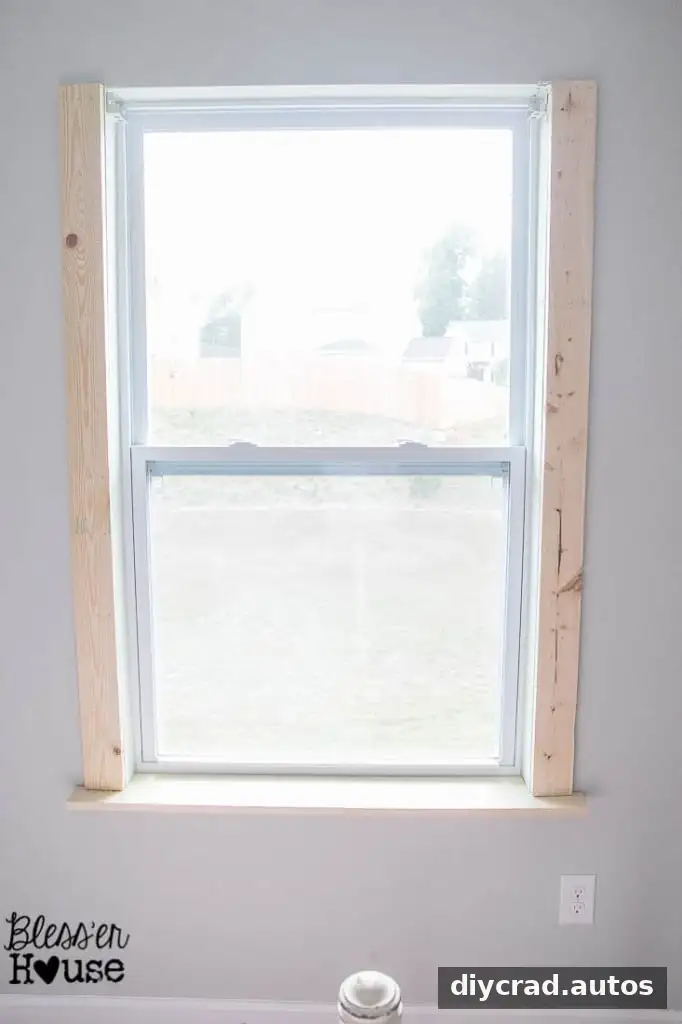
3. Build and Attach the Header
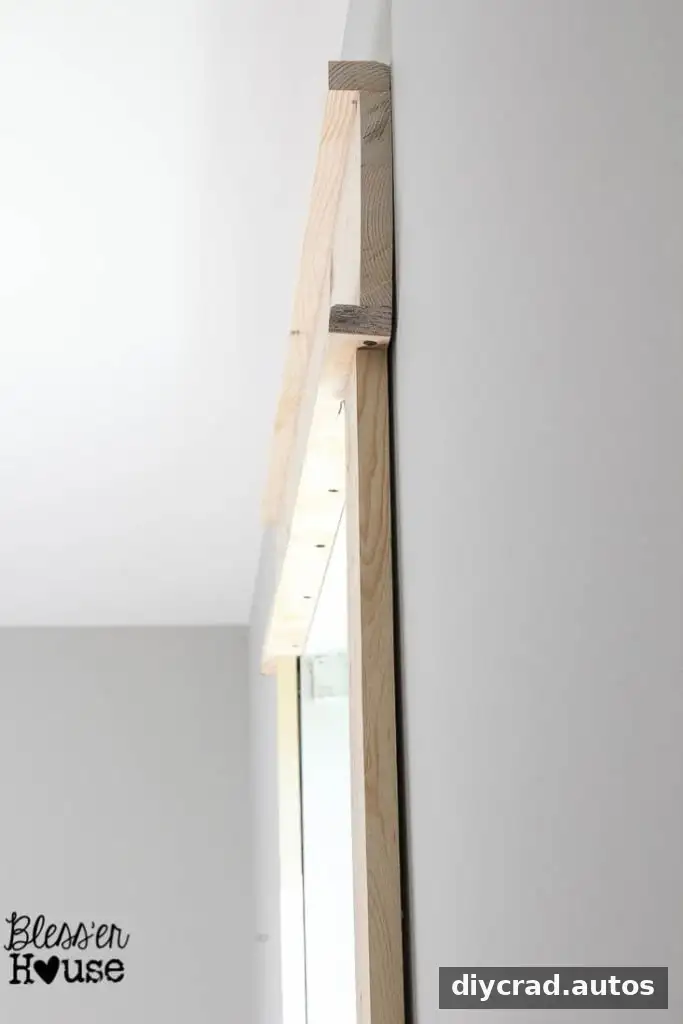
Cut the remaining 1×6 to the same length as the sill. Cut two 1×2 pieces to match that length, then use wood screws to secure one along the top and one along the bottom of the 1×6. These pieces create a built-up header.
Position the assembled header above the window and fasten it with brad nails. Where possible, make sure the fasteners go into wall studs for a more secure attachment.
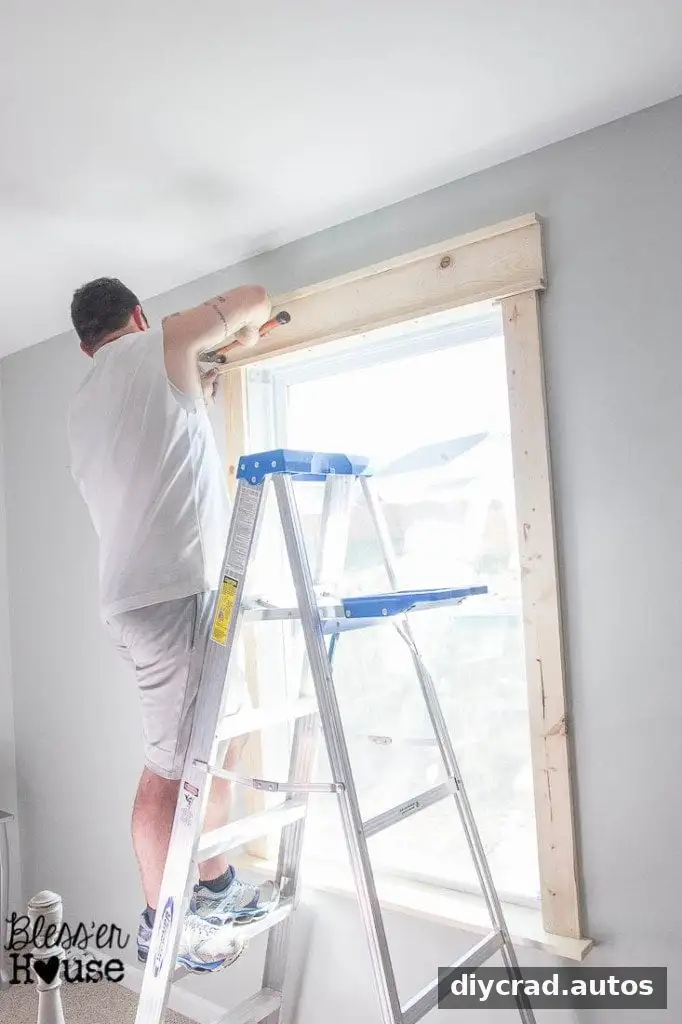
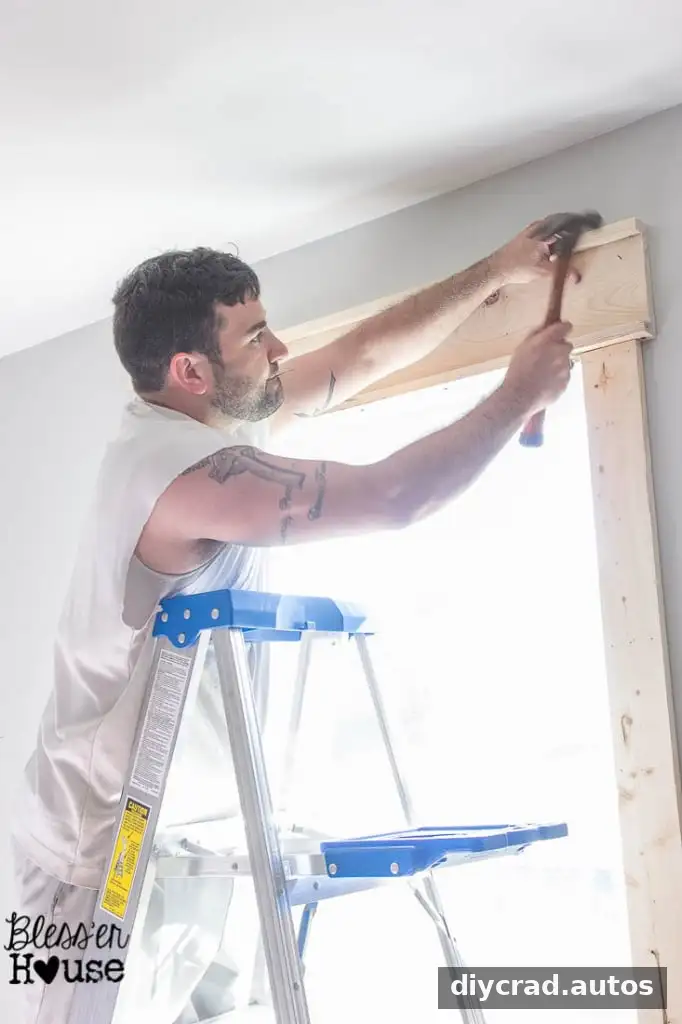
4. Install the Apron
Cut a 1×4 to fit beneath the sill and attach it as the apron. Check that it is centered and level before fastening. The apron completes the lower part of the frame and balances the wider sill.
5. Fill, Sand, and Caulk
Use a nail setter to ensure brad nails sit below the wood surface. Fill nail holes and knots with wood filler, let it dry according to the product instructions, and sand the surface smooth. Apply paintable caulk to small gaps between the trim and wall, then allow it to dry as directed.

6. Prime and Paint
Apply one coat of primer to raw wood, including cut edges, and let it dry. Finish with one or two coats of paint in the color of your choice. Follow the paint and primer labels for drying times, and avoid painting over wet caulk or filler.
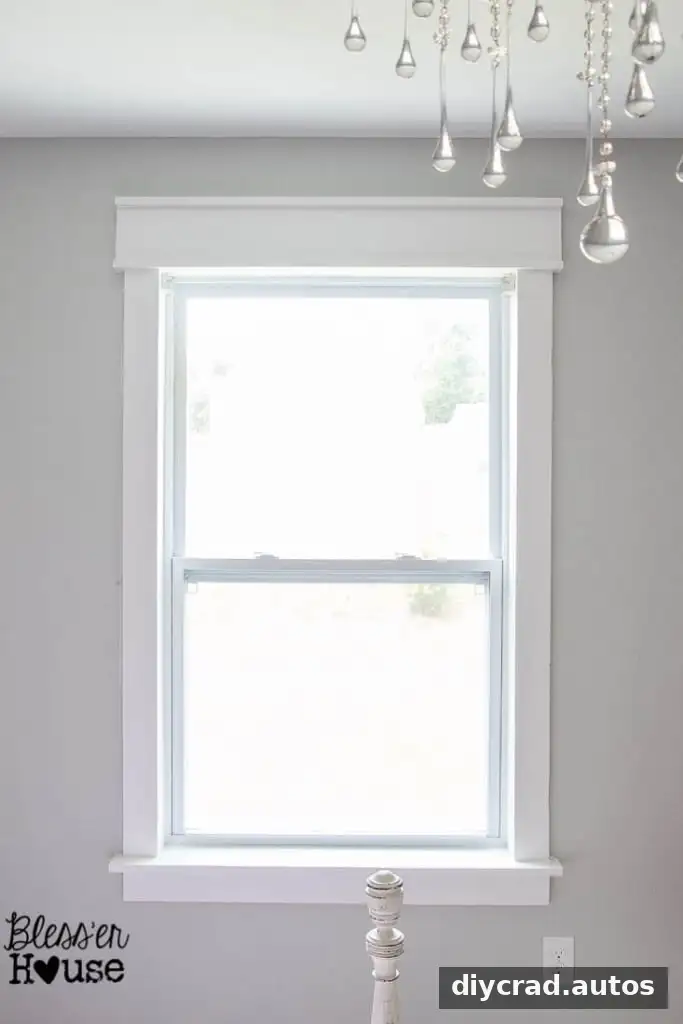
A fresh coat of paint helps the separate boards read as one finished frame. Curtains can add another layer of softness around the window, but the trim can stand on its own as a simple room update.
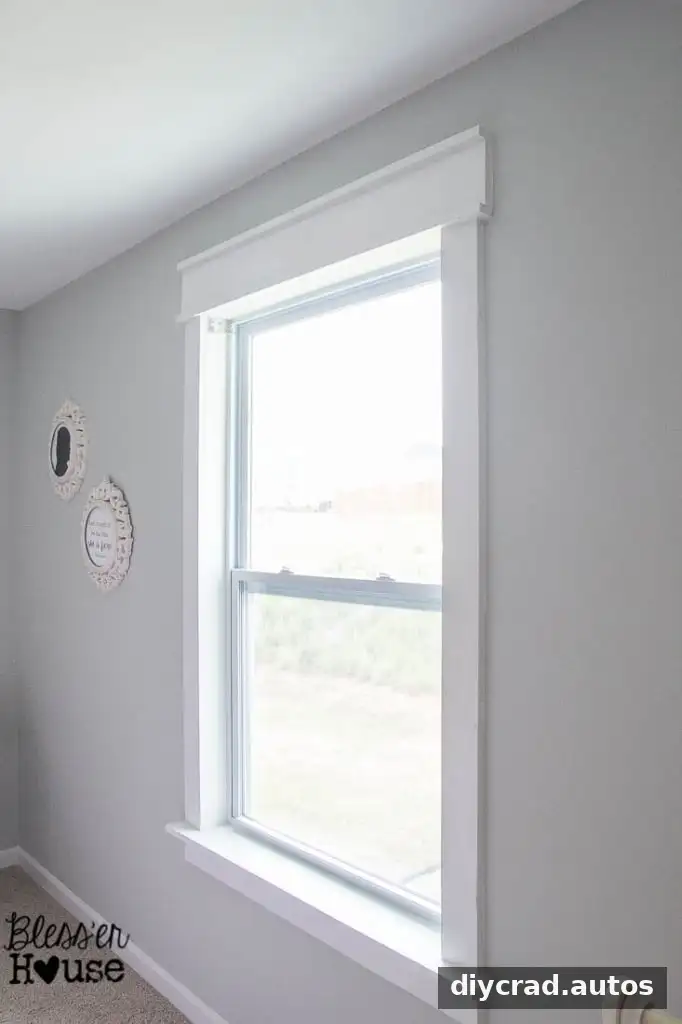
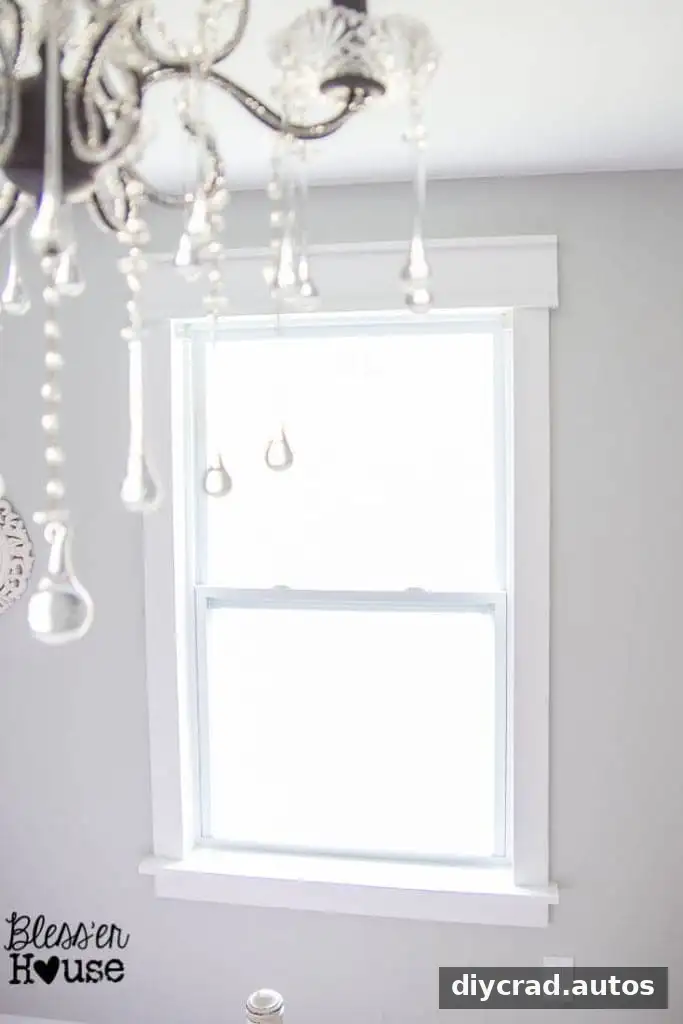
The Finished Window Trim
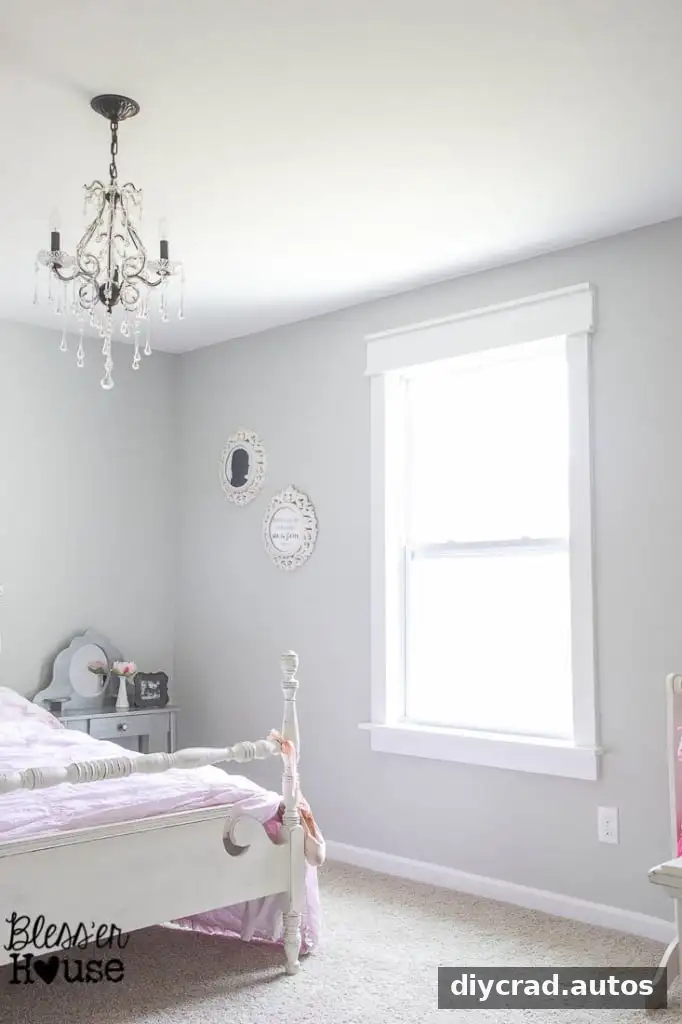
Adding a sill, side casings, a header, and an apron can make a plain window feel more complete without requiring miter cuts. Wood filler helps conceal nail holes, while caulk can tidy small gaps where the trim meets the wall. For the cleanest result, take time to dry-fit pieces and sand filled areas before priming.
Frequently Asked Questions
Does window trim have to match the baseboards?
No. Matching window trim, door trim, and baseboards can create a consistent look, but they do not have to be the same color. Consider the room’s existing finishes and choose a combination that feels intentional.
Are window casings worth adding?
Window casings can make a room feel more finished and give a basic window added visual definition. The effect depends on the room and trim style, so consider the window’s scale and nearby details before choosing board widths.
With measured fitting, straight cuts, and careful finishing, DIY window trim can be an approachable way to add character to a room. The no-miter method is especially useful when you want a substantial frame without specialized cutting equipment.

