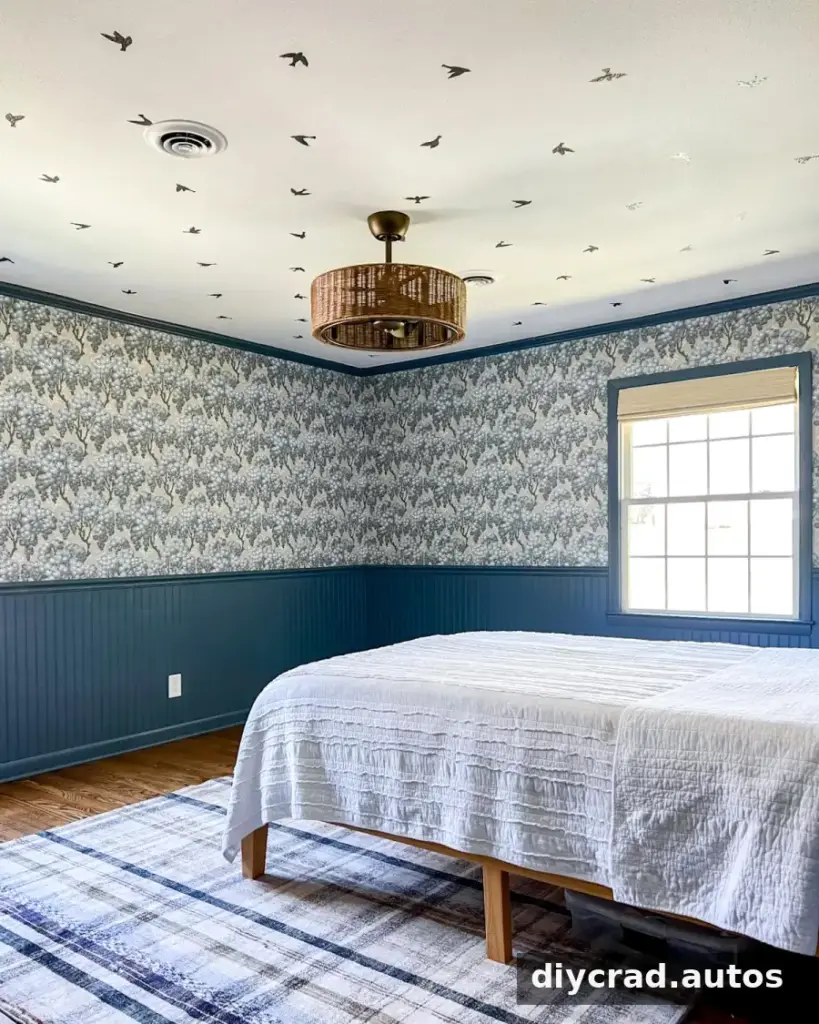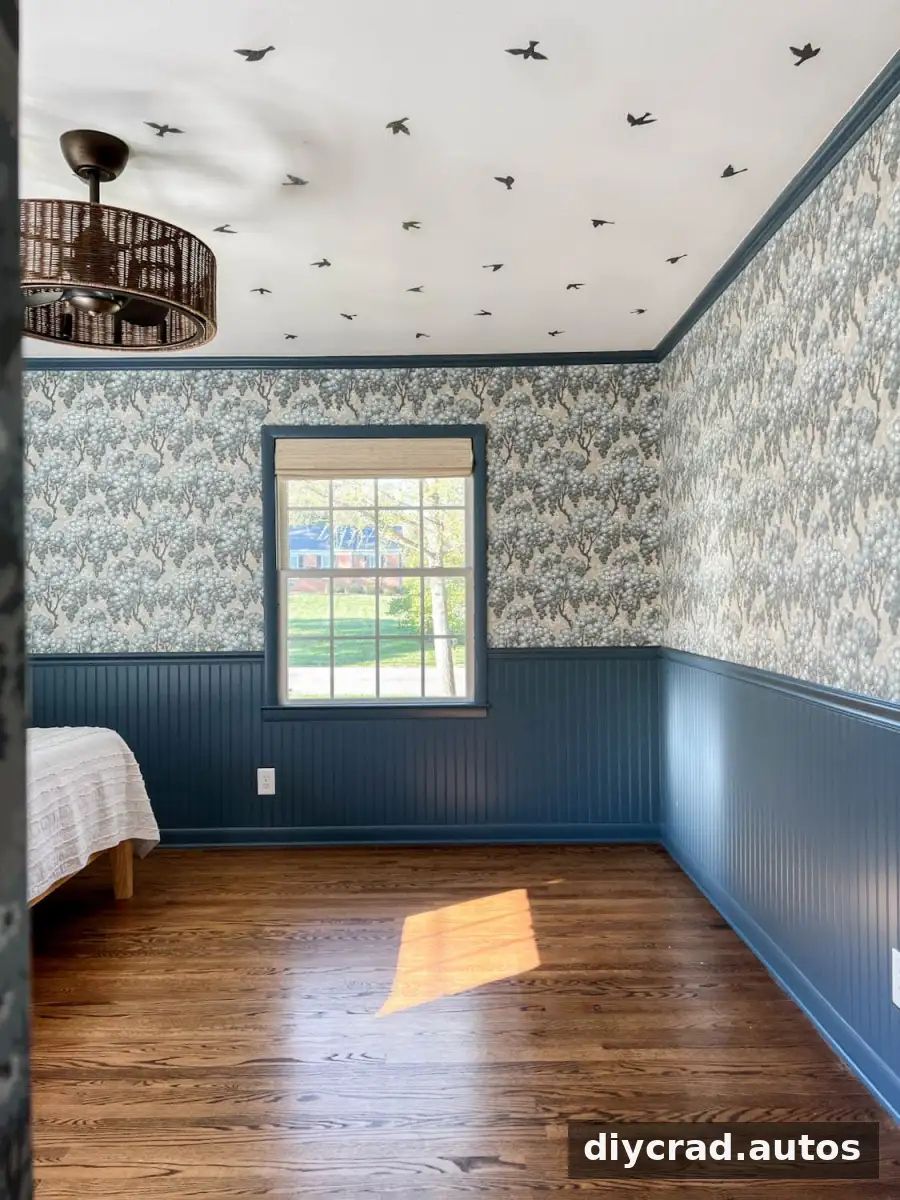
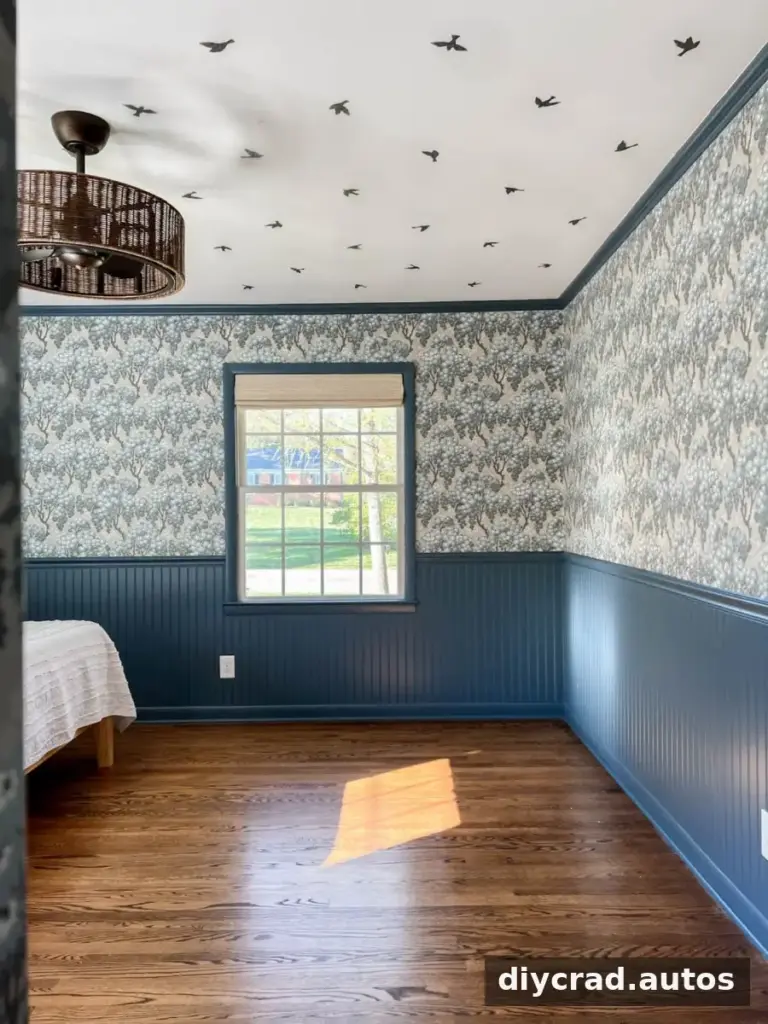
A DIY faux wallpaper ceiling can bring color and pattern into a room without the cost and effort of installing traditional wallpaper overhead. Vinyl sticker decals arranged in evenly spaced rows create a block-print effect, and the design can be adapted with different shapes to suit the room. In this example, three packs of bird decals covered a 13′ × 13′ bedroom ceiling for $67.
Why Try a DIY Faux Wallpaper Ceiling?
The ceiling is sometimes called the fifth wall, and adding a repeating pattern can make it a noticeable part of a room’s design. A bedroom is one place where a ceiling pattern may be especially visible, since people often look up while resting in bed. Bird shapes can create a whimsical look, while stars, butterflies, or other decals can give the same approach a different feel.
Repeating decals can work in a room with lots of existing patterns or provide a small dose of detail in a simpler space. For a balanced result, decide whether the ceiling should be a bold focal point or a quieter complement to the walls and furnishings.
Cost, Installation, and Surface Considerations
Compare the project cost
The example used bird vinyl decals instead of printed wallpaper. A similar wallpaper option cost $198 per roll, with an estimated total of $792 for the ceiling. The decal project cost $67 for the 13′ × 13′ room. Prices and the number of packs required will vary, so measure the ceiling and check how many decals are included in each pack before buying.
Make overhead work manageable
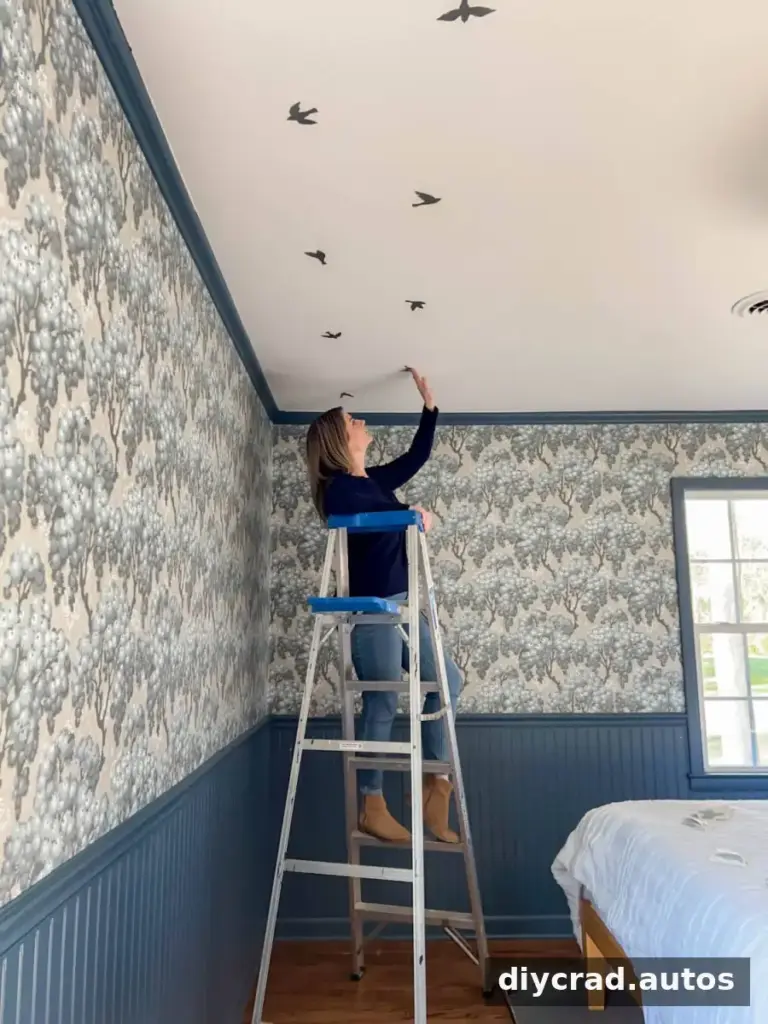
Wallpaper installation on a ceiling can be difficult because the material must be held overhead while it is positioned. Individual decals are smaller and can be placed one at a time, although careful measuring and repeated ladder use still take time. Set up the work area before climbing, keep tools within reach, and use a stable ladder according to its instructions.
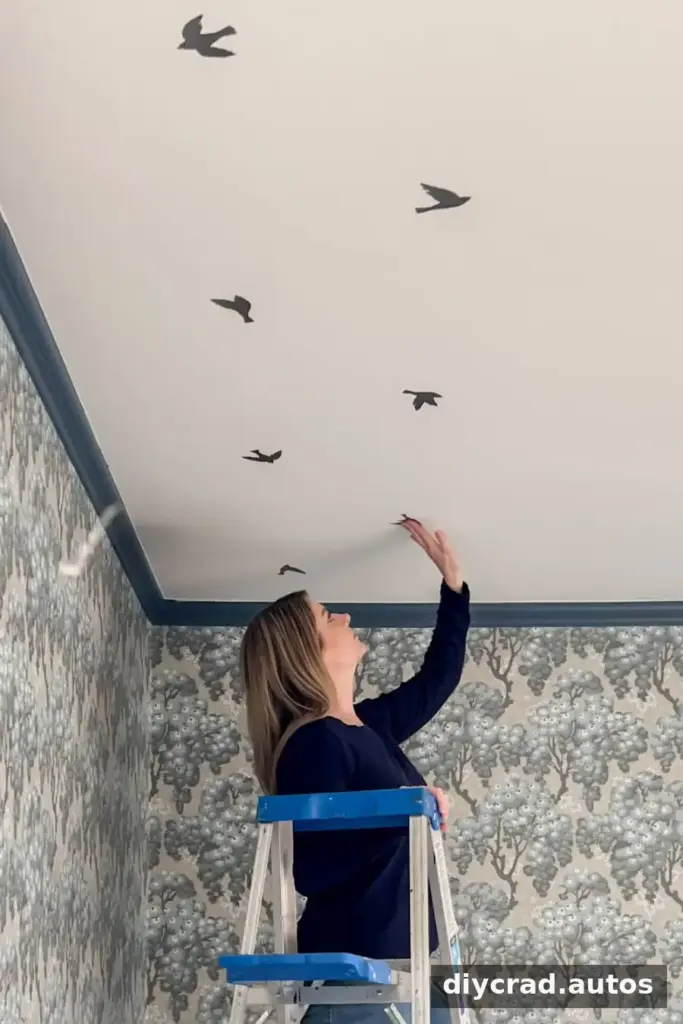
Check whether decals suit the ceiling
Vinyl decals may be easier to remove than pasted wallpaper, which can make them a useful option for a temporary design. However, removability and adhesion depend on the product and the ceiling surface. In this project, decals stayed in place on a ceiling with a slight popcorn texture. That result does not guarantee the same performance on every textured surface, so test a decal in an inconspicuous spot first and follow the manufacturer’s directions.
How to Make a DIY Faux Wallpaper Ceiling
Supplies
- Bird vinyl sticker decals (three packs were used for the example room; other shapes can also work)
- Ladder
- Scissors
- Two tape measures
- Laser level or laser measuring tool
- Marker
- Calculator for checking spacing and measurements
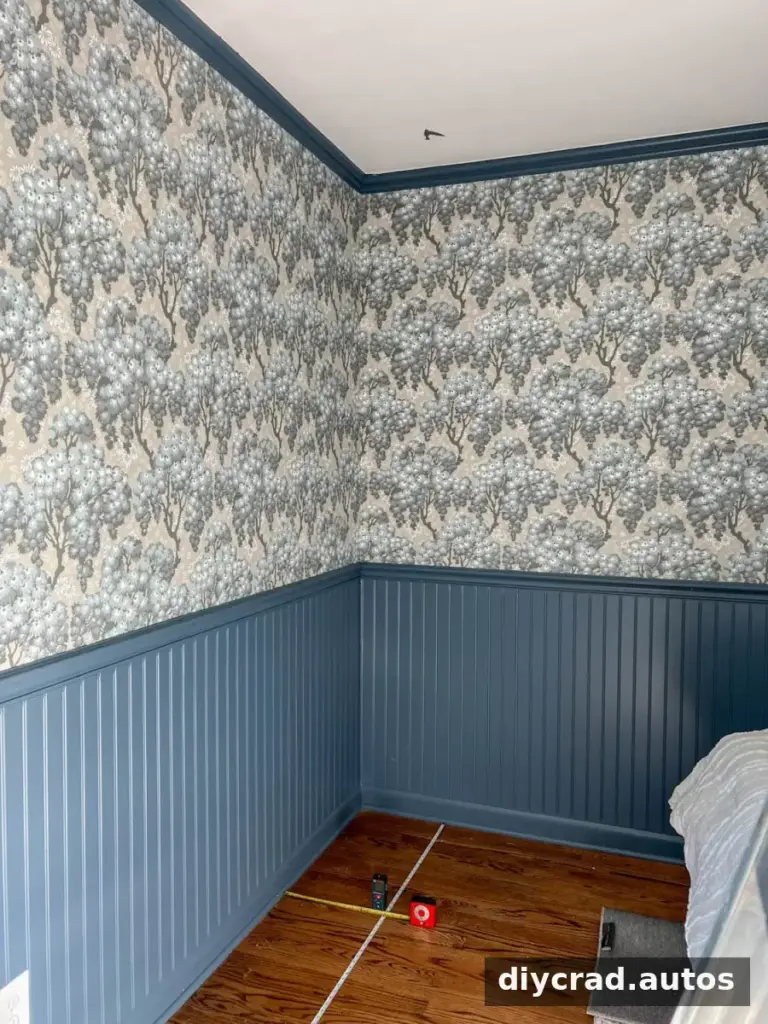
Step 1: Plan the layout
Measure the room and choose how far apart the decals should sit. Plan the full pattern before applying anything so the final row does not leave decals awkwardly cut off at the edge. For the 13′ × 13′ bedroom in this example, the birds were spaced 12″ apart between alternating rows, with a 24″ interval along each row.
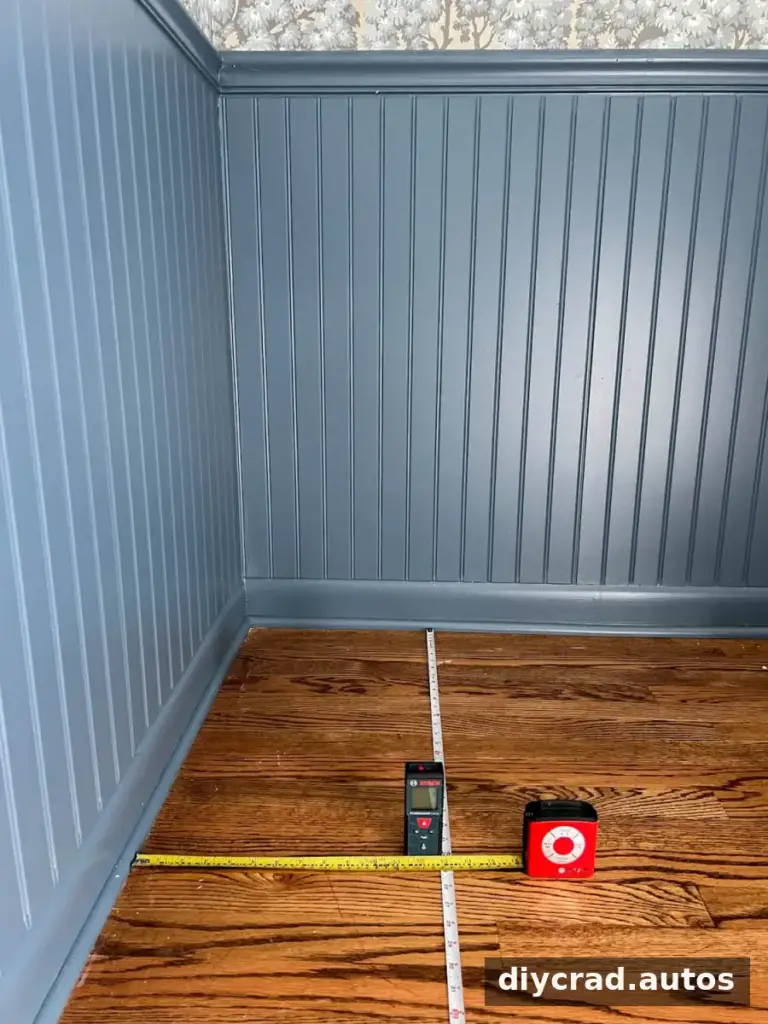
Step 2: Mark the first placement
- Stretch one tape measure across the room, parallel to a wall. The first row in this example began 12″ from the wall.
- Place the second tape measure perpendicular to the first, meeting it at the planned decal position, also 12″ from the wall.
- Set the laser tool flat on the floor where the tape measures meet and aim it at the ceiling.
- Use the laser dot as a guide to mark the first position on the ceiling.
Work carefully when marking overhead. Confirm the laser tool is stable and recheck the distance from the walls before repeating the mark across the room.
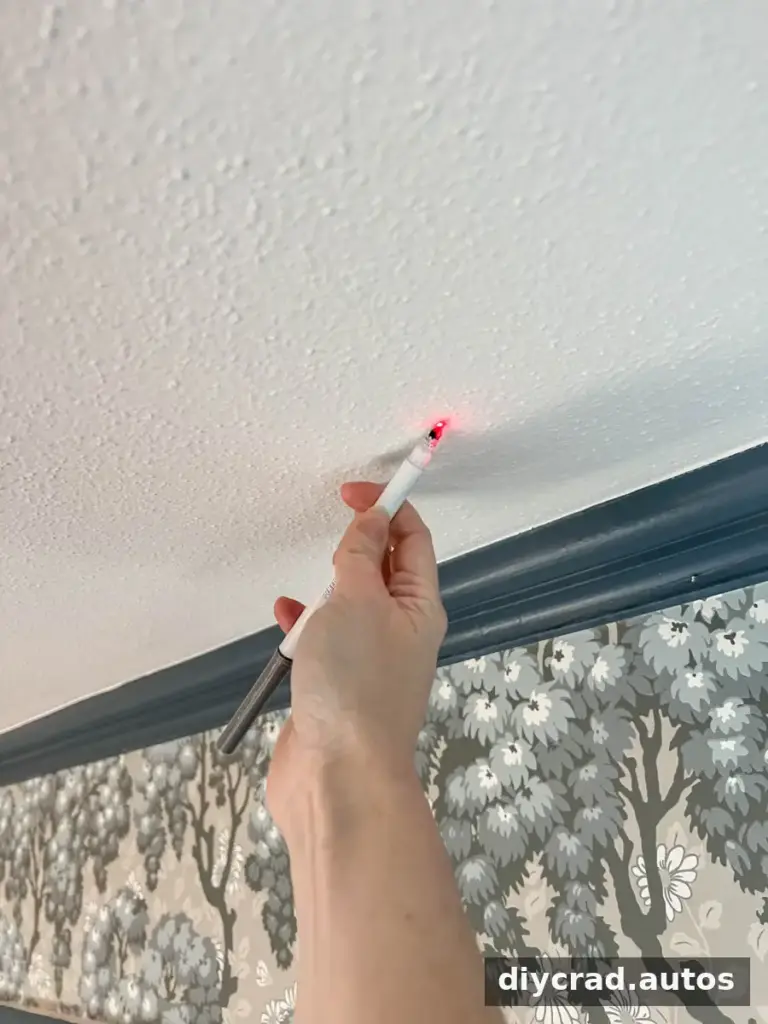
Step 3: Mark alternating rows
- Move the perpendicular tape measure along the first one to the next 24″ position, then use the laser to mark the ceiling.
- Continue marking every 24″ along the first row.
- Move the parallel tape measure over 12″ to begin the next row. Offset the marks so this row starts 24″ from the wall.
- Repeat the two-row pattern across the ceiling, checking the measurements as you go.
The example’s first row used marks at 12″, 36″, 60″, 84″, 108″, 132″, and 156″. The alternating row used 24″, 48″, 72″, 96″, 120″, and 144″. These measurements were used for a 13′ room; recalculate the layout for a different ceiling size.
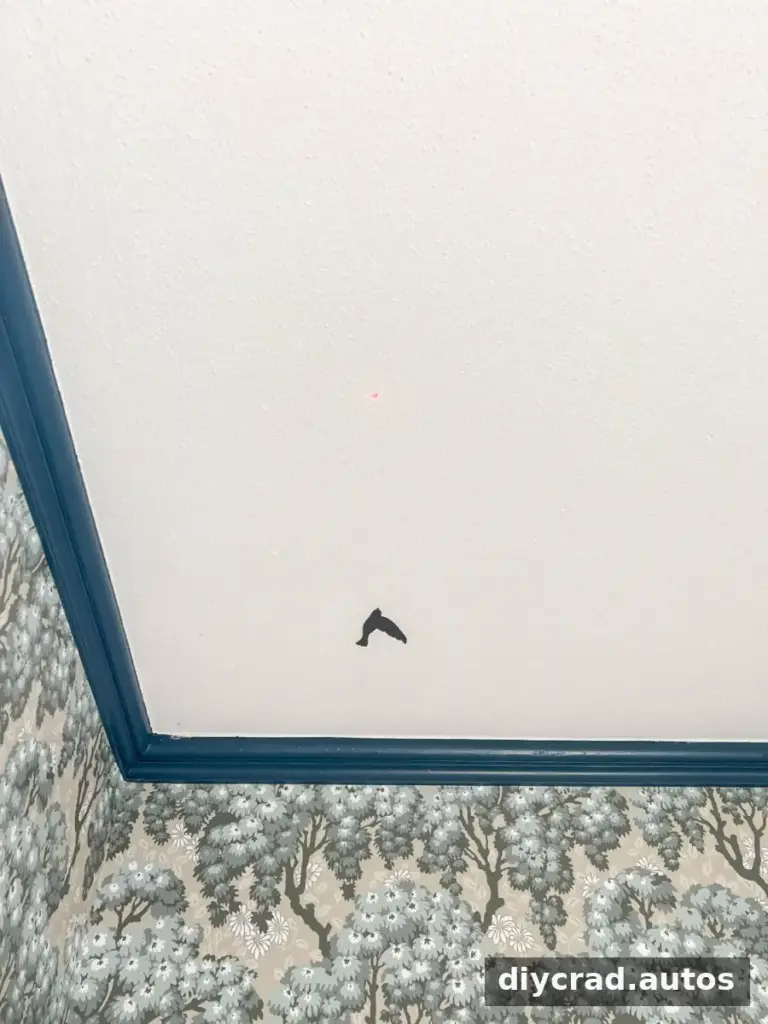
Step 4: Apply the decals
Cut the decals apart individually with scissors, then place them on the corresponding ceiling marks. Vary the direction of the birds and alternate different shapes to make the pattern feel more like a printed design. Avoid placing identical birds directly beside one another if you want a less repetitive appearance.
Continue measuring, marking, and applying decals until the planned area is covered. Step back occasionally to check the spacing and alignment before completing the next section.
Final Tips for a Patterned Ceiling
A decal ceiling is a relatively straightforward project, but the repeated measuring and ladder trips can make it time-consuming. Taking breaks and checking each row before moving on can help keep the layout consistent. The finished bird pattern adds a playful detail overhead, and the same method can be adapted for an accent wall or another room.
For a practical starting point, calculate the room dimensions, sketch the alternating rows, and test the decals on the actual surface. With those checks in place, a DIY faux wallpaper ceiling can offer a distinctive patterned look while avoiding the expense and installation process of full wallpaper.