

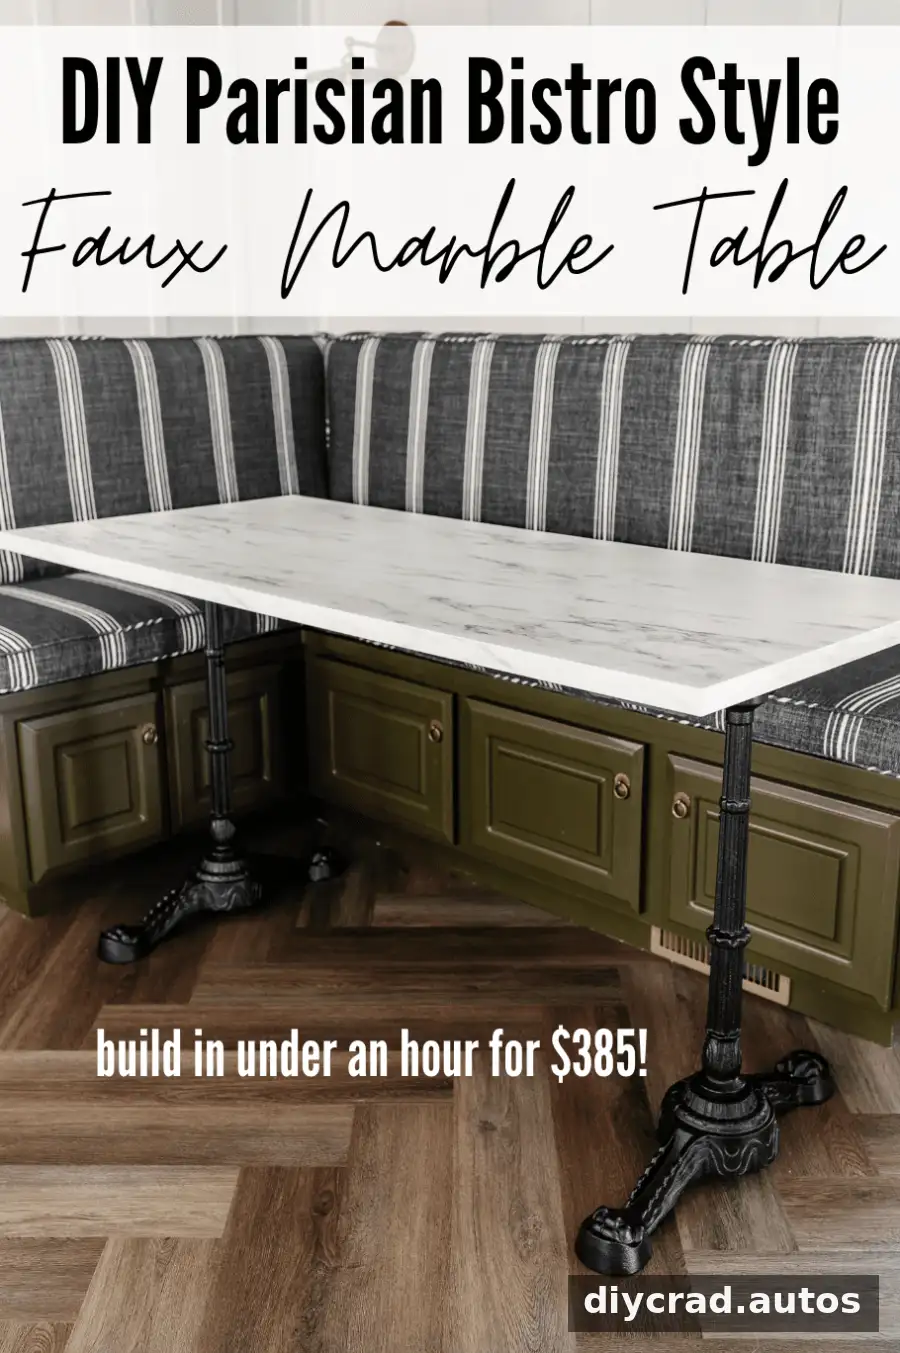
A DIY faux marble dining table can be a practical way to create a custom-sized table for a breakfast nook or another compact dining area. This project uses a faux marble laminate countertop and cast iron pedestal legs to make a Parisian-inspired table. The original build took less than an hour and cost about $385, although your timing and total cost will depend on the materials, tools, and finishing work you choose.
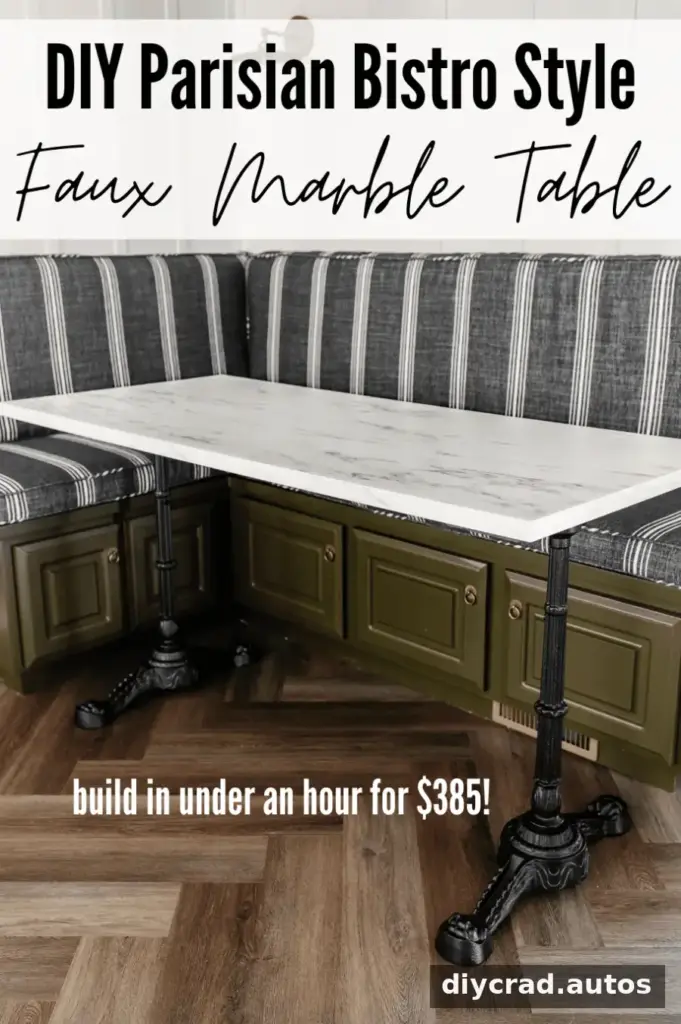
Why Make a DIY Faux Marble Dining Table?
A narrow or unusually shaped nook can be difficult to furnish with a ready-made table. A custom table may solve the fit problem, but it can also cost considerably more than a simple DIY build. In this project, the countertop is cut to the length needed, then paired with pedestal legs to suit banquette seating.
The laminate surface gives the table a marble-inspired look without using a natural stone slab. It is also less prone to staining than real marble, though spills should still be wiped up promptly and the countertop manufacturer’s care instructions should be followed.
- Custom fit: Choose a tabletop length that works with the available space.
- Simple construction: The main work involves measuring, cutting, and attaching the base.
- Adaptable height: Optional 2×6 boards can raise the tabletop to better suit taller benches.
- Budget awareness: This build cost $385, but local prices and material choices may change the total.
How to Make a DIY Faux Marble Dining Table
Tools
- Circular saw with a fine-finish blade, or a table saw
- Drill and drill bits
- Sawhorses
- Straightedge guide or framing square
Materials
- Faux marble laminate countertop
- Cast iron pedestal legs; bar-height legs are an option if the table will be used with bar stools
- Tape measure and pencil
- Masking tape or painter’s tape
- Utility knife with a sharp blade
- Contact cement
- One 2×6×8 board, optional, for adding height
- 1 5/8-inch #8 wood screws
- Black paint, optional, to blend exposed support boards with the table legs
Build Steps
1. Measure and mark the countertop
Measure the nook and decide on a tabletop length that leaves enough room to sit down and move around. Mark the cut length on the underside or surface of the countertop, as appropriate for your setup. Double-check the measurement before cutting; a careful check can prevent wasting material.
2. Apply masking tape at the cut line
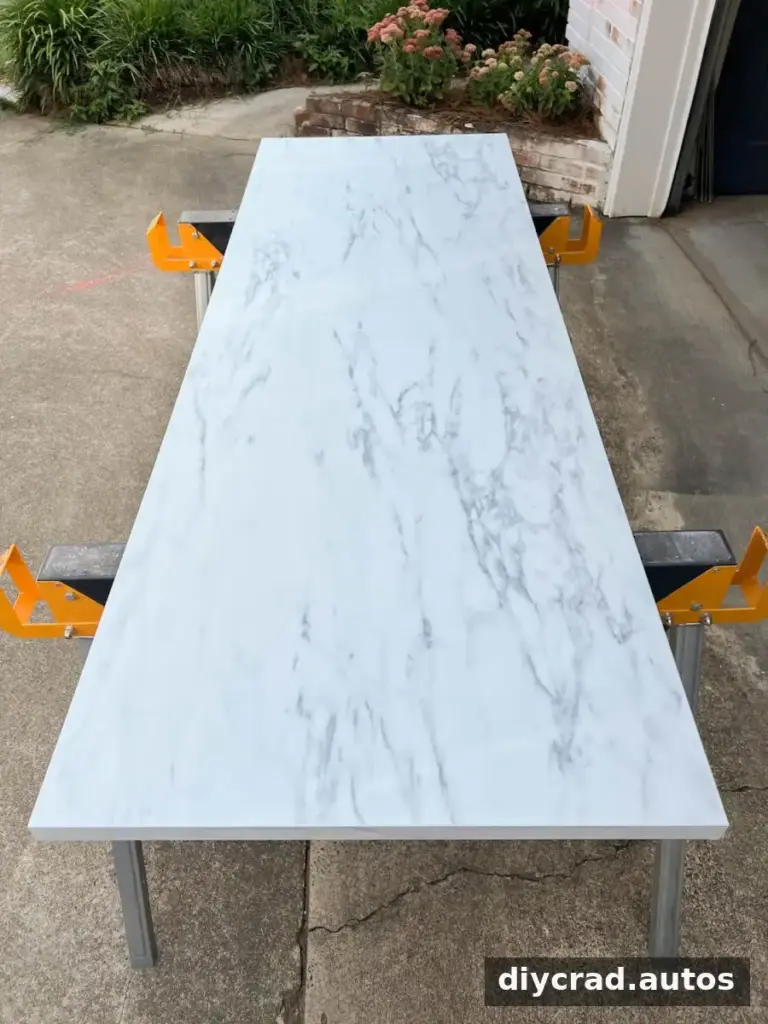
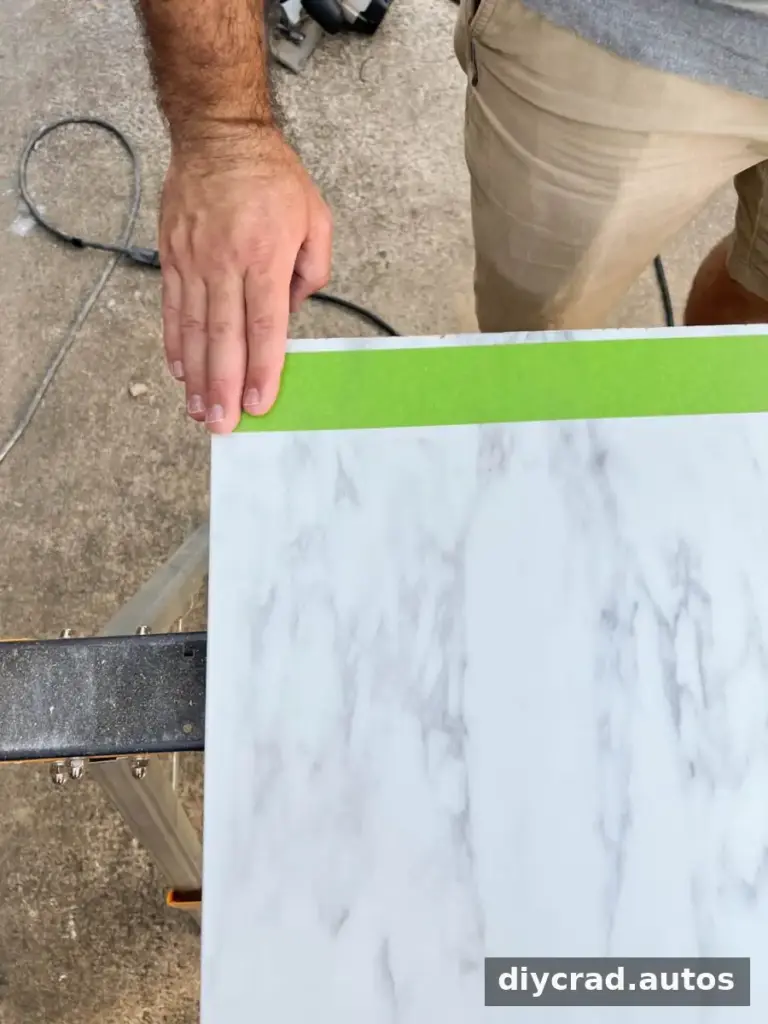
Place masking tape over the area where the countertop will be cut. The tape can help reduce chipping in the laminate as the saw passes through it. Keep the tape smooth and firmly pressed down.
3. Draw a straight cutting line
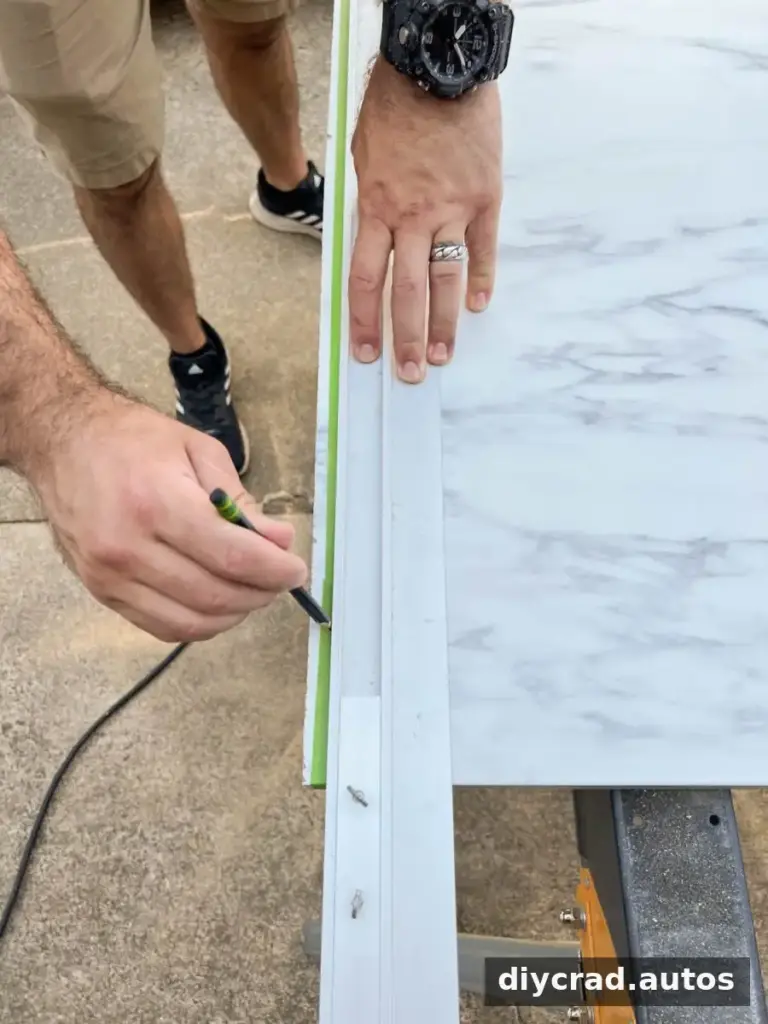
Measure again and mark the precise cut line on the tape. Use a straightedge or framing square to guide the line across the countertop. Accurate marking helps the finished edge sit evenly against the edge strip.
4. Cut the countertop
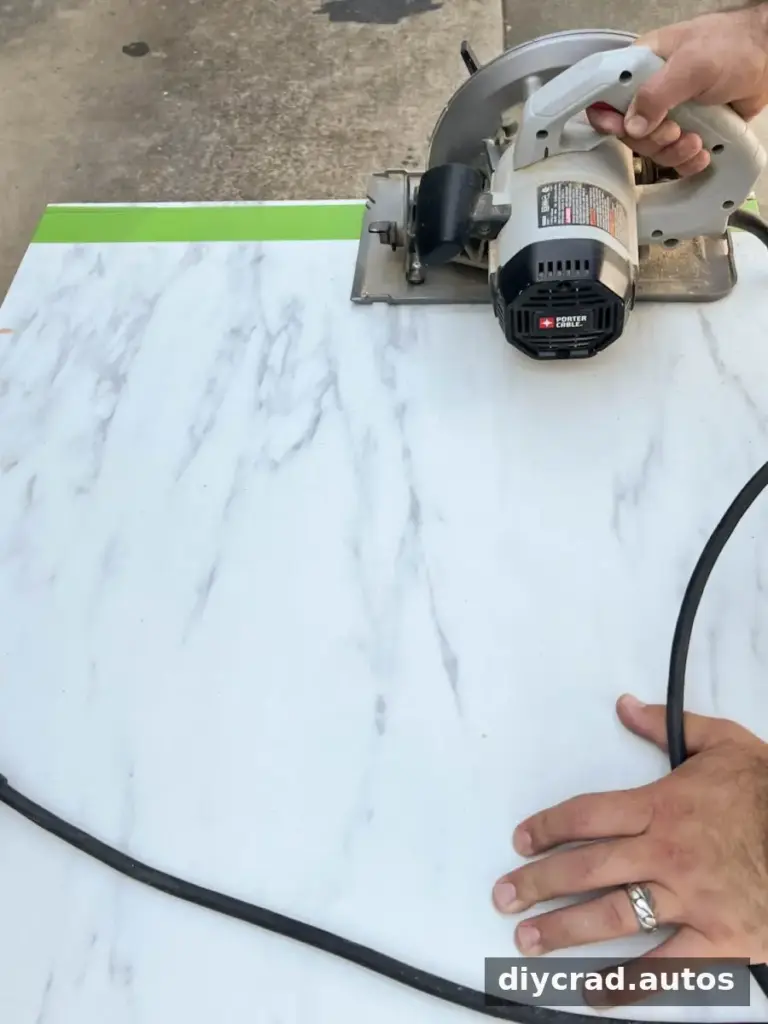
Support the countertop securely on sawhorses and follow the marked line with the saw. Use appropriate eye and hearing protection, keep hands clear of the blade, and follow the tool manufacturer’s safety instructions. A steady cut with a suitable fine-finish blade can help produce a cleaner edge.
5. Cut support boards if extra height is needed
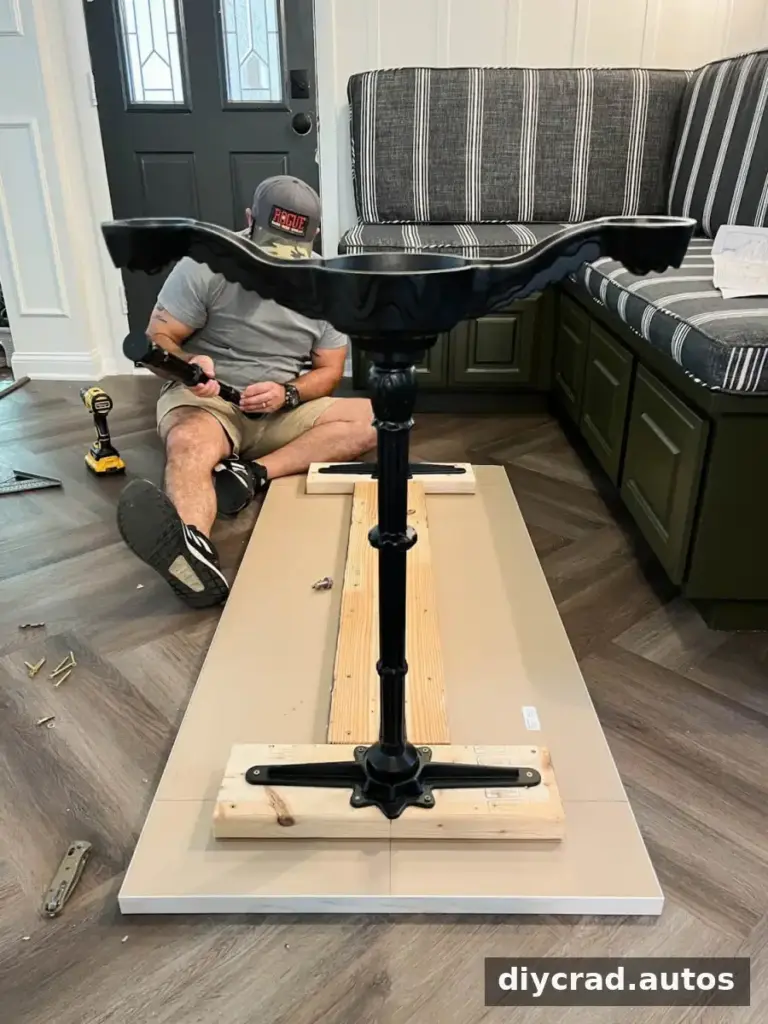
This step is optional. If the banquette or chairs sit higher than a standard dining chair, cut the 2×6×8 board into pieces to form an “I” shape beneath the countertop. Plan the spacing to match the pedestal-leg positions and ensure the supports fit without interfering with seating.
6. Attach the support boards
Use the 1 5/8-inch #8 wood screws to fasten the 2×6 pieces to the underside of the countertop. Check that the boards are aligned and firmly secured before attaching the legs.
7. Assemble and install the pedestal legs
Assemble the cast iron legs according to their instructions. Attach them to the support boards, or directly to the countertop’s underside if you did not add height. Confirm that the legs are positioned evenly and that the table stands level and stable.
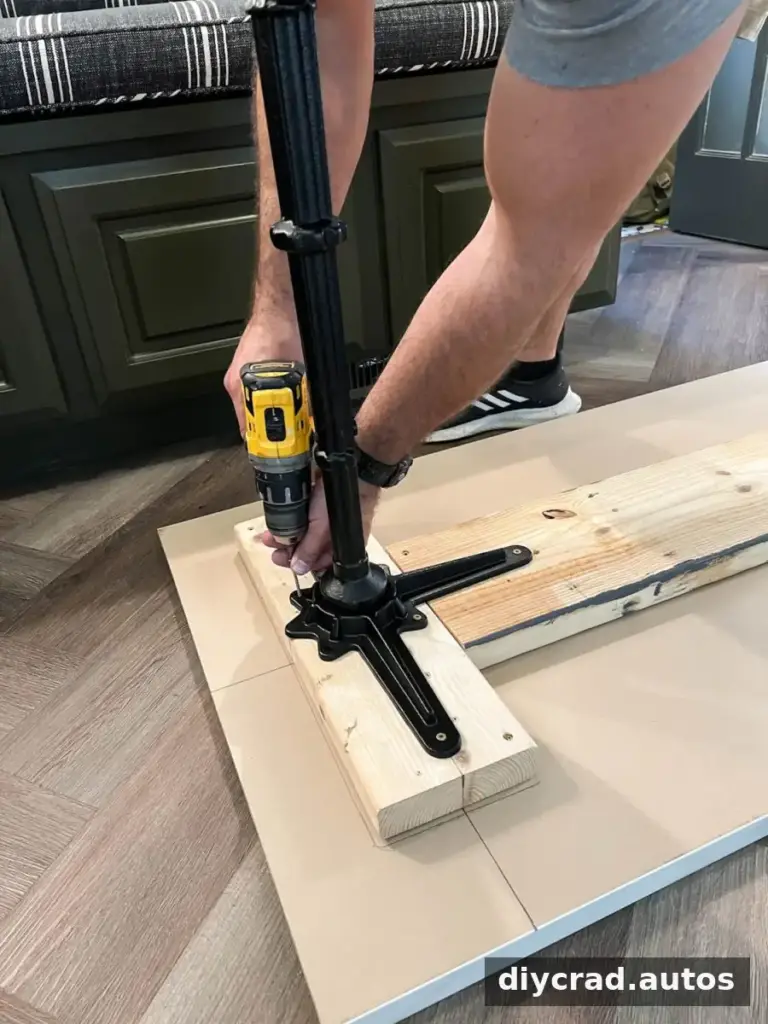
8. Paint any visible support-board edges
If the 2×6 boards can be seen beneath the tabletop, paint their exposed edges black so they blend in with the cast iron base. Let the paint dry fully before moving or using the table.
9. Finish the cut edge
Apply contact cement to attach a laminate edge strip over the raw countertop edge. Follow the product label for application, ventilation, and drying instructions. Once the adhesive has dried as directed, trim excess edging carefully with a sharp utility knife.
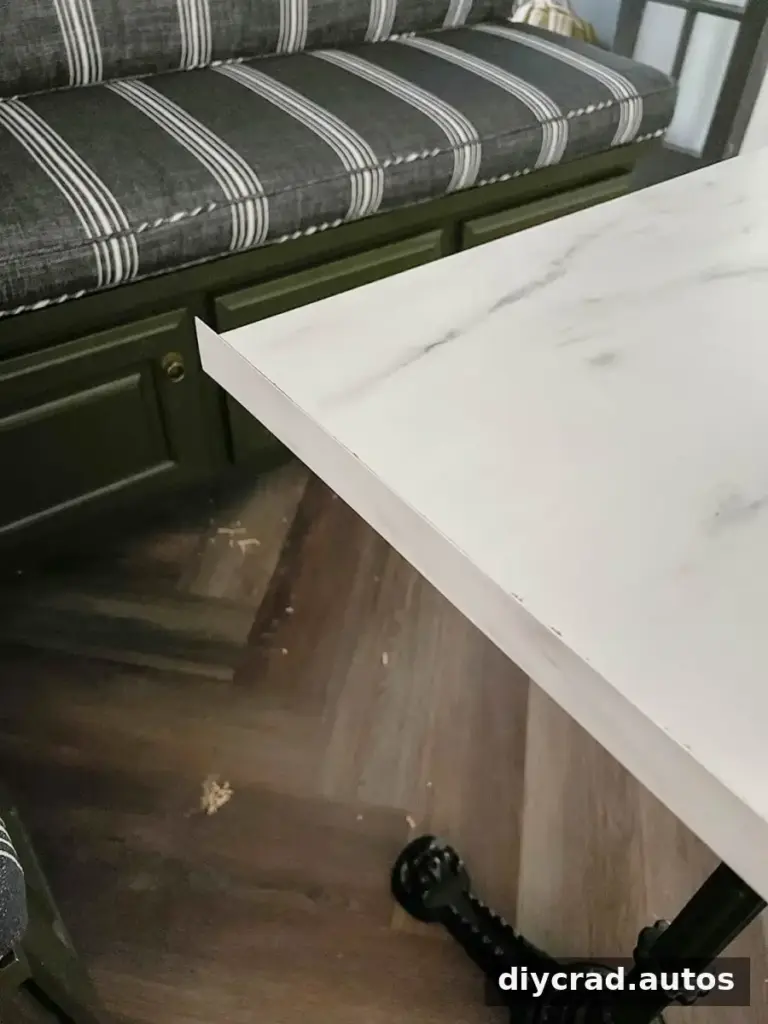
The Finished Parisian-Style Table
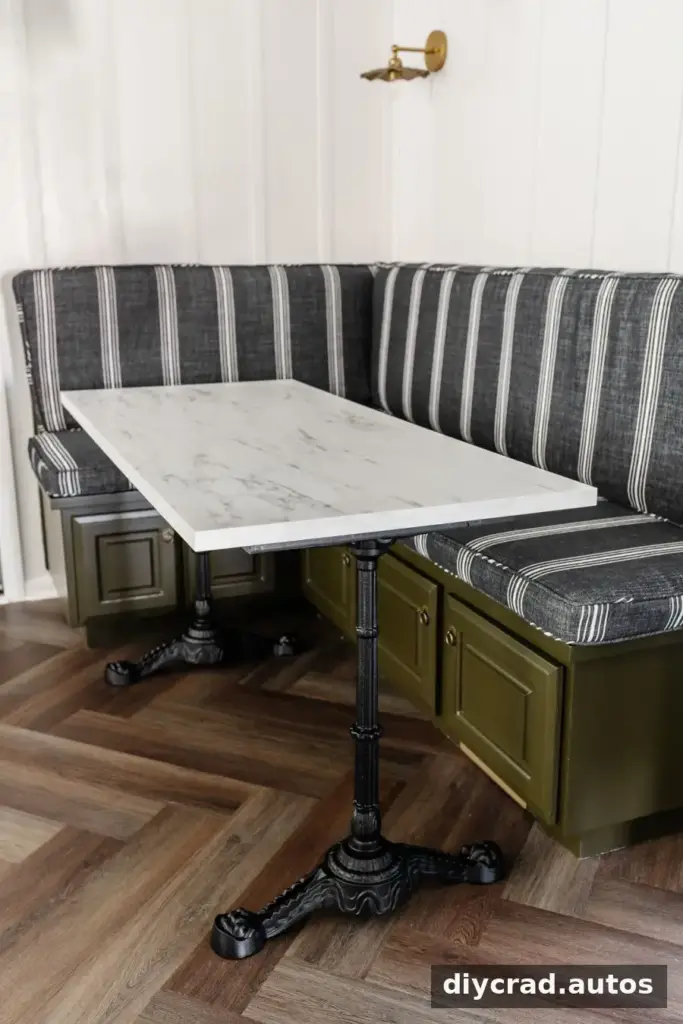
The combination of a marble-look top and ornate cast iron pedestal legs gives the finished table a bistro-inspired appearance. Its made-to-fit size can be especially useful in a long, narrow breakfast nook where standard tables may not work well. Before regular use, check that the edge strip is secure and that the base remains stable.
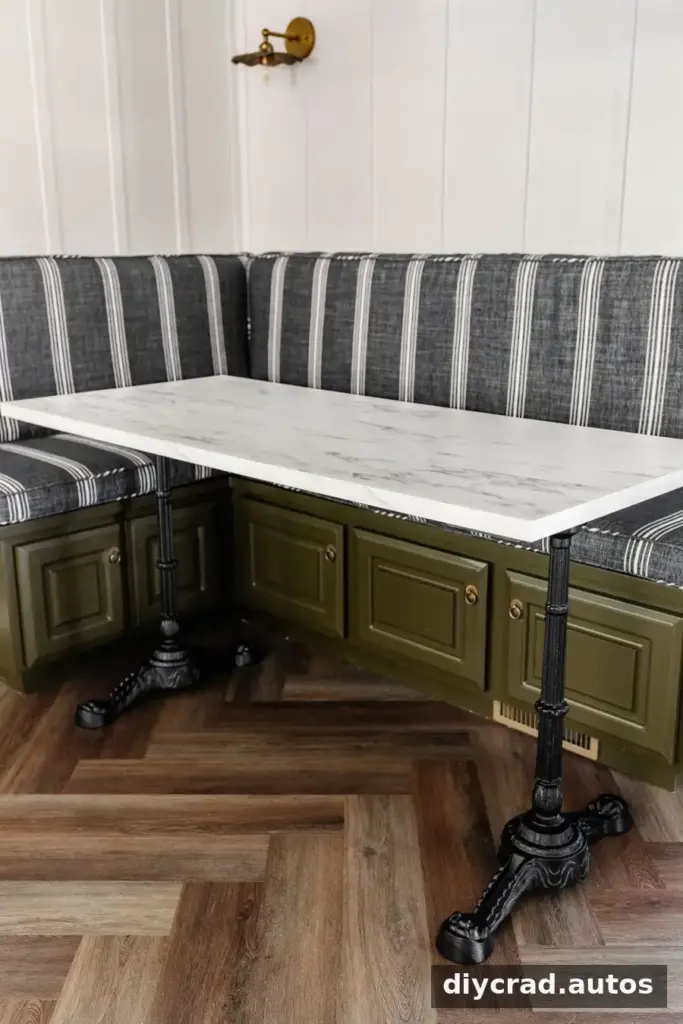
This table can be one part of a larger nook refresh. Coordinated banquette cushions, dining chairs, wall details, lighting, and flooring can help bring the space together. When planning those updates, complete any painting or other messy work before styling the finished dining area.
Planning a Breakfast Nook Makeover
A custom table is easiest to plan alongside the seating. Measure the usable floor area, note the height of the bench, and allow room for people to pull out chairs or sit comfortably. If you add support boards to raise the tabletop, check the final height before fastening the base permanently.
For a cohesive look, consider how the table’s dark metal legs relate to nearby lighting or other hardware. Keep the countertop’s care requirements in mind as well: use suitable cleaning products and wipe up food or drink spills rather than leaving them on the laminate.
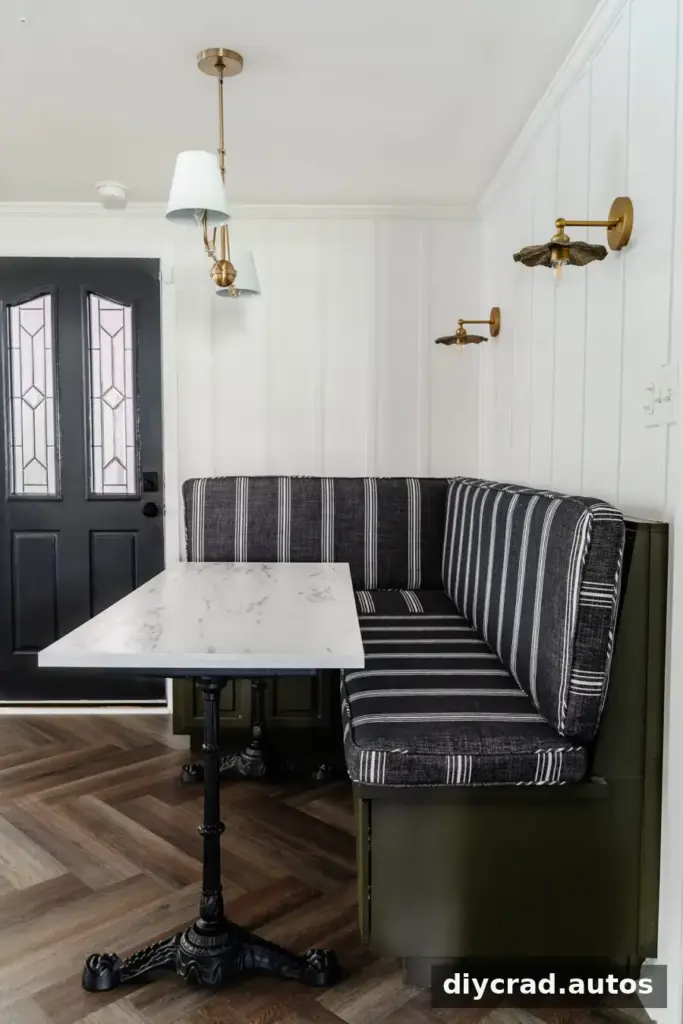
Conclusion
This DIY faux marble dining table turns a laminate countertop and pedestal legs into a custom-sized dining surface. With careful measuring, a clean cut, and a securely attached base, it can be adapted to fit a breakfast nook and suit banquette seating. Check your measurements, tool requirements, and local material costs before beginning so the finished table fits both your space and your budget.

