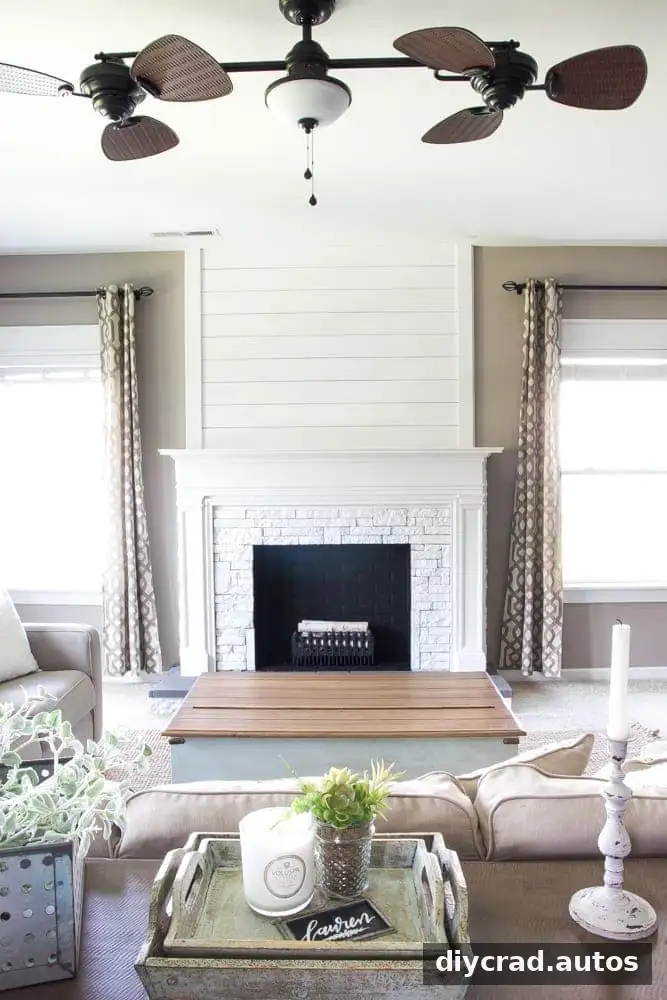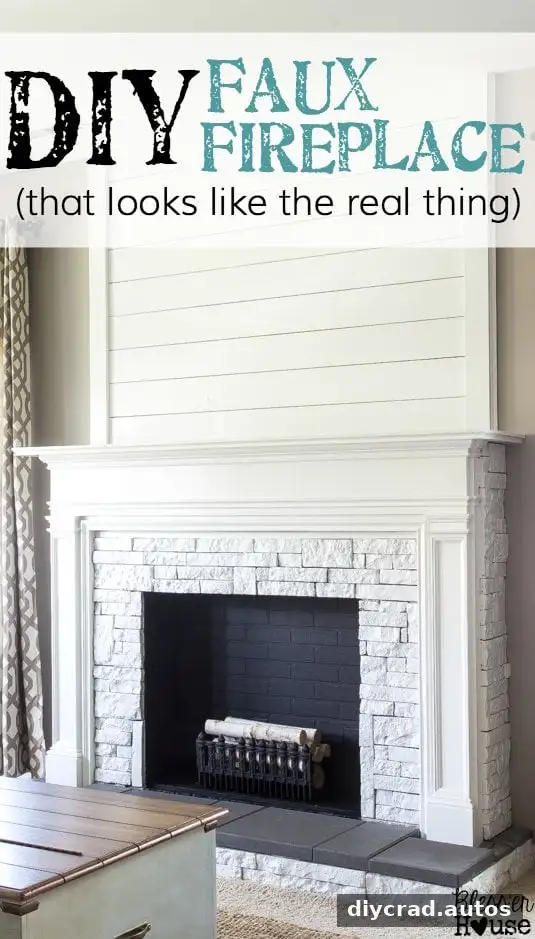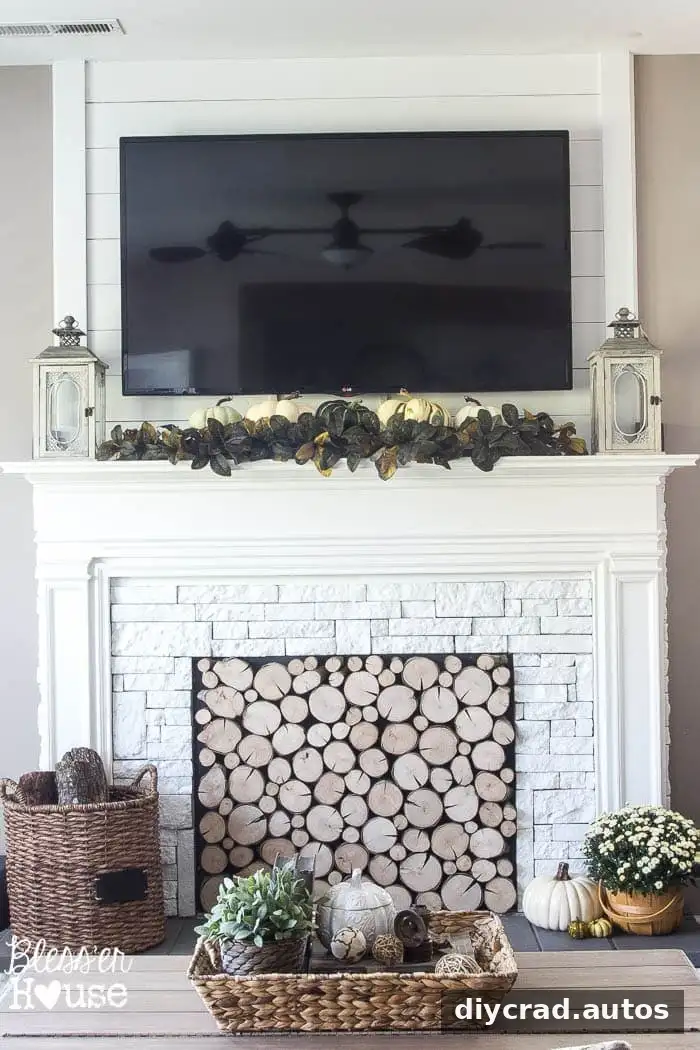
This DIY faux fireplace update shows how a brick-panel firebox can create a finished, cozy focal point without a working fire. Removing the television and its cable-hiding door opened up the mantel, while a few basic materials transformed the firebox into a decorative feature. The finished setup cost about $35 and is intended for display only.
Why update the DIY faux fireplace?
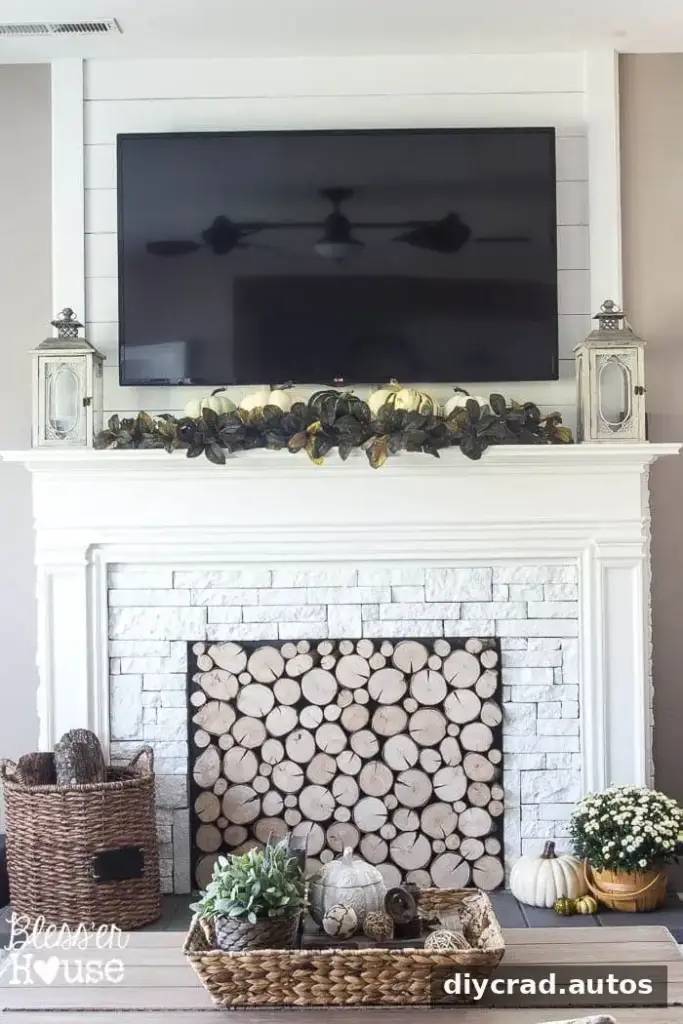
A 60-inch television had been mounted above the mantel, but looking up at the screen was uncomfortable. After the television was moved to a stairway wall and a media console was added to the room, the mantel could be used for decorating. The change also meant the door that had concealed cords inside the firebox was no longer needed.
Before starting a similar project, consider what the firebox will be used for and whether any outlets or wiring need to remain accessible. Plan the panel cuts around those features rather than covering them permanently.
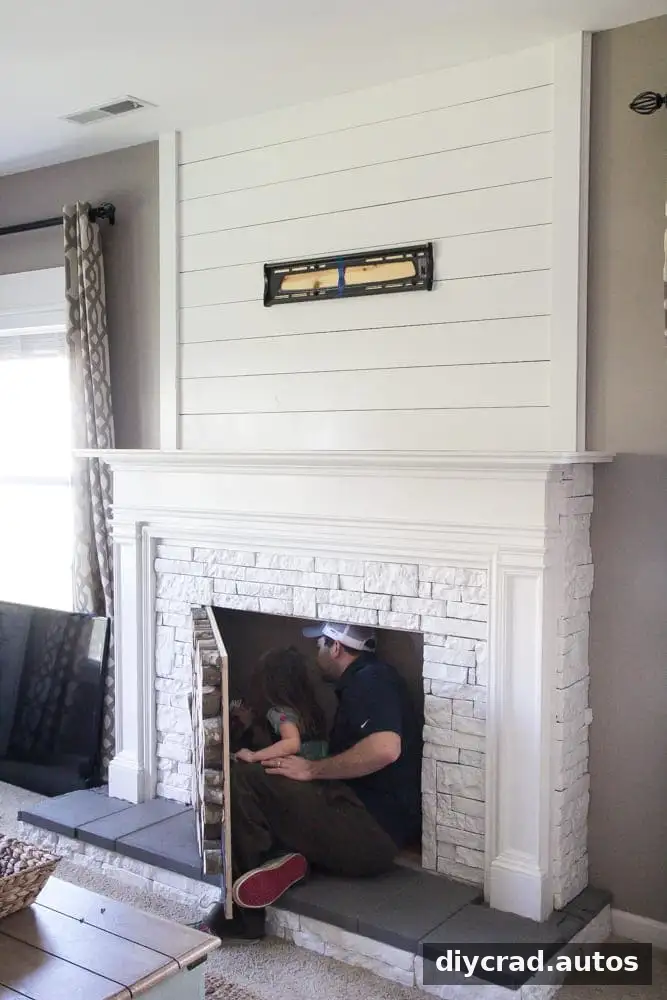
The firebox door was removed to expose the area that would be lined with brick paneling.

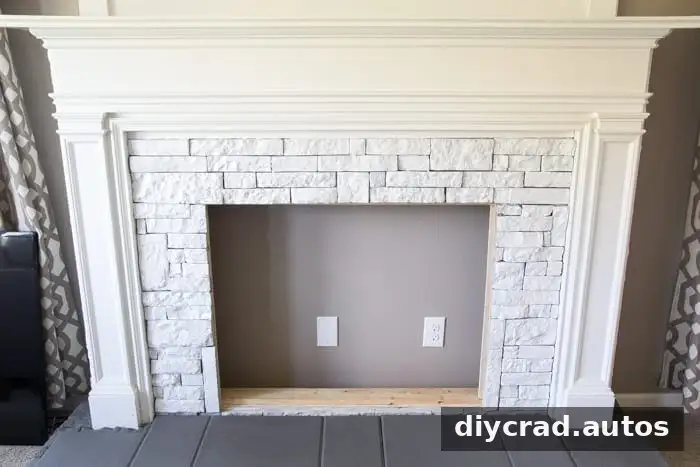
With the door off, the original firebox opening was ready for the new finish.
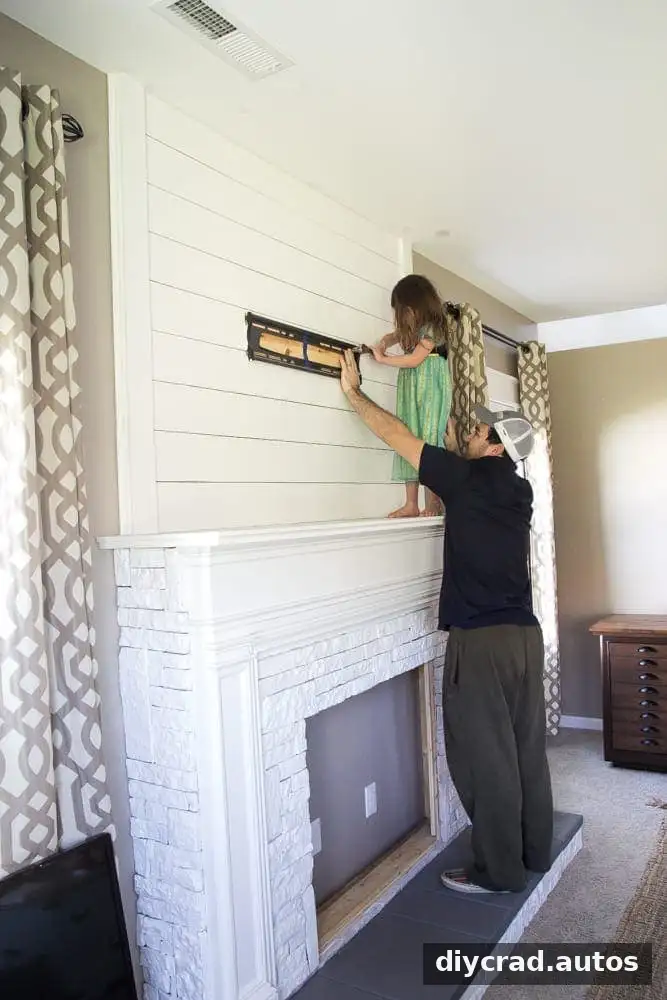
The television mount was taken down as part of the room update. Removing a wall mount can be a two-person task; support the mount and screen securely and follow the manufacturer’s removal instructions.
Materials and tools for a DIY faux fireplace
The project used a single panel of brick hardboard, cut to fit the firebox. Gather the tools and supplies before measuring so you can make accurate cuts and secure the panels efficiently:
- 1 panel of brick hardboard
- Circular saw
- Jigsaw
- Tape measure
- 1.5-inch finishing nails
- Hammer or pneumatic nail gun
- Latex caulk and a caulk tool
- Paint brush
- Flat black paint
Use suitable eye and hearing protection when cutting hardboard, and work in a ventilated area when painting or applying caulk. Check that the panel is appropriate for a decorative, non-operational firebox; it must not be treated as a heat-resistant fireplace liner.
How the faux firebox was assembled
1. Create a level base
Two pieces of 2×4 lumber were nailed down at the bottom of the firebox to provide a level, stable support for the brick panel. The base was intended to support decorative logs. Check the level before attaching the panel so the finished insert sits evenly.
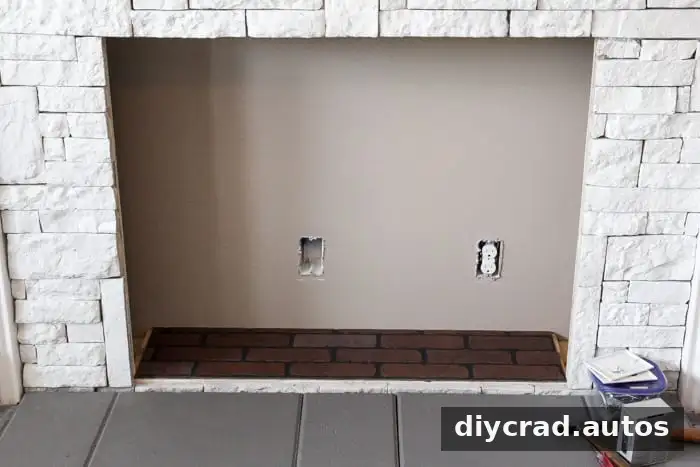
2. Measure, cut, and secure the panels
The bottom section was measured for width and depth, cut from the brick hardboard, and fastened with finishing nails. The sides were measured and cut in the same way, then secured with additional nails. Measure each section independently, since fireplace openings may not be perfectly square.
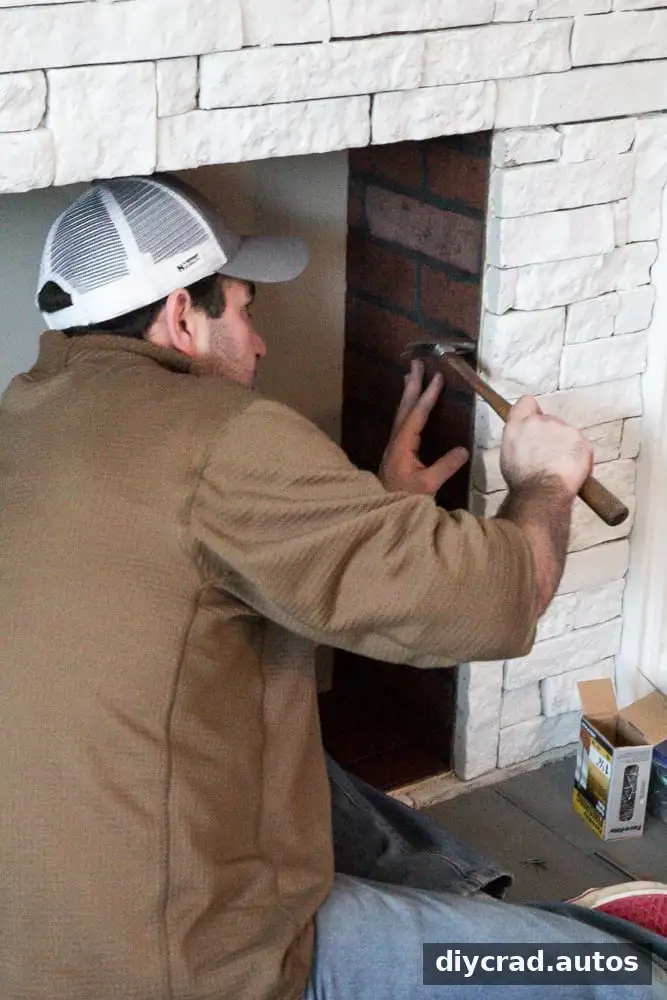
3. Keep outlets accessible
There were two outlets inside the firebox that needed to remain available. A jigsaw was used to cut openings in the paneling around them. After fitting and nailing the panels in place, the seams were caulked. Avoid blocking electrical access, and do not cut or alter wiring as part of a decorative panel project.
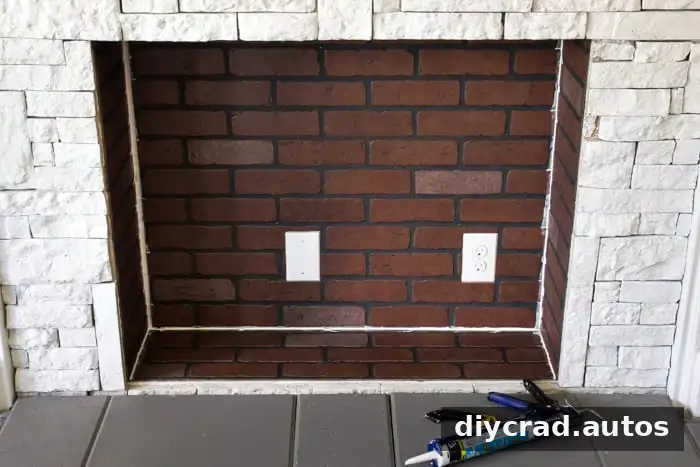
4. Paint and add decorative details
Two coats of flat black paint helped the exposed outlets blend into the firebox. Matte paint was chosen instead of shiny outlet covers so the openings would be less noticeable. Allow paint and caulk to dry fully according to their product labels before adding decorations.
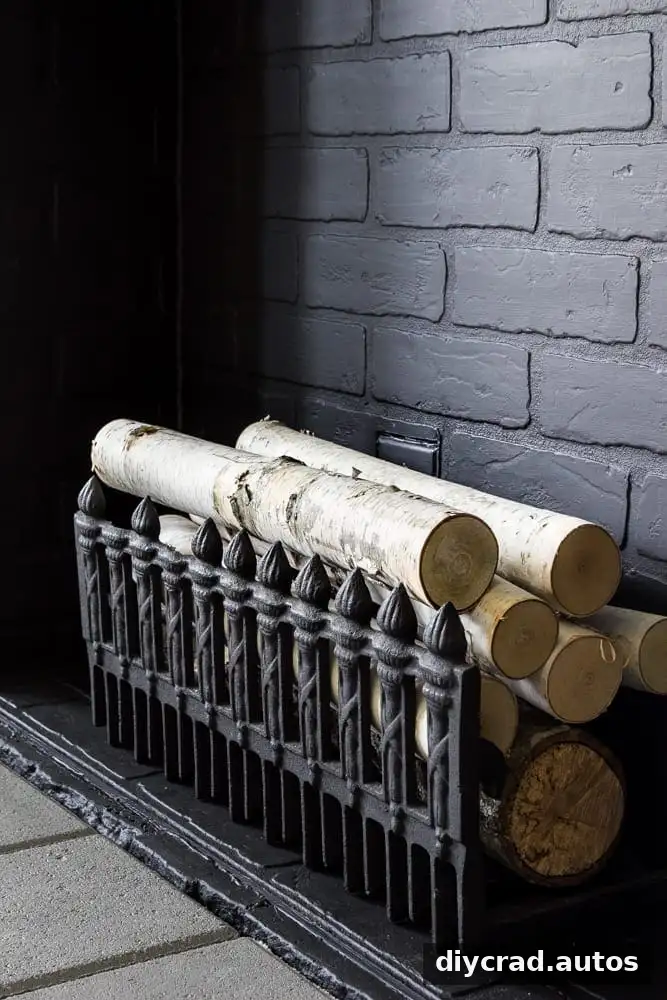
A secondhand fireplace grate happened to fit the opening. Birch logs were placed inside as a decorative finishing touch. Make sure any grate or display pieces are stable and cannot tip forward.
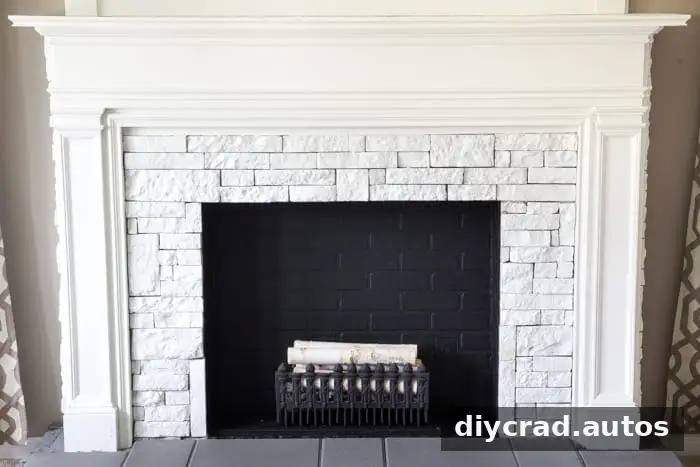
Important safety note: this fireplace is decorative
No fire is intended to be burned in this firebox. The hardboard, paint, caulk, and decorative logs are not being used as materials for an operating fireplace. Do not light candles, use a heater, or burn wood inside it. If you want a functional fireplace, use a properly installed unit designed for that purpose and follow its safety requirements.
An electric fireplace insert was considered, but the size needed would have cost close to $500. The decorative version cost about $35 instead. The choice depends on whether the goal is visual interest or actual heat; a faux firebox does not provide warmth.
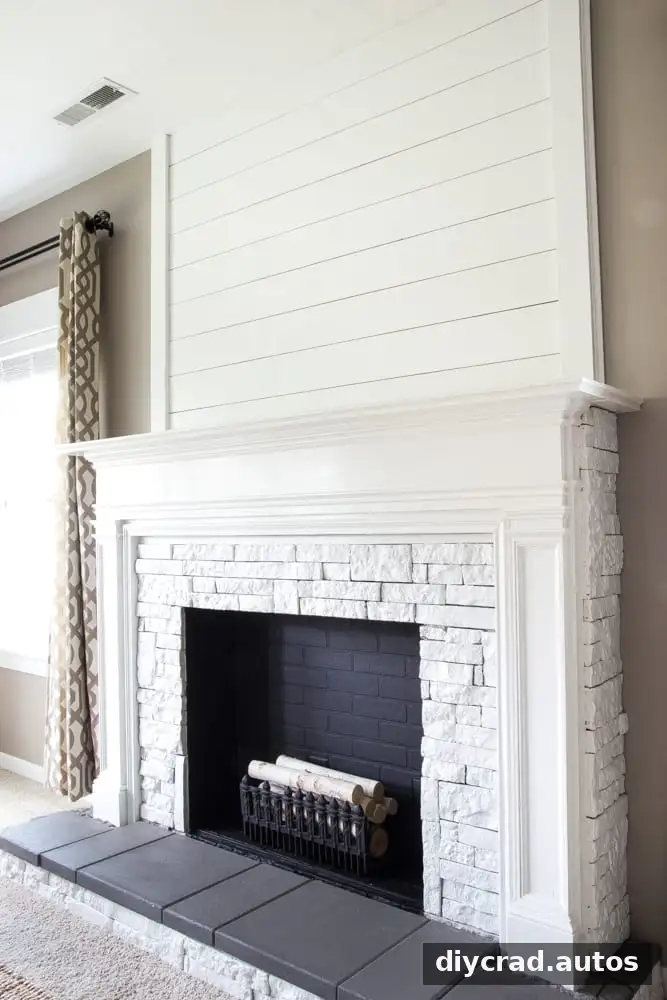
Decorating the mantel after the update
With the television gone, the mantel became an open surface for seasonal styling. Keep displays balanced and leave enough room around items so they are stable and do not crowd the edge. The brick-panel finish can also inspire other decorative projects, but each new use should suit the material and its limitations.
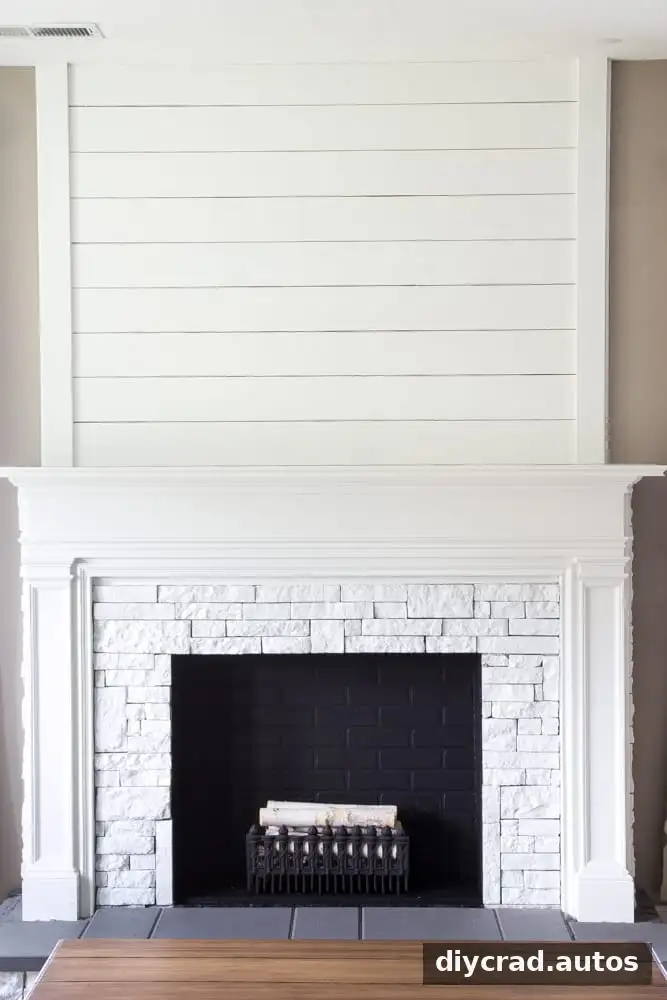
The living room coffee table was also being refinished after regular family use. When updating several pieces in one room, completing dusty or paint-related work before arranging decor can help keep finished surfaces clean.
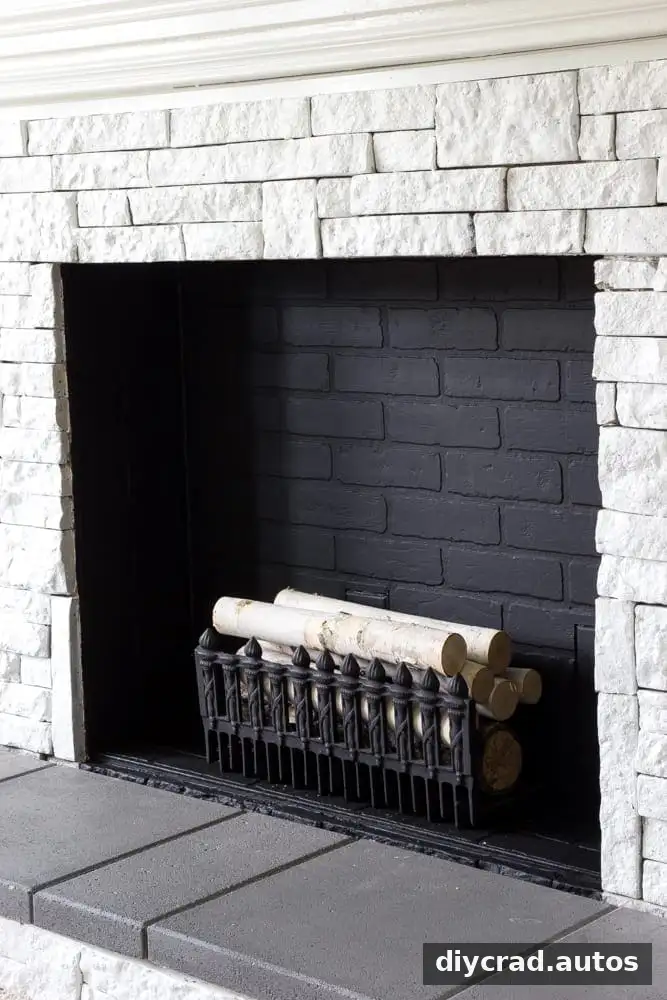
The revised firebox offers a different look from the former log-front door, while keeping the project simple and budget-conscious. A DIY faux fireplace can be an appealing visual feature when it is clearly treated as decoration, the panels are fitted securely, and outlets remain accessible. For this version, the key details were the brick hardboard, flat black finish, and a grate filled with birch logs.