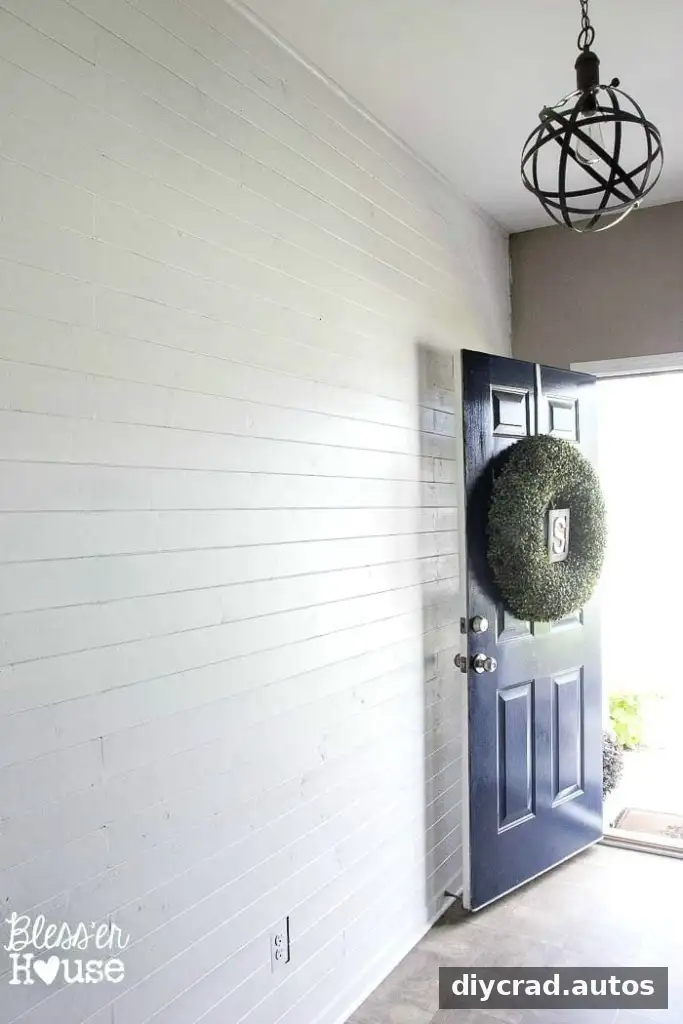
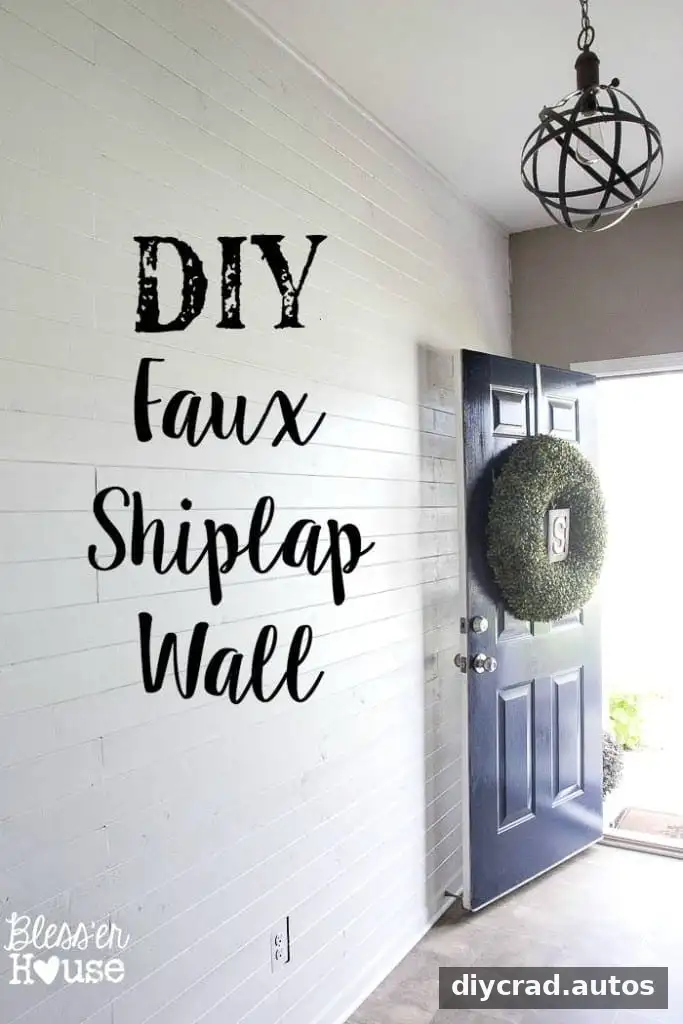
A DIY faux shiplap wall can add texture and brighten a room, especially where natural light is limited. This project uses tongue-and-groove planks for a simpler alternative to cutting plywood into strips. The example below covers the materials, layout, installation, and finishing details for a 10-foot foyer wall.
Materials for a DIY faux shiplap wall
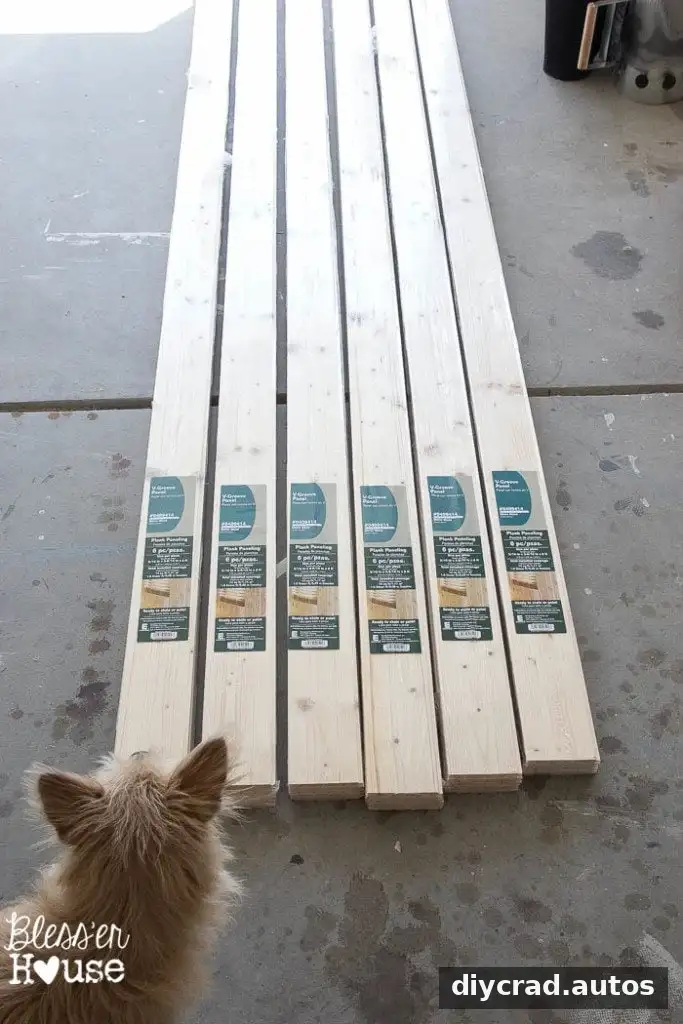
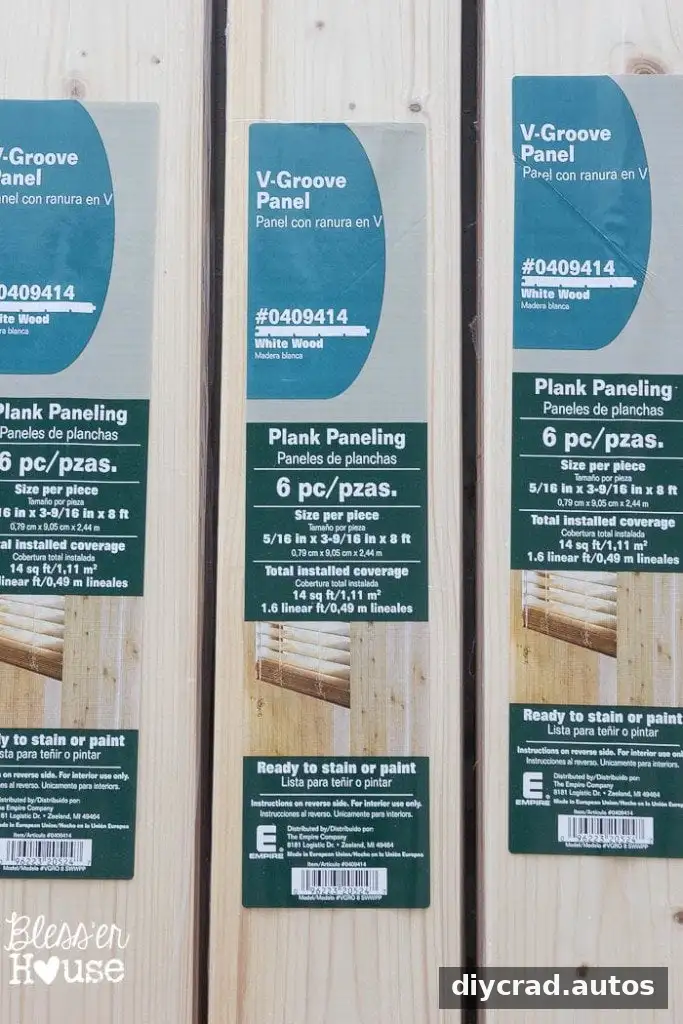
The wall was finished using seven packs of V-groove wood planks, with six planks in each pack. The wood, paint, spackling, and caulk cost about $140 altogether. Cutting plywood into strips could have reduced the material cost by about $30, while the ready-made planks avoided some measuring and cutting.
- Seven packs of V-groove wood planks, six planks per pack
- Pneumatic nail gun and nails
- Table saw or another saw suitable for straight cuts
- Spackling compound
- White trim caulk
- Primer and paint, or a combined primer-and-paint product
- Putty knife, measuring tape, and sanding materials
Before buying materials, measure the full wall and account for outlets, corners, and trim. A small amount of extra material can help accommodate imperfect walls and mistakes during cutting.
Prepare the wall and plan the plank layout
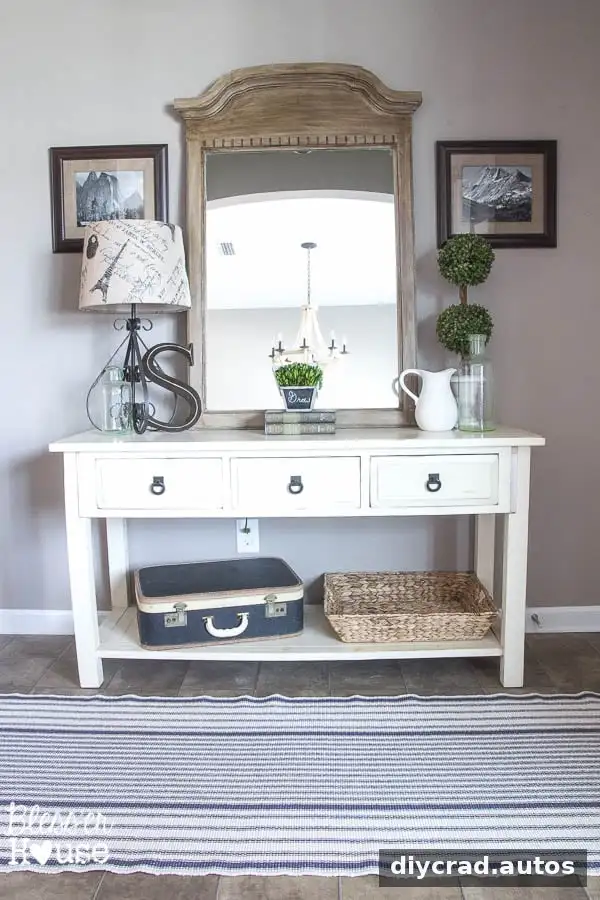
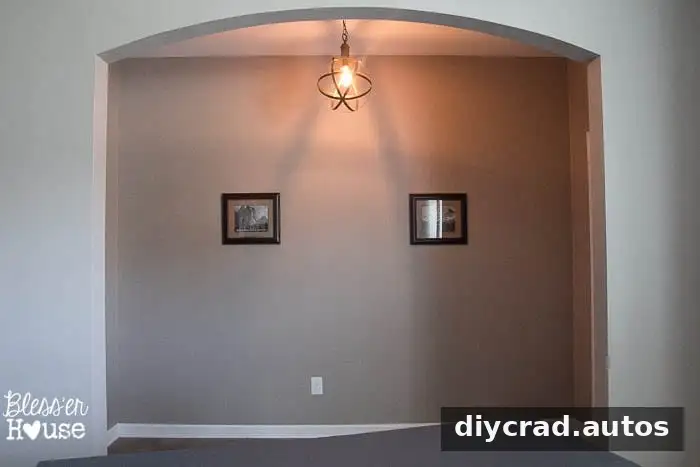
Clear furniture away from the work area and check the wall for anything that could interfere with installation. In this example, the foyer had little natural light, so white boards were chosen to make the space feel brighter. The finished wall can also add a simple farmhouse-inspired detail.
Measure the wall before cutting. The wall was 10 feet long, while the planks were 8 feet long, so shorter pieces were needed to complete each row. Planning the pattern in advance helps avoid placing all the short joints in the same vertical line.
Check each measurement against the wall before making a cut. The wall in this project was not perfectly square, so some pieces differed from the planned 2-foot length by a few inches. Allow for small variations rather than assuming every section is identical.

Install the tongue-and-groove planks
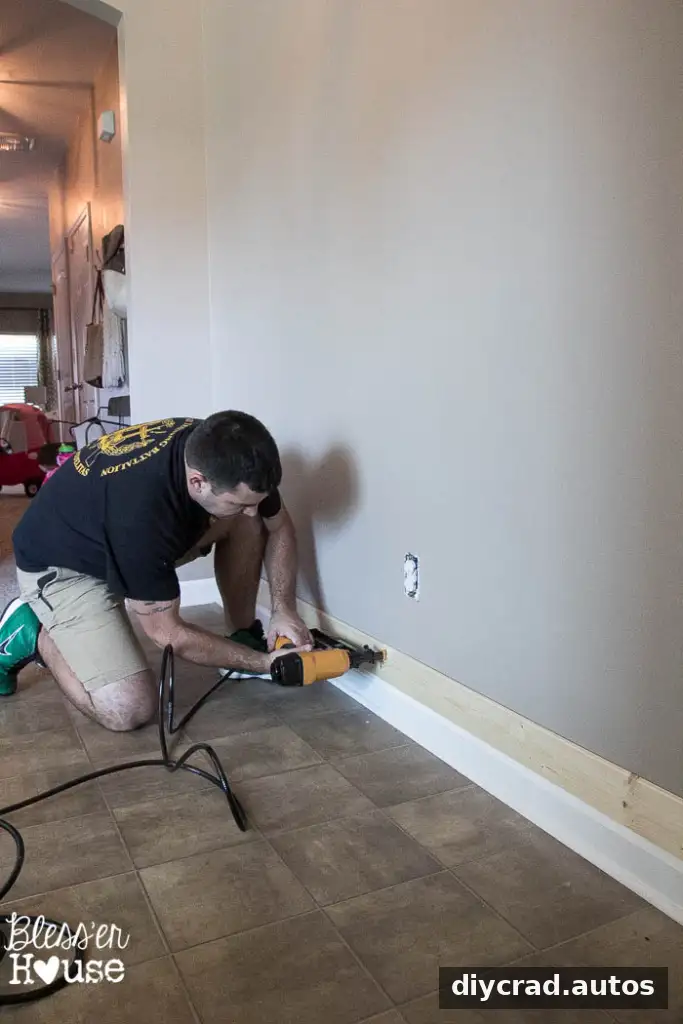
Installation began along the bottom of the wall, just above the existing baseboard. Starting at the top is another possible approach, but whichever direction you choose, check that the first board is level. A level starting row makes it easier to keep later rows aligned.
Attach the boards with a pneumatic nail gun and nails. Use the 8-foot pieces and shorter sections in an alternating pattern as you work upward. Leave enough room to account for uneven edges, and measure each piece before cutting it.
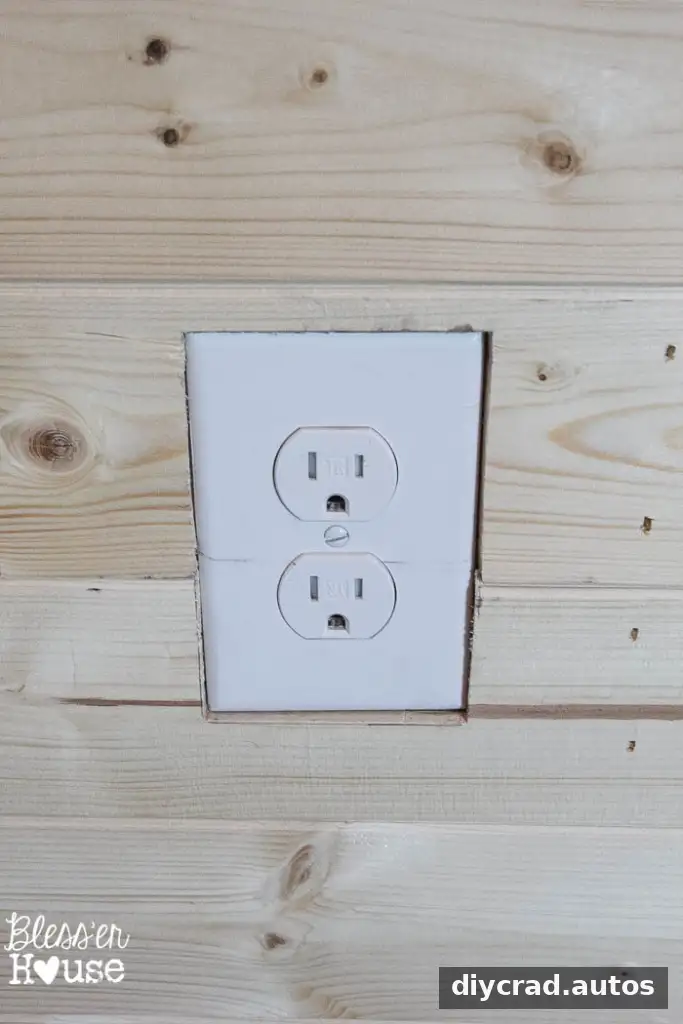
An outlet required a cutout in one plank. The board was held in position so the outlet could be marked before the opening was cut with a jigsaw. Make sure power is safely isolated before working around electrical fittings. If you are unsure how to handle an outlet or its cover, ask a qualified electrician. An outlet extender may be used when needed to bring the cover forward over the new wall surface.
Continue alternating plank lengths and checking the fit as you go. Cutting tools can cause serious injury, so follow the tool manufacturer’s instructions and use appropriate eye protection. Avoid forcing a board into place if the measurement or cut needs checking.
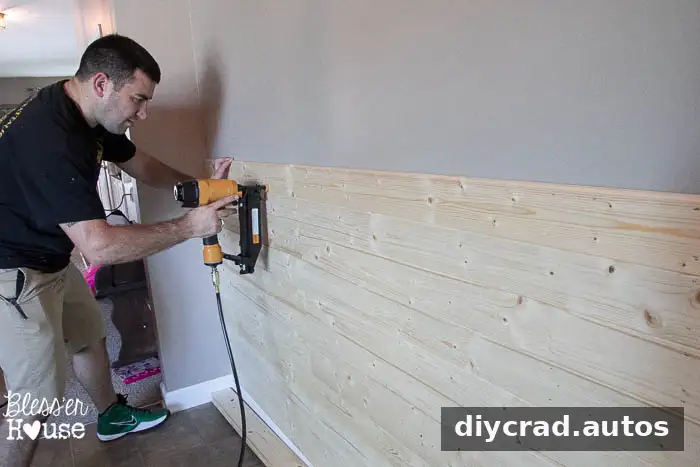
The shorter sections were approximately 2 feet long, adjusted as needed to suit the actual wall. Dry-fitting a piece before fastening it can help catch a poor fit early.
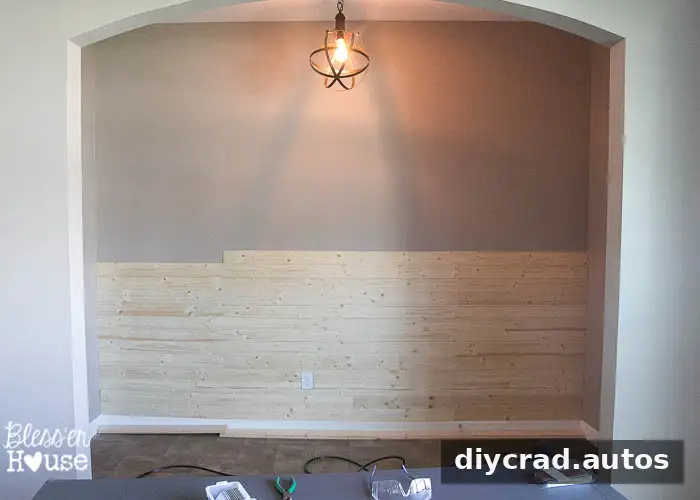
Once the rows reached the top, a strip of quarter-round molding was added to cover the remaining gap and give the edge a finished appearance. Measure the top space carefully before cutting the trim.
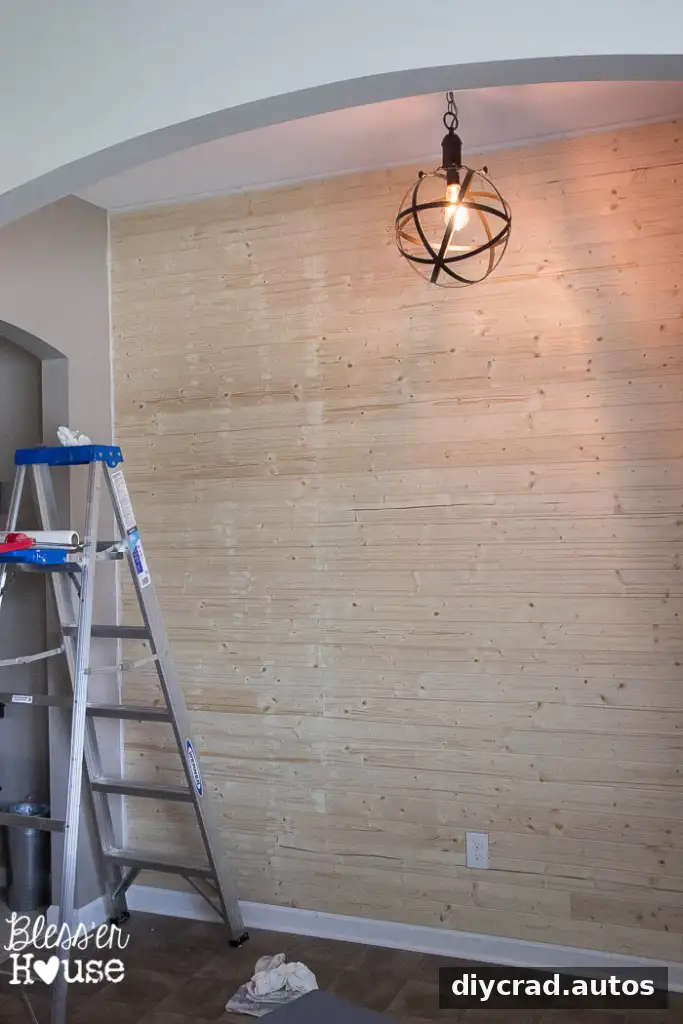
Fill, caulk, and paint the finished wall
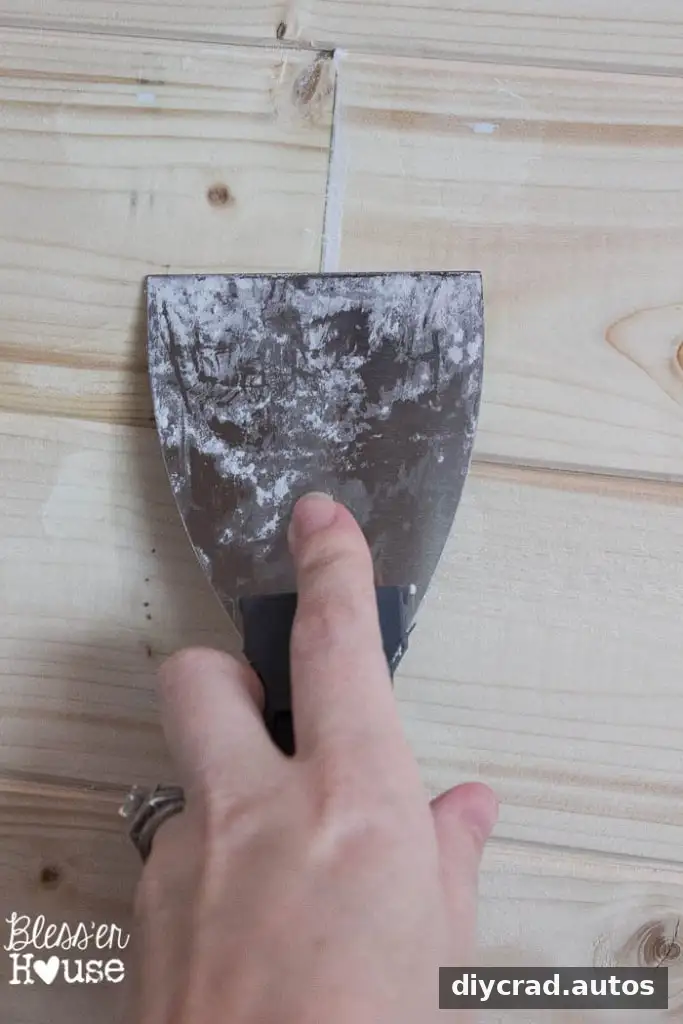
Apply trim caulk along the wall edges and use spackling compound to cover nail holes. Smooth the spackling with a putty knife. After it dries, sand rough or raised areas so the surface is ready for paint.
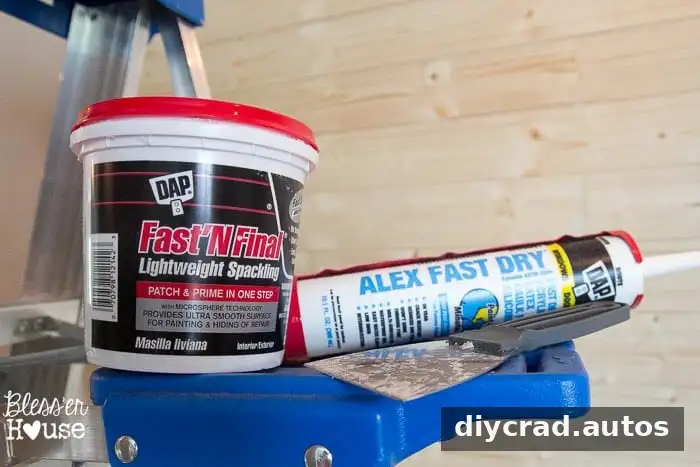
Wipe away sanding dust before painting. The project used two coats of a paint-and-primer combination in a white shade, with less than half a gallon needed. Coverage varies with the wall, paint, and application method, so check the product label and allow each coat to dry as directed.
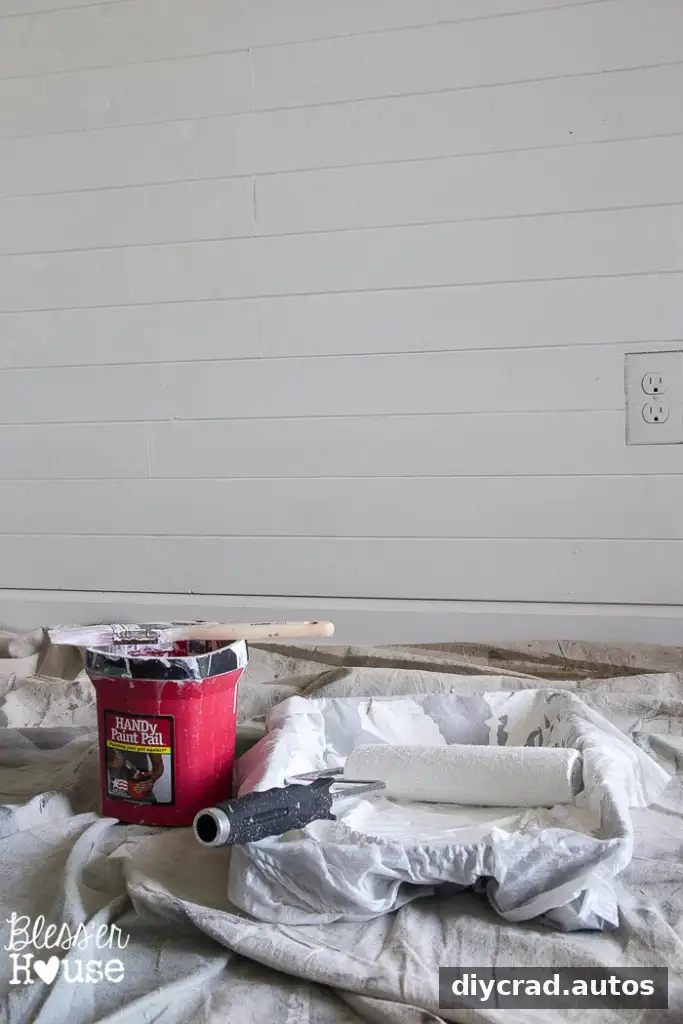
The installation and finishing took about three days, despite the initial expectation that it would take only a few hours. Cutting boards to fit, working around the outlet, filling holes, and applying paint all add time. Planning for several work sessions can make the project more manageable.
What to expect from a DIY faux shiplap wall
The completed foyer felt brighter, and the plank pattern added definition to a plain wall. The V-groove boards provided a convenient option, but they did not eliminate the need for careful measuring, cutting, and finishing.
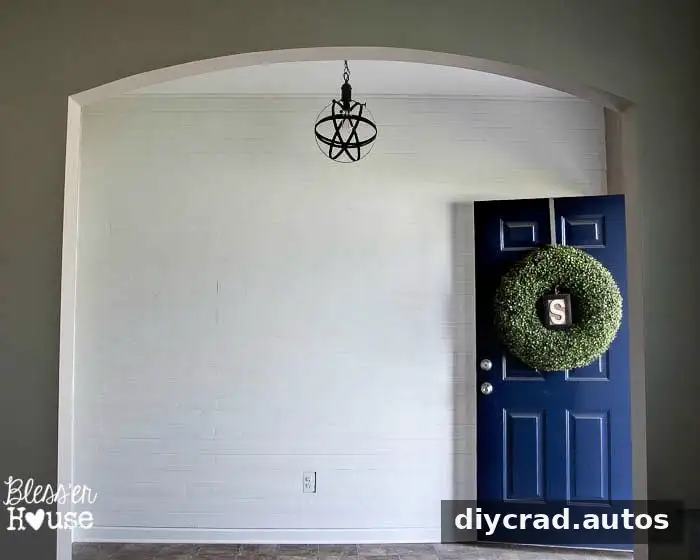
For a smoother process, prepare the layout before installation, check every cut against the wall, and leave enough time for caulk, filler, and paint to dry. The result of this DIY faux shiplap wall project is a bright, textured feature that can suit an entryway or another interior wall.