DIY faux wall planking can give a room the look of horizontal wall boards without the cost, installation time or commitment of real lumber. This budget-friendly approach uses an oil-based paint pen and boards as spacers to draw evenly spaced lines on a painted wall. The project described here cost about $20 and took roughly two hours, though material prices and room size can affect the total.
The finish is flat rather than three-dimensional, so it looks most convincing from a little distance. It can be a practical choice for a child’s room, a temporary accent wall, or anyone who wants to try the planked look before committing to a permanent treatment.
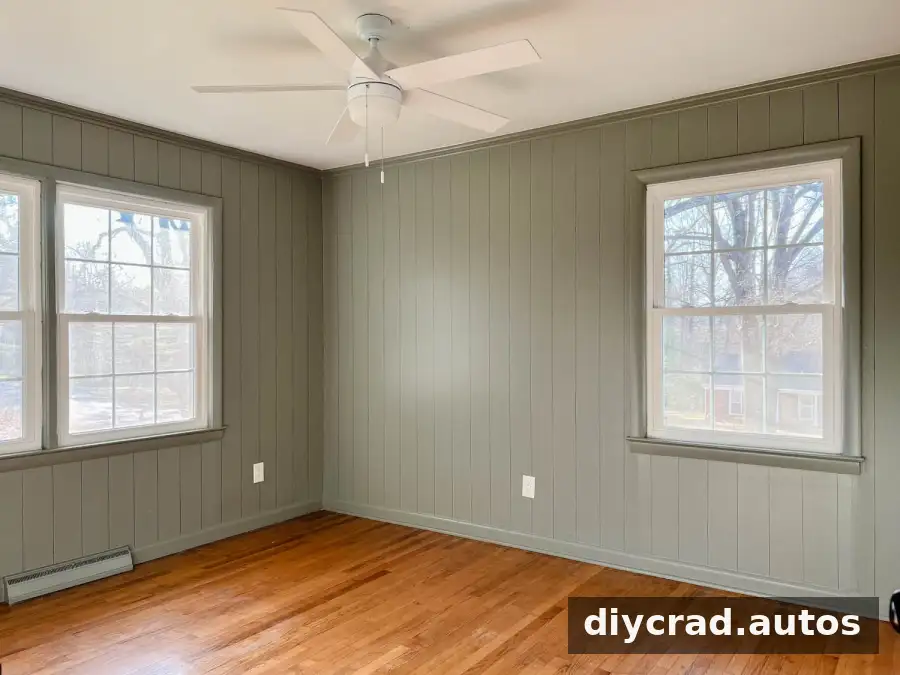
The Trade-Offs of Real Wall Planking
Real wall planking adds texture, but it also takes more planning and construction than a painted effect. Lumber costs can add up, especially for a full room, and installation may take several days. Removing boards later can also damage the drywall and lead to repairs.
- Cost: The lumber and other materials may be a significant part of a room makeover budget.
- Time: A previous real-planking project took two to three days to complete.
- Commitment: Removing attached boards can mean patching or replacing sections of drywall.
For a shared teen bedroom, a less permanent finish can make sense as tastes change. Faux lines are painted onto the wall, so the look can later be covered with primer and a new coat of paint.
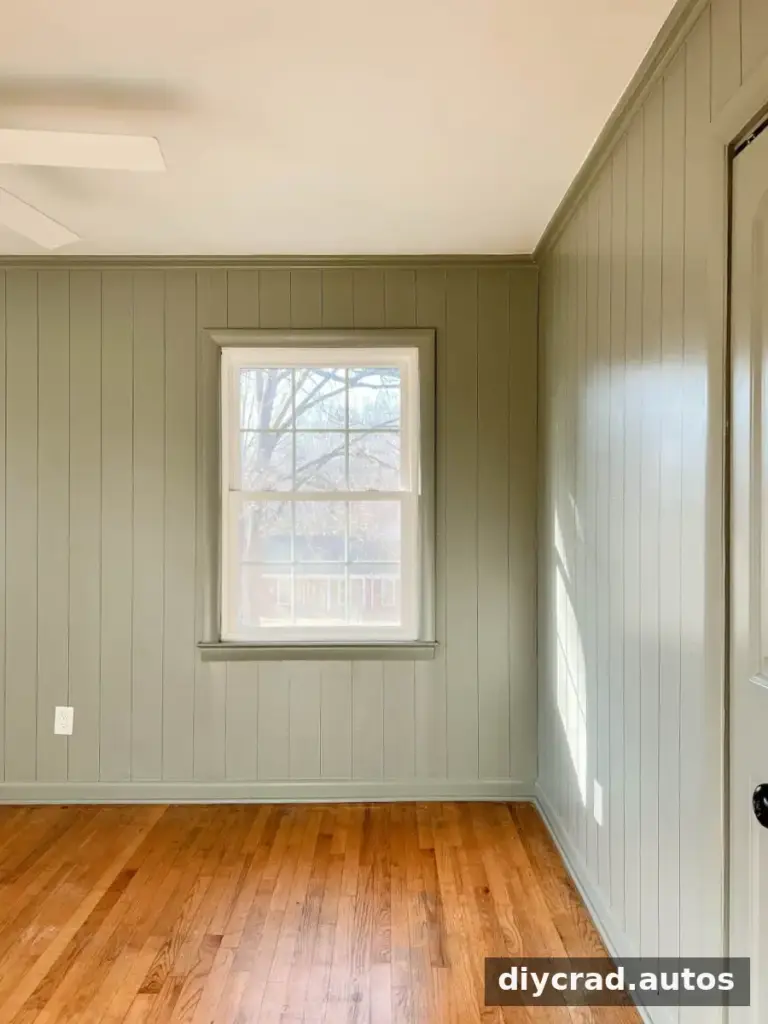
The walls in this room were painted a sage green, which provides a soft backdrop for the dark horizontal lines. When choosing a wall color, consider how the contrast between the paint and marker will affect the finished look.
When DIY Faux Wall Planking Works Best
This method is useful when you want the visual suggestion of shiplap without adding actual panels. It can suit a child’s or teen’s room, a cottage-inspired space, or an accent wall where a reversible-looking update is preferable to a construction project. Renters should first confirm that painting is permitted by their lease or property manager.
Keep in mind that “temporary” does not mean the marker will wipe off. The lines are made with paint, so changing the design requires repainting. For a convincing result, plan the spacing before you start and use a level regularly; small errors can become more noticeable across a long wall.
How the Faux Plank Effect Is Made
The technique uses an oil-based, medium-point paint pen to draw straight horizontal lines. A straight board acts as a reusable spacer and guide. Unlike real planks or peel-and-stick wall coverings, the finished surface has no raised seams or wood texture. Its appeal is the simple, low-cost painted effect.
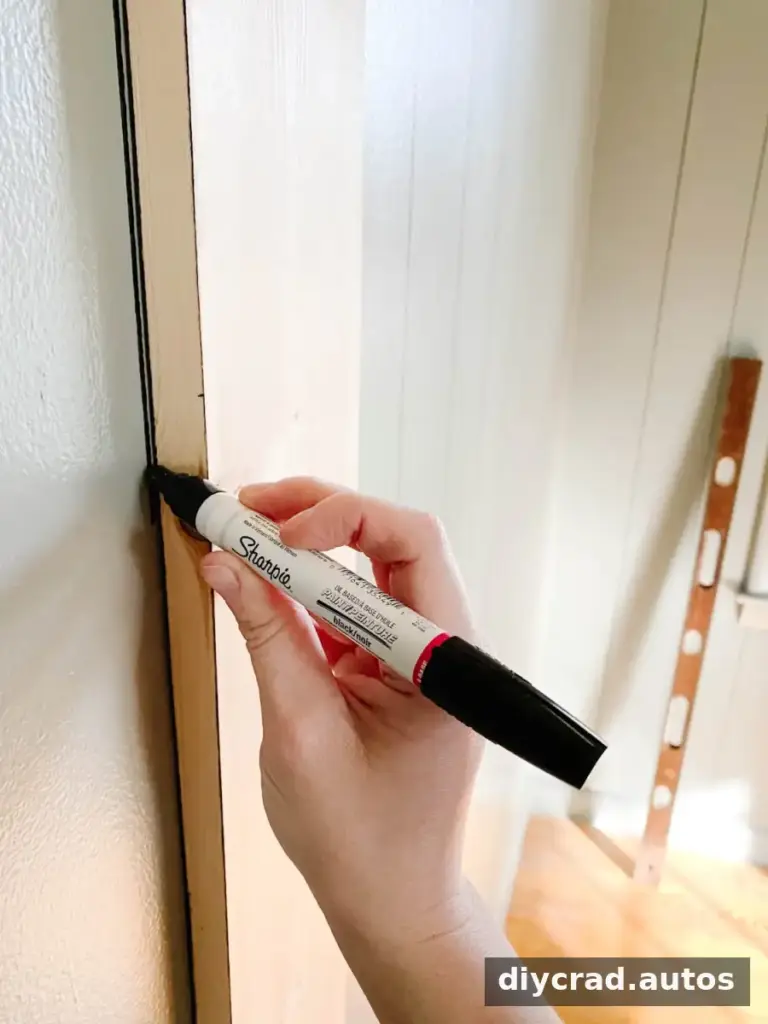
Use an oil-based paint pen rather than an ordinary felt-tip marker. The method described used two pens. Paint pens may need to be shaken or pressed according to their product instructions to keep the paint flowing, so follow the label and work in a ventilated room.
Materials and Tools
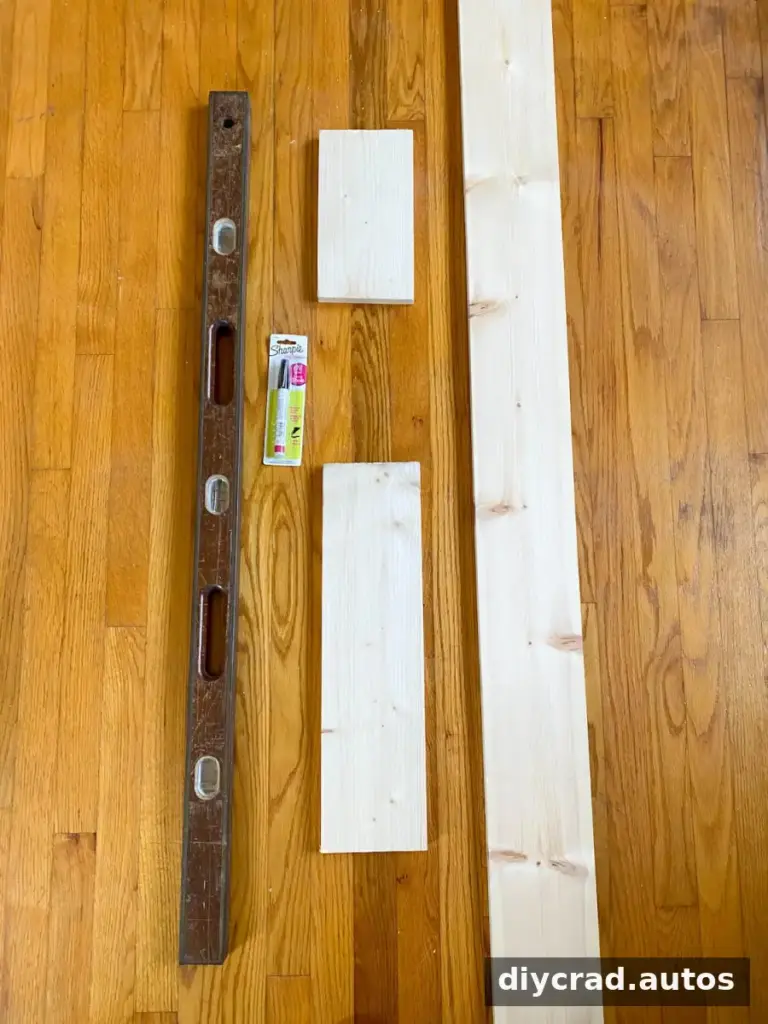
- Black, oil-based, medium-point paint pen; an ordinary permanent marker is not a substitute.
- One 1×6×8 board, or a longer board if the ceilings are higher than 8 feet.
- One 1×6×4 board, available as a pre-cut board at many home-improvement stores.
- Level and square.
- Tape measure.
- Circular saw or hand saw.
- Step ladder.
- A helper, if available, to hold the spacer board while the lines are drawn.
Check the wall height and the spaces around windows before cutting the boards. Accurate measurements help the shorter spacers fit where a full-length guide will not.
Steps for DIY Faux Wall Planking
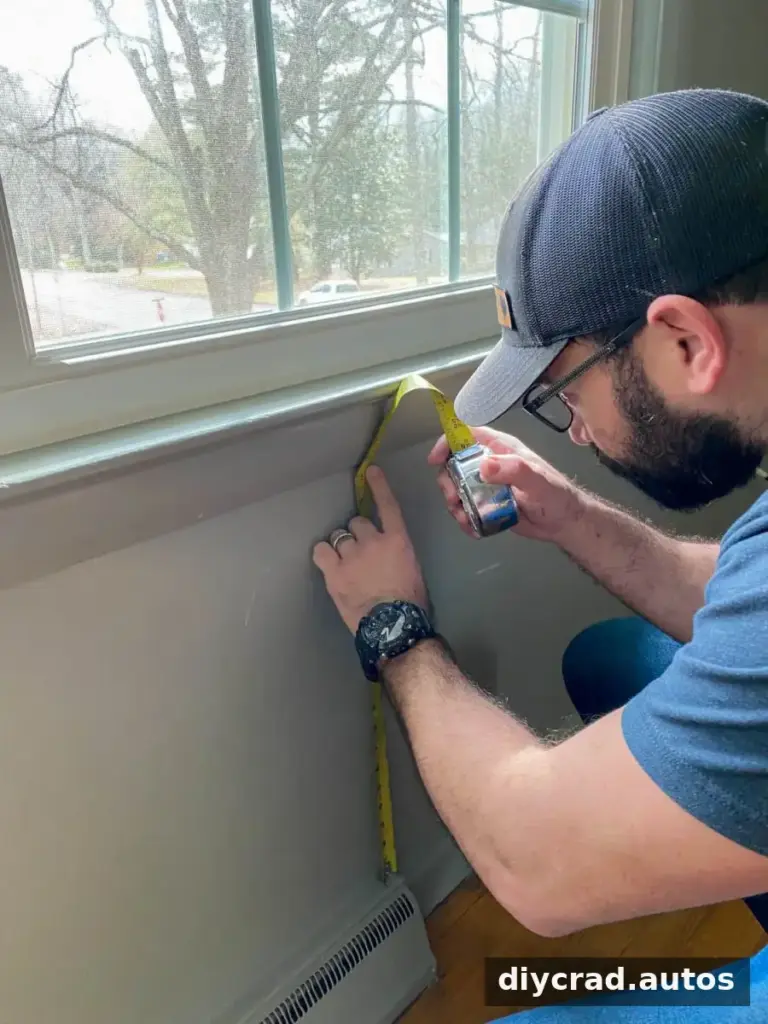
1. Measure the wall sections
Measure the open wall from the top of the baseboard to the bottom of the crown molding. Also measure the spaces above and below the windows, including the areas between the window trim and the baseboard or crown molding. Record all three measurements so you can prepare guides for each section.
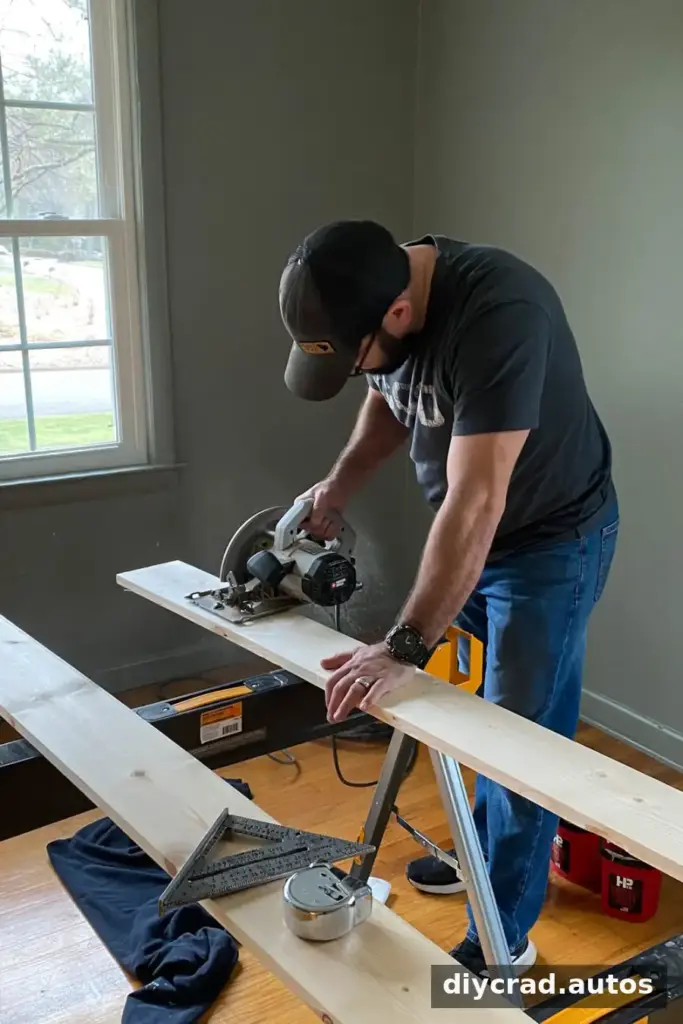
2. Cut the spacer boards
Cut the 1×6×8 board to match the longest measured section. Cut the 1×6×4 board to fit the two shorter spaces around the windows. These are measuring guides, not decorative wall boards, so make sure the cut ends are safe to handle and the guides sit flat against the wall.
3. Set a straight starting line
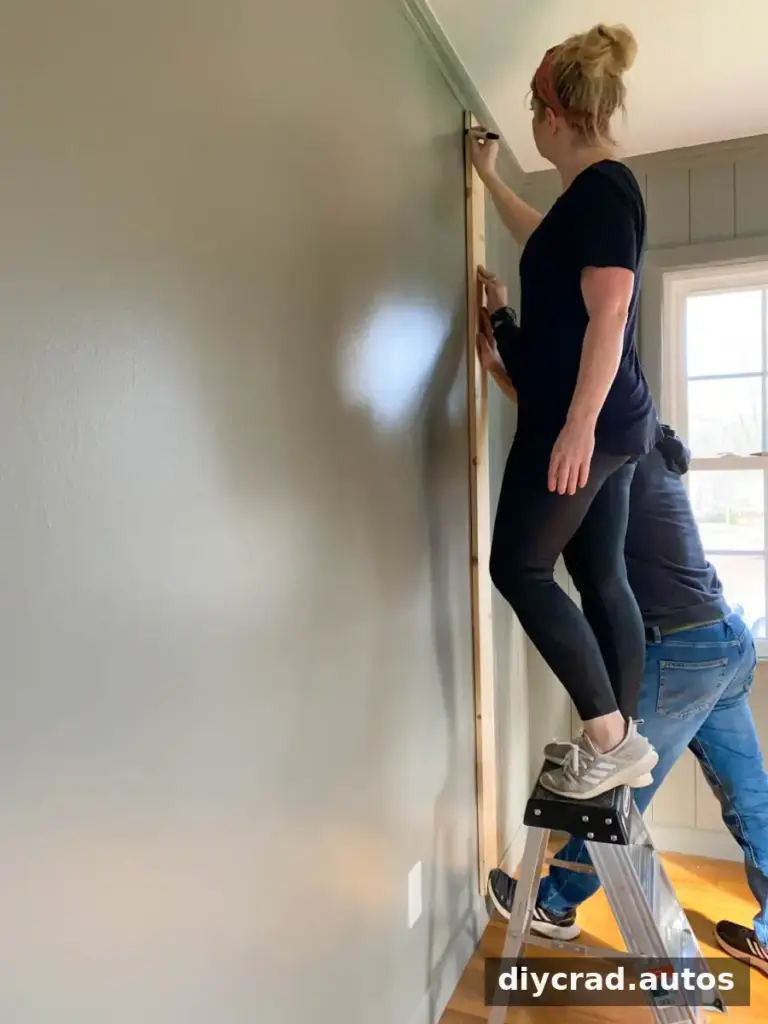
Begin in an unobstructed corner. Place the long spacer board against the wall and check that it is plumb with a level. Adjust its position if needed. A corner may not be perfectly straight, so use the level as your guide rather than copying a crooked corner; this helps keep the lines consistent across the room.
4. Draw along the spacer
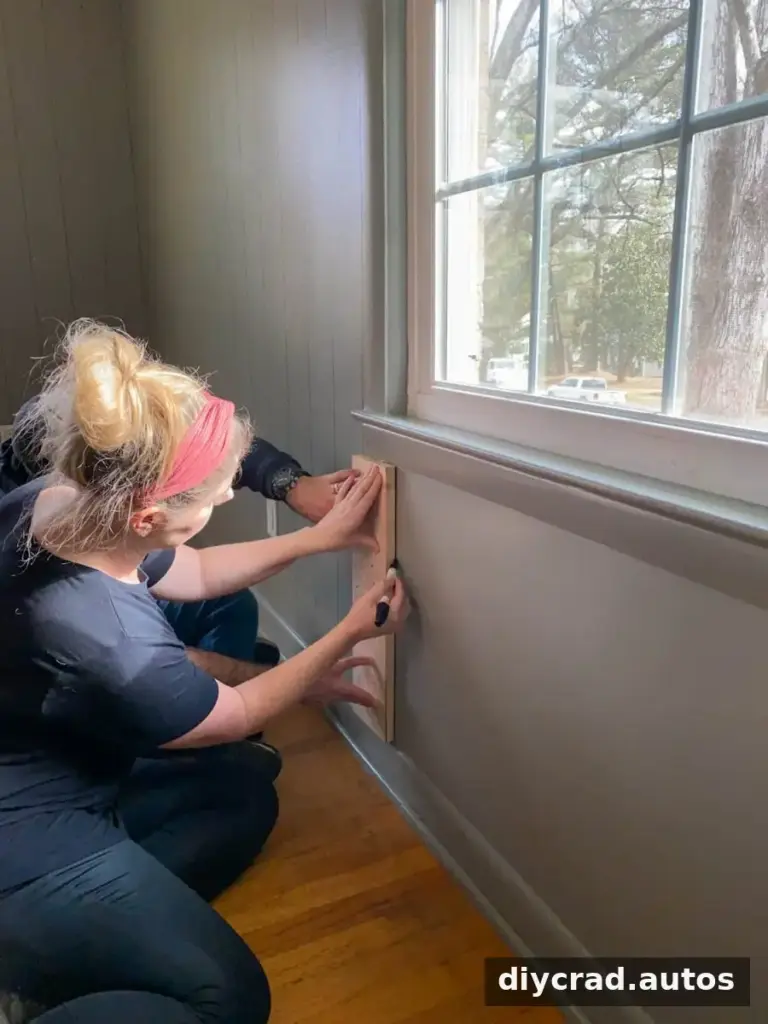
Have one person hold the board firmly while another uses the paint pen to trace along its edge. If the pen’s paint flow slows, follow the product directions to restore it. Work steadily and avoid shifting the board while drawing, since even a small movement can make a line uneven.
When you reach a window, switch to the shorter spacer board and repeat the process for the available wall sections.
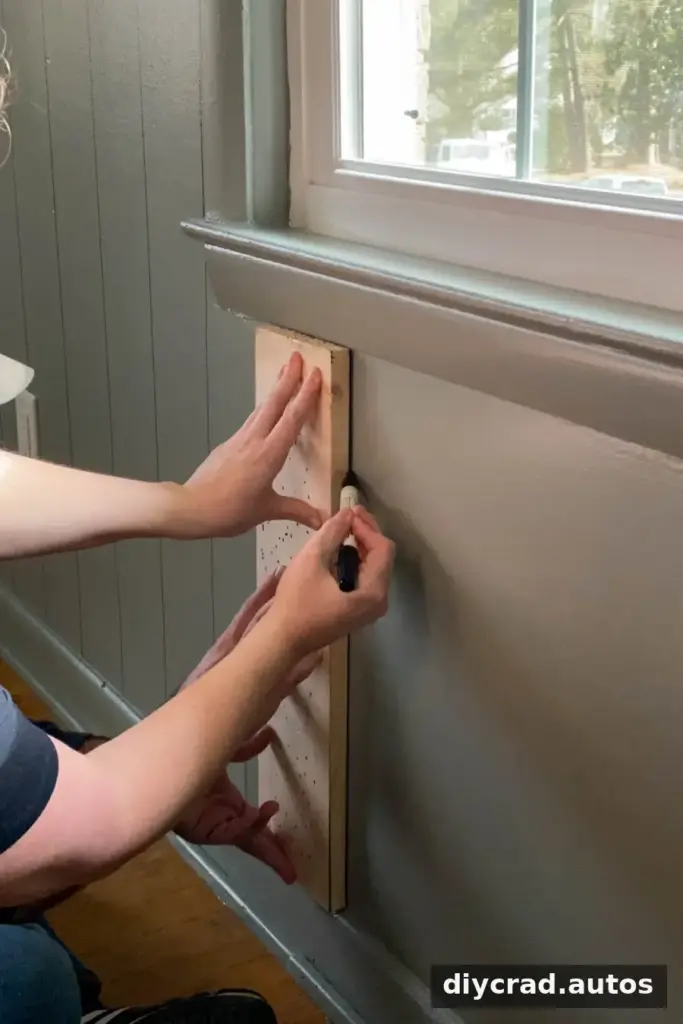
5. Check the lines as you go
After every three or four lines, check the work with a level. Correcting a small deviation early is easier than discovering that several lines have gradually drifted. Take extra care around windows and other breaks in the wall so the pattern remains visually consistent.
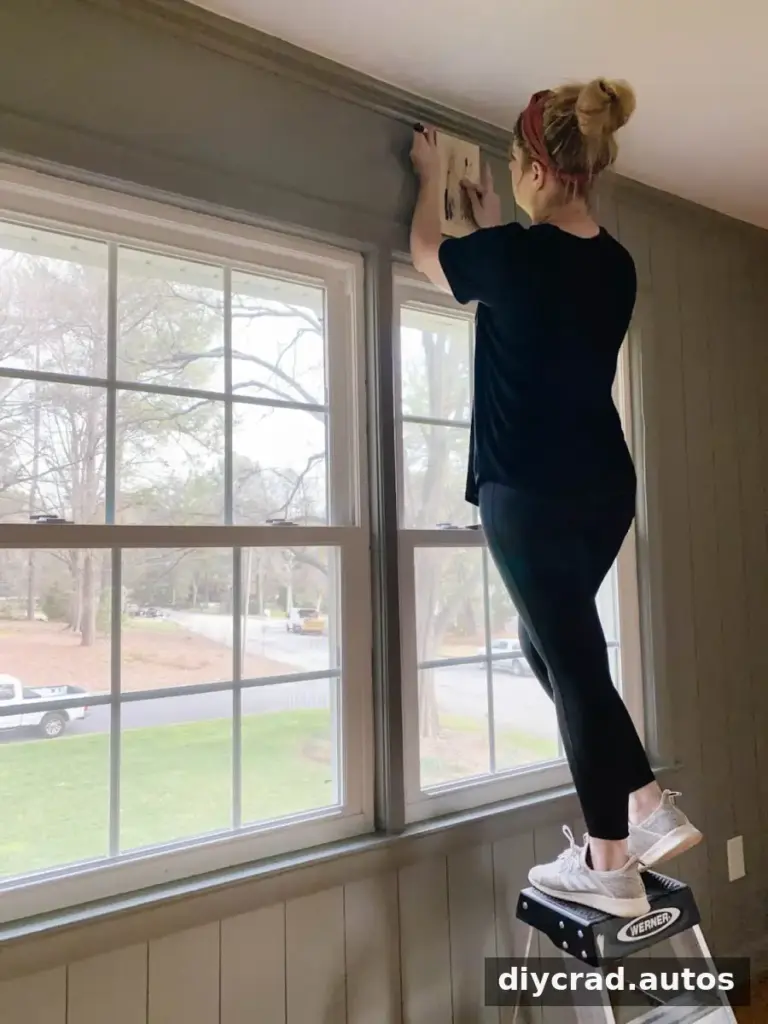
6. Finish the room
Continue drawing the lines until the planned wall area is complete. In the example, two paint pens covered the room in about two hours. The original project cost was approximately $20; treat that figure as a project-specific estimate rather than a guaranteed current price.
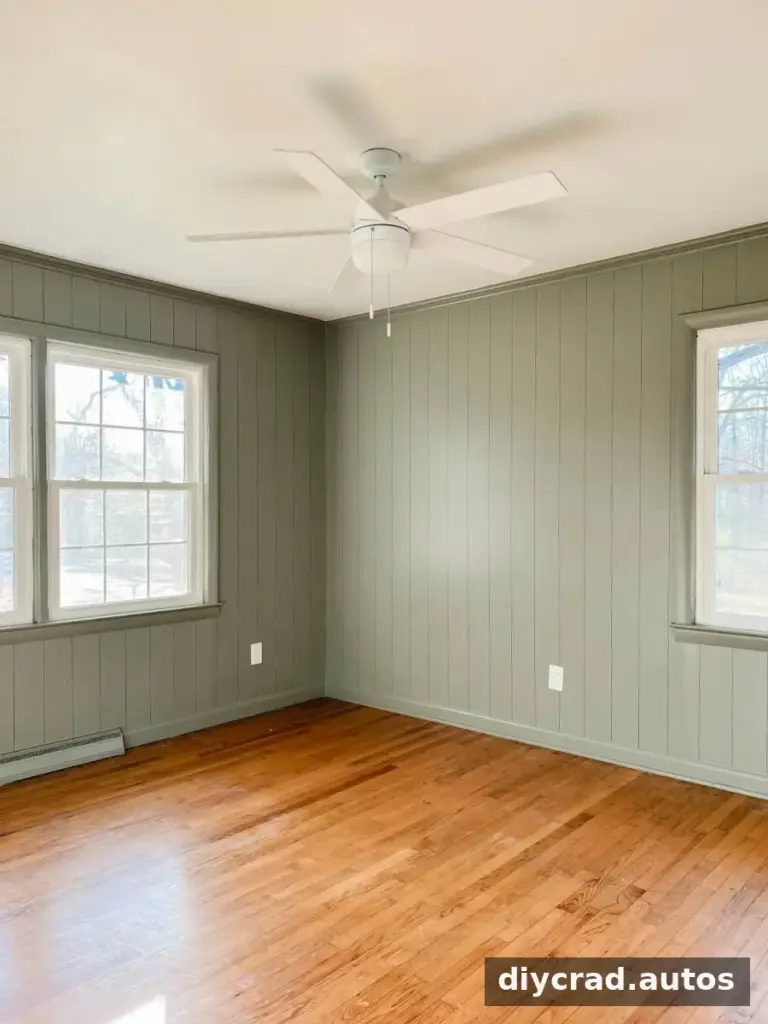
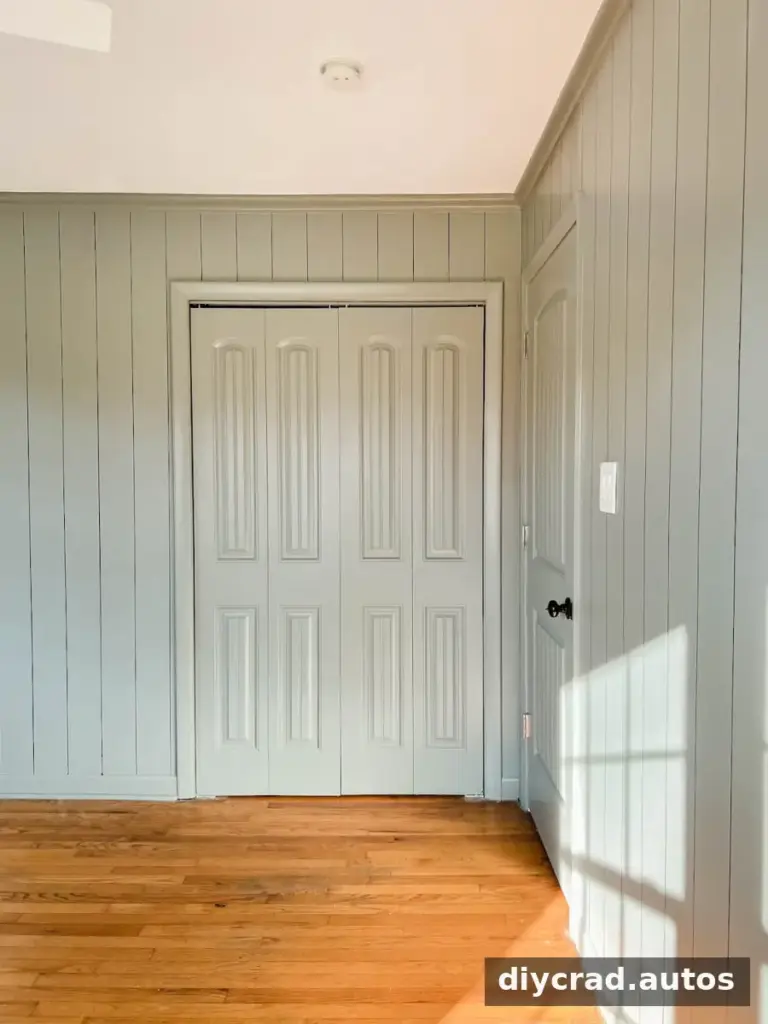
From across the room, the dark lines can suggest horizontal planks. Up close, the surface remains smooth, and the seams are visibly painted rather than raised. This makes the technique best suited to a decorative effect rather than anyone looking for the texture or durability of real wood paneling.
Frequently Asked Questions
Can you paint over oil-based paint-pen lines?
Yes. Apply an oil- or water-based bonding primer, allow it to dry as directed, and then use the interior paint color you prefer. Follow the primer and paint labels, and consider testing the products on a small area first.
What does faux wall planking look like up close?
At close range, it looks like dark lines on a painted wall, not real boards. The effect can be convincing from farther away, but the lack of depth becomes noticeable when you are close to the surface.
Is DIY Faux Wall Planking Right for Your Room?
DIY faux wall planking is a simple option for adding a shiplap-inspired pattern without installing lumber. It can be completed with a paint pen, measured spacer boards and basic tools, and the painted design can later be primed and covered. Choose this method when low cost and easy repainting matter more than authentic wood texture; choose real planks if you want a raised, durable wall treatment.