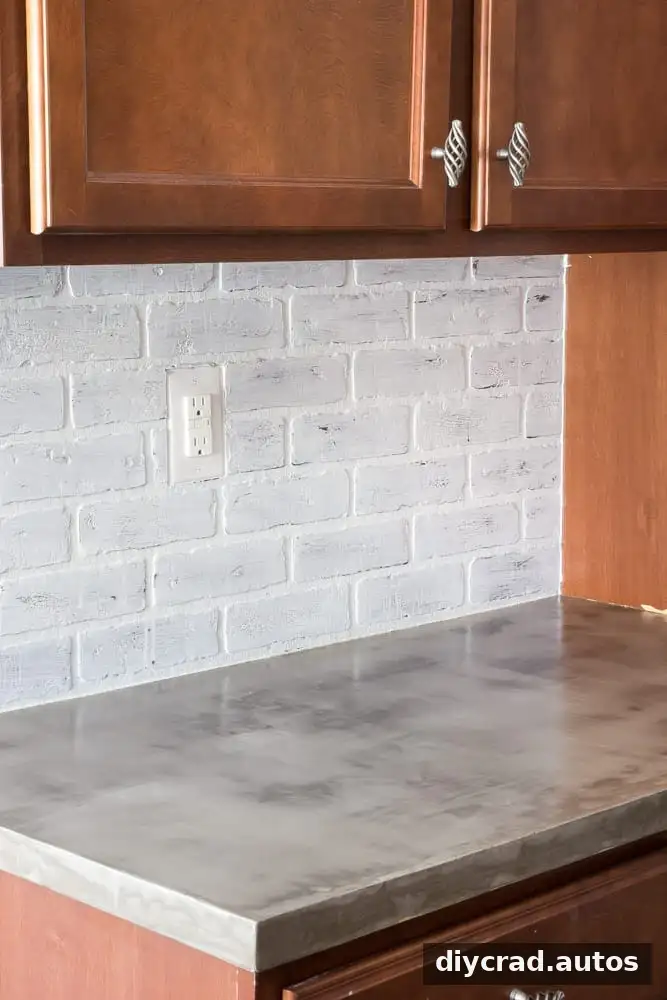
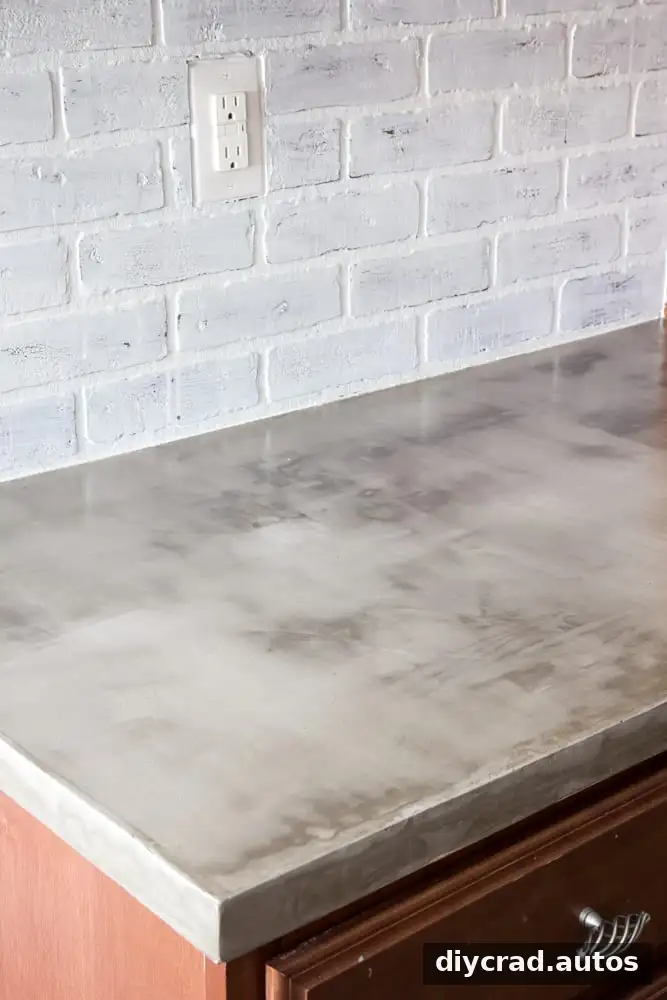
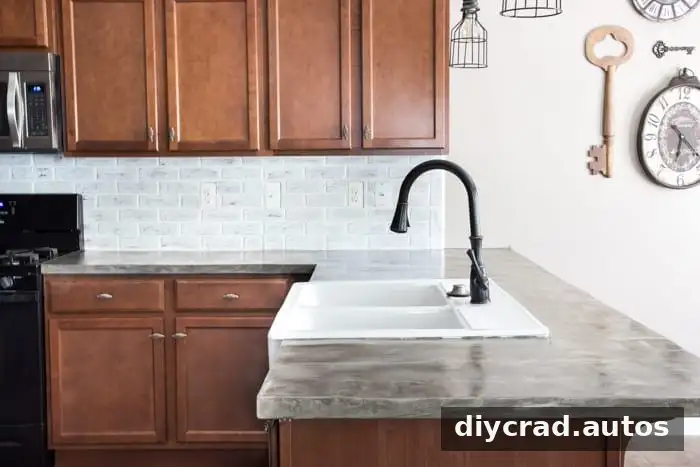
DIY concrete countertops over laminate can give an existing kitchen surface a new, industrial-style finish without removing the counters. This skim-coat approach uses thin layers of concrete overlay rather than poured concrete, but it takes careful preparation, several rounds of sanding, and time for the sealers to cure. Plan for dust and work in manageable sections to help avoid an uneven surface.
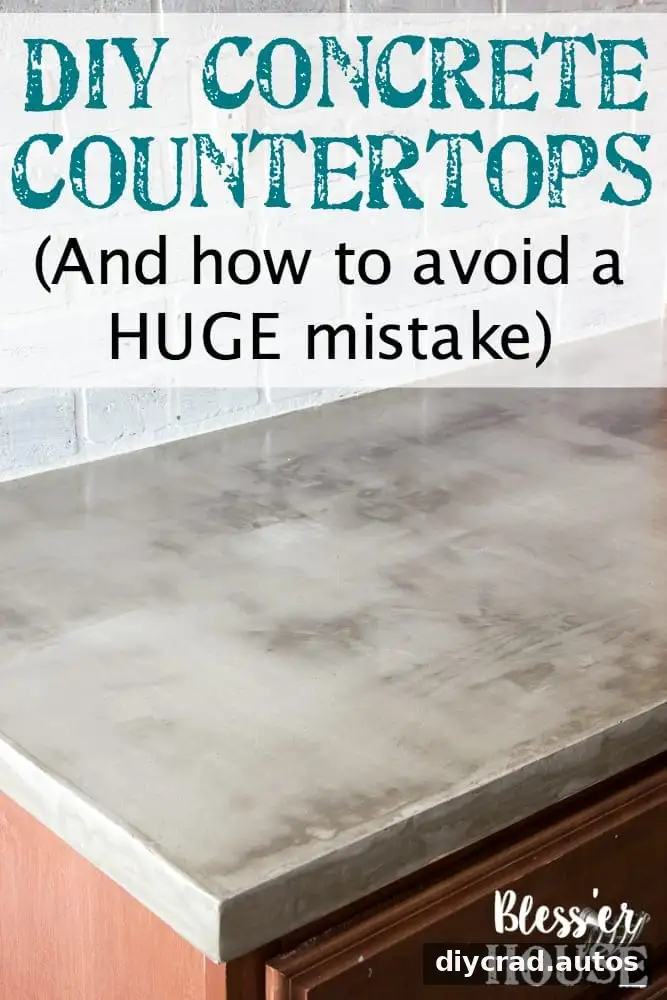
What to Know Before Making Concrete Countertops
A concrete overlay project is not a quick weekend refresh. The material sets fast, and achieving a smooth finish can take several coats and multiple sanding sessions. Allow about a week for the work, including drying time, and check the product instructions before starting to confirm that the overlay is suitable for your existing counter surface.
- Prepare for dust: Sanding creates a substantial amount of fine dust. Cover nearby floors and furniture, and turn off air vents in the work area to limit dust circulation.
- Protect the kitchen: Use plastic sheeting and painter’s tape to cover cabinets and drawer fronts if you do not plan to paint them afterward.
- Work in small sections: Mix small batches because Feather Finish can set quickly. The project instructions below describe a working window of about 10–15 minutes for a roughly quart-sized batch.
- Use thin coats: Several even layers are easier to smooth than one thick application.
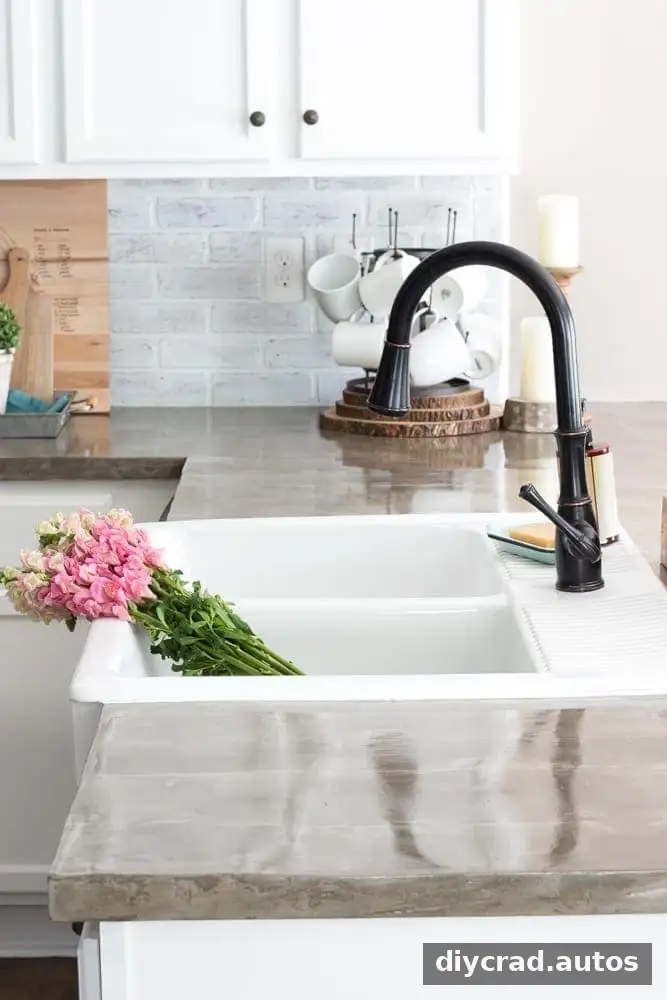
How to Make DIY Concrete Countertops Over Laminate
The method below uses Henry Ardex Feather Finish Underlayment Patch & Skimcoat over existing laminate countertops. A skim coat is generally simpler than a poured-countertop method, which requires edge forms and cement board. The finished surface still needs sanding and a suitable sealer.
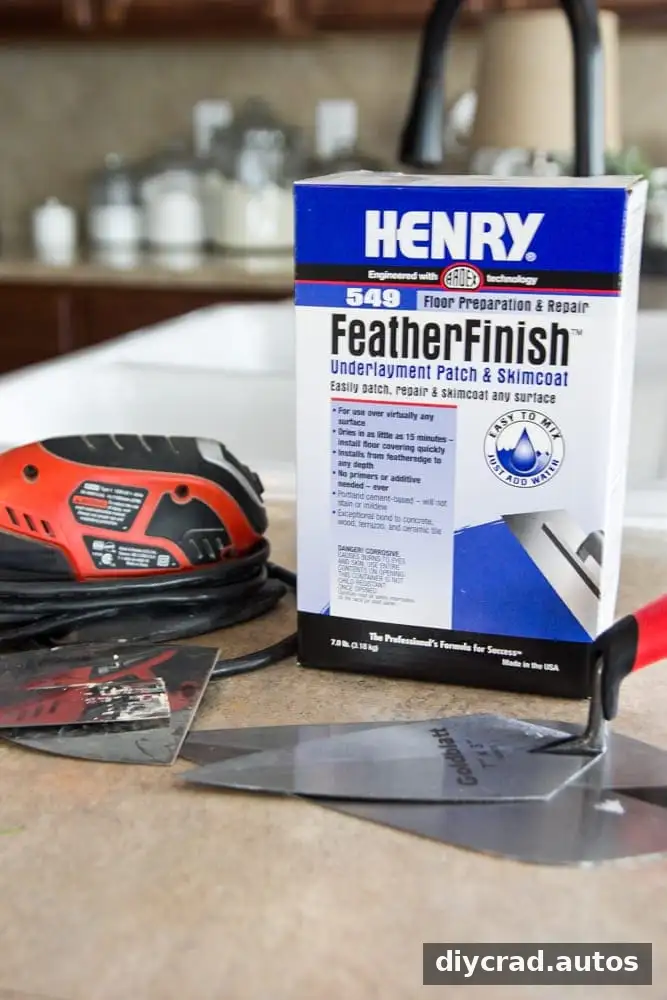
Supplies
- Henry Feather Finish; about four boxes were used for 60 square feet of countertop. The reported purchase price was about $20 per box.
- Three or four disposable 2-quart buckets
- A concrete mixing stick or mixer paddle bit
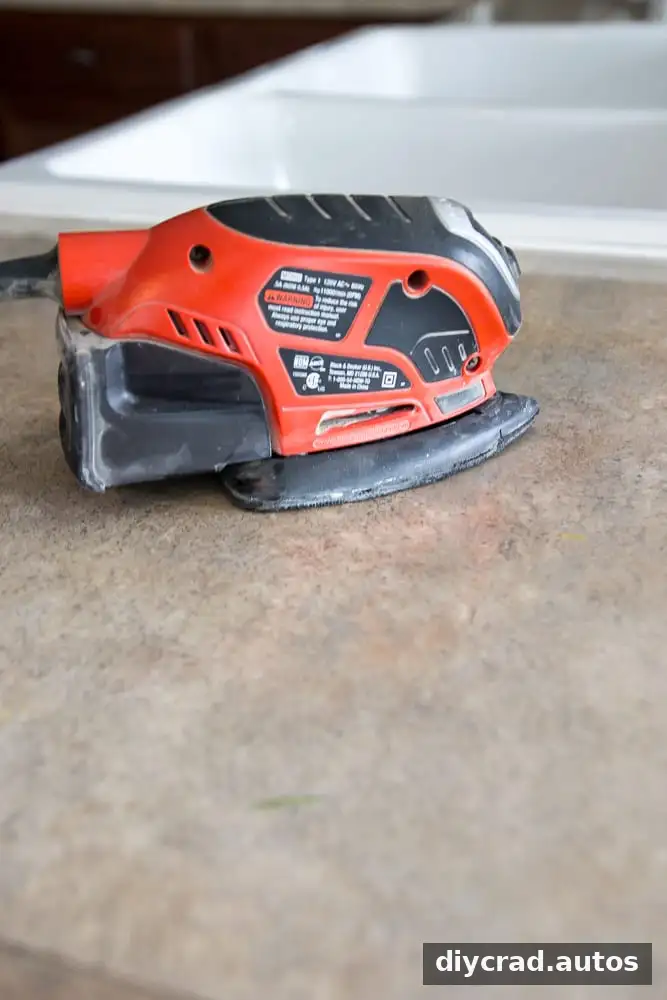
- An orbital sander and a mouse sander
- 50-, 120-, and 220-grit mouse and orbital sanding pads
- 50-, 120-, and 220-grit sanding sheets
- A mask and protective safety glasses
- A vacuum or ShopVac
- A 12-inch taping knife, a 6-inch taping knife, and a putty knife
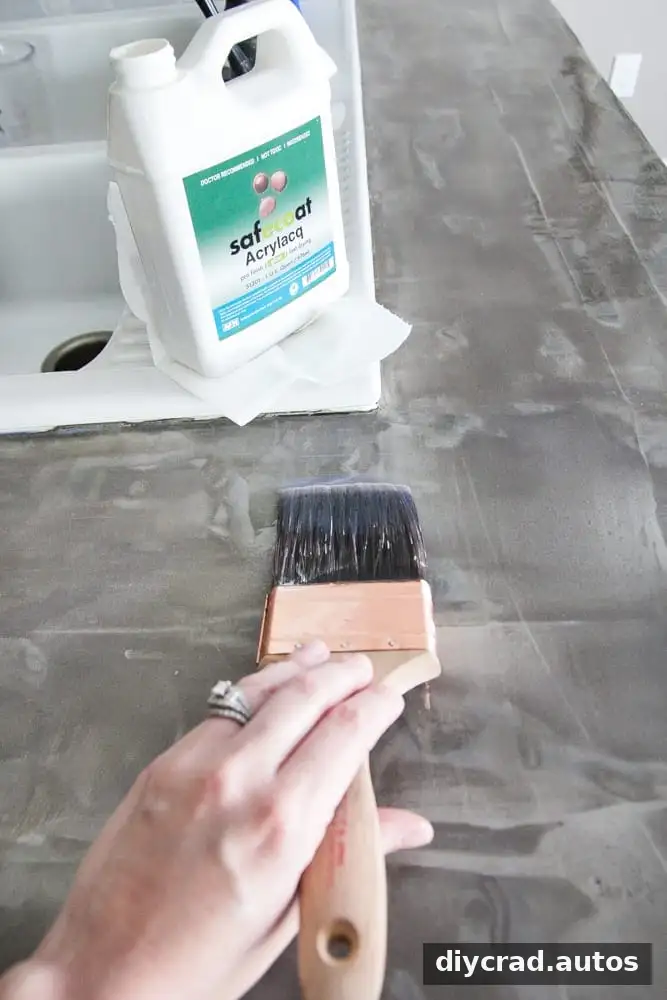
- 511 Impregnator Sealer and Safecoat Acrylacq
- A paintbrush or roller
Step 1: Rough Up the Laminate
Lightly sand the glossy laminate with 50-grit sandpaper to give the surface some texture. The goal is to dull the shine and create a slightly rough surface, not to remove the countertop. Wipe away the sanding dust with a damp cloth before applying the overlay.
Step 2: Mix a Small Batch
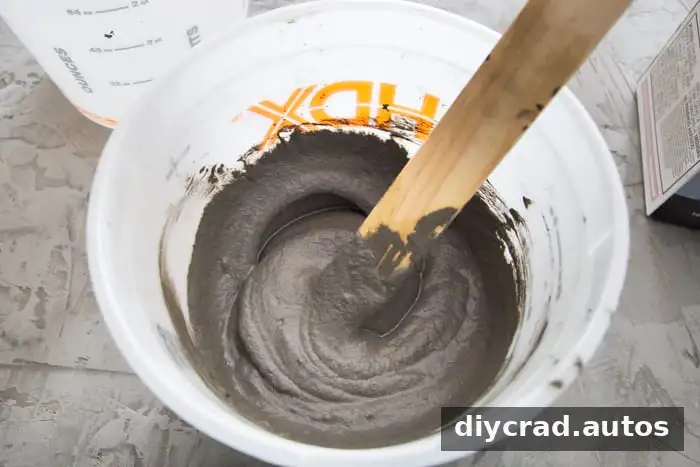
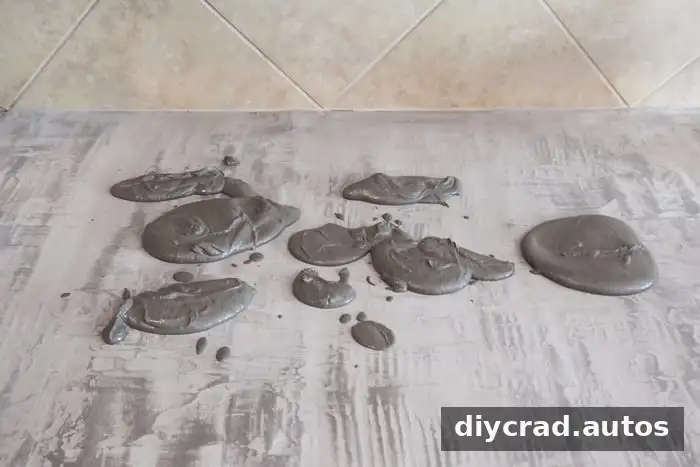
Follow the directions on the Feather Finish package. In the project described, the powder and water were measured at a 1:1 ratio, producing a toothpaste-like consistency. Mix only a small amount at a time; approximately one quart provided about 10–15 minutes of working time before the material began to set.
Step 3: Apply a Thin, Even Coat
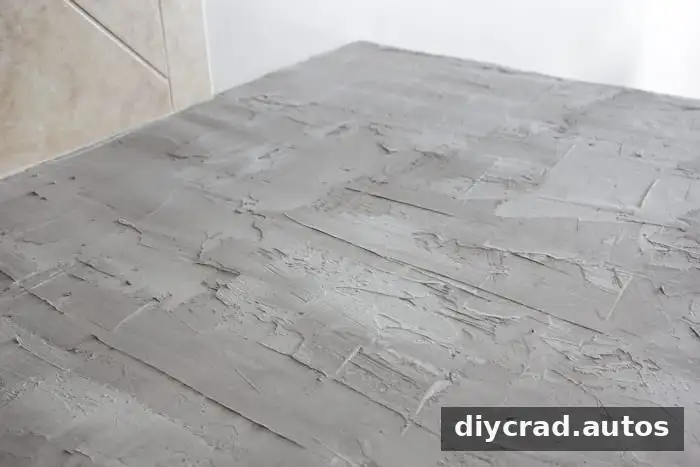
Spread a thin layer over a small area rather than trying to cover a large section at once. Avoid leaving thick ridges or mounds: an overly heavy first coat can be difficult to level and may require extensive sanding and extra material. Let each layer dry according to the product directions before sanding or applying another coat.
What to Avoid When Applying Concrete Over Laminate
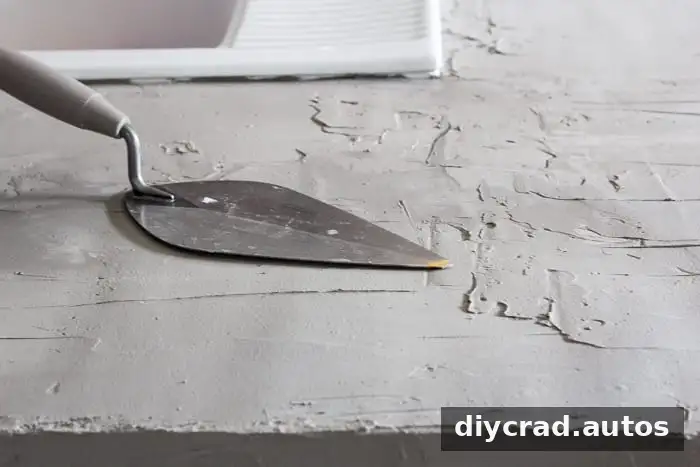
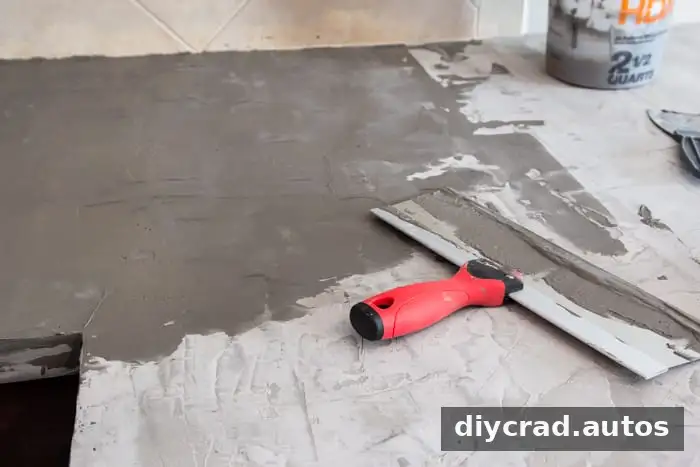
Do not apply one thick coat to save time. A thick, uneven layer can leave high spots and a rough finish. Sanding down substantial bumps may take much longer than applying multiple thin coats, and it can use more product. Use a taping knife to spread the overlay smoothly; a smaller putty knife is useful for narrow areas.
Step 4: Sand the First Coat
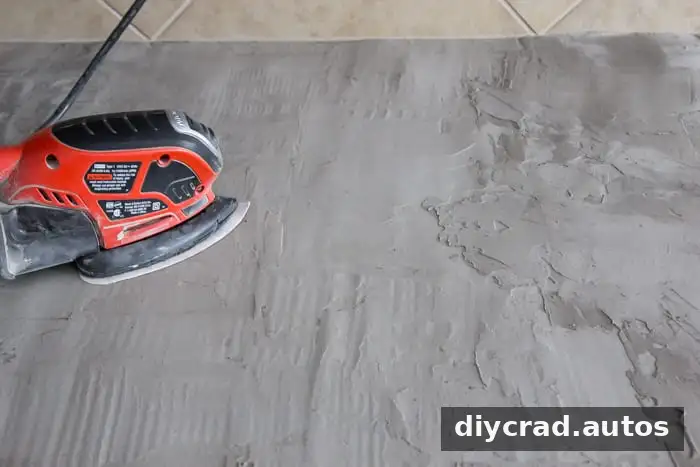
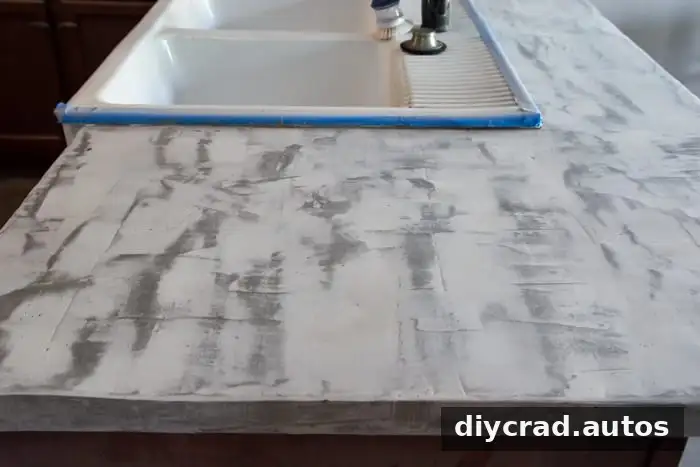
Once the first coat is ready to sand, level the surface gradually. Start with coarse 50-grit sandpaper, then move to 120 grit and finish with 220 grit to refine the surface. Wear safety glasses and a mask while sanding, and vacuum the countertop after each session so dust does not interfere with the next coat.
Step 5: Add More Thin Coats
If the surface remains uneven or patchy, smooth the high areas and apply another thin coat. In the project described, three additional coats were applied over three days, with sanding between layers. The number of coats needed can vary with the condition of the surface and the application, so inspect the countertop as you work rather than relying on a fixed coat count.
Pour about a quart of mixed material into the center of the section being covered. Use a 12-inch taping knife to spread it across broad areas and a 6-inch knife or putty knife for smaller spaces. Small batches and steady strokes help keep the overlay workable before it sets.
Step 6: Coat the Front and Side Edges
Use a smaller putty knife to apply the overlay to the front edge and sides. Waiting about one or two hours after coating the top helped the surface become firm enough to work on the edges without disturbing the smoothed layer. Follow the material’s directions for drying time, as conditions can affect how quickly it sets.
Step 7: Sand the Later Coats
In this project, sanding began about three hours after a coat was applied, when the surface was firm but still workable. Begin with 50 grit and progress through 120 and 220 grit. Use a sanding block by hand in hard-to-reach areas, and repeat the coating and sanding process if needed. Finish only when the final layer feels smooth and looks even.
Concrete sanding can spread dust well beyond the countertop. Keep nearby areas covered throughout the work, then vacuum and clean the room carefully before moving on to sealing.
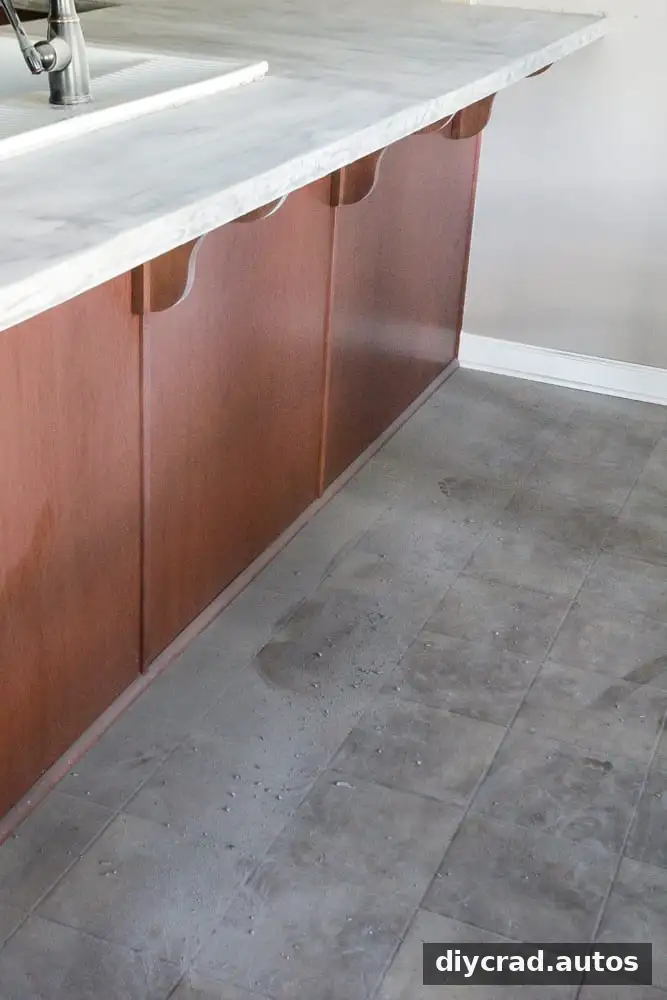
Step 8: Apply Impregnator Sealer
Brush on two coats of 511 Impregnator Sealer, following the package directions. The project used a 24-hour wait between coats. This sealer penetrates the concrete and helps resist stains; it does not replace the protective topcoat applied in the next step.
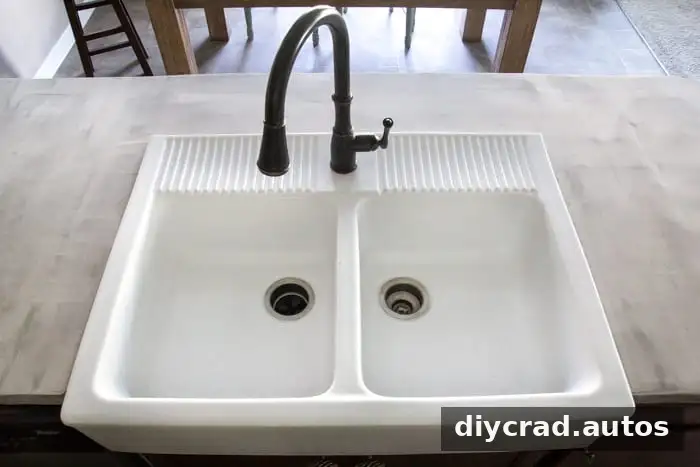
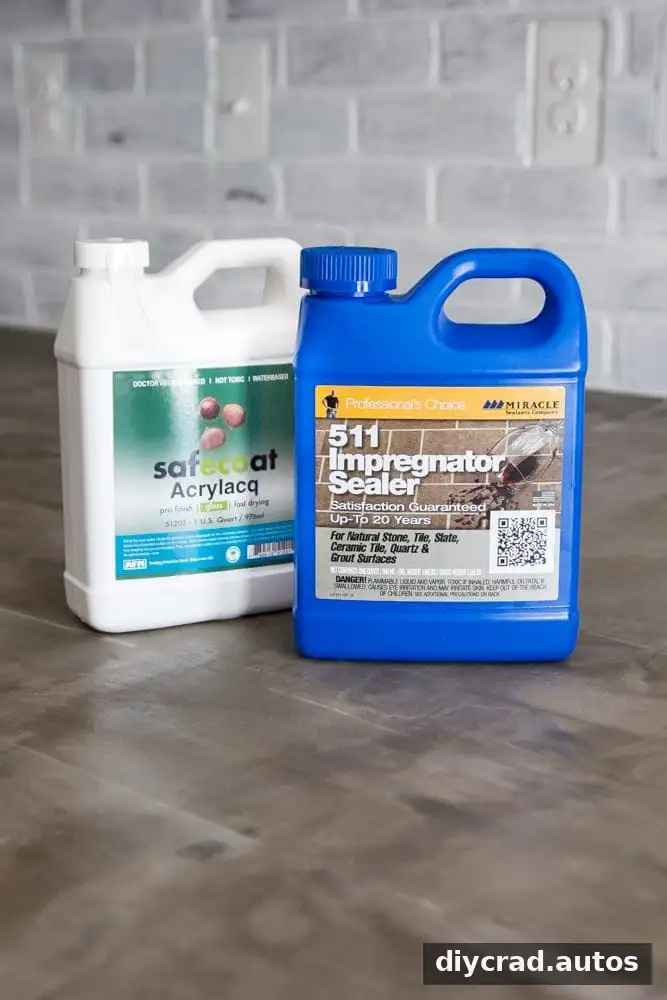
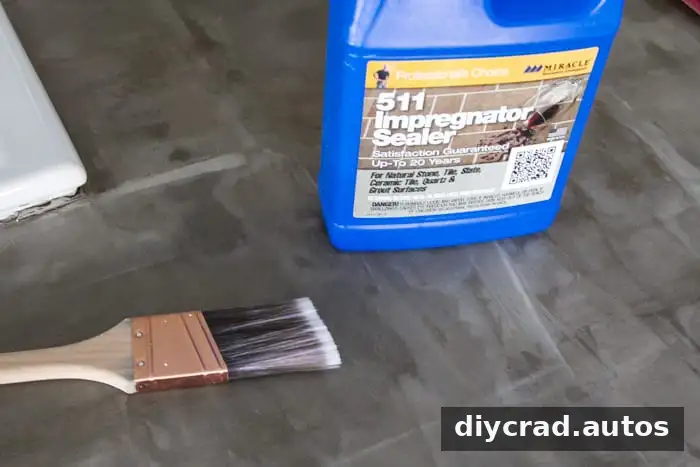
Step 9: Apply the Topcoat
After the impregnator has had 24 hours to set, apply three coats of Safecoat Acrylacq, allowing 24 hours between coats as described in the project. Brush it on evenly and avoid creating air bubbles. Follow the current product directions for application and curing, and do not use the countertop until the coating has cured as directed.
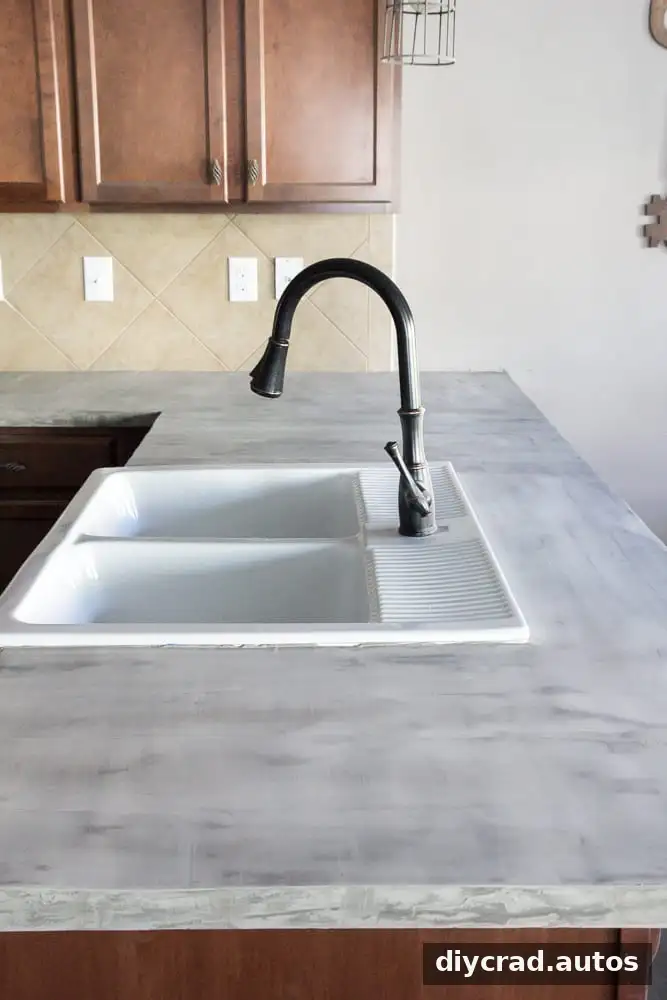
The resulting finish was glossy, with a wet-cement appearance. Sealer choice affects the final look, so review product information and test the finish on a small, inconspicuous area when possible. Check the sealer’s instructions for food-contact suitability and countertop care requirements.
The reported total cost was about $250 for 60 square feet of countertops. This is the cost from the project described, not a current price estimate; material needs and prices can vary. The process also took several days of coating, drying, and sanding.
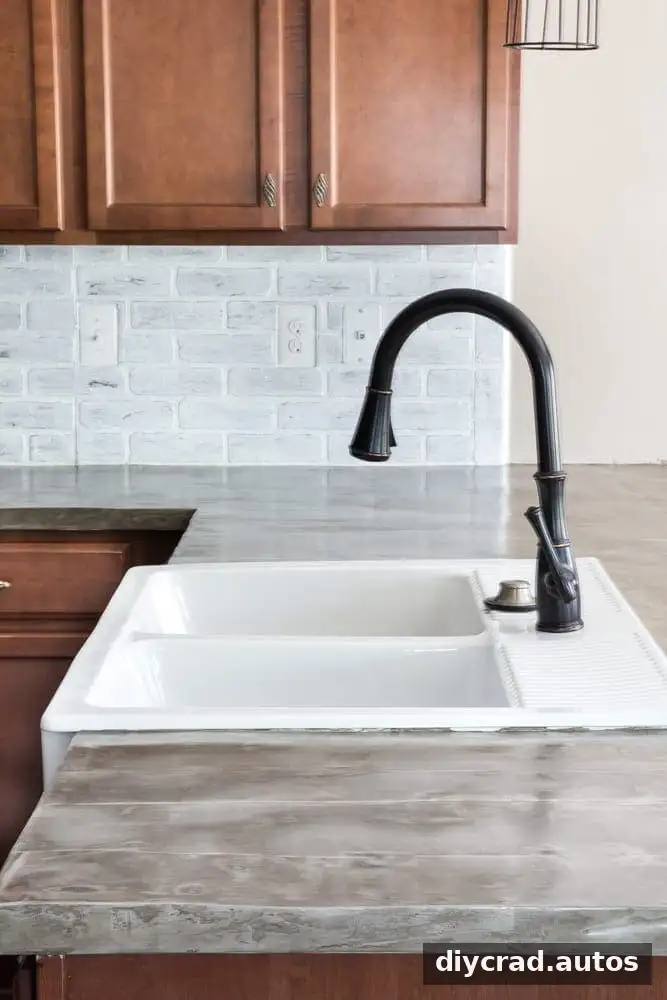
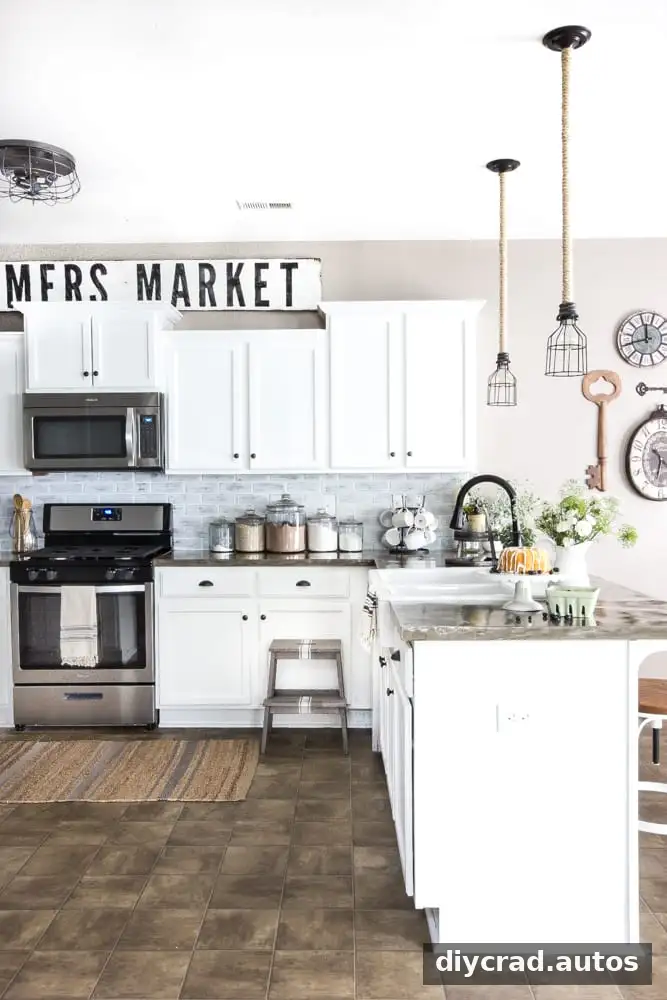
Finished DIY Concrete Countertops Over Laminate
A skim-coated concrete surface can refresh laminate counters without replacing them, but the result depends on patient application and careful sanding. Before beginning, set aside enough time, protect the surrounding kitchen, and make sure you have the correct tools and suitable sealer. The most useful practical reminder is simple: keep the coats thin, mix only what you can spread promptly, and follow the product instructions at every stage.