

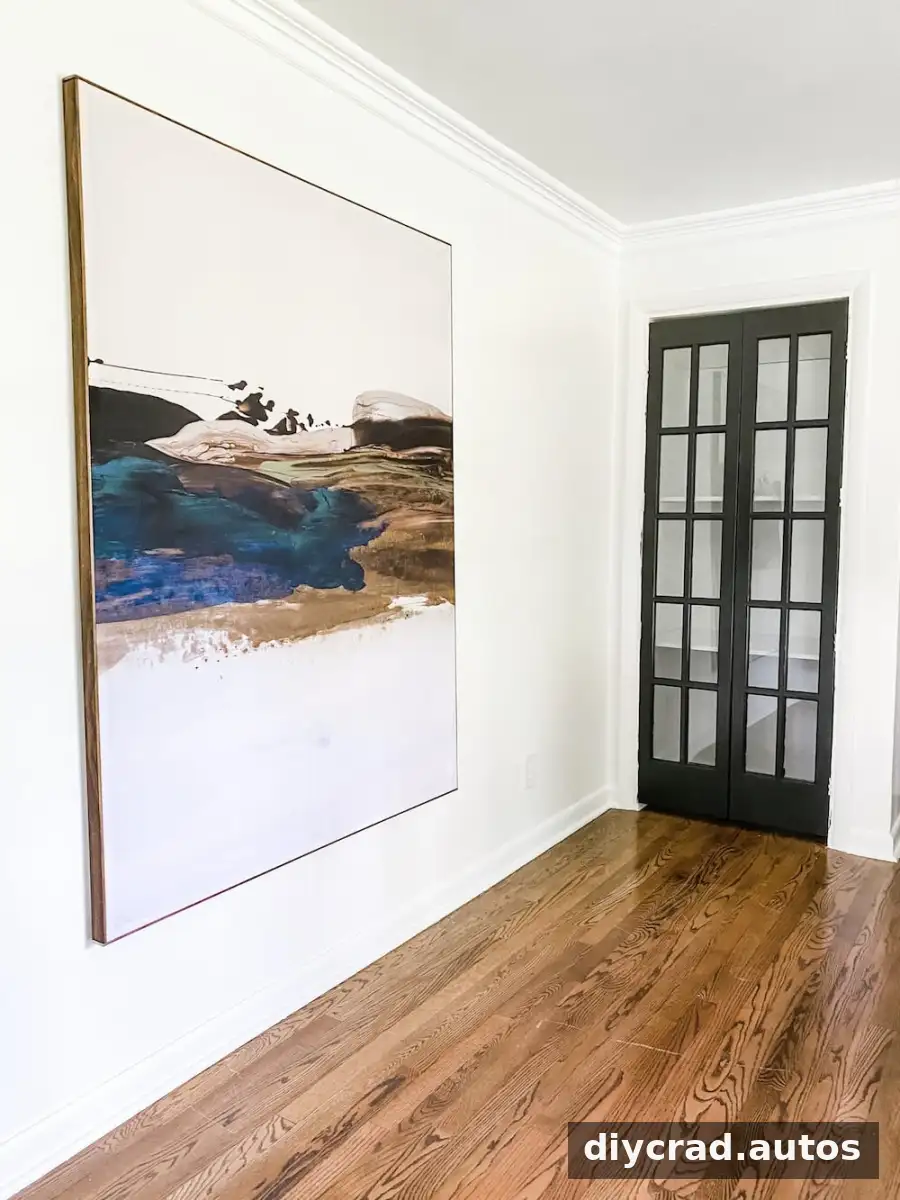
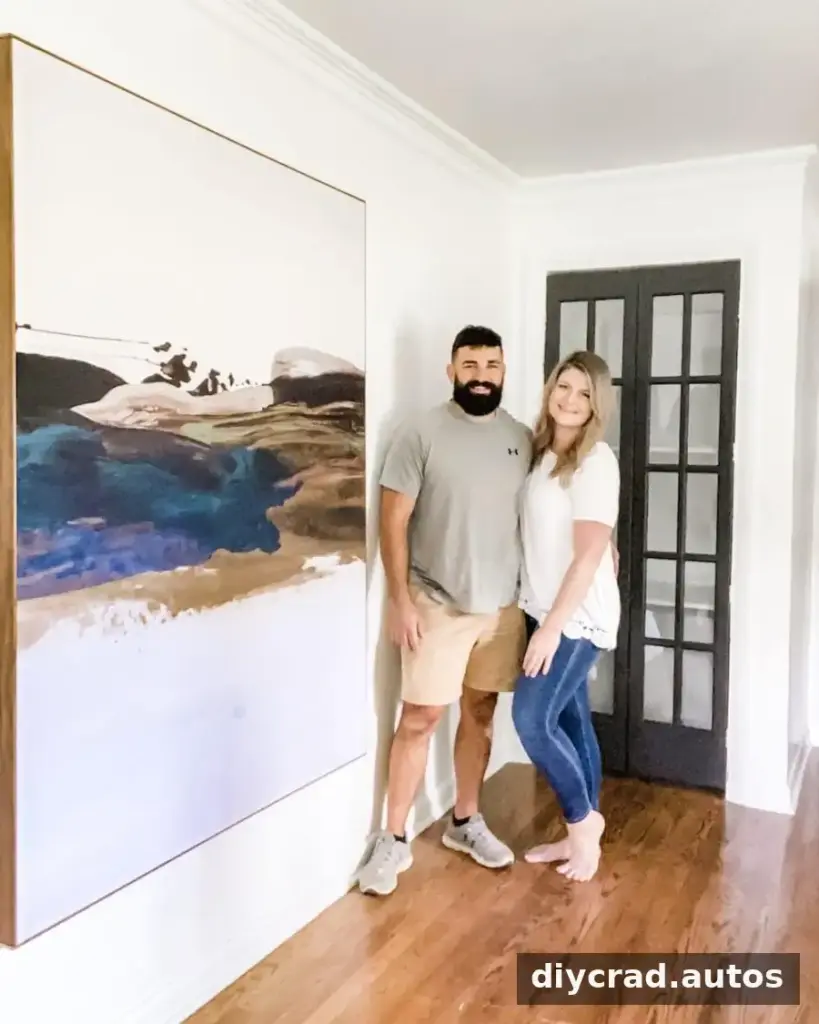
DIY shower curtain wall art is an affordable way to fill a large blank wall with color and pattern. With a printed shower curtain, a simple frame made from 1×2 boards, and a few basic tools, you can make a stretched-canvas-style piece for less than $100. In this project, the curtain was on sale for $40 and the total cost was under $60.
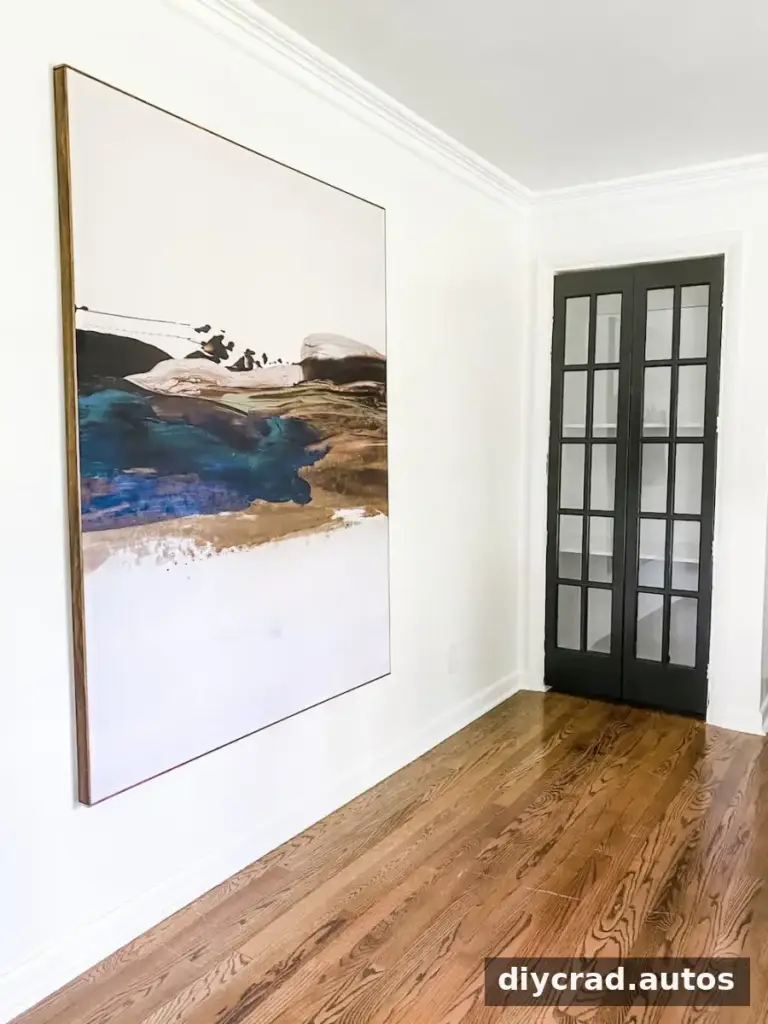
DIY Shower Curtain Wall Art: Project Overview
Home-printed images and inexpensive engineer prints can work well for smaller displays, but their size is often limited. A shower curtain offers a much larger design surface, making it suitable for a statement piece in an office, living room, or garage.
The project is described as a 5-by-4-foot canvas, while the frame dimensions in the construction steps are given as 5 feet 8 inches by 4 feet. Measure your curtain and the wall before cutting, and decide on the finished dimensions that work for your space. A plain canvas drop cloth is another option if you plan to paint your own design.
Materials and Tools
- Five 1×2×8-foot boards
- Four lattice strips
- A patterned shower curtain
- Power drill and bits
- Hand saw or miter saw
- Staple gun and staples
- Hammer or brad nail gun
- Brad nails
- Six wood screws
- Wood stain; the selected shade was Special Walnut
Check that the curtain is large enough to cover the frame with 3–4 inches of extra fabric on each side. That overhang gives you material to wrap around and staple securely.
How to Make Large-Scale Wall Art
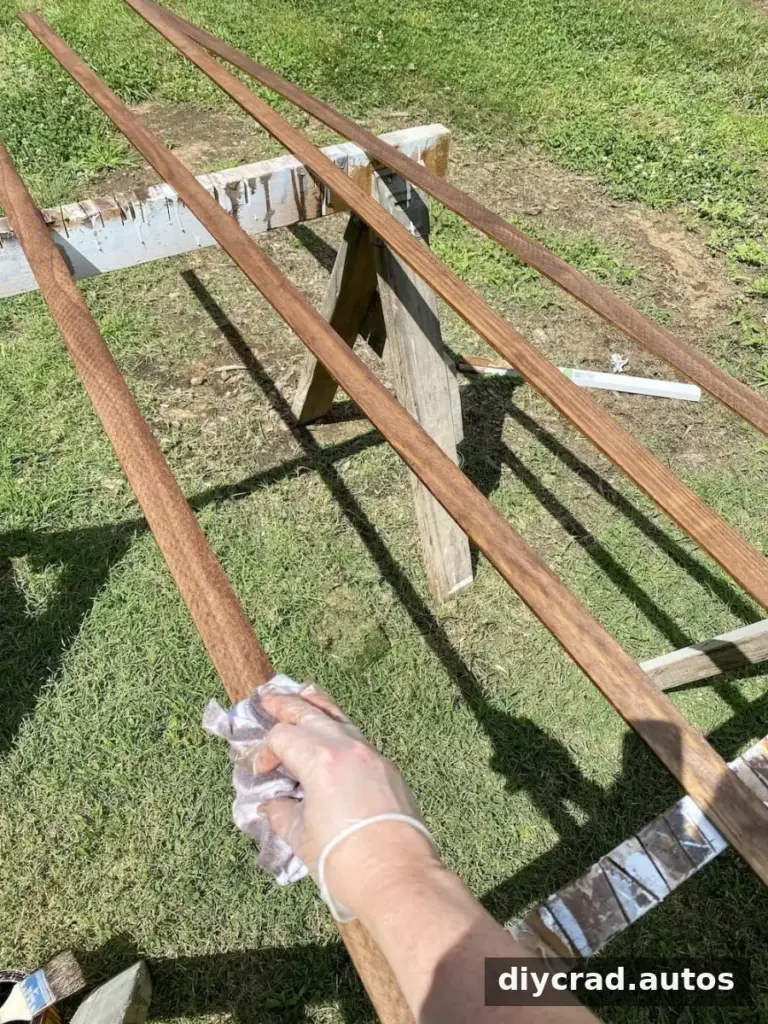
1. Stain the lattice strips
Apply stain to the lattice strips and leave them to dry while you build the frame. Follow the product directions and work in a well-ventilated area.
2. Measure and trim the shower curtain
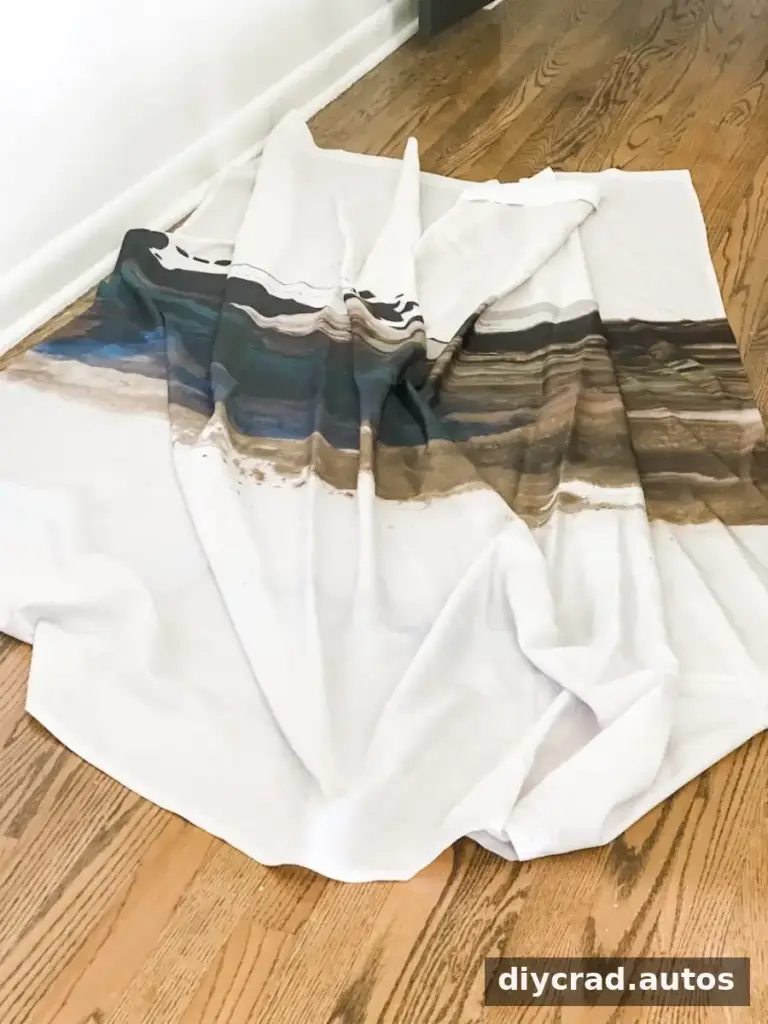
Choose the artwork dimensions, then measure the curtain and allow 3–4 inches of excess fabric for wrapping around the frame. The example frame dimensions are 5 feet 8 inches by 4 feet.
3. Cut the frame boards
Measure, mark, and cut the 1×2 boards to create the four sides of the frame. Cut one or two additional boards to support the center. Keep the cuts square so the frame is easier to assemble.
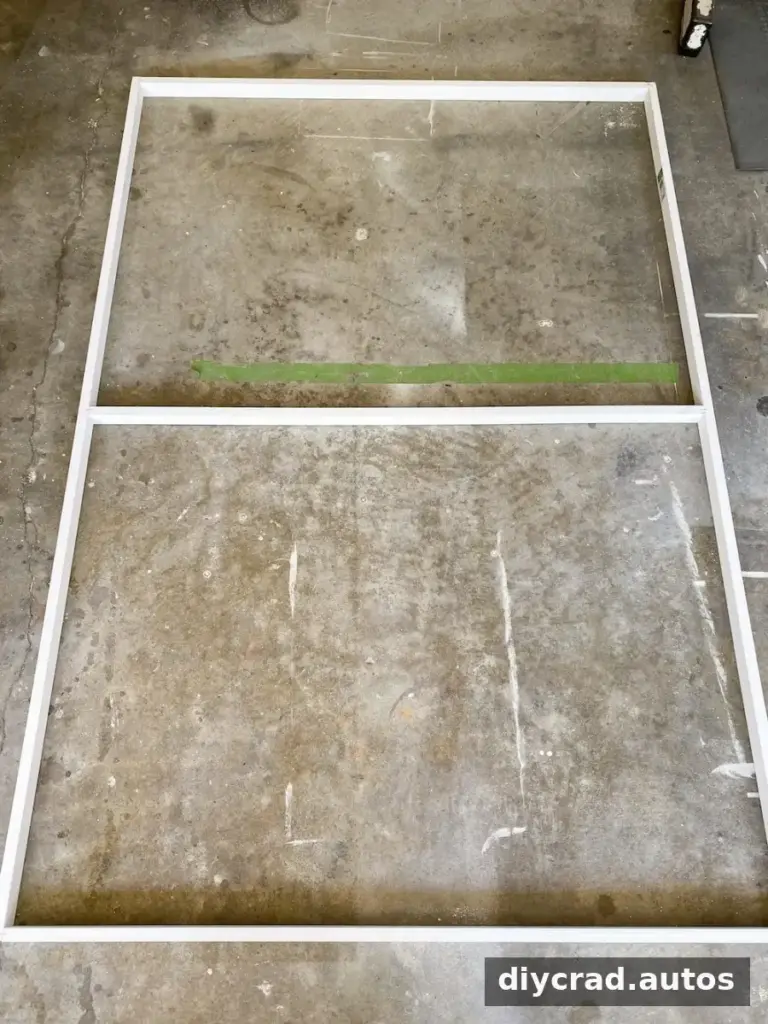
4. Assemble the frame
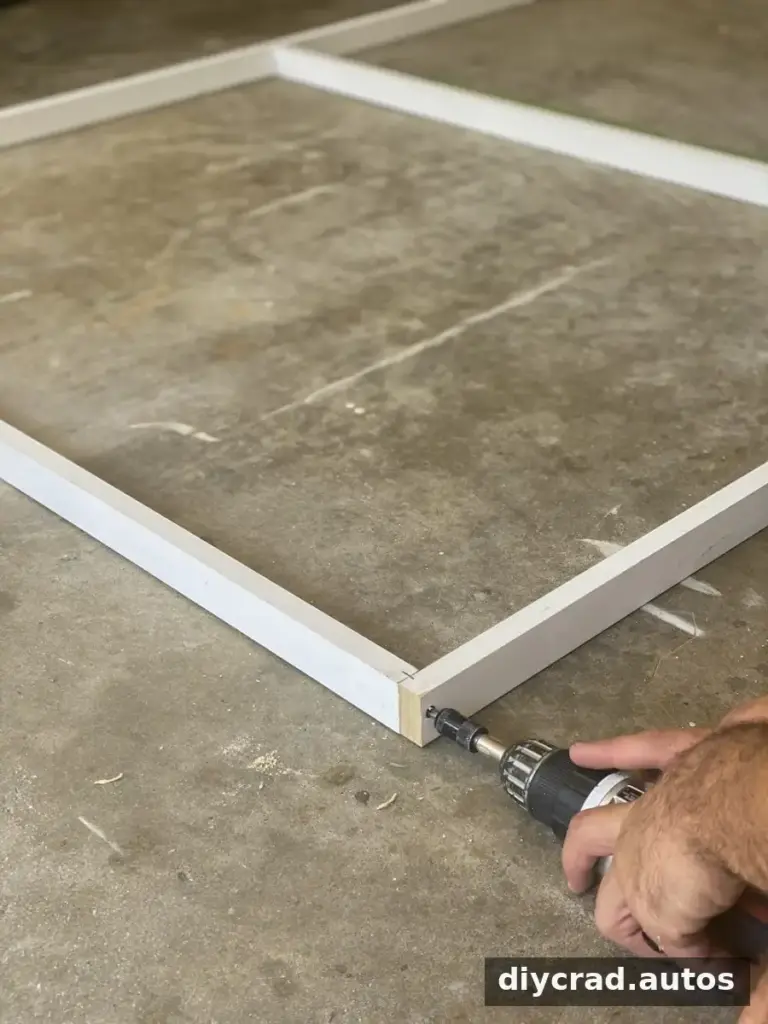
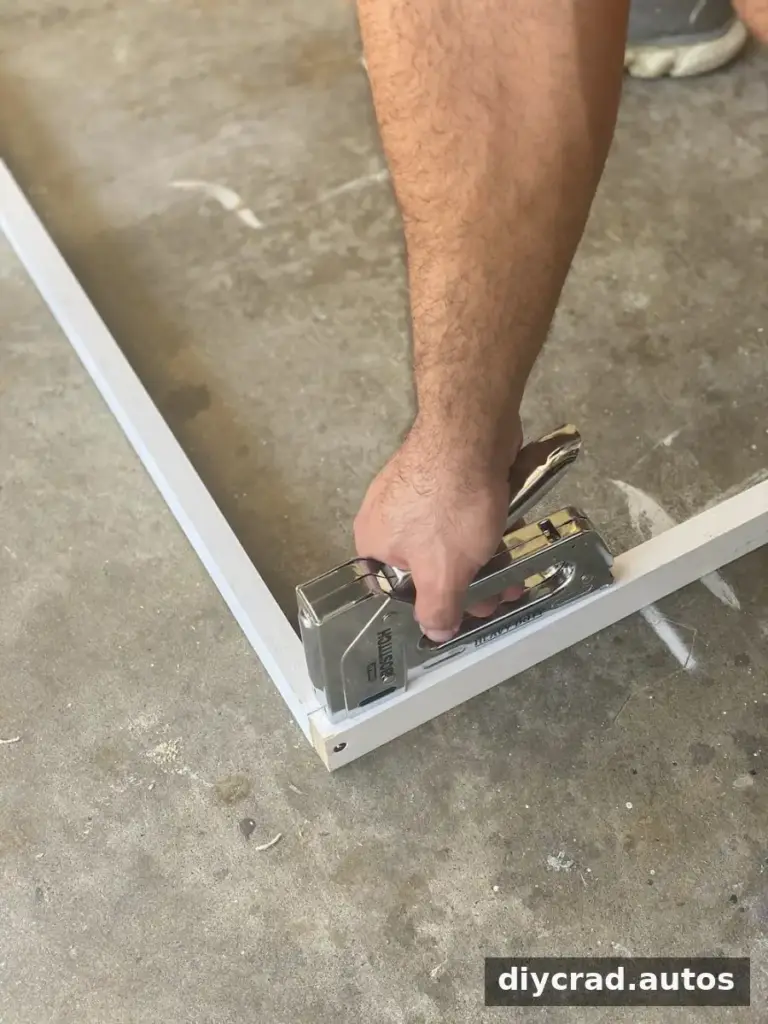
Drill pilot holes where the boards meet, then join the corners with wood screws. Stapling the seams can provide additional fastening. Check that the frame sits flat before attaching the fabric.
5. Position the curtain
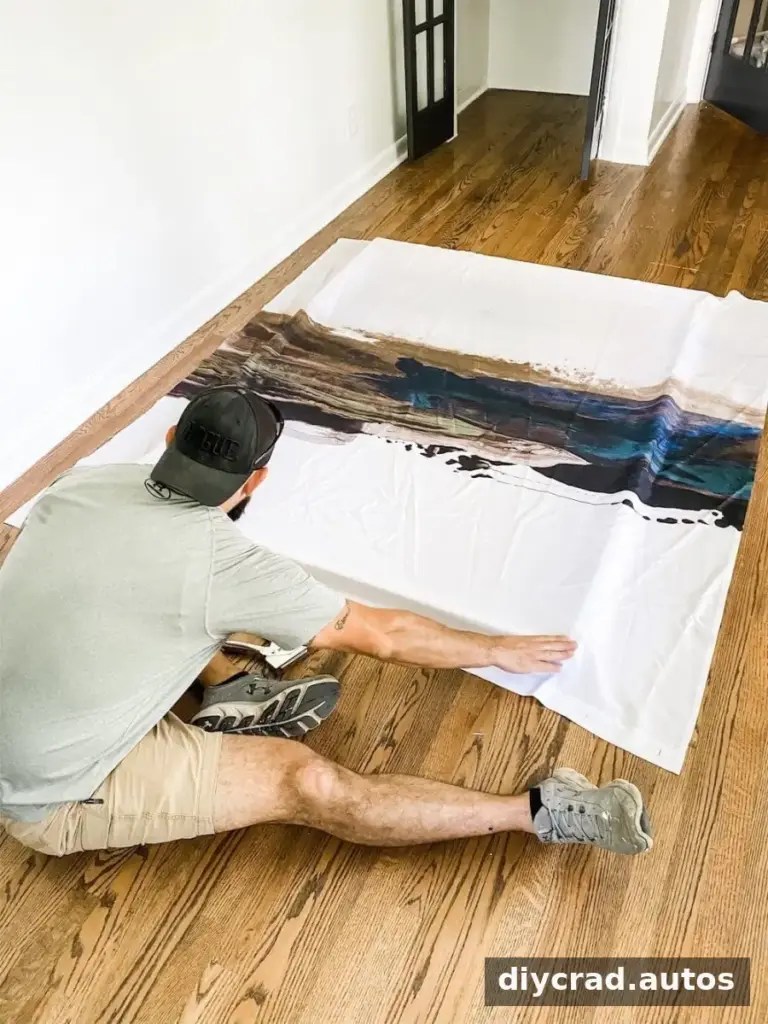
Lay the curtain over the frame and adjust the design until it is centered as desired. Add a couple of staples along the top edge to hold the fabric in place before turning the frame over.
6. Attach and stretch the fabric
Turn the frame over so the curtain faces down and the frame rests on top. Wrap the top edge of the fabric over the board, smooth it, and staple along the edge. Repeat at the bottom, gently stretching the curtain to reduce wrinkles. Finish by stretching and stapling both sides.
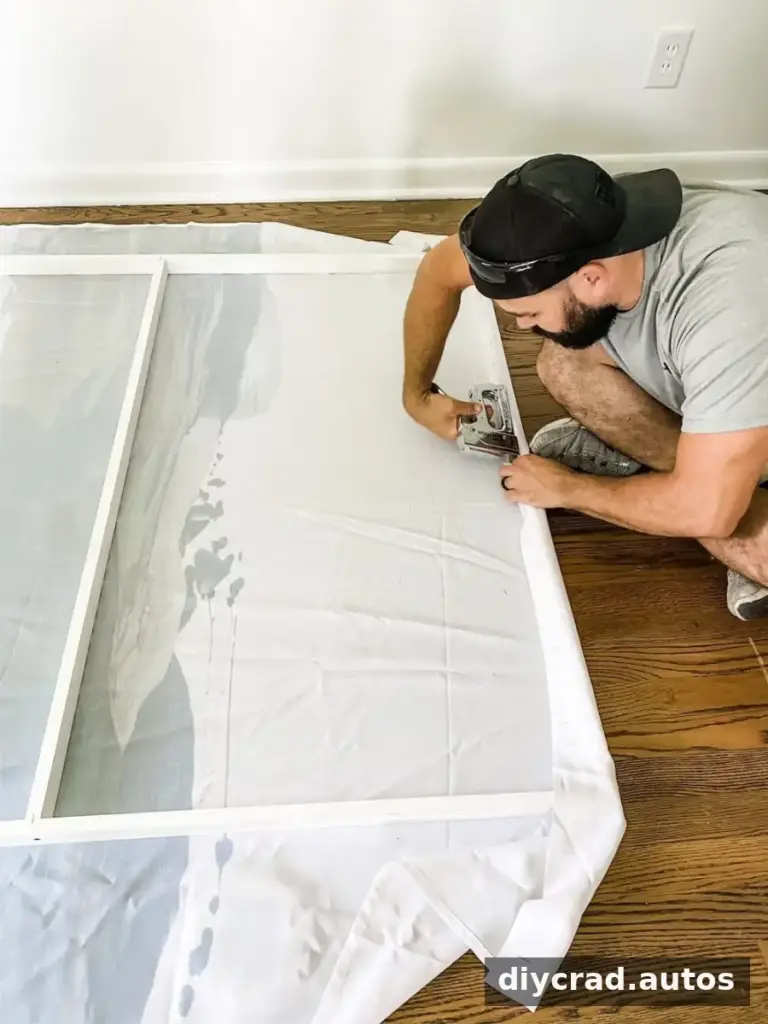
7. Secure the corners and excess fabric
Fold each corner neatly and staple it to the frame. Fasten any remaining excess fabric to the boards so it does not hang loose. Avoid pulling so tightly that the image becomes distorted.
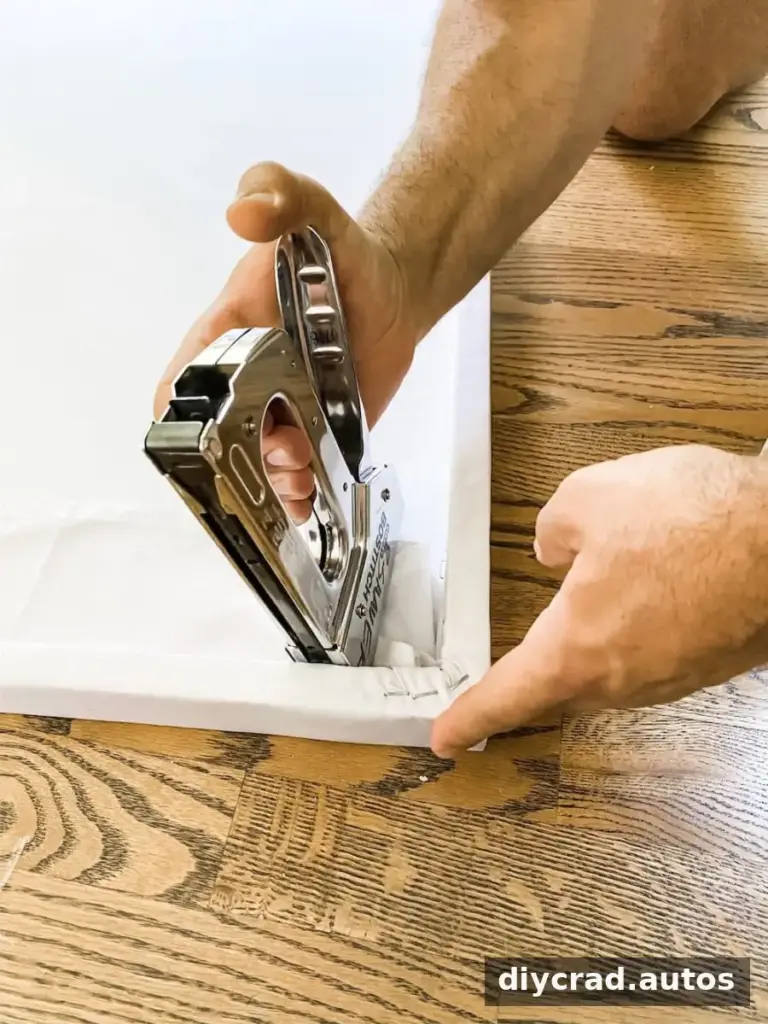
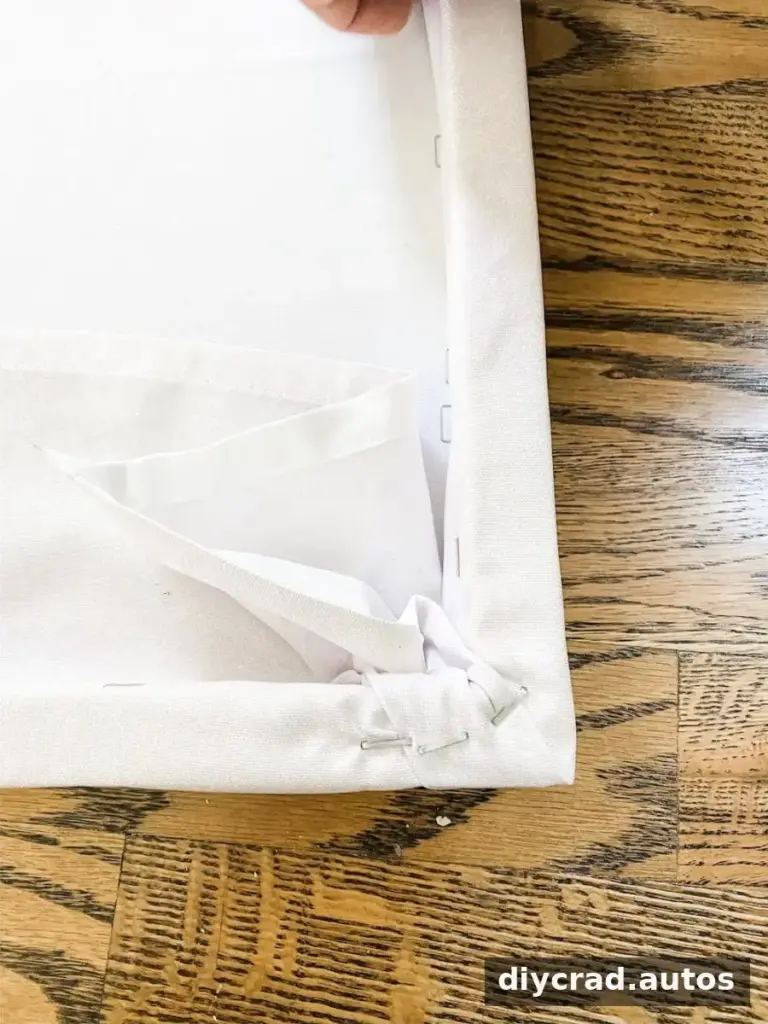
8. Add the lattice trim
Measure and cut two lattice strips for the top and bottom of the canvas, then attach them to the frame with brad nails. Fit the side strips afterward, accounting for the space taken up by the top and bottom pieces.
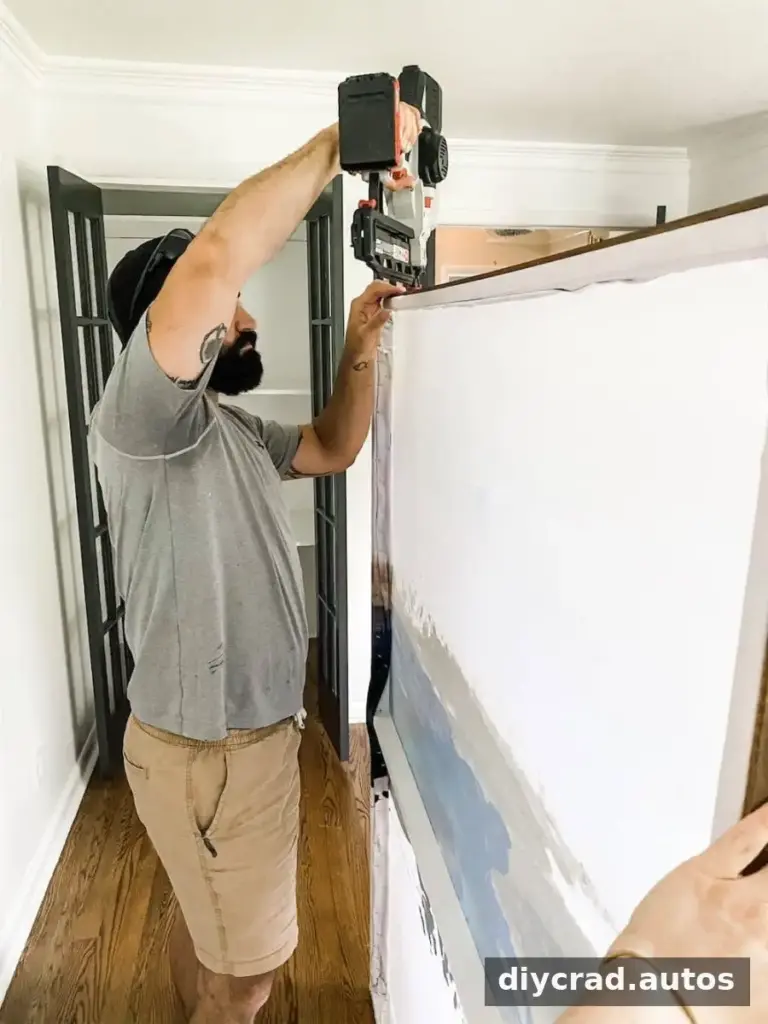
9. Hang the finished artwork
Choose suitable screws or wall anchors for the wall type and the weight of the finished piece. For a large canvas, locate wall studs when possible and use appropriate hardware. Check that the artwork is level once hung.
Practical Tips for a Neat Result
- Lay out the curtain design before stapling so important parts of the image are not hidden around the frame edges.
- Work from the center of each edge toward the corners, alternating sides to help keep the fabric evenly stretched.
- Use eye protection when cutting wood or driving nails, and keep the frame supported while assembling it.
- Confirm the frame size and hanging location before making cuts; large pieces can be difficult to maneuver once assembled.
The build took less than two hours in the original project, and the oversized artwork made a strong visual impact. DIY shower curtain wall art is a practical option when you want a large decorative piece without paying retail prices for a similarly sized canvas.

