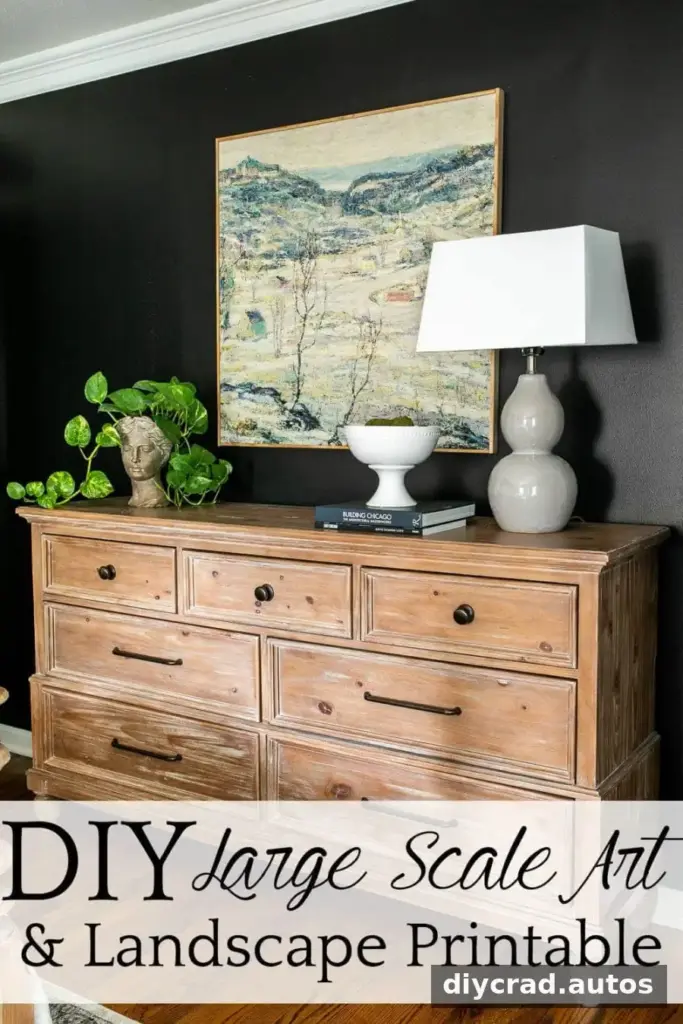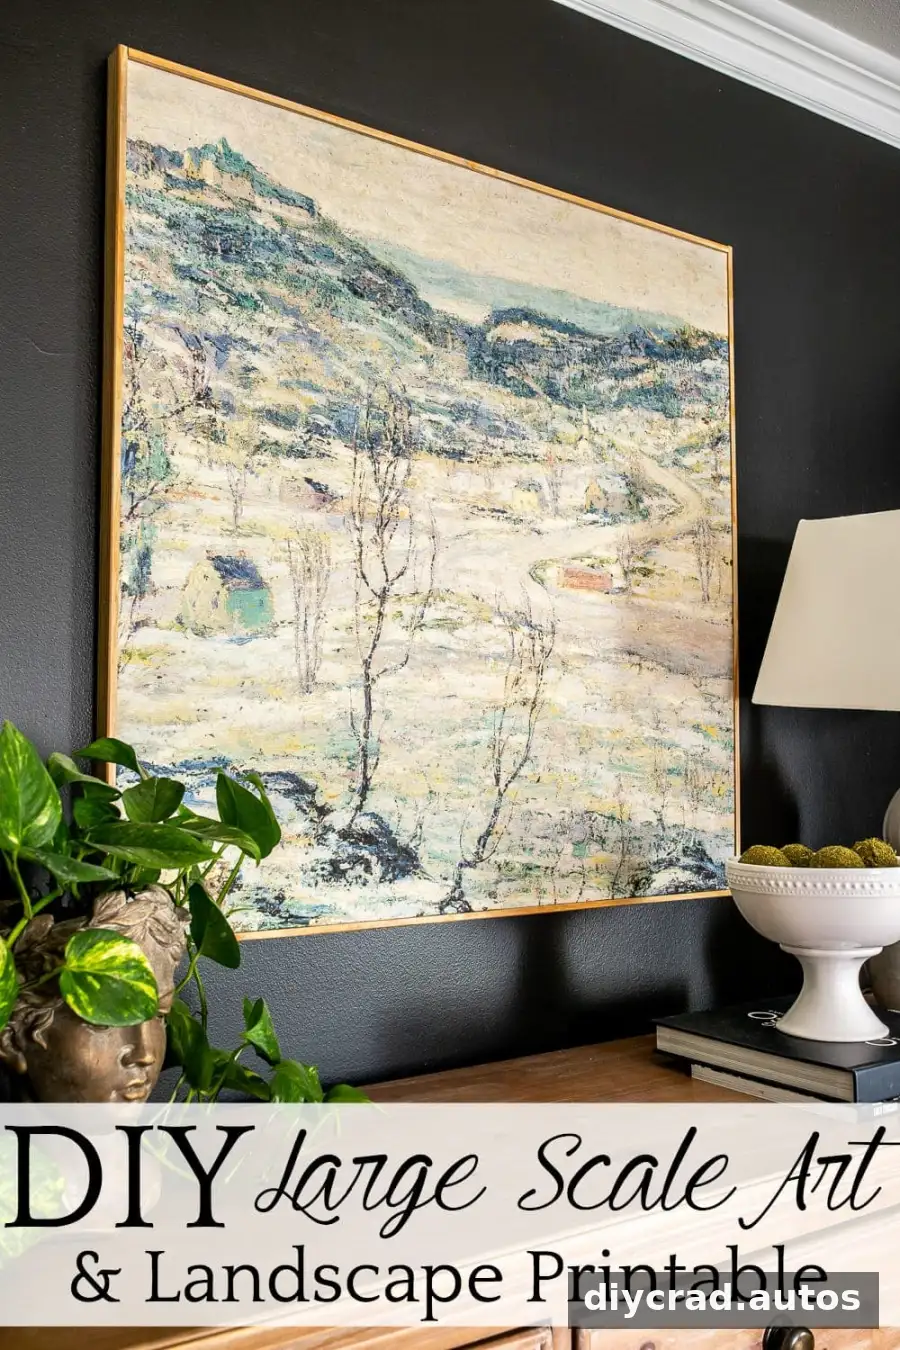
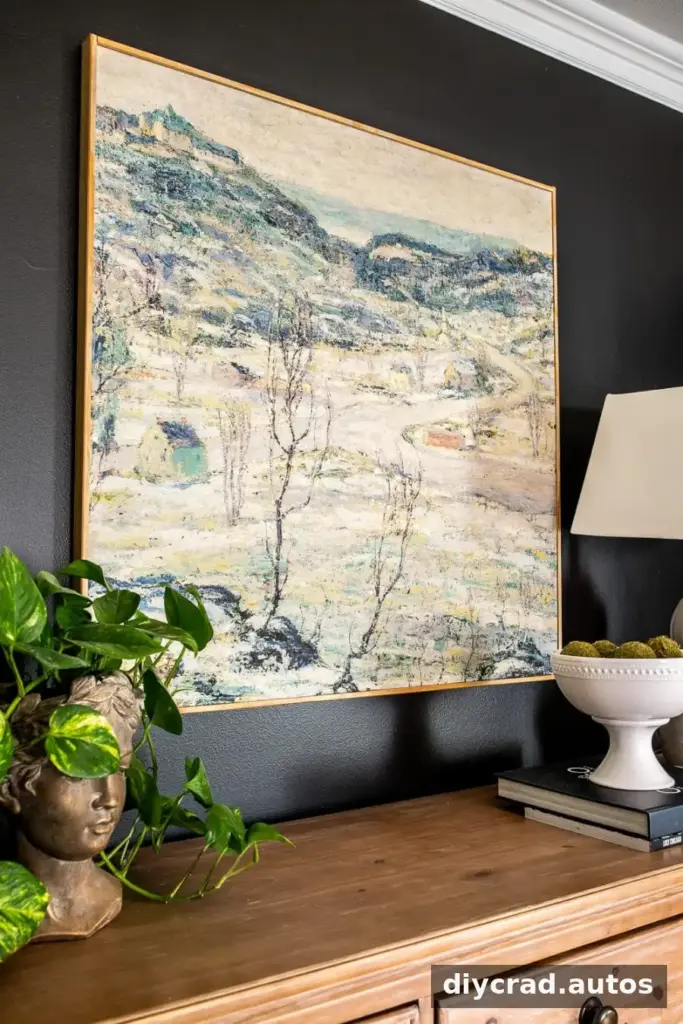
DIY large wall art can bring a polished, oversized look to a room without the cost of a high-end framed piece. This project uses a winter landscape print, plywood, and simple wood trim to create a square artwork for less than $50. The neutral colors can work throughout the year, not just in winter.
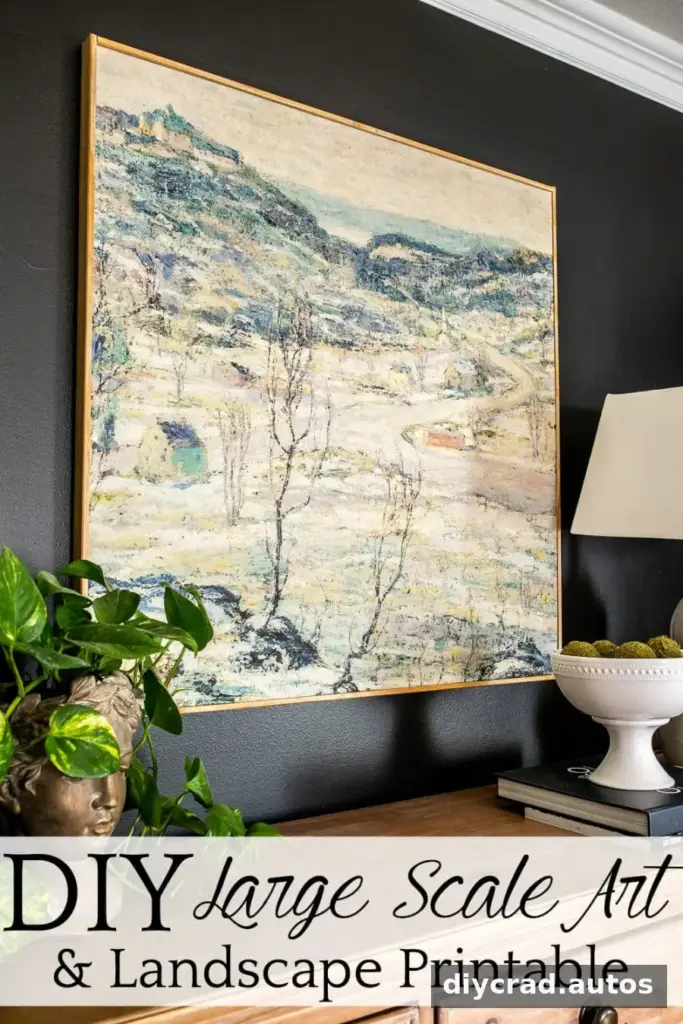
The artwork is based on “Harlem Valley Winter,” a public-domain painting by Ernest Lawson. The original image is horizontal, so it needs to be cropped to a square before mounting. For the project described here, the print was prepared at 36 inches square and attached to a 35-inch plywood panel, leaving about a half-inch of paper to fold over each edge.
DIY Large Wall Art: Materials and Tools
Gather everything before you begin. Check that your work surface is clean and large enough to support the print and plywood while you smooth the paper into place.
- A large-format print of the image
- Tape measure and pencil
- Scissors
- 1/2-inch-thick plywood
- 1/4-inch lattice strips
- Circular saw or miter saw
- Nail gun
- Wood stain and a stain or paint brush
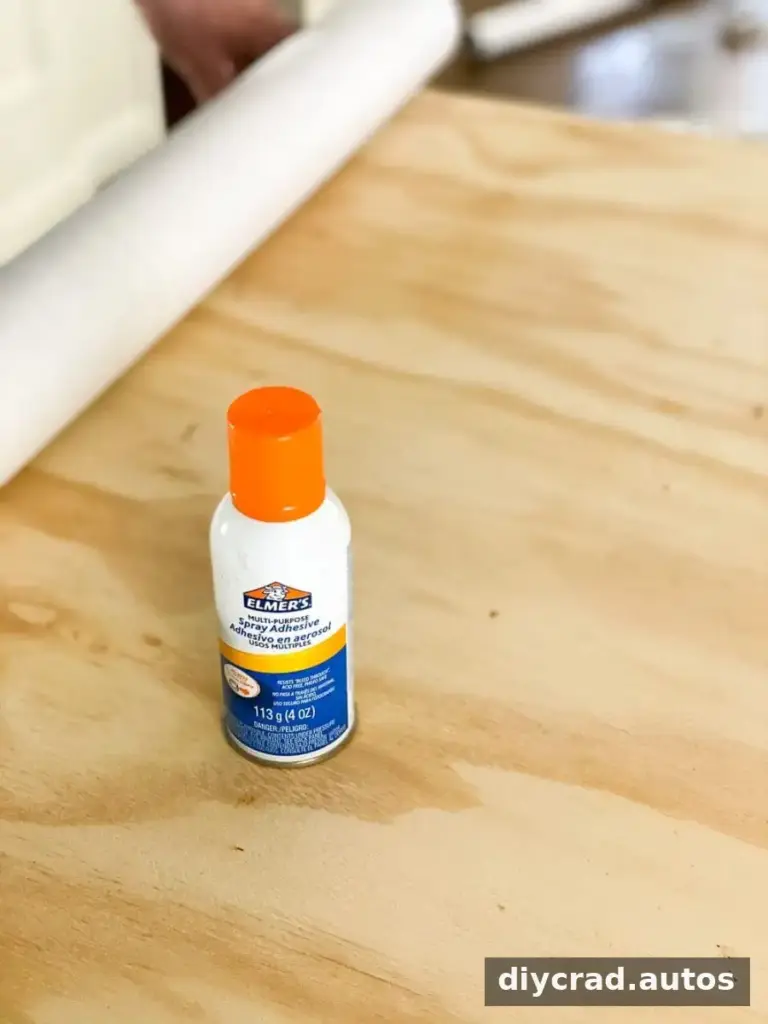
- Spray adhesive
- An old credit card or similar smooth-edged tool
- Eye hooks and hanging wire
How to Make the Wall Art
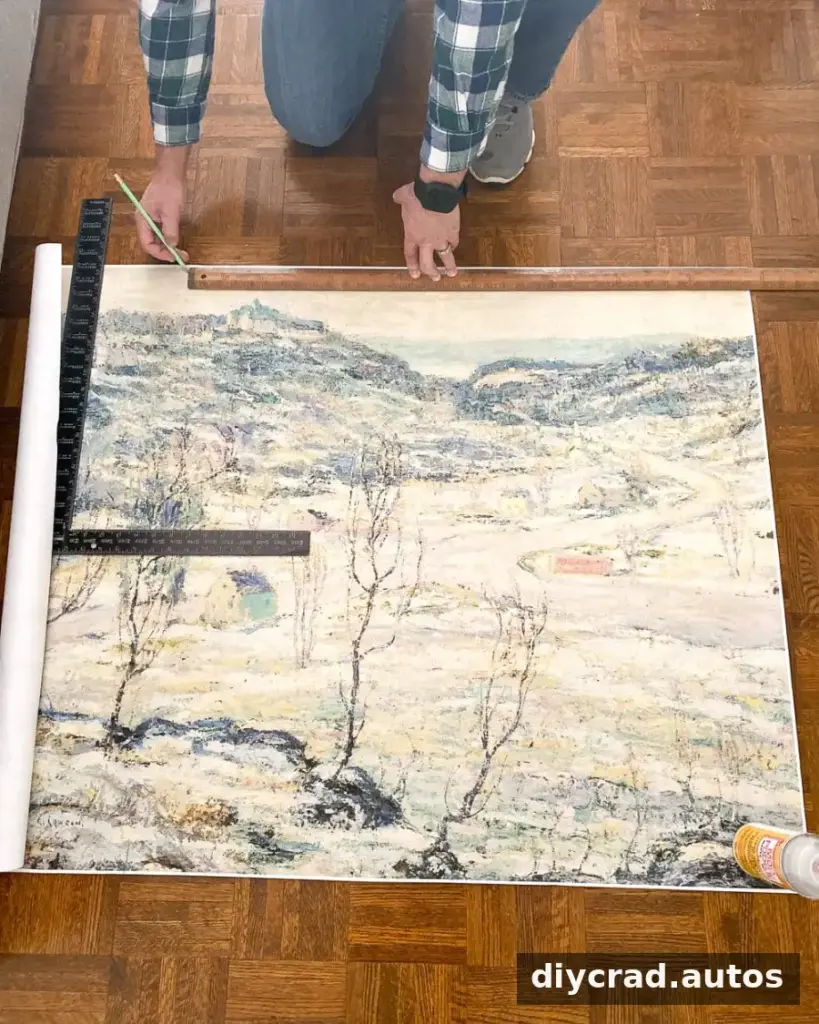
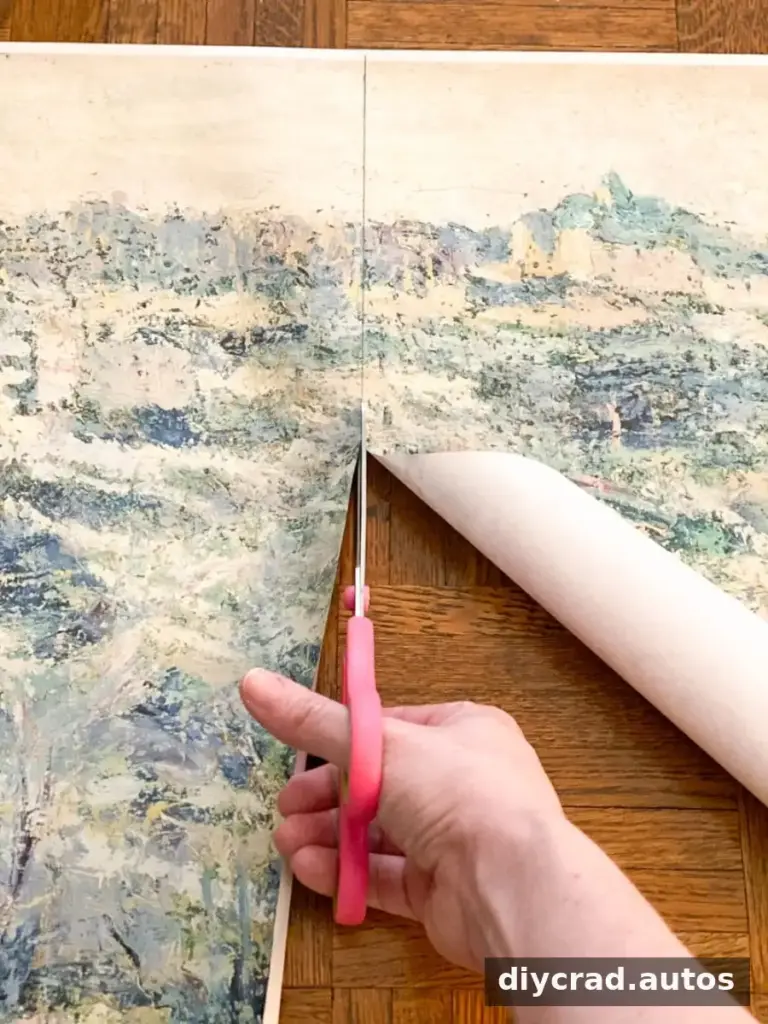
- Crop the print. Use a pencil and scissors to trim the horizontal image into a 36-inch square. Measure carefully so the main parts of the landscape remain in the composition.
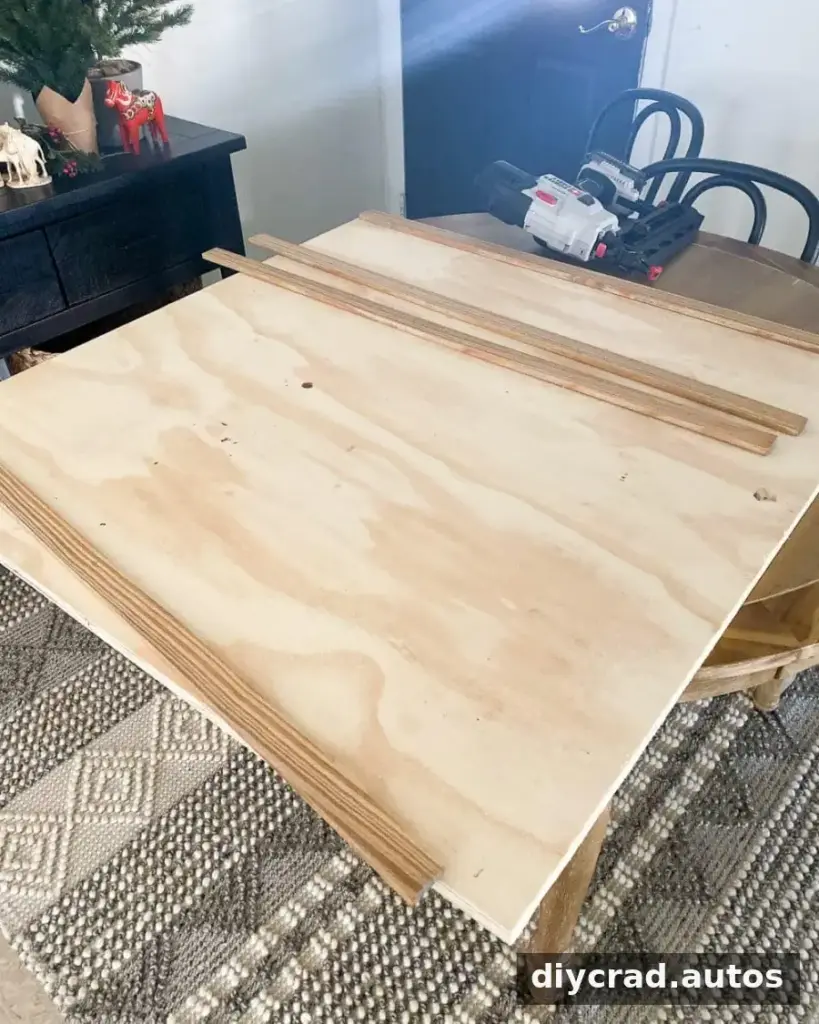
- Measure and cut the plywood. Mark a 35-inch square on the plywood—one inch smaller than the print in each overall dimension. Cut along the marked lines with a suitable saw.
- Check the fit. Place the print over the plywood before applying adhesive. Center it and confirm that roughly half an inch of paper extends beyond every edge.
- Attach the top edge. Lift one end of the print and apply spray adhesive to the top edge of the plywood, following the adhesive’s label directions. Press the paper down carefully.
- Adhere the rest of the print. Apply adhesive to the remaining plywood surface in manageable sections. Unroll the print gradually, smoothing it as you go to reduce wrinkles and trapped air.
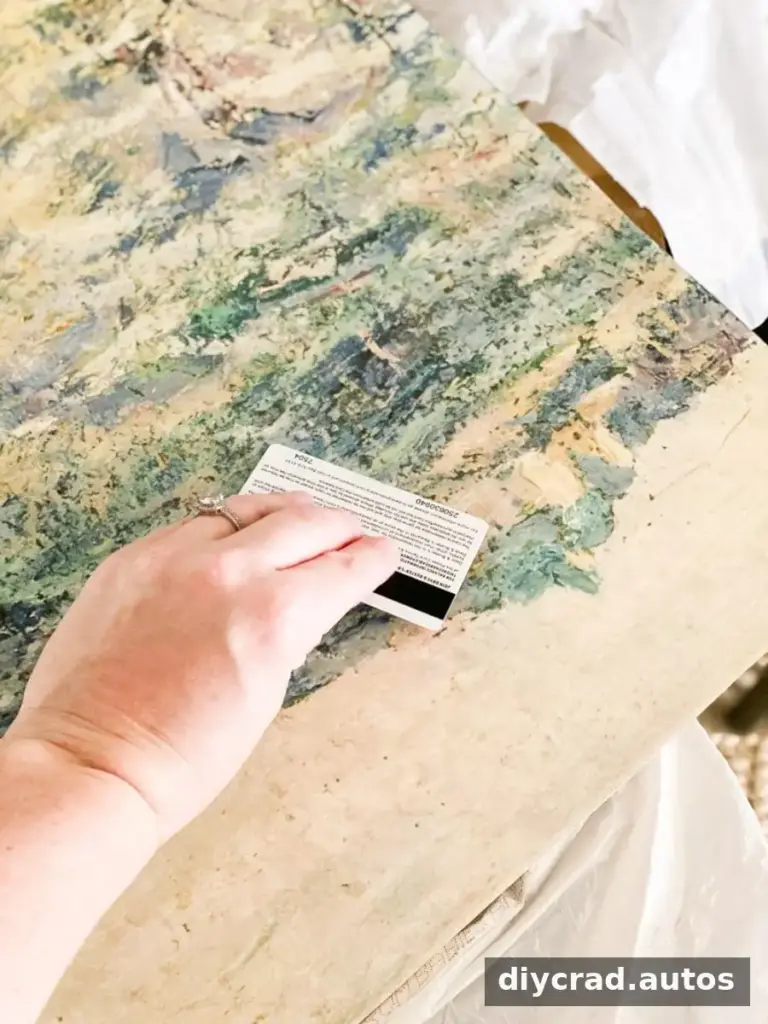
- Smooth and dry. Gently run an old credit card across the paper to push out air bubbles. Avoid pressing so hard that you crease or tear the print, then let the adhesive dry as directed.
- Cut the frame strips. Cut two lattice strips to 35 inches. Cut two additional strips to 35 1/4 inches. Straight cuts are a simple option; mitered corners can be used if you prefer angled joins.
- Stain the strips. Apply your chosen stain and allow the pieces to dry fully before attaching them. Test the finish on a small offcut first if you are unsure how it will look.
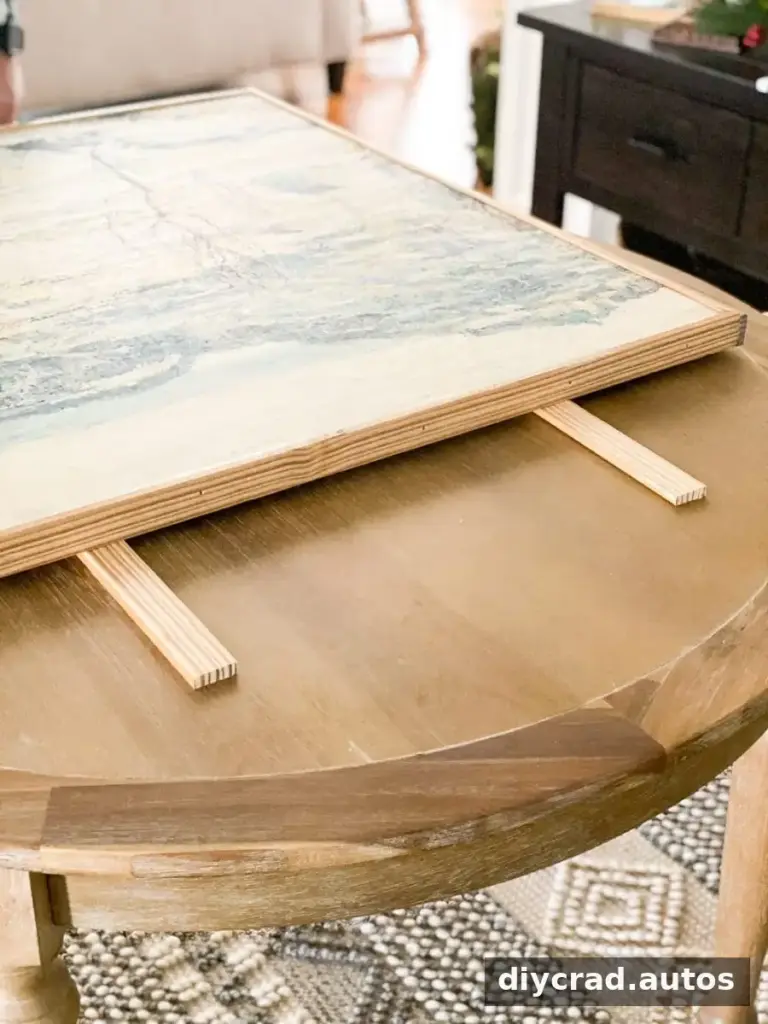
- Position the artwork. Set the plywood on a couple of spare strips or another stable support to raise it slightly above the work surface.
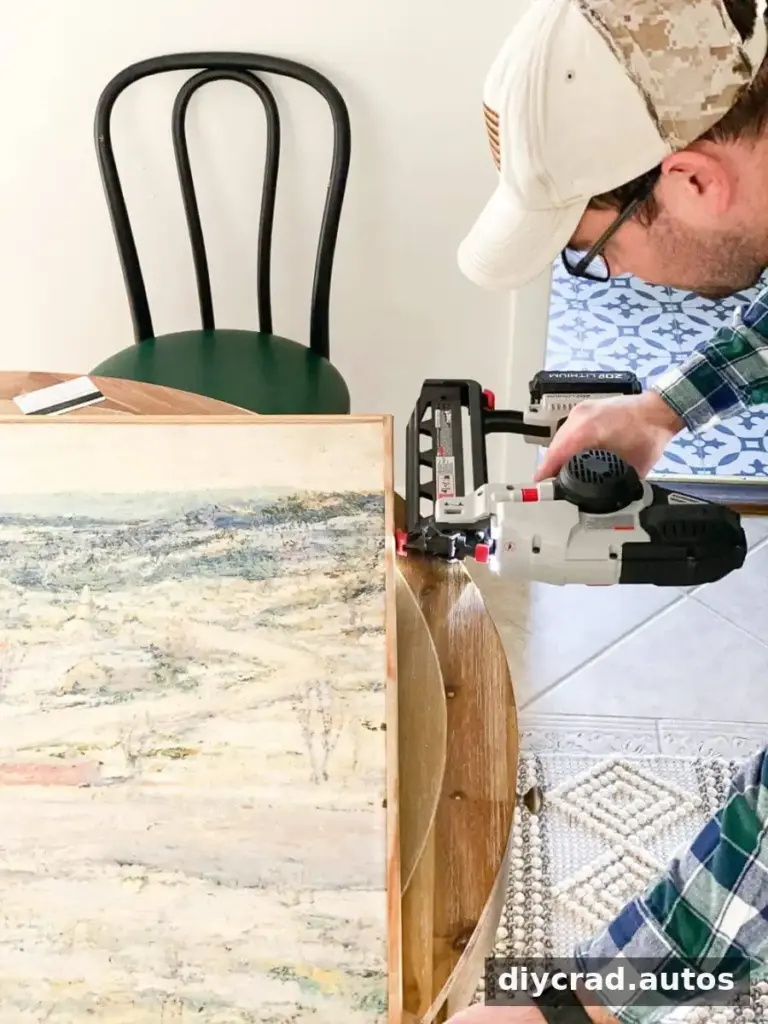
- Attach the top and bottom trim. Fold the paper overhang neatly against the plywood edges. Secure the two 35-inch strips across the top and bottom with a nail gun.
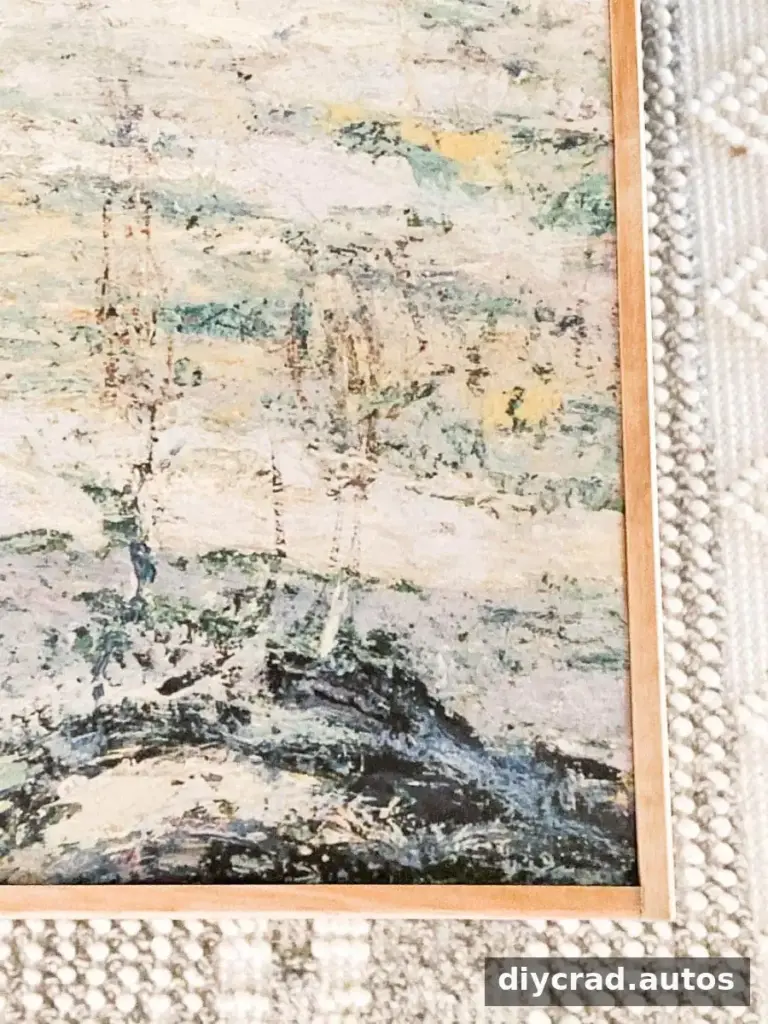
- Finish the sides. Attach the two longer lattice strips to the sides, keeping the frame aligned and the paper edges tucked beneath the trim.
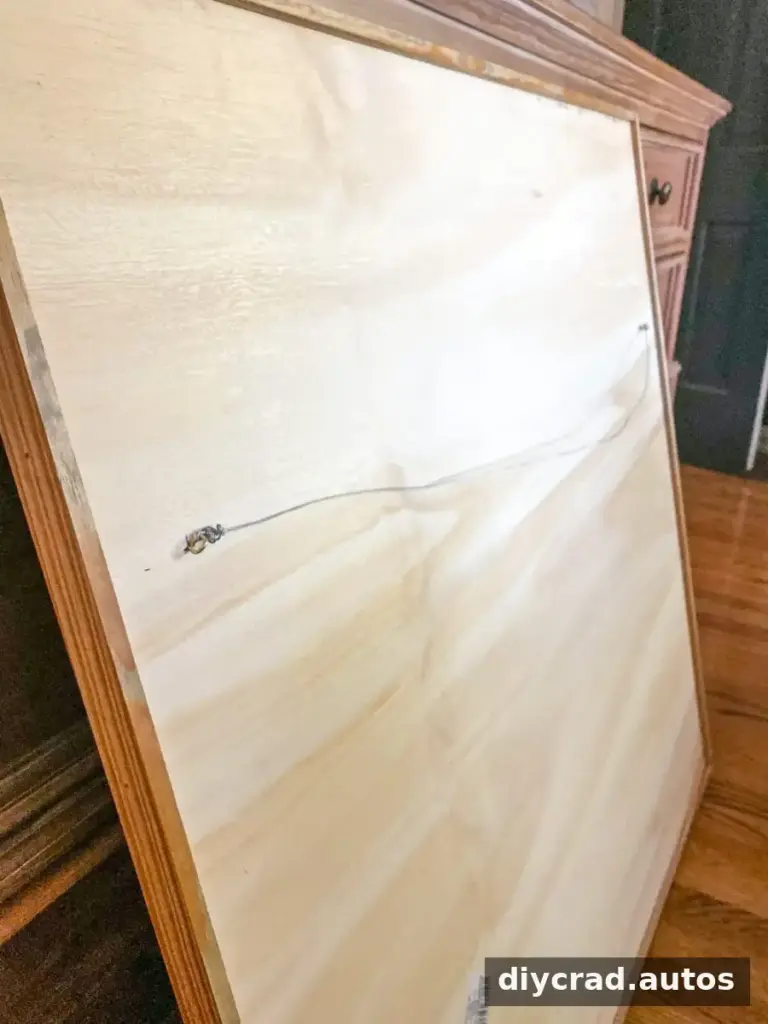
- Add hanging hardware. Fit eye hooks and wire to the back. Choose hardware appropriate for the artwork’s weight and the type of wall where it will hang.
Once the hardware is secure, the piece is ready to hang.
Printing the Winter Landscape
A 36-by-48-inch color blueprint print can provide enough paper to crop a 36-inch square, as long as the image file and print shop support the required size. Printing services and available options vary by location, so ask whether they can produce an oversized color print before placing an order. If that size is unavailable, check another local print provider.
You can also print the image at home at 8 by 10 inches or smaller and place it in a standard frame. A smaller print is a practical option when you do not need an oversized statement piece. Before ordering a large print, confirm the file’s resolution and preview the crop to avoid unwanted pixelation or cutting off important details.
Finishing and Hanging Tips
This project is suitable for a beginner who is comfortable using basic tools, but take care when cutting plywood and operating a nail gun. Follow each tool’s safety instructions, wear appropriate eye protection, and work on a stable surface. If you do not have the right tools, a hardware shop may be able to cut the panel and strips to size.
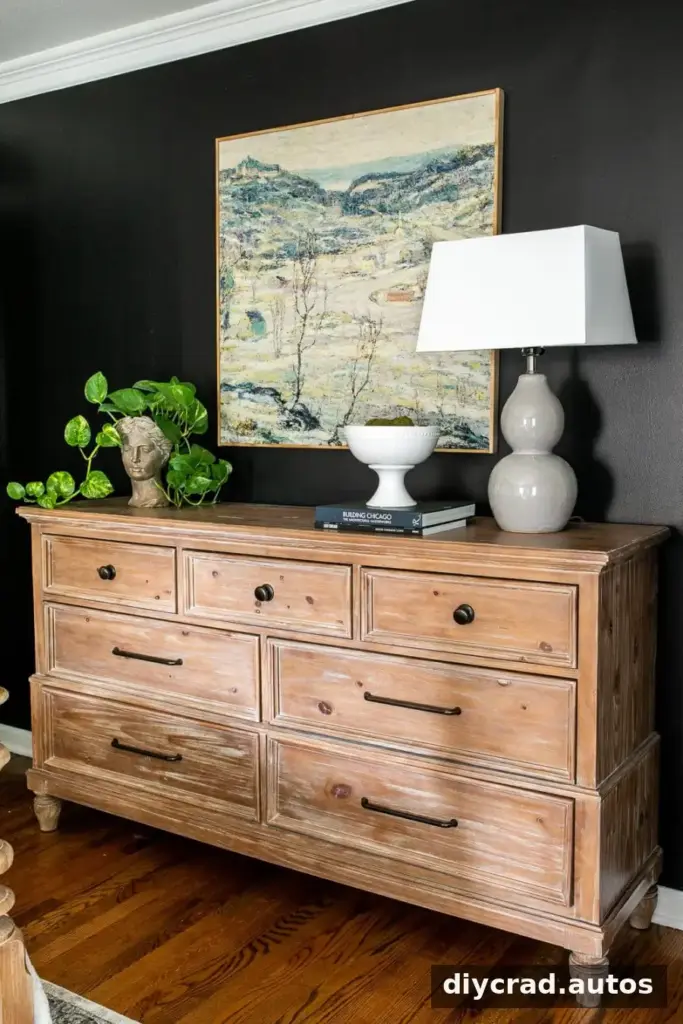
The finished artwork can make a strong focal point above a dresser or another wide piece of furniture. Before hanging it, check that the wire, eye hooks, and wall fastener are rated for the piece’s weight. The original project cost less than $50, offering a budget-friendly alternative to large artwork that can cost much more.
Conclusion
DIY large wall art is a straightforward way to create a custom-sized focal point with a landscape image, plywood, and stained lattice trim. Measure the print and panel carefully, smooth the paper gradually, and use secure hanging hardware. With those steps, a winter scene can become an oversized piece that suits the room throughout the year.