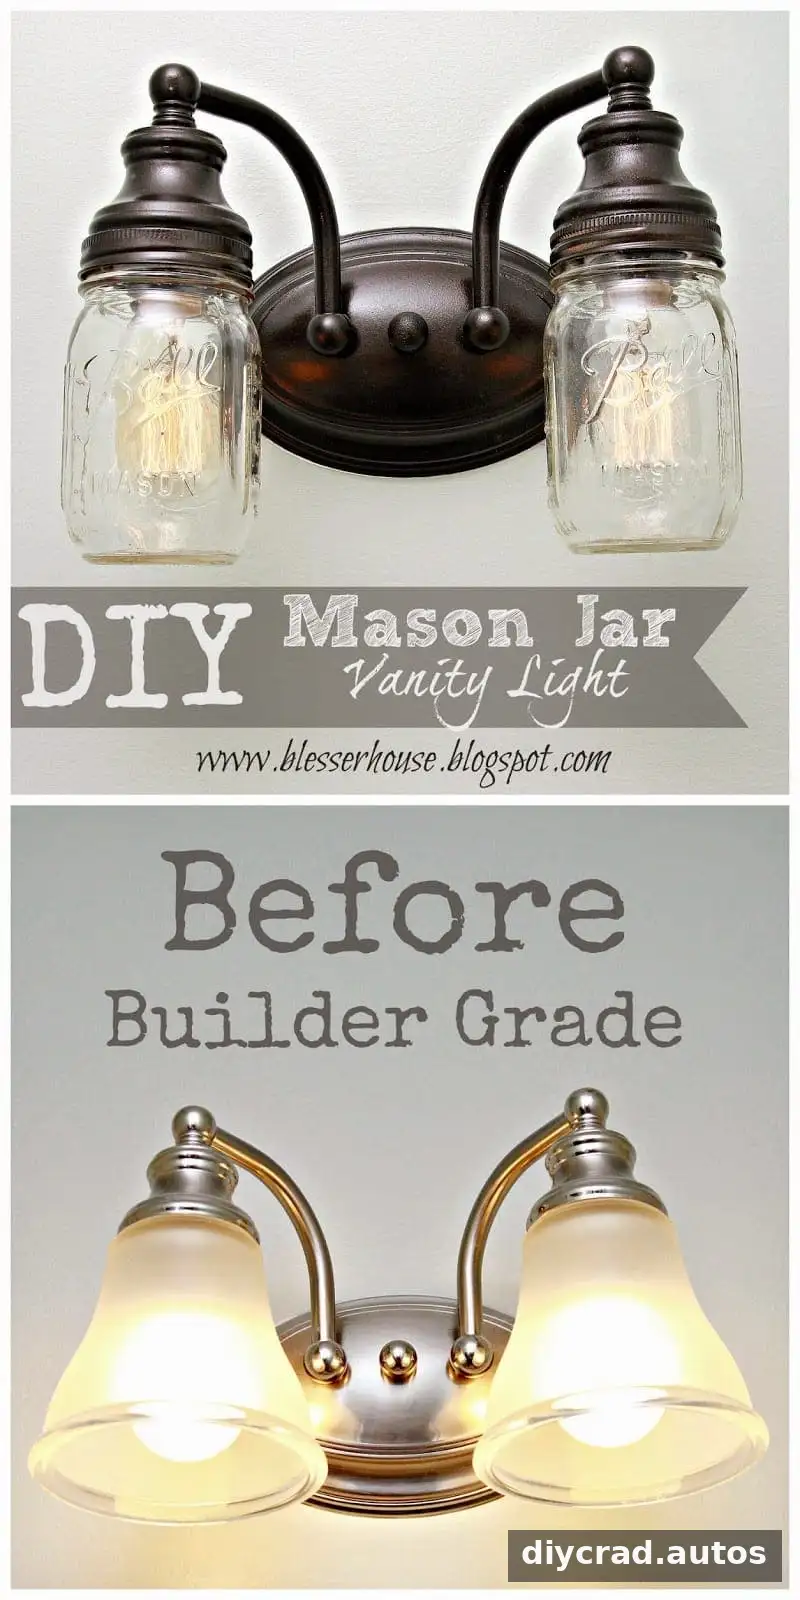
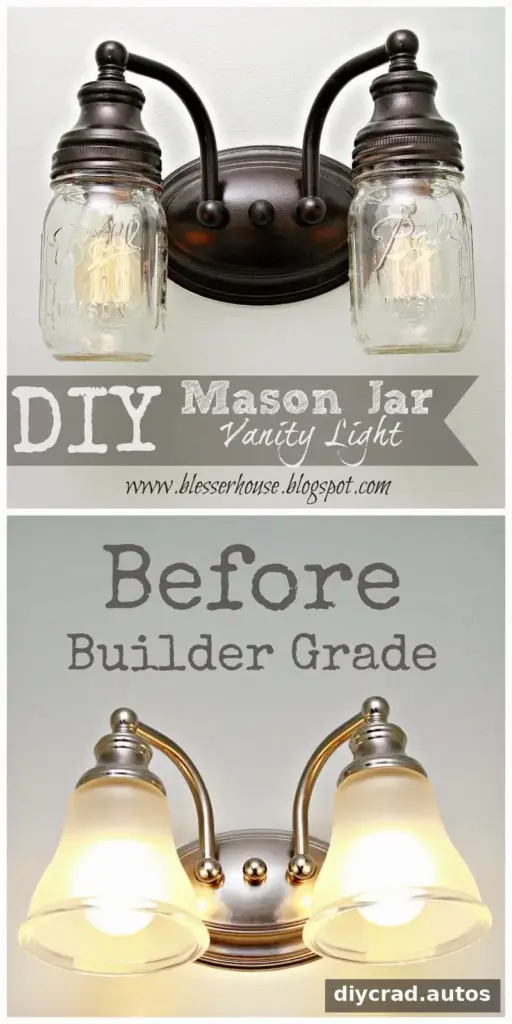
A DIY Mason Jar Vanity Light can give a basic bathroom fixture a farmhouse-inspired update without replacing the entire light. This project uses mason jars as shades and spray paint to change the fixture’s finish. The original project used two jars, cost about $6, and took roughly 20 minutes, including installation. Actual time and cost can vary depending on the fixture and supplies you already have.
DIY Mason Jar Vanity Light: Materials and preparation
Gather the materials before removing the existing shades. Choose jars that suit the size of your fixture; the project used smaller jars, though larger ones may also work if they fit safely.
- Two mason jars, or one jar for each light on the fixture
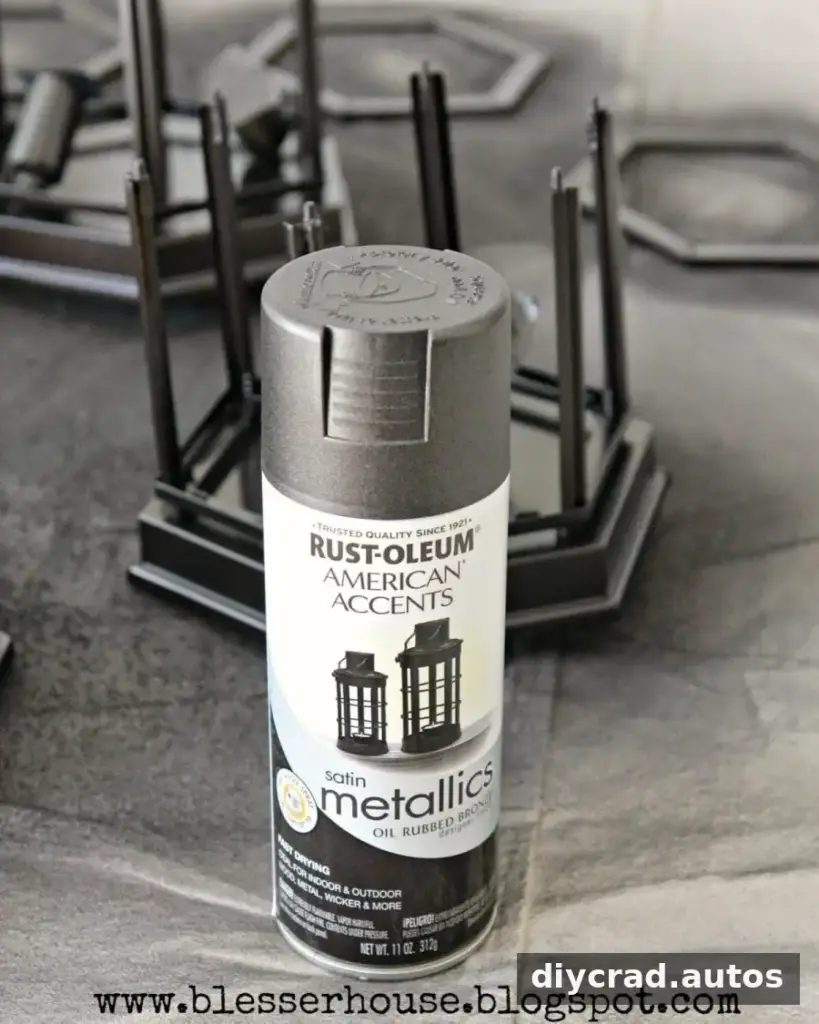
- Oil-rubbed bronze spray paint
- A permanent marker
- A hammer and one nail
- A compatible vanity light fixture and its mounting flanges
Before doing any work on a light, switch off the circuit at the breaker and confirm the fixture has no power. If you are not comfortable removing or reinstalling electrical equipment, ask a qualified electrician to handle that part. Keep paint away from sockets, wiring, and other electrical components.
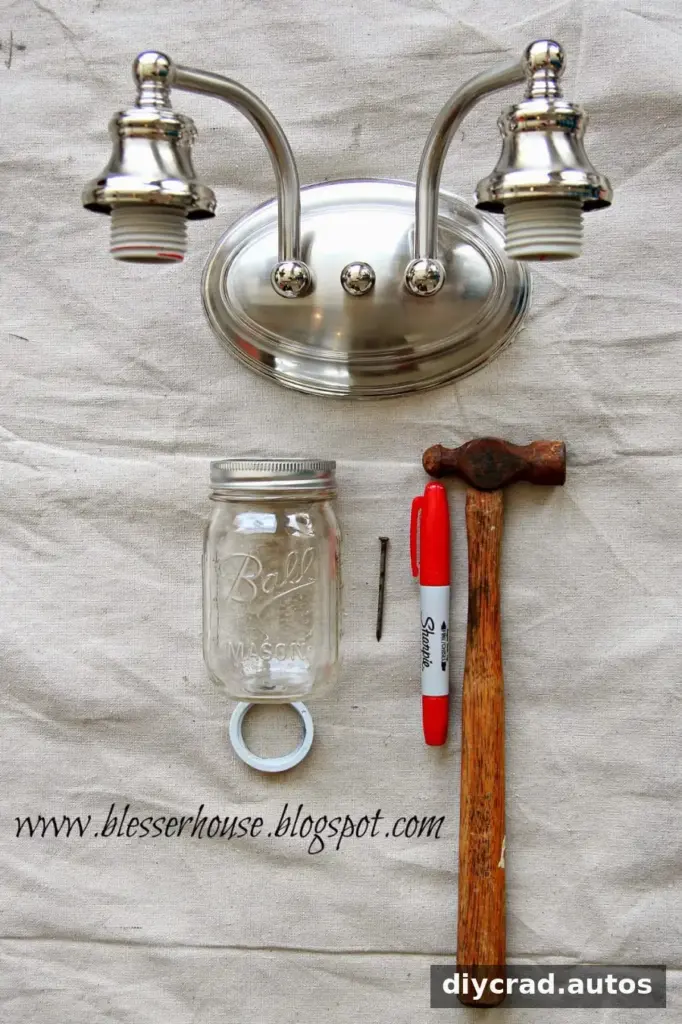
Paint the fixture and mark the jar lids
Remove the existing shades and bulbs. Once the fixture has been safely disconnected from the wall, apply two coats of oil-rubbed bronze spray paint to the parts being refinished. Follow the paint label for application and drying times, and work in a well-ventilated area. Allow the finish to dry fully before reinstalling the fixture.
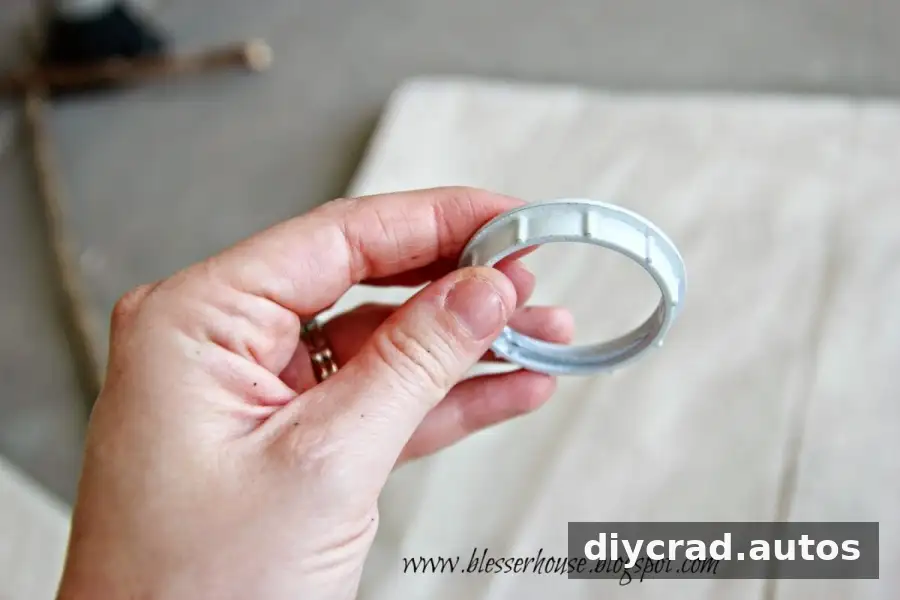
While the paint dries, use a fixture flange as a guide to mark a circle in the center of each jar lid with a permanent marker. Check that the circle is wide enough for the relevant fixture part to pass through, but not so large that the lid cannot sit securely.
Cut openings in the mason jar lids
Keep each lid on its jar while making the opening; the jar provides support and helps steady the metal. Using a hammer and nail, make a series of holes close together along the marked circle. Work carefully and keep your hands clear of the nail.
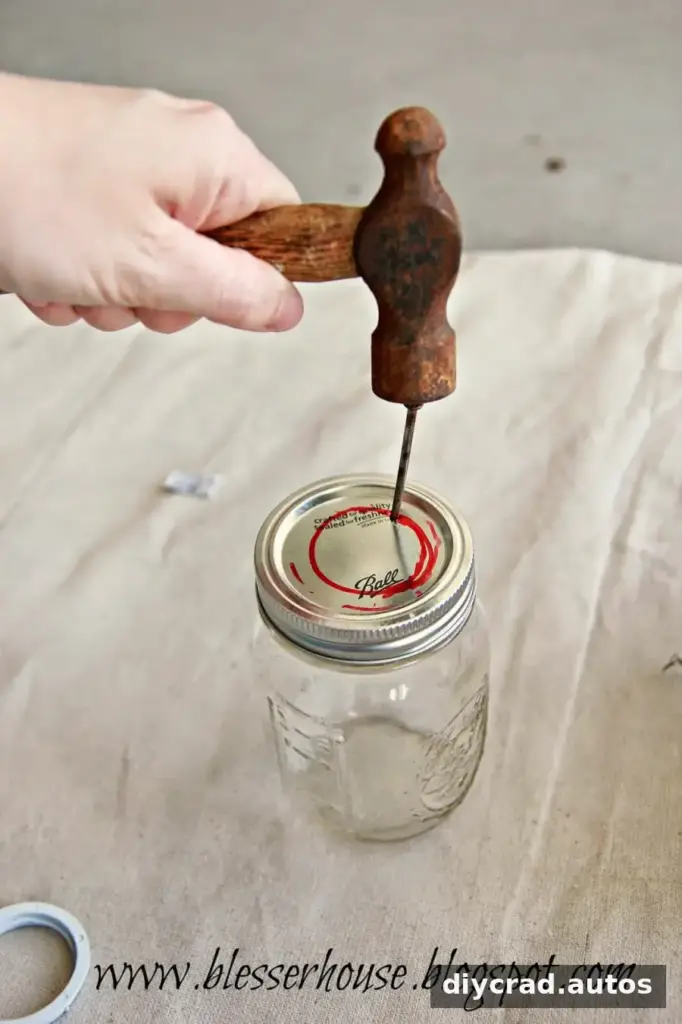
Continue around the outline until the center piece can be removed. No power tools are needed for this method, but the cut edges may be sharp. Use a screwdriver or another suitable tool to lift the metal piece rather than pushing it out with your thumb. Handle the lid carefully and avoid using it if the opening is badly bent or unstable.
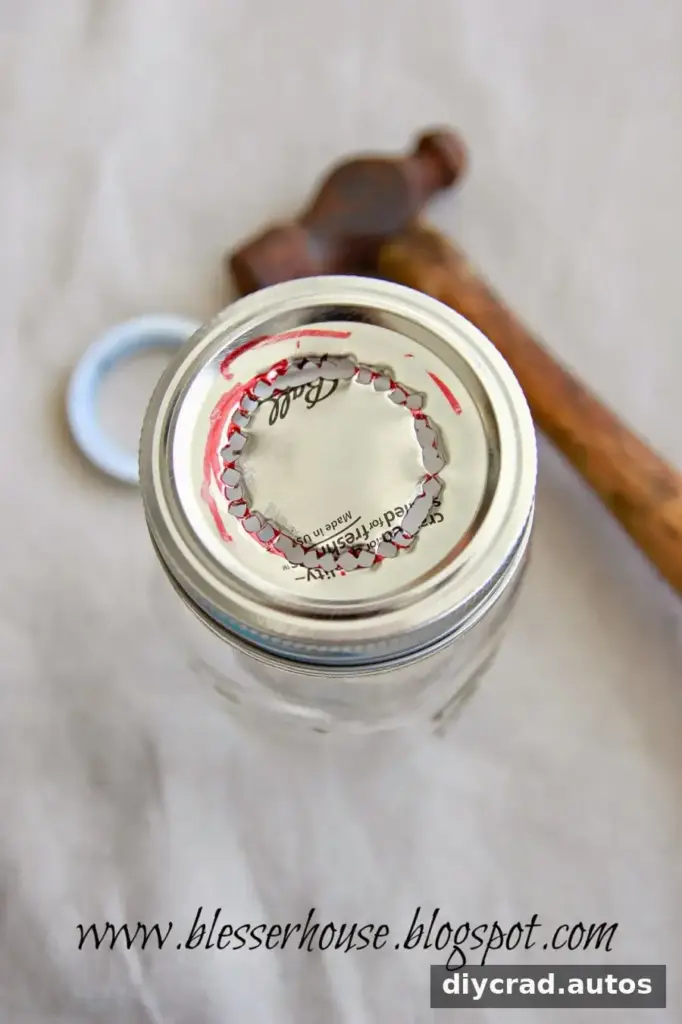
After making the openings, spray-paint the jar lid rings to match the fixture if desired. Let all painted pieces dry completely before assembly.
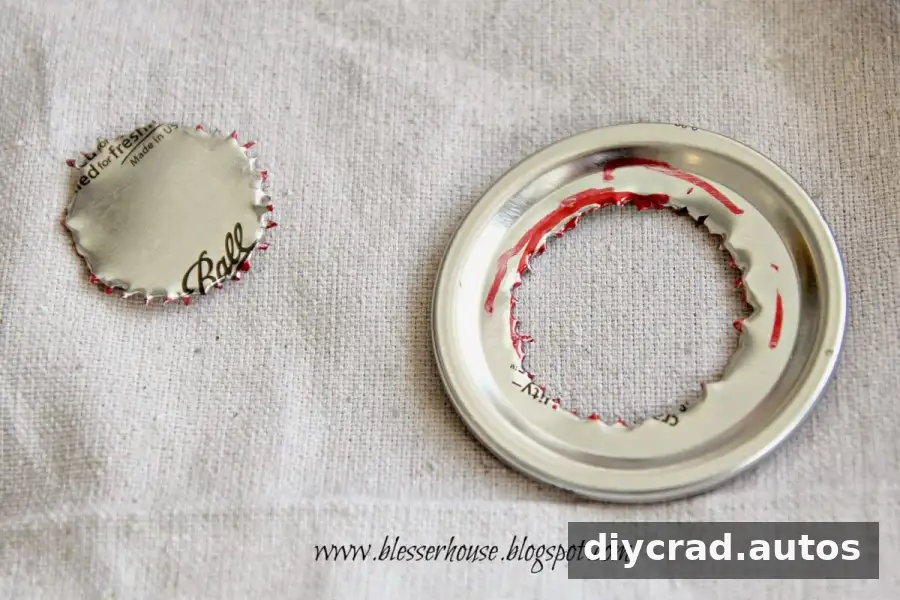

Assemble and install the vanity light
Slide each lid ring onto the fixture before positioning the cut lid top. Putting the parts in the wrong order can make assembly difficult, so keep the ring accessible until the lid top is in place. Fit the jars onto the fixture as intended by its design, then reinstall the fixture securely and restore power only after the work is complete.
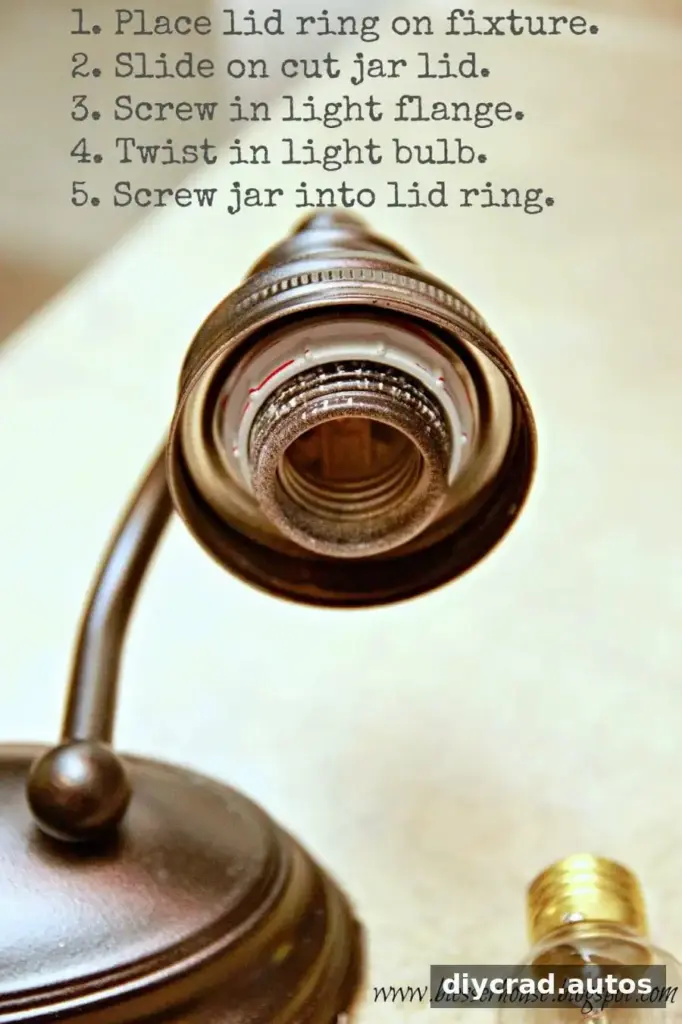
An Edison-style bulb can add a vintage look to the finished light. Choose a bulb that is compatible with the fixture and suitable for use in the bathroom. Check the fixture’s maximum-wattage rating and any bulb requirements before installation.
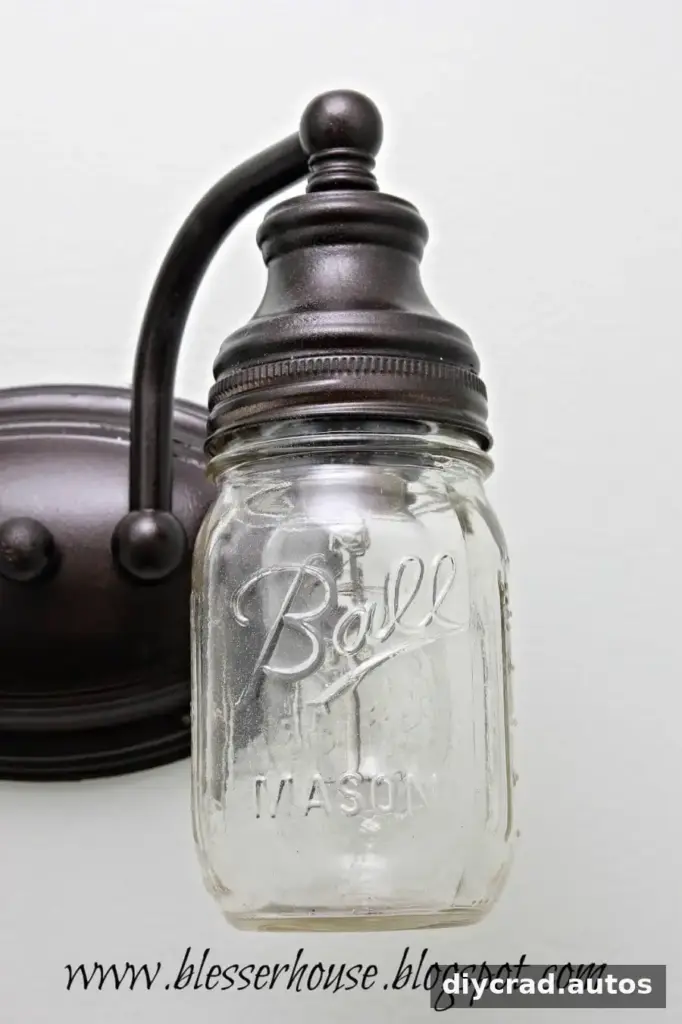
Finishing touches and practical considerations
The mason jars and darker finish give a plain vanity light a more distinctive farmhouse character. For a coordinated look, consider whether nearby bathroom hardware has a different finish; changing other pieces can be done later rather than as part of this project.
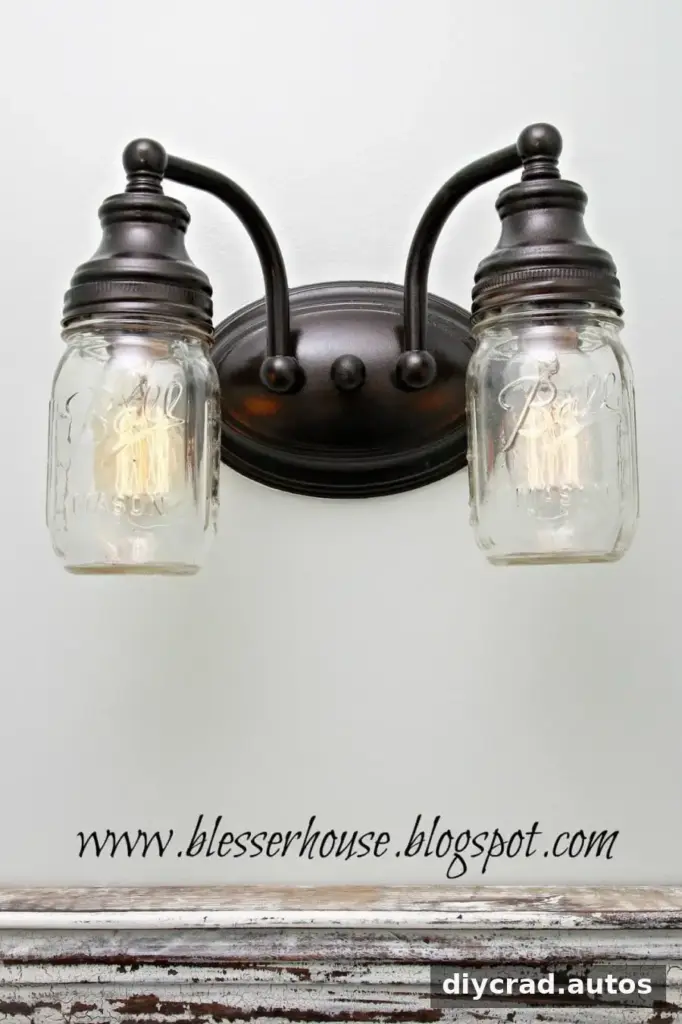
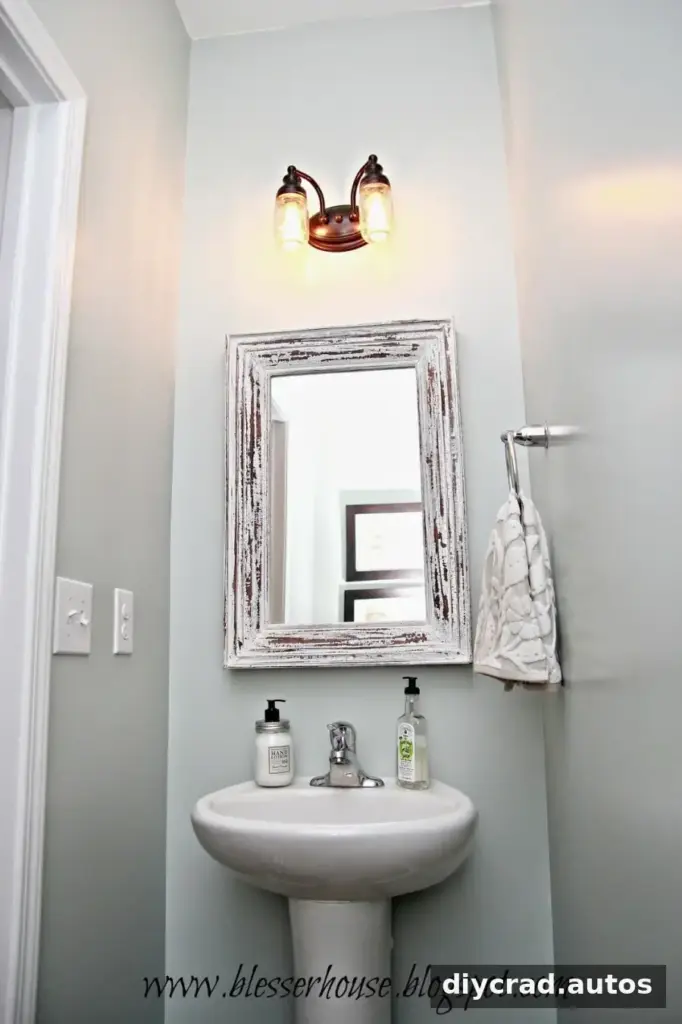
Before using the light, make sure every jar and lid is secure and that no metal edges touch wiring or electrical contacts. If a jar feels loose, the lid is damaged, or the fixture does not sit firmly against the wall, do not use it until the issue has been corrected.
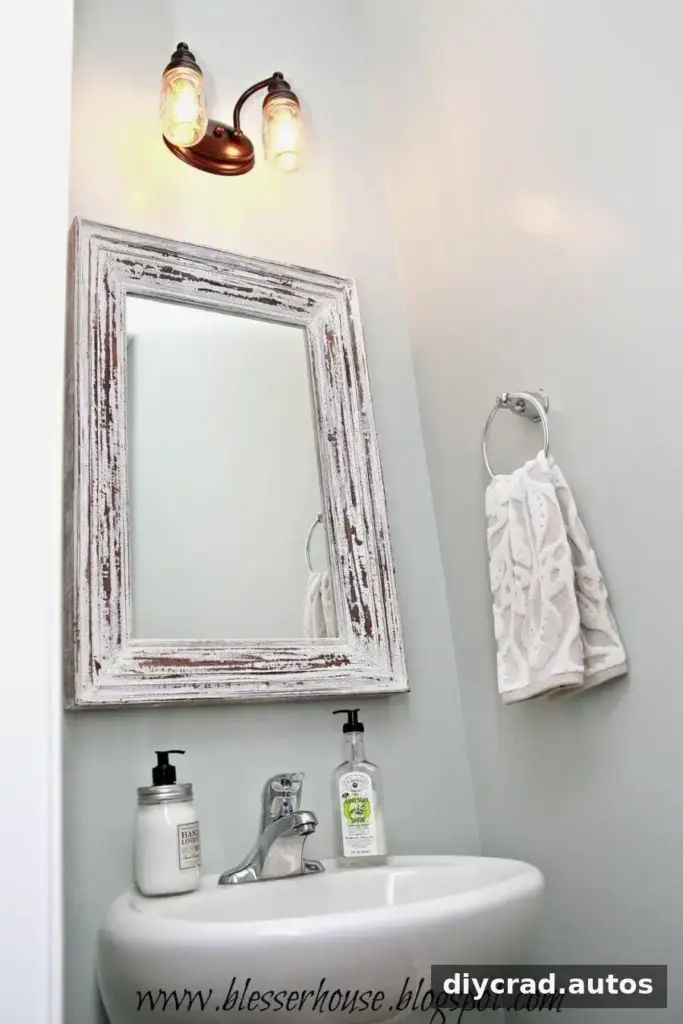
Is a DIY Mason Jar Vanity Light right for your bathroom?
This is a small-scale way to personalize a basic vanity fixture using jars, paint, and simple hand tools. It may suit a bathroom where the existing fixture can be safely modified and the jars fit without interfering with the bulbs. Measure the fixture and check its instructions first, since not every light is designed to accept jar shades.
With careful measuring, fully dried paint, and safe electrical handling, a DIY Mason Jar Vanity Light can be a budget-conscious farmhouse-style update. Prioritize a secure fit and electrical safety over appearance, and consult a qualified electrician if you are unsure about any installation step.