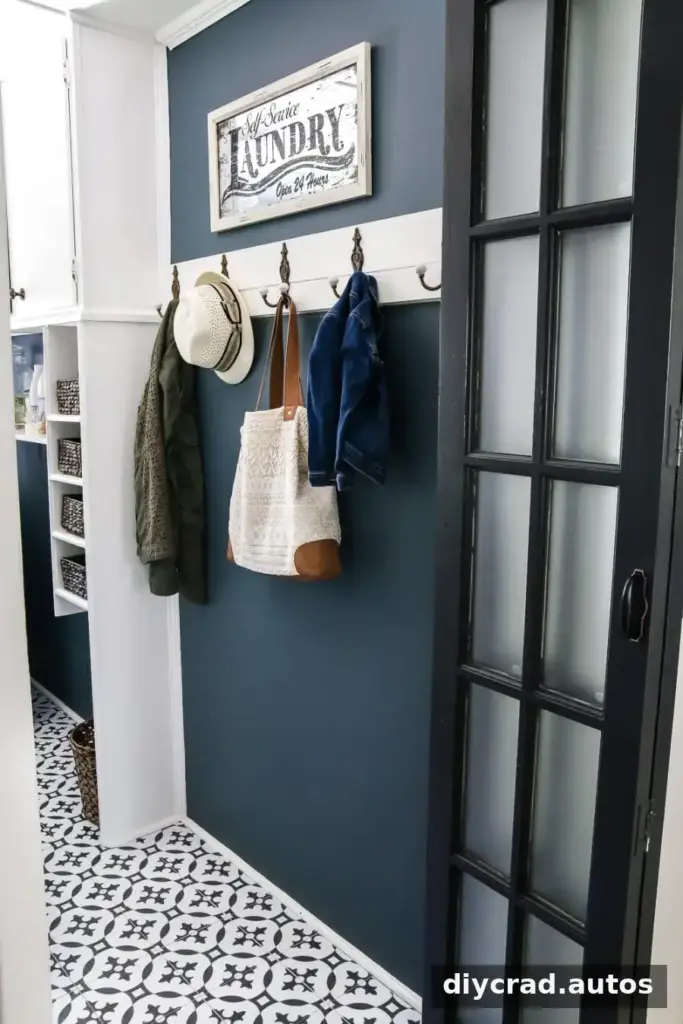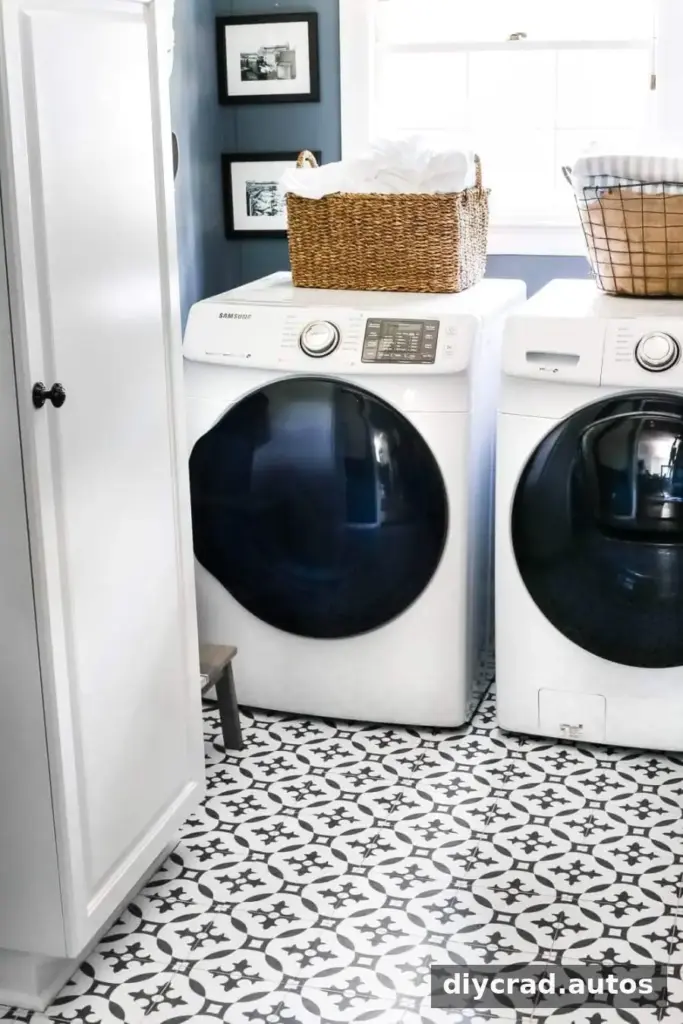
A Moroccan peel-and-stick vinyl tile floor can refresh a dated room without the mess and longer work involved in painting an existing floor or installing real tile. In this laundry-room project, matte, floor-rated 20 cm tiles created a black-and-white patterned surface over old vinyl. The installation took a couple of hours, and the tiles were left to set for 24 hours before the floor was mopped or walked on.

Why choose a Moroccan peel-and-stick vinyl tile floor?
Painting the original vinyl floor was considered, but peel-and-stick tiles offered a quicker cosmetic update with less mess and odor. The black-and-white pattern also added visual interest while helping disguise everyday dirt in a hardworking laundry room.
This approach is a surface update rather than a full renovation. The plan was to consider a larger remodel in the future, including new cabinetry and real tile. For a temporary or lower-effort refresh, however, adhesive vinyl tiles can change the appearance of a room without removing the existing floor.
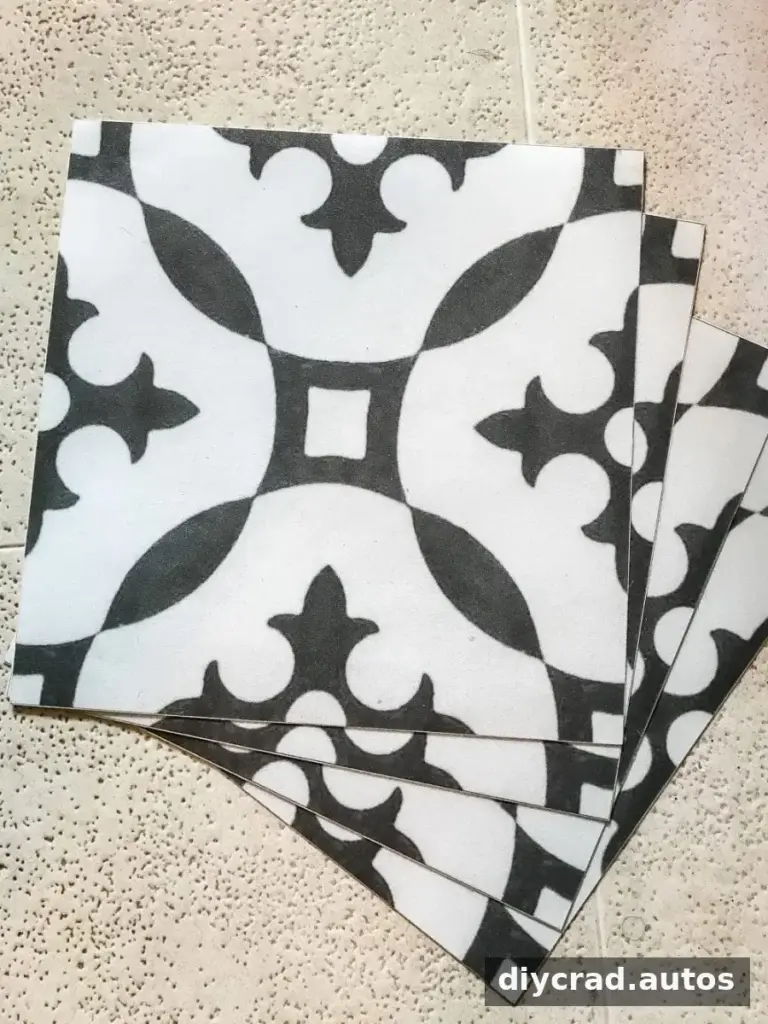
Materials and tools
Gather the supplies before starting so the floor can be cleaned, dried, and tiled without interruption:
- Matte, floor-rated 20 cm peel-and-stick vinyl tiles
- A TSP substitute cleaner
- Dry rag towels
- A wallpaper smoother tool
- A utility knife
- A pencil
Check the tile packaging for its intended use and installation guidance. Floor-rated tiles are important for this type of project, and the surface should be prepared according to the product instructions.
Prepare the existing floor
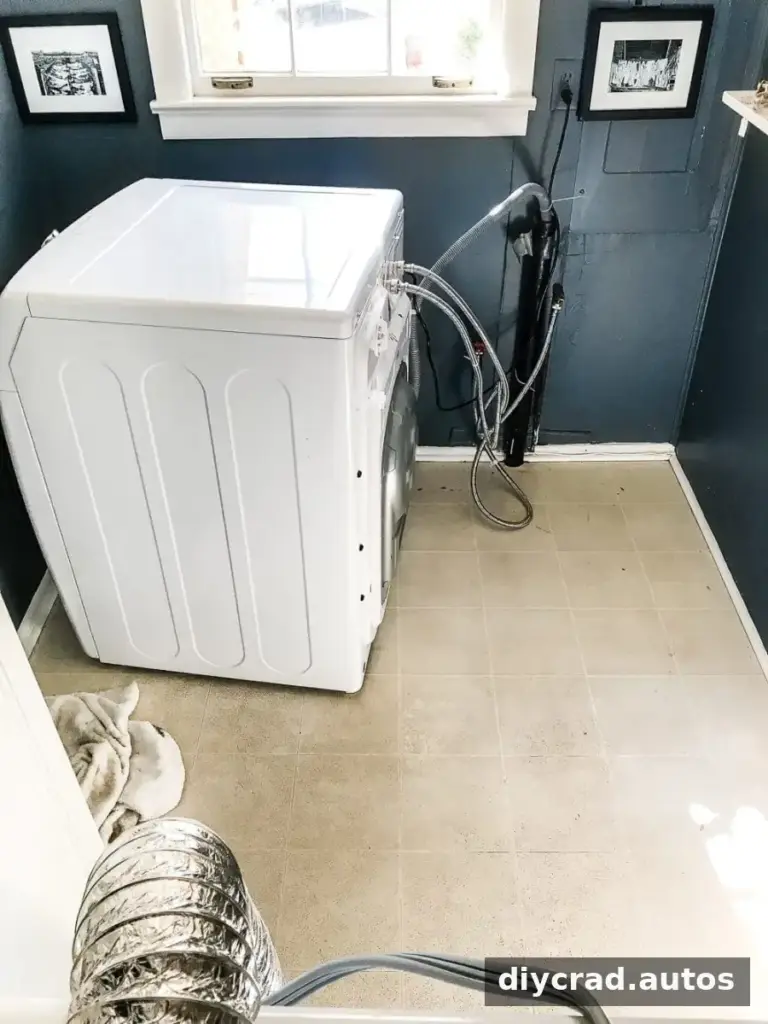
Start by sweeping the old vinyl thoroughly, then scrub it with a TSP substitute cleaner. Wipe away residue as directed by the cleaner’s instructions and allow the floor to dry completely before applying tiles. A clean, dry surface helps the adhesive make contact with the floor.
How to install the vinyl tiles
Choose a starting line
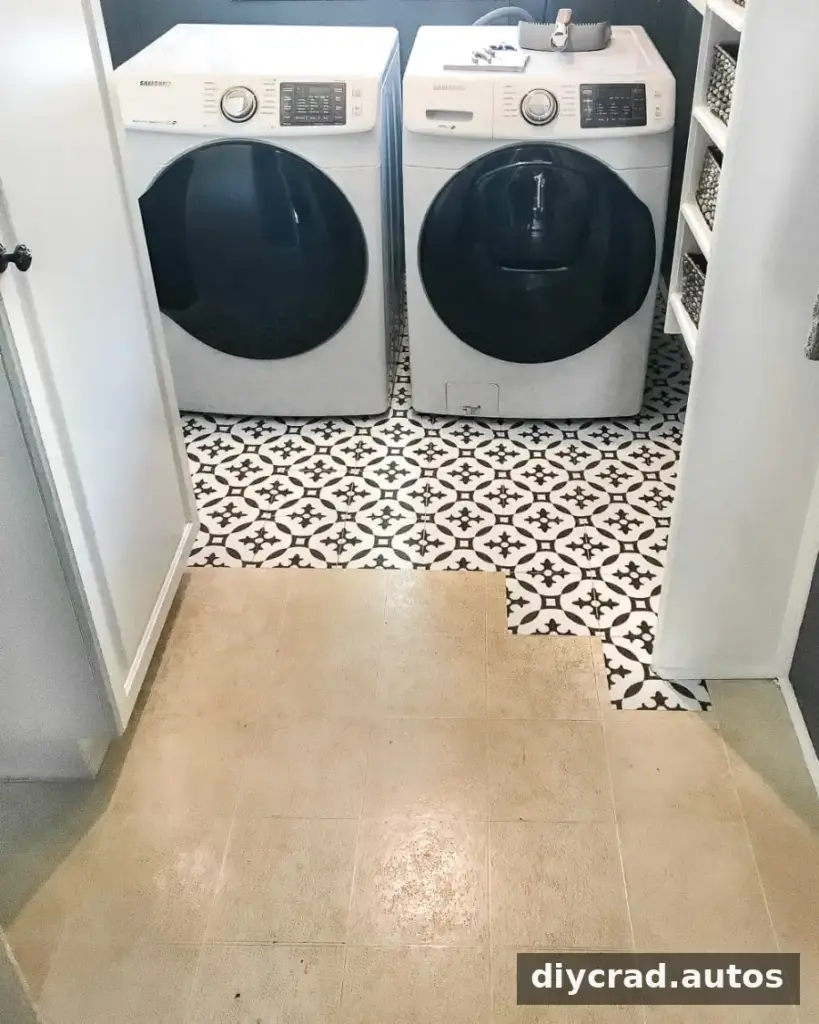
The installation began beneath the washer and dryer, an area that would be less visible and provided room to get comfortable with placing the tiles. The existing vinyl had straight lines that served as a guide. If the old floor has no useful lines, mark a straight starting point with a chalk line. Walls may not be perfectly straight, so using one as the only alignment guide can cause the pattern to drift.
Place and smooth each tile
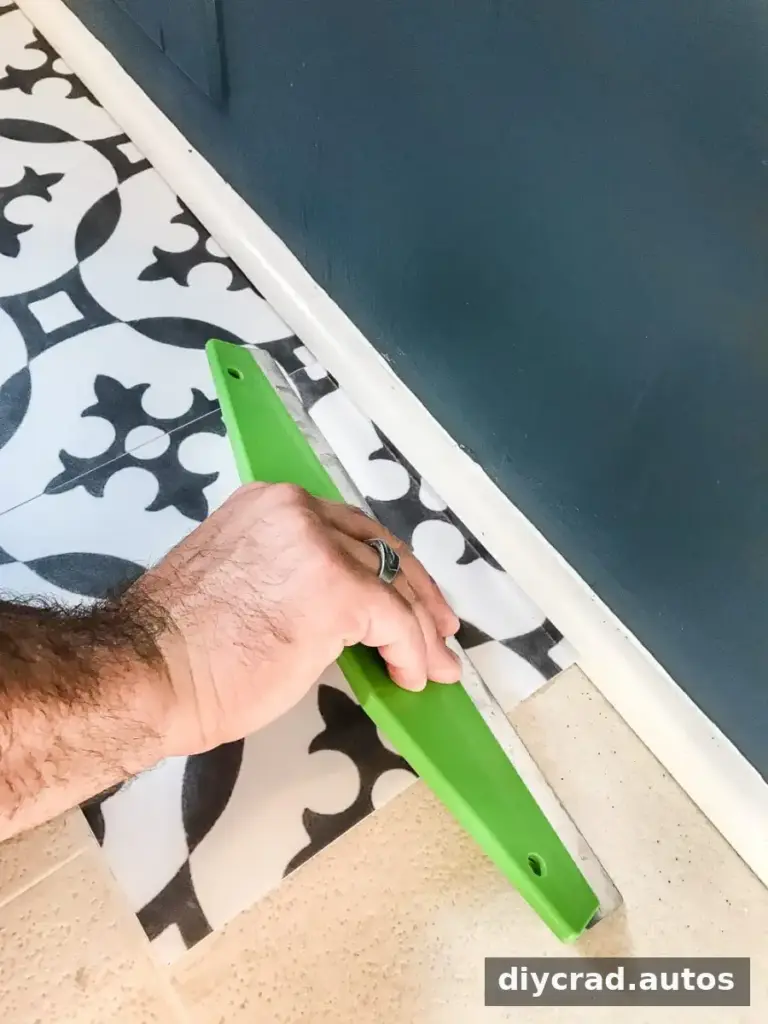
Peel off the backing, align the tile with the starting line, and press it into place. Use a wallpaper smoother to work across the surface and help it adhere evenly. The project did not experience bubbling, but smoothing each tile is a useful way to press it down consistently.
Trim edges and obstacles
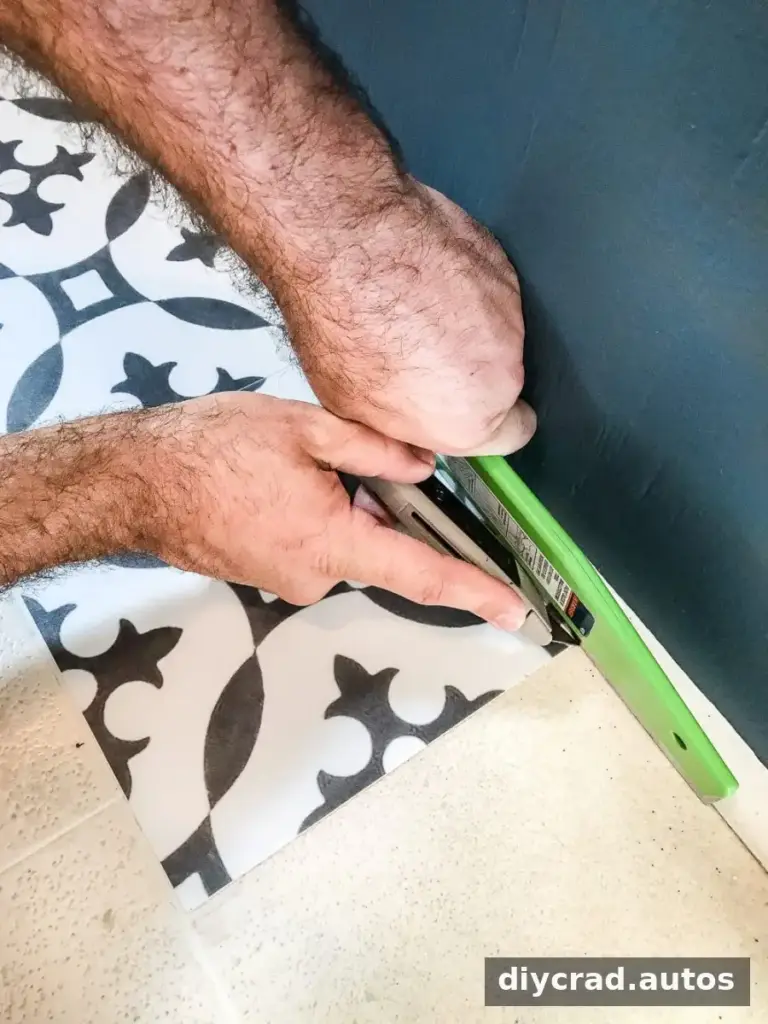
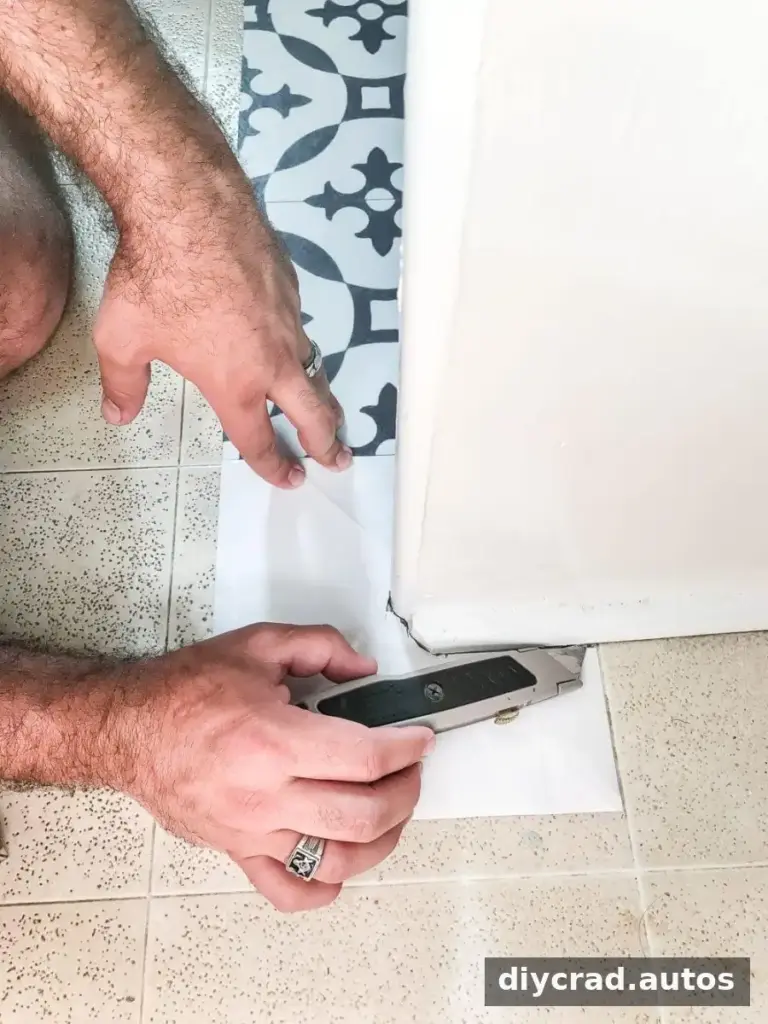
For a simple cut, fold the tile where it needs to bend, crease it, and trim it with a utility knife. Take care to keep fingers clear of the blade, and make controlled cuts rather than forcing the knife through the material.
For more complicated shapes, use a piece of the tile’s paper backing as a template. Trace the required outline with a pencil, then transfer the shape to the tile and trim it. Test the fit before removing the backing and sticking the cut tile down.
Allow the adhesive to set
The installation took a couple of hours. The finished floor was left undisturbed for 24 hours so the adhesive could cure before mopping or walking on it. Follow the tile manufacturer’s directions if they specify a different waiting period.
Finish, check the pattern, and maintain the floor
The result was not perfectly aligned throughout: some pattern sections differed by a millimeter or two. An approximately 1/8-inch gap was left between tiles to create the appearance of grout. Check the pattern as you work, since small alignment differences can become more noticeable across a larger area.
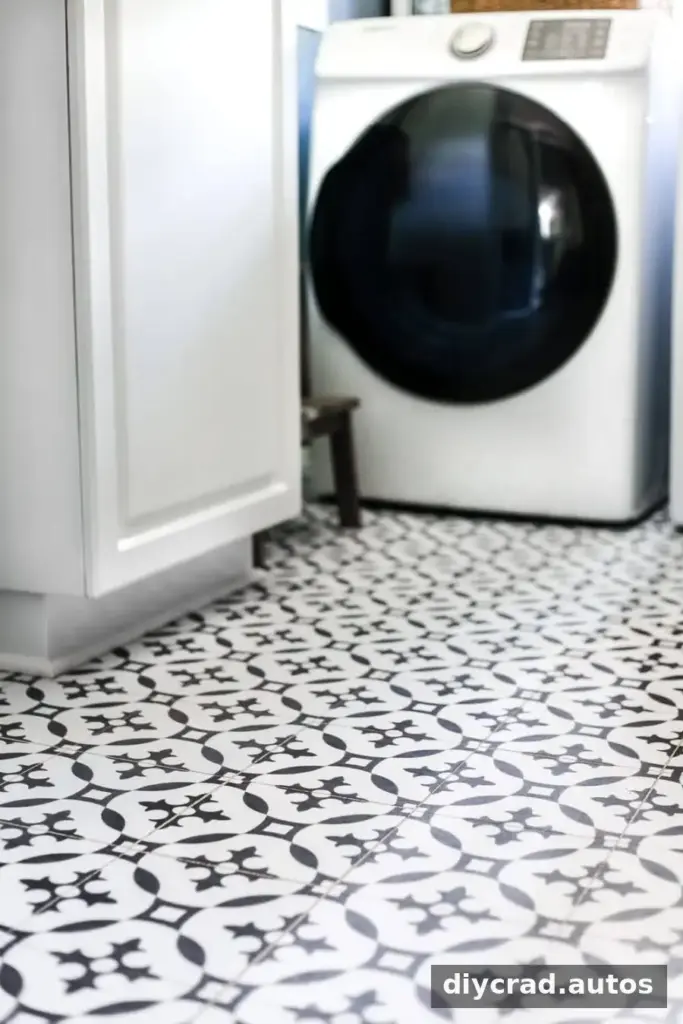
After the 24-hour curing period, the floor could be walked on and mopped. The washer and dryer were moved back across the tiles, and none shifted during that move. The floor also remained in place during nearly two weeks of regular use at the time of the original update. That short observation period is not a guarantee of long-term durability, so inspect the edges and seams over time.
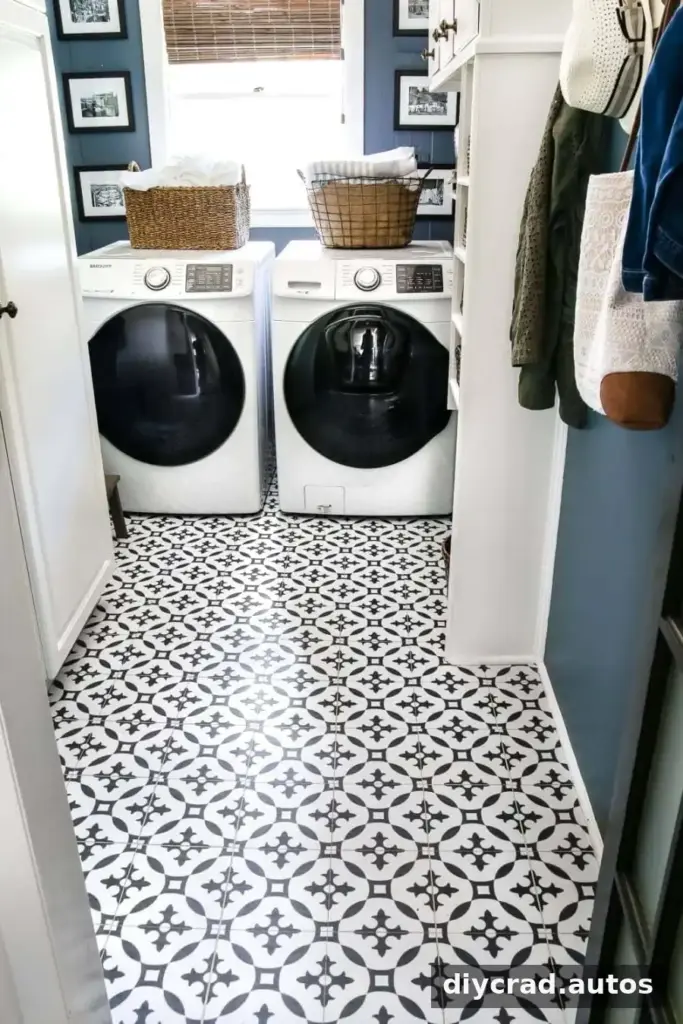
Is peel-and-stick vinyl a good alternative to real tile?
Peel-and-stick vinyl can provide a fast visual change without the work of laying real Moroccan cement tile. It may also be easier to replace if the pattern no longer suits the room. The finish may not be as exact as a professionally installed tile floor, and careful surface preparation and alignment remain important.
For this laundry room, the patterned floor was a practical interim improvement while a more extensive renovation remained a future possibility. The project shows how a clean, dry base, a reliable guide line, patient trimming, and adequate curing time can help produce a neater result. For a Moroccan peel-and-stick vinyl tile floor, take time to plan the layout before removing each tile’s backing, and follow the product’s care and installation instructions.