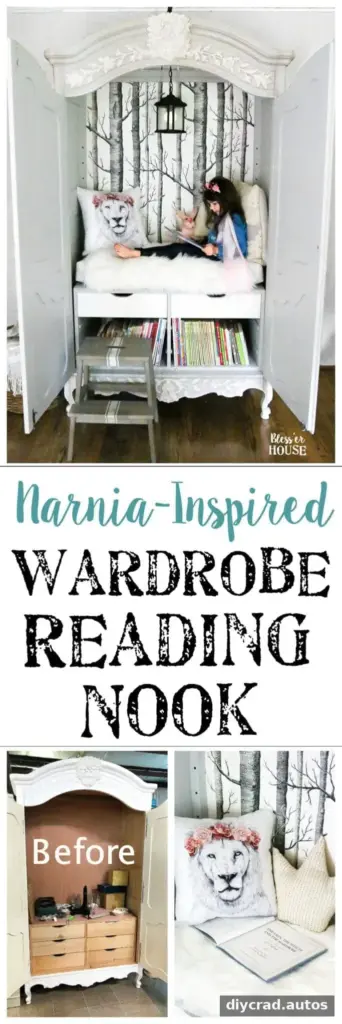
A DIY Narnia reading nook can turn a plain, secondhand wardrobe into a cozy hideaway for books and imaginative play. This project transforms a hand-carved armoire into a story-inspired nook with fresh paint, birch-tree wallpaper, a small bookshelf, soft furnishings, and a lantern-style light. Careful preparation and a secure wall anchor are important, especially when the finished piece will be used by children.
Materials for a DIY Narnia Reading Nook
- Wood filler and a putty knife for deeper scratches
- Medium- and fine-grit sandpaper
- Mineral paint in Sterling and Casement
- Natural-bristle paintbrush, medium artist brush, and 1.5-inch angled brush
- Espresso-colored furniture wax, a wax brush, and a clean, dry rag
- Birch-tree wallpaper, wallpaper paste, scissors, measuring tape, and a wallpaper smoother
- Bench cushion
- Lantern pendant light and, if needed, a plug-in cord with a switch
- Power drill, swag hook, and wall-anchor kit
Before beginning, check that the wardrobe is stable and that its interior can accommodate a comfortable sitting area. Clean the surfaces and remove any loose hardware. Keep the wall-anchor kit and lighting parts on hand so the project can be installed securely once the makeover is complete.
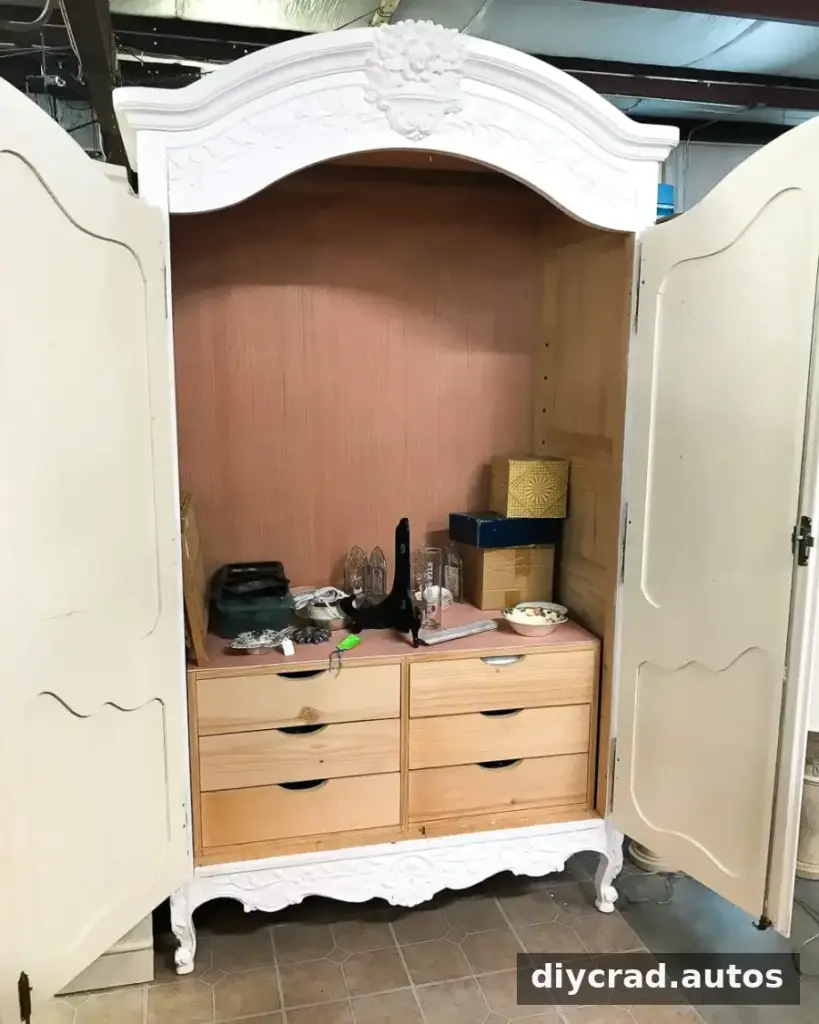
Prepare and Paint the Wardrobe
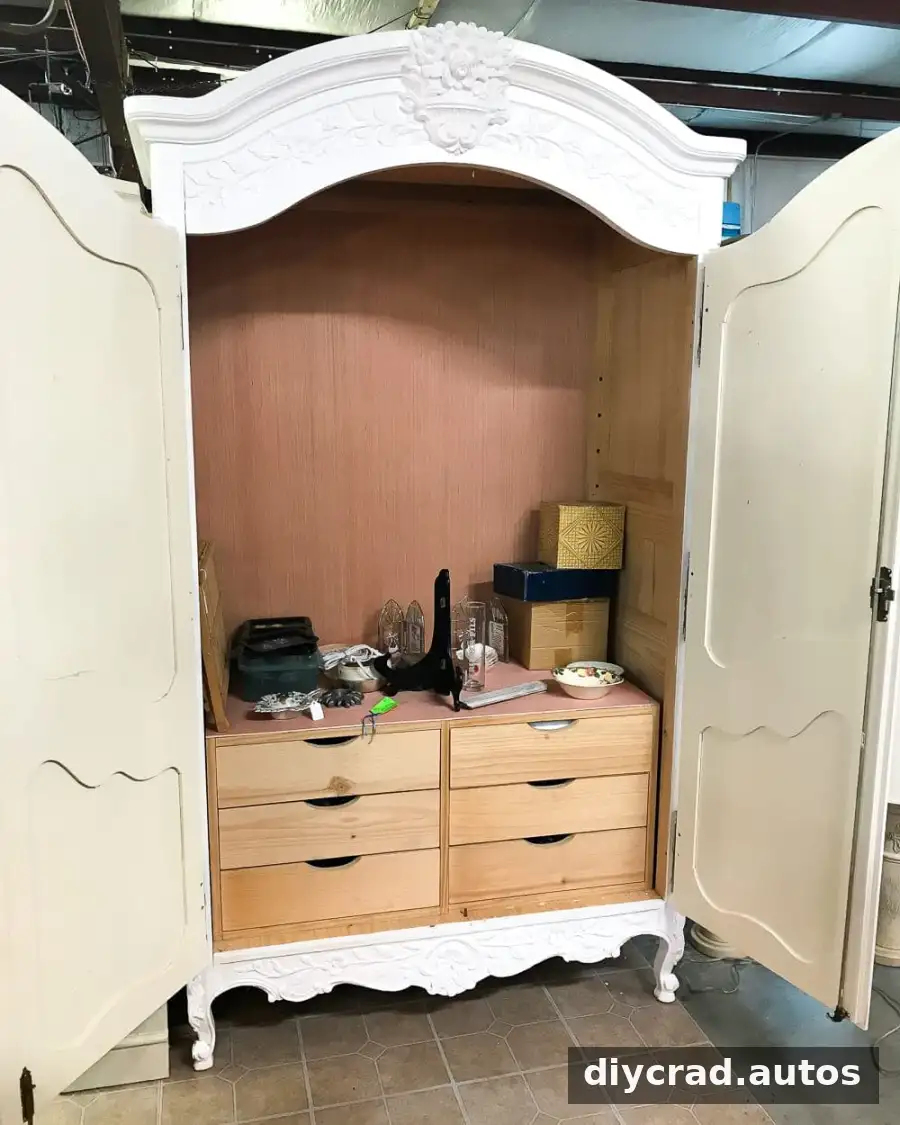
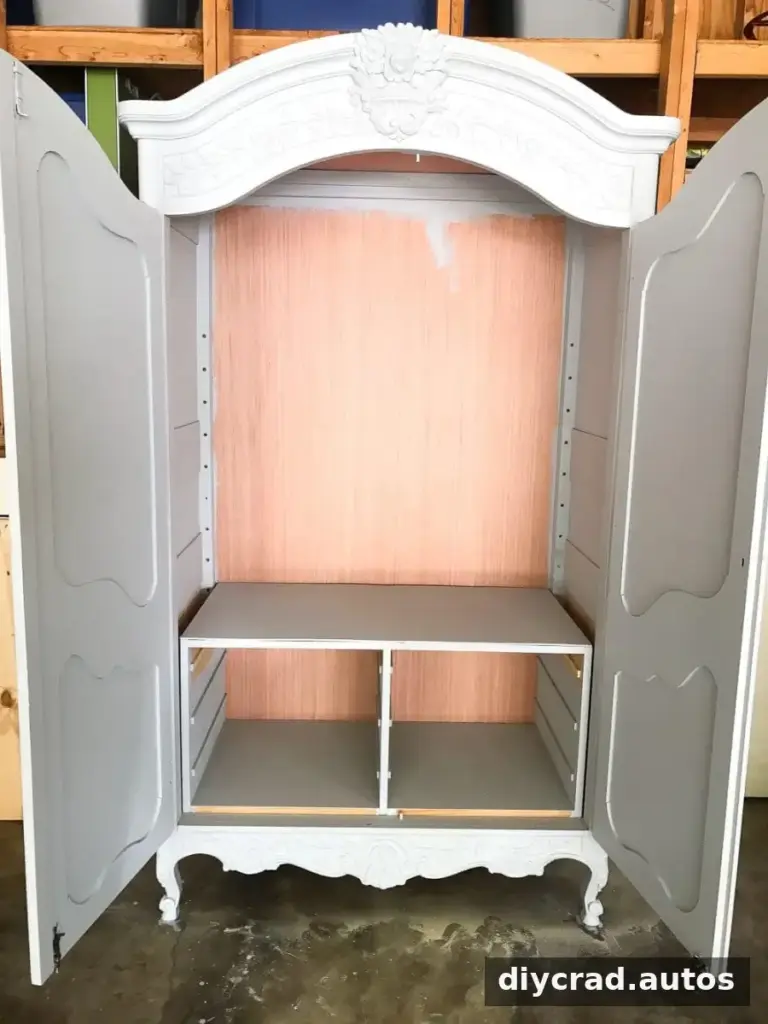
The wardrobe had a white finish, but uneven paint and deep scratches needed attention. The carved floral details also offered an opportunity to add contrast and bring out the decorative workmanship.
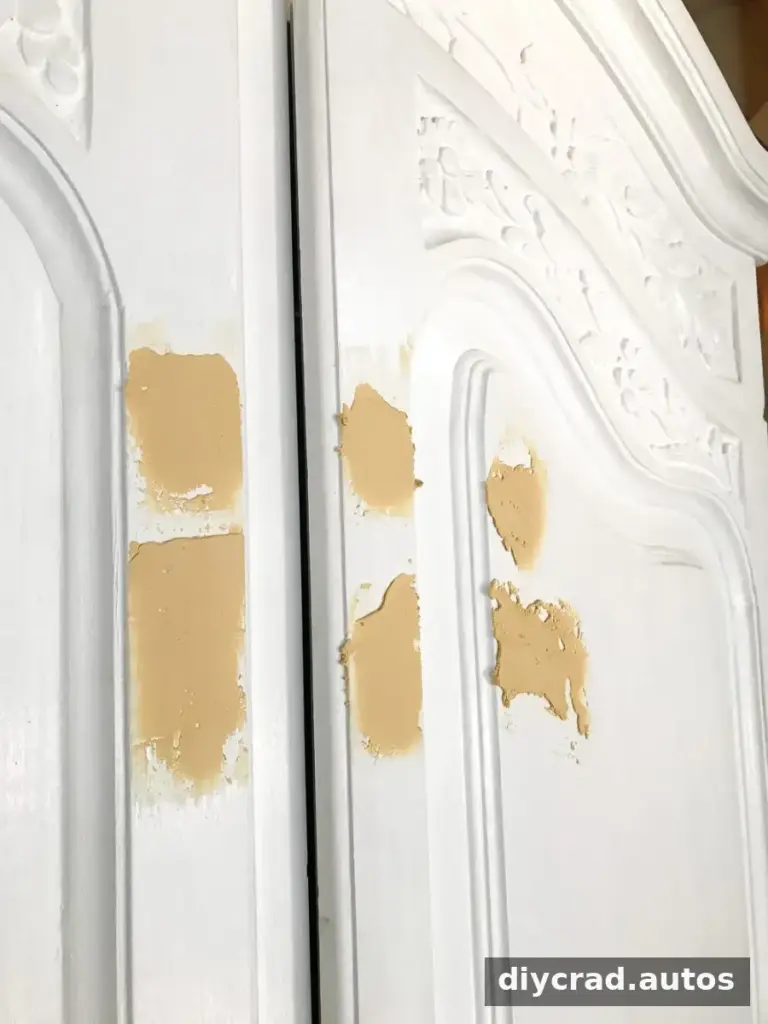
1. Repair the surface. Fill deep scratches with wood filler, allow it to dry, then sand the repaired areas smooth. A level, clean surface helps the new paint look more even.
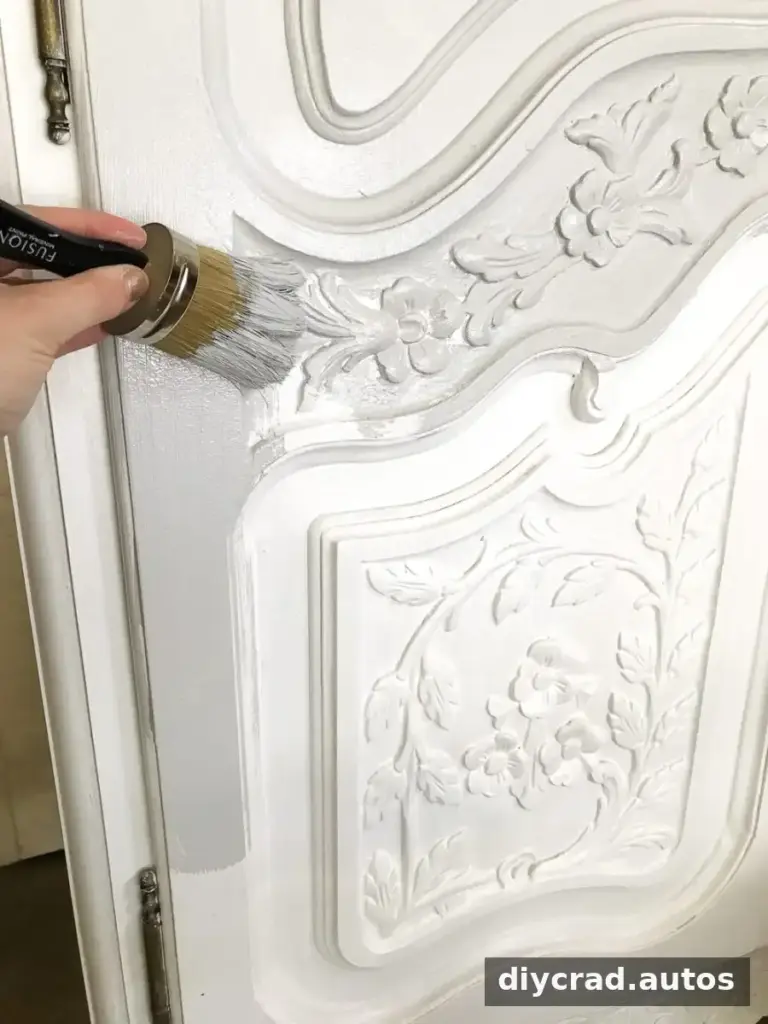
2. Apply the base color. Paint the wardrobe with two coats of Sterling mineral paint. Follow the paint’s directions for drying time between coats, and use smooth, even strokes to help achieve consistent coverage.
3. Paint the grooves. Use a 1.5-inch angled brush to apply Casement paint to the grooves and recessed areas. A smaller brush gives better control around carved edges.
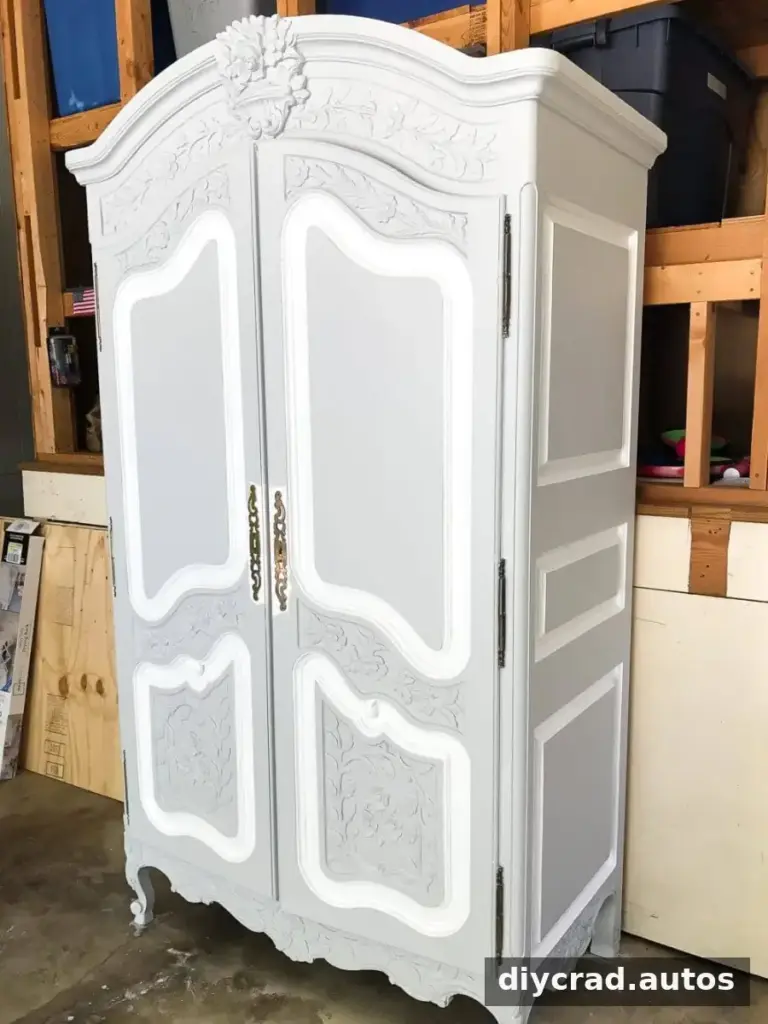
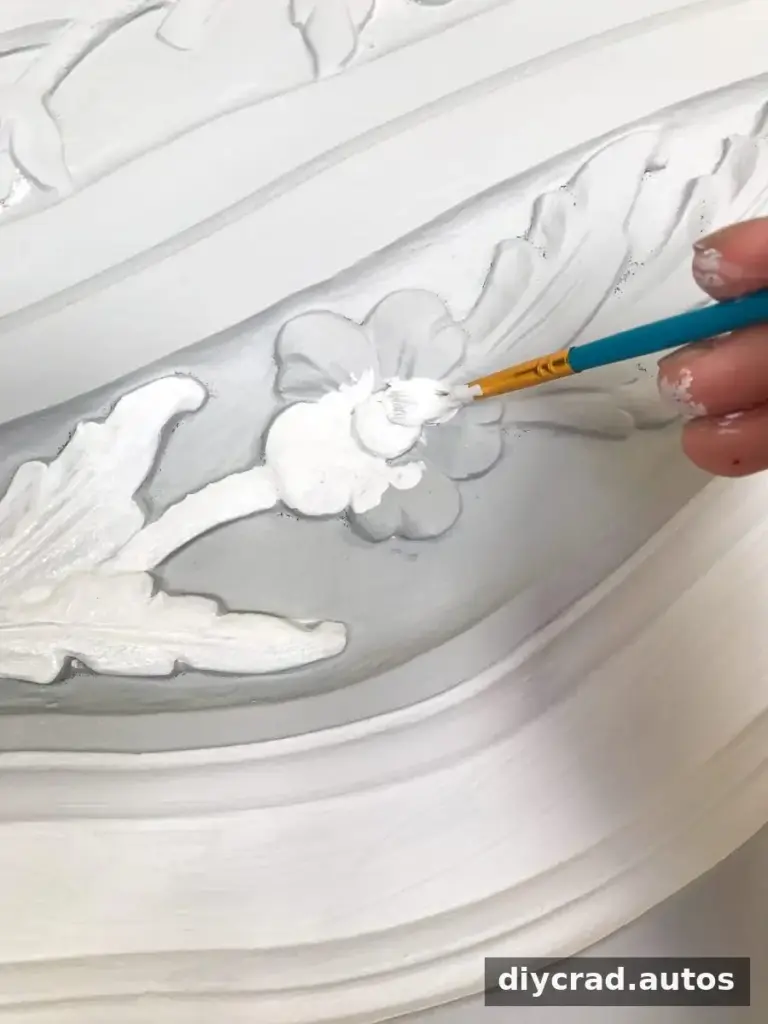
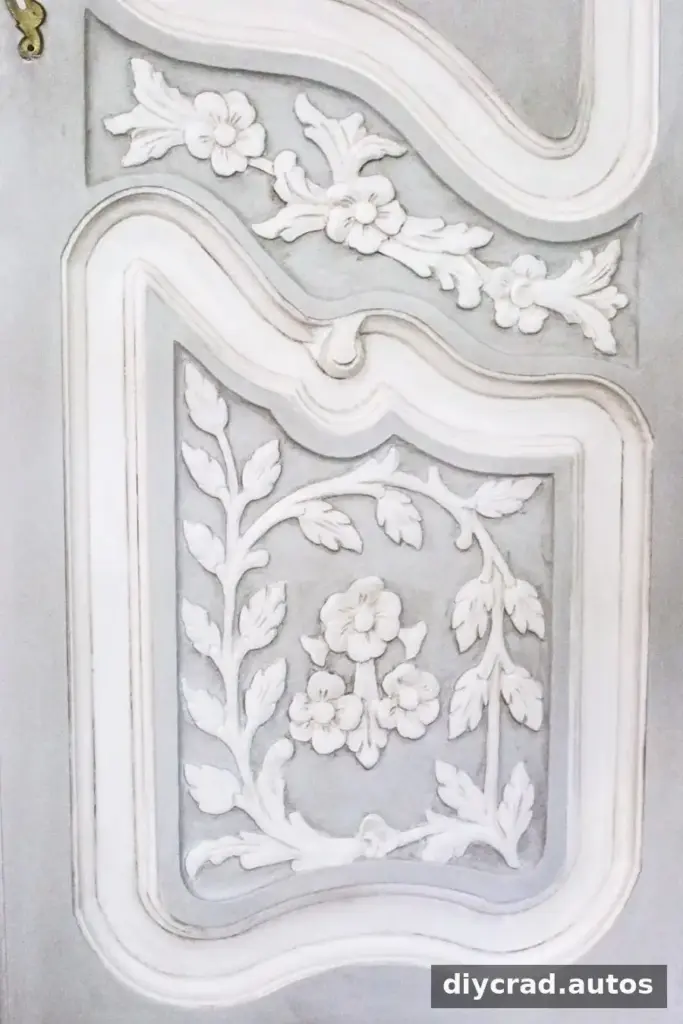
4. Highlight the carvings. Use a medium artist brush to paint the carved leaves and flowers in Casement. This detailed step took close to three hours, but the contrasting finish helps the carved features stand out.
5. Add an aged finish. Work the espresso wax over sections about 2–3 feet wide, then wipe it away promptly with a clean, dry rag. The wax settles into corners and crevices, adding definition. Test the finish in a less visible spot first to check the result.
Add a Forest-Inspired Interior and Reading Light
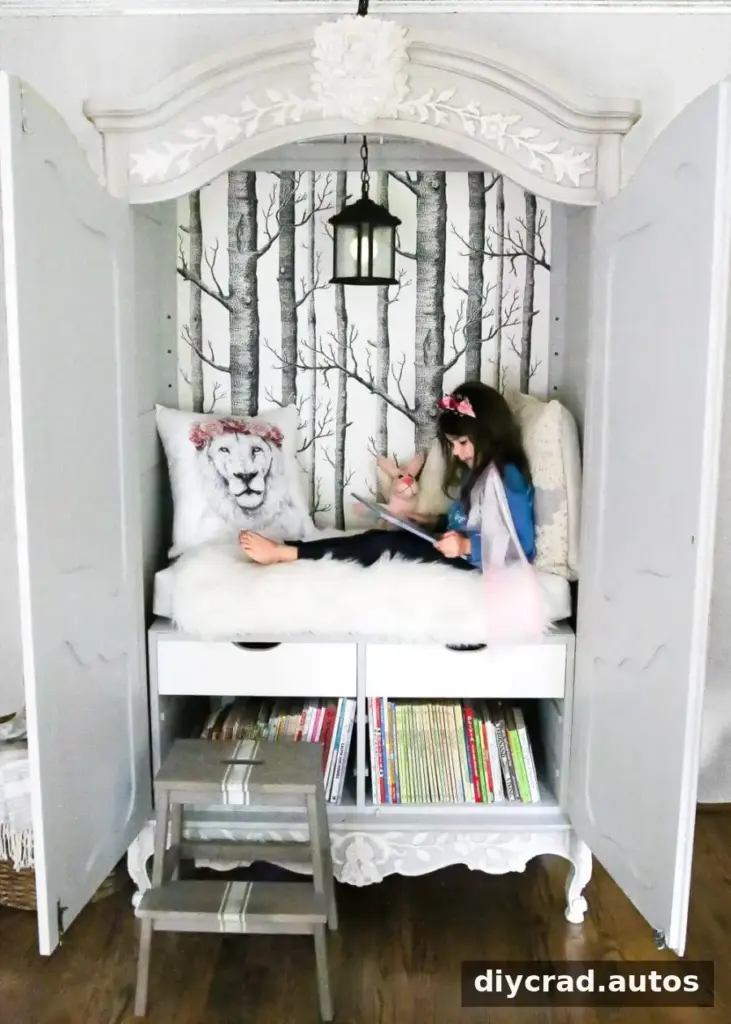
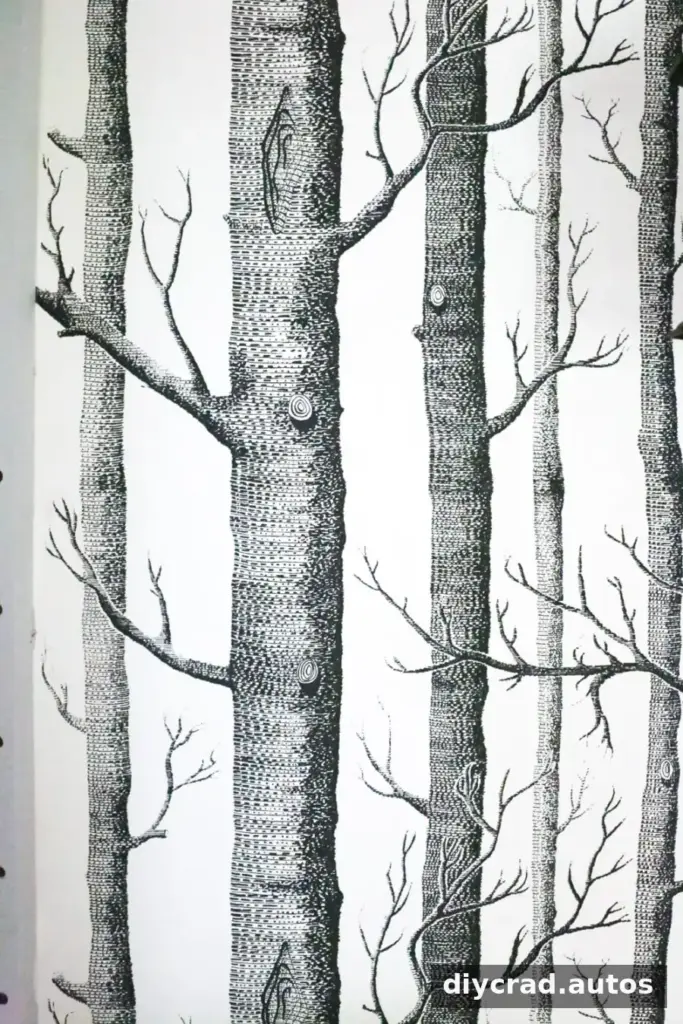
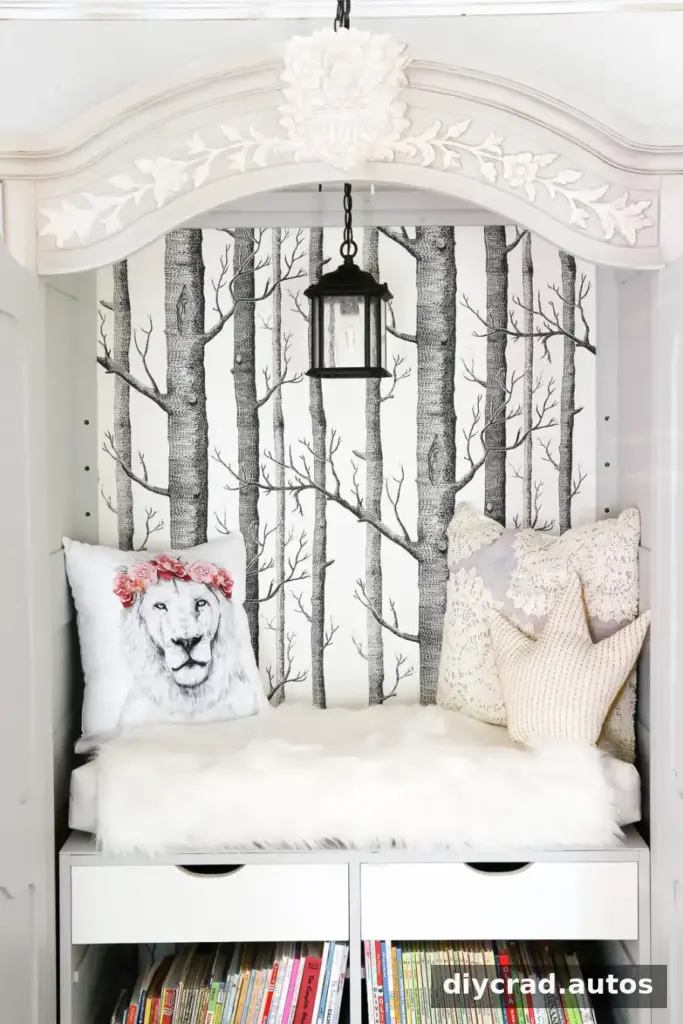
6. Apply the wallpaper. Remove the plywood back panel, measure it, and cut two strips of birch-tree wallpaper to fit. Brush on wallpaper paste and smooth the paper into place, working out bubbles as you go. The selected paper has a shimmery pearl finish.
7. Make room for books. The wardrobe’s interior included a wooden box with six drawers. Four drawers were removed to create bookshelf space, while the remaining two were painted Casement. Check that any books placed on the shelves fit securely and do not obstruct the doors.
8. Choose a light. A seeded-glass lantern pendant adds a nod to the famous lamppost in The Lion, the Witch, and the Wardrobe. The light was converted to a plug-in style using a cord with a switch. Follow the instructions for the specific light and cord, and seek qualified help if you are unsure about electrical work.
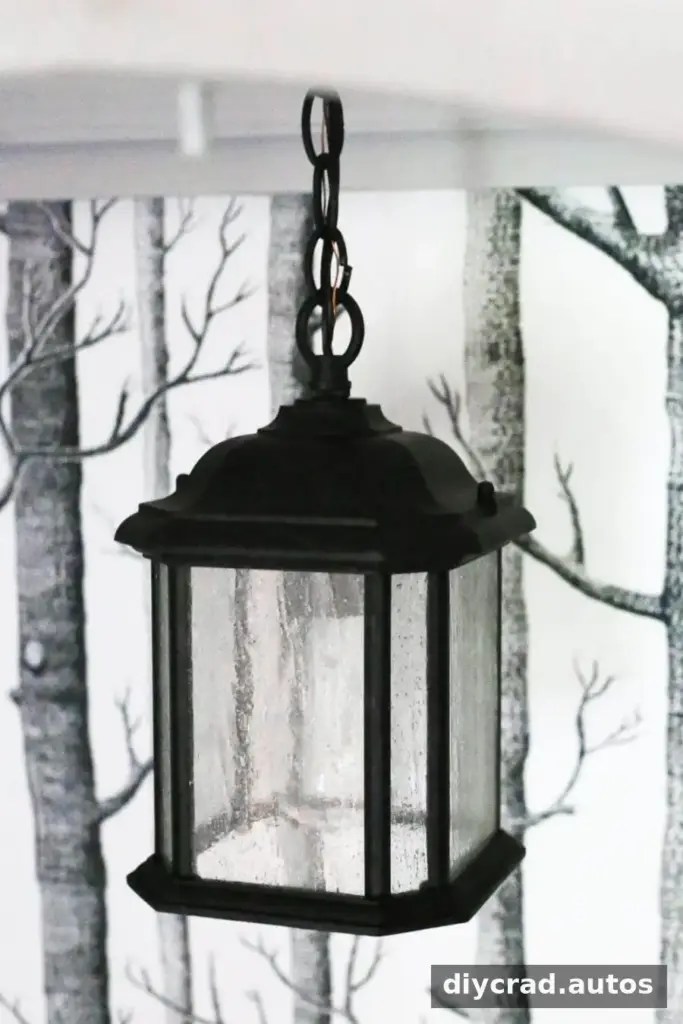
9. Hang the light. The wooden top was removed before the wardrobe was moved into the playroom. A swag hook was installed in the ceiling to position the light near the center of the nook. Another option is to keep the top in place and make an opening for the cord; in this project, leaving it off kept the nook partly open when the doors were closed.
10. Secure the wardrobe. Attach the wardrobe to the wall with an appropriate anchor kit to reduce the risk of tipping. Follow the anchor manufacturer’s directions and confirm that the fastening is suitable for the wall type.
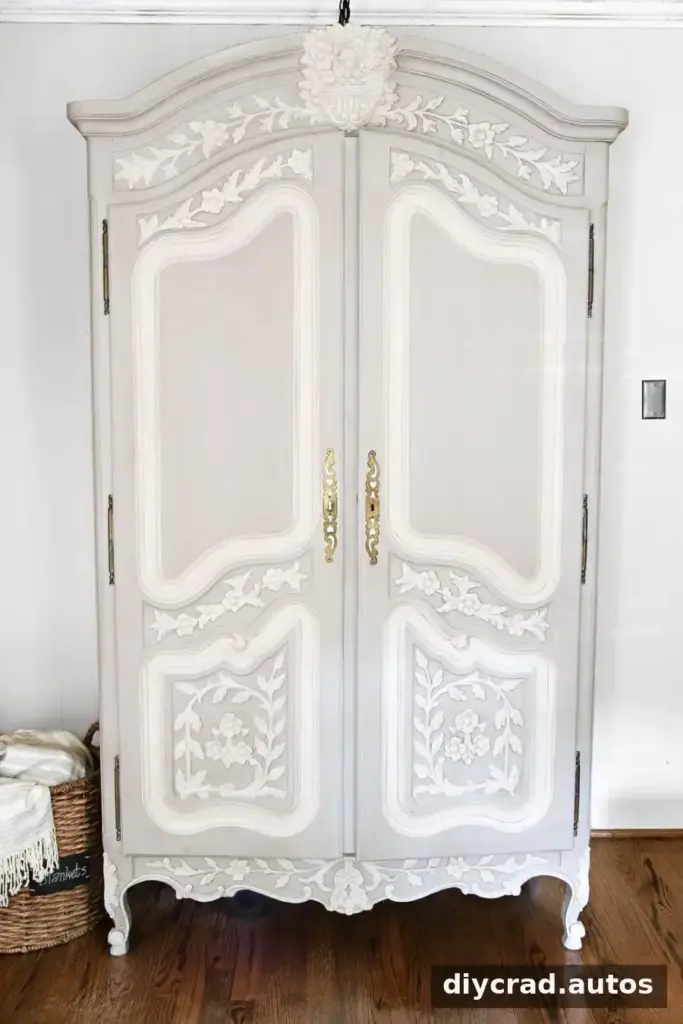
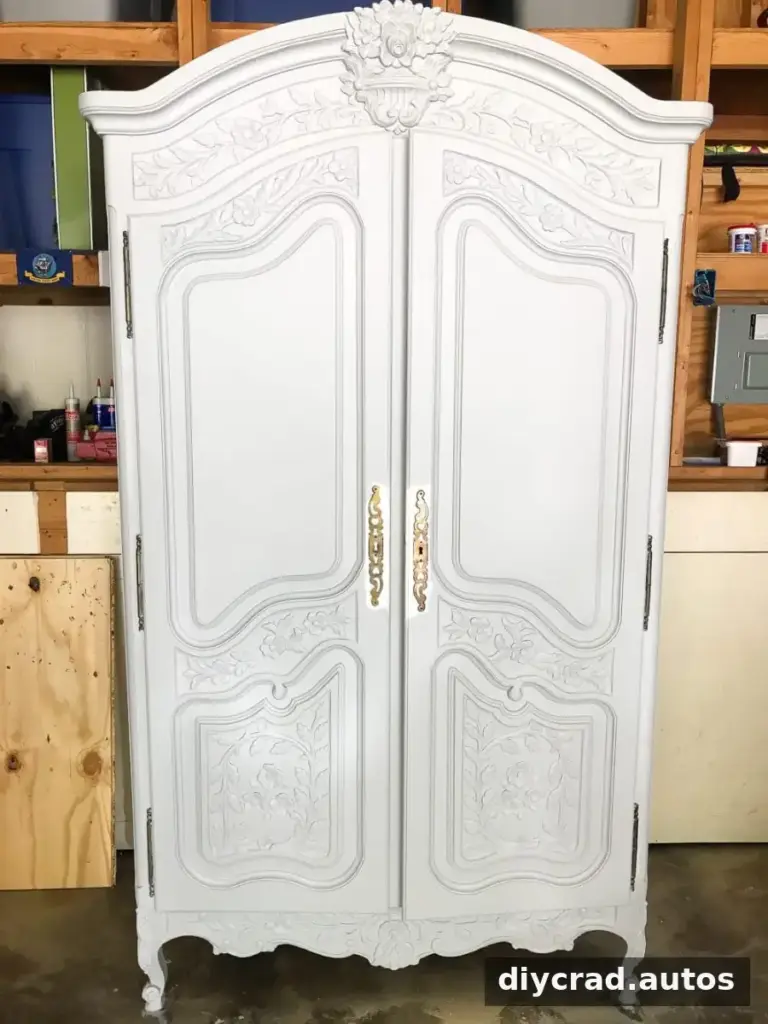
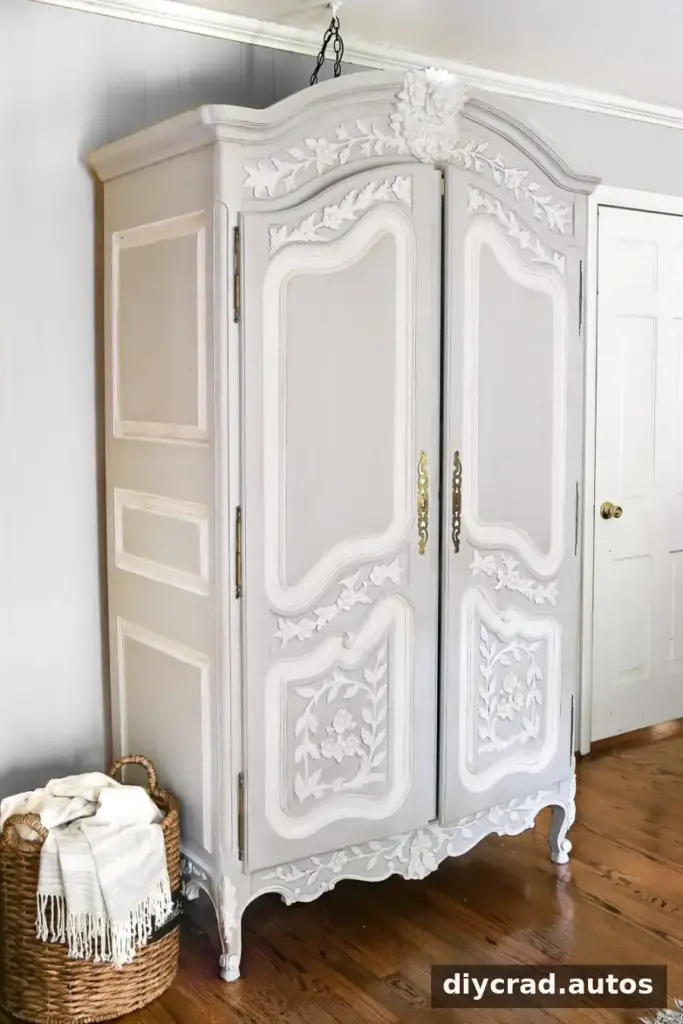
With the doors closed, the finished piece still looks like a wardrobe, now with its carved details and refreshed paintwork on display.
Opening the doors reveals the tucked-away reading space.
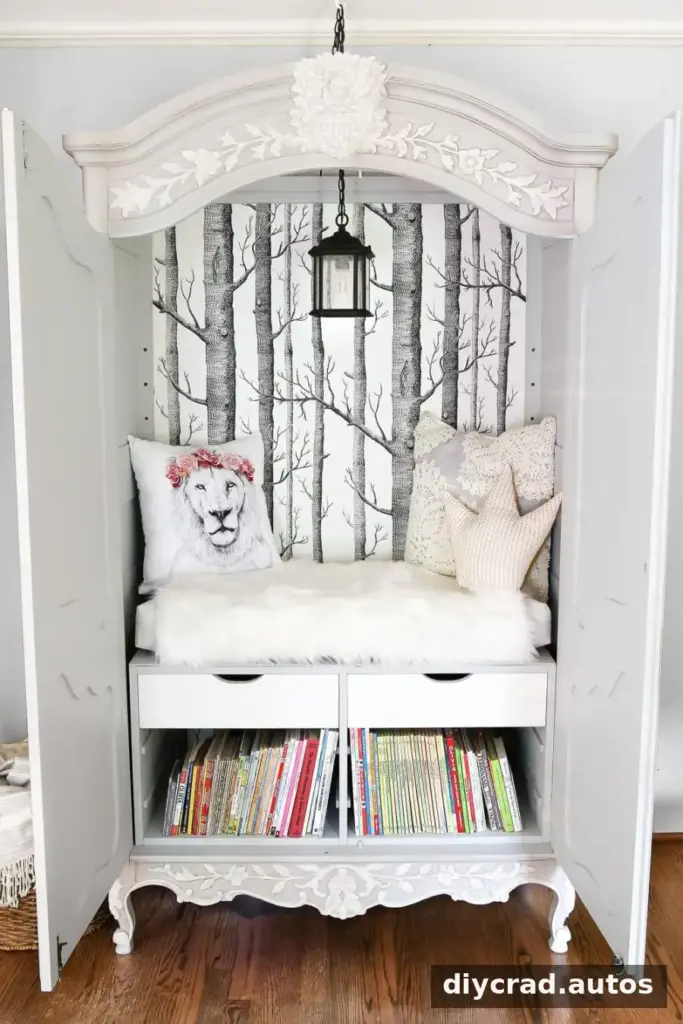
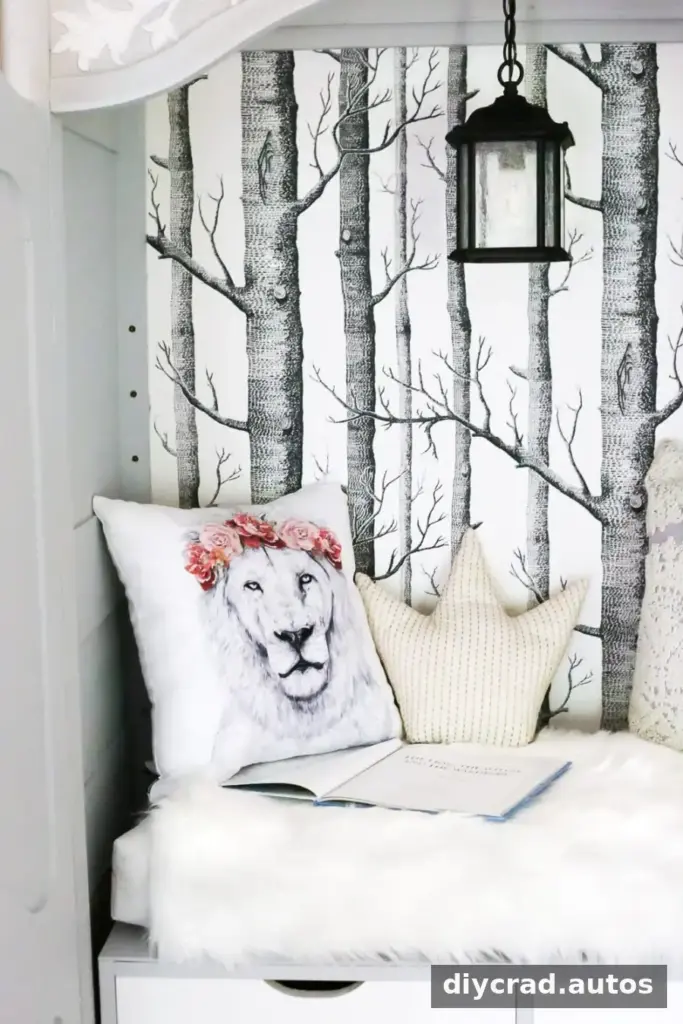
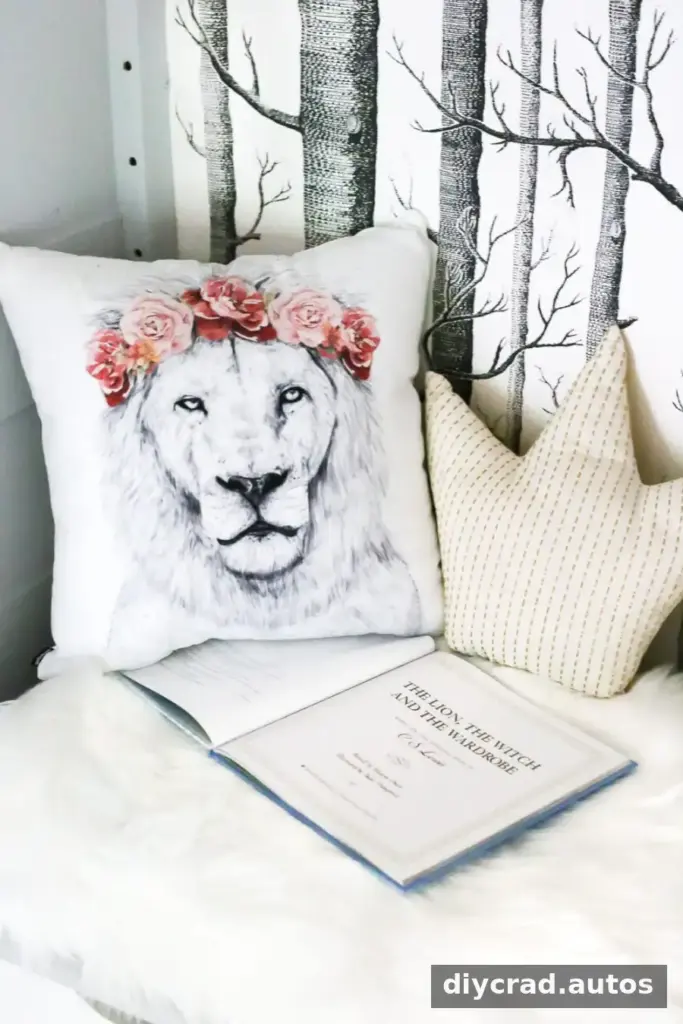
A crown-themed pillow evokes Aslan, while a faux-fur rug adds a soft, forest-inspired layer. Choose washable or easy-to-clean textiles if the nook will see frequent use, and keep cushions clear of the light and its cord.
The completed wardrobe can serve as a reading hideout while a child is small and later return to its original purpose as a place to hang dresses. This adaptable use makes the makeover practical beyond the playroom years.
Enjoy Your DIY Narnia Reading Nook
This DIY Narnia reading nook combines a secondhand furniture find with thoughtful repairs, detailed painting, wallpaper, book storage, and cozy finishing touches. Take time to prepare the surface, measure carefully, and secure the wardrobe and light before children use the space. The result is a small, imaginative retreat that can grow and change with its reader.