DIY marbled vases are an easy way to give old jars a fresh look and add a handmade touch to a Halloween entryway. This project uses a water-and-nail-polish marbling technique, so the finished pattern is intentionally unpredictable. Pair the vases with a few seasonal accents for a display that feels atmospheric without becoming too frightening.
The original plan for a hand-drawn design did not turn out as hoped, so a different craft technique provided a more forgiving route to a decorative result. Reusing empty jars also keeps the project budget-friendly, especially if you already have nail polish in several colors.
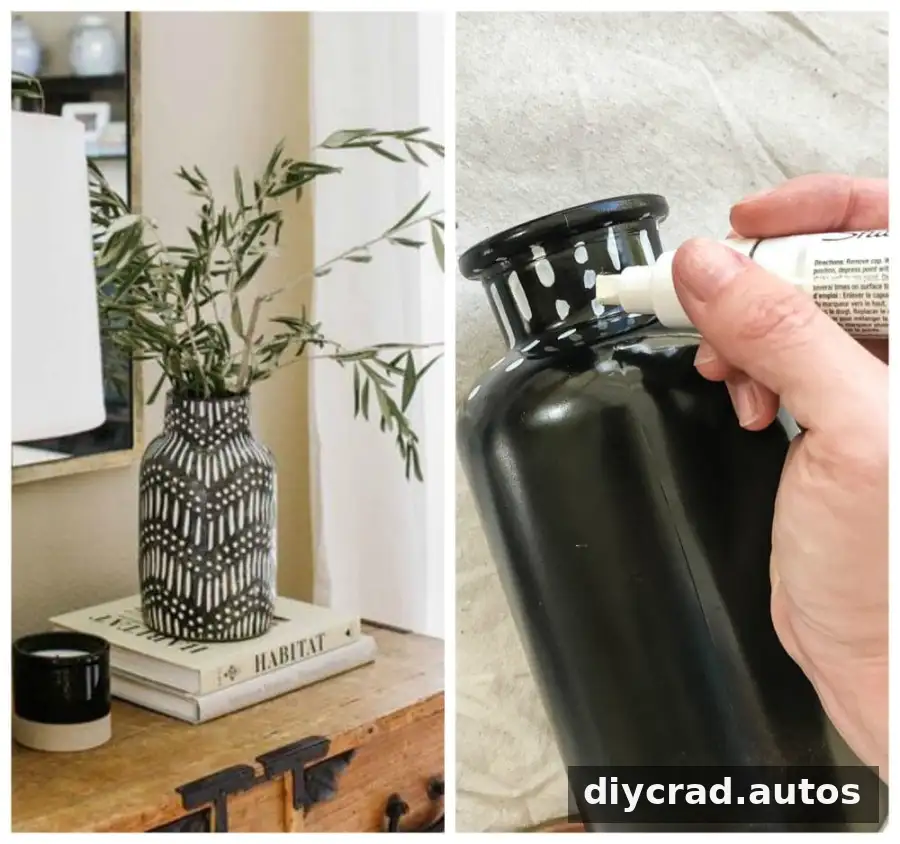
Inspiration credit: Rue Mag.
For this Halloween display, the marbled jars became part of a foyer arrangement with dark, literary, and slightly eerie details. The same vases can also be used as year-round decorative objects by choosing colors that suit your room.
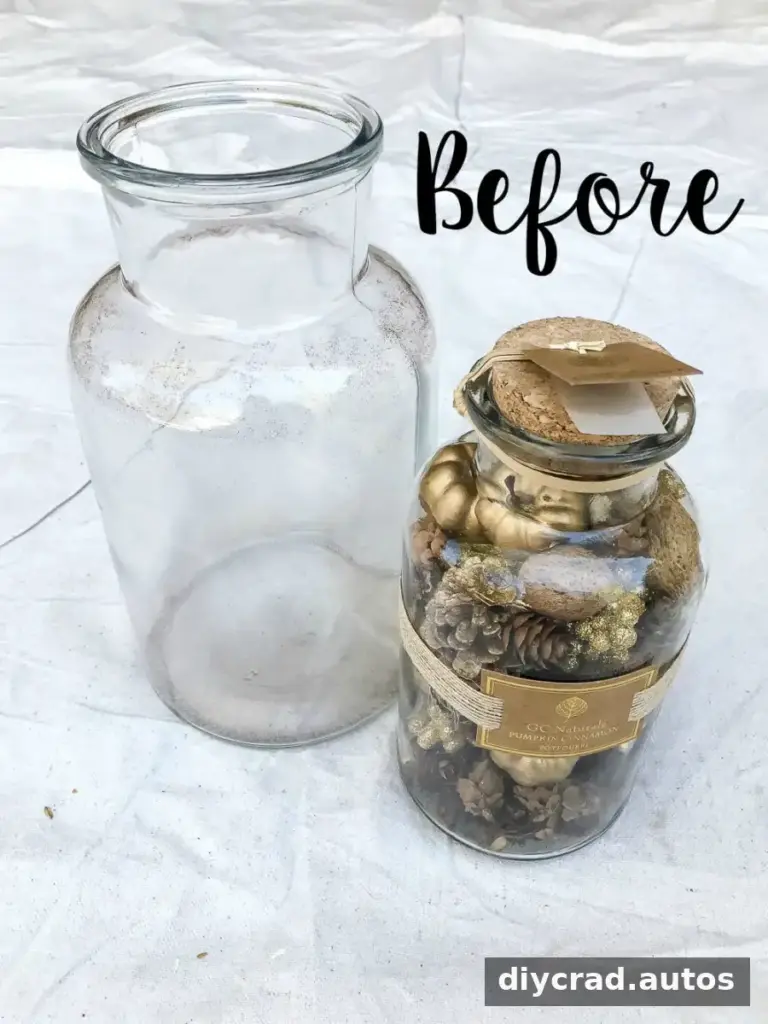
The project began with empty potpourri jars that had already served their original purpose. Rather than sending them straight to recycling, they were cleaned and turned into decorative pieces.
DIY Marbled Vases: Materials and Preparation
Gather the following supplies before starting. Cover the work area first, as dipping the jars can leave polish on the surrounding surface.
- Old jars
- Rustoleum flat black spray paint
- Four or five different colors of nail polish
- A bucket or large pot filled with room-temperature water
- Rubber or latex gloves
- A drop cloth or other protective covering
The original project cost about $1.50 per vase because the jars and nail polish were already on hand, and spray paint was the only purchase. Your cost will depend on what materials you need to buy.
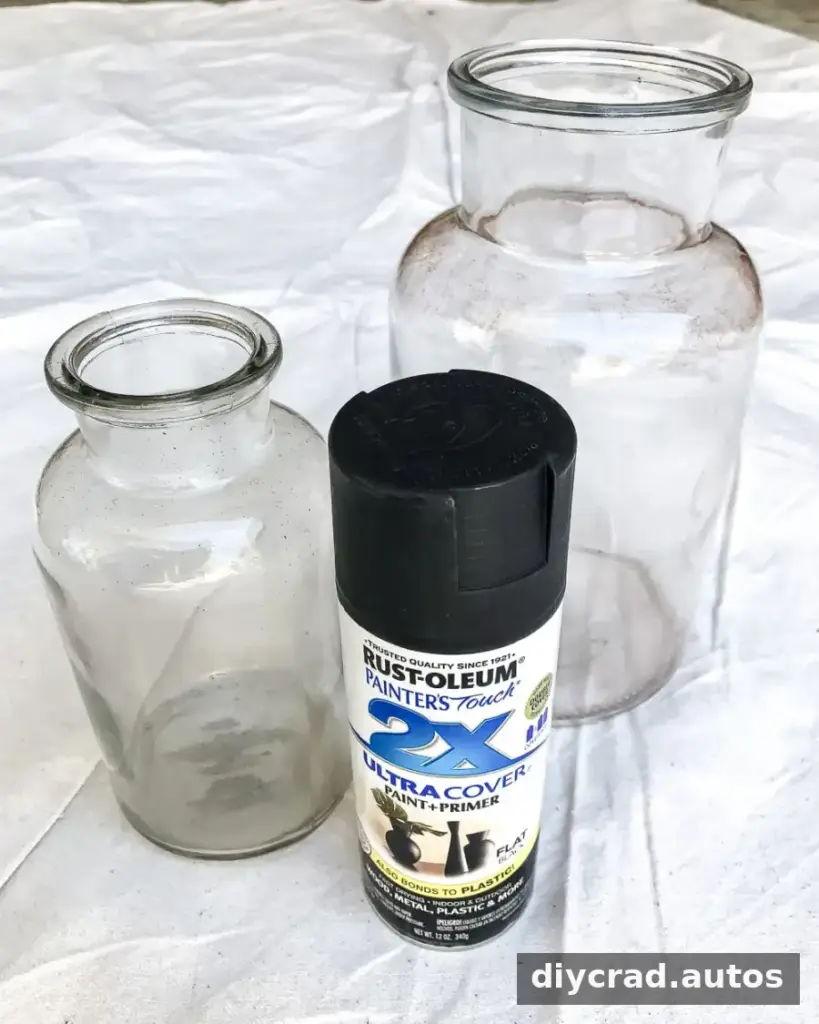
Paint the jars
Wash and dry both jars, then apply two even coats of flat black spray paint. Let the paint dry thoroughly before moving to the marbling step; waiting overnight was used for this project. Follow the paint label for application and drying guidance, and use spray paint only in a suitable, well-ventilated area.
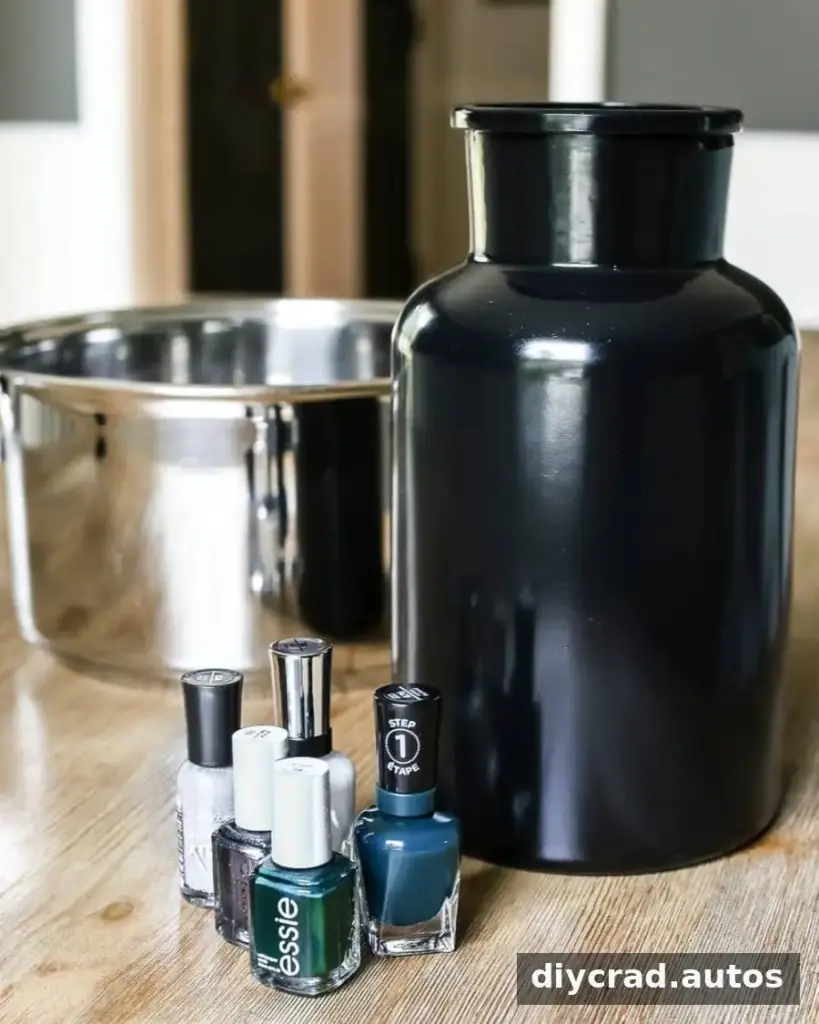
Prepare the water and work area
Fill a large pot with room-temperature water and place it on a drop cloth or protected surface. A trash bag was used as the covering here, but any suitable barrier can help protect the work area from drips and polish.
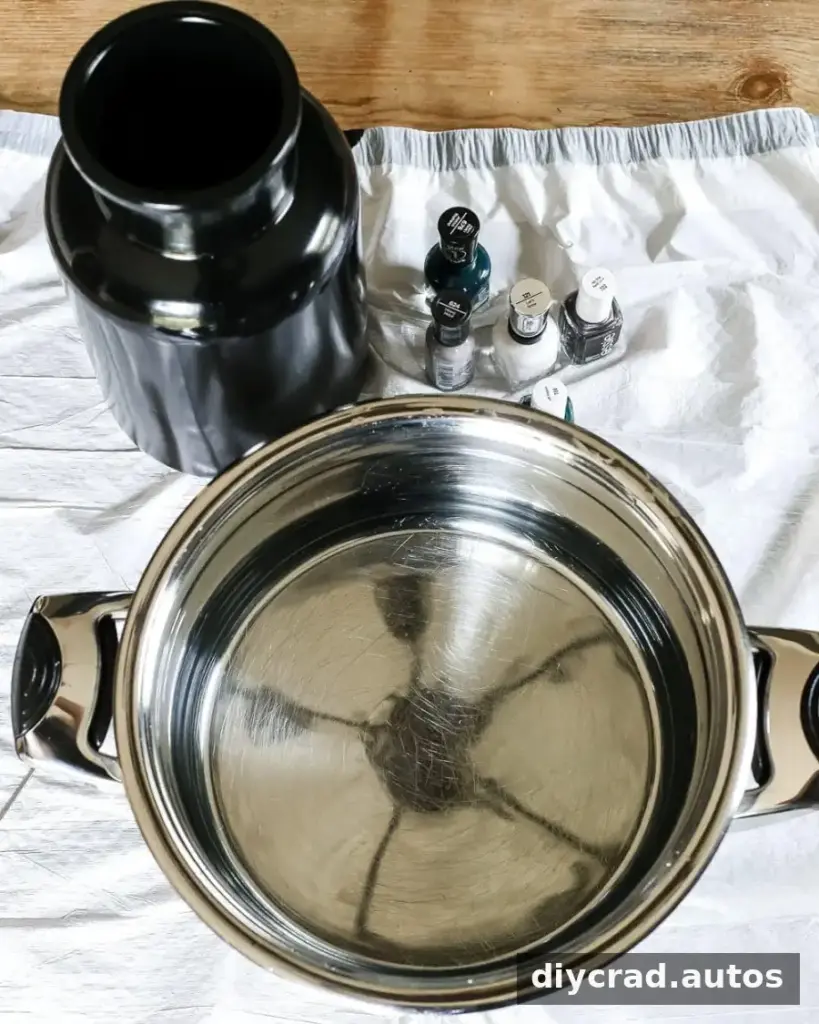
Add polish and dip each jar
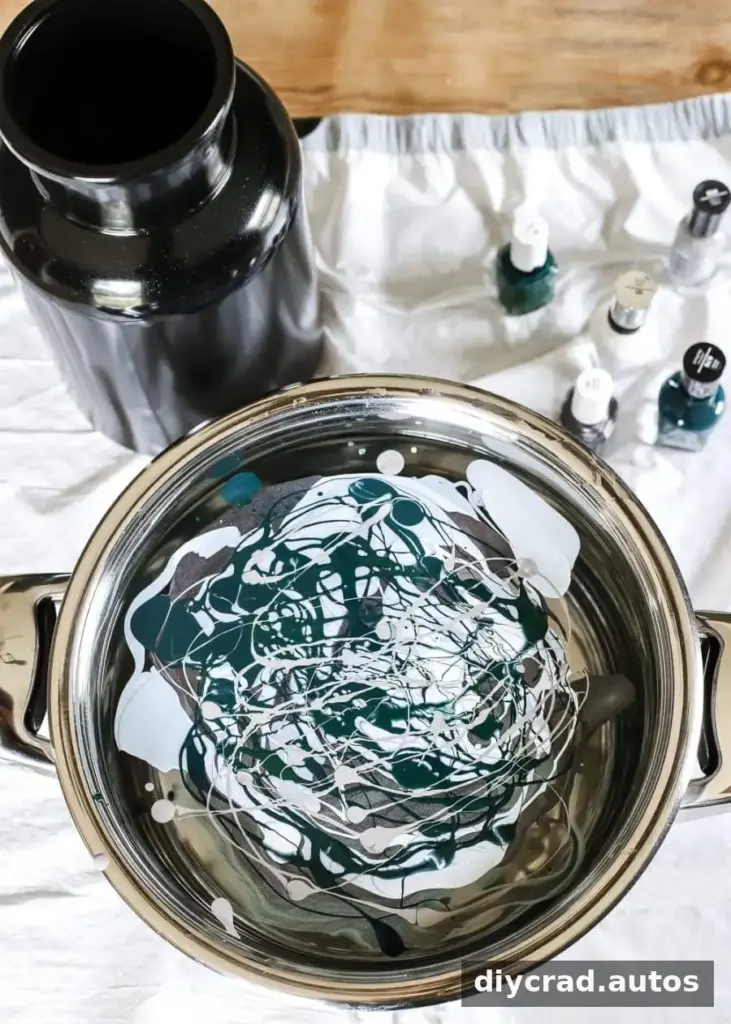
Pour a small amount of each nail polish color onto the water. The polish should mostly float on the surface. The pattern can change quickly, so have the jar ready and work promptly after adding the colors.
Dip one jar through the floating polish to transfer the marbled pattern. A large pot was sufficient for a small jar, while a deeper bucket was more practical for a larger one. Wear rubber or latex gloves during this step to help keep polish off your hands, and take care not to splash the water.
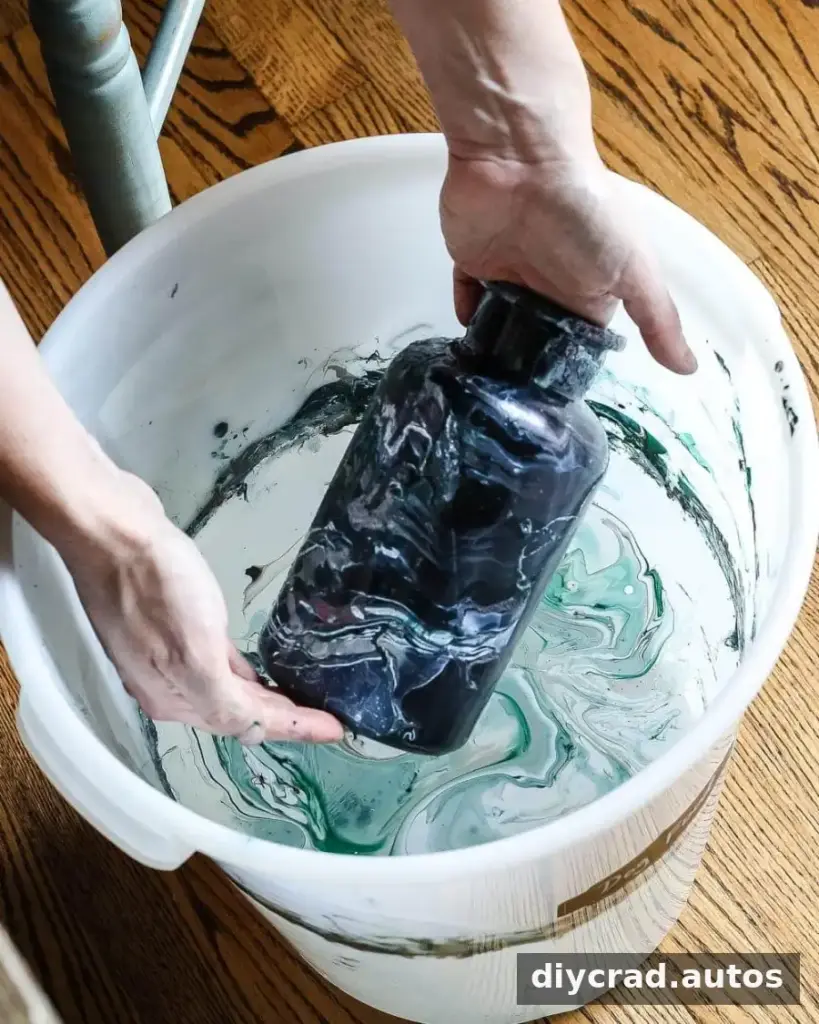
Place each coated jar on the protected surface and leave it to dry for about an hour. Before disposing of the water, remove the leftover floating polish with gloved hands rather than pouring it down the drain. Check local disposal guidance for any remaining materials.
Styling a Halloween Entryway with DIY Marbled Vases
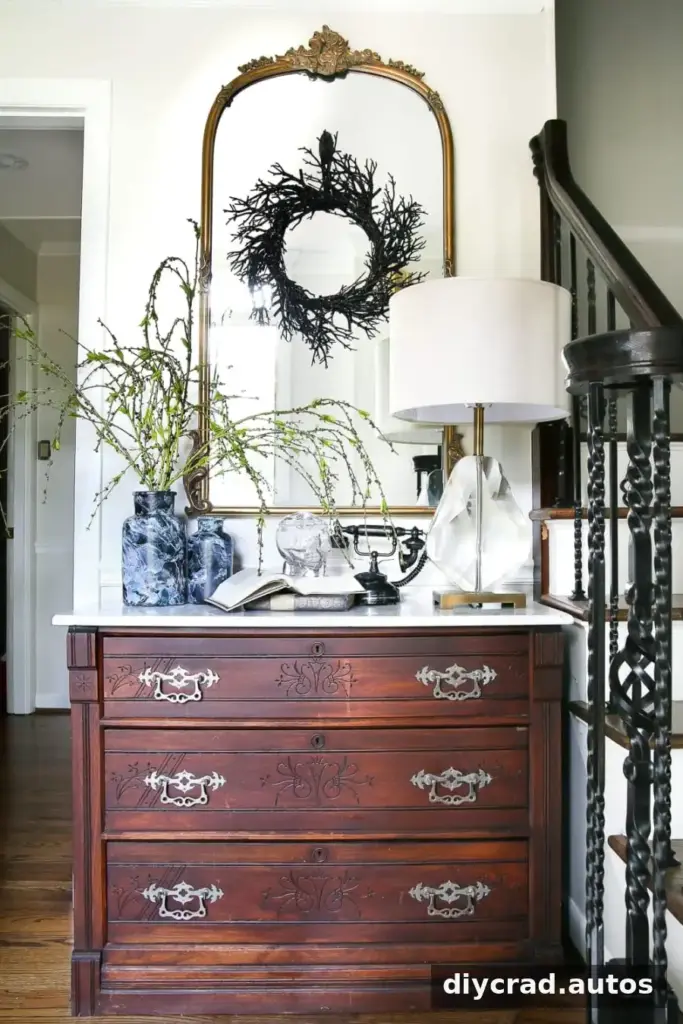
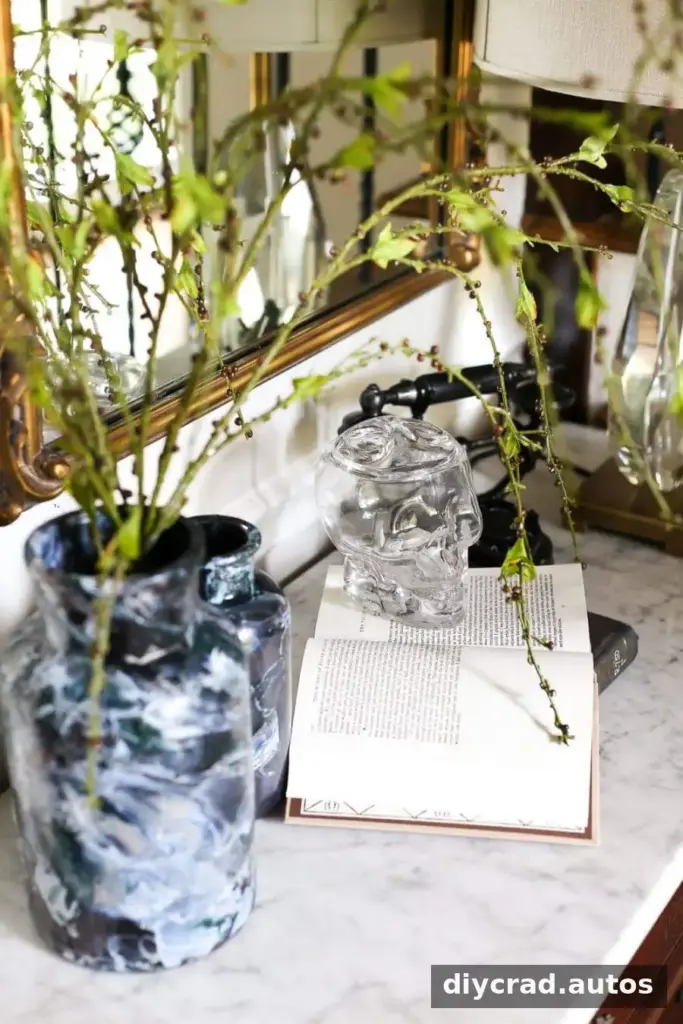
Once dry, the jars can be arranged on a foyer table or chest with a few seasonal decorations. The display described here used slender green branches, a collection of Edgar Allan Poe books, a glass skull candy jar, and a decorative antique-style phone. These details create a Halloween mood while keeping the overall look more playful than frightening.
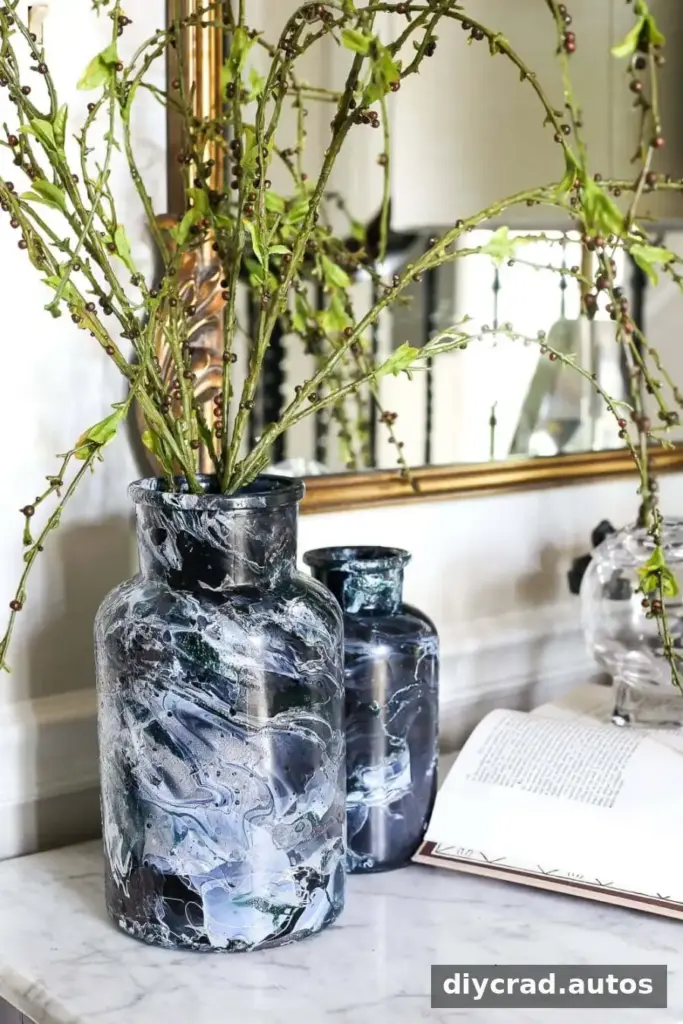
For a family-friendly arrangement, balance spooky objects with softer shapes and familiar decor. A few carefully chosen pieces can make an entryway feel seasonal without filling every surface. Keep the display stable and leave enough room for everyday use of the table.
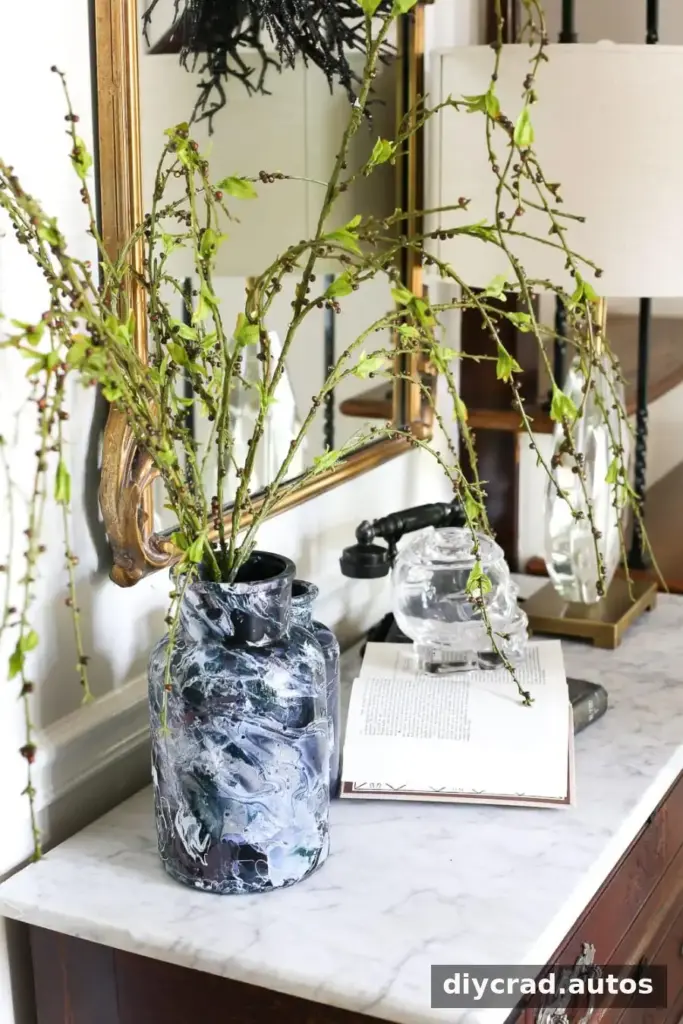
Green branches add height and a slightly witchy silhouette. If collecting branches outdoors, choose fallen or safely accessible material and check that it is clean before bringing it inside.
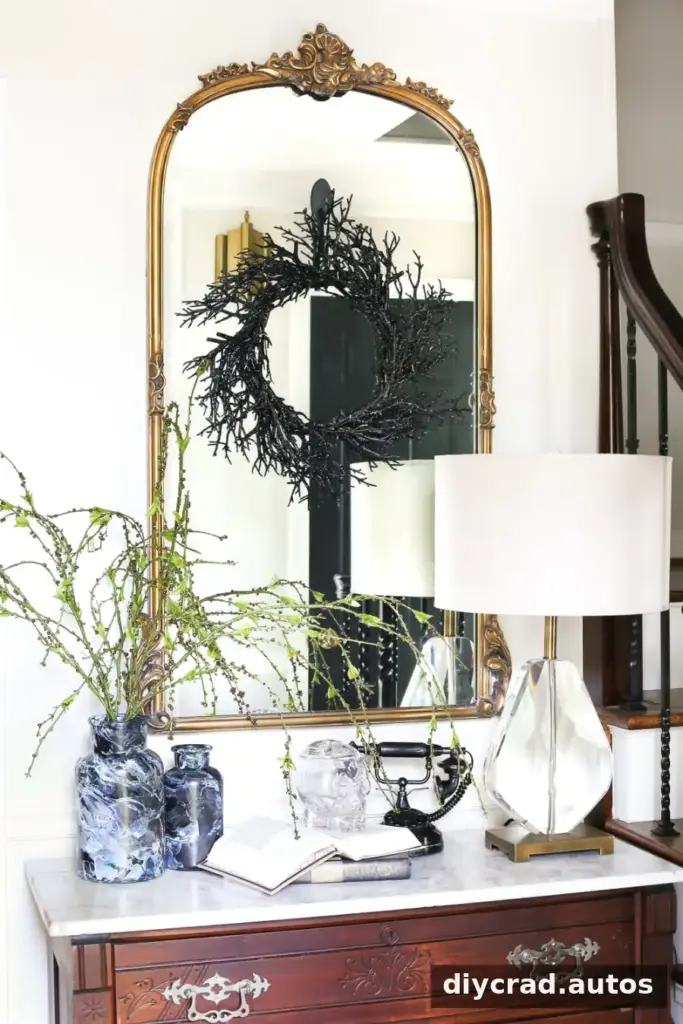
Old books can add texture and a literary feel, while an empty skull-shaped jar may look more dramatic than the same piece filled with candy. Consider the age and comfort level of people in the household when choosing how spooky to make the arrangement.
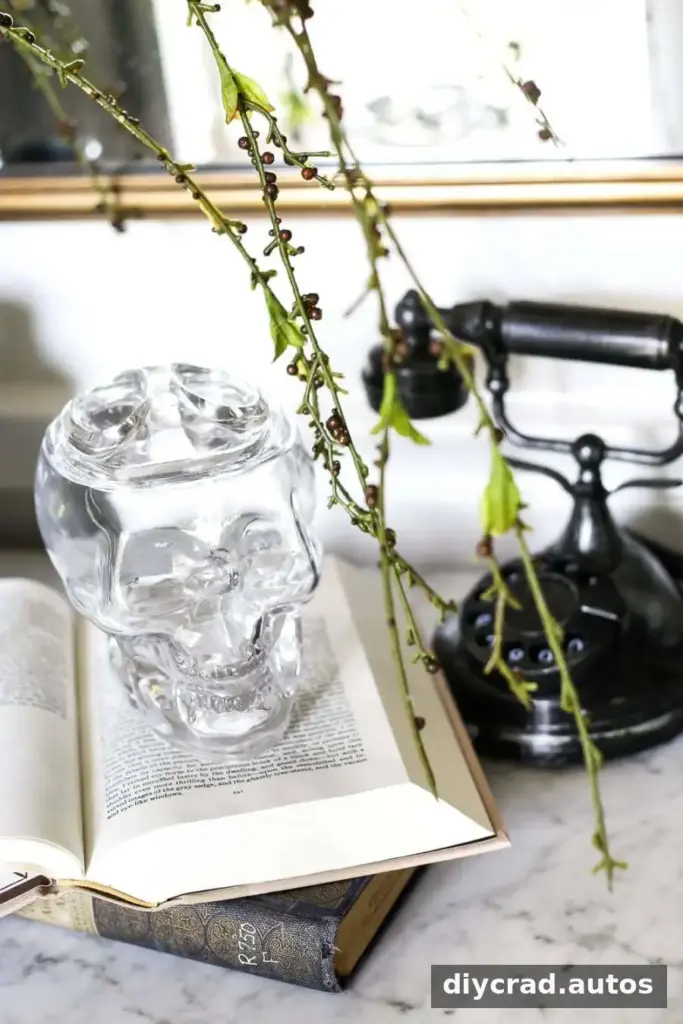
A decorative phone can contribute a vintage look, especially when grouped with books and branches. If a prop includes sound effects, test it before setting it out so unexpected noises do not surprise anyone.
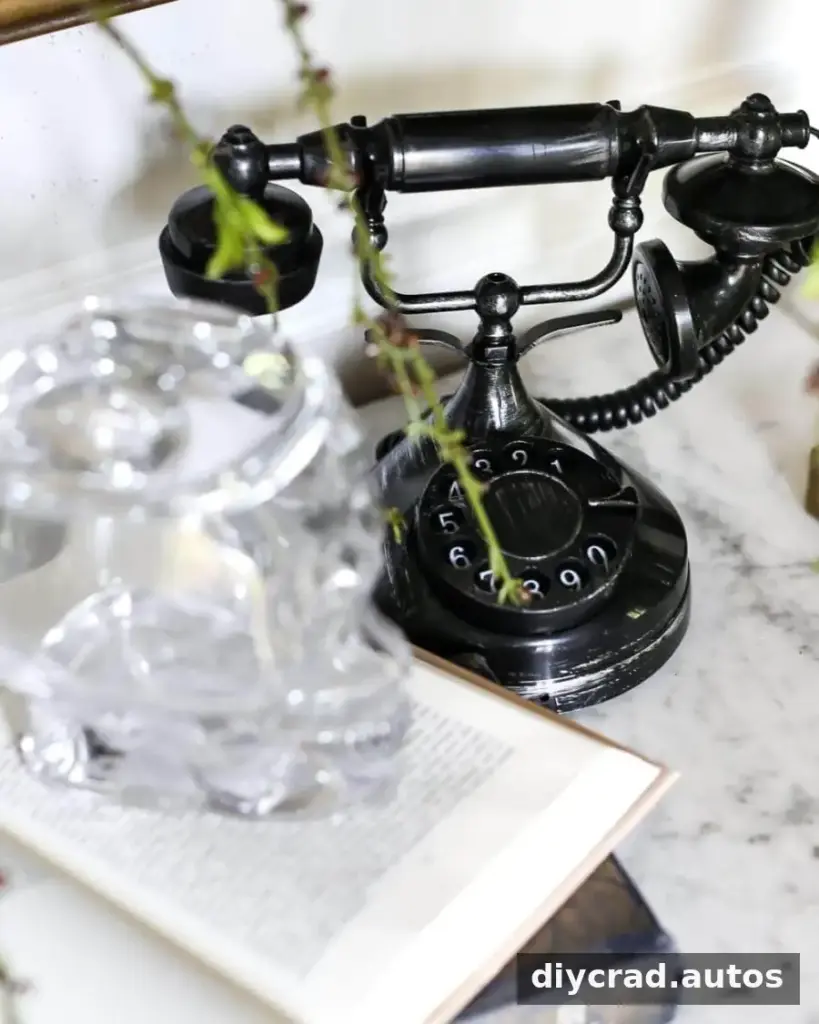
The finished entryway combines eerie accents with decorative elements, creating a look that is seasonal but not overly frightening.
Practical Tips for the Finished Vases
Because the jars are decorated with spray paint and nail polish, treat them as decorative pieces rather than food or drink containers. Keep the marbled surface dry and handle the vases carefully to help preserve the finish. If you want to experiment, try the technique on a spare jar first; the pattern varies with each dip, so a test piece can help you decide how much polish to use.
This project also shows how a change of plan can lead to a useful decor idea. The marbled finish adds color and movement, while the reused jars keep the materials simple. After Halloween, the vases can be restyled with different branches or ornaments to suit another season.
Other elements in the original display included:
- A glass skull candy jar
- A black branch wreath, with its small orange and white decorations removed
- A marble-topped chest found on Craigslist
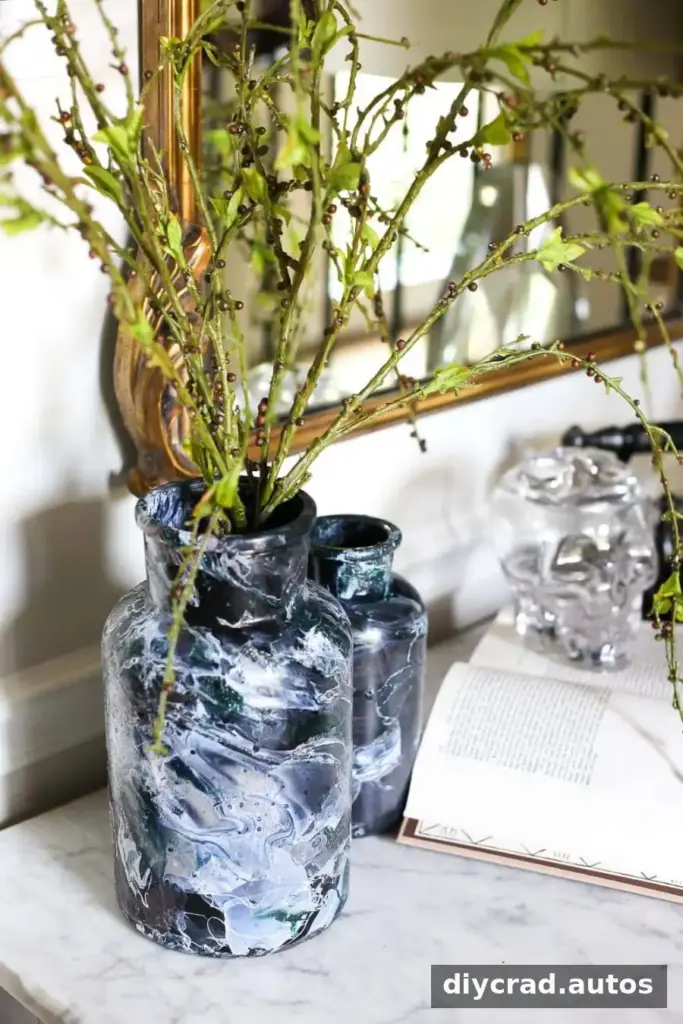
The project was also featured alongside other Trash to Treasure transformations by Artsy Chicks Rule, Prodigal Pieces, Girl in the Garage, and Confessions of a Serial Do-It-Yourselfer.
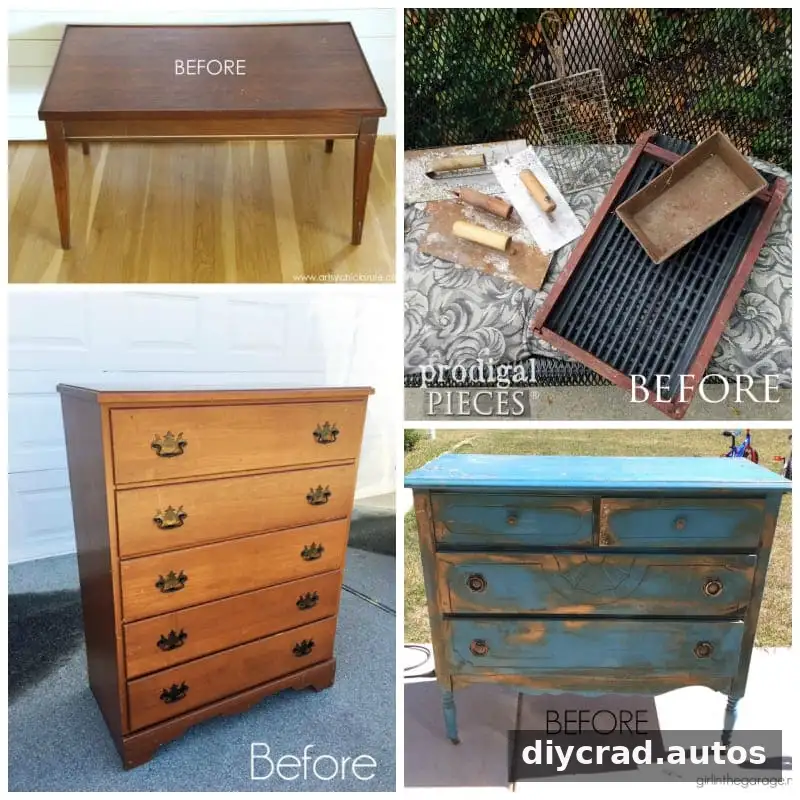
Contributor list, clockwise from the top left: Artsy Chicks Rule, Prodigal Pieces, Girl in the Garage, and Confessions of a Serial Do-It-Yourselfer.
With a few reused jars, nail polish, and a little preparation, DIY marbled vases can add a distinctive handmade detail to a Halloween entryway. Keep the pieces for decoration, protect your work area, and choose seasonal accents that suit the people who live in your home.