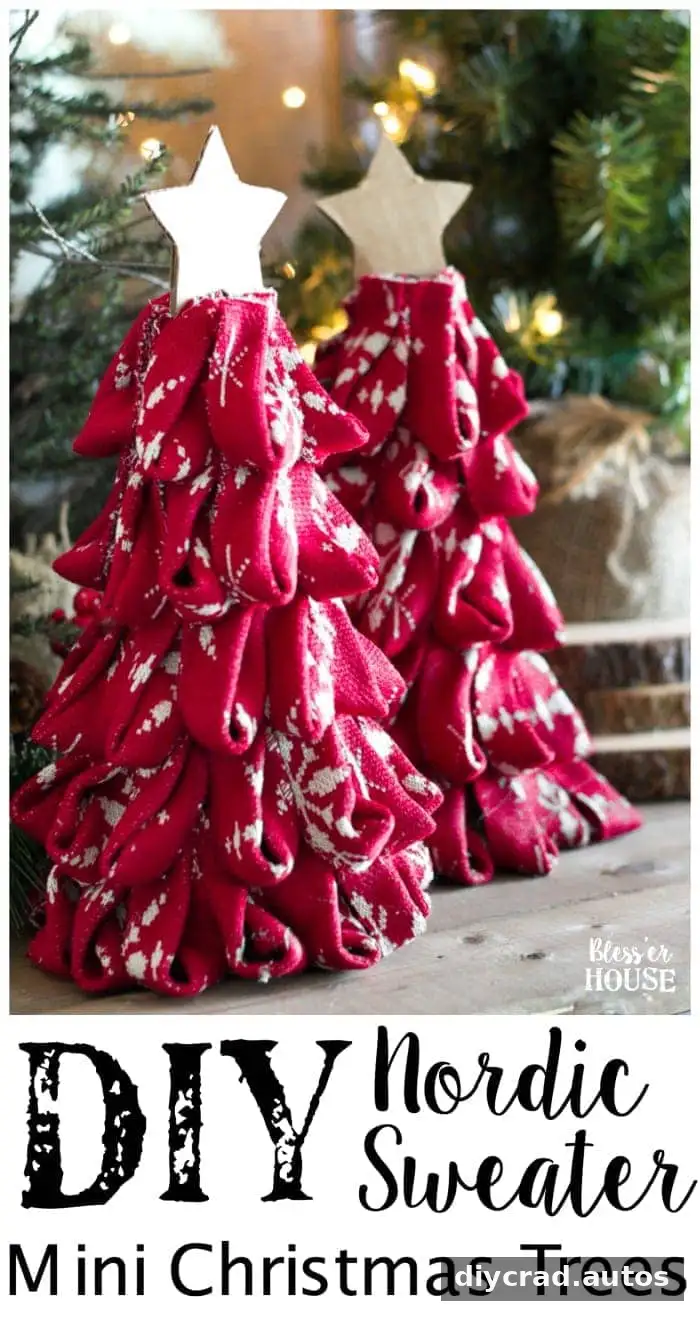
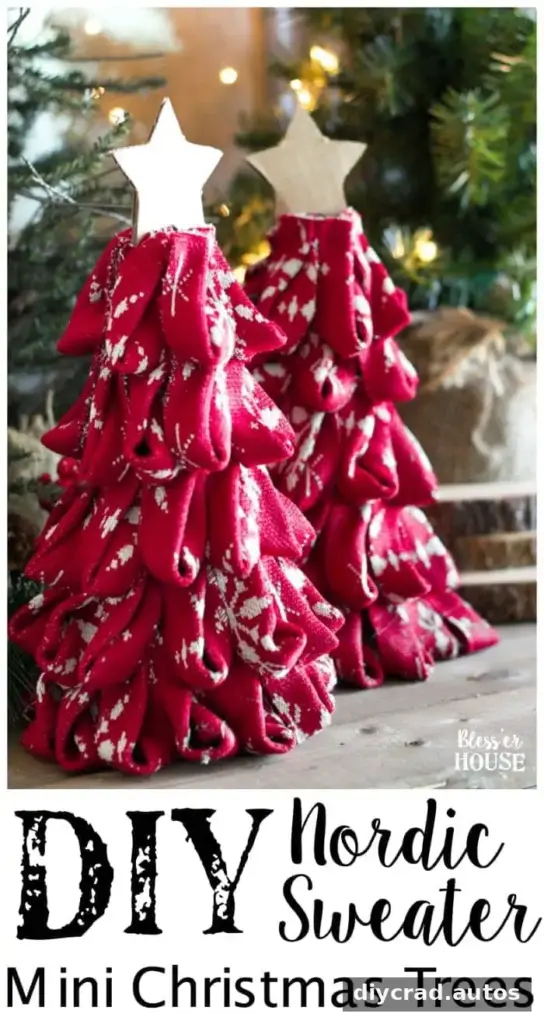
DIY Nordic Sweater Mini Christmas Trees are a simple way to add handmade, festive detail to a mantel, shelf or holiday table. Made with a foam florist cone, decorative ribbon and a small cardboard star, these tabletop decorations use straightforward materials and can be adapted to suit different color schemes. Choose a ribbon pattern that works with your existing decor, then follow the steps below to cover the cone with neat loops.
Materials for DIY Nordic Sweater Mini Christmas Trees
Gather the supplies before you begin. A wide ribbon with a Nordic-inspired pattern gives the trees a cozy look, but another style or color of ribbon can work just as well.
- Foam florist cone
- Nordic print ribbon, or another wide ribbon to suit your style
- Hot glue gun and glue sticks
- Fabric scissors
- Small piece of cardboard
- Star cookie cutter
- Pen or pencil
- Toothpick
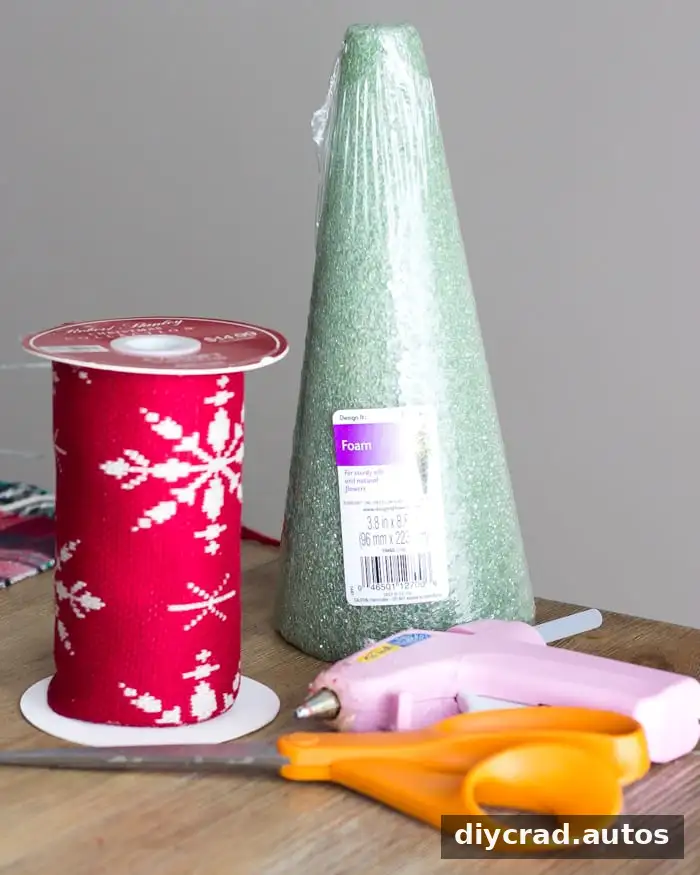
Before cutting, check that the ribbon is wide enough to form loops that cover the cone. If you are unsure how much you need, make a few loops first and use them to estimate how much ribbon will be required for the full tree.
How to Make the Ribbon Trees
- Cut a length of ribbon about 5 inches long using fabric scissors.
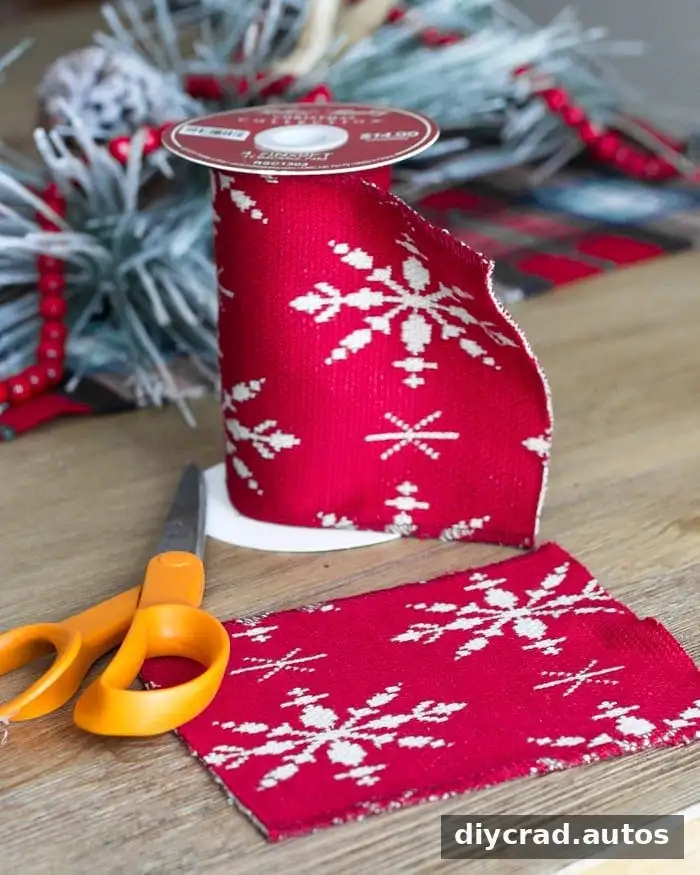
Cut that ribbon length into three equal sections. These shorter pieces will each form a loop, so try to keep the cuts even for a consistent appearance.
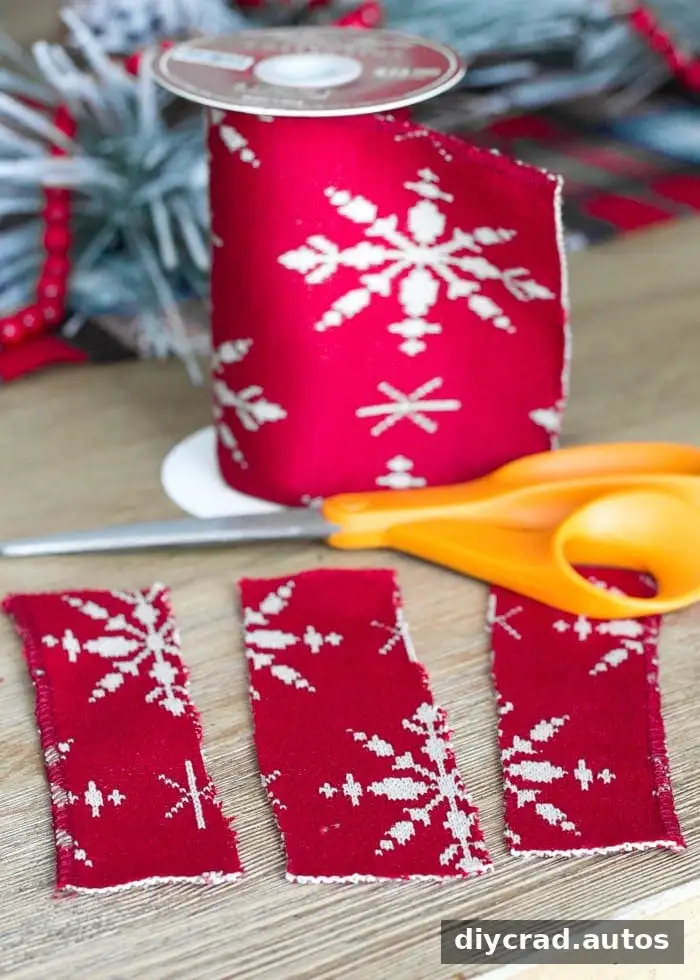
Take one section and fold it over with the red side facing outward, if your ribbon has a patterned or colored side.
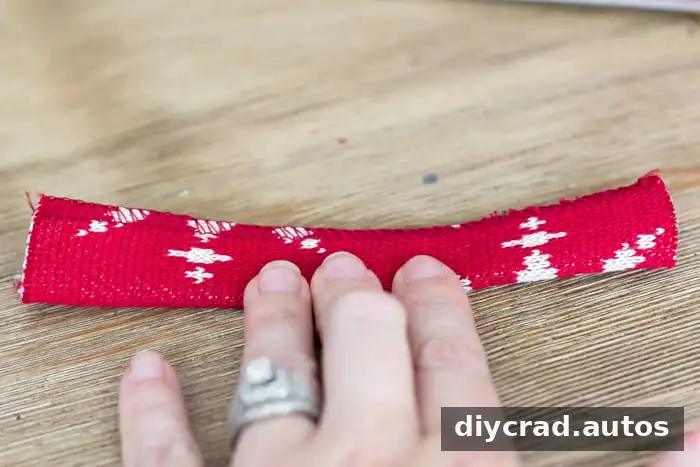
Bring the ends together to form a loop. Keep the loop shape similar for each piece so the rows look tidy once they are attached to the cone.
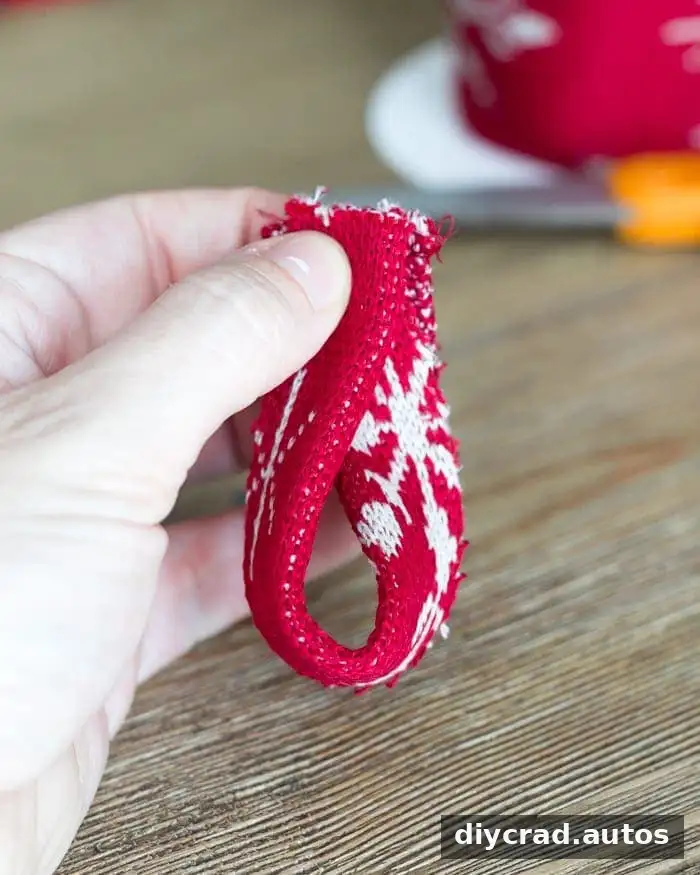
Starting about an inch or two above the bottom of the foam cone, apply a small amount of hot glue to the top of the loop and press it into place. Add a little glue between the two ends at the top of the loop to help hold its shape. Take care when using hot glue, and let it cool before adjusting the ribbon.
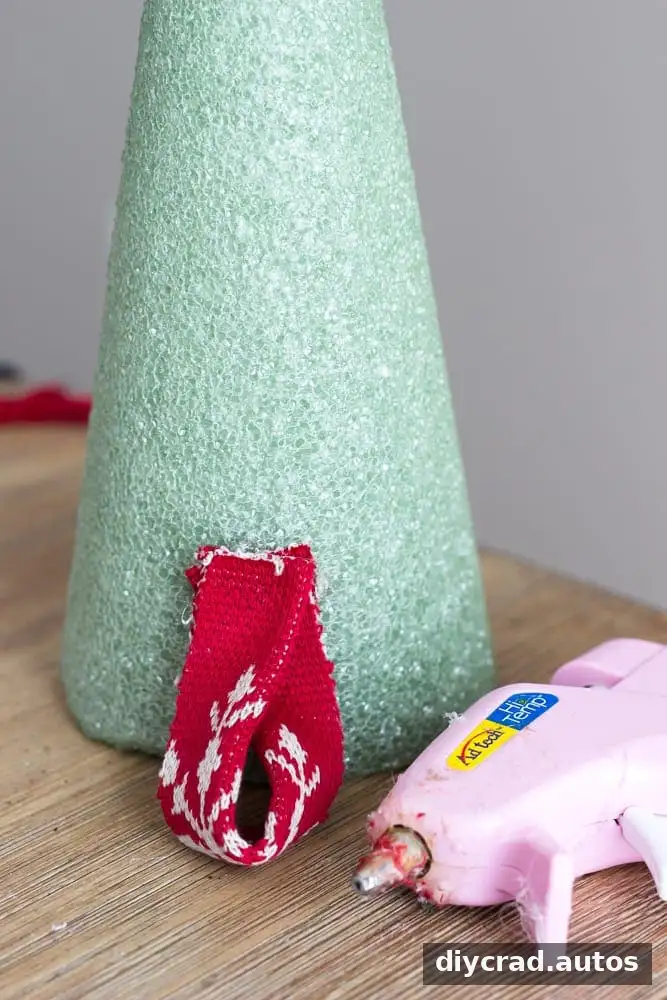
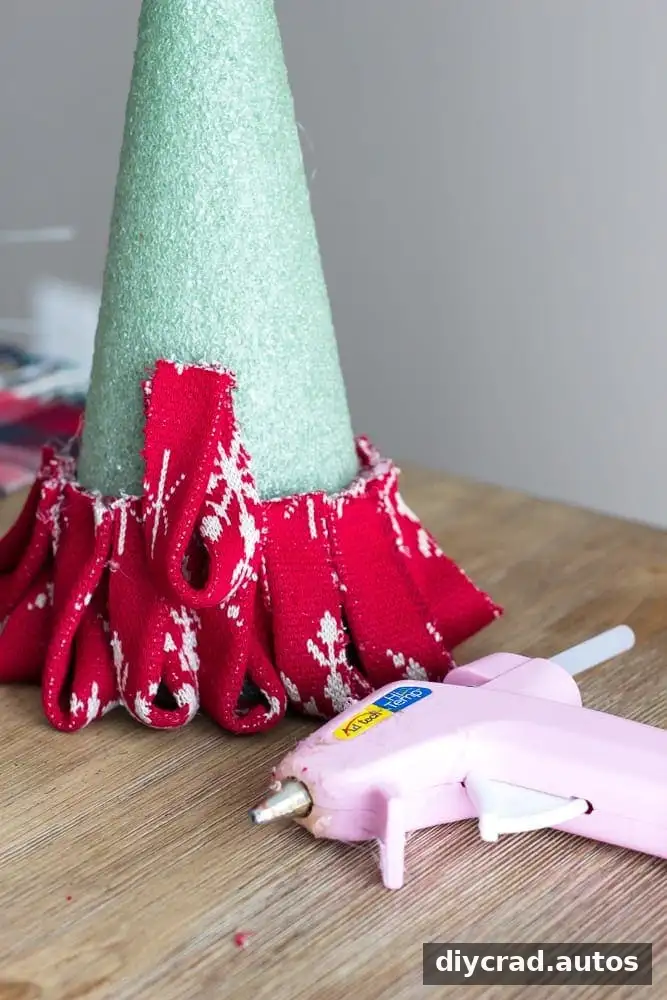
Repeat the process around the base of the cone. Place the loops close enough together to cover the foam, while avoiding so much overlap that the ribbon becomes bulky.
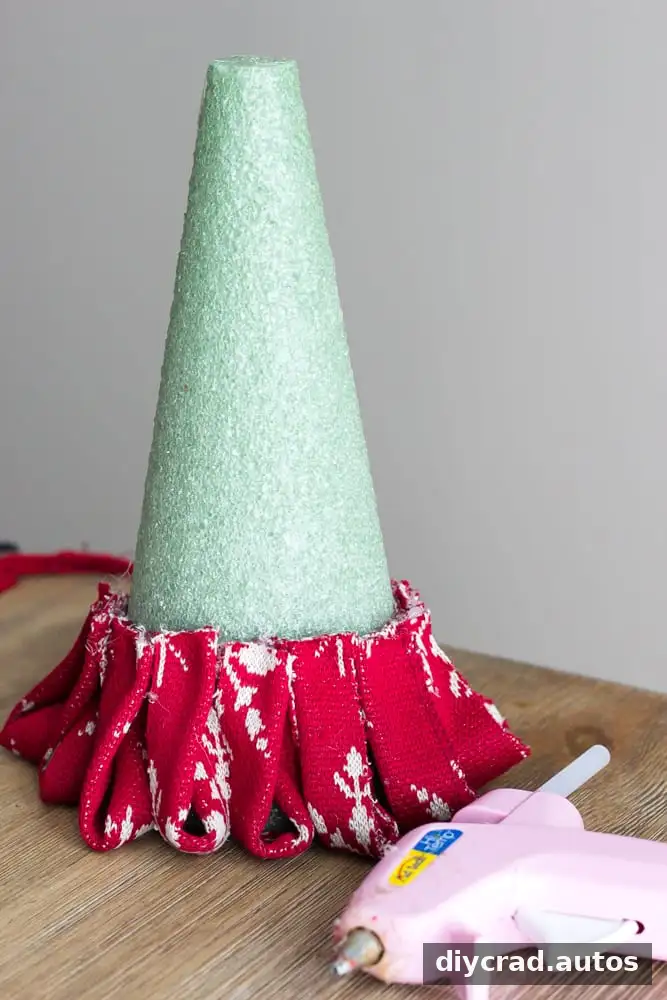
Continue adding loops in rows as you work upward. Check the spacing as you go, and fill any visible gaps with an additional loop if needed. Keep working until the cone is covered.
Make and Attach the Star Topper
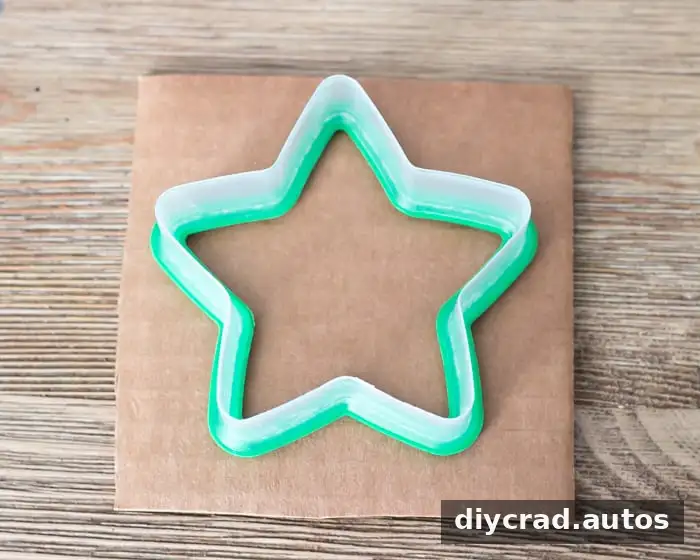
Place a star-shaped cookie cutter on a small piece of cardboard and trace around it with a pen or pencil. A simple, sturdy piece of cardboard is easy to cut and light enough to use as a topper.
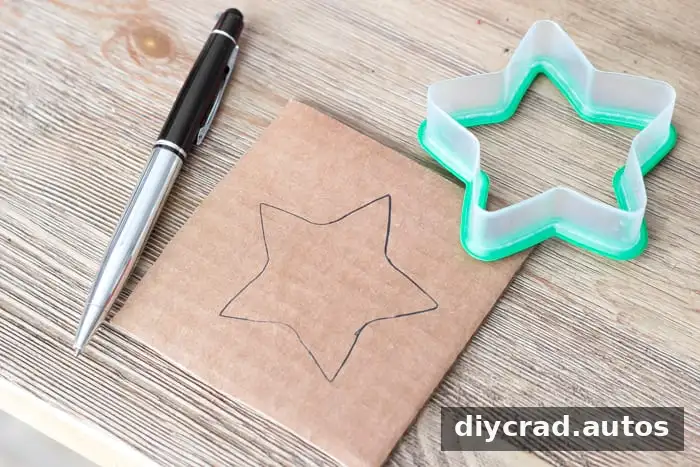
Cut out the star, then carefully push a toothpick into its bottom edge. Insert the other end of the toothpick into the top of the foam cone. Press it in just far enough to hold the star upright.

Display and Styling Tips
These mini trees can add a festive accent wherever a small decoration will fit, including a shelf, side table or holiday centerpiece. For a coordinated display, make several trees using the same ribbon. To create variety, use different patterns while keeping the ribbon colors complementary.
Place the finished trees on a stable, level surface, especially if they will be displayed near other decorations. Keep them away from open flames and heat sources, and handle the hot glue gun carefully during assembly.
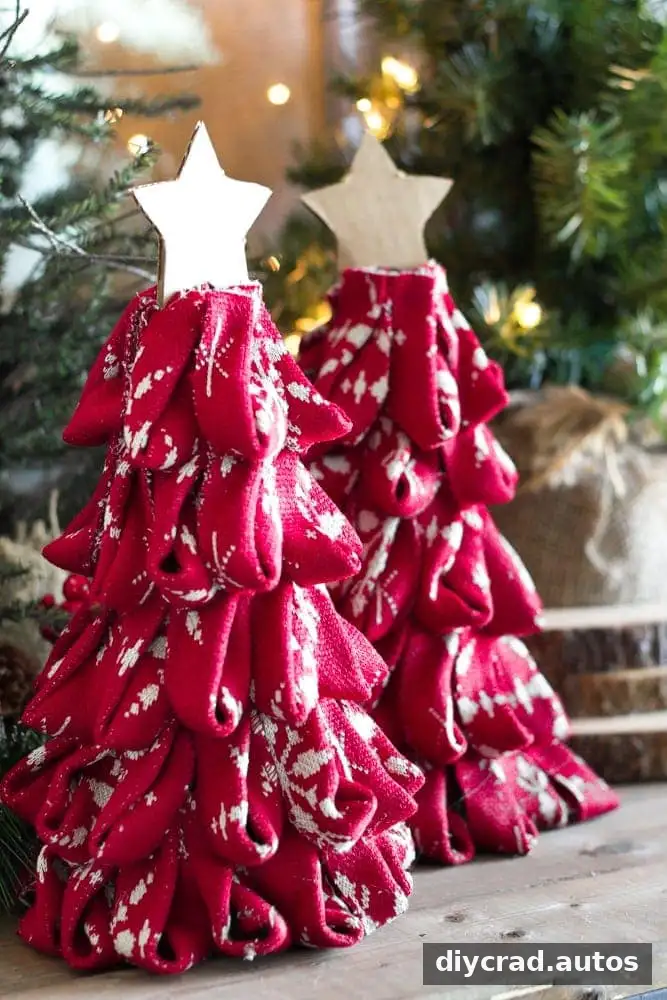
Enjoy Your DIY Nordic Sweater Mini Christmas Trees
With a foam cone, ribbon loops and a handmade star, DIY Nordic Sweater Mini Christmas Trees are an approachable seasonal craft that can be customized to your home. Take your time with the spacing and use a consistent loop size for a polished finish. The result is a small, cheerful decoration that can be displayed on its own or grouped with other holiday accents.