

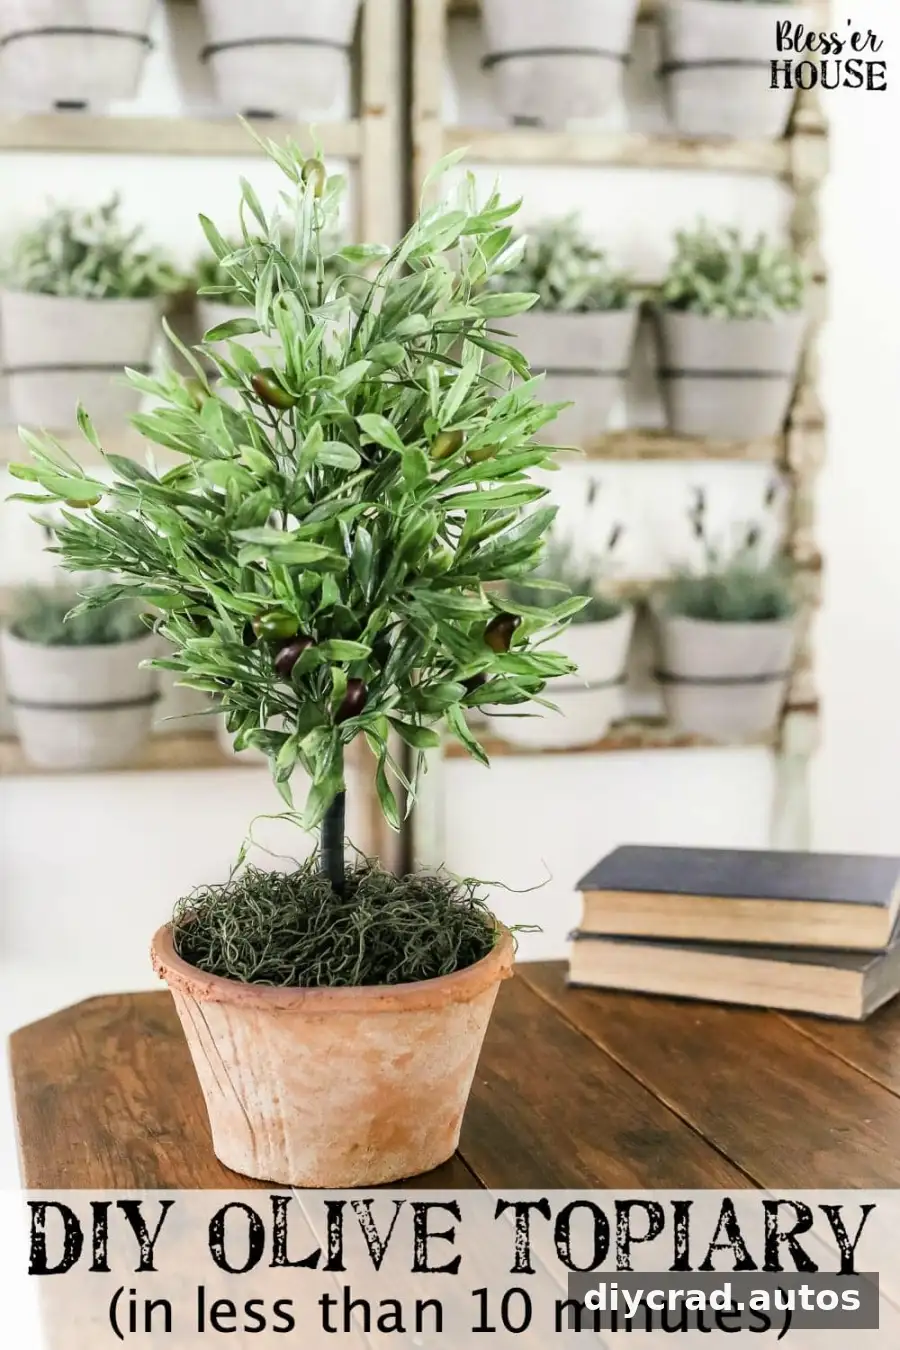
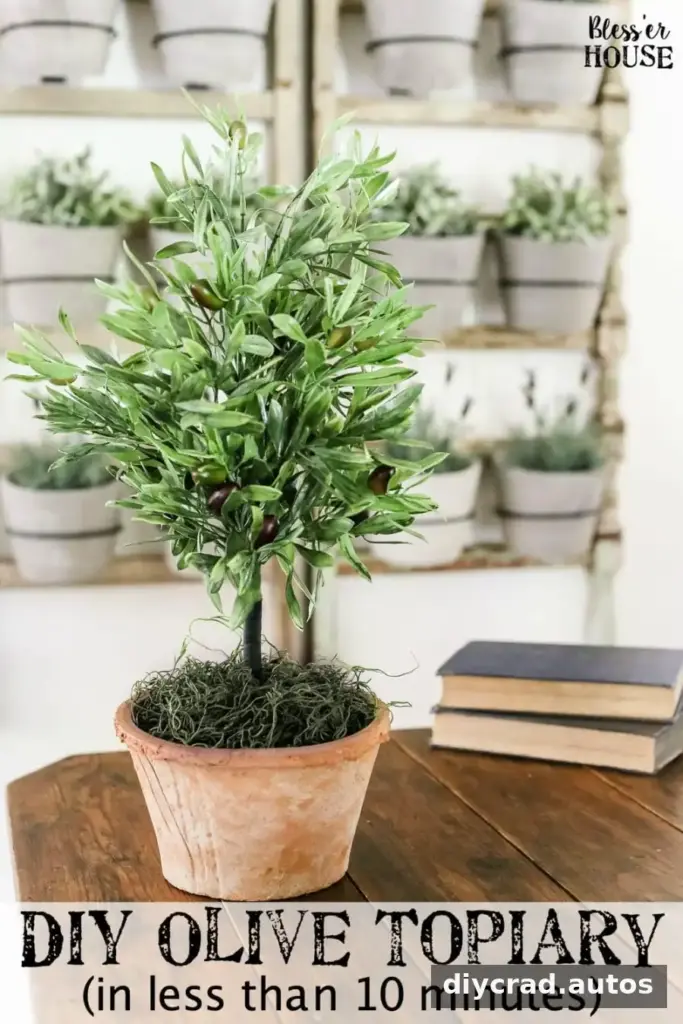
A DIY olive topiary tree is a simple way to add greenery to an entryway, shelf, or table without needing to care for a live plant. This project uses artificial olive branches, a planter, floral foam, and Spanish moss to create a compact decorative arrangement. You can adjust the stem length and fullness to suit your space, and the assembly takes about 10 minutes once the materials are ready.
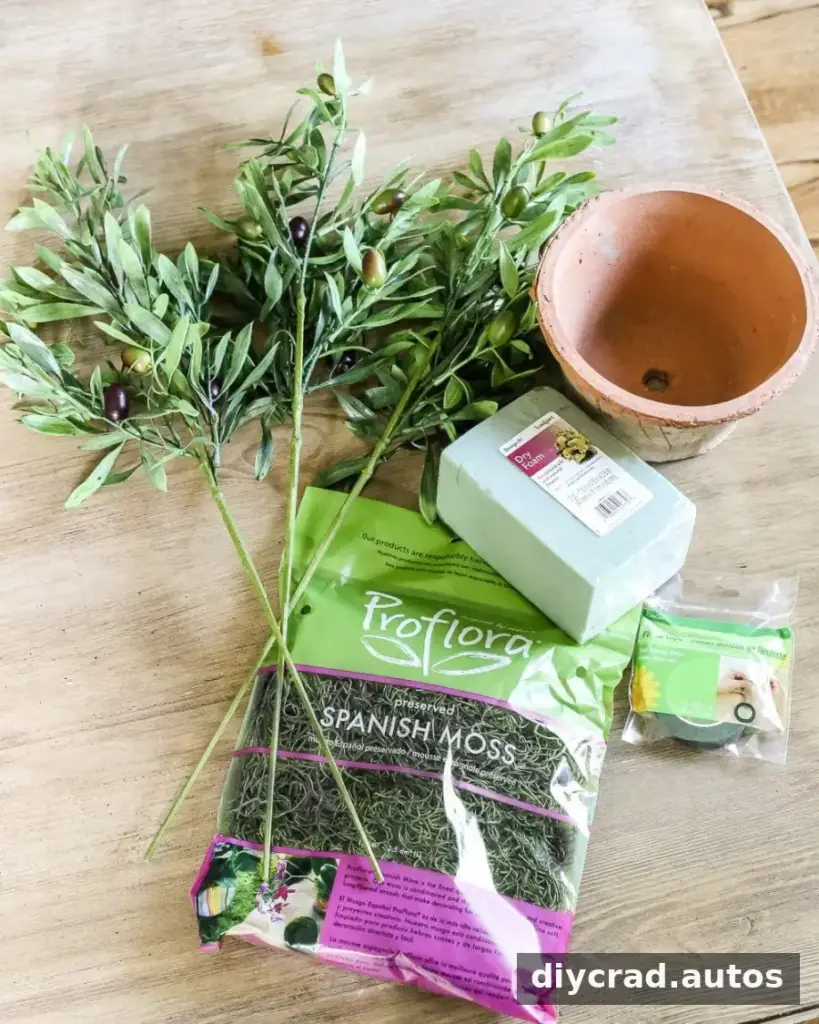
Supplies for a DIY Olive Topiary Tree
Gather the following materials before you begin. The original project used three artificial olive branches, purchased on sale for $6.26 each, and an antique-style terracotta pot that cost $10. Prices and availability can vary, so use these figures as a reference rather than current pricing.
- Three artificial olive branches
- A planter pot
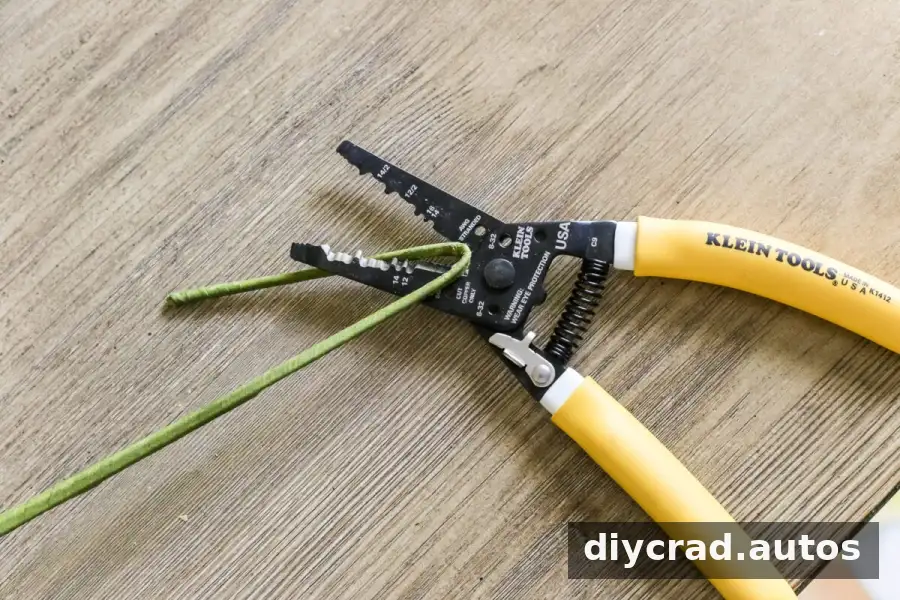
- Wire cutters
- A hot glue gun
- Two blocks of dry floral foam
- Spanish moss
- Floral tape
Similar artificial greenery, such as lemon, cypress, or boxwood branches, can be used if olive stems are unavailable. Choose branches with stems long enough to reach securely into the foam and foliage that fits the look you want.
How to Make the Topiary
1. Adjust the branch length
Hold the branches beside the pot to estimate the finished height. If you prefer a shorter arrangement, trim the stems with wire cutters. Cut a little at a time and check the proportions before removing more; longer stems can be shortened, but cut stems cannot be restored.
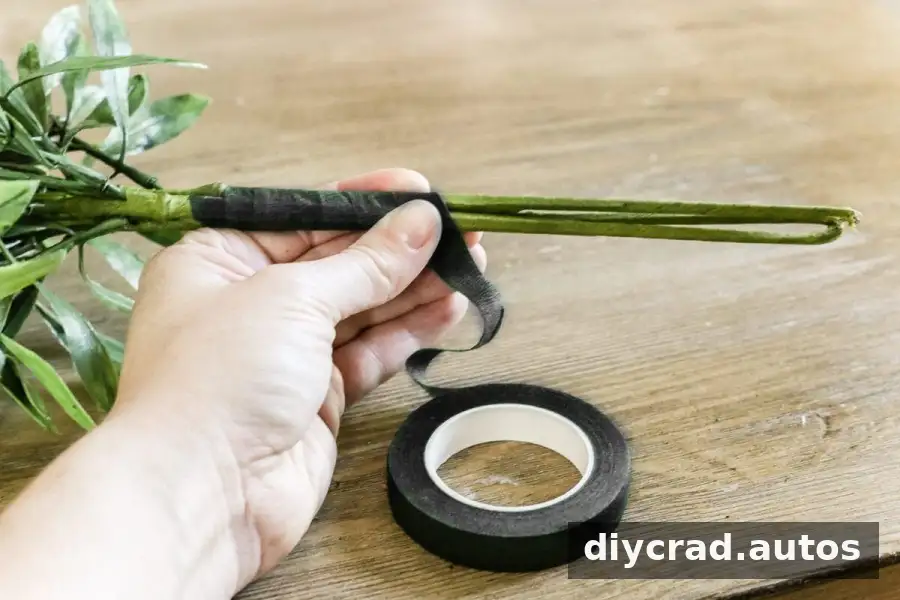
2. Bundle the stems
Bring the branch stems together and wrap them with floral tape. Keep the foliage spread out while you bundle the stems so the leaves do not end up crowded into one direction. Three branches create a full look, while two may be enough for a looser, more open shape.
3. Secure the floral foam in the pot
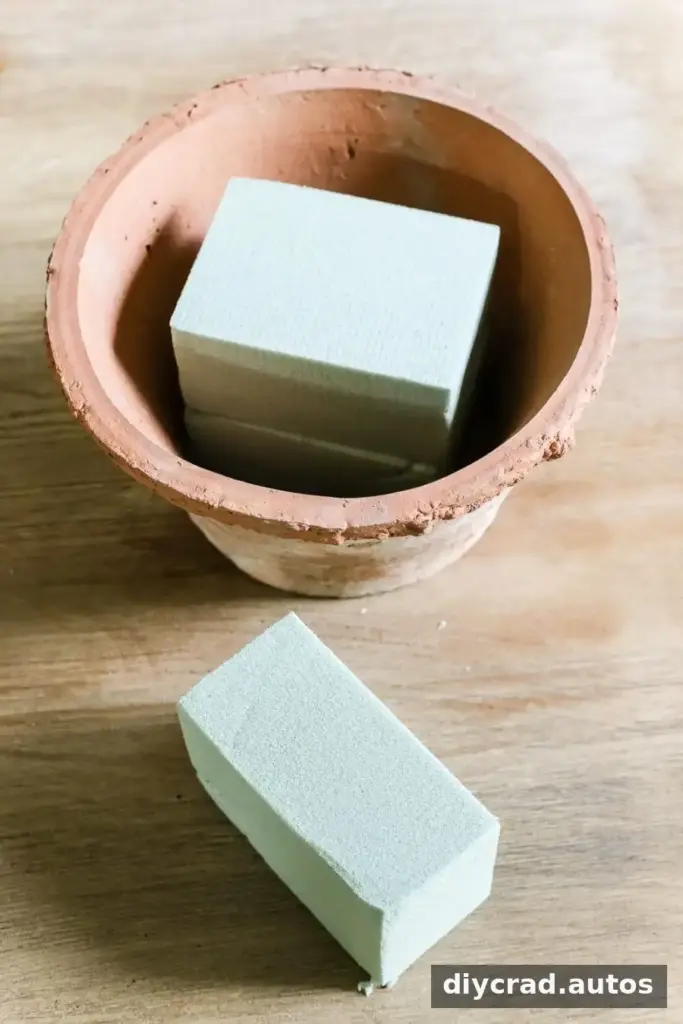
Apply hot glue to the bottom of the planter and place two dry floral foam blocks in a stack at the center. Press them into place and allow the glue to set before adding the branches. Check that the foam sits securely and leaves enough room around the edges for moss.
4. Insert the stems
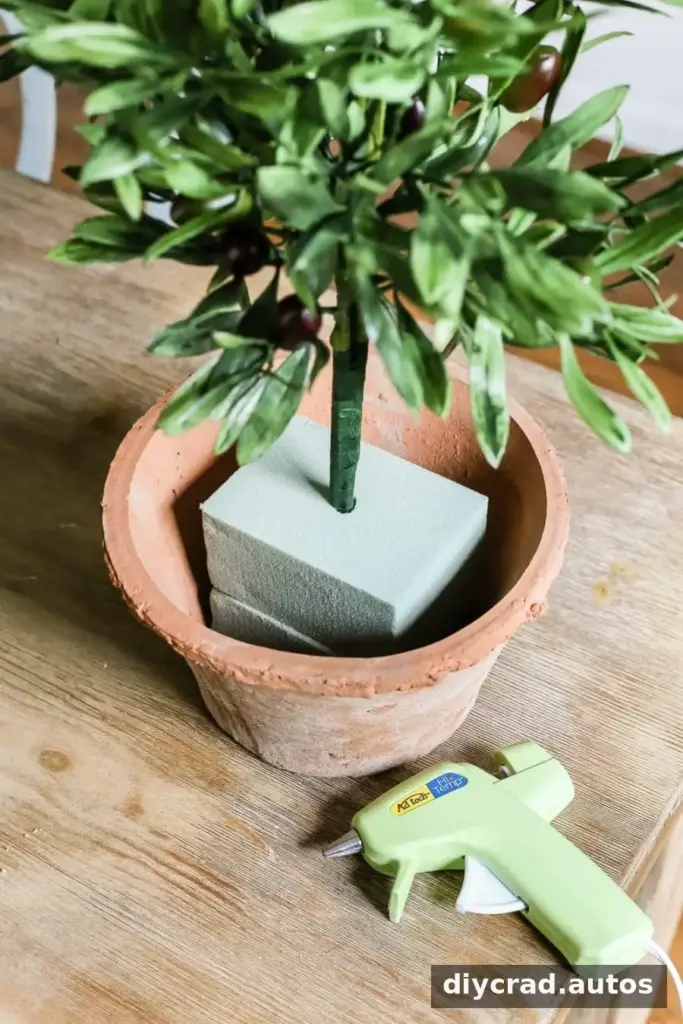
Push the bundled olive stems through the center of the stacked foam. Adjust the angle and height until the arrangement looks balanced from the front and sides. If the stems feel loose, reposition them in the foam before adding the moss, which will make access to the base less convenient.
5. Cover the foam with Spanish moss
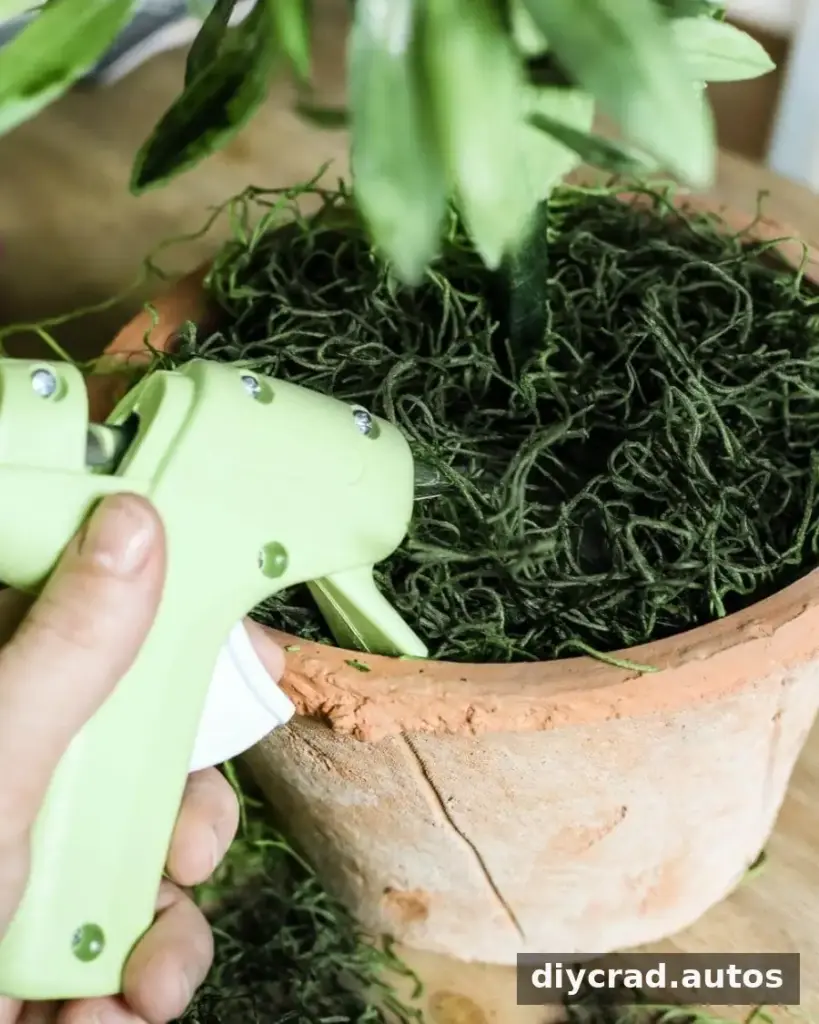
Fill the spaces around the foam with Spanish moss, then use hot glue to attach more moss over the top until the foam is hidden. Apply glue in small amounts and press the moss into place carefully. Hot glue can cause burns, so keep fingers clear of the nozzle and freshly applied adhesive.
Finishing and Styling Tips
Once the base is covered, rotate the planter and spread the leaves to check the silhouette from different angles. A dense arrangement can look polished and full; for a more relaxed shape, use fewer branches and leave some stems longer. Small adjustments to the foliage often make a bigger difference than adding more materials.
Place the finished topiary on a foyer table, console, or shelf where the pot sits on a stable, level surface. Because this design uses artificial branches and dried moss, it is intended as decorative greenery rather than a growing plant. Keep the arrangement away from open flames and follow the hot glue gun’s safety instructions during assembly.
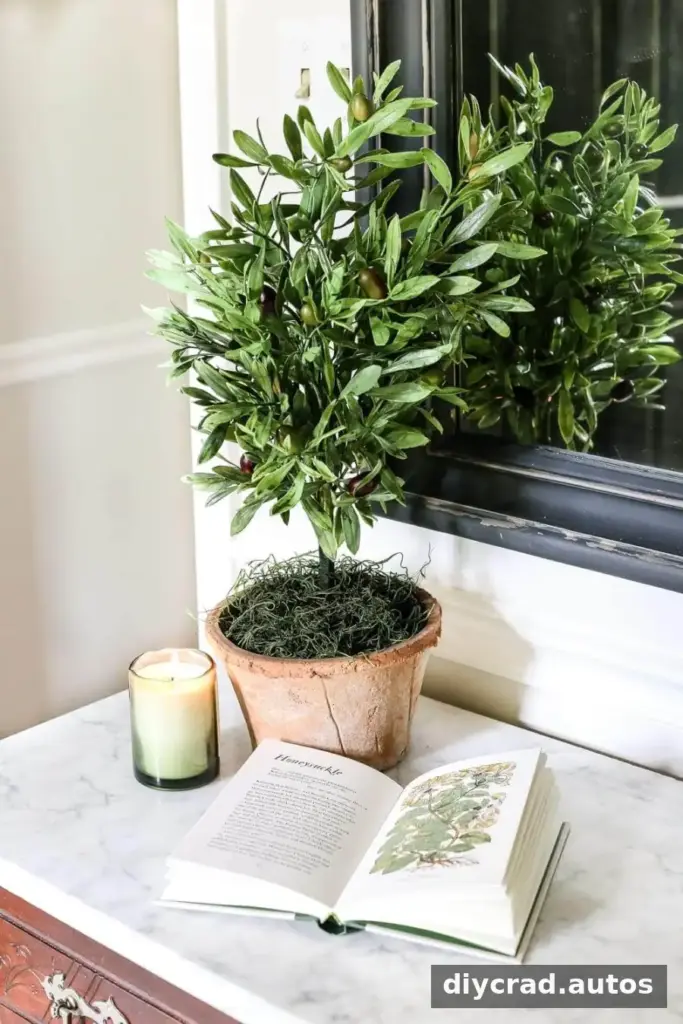
This DIY olive topiary tree is easy to adapt with different artificial greenery or planter styles. Before making another version, consider the height and fullness of the first one in its intended spot; that makes it easier to decide whether a second arrangement should be shorter, slimmer, or more abundant.


Conclusion
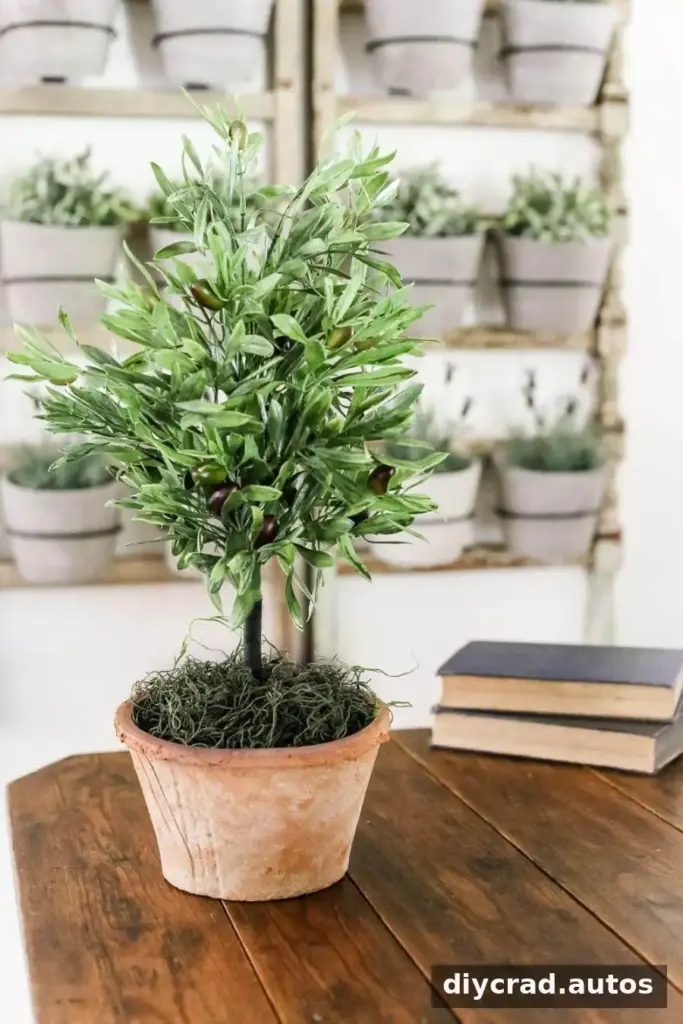
A DIY olive topiary tree can bring a touch of greenery to a room with a short supply list and a straightforward assembly process. Trim the branches to fit your planter, bundle the stems securely, and cover the floral foam completely for a tidy finish. Adjust the number of branches to create either a fuller or more natural-looking shape.

