

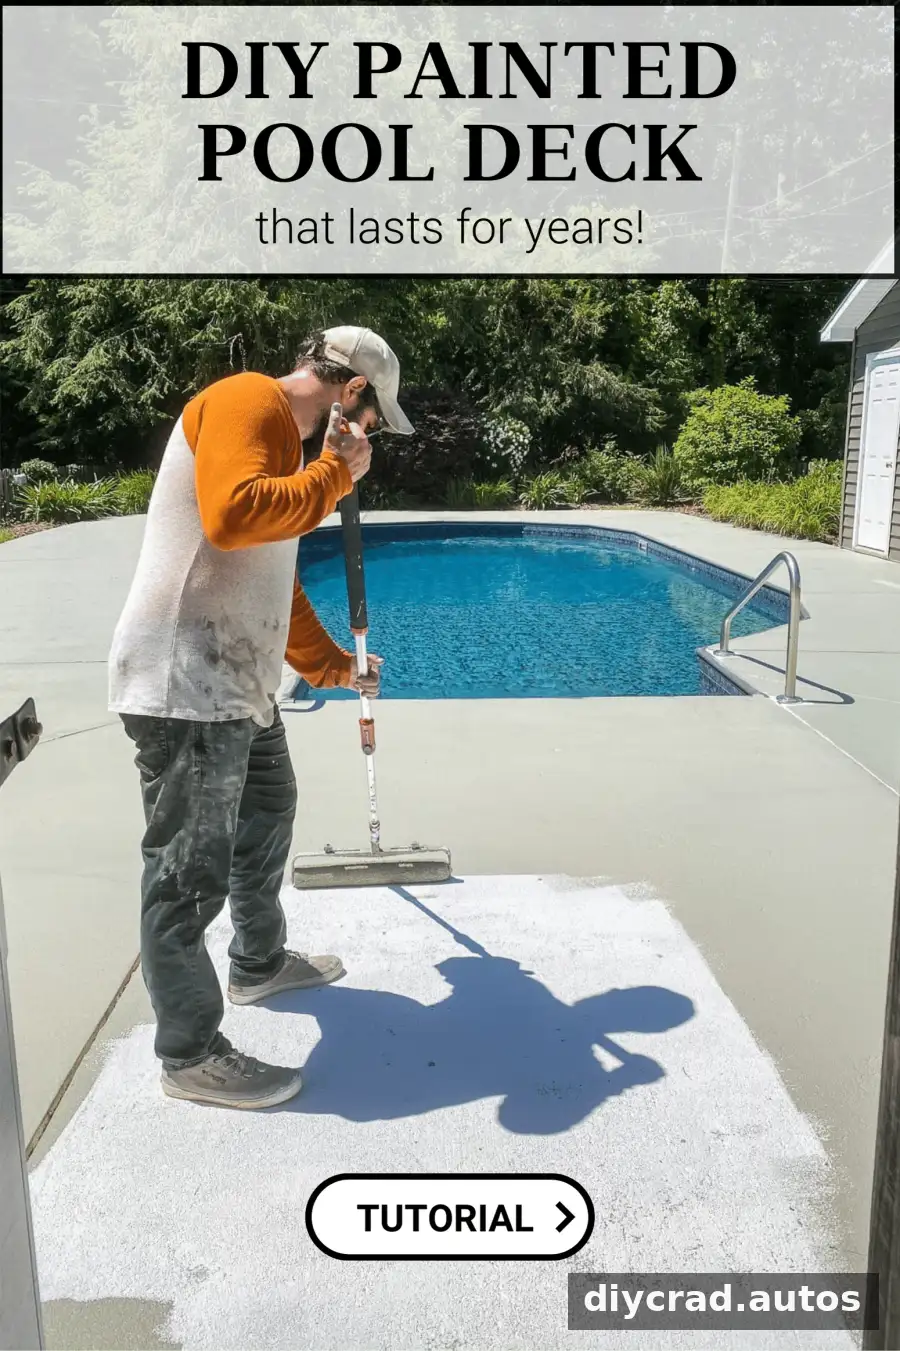
A painted concrete pool deck can refresh a worn outdoor space without the expense of hiring a contractor. This step-by-step guide covers surface preparation, materials, weather conditions, application, and safety considerations, based on a project that cost $904.22 and was reported to remain in good condition after four years.
Painting concrete takes careful preparation and several days to complete, including drying time. The original professional estimate for the deck and patio was $3,000, so completing the work as a DIY project reduced the reported cost. Results depend on the condition of the concrete and whether the coating is suitable for the surface and pool environment.
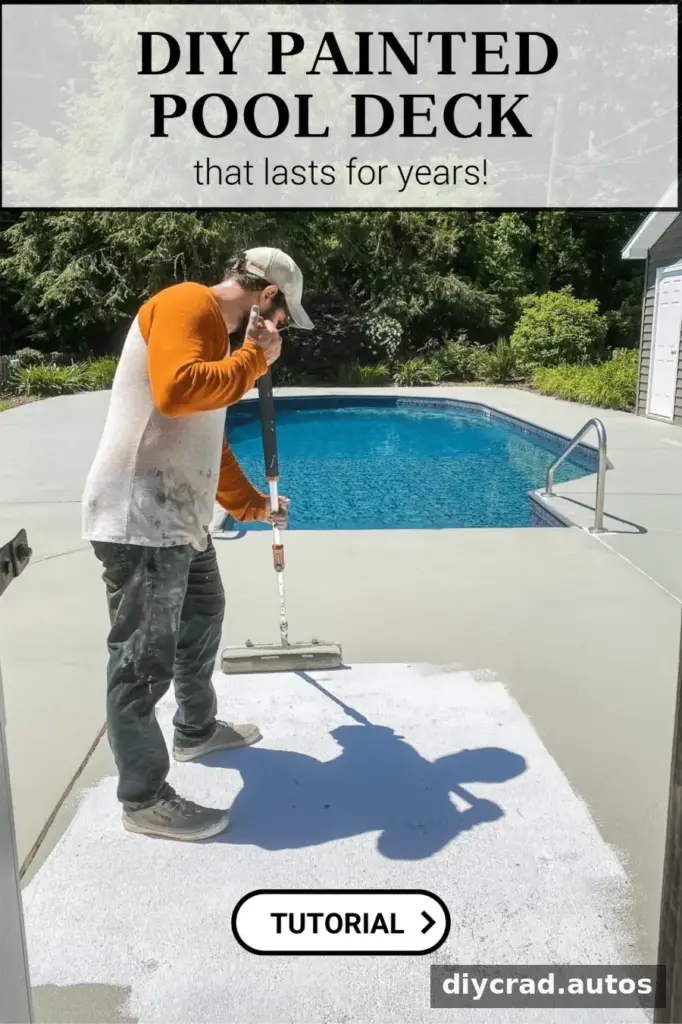
Choosing a coating system and preparing the concrete properly are essential. Use the product instructions as your primary guide, and confirm that the cleaner, primer, paint, and anti-skid additive are compatible with one another.
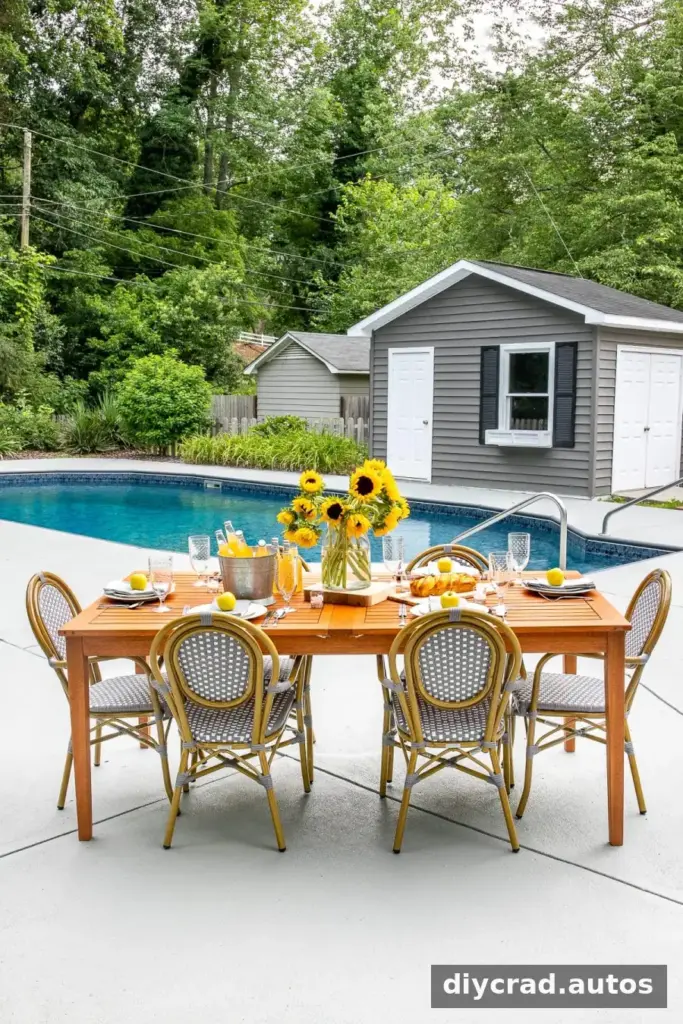
Painted Concrete Pool Deck: Before and After
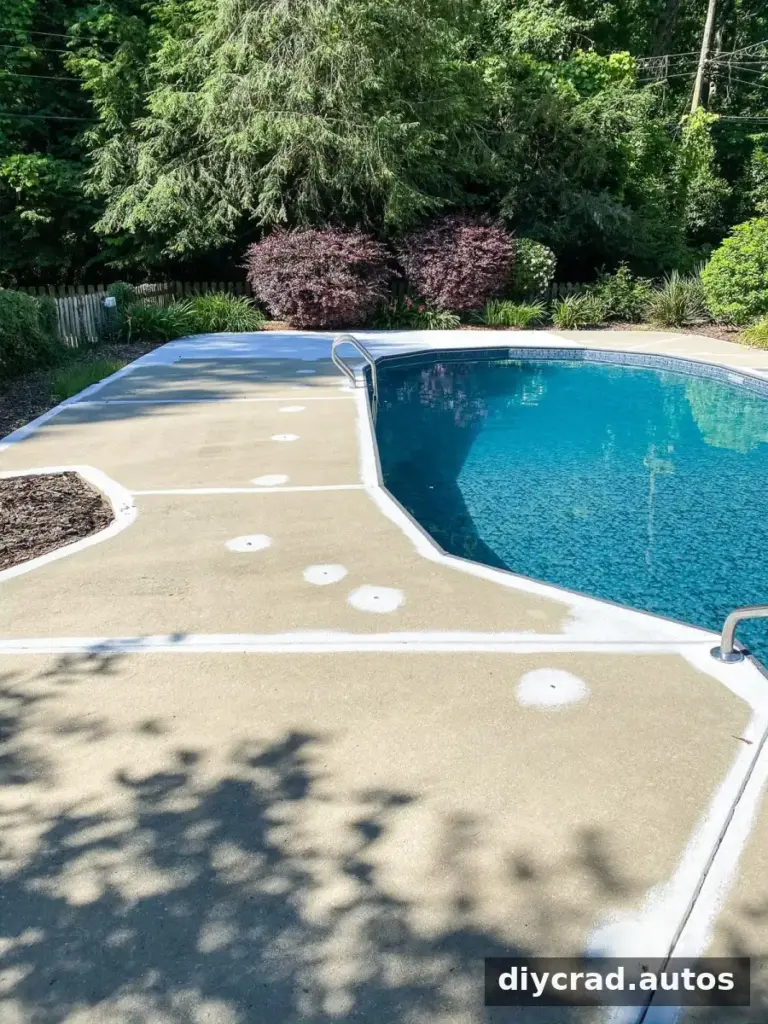
An earlier attempt to paint the bare concrete did not hold up as hoped. The main lesson was that paint alone cannot make up for inadequate preparation: concrete needs to be clean, dry, and properly primed before the topcoat is applied.
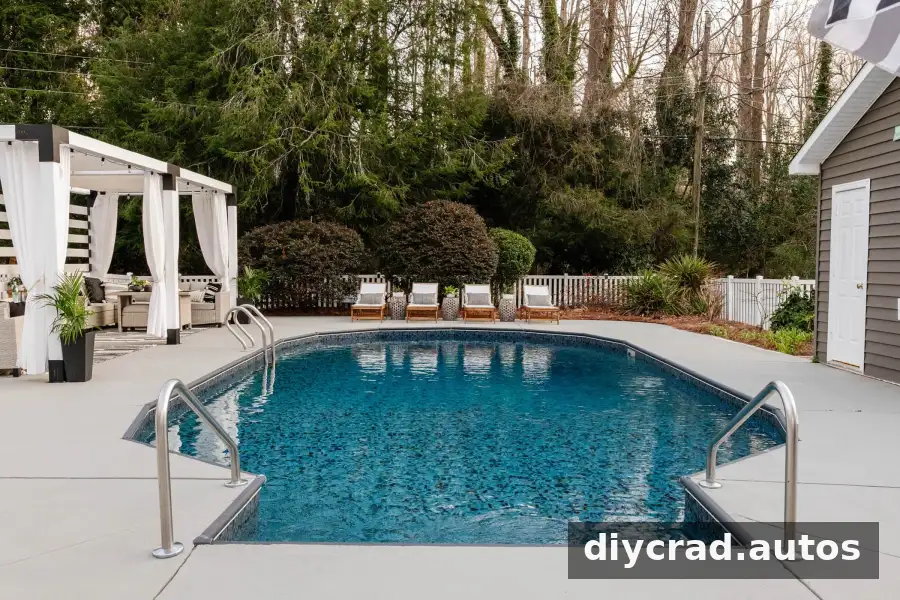
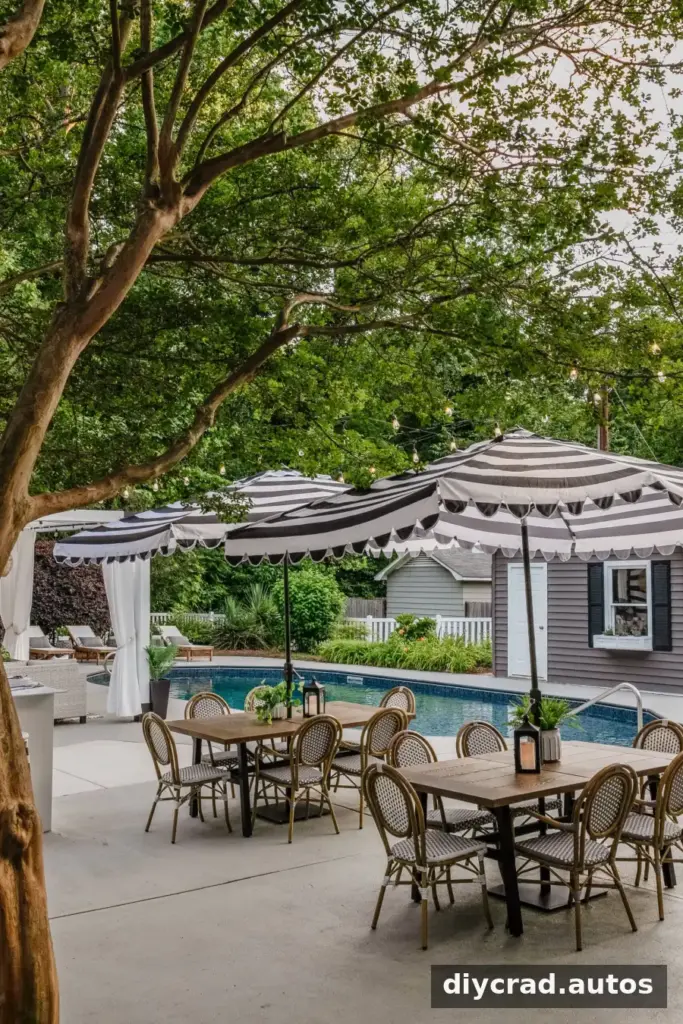
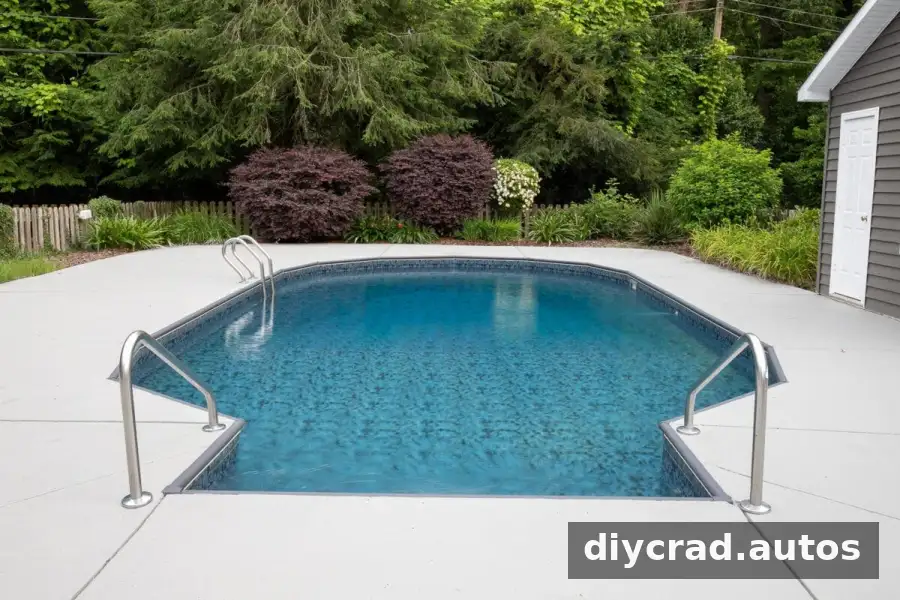
After correcting the approach, the finished surface had a fresh, uniform appearance similar to newly poured concrete. The project account reports that the coating still looked good after four years, including in an area exposed to splashes from a saltwater pool. That result describes this particular deck and should not be treated as a guarantee for every surface or product.
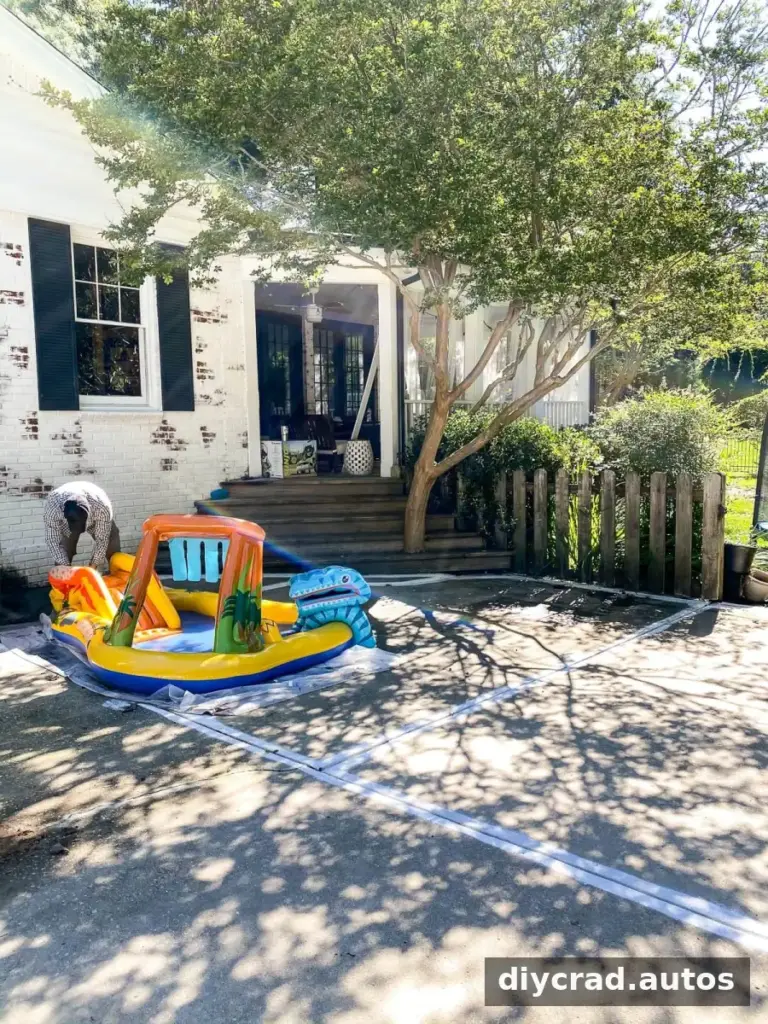
The comparison below shows the updated concrete finish.

Four-year update: The coating was reported to have no visible scuffs or peeling, despite regular pool-water splashes.
Common Concrete Pool Deck Painting Mistakes
Avoid very bright white in intense sun. A highly reflective surface may feel uncomfortable to look at outdoors. Lighter colors can help keep a deck cooler, but consider how the color will look in direct sunlight before choosing.
Do not skip cleaning, repairs, or primer. Concrete is porous and can absorb paint unevenly. Applying a coating over dirt, loose paint, or damp concrete can compromise adhesion and may lead to peeling or an uneven finish.
Include slip resistance. Poolside surfaces get wet, so use an anti-skid additive that is approved for the selected coating and follow its mixing directions. Even with added texture, caution swimmers against running.
Allow enough time for preparation and drying. Rushing between steps can undermine the finished surface, even if the paint is applied carefully.
DIY Pool Deck Painting Cost and Timing
The contractor estimate for this project was $3,000. The reported DIY materials total was $904.22, not including tools. The deck required about 12 hours of active work, separate from drying periods. Actual costs vary with deck size, product coverage, repairs, and local prices.
Plan for three workdays plus about 24 hours of drying after the work is complete. Warm, dry weather is preferable; the project account recommends planning for four consecutive suitable days. High humidity can extend drying times. Do not coat damp concrete, and check the product label for temperature and weather requirements. A surface temperature between 50 and 70 degrees Fahrenheit was the preferred range for this project.
How to Paint a Concrete Pool Deck
This method is intended for concrete in sound condition. Similar approaches may work on some natural stone, but check coating compatibility before using the same products on stone or any other material. Wear appropriate protective equipment and follow the safety directions on every product label.
Tools
- Leaf blower
- Pressure washer
- Push broom
- Plastic watering can
- Putty knife
- Extra-large paint roller frame and tray
- Power drill with mixing paddle attachment
Materials
- Concrete cleaner and etcher: 4 gallons used
- Liquid cement crack filler
- Exterior primer: 13 gallons used
- Anti-skid additive: 10 packs used
- One-part epoxy concrete and garage-floor paint in slate gray: 10 gallons used
- Extra-large rough-surface roller covers
- 3-inch angled paintbrush
The quantities above reflect the project described and may not match the requirements for a different deck. Check the coverage information on product labels and calculate the amount needed for your own surface.
This comparison also shows how the finish looked after four years.
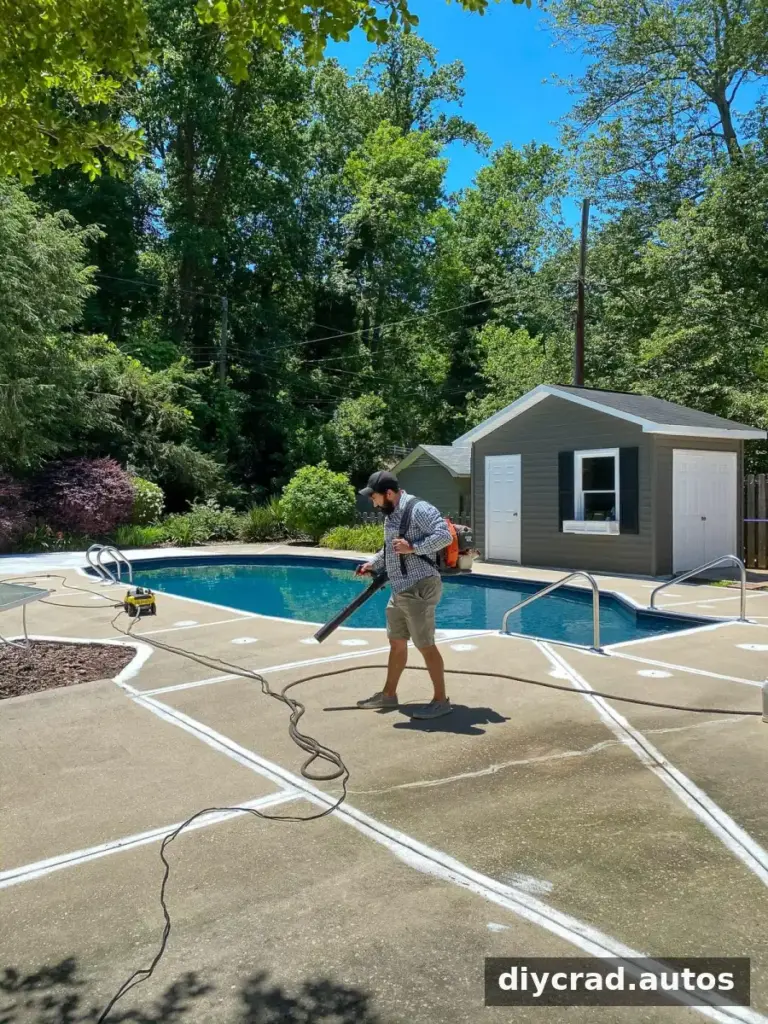
Step 1: Remove Loose Debris
Use a leaf blower to clear leaves and loose debris from the concrete. Clearing the surface first helps prevent dirt from becoming trapped during washing and coating.
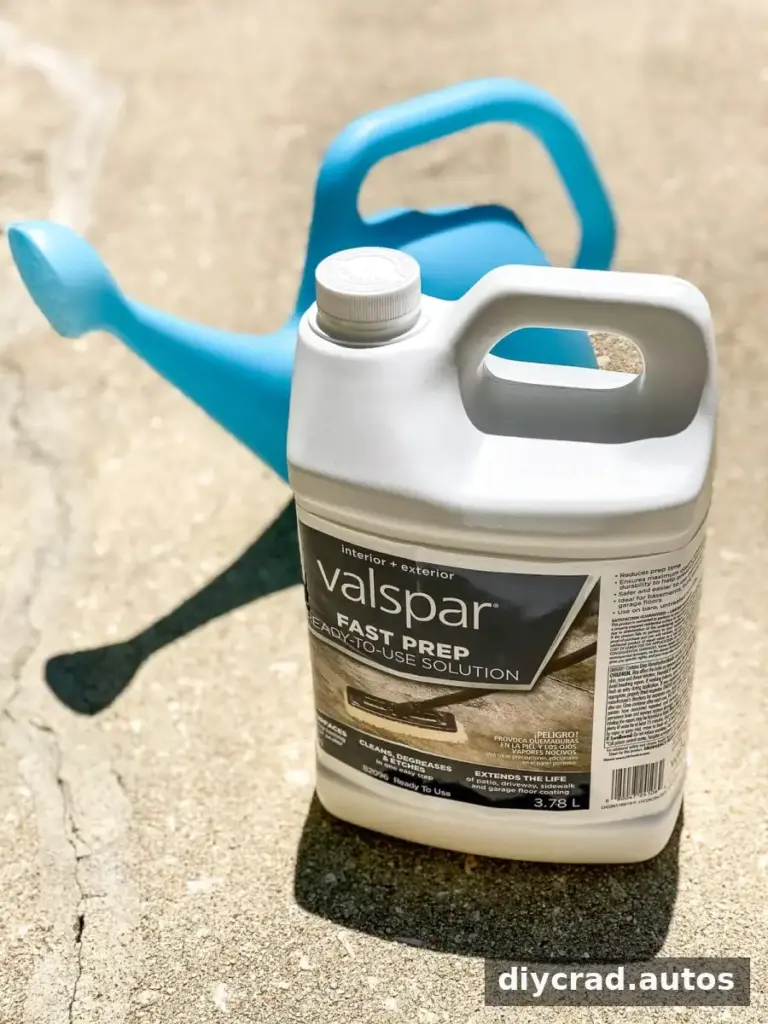
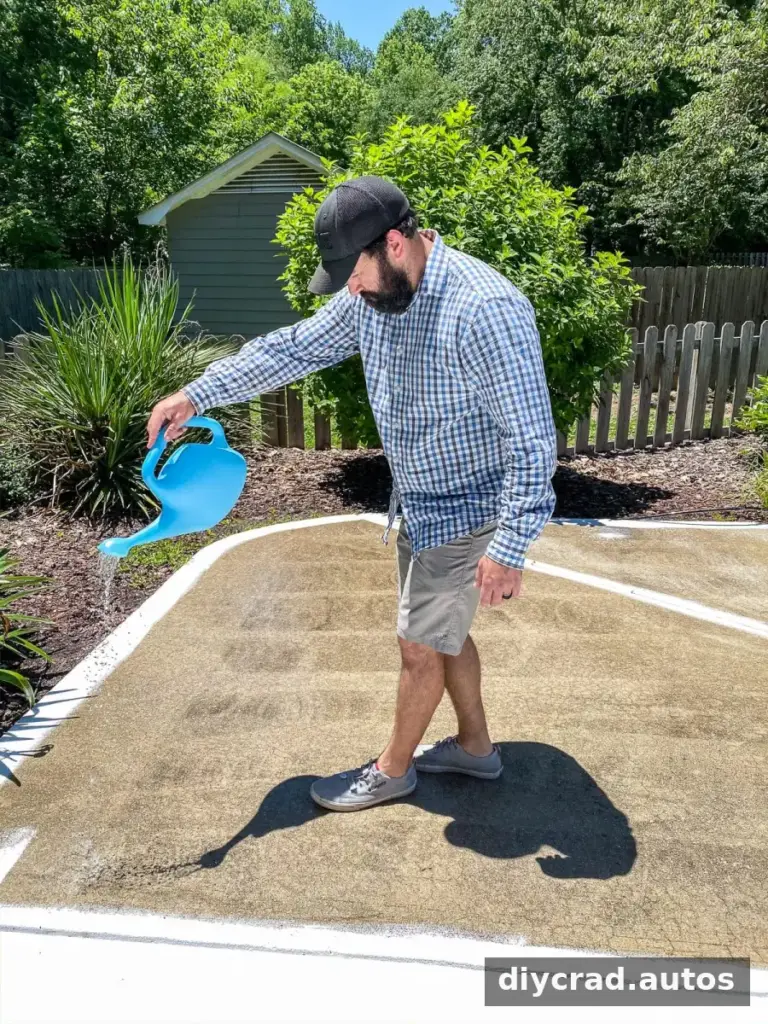
Step 2: Apply Concrete Cleaner and Etcher
Work in sections of about 10 square feet. Dampen each section with a garden hose, then evenly distribute the concrete cleaner and etcher using a plastic watering can. Wear shoes and follow the cleaner’s label directions; do not apply it with bare feet.
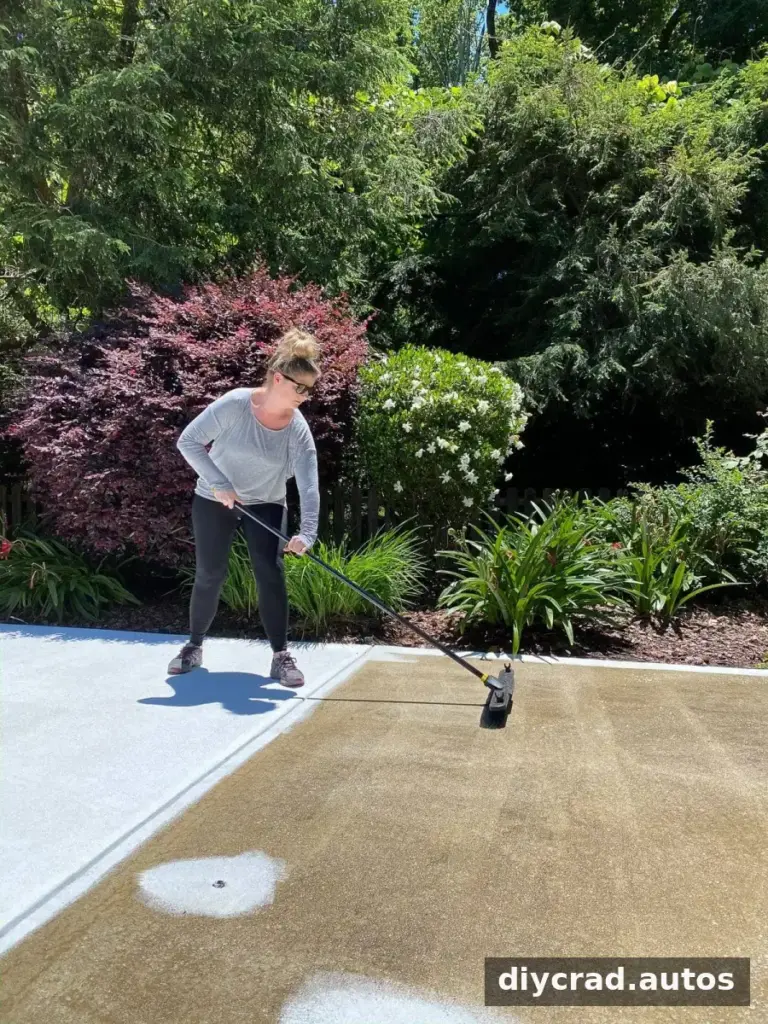
Step 3: Scrub the Concrete
Let the cleaner sit for 2–3 minutes, or for the period stated on its label. Scrub each section with a push broom in two perpendicular directions to work across the surface evenly.
Step 4: Rinse and Dry
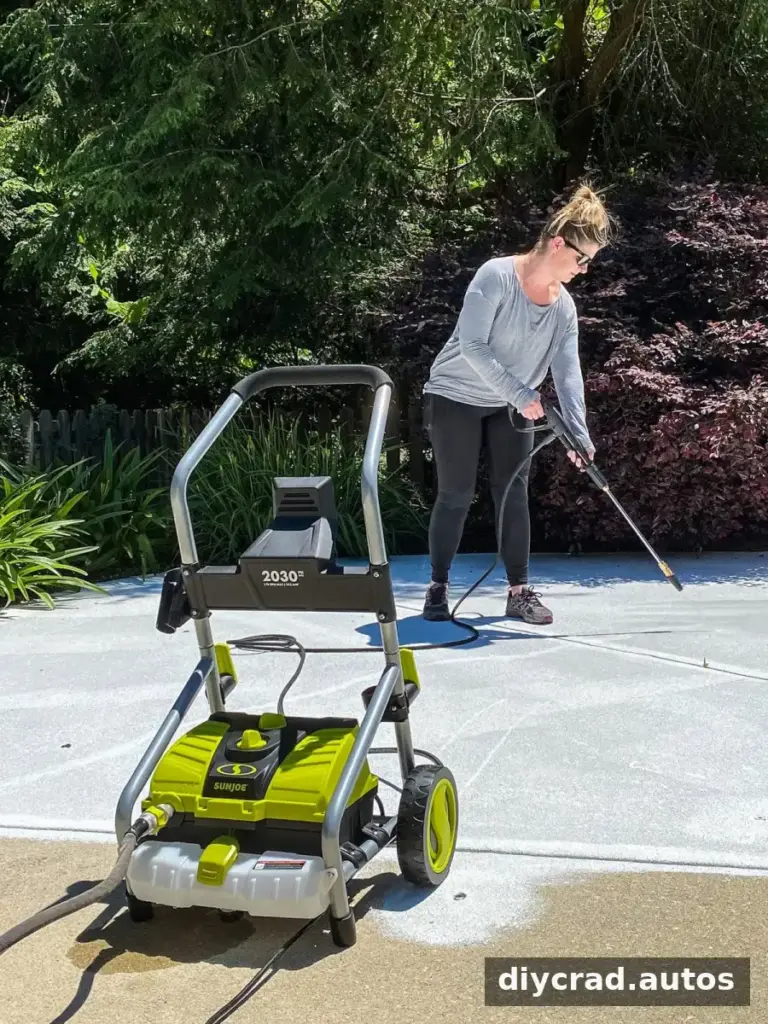
Rinse away the cleaner and remaining grime with a pressure washer, taking care to follow the equipment instructions and avoid damaging the concrete. Let the surface dry completely before continuing. Moisture left in porous concrete can interfere with the next steps.
Step 5: Repair Cracks and Holes
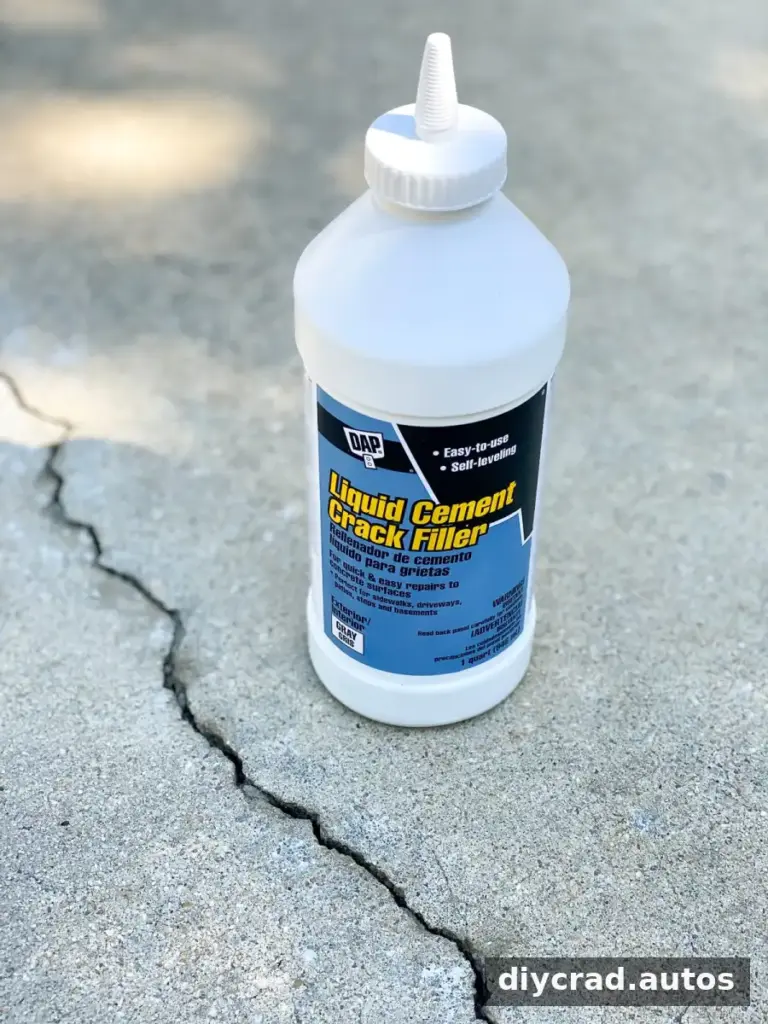
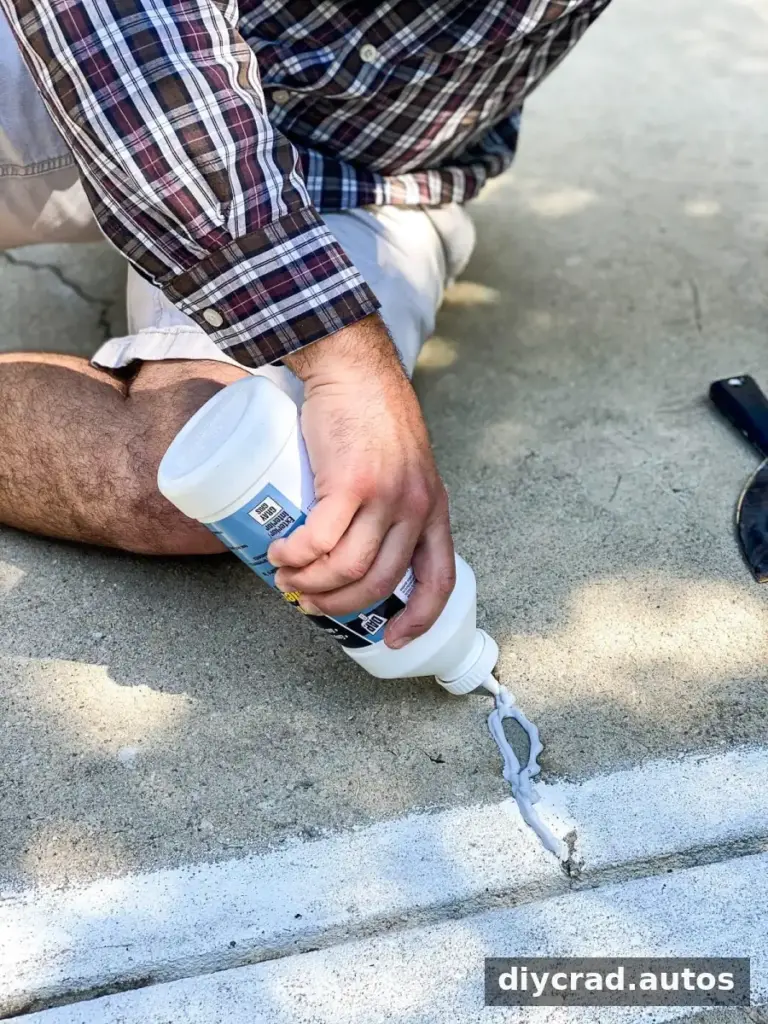
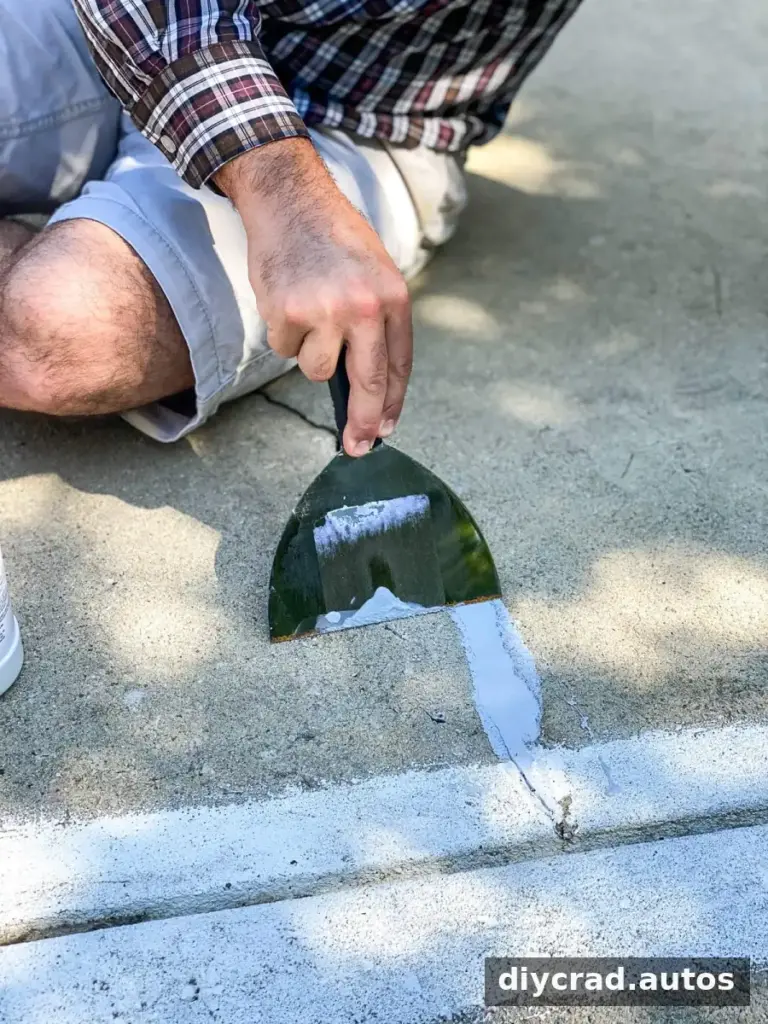
Once the concrete is clean, remove loose paint and fill cracks or holes with a suitable liquid cement crack filler. Smooth the repair with a putty knife and allow it to dry fully according to the product directions.
Step 6: Apply Exterior Primer
Apply one coat of exterior primer using a medium-nap roller for broad areas and an angled brush for edges, cracks, and other hard-to-reach spots. Confirm that the primer is intended for exterior concrete and is compatible with the selected paint.
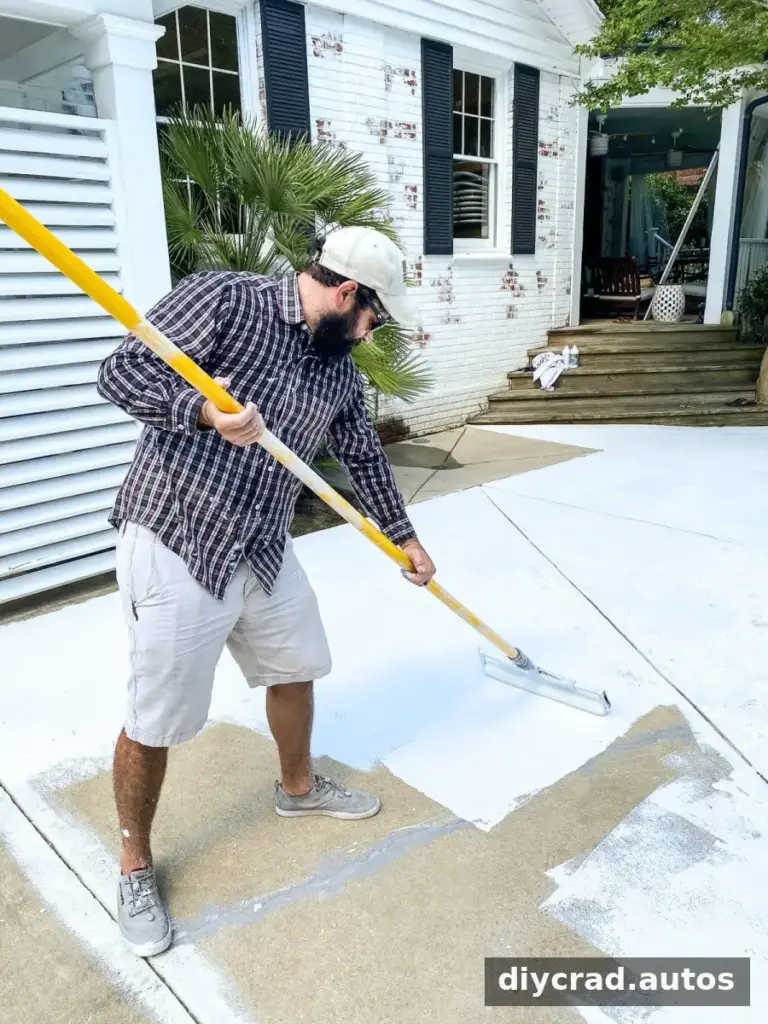
Step 7: Let the Primer Dry
Allow the primer to dry completely. The project allowed up to 24 hours, with the actual time depending on weather and relative humidity. Follow the label before applying paint.
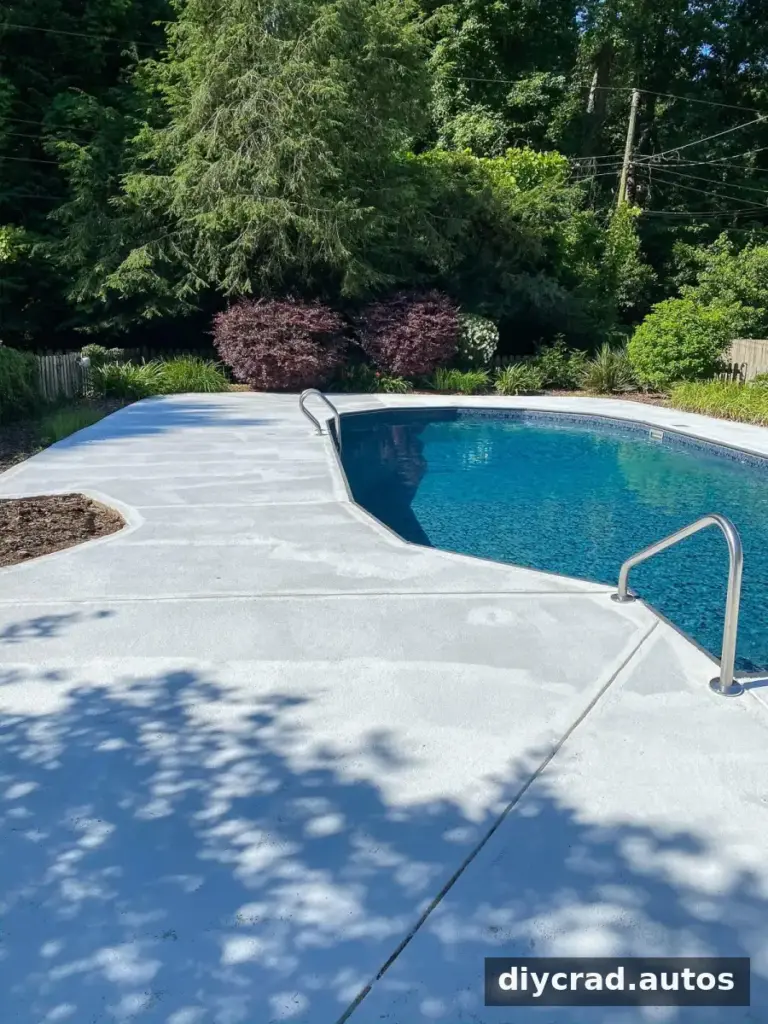
Step 8: Mix the Paint and Anti-Skid Additive
For this project, 5 gallons of one-part epoxy concrete and garage-floor paint were combined with the anti-skid additive in a large bucket and mixed with a drill and paddle attachment. The selected color was slate gray. Use the quantities and mixing method specified by the product manufacturers; do not assume the same ratio applies to other coatings or additives.
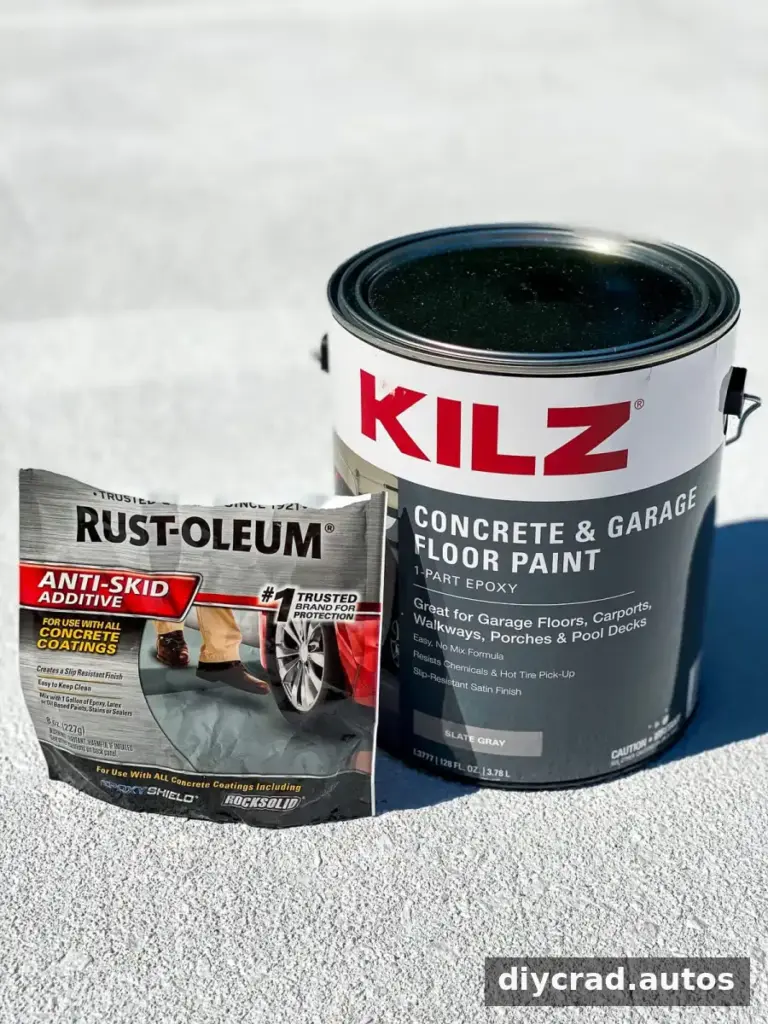
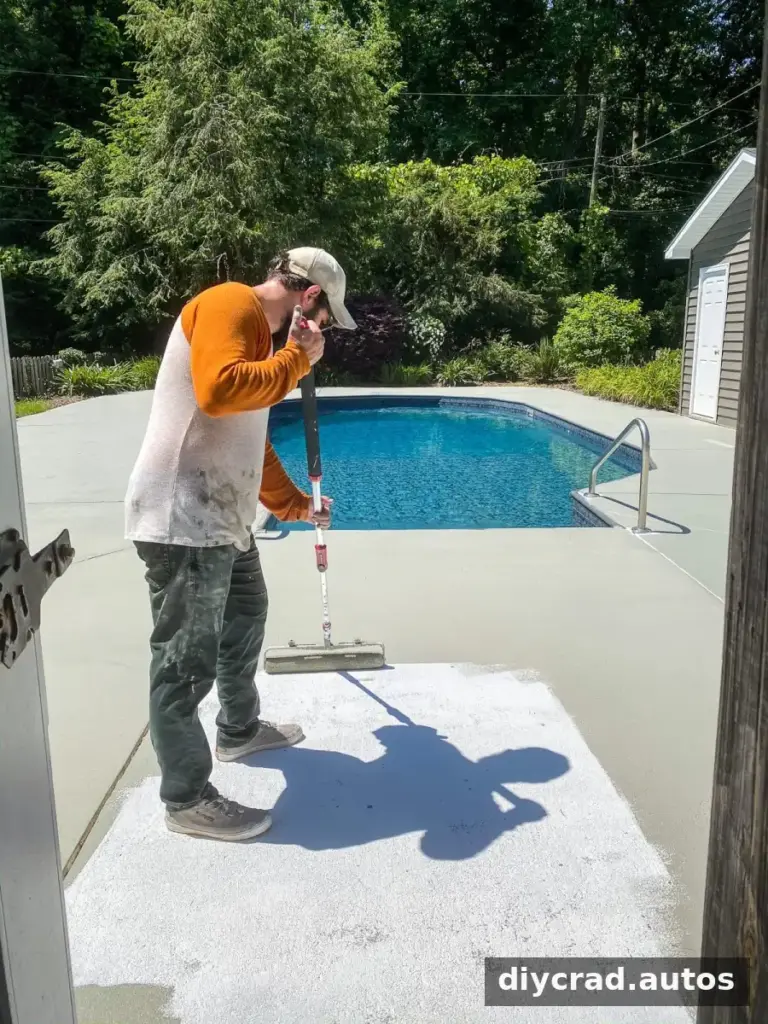
Step 9: Roll on the Paint
Apply the paint evenly with a roller suited to rough concrete. One coat provided coverage in this project, but the number of coats needed depends on the surface and product instructions. Avoid painting over damp areas or working outside the recommended conditions.
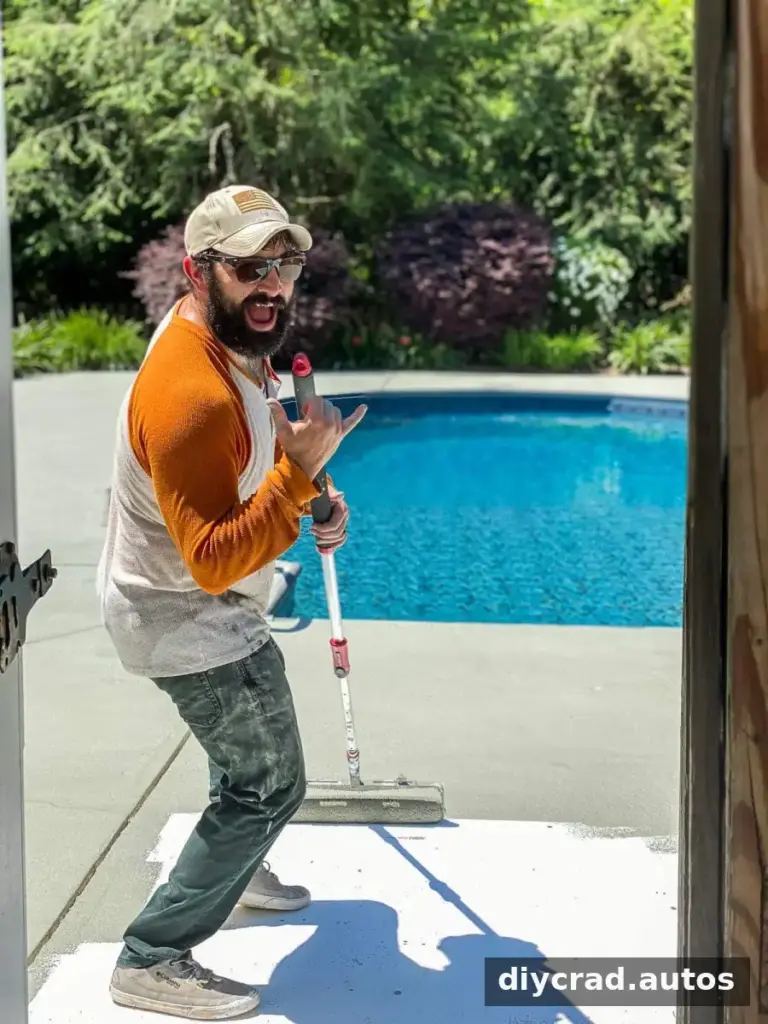
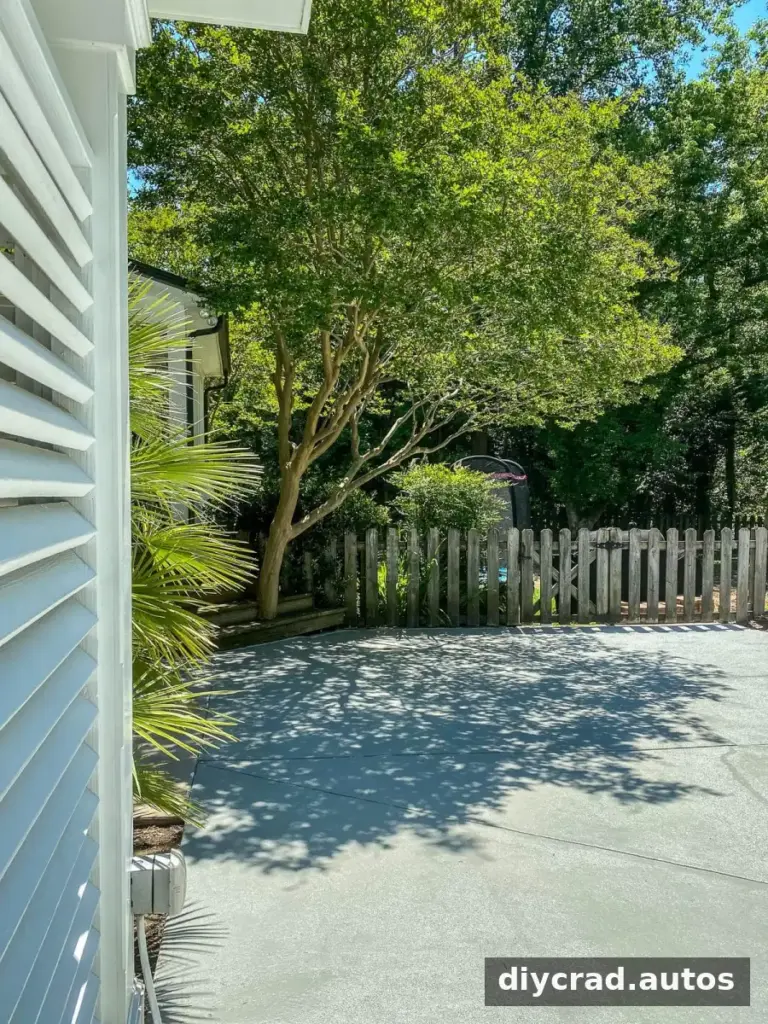
Step 10: Finish Edges and Details
Use an angled brush for edges, cracks, and details. In this project, those areas were brushed after the rolled coat had dried for 24 hours; they may also be completed before rolling if that suits the product instructions and application plan.
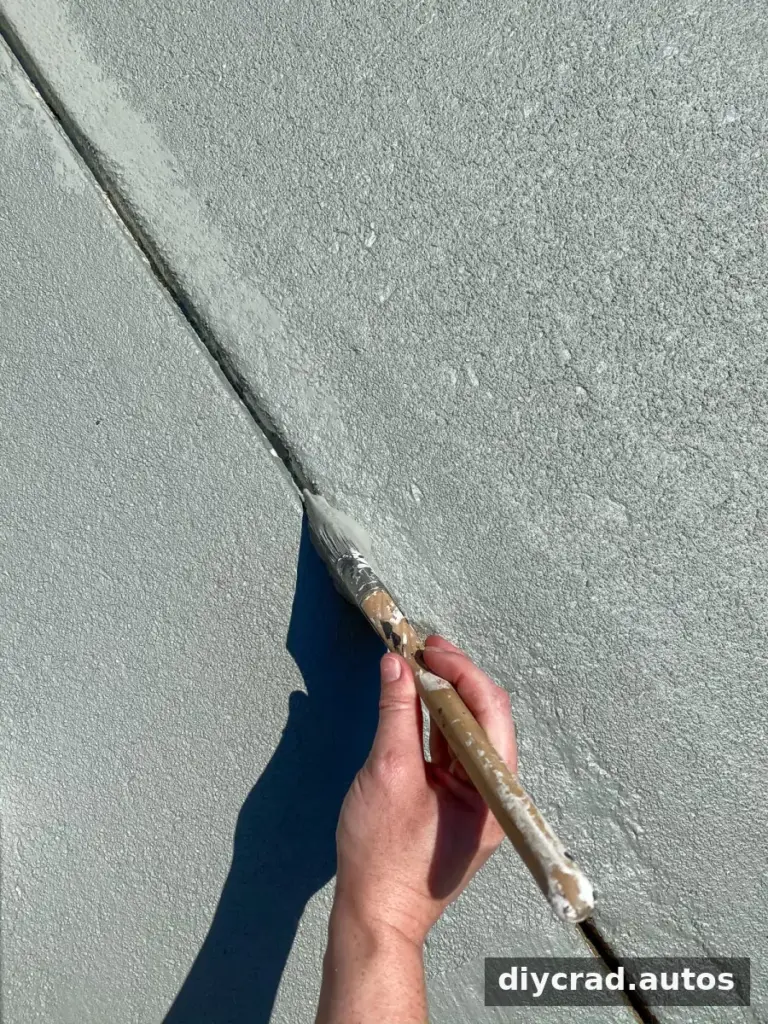
The deck initially felt somewhat slippery when wet. Be especially careful during the first few days of use and allow the coating to cure for the full period stated on its label. A textured additive can improve grip, but it does not make a wet pool deck risk-free. Remind swimmers to walk rather than run.
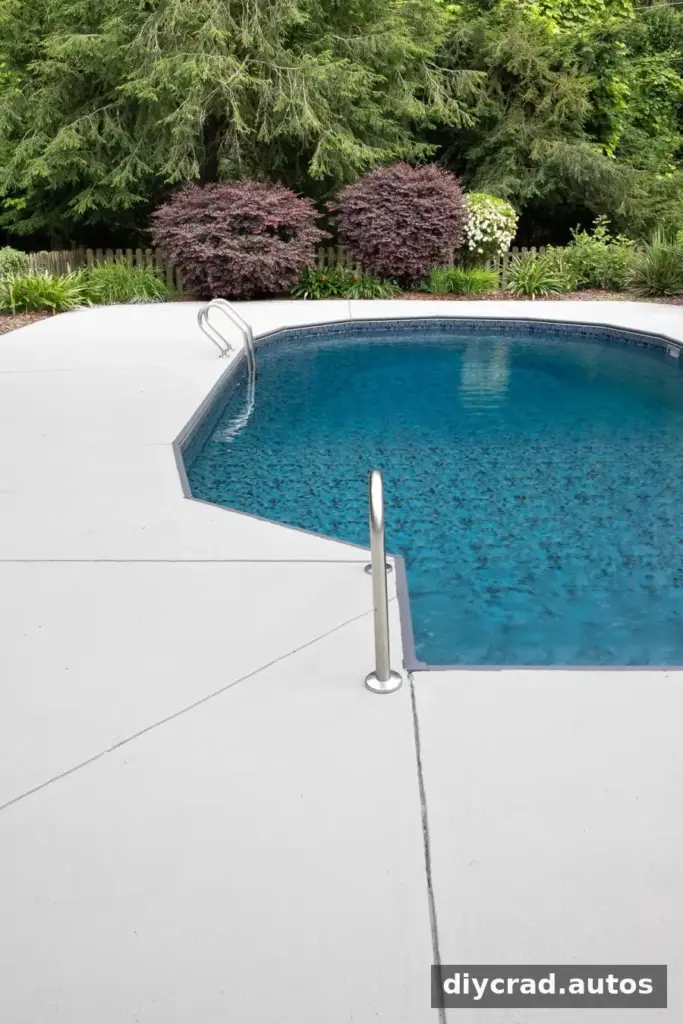
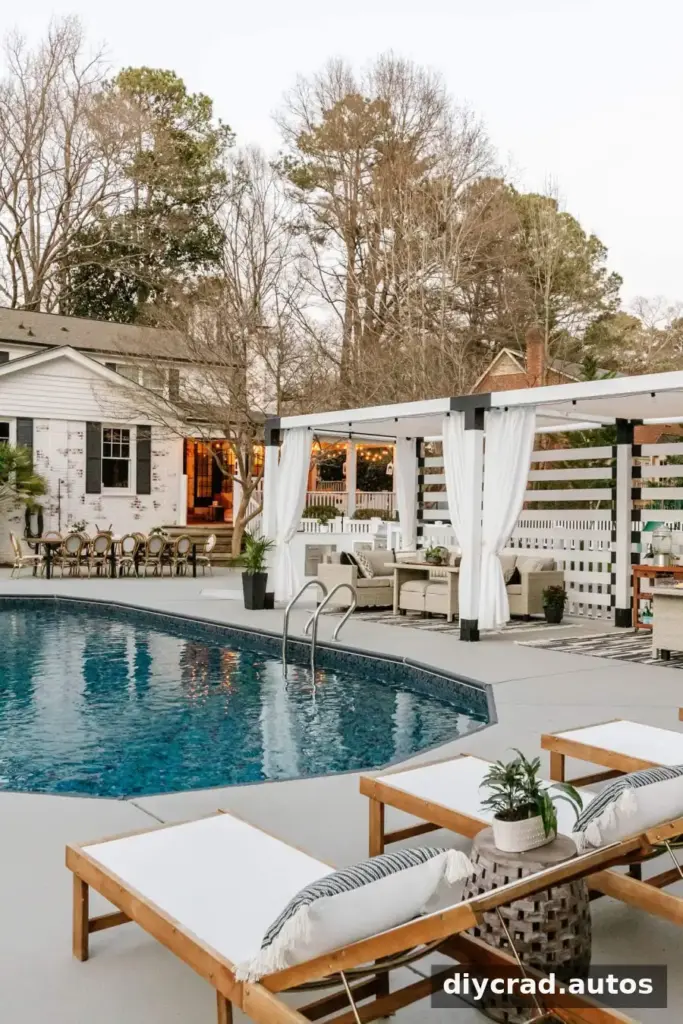
The refreshed finish changed the appearance of the patio and pool area.
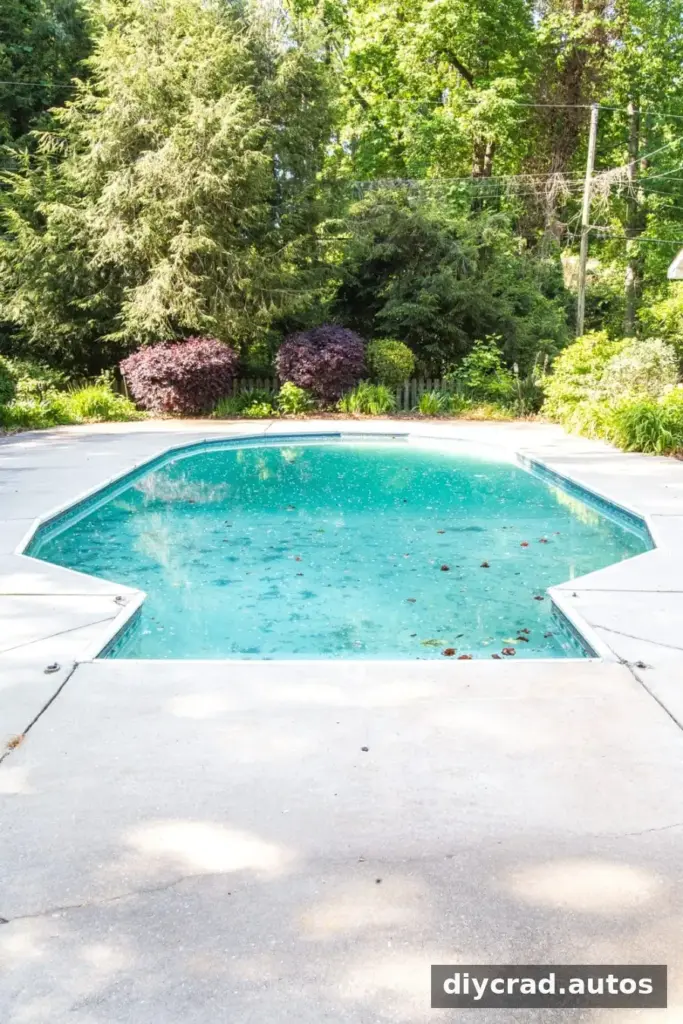
How the Painted Pool Deck Held Up After Four Years
The project report says the concrete still looked good four years later, with no need for touch-ups or an additional protective finish. The color was reported to have stayed consistent in sunlight, and splashes from the saltwater pool had not caused visible coating problems.
Long-term performance can vary with surface preparation, drainage, weather, pool chemicals, foot traffic, and product compatibility. Inspect the concrete and coating periodically, and follow the coating manufacturer’s maintenance guidance.
Frequently Asked Questions
What kind of paint can be used on a concrete pool deck?
The project used one-part epoxy concrete and garage-floor paint with an anti-skid additive. Choose a coating specifically suitable for exterior concrete and the conditions around your pool. Verify that it is compatible with the primer and additive before starting.
Does a concrete pool deck need primer before painting?
For the method described here, yes: one coat of exterior primer was applied before the paint. Primer can help the coating adhere and reduce uneven absorption into porous concrete. Check the paint and primer labels, since preparation requirements vary by product.
Conclusion
A durable painted concrete pool deck starts with sound concrete, thorough cleaning, complete drying, careful repairs, and compatible primer and paint. Add an approved anti-skid additive, allow each layer to cure as directed, and use extra caution whenever the surface is wet. These steps helped the project described remain in good condition after four years, although results will depend on the deck and products used.

