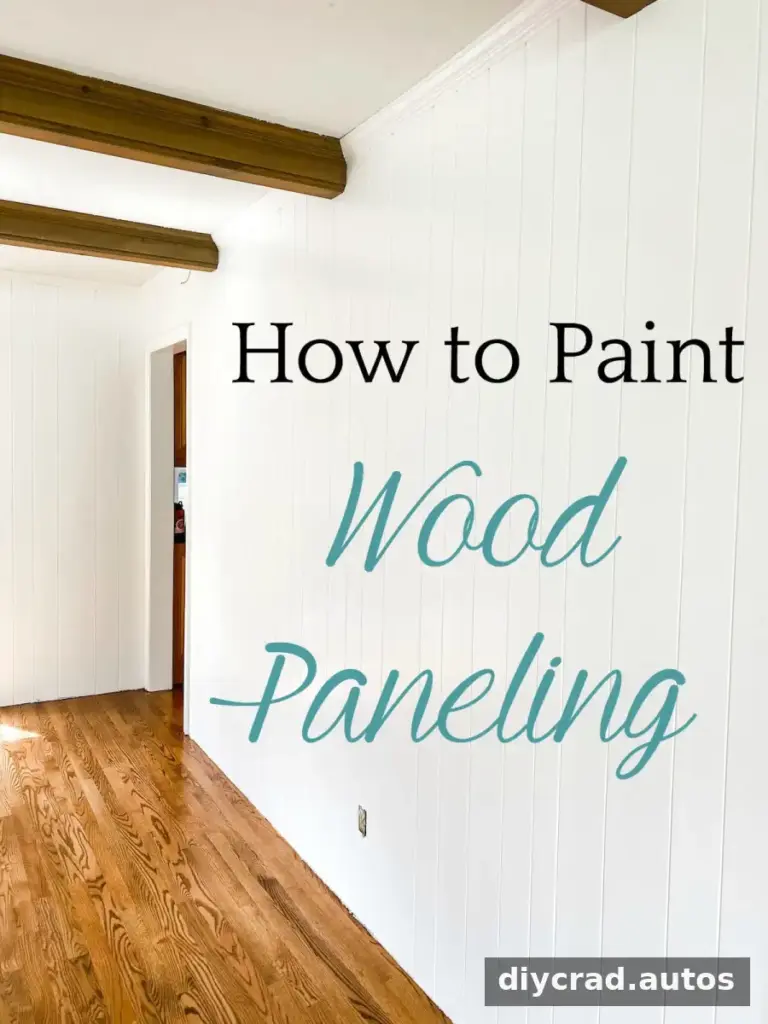
Learning how to paint wood paneling can transform a dark or dated room while preserving the character of its original walls. In the McNay living room project, a white finish helped brighten the space and support a relaxed coastal look. A durable result takes more than applying paint: cleaning, filling, sanding, priming, and careful application all matter.
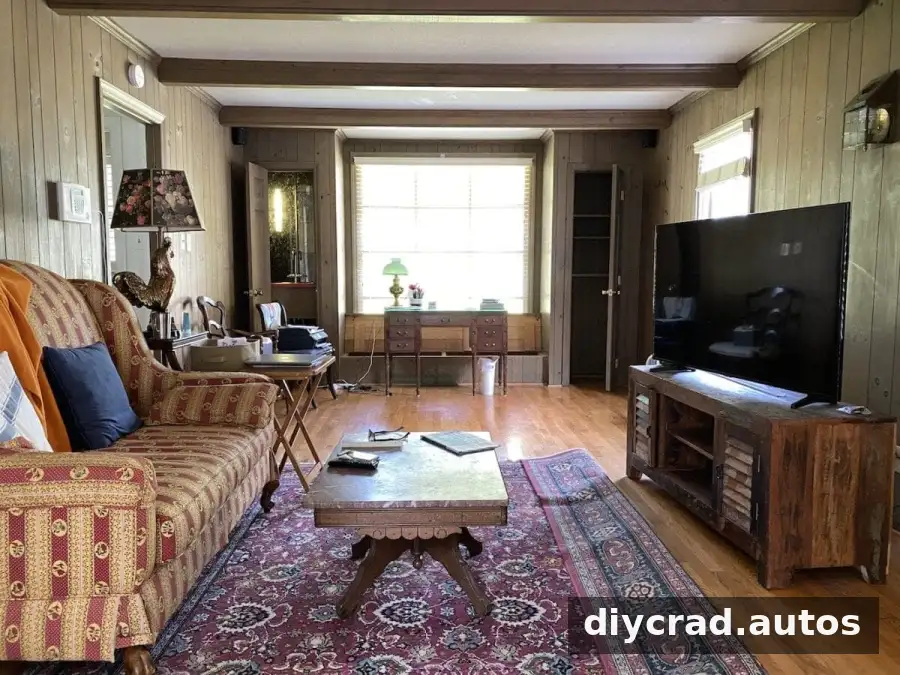
How to Paint Wood Paneling for a Lasting Finish
Paneling has grooves and joints that need attention during both priming and painting. Proper preparation also helps paint adhere and can reduce the chance of stains showing through the new color. Set aside enough time for drying between steps; the project described here took four days in total.
Supplies to Gather
- TSP-substitute cleaner and clean rags
- Wood filler and a putty knife
- Palm sander with 150-grit sandpaper
- Painter’s tape and masking liquid for glass
- Drop cloths
- Shellac-based primer
- Respirator mask
- Angled sash brush
- Roller, smooth roller covers, paint pail, and paint tray
- Satin enamel paint; the project used the color Polar Bear
- Utility knife for scoring tape edges
Check the labels on cleaners, primer, paint, and masking liquid before starting. Use products only on suitable surfaces and follow their drying and ventilation instructions.
Prepare the Paneling
1. Clean and repair the walls
Wash the paneling with a TSP-substitute cleaner to remove dirt and residue, then let the surface dry. Fill old nail holes with wood filler, using a putty knife to press the filler into each hole. Scrape away excess and allow it to dry as directed.
2. Sand and protect nearby surfaces
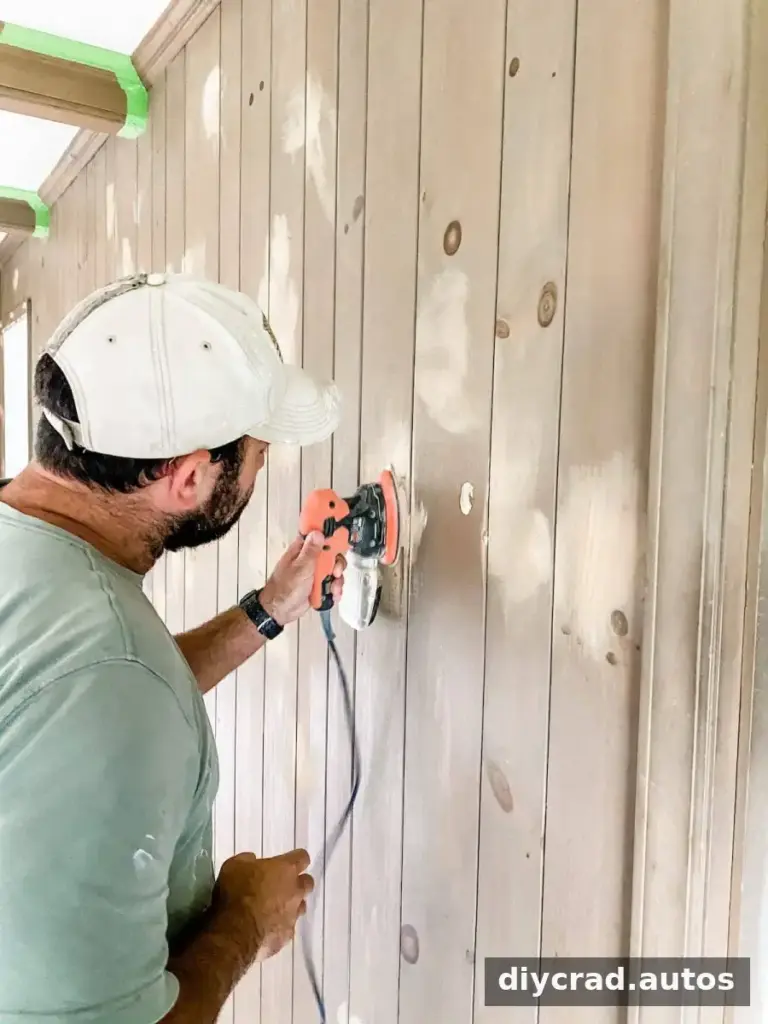
Sand the dried filler with 150-grit sandpaper until it is flush with the surrounding wood. Remove dust with a slightly damp rag or tack cloth. Apply painter’s tape to trim, molding, and ceiling edges that should stay unpainted, and cover the floor with drop cloths.
For glass doors or windows, brush on masking liquid and let it dry according to the product directions. This protective layer can make cleanup easier, but it should be applied carefully to keep it off surfaces that will be painted.
Prime and Paint the Wood Paneling
3. Apply primer to grooves and broad surfaces
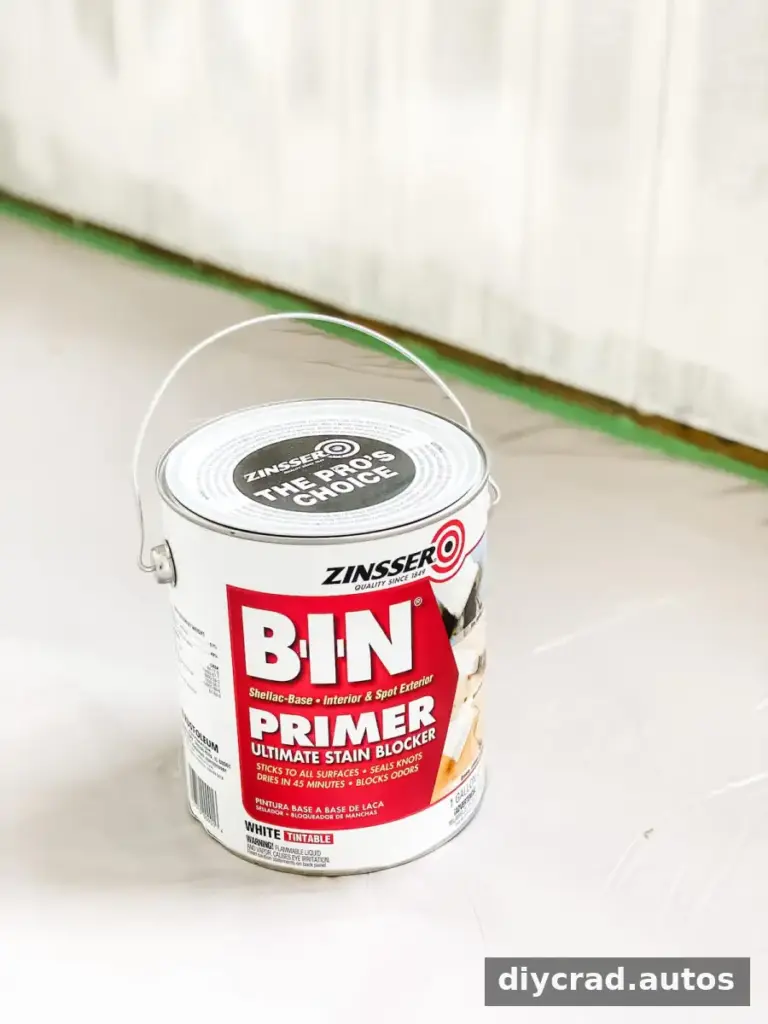
Use an angled sash brush to work primer into the grooves and along the edges. Then roll the larger, flat sections to help even out brush marks. Shellac-based primer was used for this project because stains from wood paneling may bleed through and affect the topcoat. Wear a respirator and provide ventilation by opening doors or windows when possible, while following the primer label. Let the primer dry completely before painting.
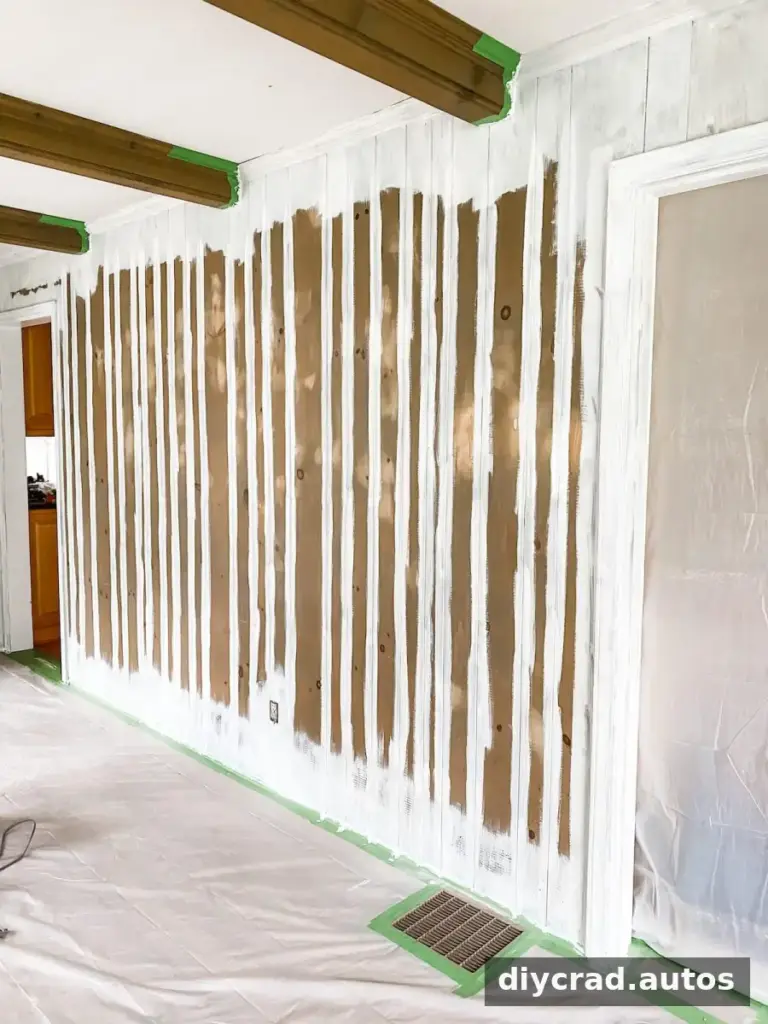
4. Apply the enamel paint
Use the same order for the topcoat: brush paint into the grooves and around trim first, then roll the flat areas. Work in manageable sections and keep a consistent wet edge to help create an even finish. Allow the paint to dry fully between coats if the product instructions call for additional coats.
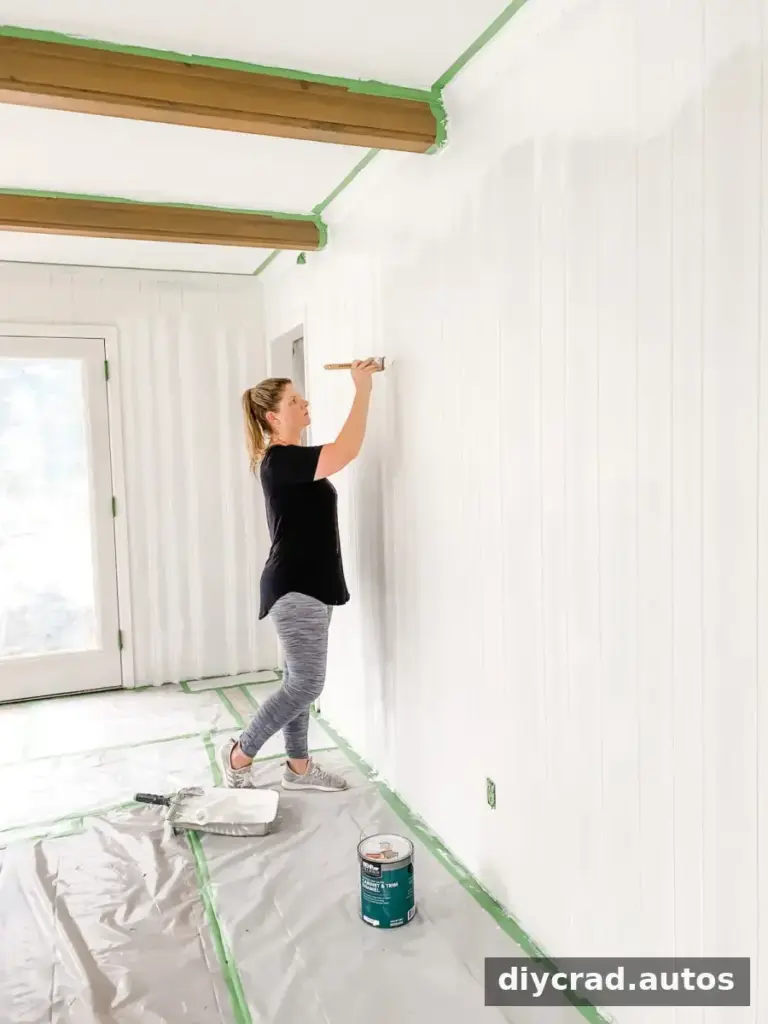
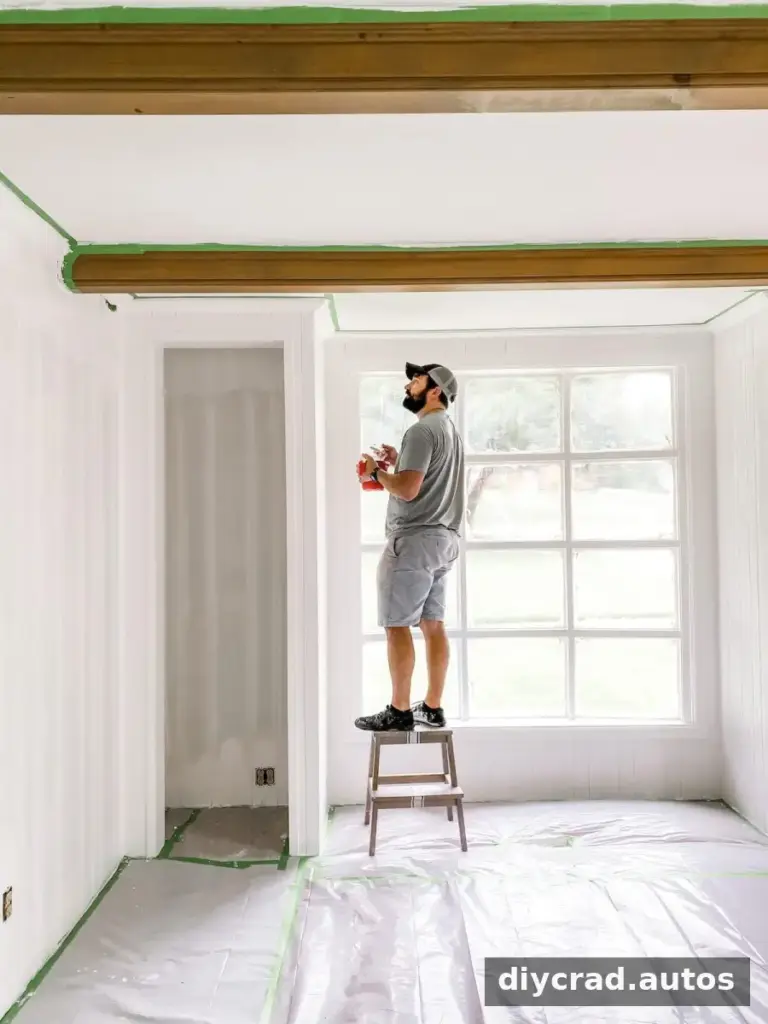
5. Remove masking carefully
Peel up the painter’s tape while the paint is still suitable for removal. If the coating has begun to bridge the tape edge, score that edge gently with a utility knife first to help prevent peeling. Score the edge of the dried masking liquid as well, then remove it to uncover the glass.
Project Result and Practical Tips
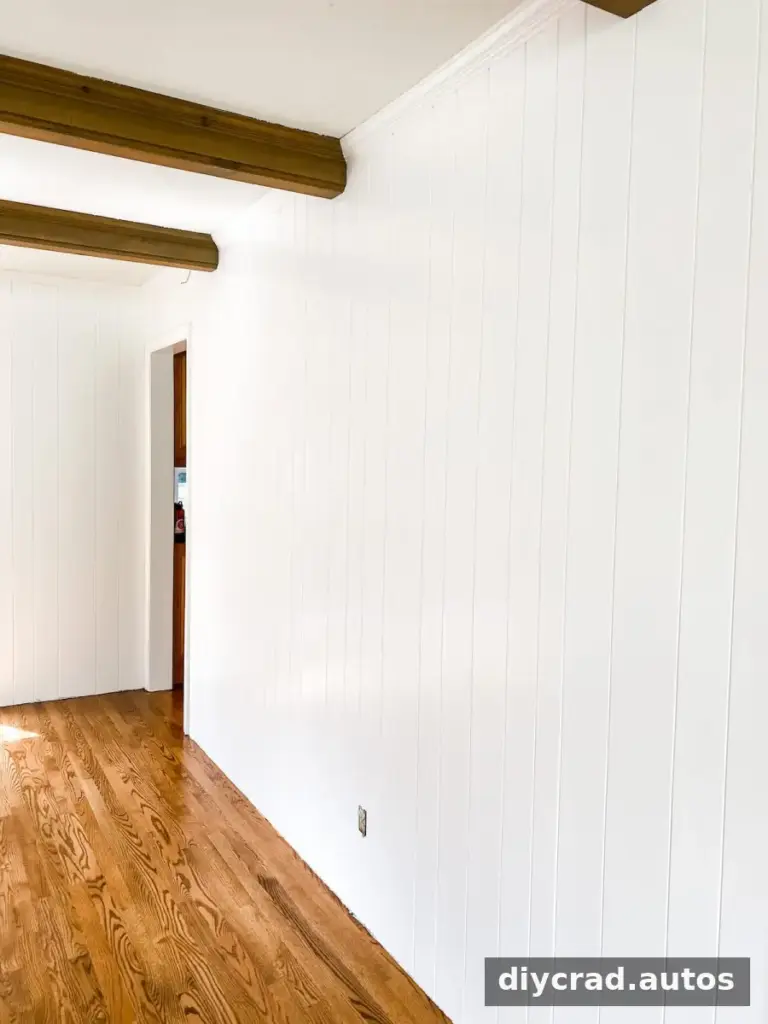
The finished white paneling made a noticeable difference to the living room, creating a brighter backdrop for the coastal-inspired design planned for the space. Curtains, wall sconces, furniture, and coastal artwork were intended as the next finishing touches.
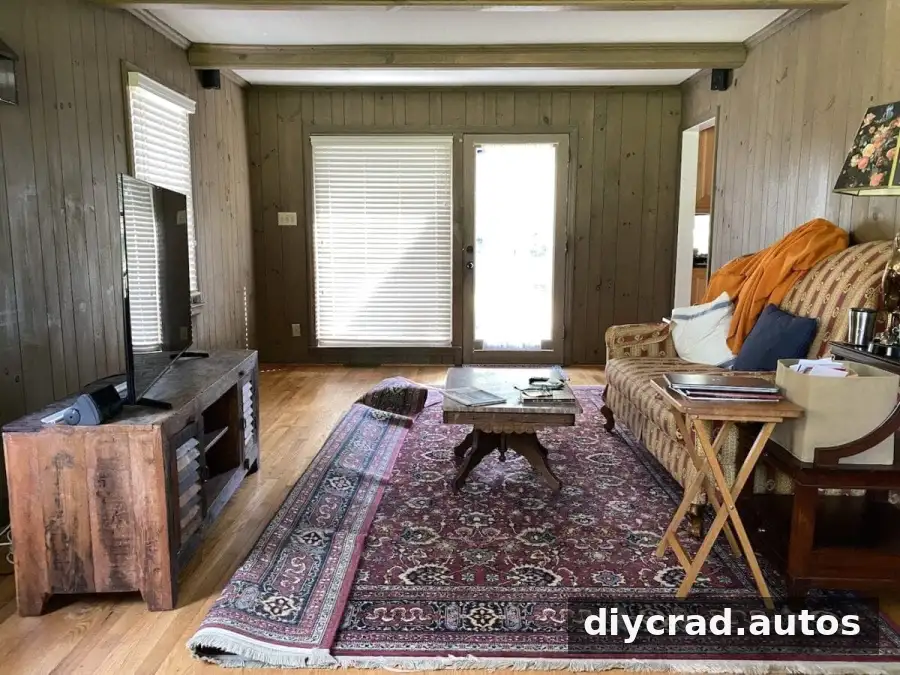
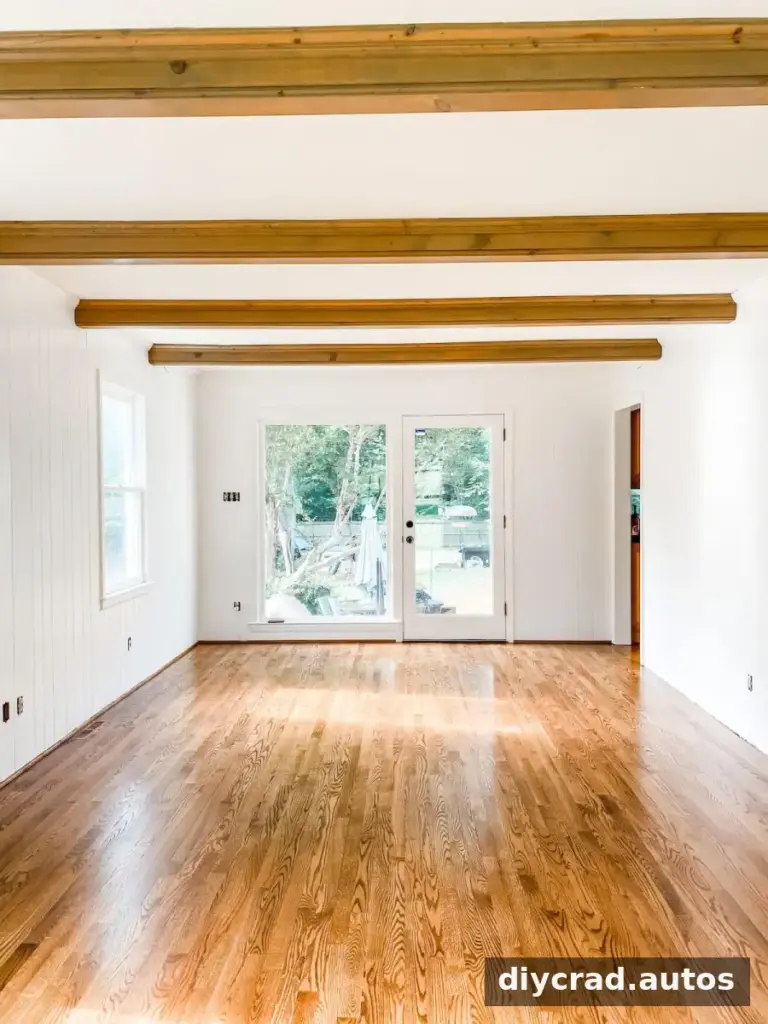
For a similar project, plan around drying times rather than trying to rush through several stages in one day. Keep the room ventilated when using strong-smelling primer, protect floors and glass before opening paint, and test your chosen products on a small, inconspicuous area if you are unsure how the existing finish will respond.
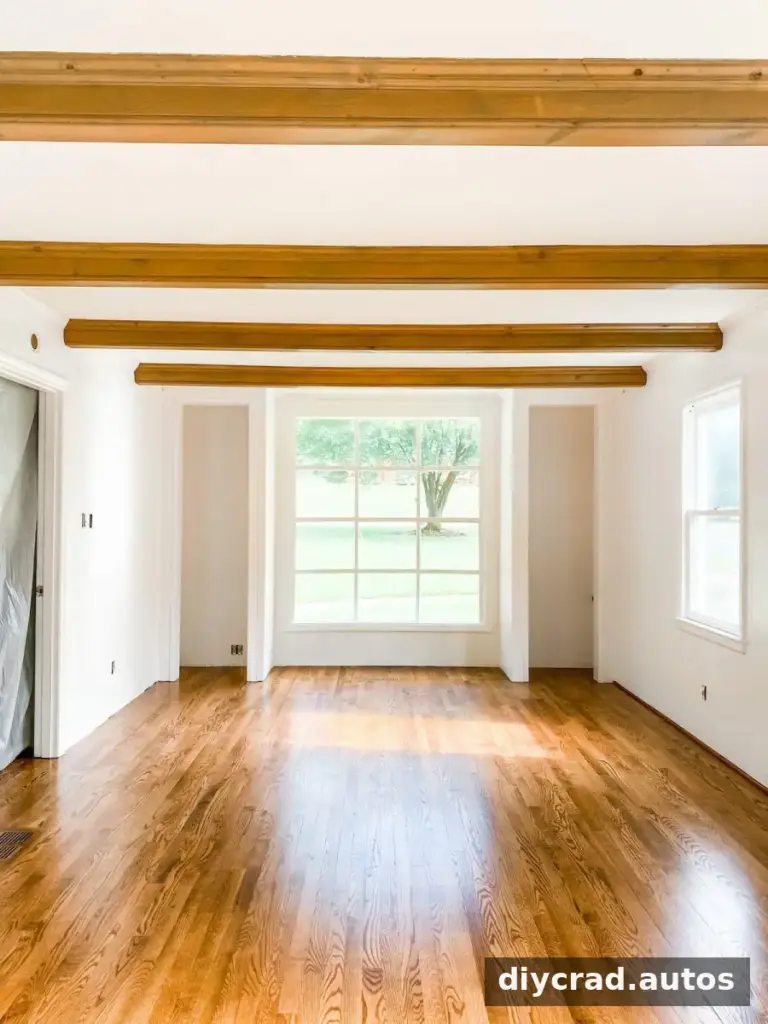
With thorough preparation and the right order of work, painting wood paneling can refresh a room without removing its distinctive lines and texture. Clean and repair first, prime the grooves and flat areas evenly, and take care when removing masking for a crisp final result.
Save this project guide for later: