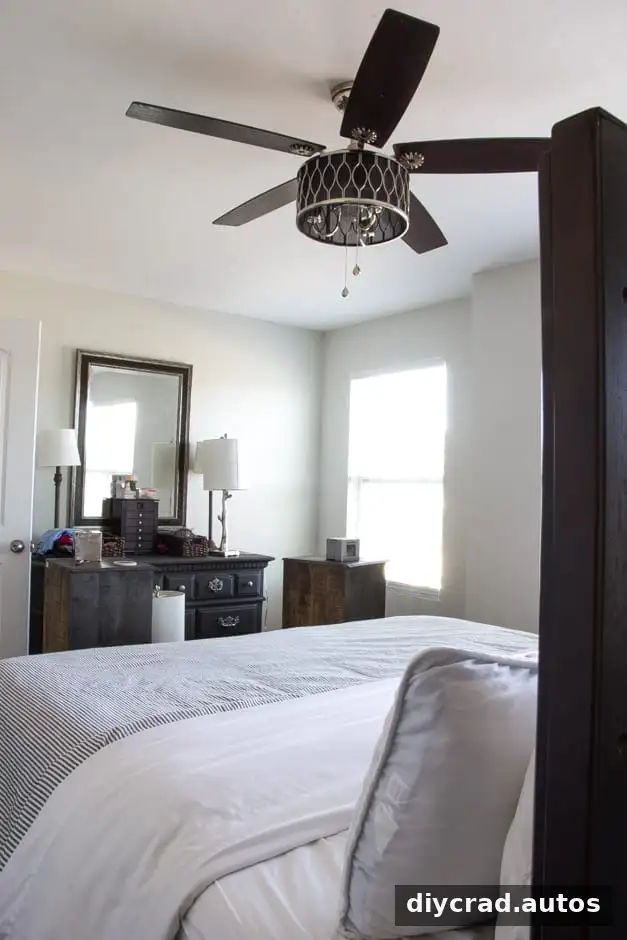
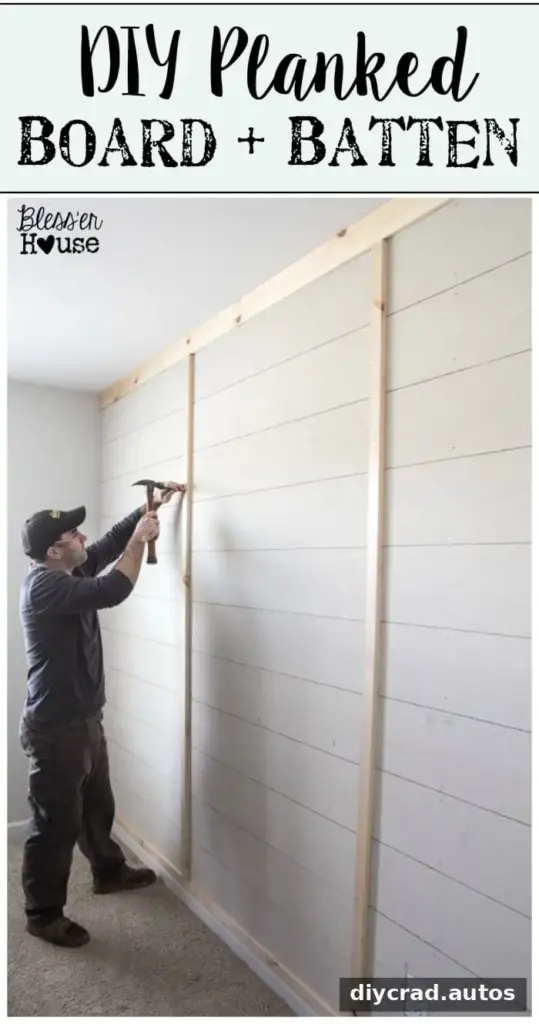
A DIY planked board and batten accent wall can add texture and architectural detail to a bedroom without requiring a full renovation. This design combines horizontal plywood planks with vertical trim, creating a layered look inspired by shiplap and traditional board and batten. The first part of the project covers planning, materials, and installation; painting and finishing can follow once the boards are in place.

Plan the DIY Planked Board and Batten Accent Wall
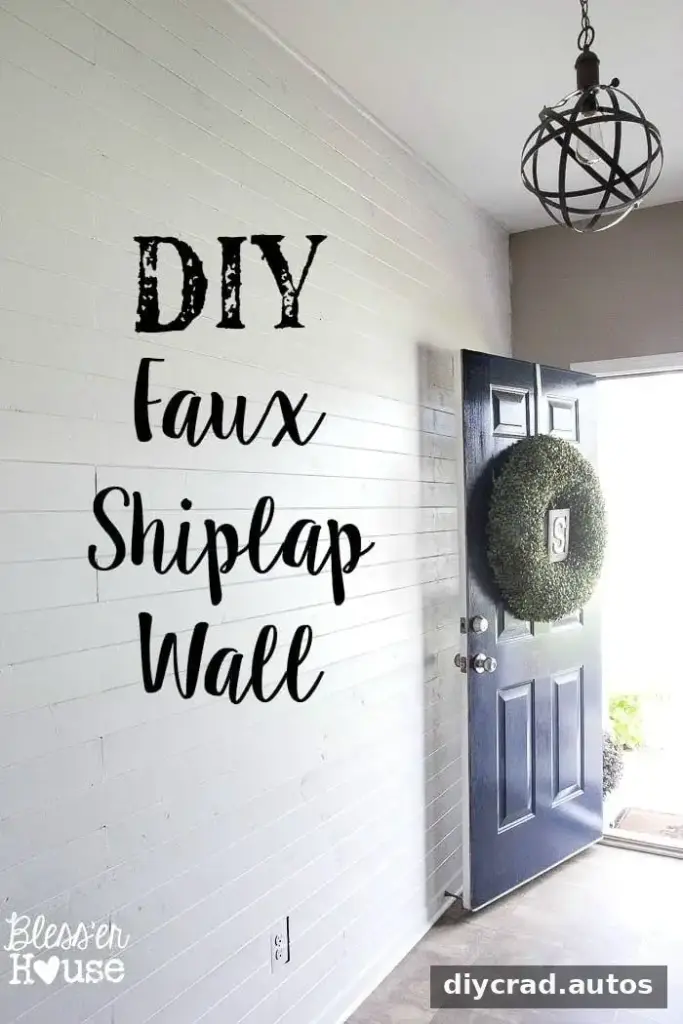
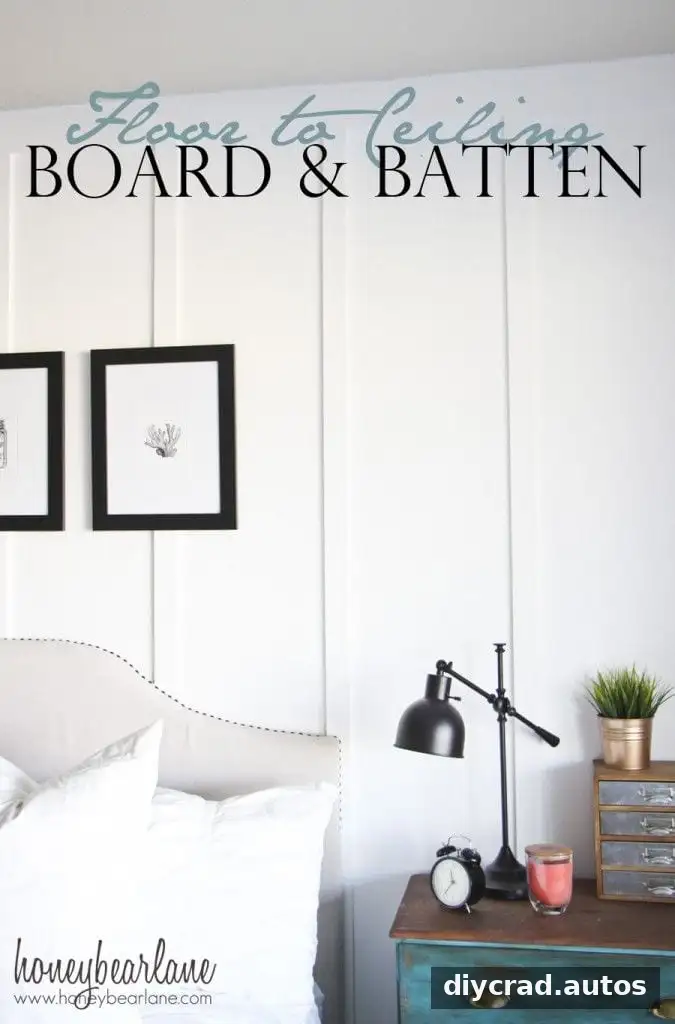
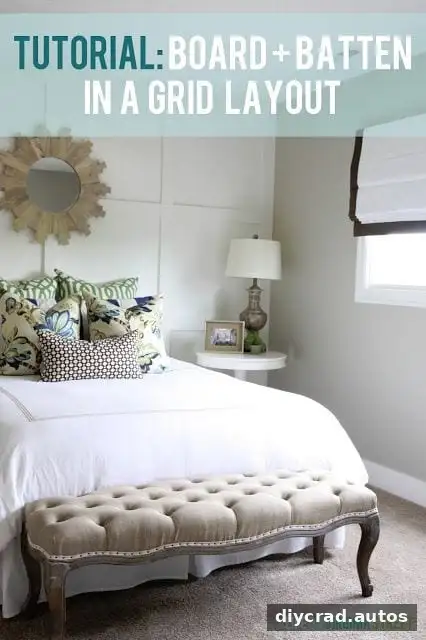
The bedroom wall was chosen for a focal point behind the bed. Several styles were considered, including farmhouse shiplap, floor-to-ceiling board and batten, and a board and batten grid. The final approach brings elements of those designs together, with narrow horizontal planks and trim placed over their seams. The project was inspired in part by a design from Jenna Sue Design.
Before choosing a layout, measure the wall and consider where the bed, outlets, and other fixed features sit. Planning around these details in advance can help reduce awkward cuts and keep the finished pattern visually balanced.
Materials and Tools
Gather the supplies before starting so the wall can be installed in a consistent sequence. The materials used for this project were:
- 3 sheets of 1/8-inch primed hardwood plywood, cut into 8-inch-wide strips on a table saw
- 1 pine board measuring 1 × 4 × 12 feet
- 4 pine boards measuring 1 × 2 × 8 feet
- Pneumatic nail gun and compressor
- 2-inch finishing nails
- Jigsaw for cutting around outlets
- Stud finder
- Level
- Quarters or other spacers of your choice
Check that the plywood strips and trim boards are suitable for your wall and intended finish. Wear appropriate eye and hearing protection when cutting or nailing, and follow the tool manufacturers’ safety instructions.
Mark the Wall and Install the Top Board
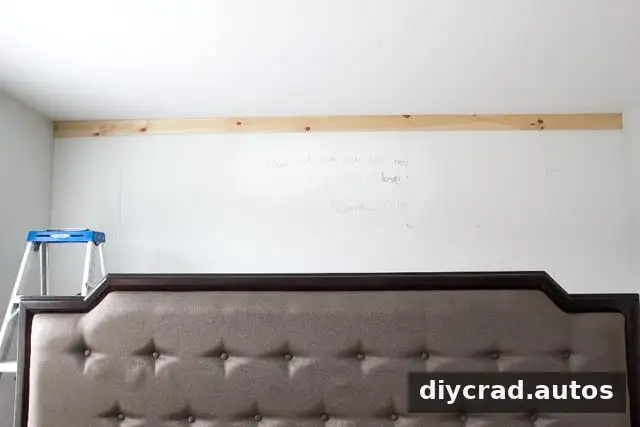
Start by locating and marking the wall studs with a stud finder. These marks help identify solid fastening points and make it easier to plan where the boards will be secured. Next, nail the 1 × 4 × 12-foot board along the top of the wall. It will serve as a simple crown-moulding detail when the project is complete.
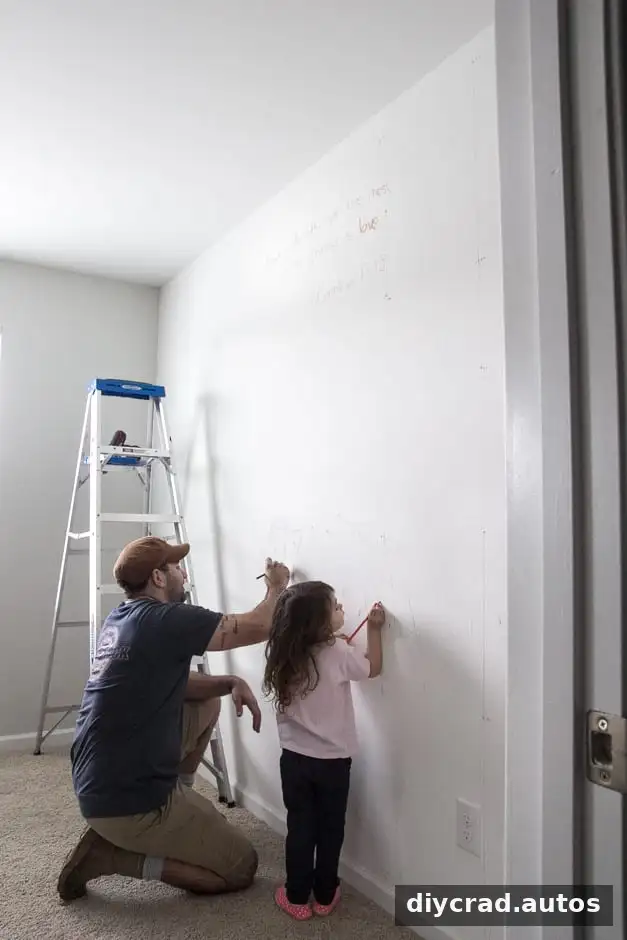
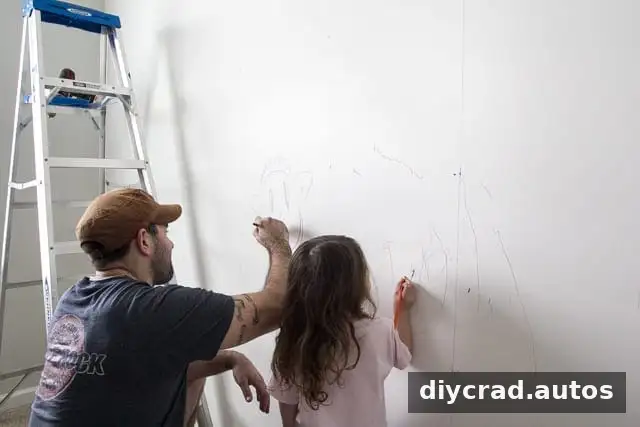
Before installing the planks, a verse, 1 Corinthians 13:13, was written above the bed. If adding lettering or another decorative element, decide on its placement before the boards go up so it remains visible and does not conflict with the trim.
Install the Horizontal Planks
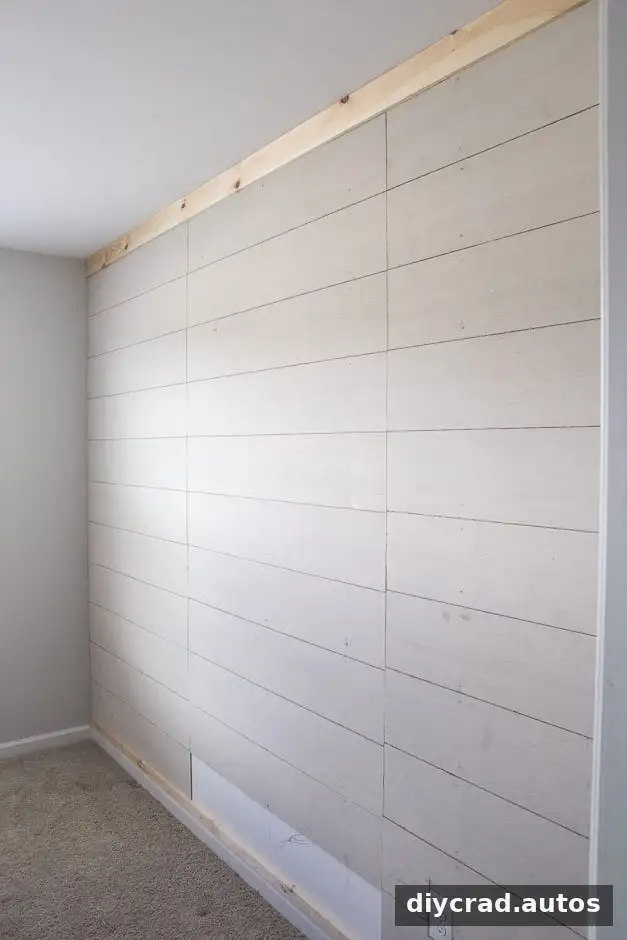
Divide the wall into thirds and measure each section to determine the required plank lengths. Measuring sections individually is useful when walls or corners are not perfectly uniform. Cut the plywood strips to fit, then use quarters or consistent spacers to leave even gaps between the planks as they are attached with the nail gun.
The plank edges do not need to align perfectly if the planned trim will cover the seams. Still, keep the rows level and check the spacing as you work; small adjustments are easier to make before several boards have been installed.
At the outlet, mark the opening carefully on the relevant plank and cut it out with a jigsaw. Turn off power to the outlet circuit before working near electrical components, and avoid cutting beyond the marked opening. If you are unsure about safely handling an outlet, consult a qualified electrician.
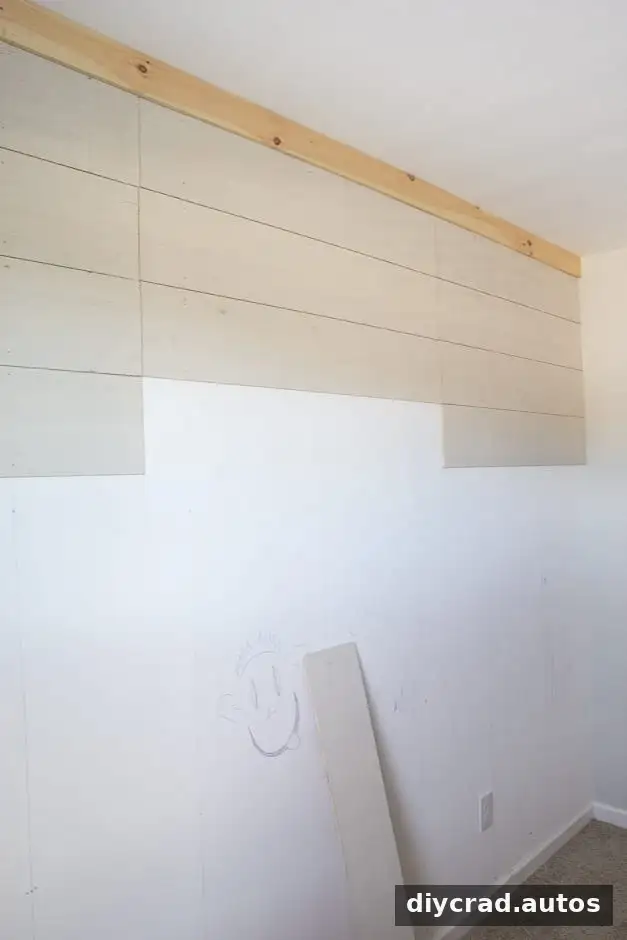
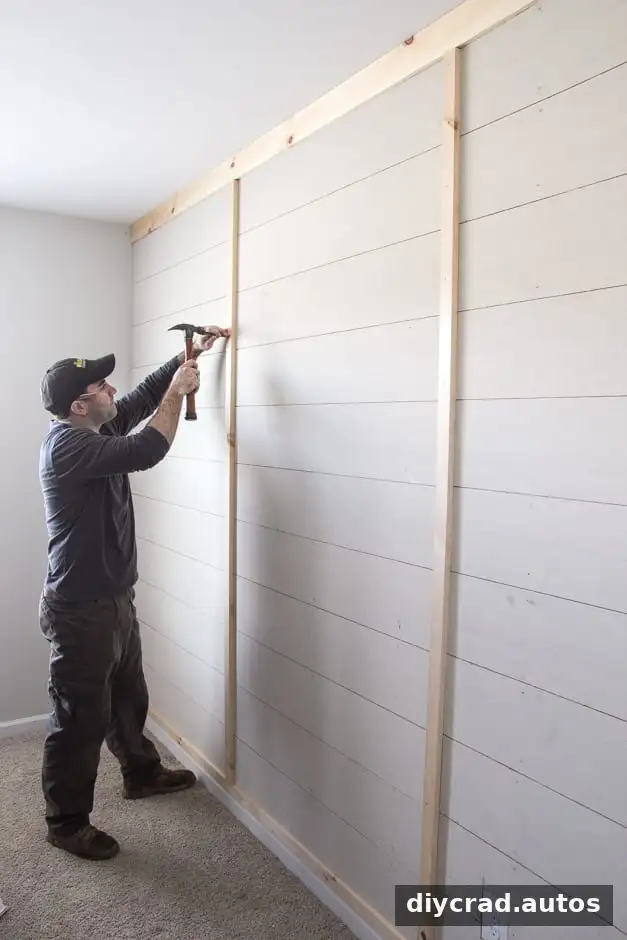
Attach 1 × 2 boards along the bottom of the wall to create the base trim. Then use a level to position two more 1 × 2 boards over the seams between the planks and nail them in place. A level helps keep the trim straight and gives the accent wall a more orderly finish.
Check the Wall Before Painting
Once the planks and trim are installed, inspect the full wall for loose boards, uneven spacing, and exposed gaps. The structure is now in place, although the project is not finished until the surface has been prepared and painted. Follow the paint manufacturer’s directions and allow suitable drying time before placing furniture close to the wall.
Moving furniture away from the work area can make installation safer and provide enough room to measure and cut. Keep tools, offcuts, and fasteners organized, especially if the bedroom remains in use while the project is underway.
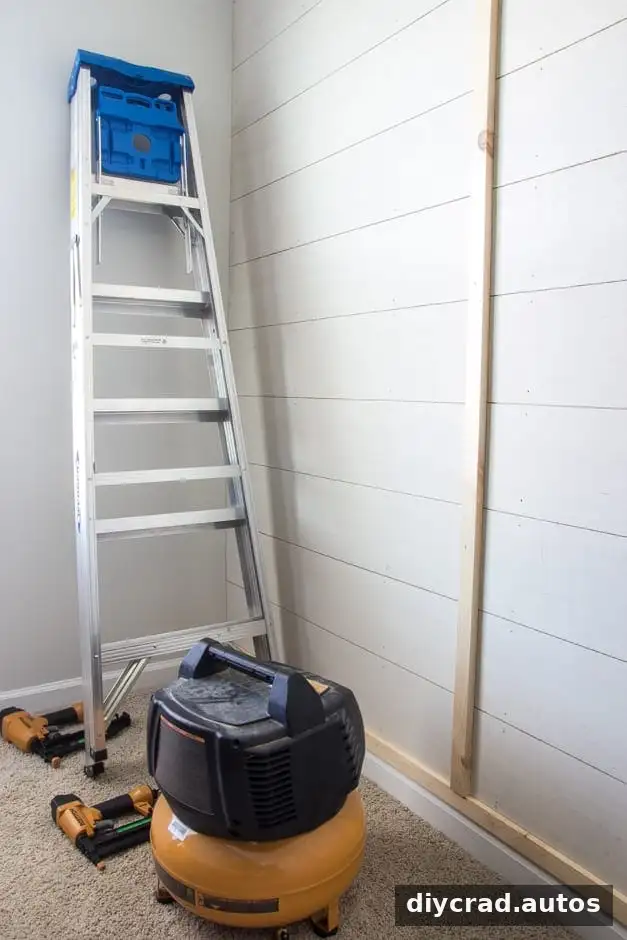
This installation creates a foundation for a more complete bedroom makeover. The combination of horizontal planks and seam-covering trim adds depth while keeping the overall layout straightforward. In the next stage, finish work such as painting can bring the separate components together visually.
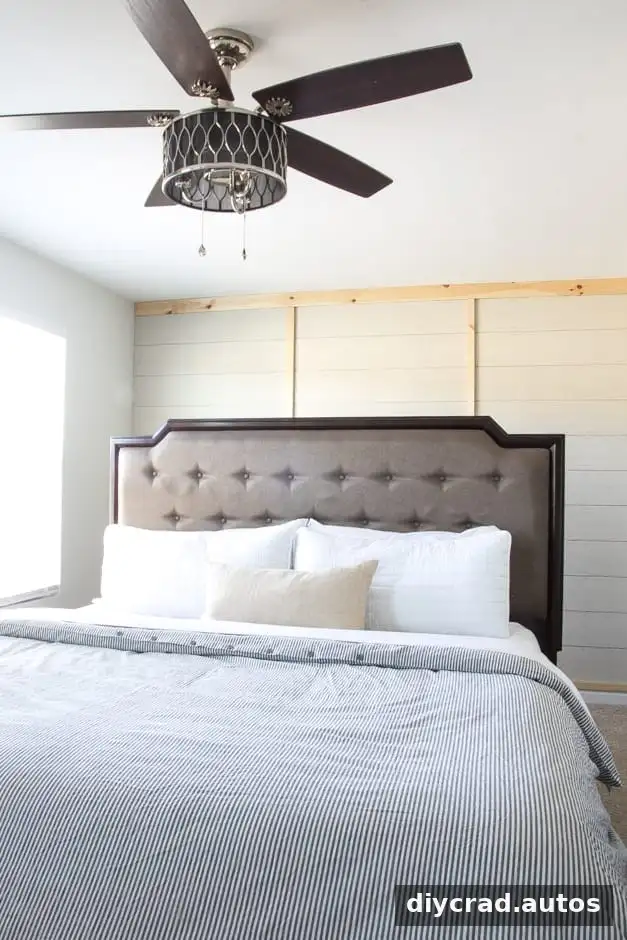
DIY Planked Board and Batten Accent Wall: Key Tips
- Measure the wall and plan the layout around outlets and furniture before cutting.
- Mark the studs first so you can plan secure fastening points.
- Use consistent spacers to maintain even gaps between planks.
- Check each row with a level and recheck trim alignment before nailing.
- Use suitable protective equipment and take extra care around electrical outlets.
A DIY planked board and batten accent wall is easier to manage when the work is divided into clear stages: plan, mark, cut, install, and finish. Careful measuring and regular level checks help create a neat result, while the planned trim can conceal the plywood seams for a cohesive focal wall.