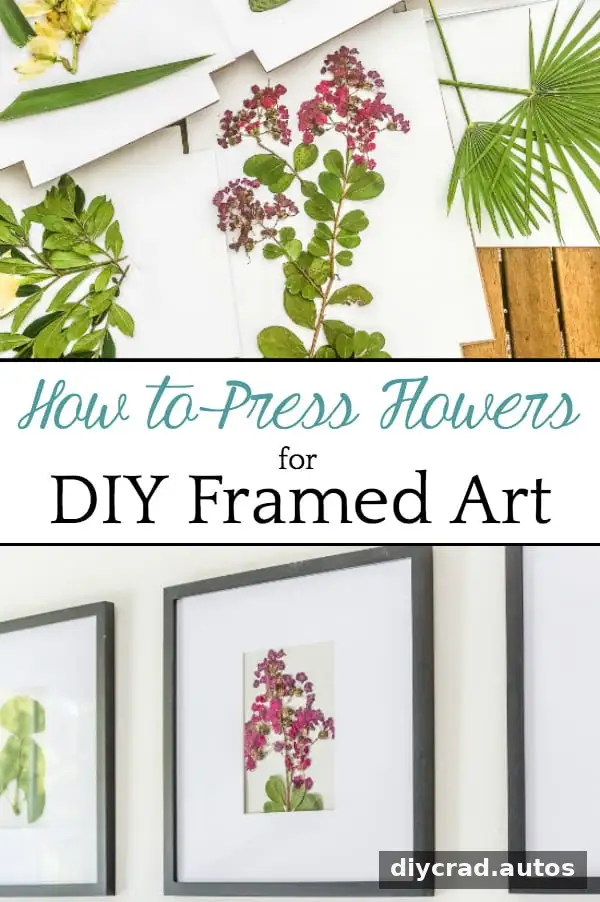
Pressed flower art is a simple way to turn garden flowers and leaves into personal wall decor. With blotting paper, heavy books, and a frame, you can make a display at home using plants from your yard or a small bunch of fresh flowers. The finished pieces work well on their own or grouped together as a gallery wall.
How to Make Pressed Flower Art
Choose flowers with thin petals and leaves that can lie flat. Pressing removes moisture while preserving the plant’s shape, making it easier to arrange on paper and frame. You can use a flower press or improvise with blotting paper, cardboard, and heavy books.
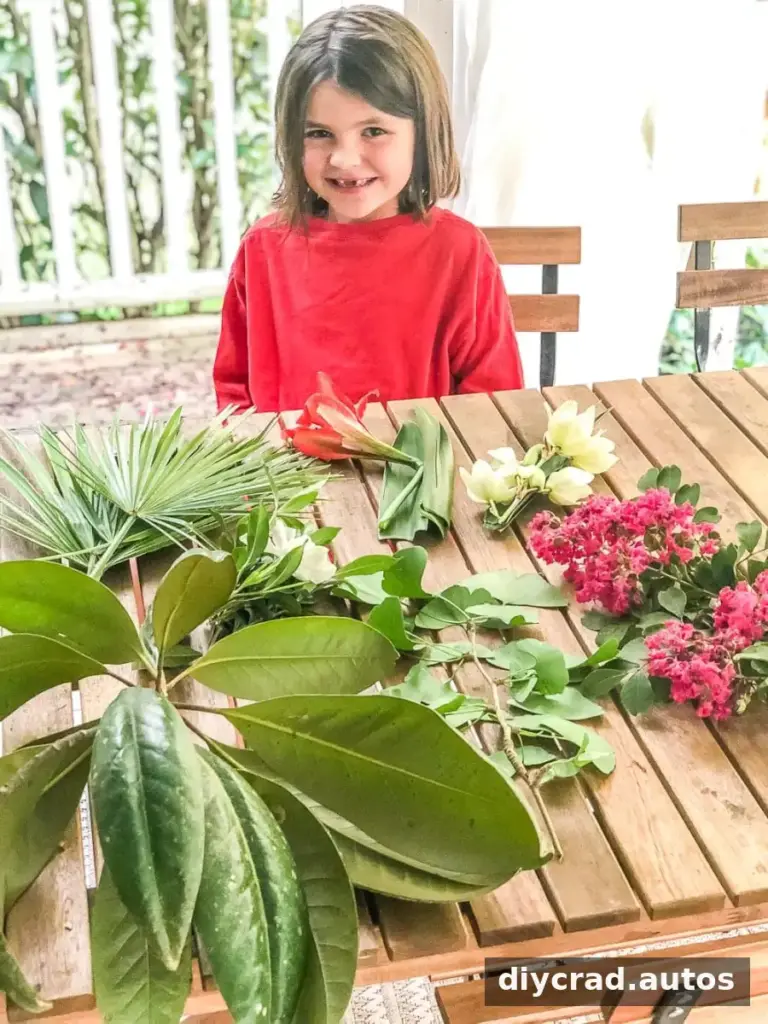
Gathering plants from your own garden can make the project more personal. If you do not have flowers available, a small grocery-store bouquet can provide plenty of material. Pick flowers on a dry day after morning dew has evaporated, and select only plants you can identify safely.
Practical tip: Secondhand and low-cost frames can give your display an individual look. Check that each frame is clean and that its backing holds the artwork securely.
Supplies
- A selection of flowers, leaves, or greenery
- A flower press, or heavy books and two flat boards
- Blotting paper or parchment paper
- Cardboard for stacking layers
- Textured paper and picture frames
Step 1: Gather Flowers and Leaves
Thin-petaled flowers usually press more quickly than thick, fleshy varieties, which hold more moisture. Good options include:
- Anemones, pansies, daisies, and violas
- Cosmos, forget-me-nots, buttercups, and poppies
- Sweet peas, larkspur, lily of the valley, and bluebells
- Hydrangea petals
Ferns, herbs, grasses, and flat leaves can also make attractive additions. Choose a mix of shapes and sizes so you have options when creating your layout. Avoid overcrowding the press with damp or overlapping plants, which can slow drying.
Step 2: Dry the Plants’ Surfaces
Make sure each flower and leaf is dry before pressing. If the plants are damp, gently let them air-dry first. Place each one on blotting paper with about an inch of space around it, then cover the layer with another sheet.
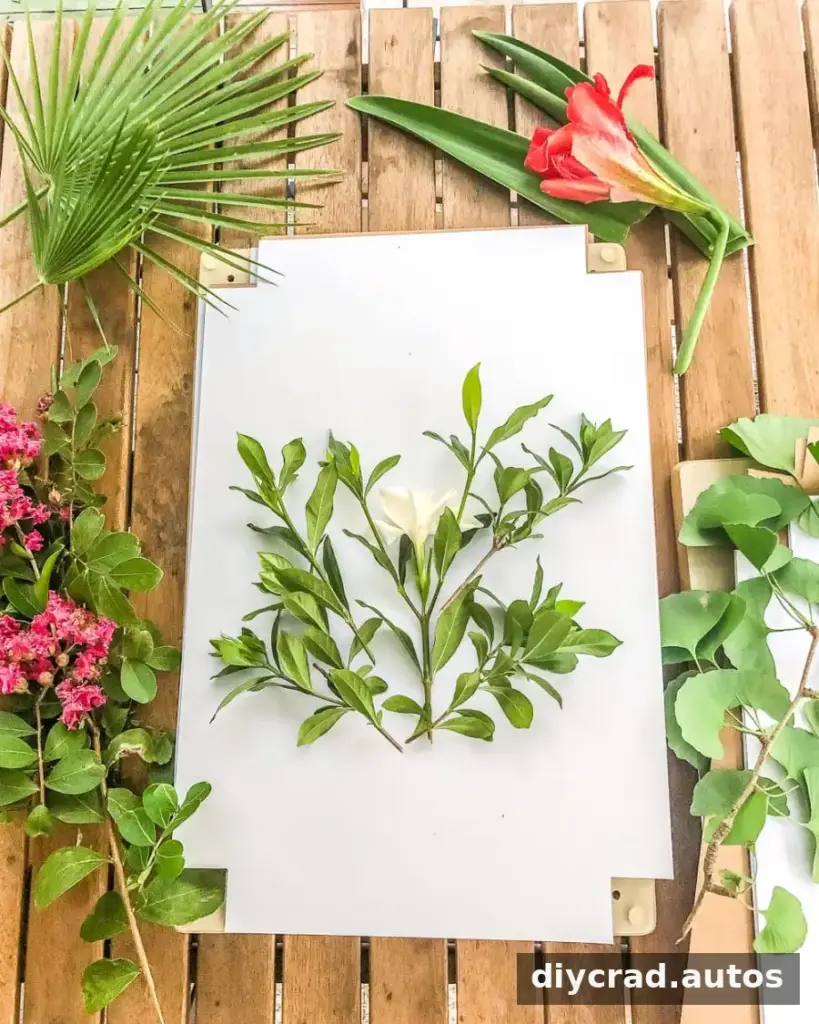
Step 3: Layer the Flowers
Place the covered flowers between pieces of cardboard. Continue building layers, keeping the materials flat and the plants spaced apart. Separate layers help absorb moisture and make it easier to remove individual pieces later.
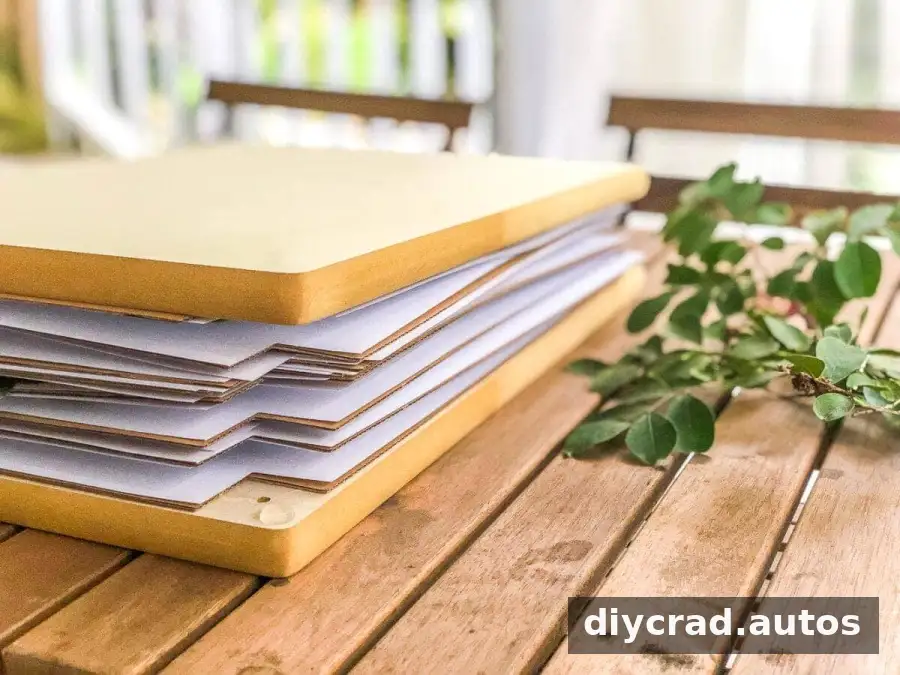
Step 4: Add Weight
Set heavy books on top of the stack, or place the layers between the boards of a flower press. If using a press, tighten its fasteners evenly. Keep the stack somewhere dry and undisturbed so the flowers remain flat while they dry.
Step 5: Allow Time to Press
Small, thin flowers and leaves may be ready after about a week. Larger flowers can take up to three weeks to dry fully. Timing varies with the plant and the amount of moisture it contains, so check carefully rather than relying on the calendar alone.
For a screw-style flower press, tighten the screws every few days as the plants lose moisture. Open the press occasionally to check progress, but handle the flowers gently. They are ready to arrange when they feel dry and papery rather than soft or damp.
Step 6: Arrange and Frame
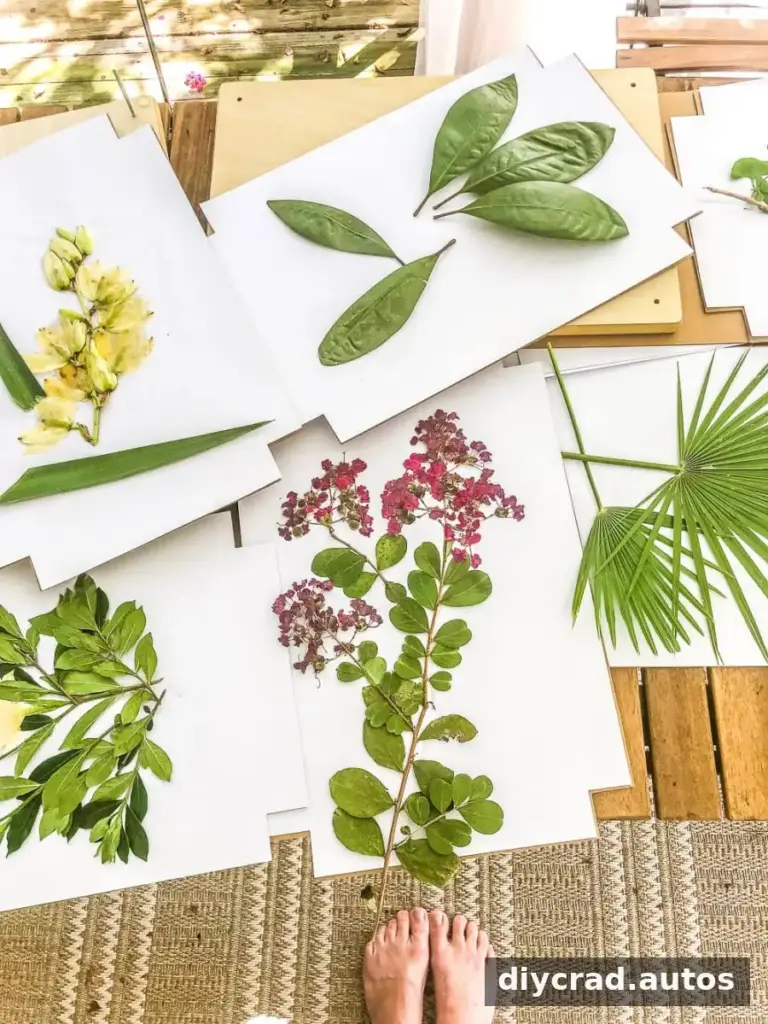
Lift the pressed plants carefully, as dry petals can be fragile. Try a few layouts on textured paper before securing the arrangement. Place the completed design in a frame and use the backing to hold the paper in place.
For a display that may receive bright light, consider conservation or museum glass. Even with protective glazing, hanging framed flowers away from direct sunlight can help preserve their colors.
How Long Does Pressed Flower Art Last?
Pressed flowers can last for decades, and some well-preserved examples may last much longer. Their lifespan depends on the plant, how completely it was dried, the materials used for framing, and the conditions where the artwork is displayed. Colors may begin to fade after five to seven years, especially with regular exposure to strong light.
For the best chance of keeping the display in good condition, make sure the flowers are fully dry before framing. If you notice condensation or moisture inside the frame, take the artwork out and address the source before rehanging it.
How to Care for Pressed Flowers
Keep framed pressed flowers away from direct sunlight, heat, and damp areas. A dry room with stable conditions is generally a better choice than a humid bathroom or a sunny window. Conservation or museum glass can offer additional protection, but it does not remove the need to choose a suitable location.
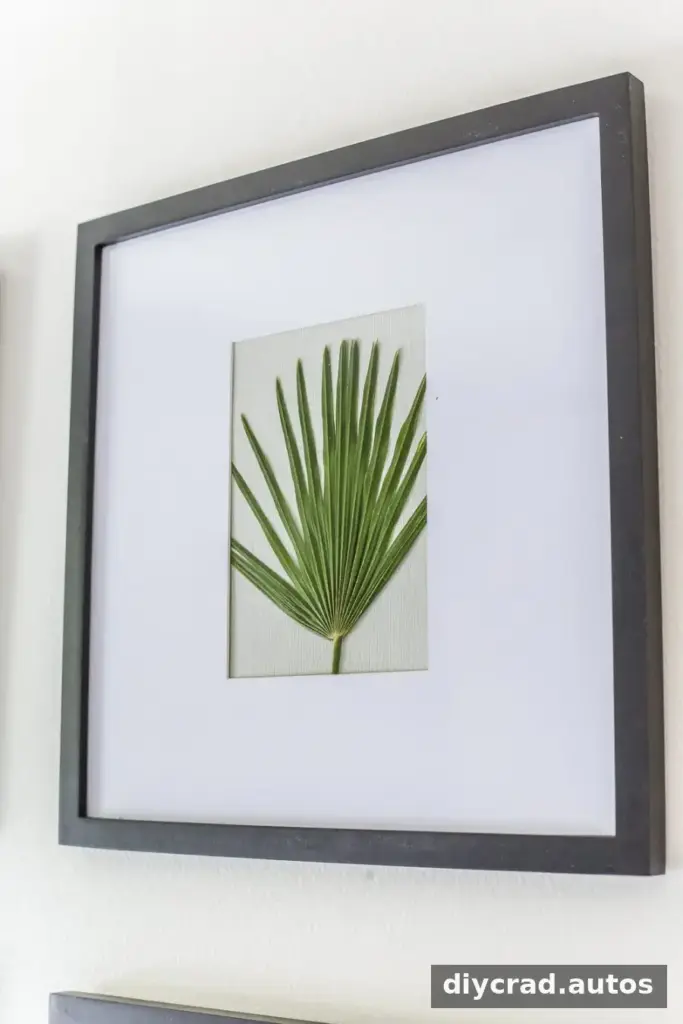
Where to Find Pressed Flowers
If you prefer not to press flowers yourself, look for ready-pressed flowers through craft suppliers, flower shops, or online marketplaces. Check the listing details for the size and quantity of the flowers, and confirm that they are dry and suitable for crafting before buying.
Pressing leaves is also a useful activity in fall and winter. Autumn foliage brings a wider range of colors, while leaves collected and pressed earlier can be saved for a later project.
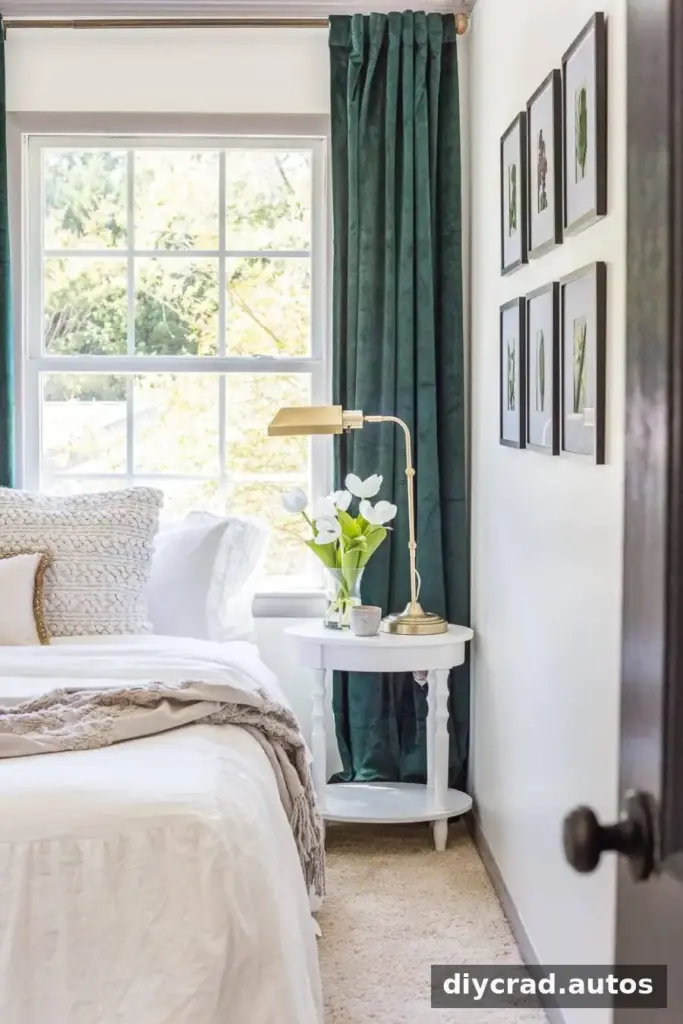
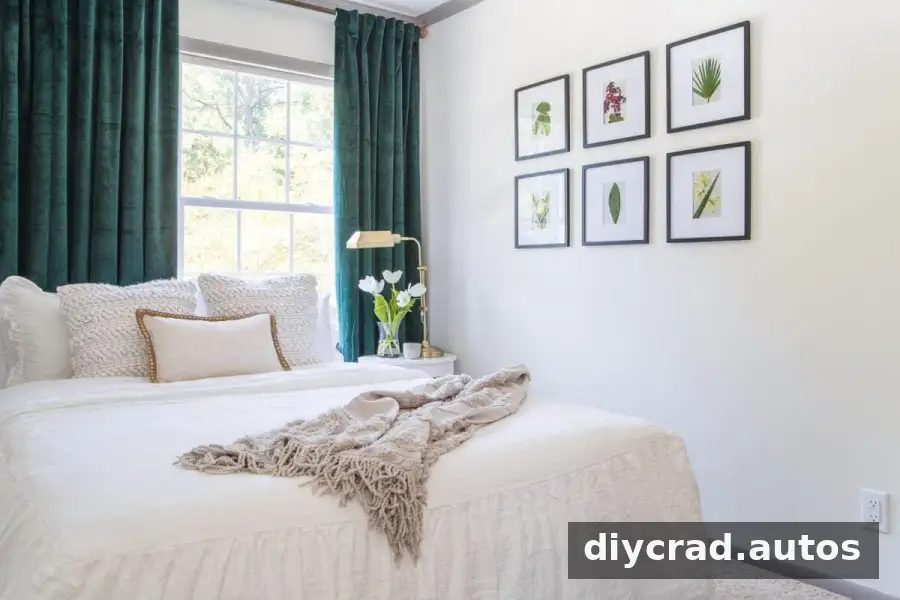
Ideas for Displaying Your Artwork
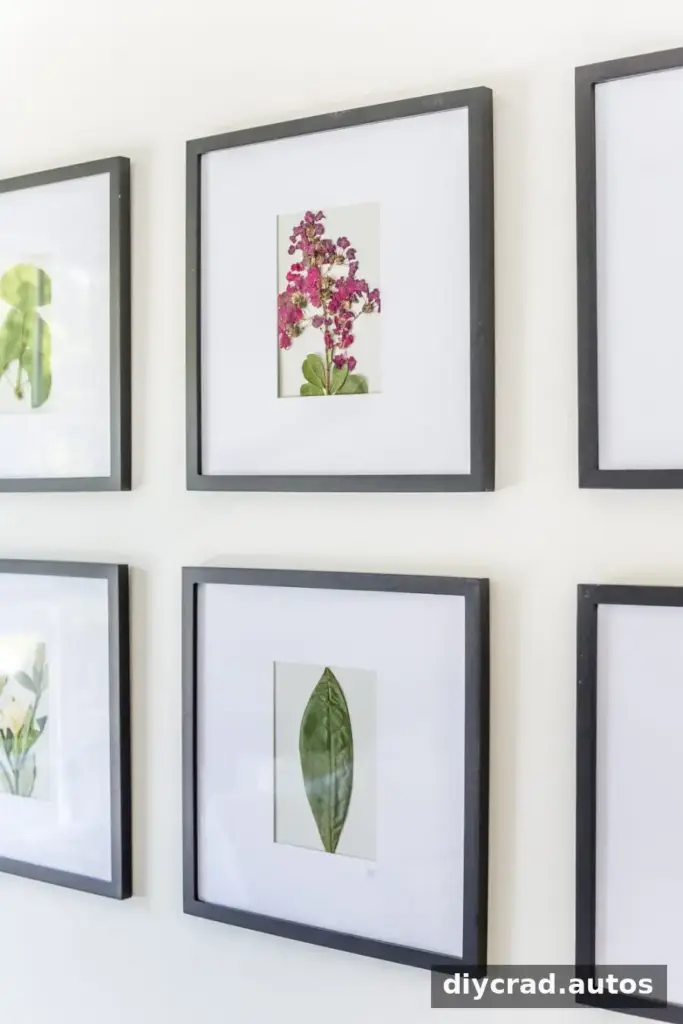
Textured scrapbook paper makes a simple background, while thrifted or affordable frames can help keep the project budget-friendly. Use frames in matching styles for a tidy, coordinated arrangement, or combine different shapes and finishes for a more eclectic gallery wall.
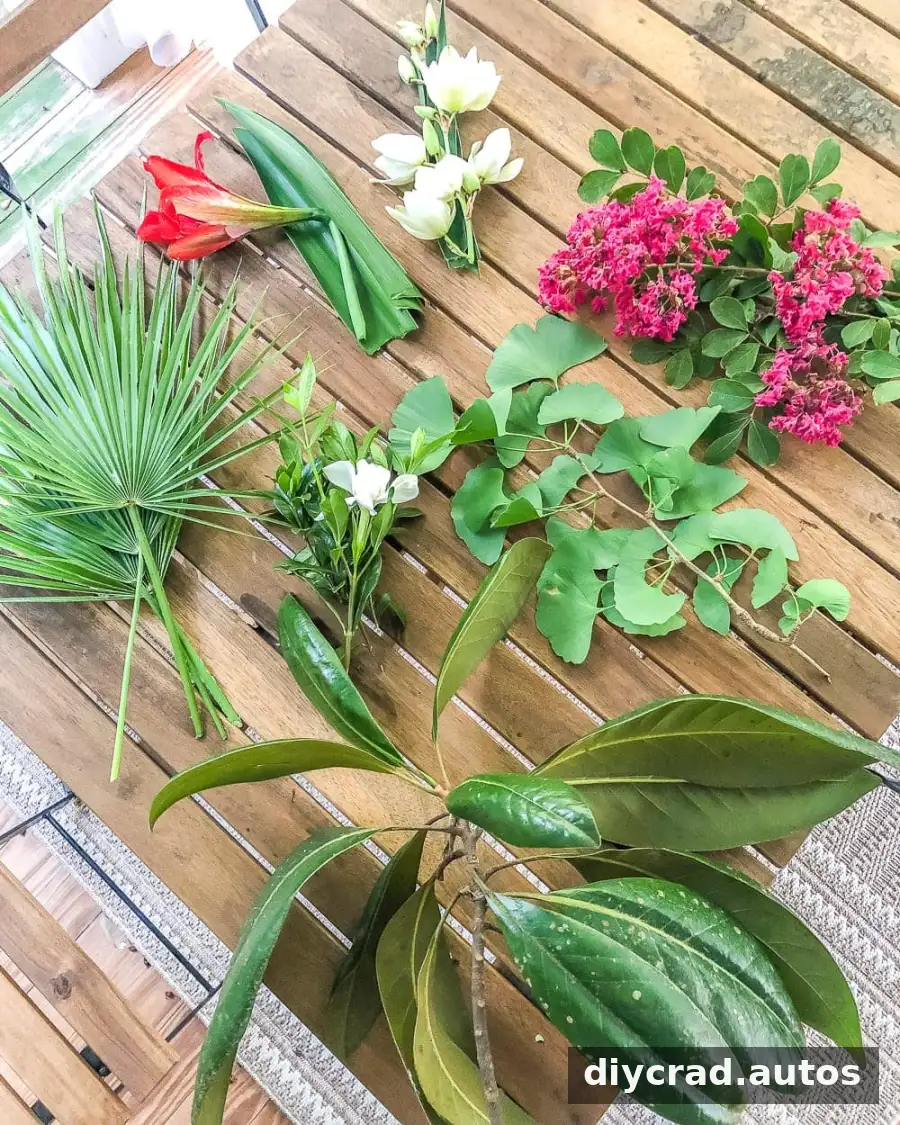
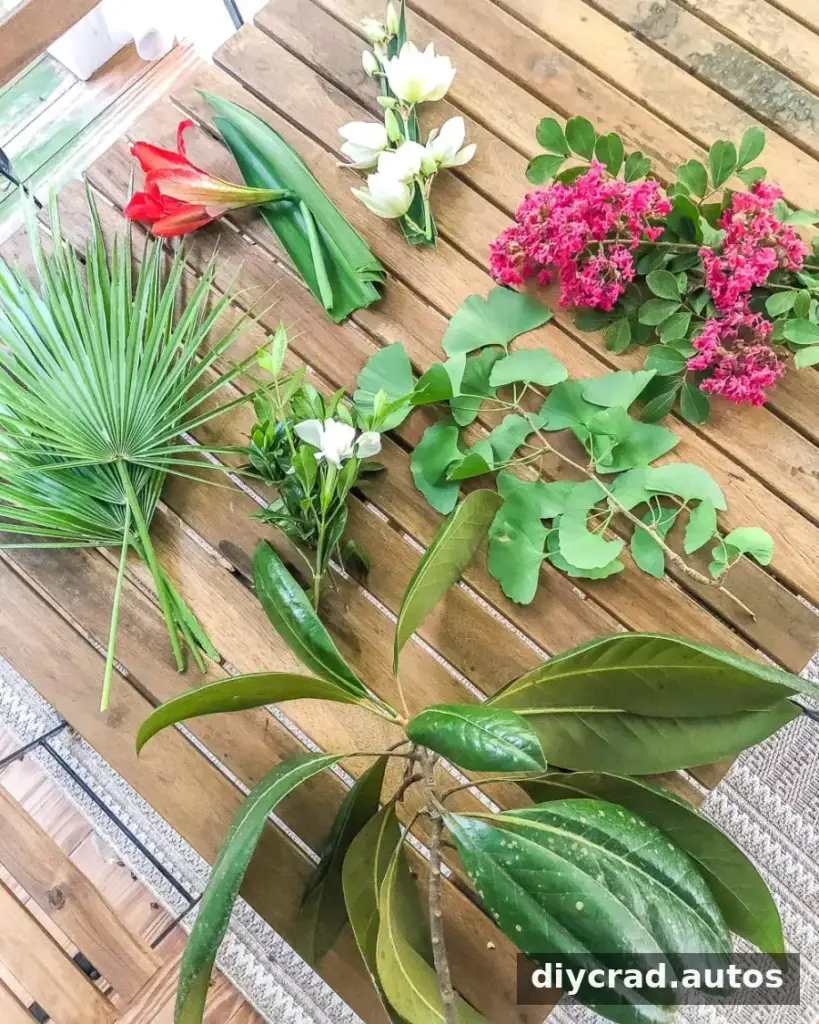
Botanical choices can also give a display a sense of place. For example, flowers and leaves associated with South Carolina include magnolia, crape myrtle, palmetto, and gardenia. Ginkgo leaves and snapdragons can add different silhouettes and contrast. If you are unsure of a plant’s identity, check it before including it in a labeled display.
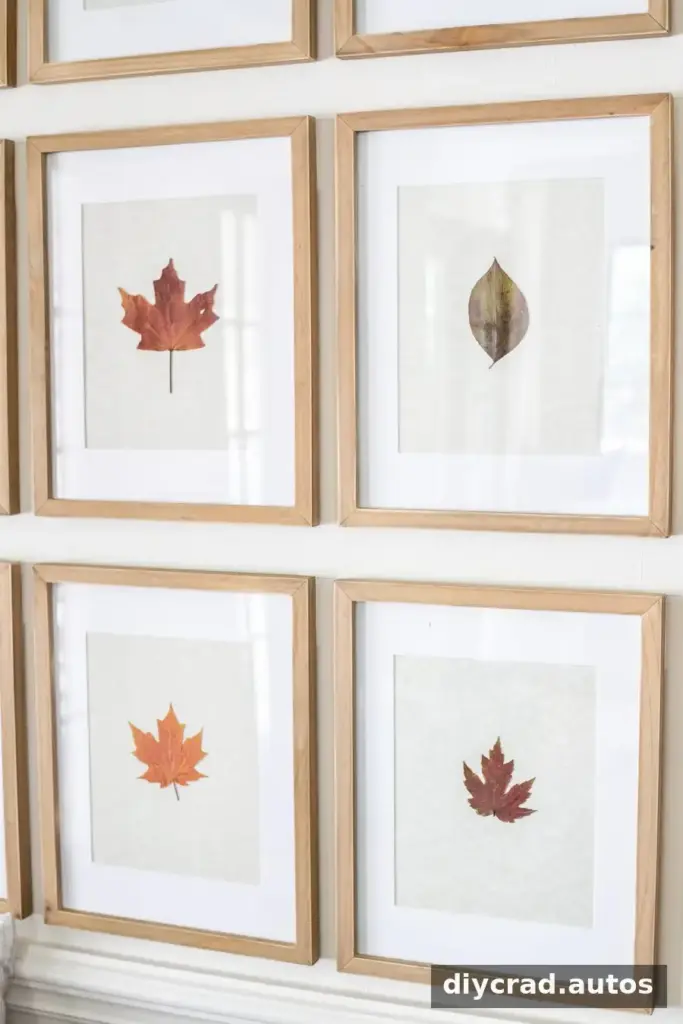
DIY Pressed Fall Leaf Art
Fall leaves can be pressed and framed using the same method as flowers. Select leaves that are relatively flat and not overly damp, then arrange them by color or shape once they are fully dry. Because leaf colors can change as they dry, pressing a few different leaves gives you more choices for the final composition.
Pressed flower art is an accessible DIY project that can turn seasonal plants into lasting wall decor. Start with thin flowers or flat leaves, let them dry completely under pressure, and protect the finished arrangement from sunlight and moisture. A simple frame and textured background are all you need to create a display that suits your space.