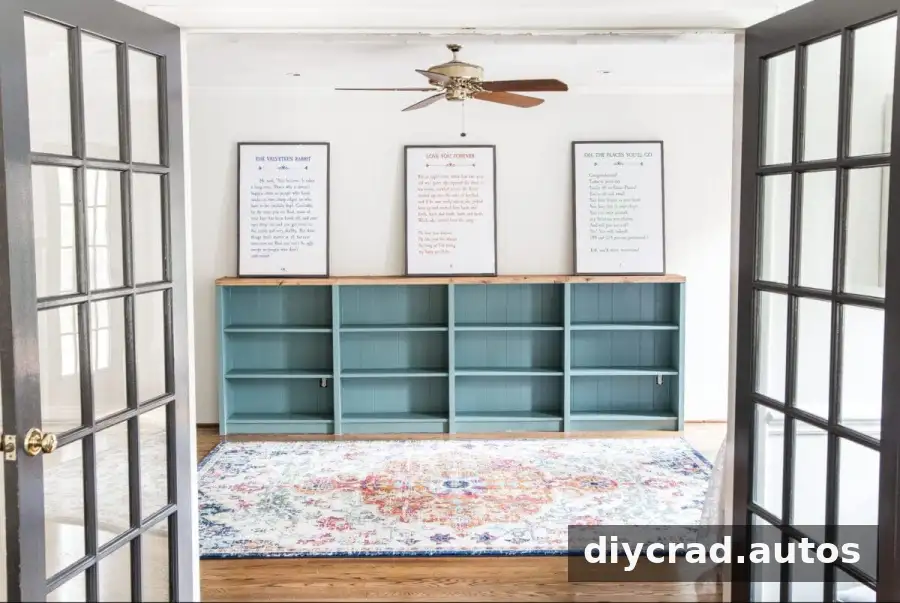
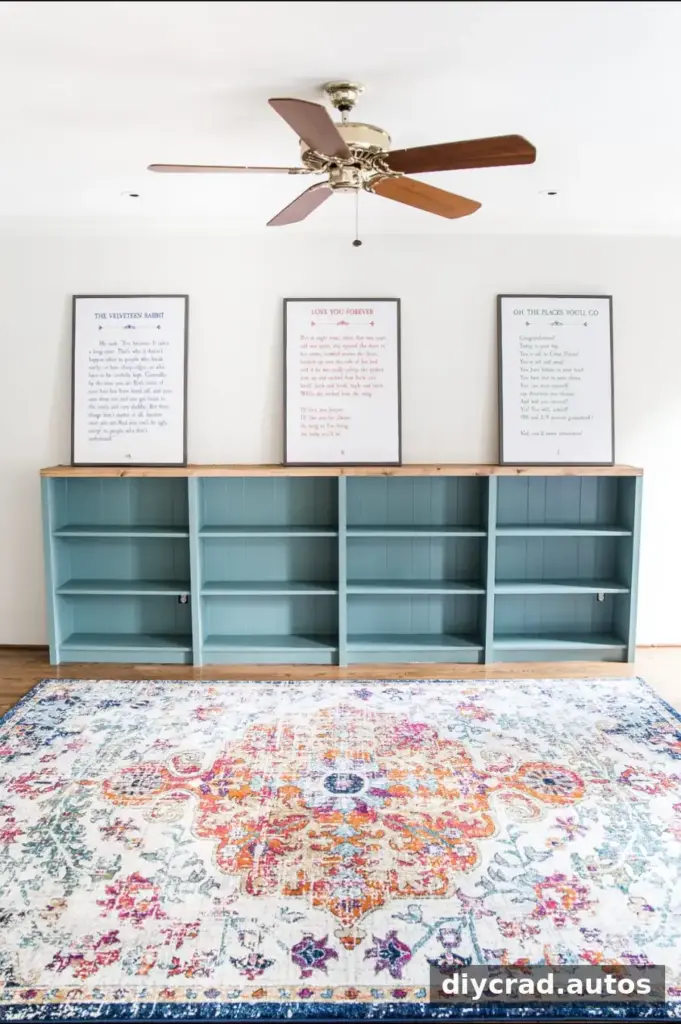
DIY playroom bookcase built-ins can add useful storage and give a room a more finished look without requiring custom cabinetry. This project combines four short Billy bookcases with a wood top and simple trim. The result creates a place for books, baskets, and toys while helping keep everyday playroom clutter organized.
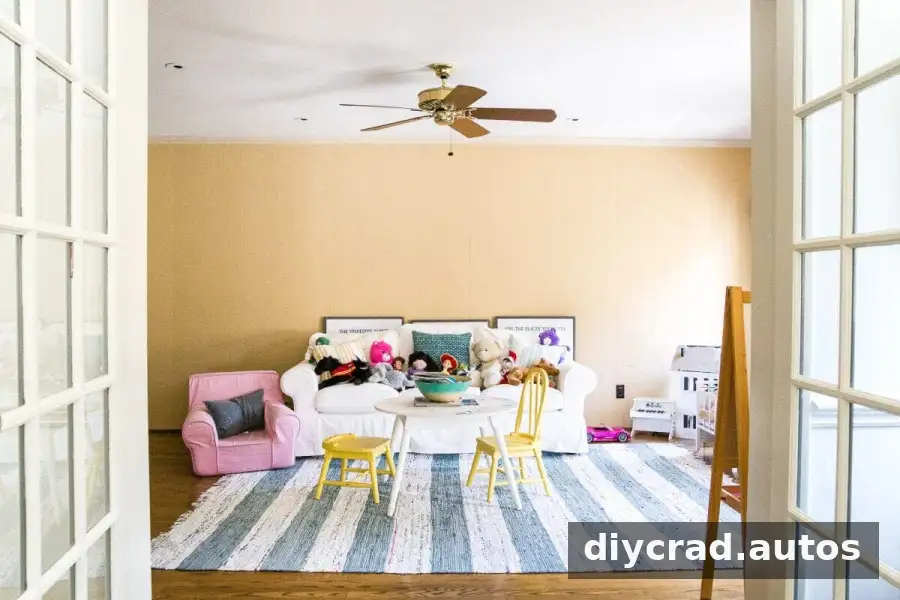
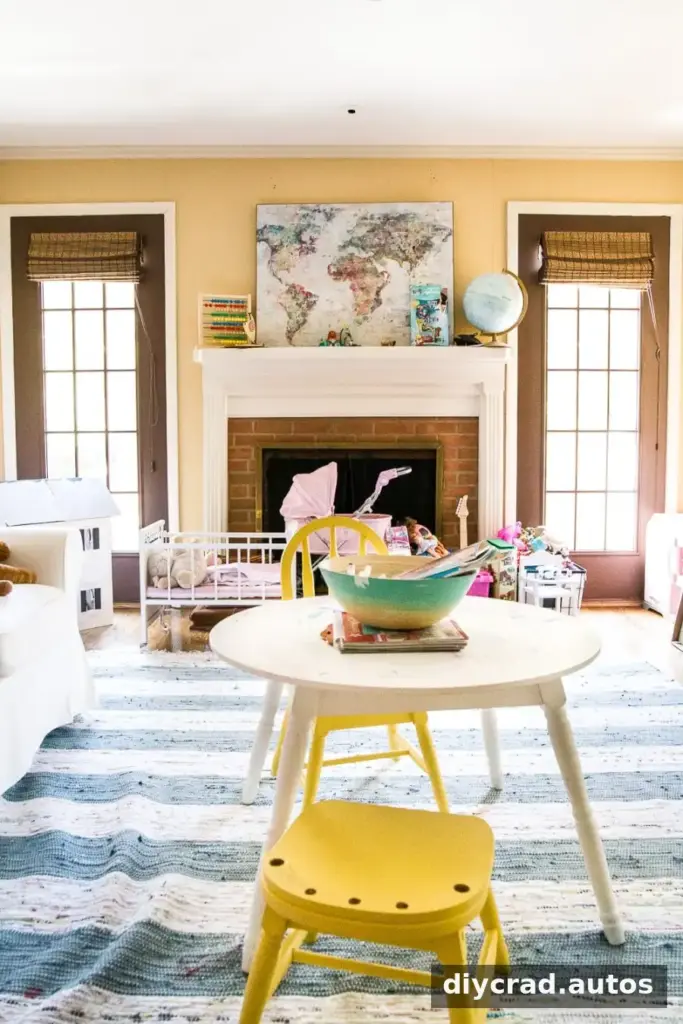
Before the bookcases were installed, the room’s yellow walls were painted Swiss Coffee, the beige trim was refreshed in Simply White, and the doors were painted Wrought Iron. These neutral colors set the backdrop for the blue built-ins and the rest of the playroom updates.
The project cost $304.43 for the wood, bookcases, stain, caulk, clear sealer, and paint. This total does not include tools, which were already available.
Planning DIY Playroom Bookcase Built-Ins
Pre-made bookcases make this approach more accessible than building every shelf from scratch. Four short Billy bookcases were used to create a continuous storage unit. Leaving off the supplied backing also kept the wall outlets accessible, but it meant the gap behind the bottom shelf needed a finished edge.
Measure the wall and decide where the bookcases will sit before fastening anything. Check for wall studs and locate nearby outlets or wiring, then follow the bookcase manufacturer’s instructions for safe assembly and anchoring.
Materials and Tools
- 4 short Billy bookcases
- 1 board measuring 1 × 12 × 12 inches in poplar, pine, or oak
- 3 boards measuring 1 × 2 × 8 feet in the same wood species as the top board
- 4 common boards measuring 1 × 2 × 8 feet
- 6 square dowels measuring 1 inch
- 1 1/4-inch wood screws and 1 1/4-inch finishing nails
- Power drill/driver, jigsaw, circular saw, hammer, and square
- Tape measure and pencil
- Construction adhesive, caulk, and a caulk tool
- Wood stain, stain brush, clean dry rags, primer, paint, and an angled paintbrush
- Clear protective sealer
A pine board with few knots was used for a subtle rustic appearance. The top was stained Special Walnut and sealed with Polycrylic. The bookcases were primed with Adhesion primer and painted Tree Swallow in a satin finish. ProClassic Interior Waterbased Acrylic-Alkyd was recommended for the paint. Choose compatible products and follow their label directions, including drying and recoat times.
Step 1: Assemble the Bookcases
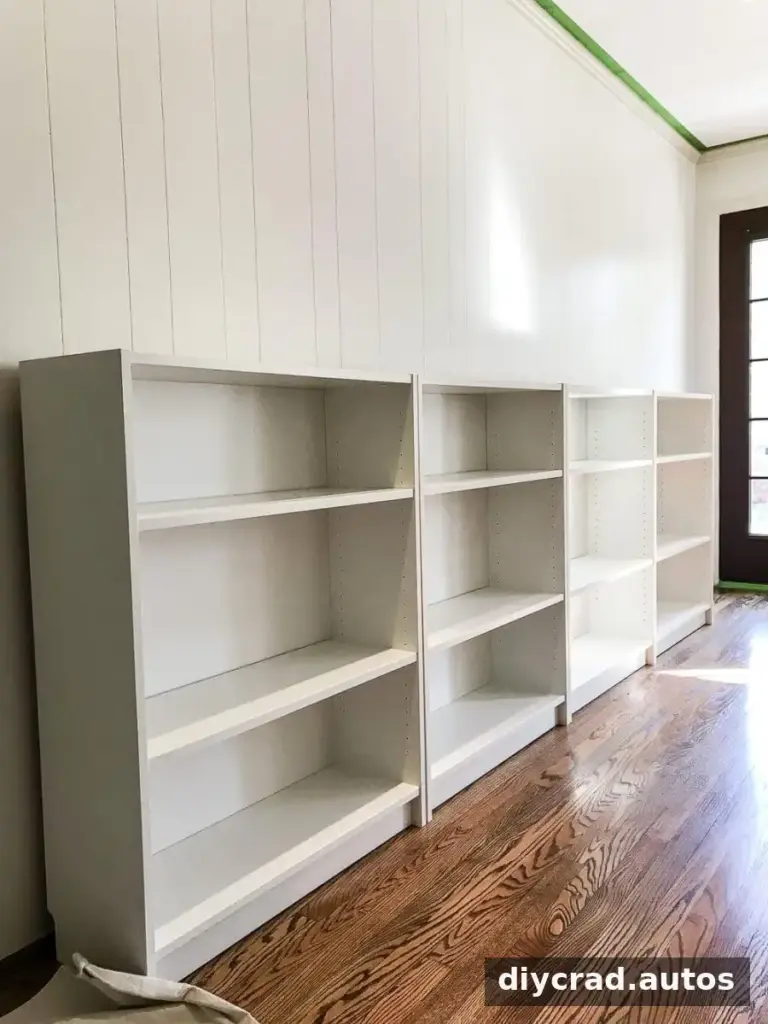
Assemble all four bookcases according to their instructions. In this project, the bookcases cost $39 each during a winter sale. The backing was left off to retain access to outlets and avoid using the thin cardboard panel.
Step 2: Cover the Gap at the Back
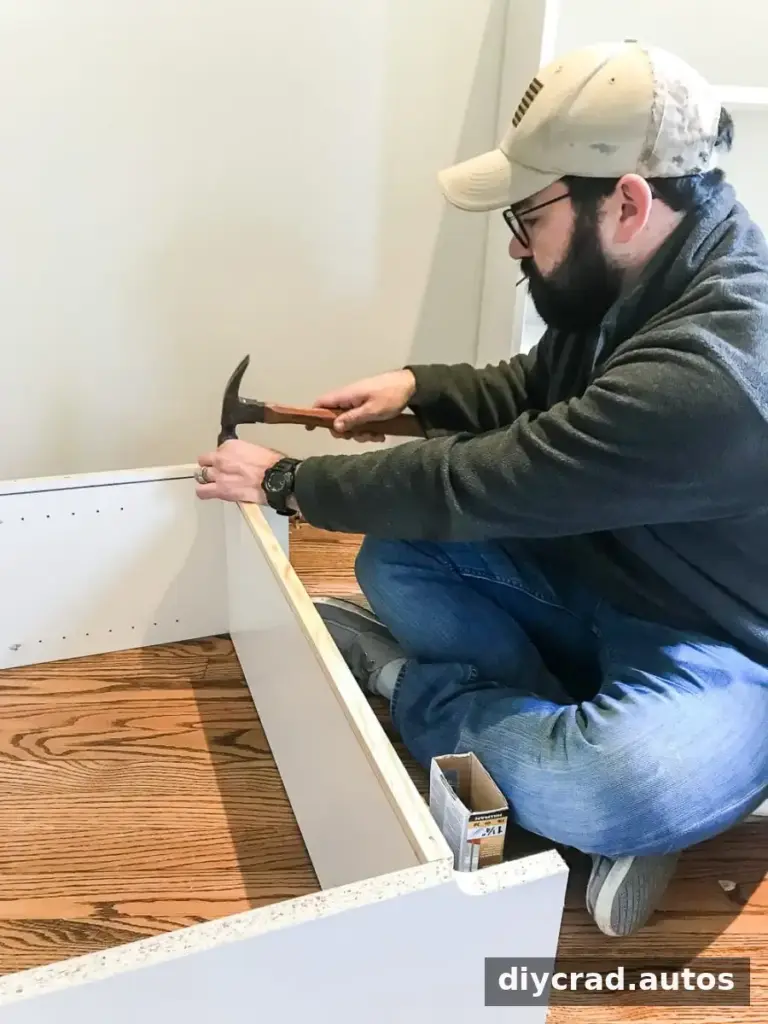
With the backing removed, a gap remained between the wall and the bottom shelf. Attach a 1-inch square dowel along the back of the bottom shelf on each bookcase to close this space.
Step 3: Position the Bookcases
Set the bookcases against the wall and adjust their placement before joining them. Find the center of the wall and use it as a reference point so the arrangement is balanced. Confirm that doors, outlets, and nearby trim remain accessible.
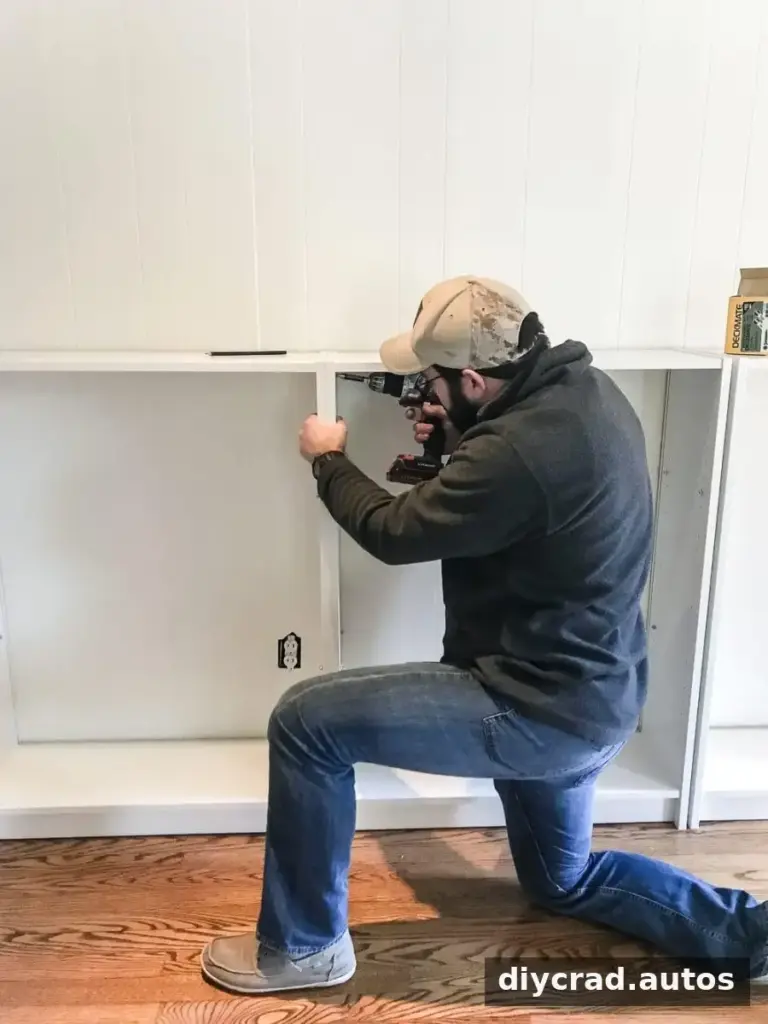
Step 4: Join the Bookcases
Connect the sides of the bookcases with wood screws near the top and bottom. Keep the fronts aligned as you work. A square and careful measuring help prevent gaps or uneven edges across the row.
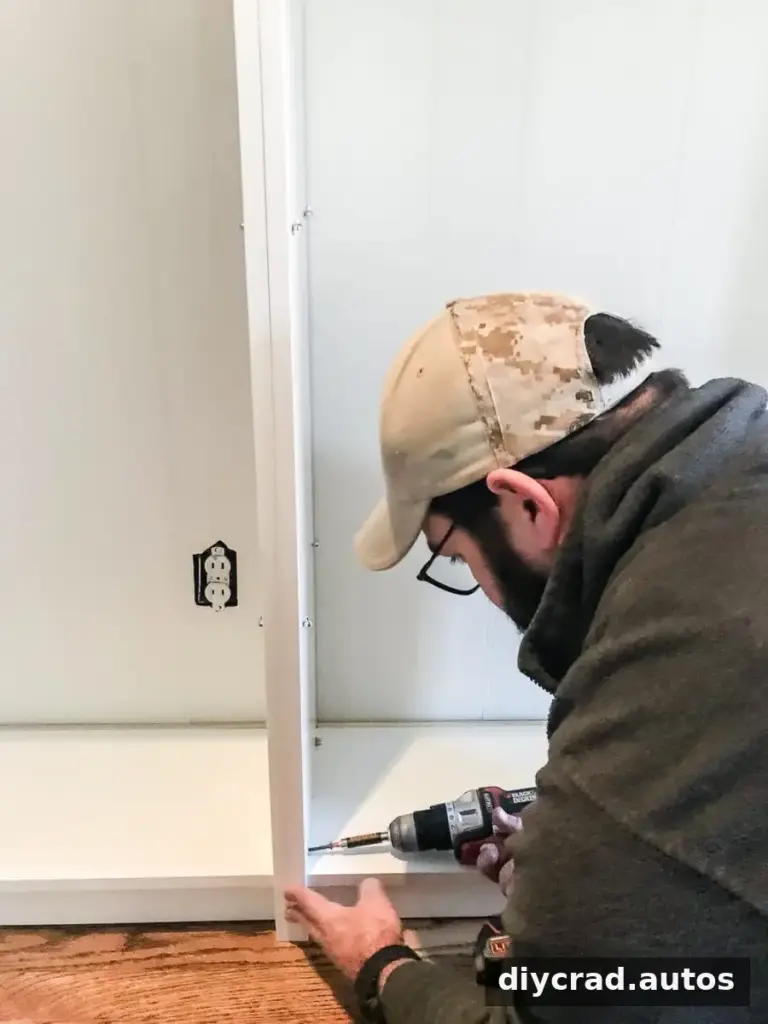
Step 5: Anchor the Unit to the Wall
Use the included brackets or anchors to secure each bookcase to wall studs at the top. Anchoring is an important safety step, especially in a playroom where children may climb or pull on furniture. Use appropriate fasteners for the wall type and verify that the unit is firmly secured.
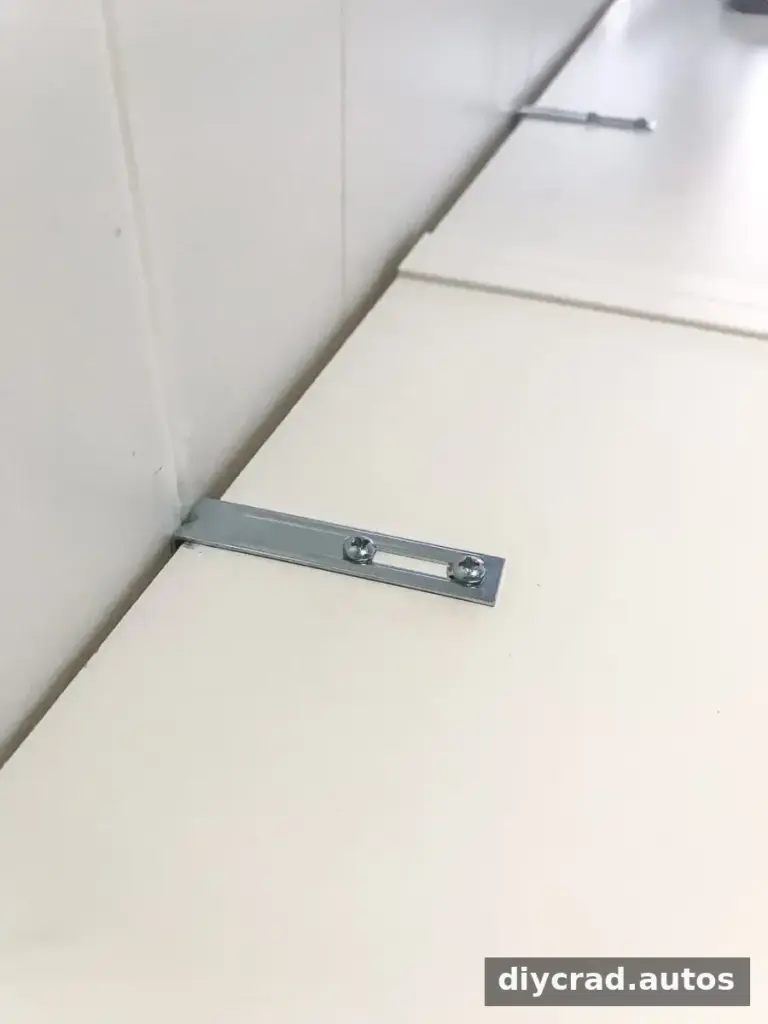
Once the bookcases were joined and anchored, the wood trim could be added to create a more built-in appearance.
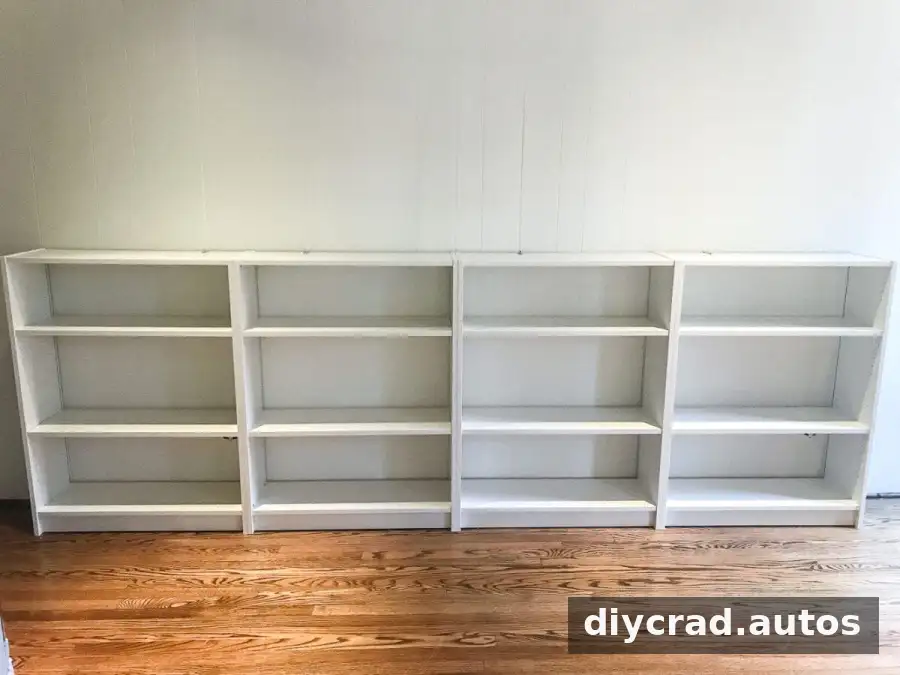
Step 6: Make and Fit the Wood Top
Place the 1 × 12-inch board across the bookcases and mark the cut locations with a square. Cut the board to fit using a circular saw, following the tool’s safety instructions and supporting the wood securely.
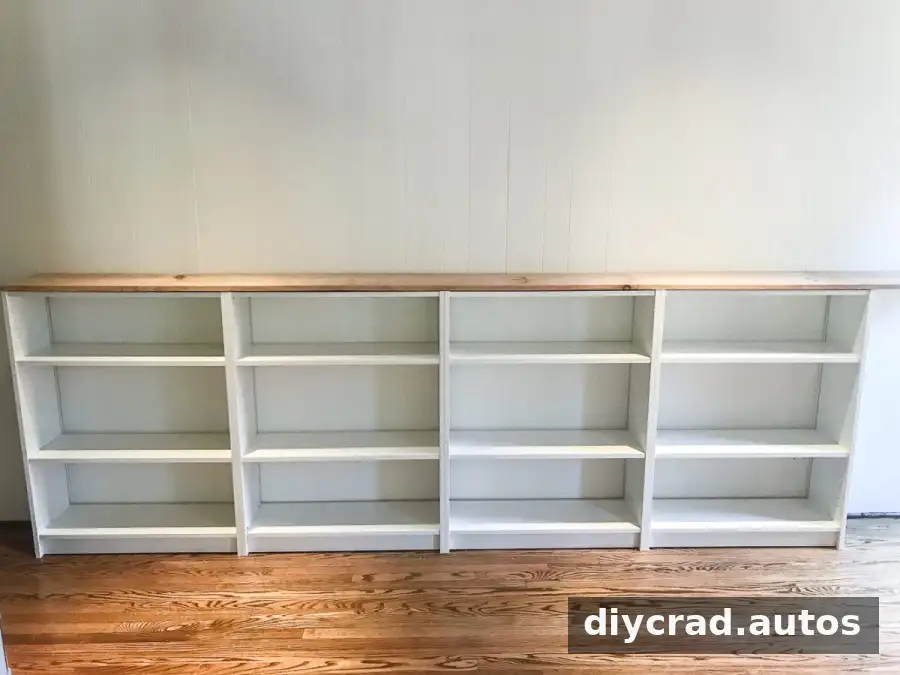
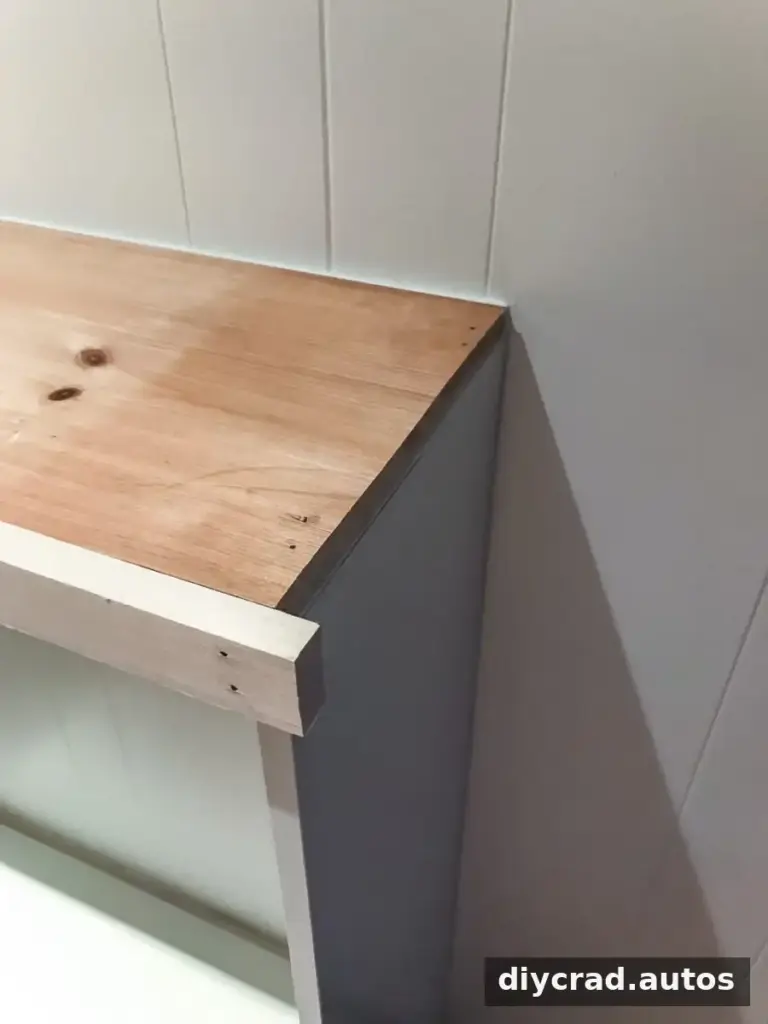
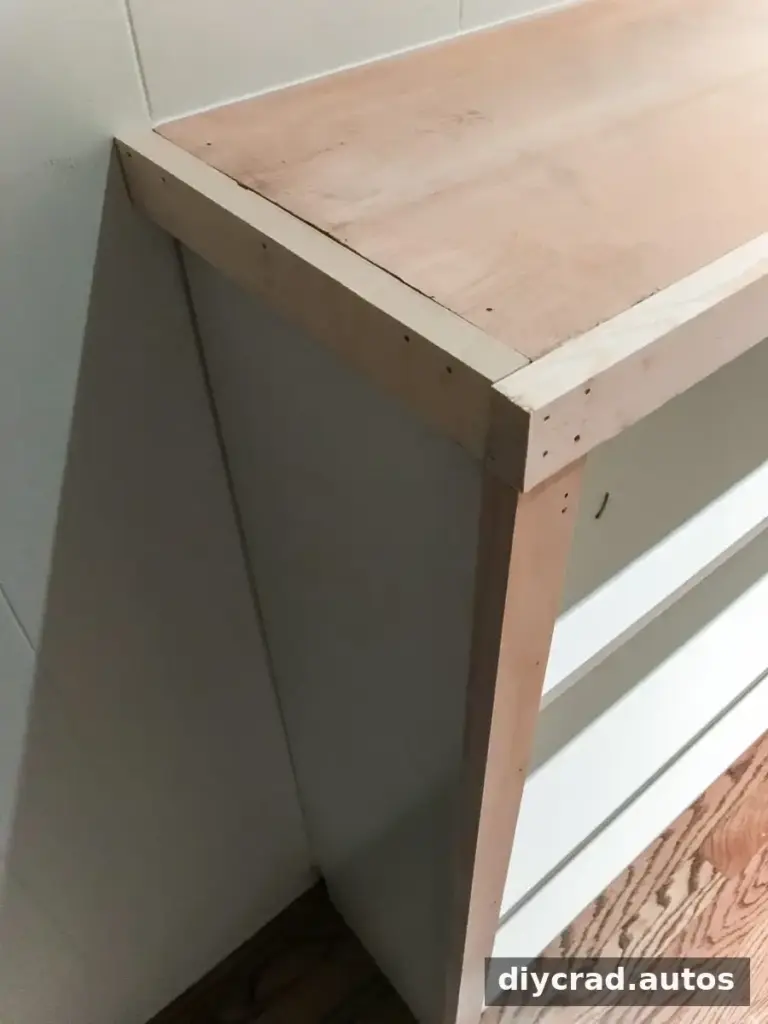
For a finished front edge, cut 1 × 2-inch boards to cover the front of the top. Leave a 1-inch overhang at each end of the 1 × 12-inch board. The corners can be joined with straight cuts, or mitered if a miter saw is available.
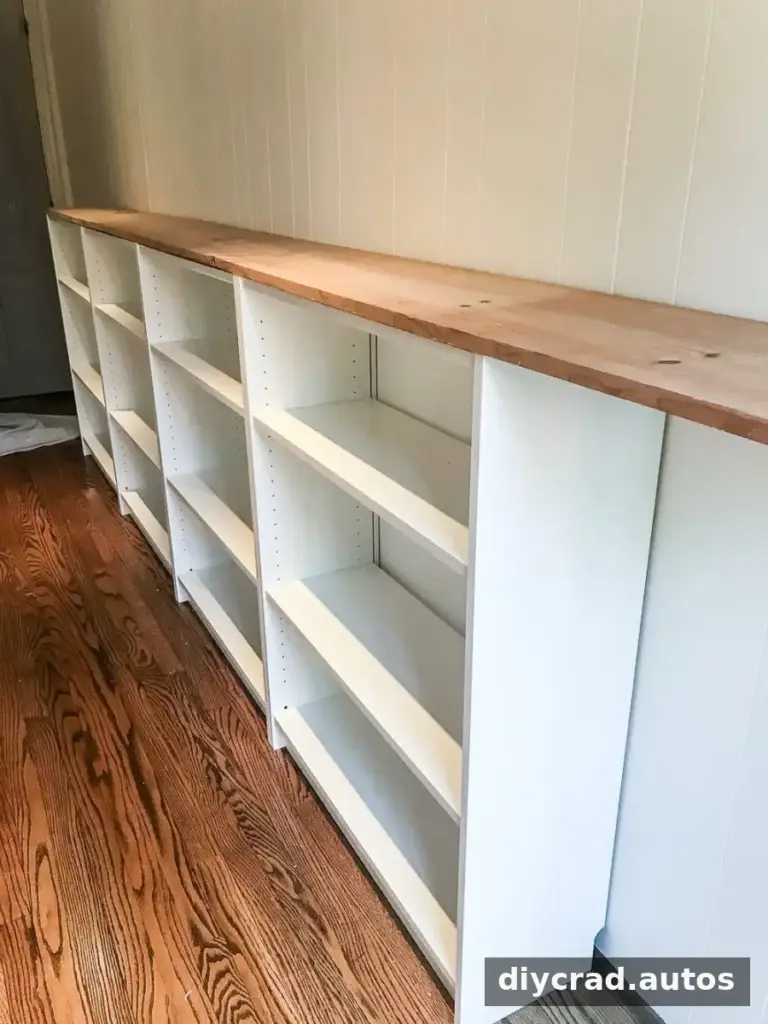
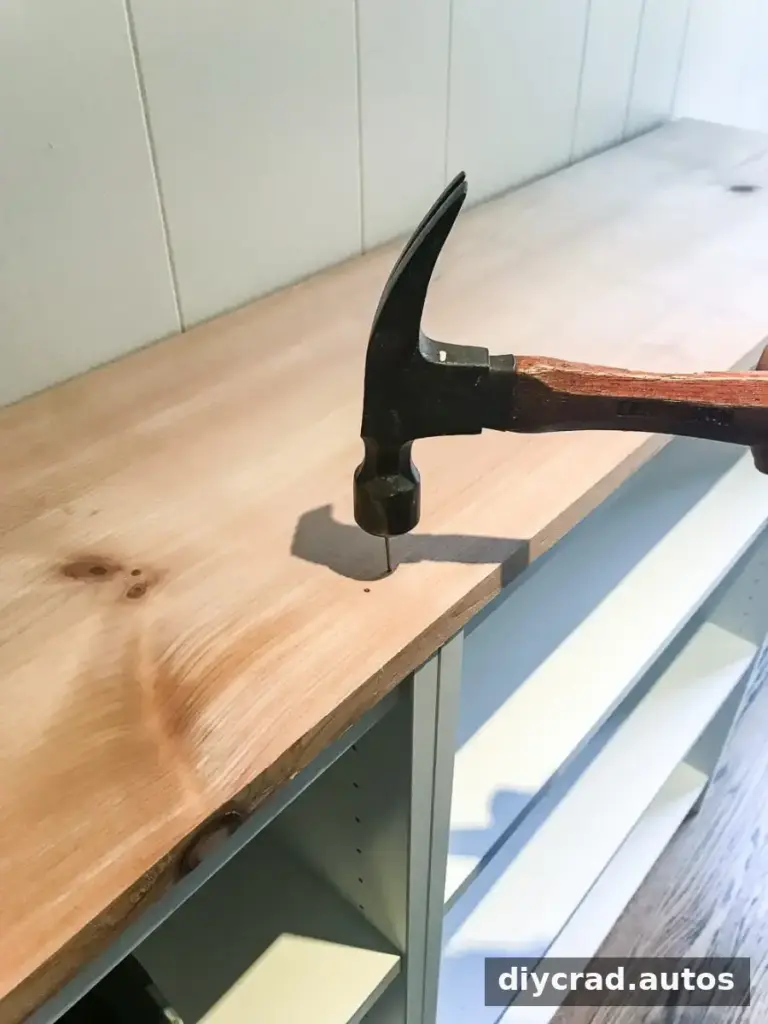
Apply a small amount of construction adhesive between the bookcase tops and the wood board. Secure the top with finishing nails at the ends of each bookcase. Then measure and cut another 1 × 2-inch piece to fit between the front trim and the wall, completing the side of the top.
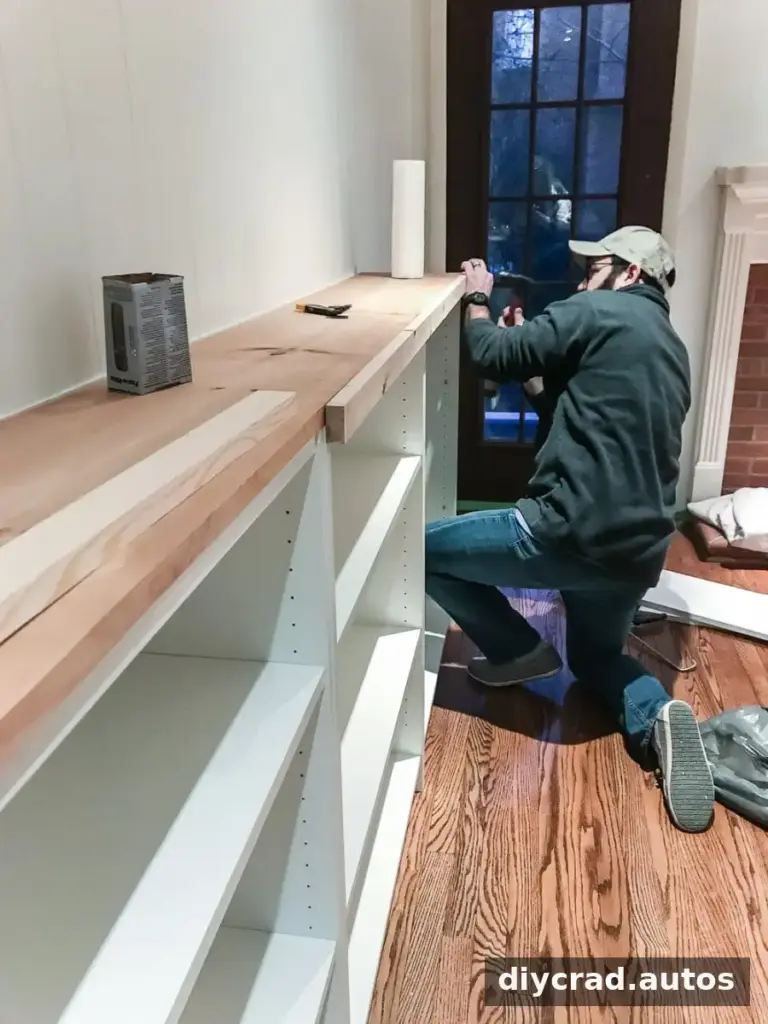
Step 7: Add Trim to the Bookcase Fronts
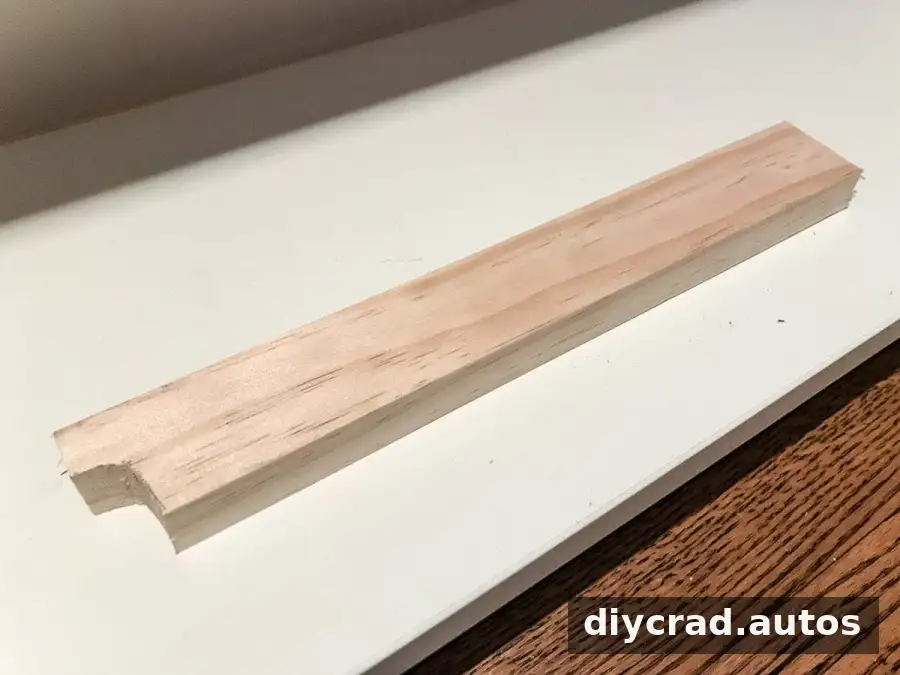
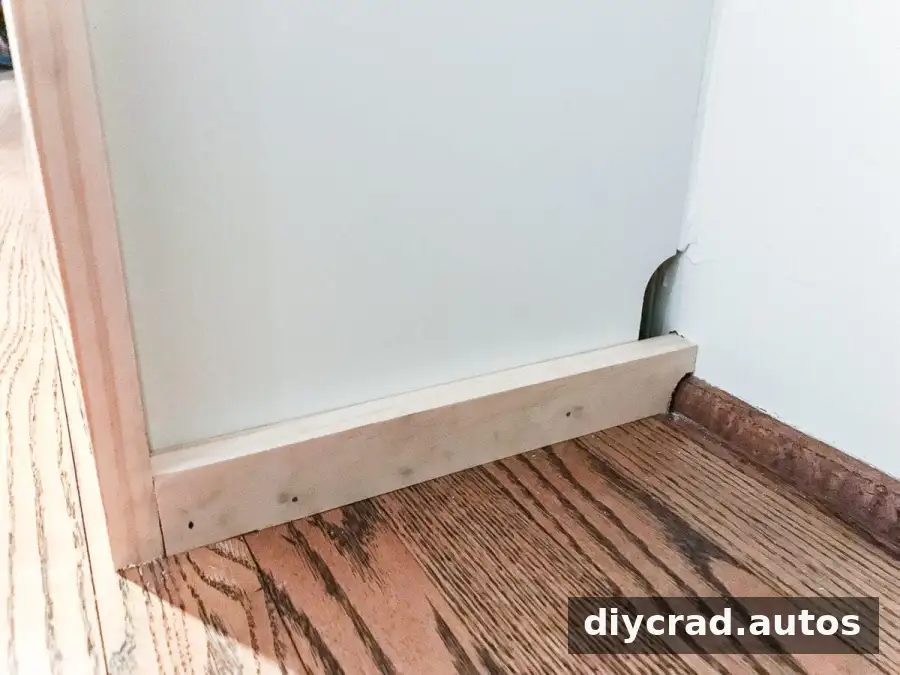
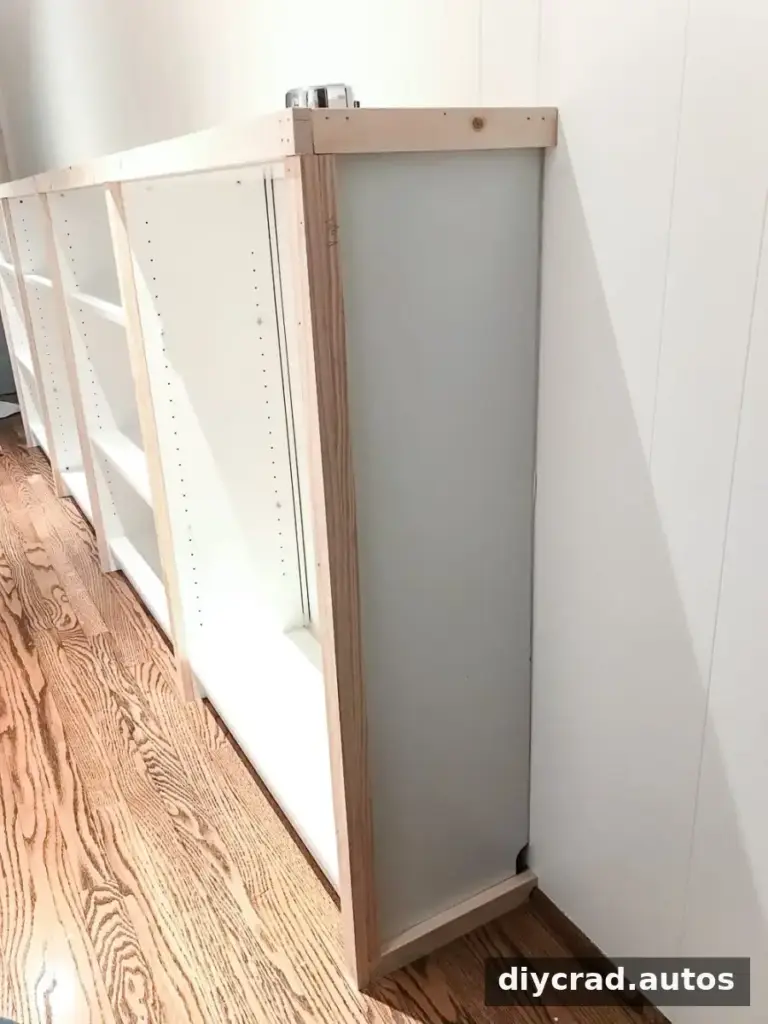
Cut and nail 1 × 2-inch boards over the front seams where the bookcases were joined. To conceal the gaps at the outer ends, add pieces that fit between the wall and the front trim. If the floor has quarter-round molding, use a jigsaw to notch the trim so it sits close to the wall and floor.
Measure carefully, but small imperfections can often be filled and caulked before painting. Allow filler and caulk to dry as directed, then sand or smooth the surface as appropriate.
Step 8: Finish the Outside Edges
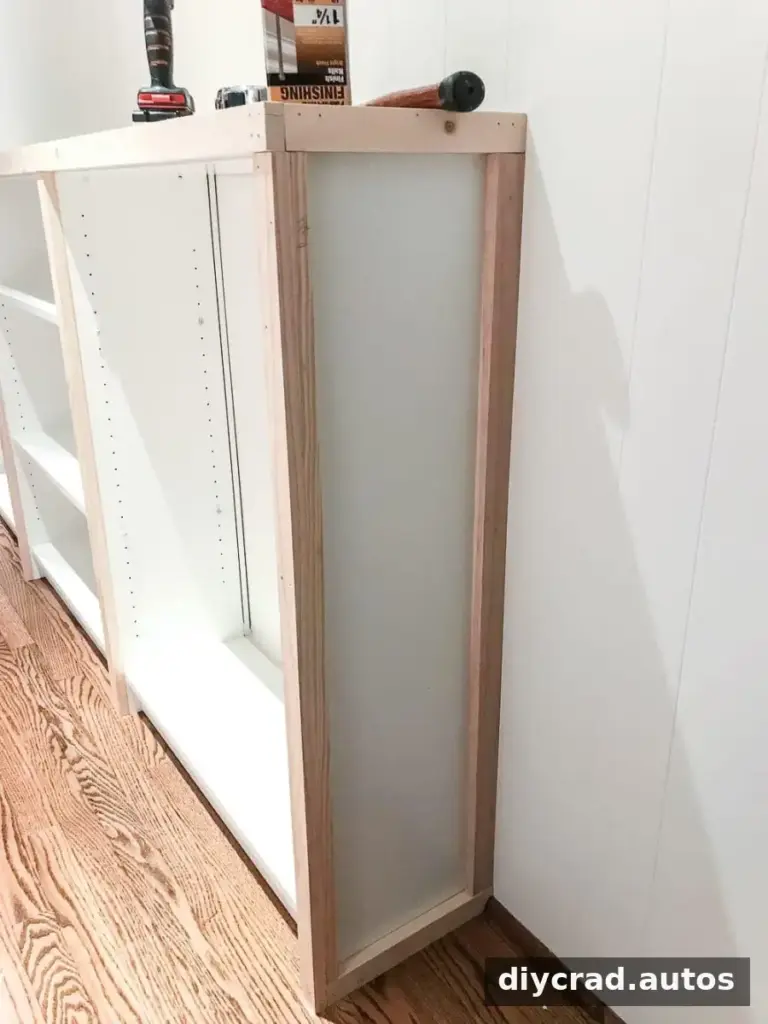
To create a simple rectangular panel effect on each exposed side, cut one more 1 × 2-inch board for each end. Nail each piece along the outer edge against the wall, checking that the trim sits straight and flush.
Step 9: Caulk, Stain, Paint, and Seal
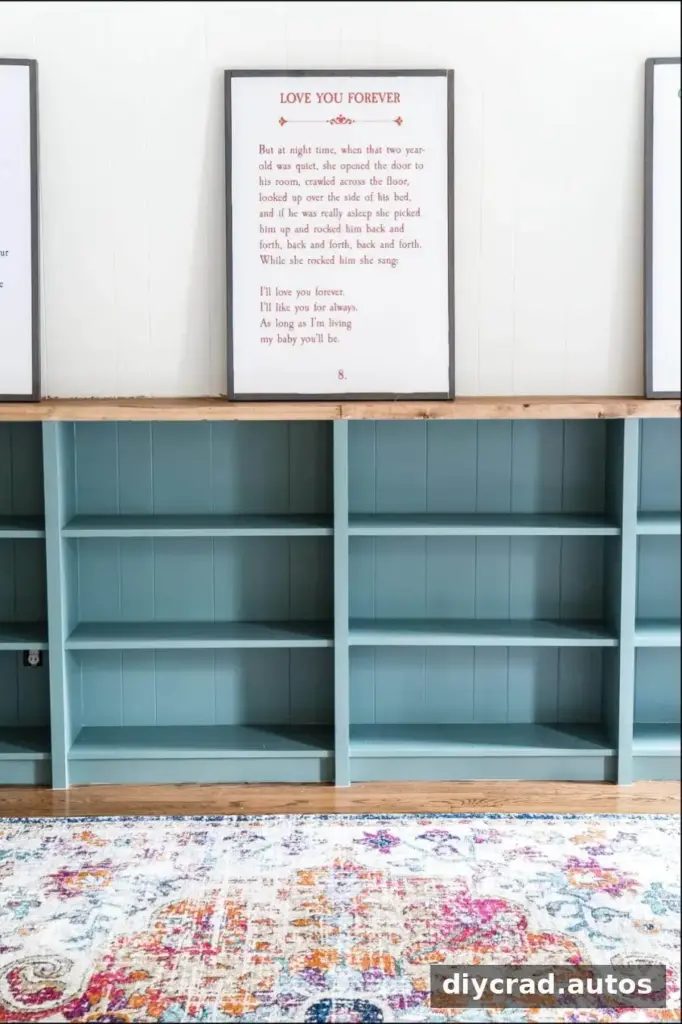
Fill visible gaps with caulk and let it dry. Stain the wood top to coordinate with the room’s flooring, then apply a clear protective sealer. Prime and paint the bookcases, following the product instructions for surface preparation, drying time, and ventilation. Use an angled brush to reach corners and trim edges neatly.
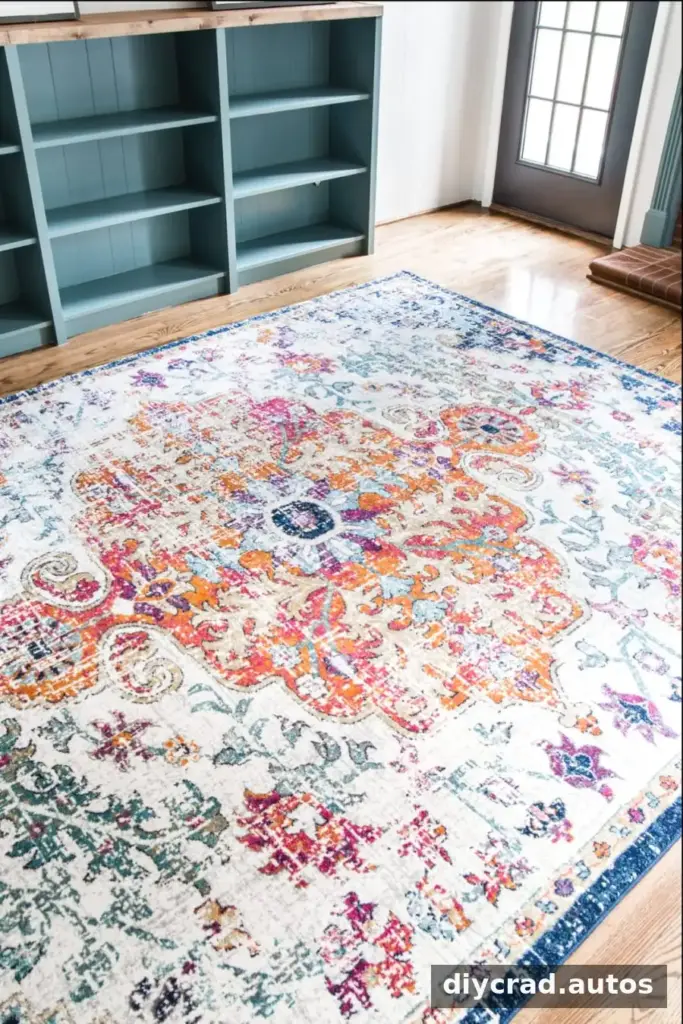
For this project, the top was stained Special Walnut and sealed with Polycrylic, while the bookcases were painted Tree Swallow in satin. Baskets can be added after the finish has fully cured to sort toys and books by type.
Putting the Finished Storage to Work
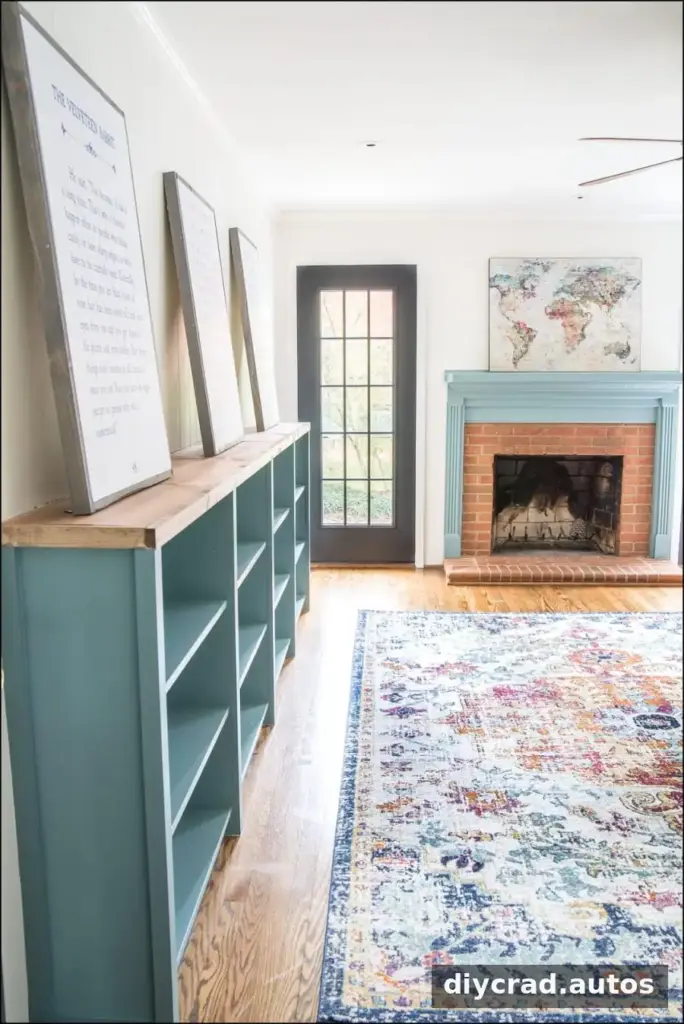
Open shelves make frequently used books and toys easy to reach, while baskets can contain smaller pieces such as building bricks, dolls, or dress-up accessories. Labeling bins or assigning each shelf a category can make cleanup simpler for children. Keep heavier items on lower shelves and avoid placing tempting climbing toys beside the bookcases.
The bookcase project was one part of a broader room refresh that also included updated doors, walls, trim, and a fireplace mantel. Other planned tasks included hanging artwork, organizing toys, updating the light fixture, and arranging play furniture.
Conclusion
These DIY playroom bookcase built-ins show how pre-made shelves, a fitted wood top, and straightforward trim can turn a plain wall into practical storage. Measure the space before cutting, anchor the bookcases securely, and allow each finish to dry fully. With baskets and clearly defined storage zones, the finished unit can help keep books and toys organized while making them easy to access.