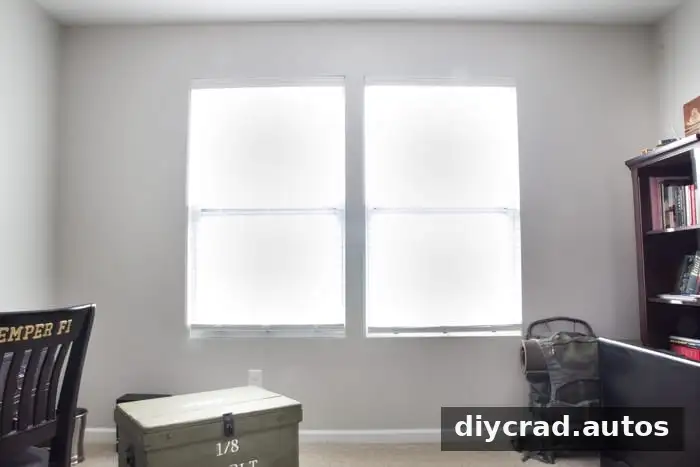
DIY burlap Roman shades can give plain blinds a softer, more finished look without replacing the existing headrail. This project uses fabric, selected blind slats, and hot glue to create a Roman-shade effect. Careful measuring is essential: an uneven slat layout or a blind that retracts while you work can leave the finished shade too short or visibly crooked.
Materials for DIY burlap Roman shades
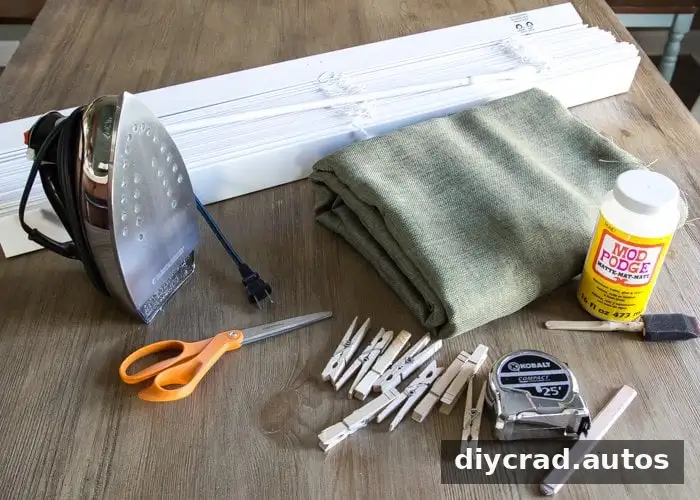
Gather the following supplies before you begin:
- Existing blinds, including faux wood cordless blinds
- Fabric of your choice, such as poly burlap
- Fabric scissors
- Tape measure
- Iron
- Marker or pencil
- Clothespins
- Hot glue gun and hot glue sticks
- Duct tape, if needed to hold cordless blinds extended
- A large, flat work surface
Test your adhesive on a small fabric scrap first. In this project, hot glue worked better than Mod Podge on the selected fabric. Keep the hot glue gun on a heat-safe surface and take care when pressing fabric onto freshly glued slats.
Prepare the blind and remove the extra slats
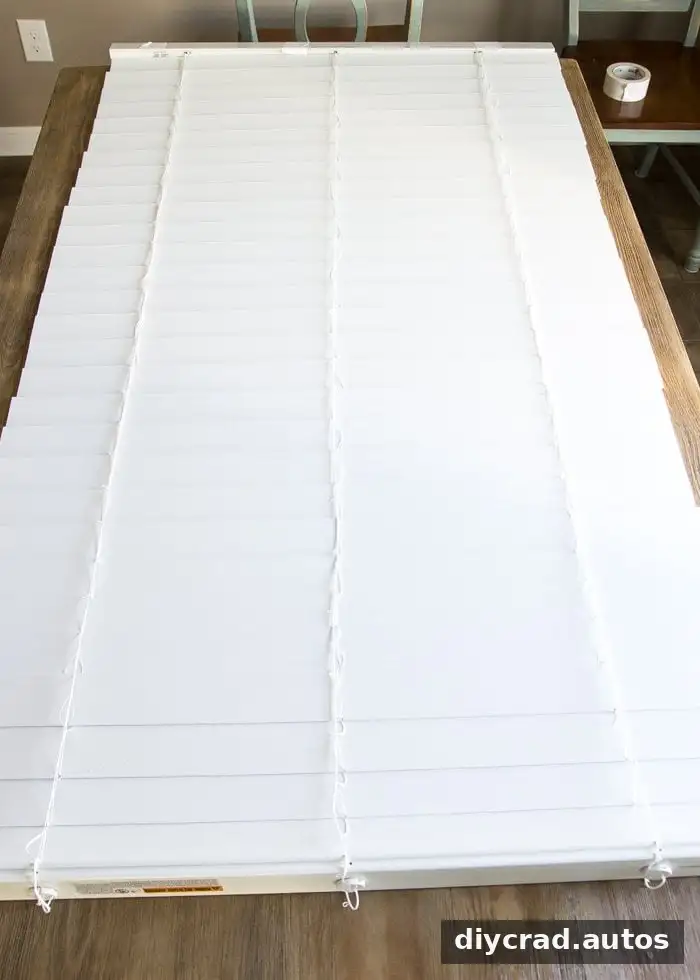
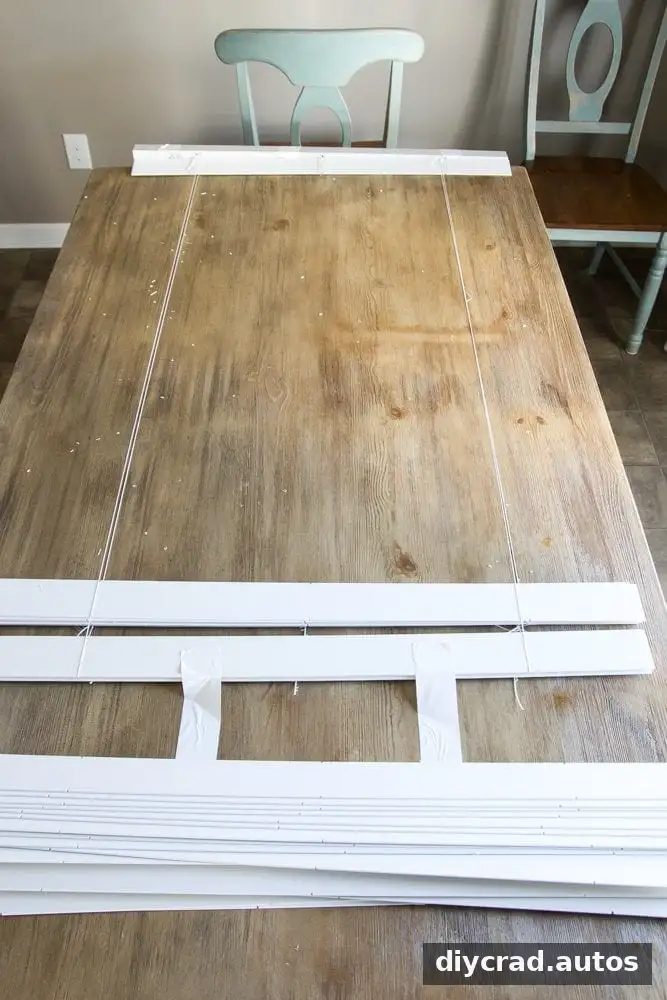
Place the blind face down on the table and extend it to the full height of the window. Cordless blinds may retract while you work, so secure the ends with duct tape if necessary. Check that the blind stays fully extended before measuring; this is a key step for getting the finished shade to the right length.
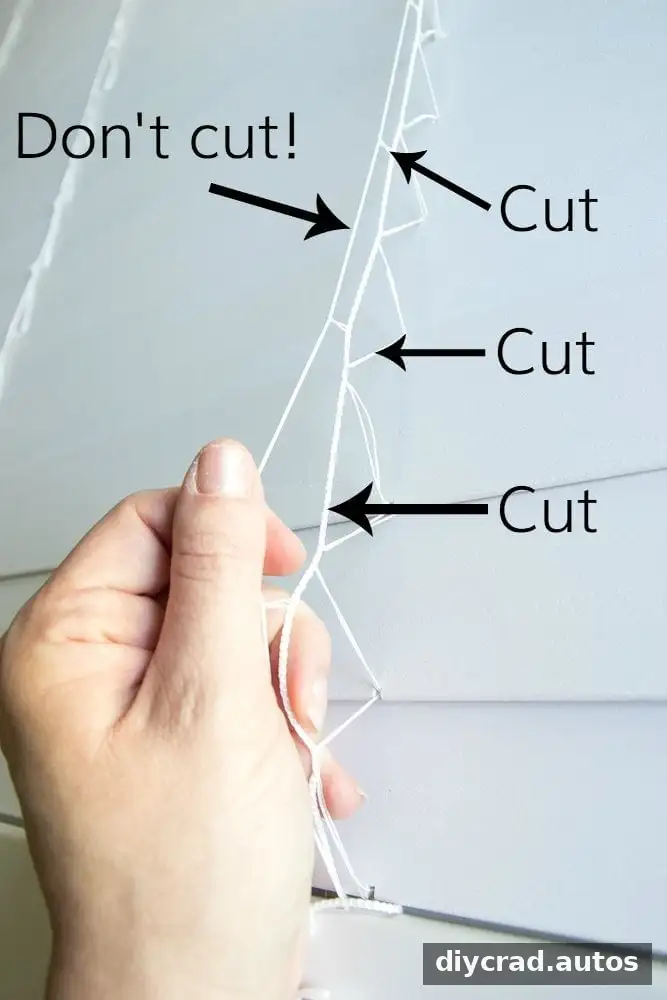
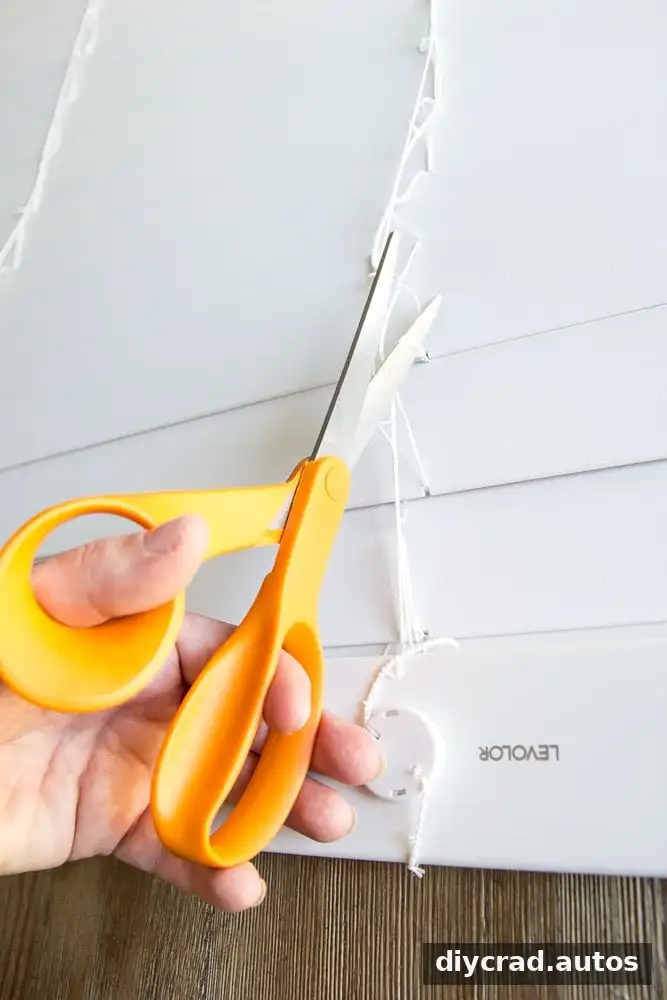
Next, identify the cords before cutting anything. Leave the smooth cord that runs vertically through the blind intact. The original method removes the rope-like cord, the ladder strings wrapped around the slats, and the loop strings around the smooth cord. Blind cord arrangements can vary, so examine the mechanism carefully and avoid cutting any part needed to raise, lower, or secure the shade.
Once the specified strings are removed, take out most of the slats, leaving about six or seven depending on the window height. A useful starting estimate is to divide the window height in inches by eight. For a 60-inch-tall window, seven slats were used. Space and appearance may vary, so lay out the slats and check their positions before attaching the fabric.
Measure and attach the fabric
Lay the fabric flat beneath the blind, with the front side facing down if the fabric has a pattern. Measure equal distances between the remaining slats and keep each one parallel to the others. Make sure the blind is still extended to the full window height before marking or gluing.
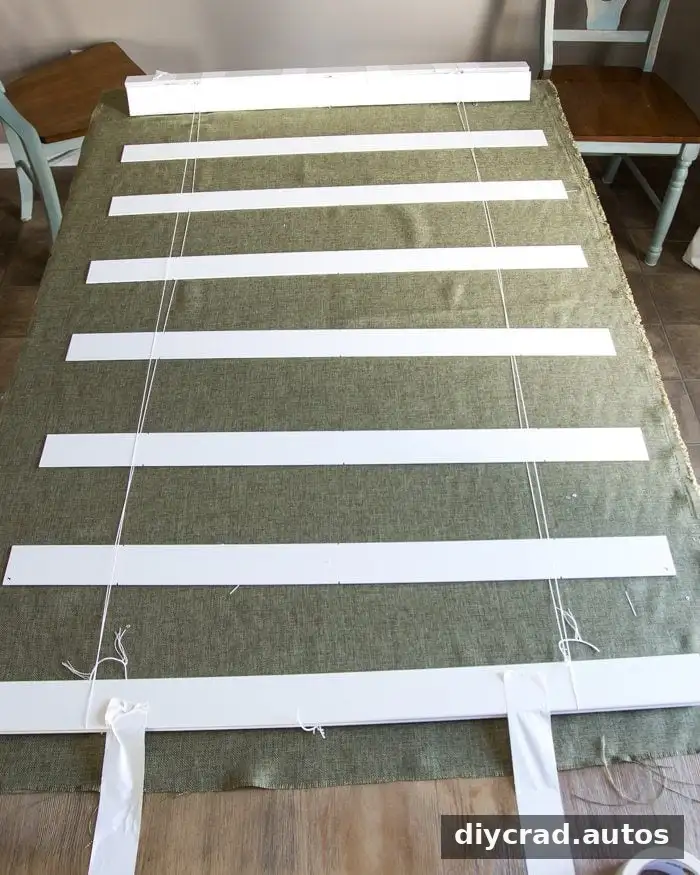
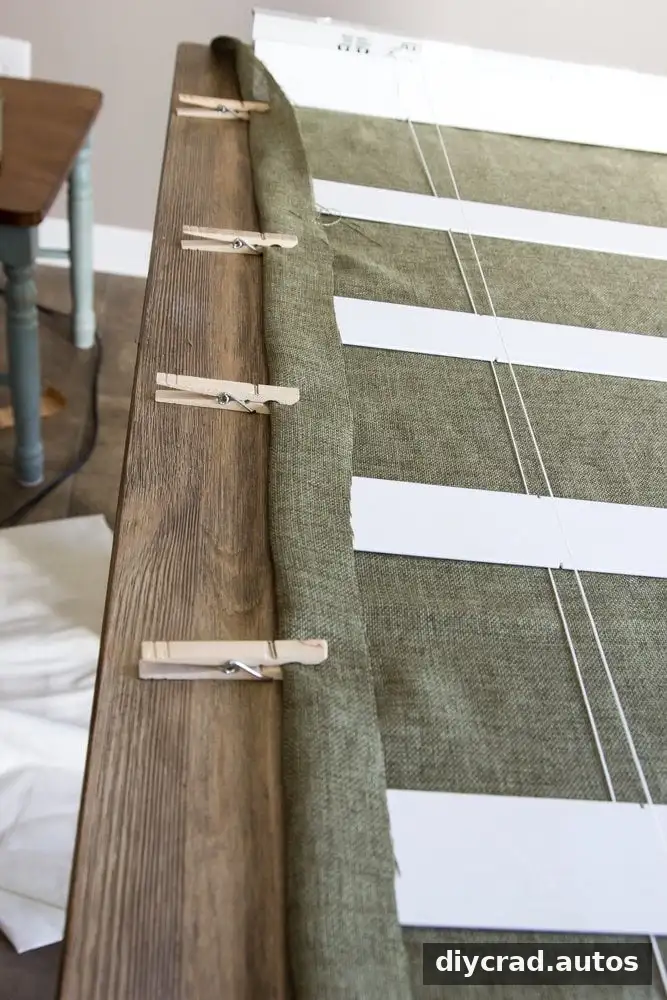
Leave about two inches of fabric beyond each side of the slats. Fold the fabric over the edges and hold it in place with clothespins. Press the folds with an iron to create neat creases for the hems, following the fabric’s care instructions.
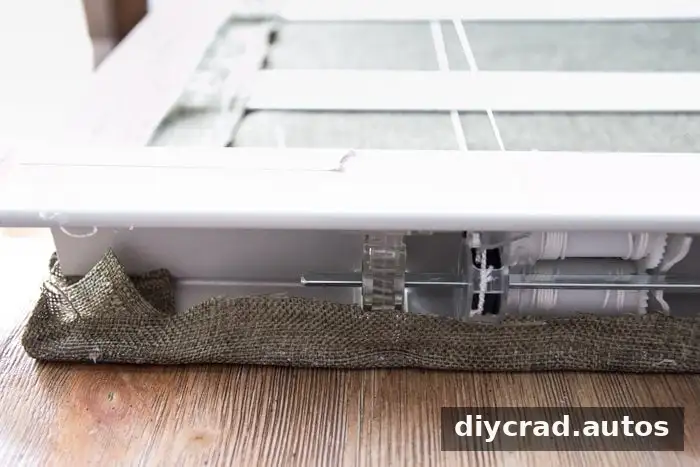
At the top of the blind, cut small fabric tabs at the sides so the material can fold around the headrail. Apply hot glue to the inside of the headrail, press the fabric into place, and use clothespins to hold it while the glue sets.
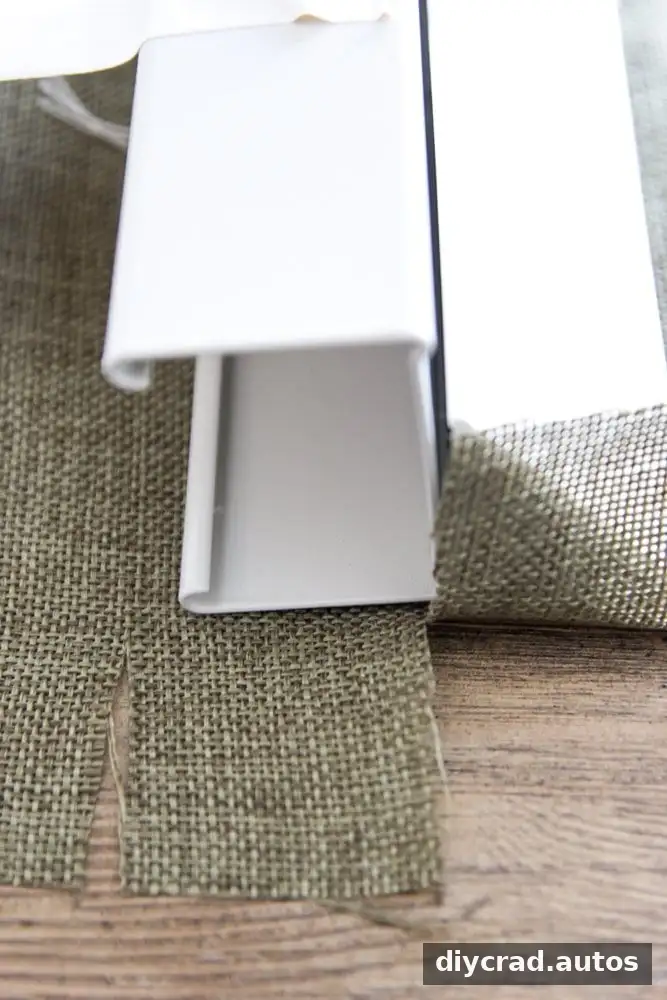
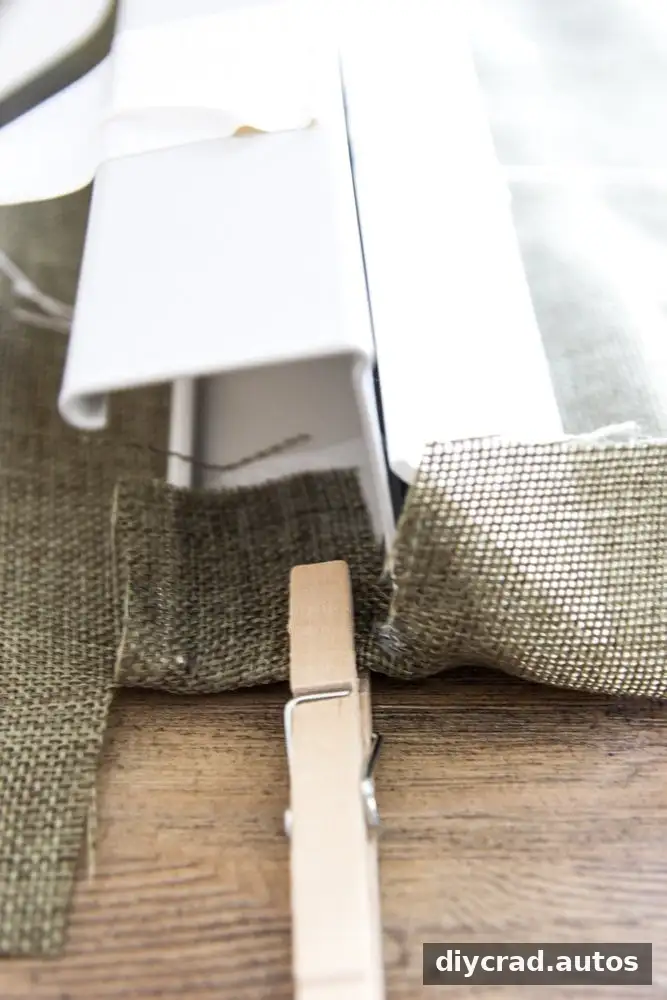
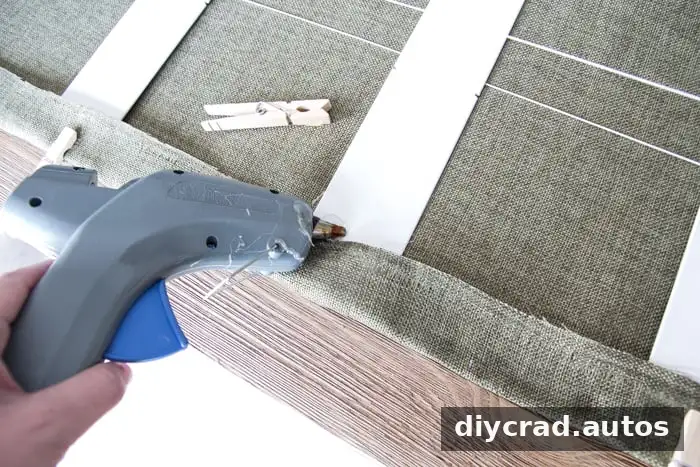
Attach the fabric to each slat one at a time. Apply a few small beads of hot glue along a slat’s edge, press the fabric over it, and secure it with clothespins. A line of glue inside the crease between each slat can help hold the folds in place. At the top and bottom, glue the fabric and fold the excess over for a finished edge.
Check the finished shade before installation
Before rehanging the shade, inspect the length, folds, and slat alignment. In the original project, one shade was too short, the slats did not line up evenly from one shade to the next, and a cotton liner would have improved the look by concealing the slats through the fabric. These are useful checks to make before you consider the work finished.
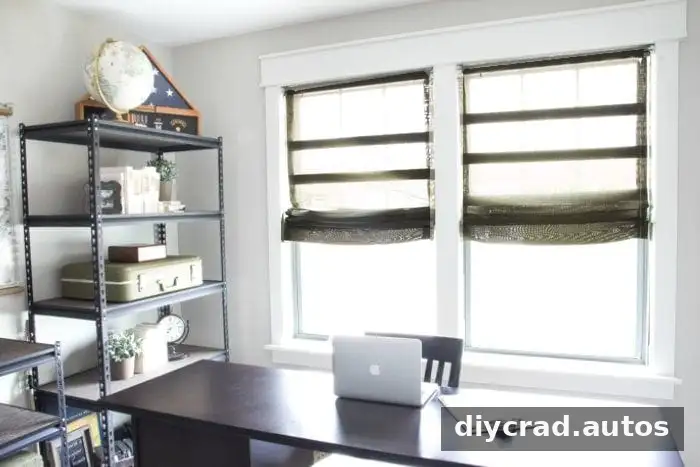
The reported material cost was $25 per shade because the blinds were already available. Your total will depend on the fabric and supplies you need to buy. Test the lifting mechanism gently after the glue has fully set, and stop if the blind catches or the cords do not move as expected.
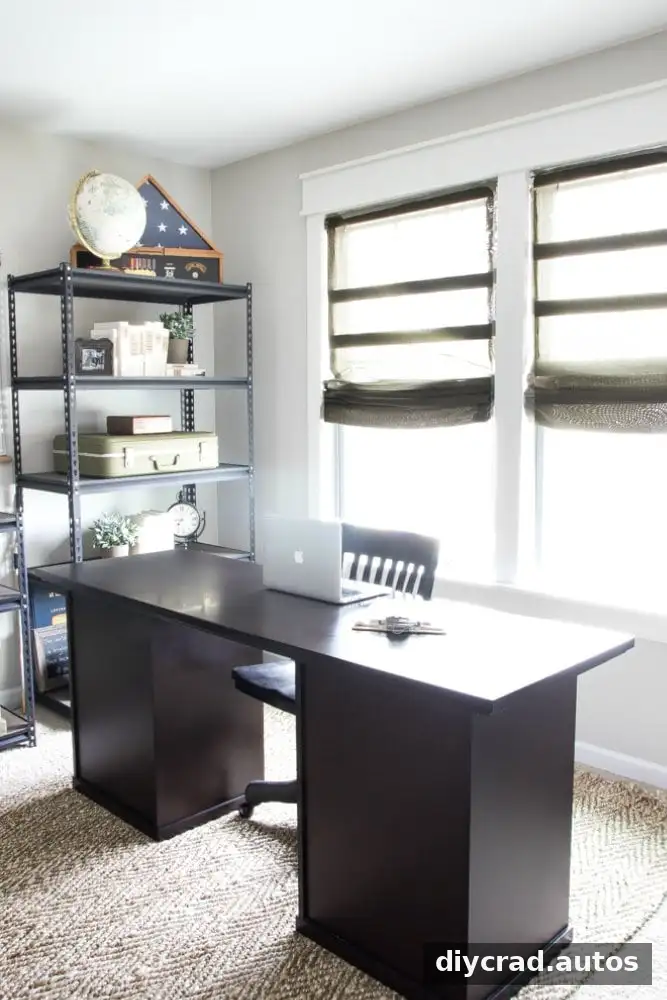
Adding fabric can transform a basic window covering and complement new window trim. If you are making more than one shade, compare their measurements and slat spacing side by side before installation for a more consistent result.
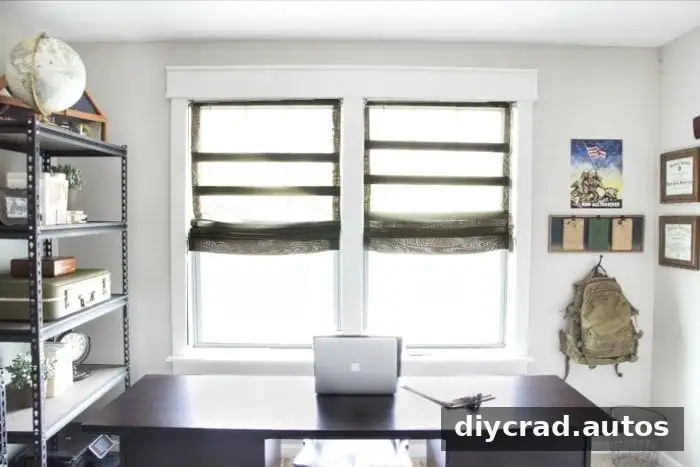
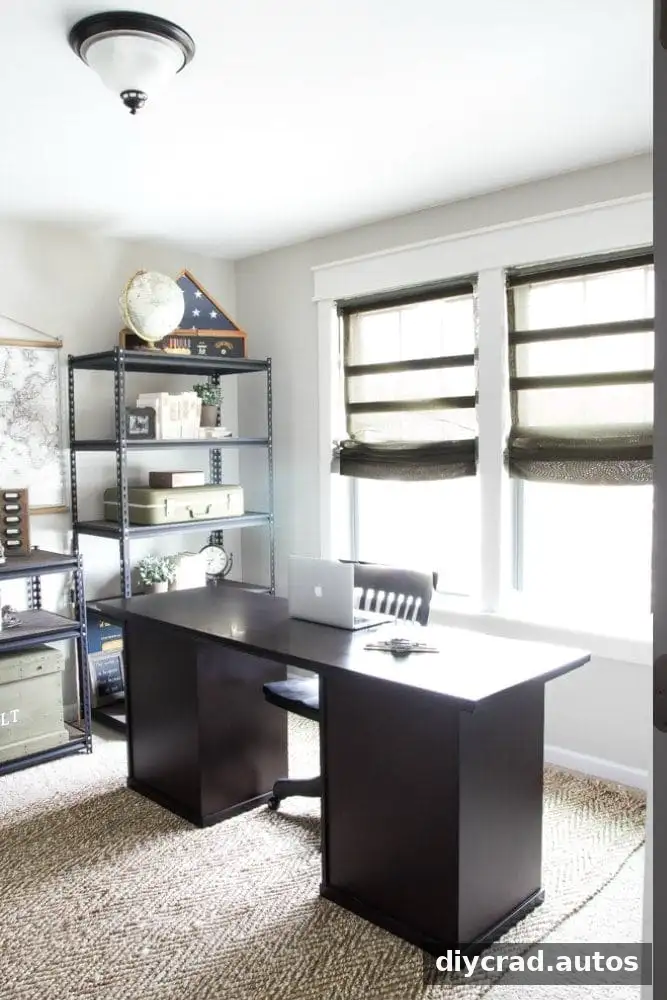
For an office makeover, Roman shades can be one part of a larger refresh alongside window trim, shelving, and practical desk accessories. Measure each window separately rather than assuming that two openings are identical.
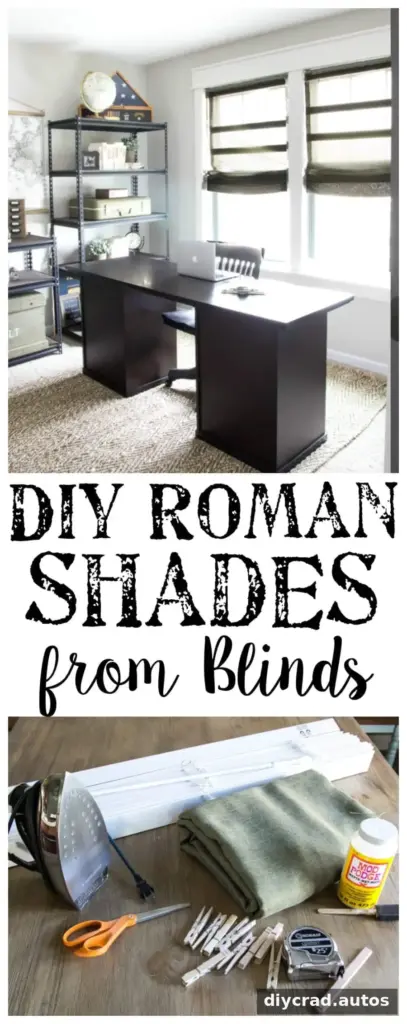
Final tips for DIY burlap Roman shades
DIY burlap Roman shades are a practical way to update existing blinds, but accurate measuring and careful cord handling matter more than speed. Keep the blind fully extended, space the slats evenly, and check the fabric alignment before the glue sets. With those steps in mind, you can create a tailored Roman-shade look while reusing blinds you already own.