

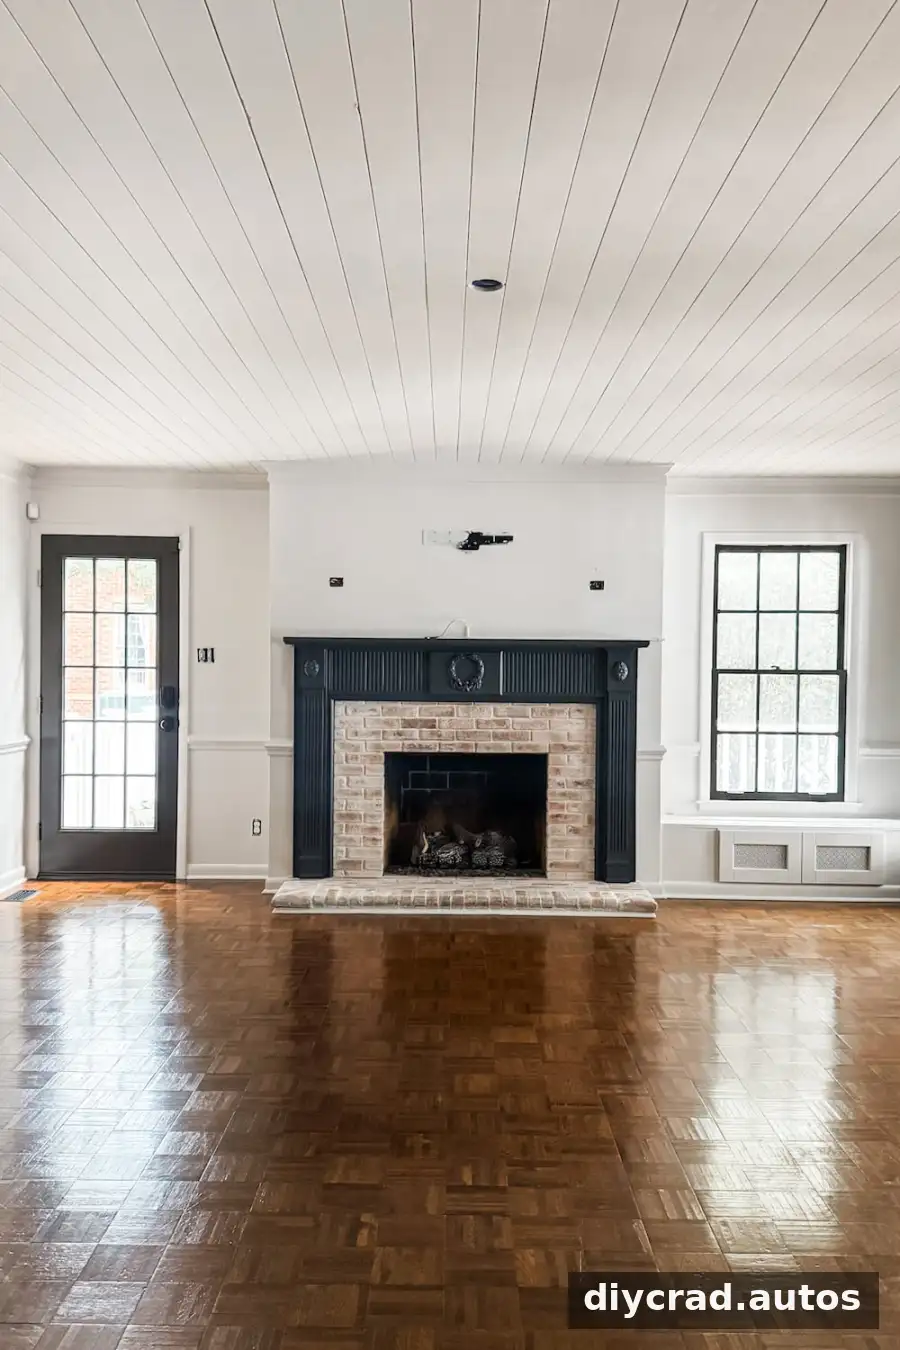
A DIY shiplap ceiling can add texture and character to a room without making the walls feel busier. In this living room, tongue-and-groove planks and traditional crown molding refreshed a flat 8-foot ceiling while keeping the finish classic rather than farmhouse-inspired. The steps below cover planning, installation, and finishing so you can assess the tools and preparation needed for your own project.
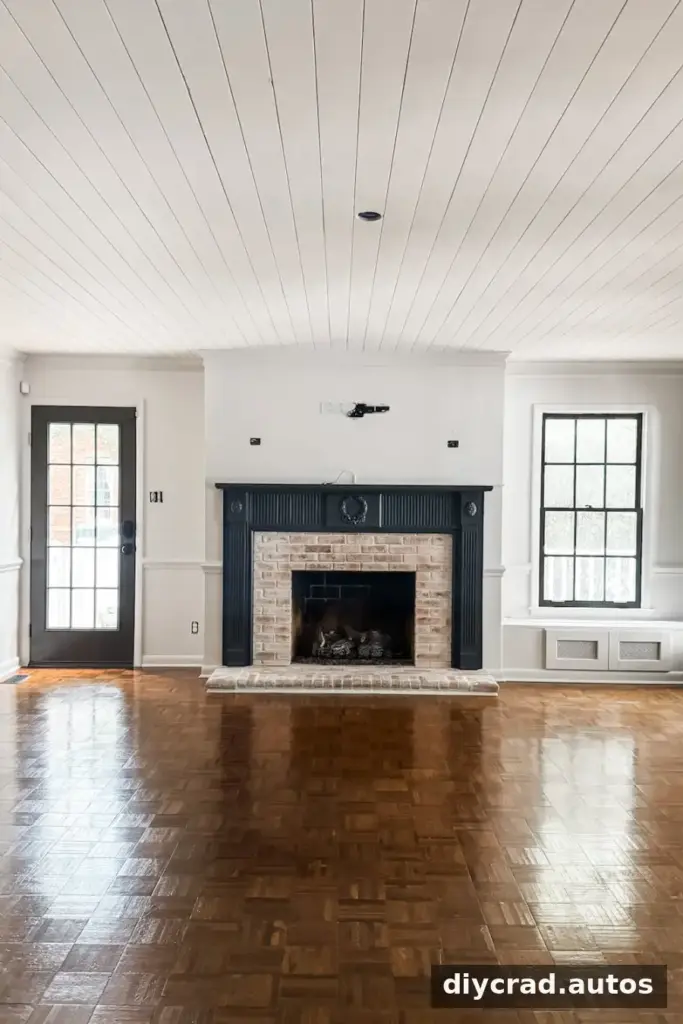
The work began as part of a larger living room makeover, after old attic fan vents and non-working ceiling speakers were removed. Before covering any ceiling, check what is above and within it: identify joists, wiring, vents, and other fixtures. Disconnect power before working near electrical components, and consult a qualified professional if their condition or location is uncertain.
DIY Shiplap Ceiling With Crown Molding: Materials and Tools
The project used pre-primed tongue-and-groove shiplap planks, construction adhesive, 2-inch 16-gauge finish nails, and a cordless nailer. A cordless drill, miter saw, coping saw, wood filler, caulk, primer, paint, drop cloths, painter’s tape, pencil, level, and chalk line are also useful. A drywall sander and shop vacuum are optional, but can help manage sanding time and dust.
Measure the ceiling carefully before buying materials. The original project allowed about 10% extra plank material for cuts and waste. Check the manufacturer’s installation instructions as well, particularly for fastening requirements and whether the ceiling surface is suitable for the chosen boards.
1. Remove Existing Trim
Carefully take down the existing trim and crown molding to create a clear edge for the planks. Work slowly to reduce damage to the wall and molding, especially if you plan to reuse the trim. Set aside reusable pieces and their fasteners.
2. Measure the Ceiling and Plan the Layout
Record the ceiling’s length and width, then estimate the number of planks required. Test the layout with a scrap piece before installation. This helps reveal whether the final row may become an awkward narrow strip near the wall, crown, or fireplace. Adjusting the starting position early can make the finished edges look more balanced.
3. Mark a Center Line
Find the ceiling’s center and snap a chalk line as a guide. Starting at the center can help distribute cuts more evenly across both sides of the room. Use a level or other appropriate measuring method to confirm the layout before attaching the first board.
4. Prepare the First Plank
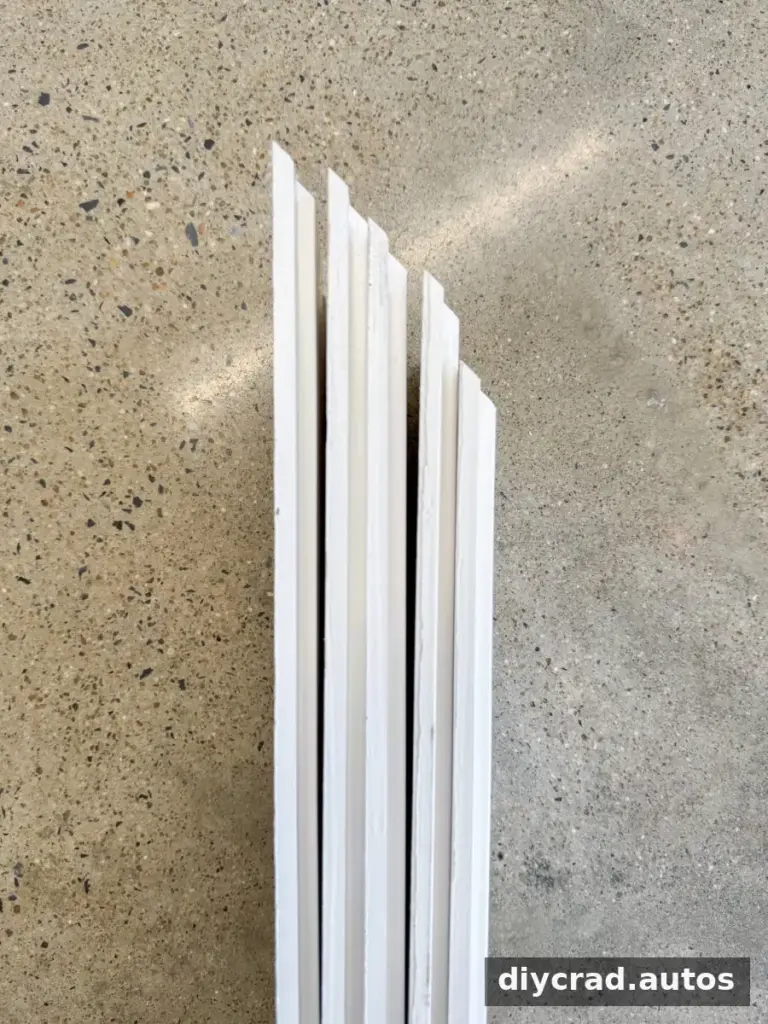
Cut one end of the first plank at a 45-degree angle with a miter saw, as done for this installation. Measure each cut carefully and follow safe saw practices. A test fit with a short offcut can help confirm the angle and placement before cutting the full board.
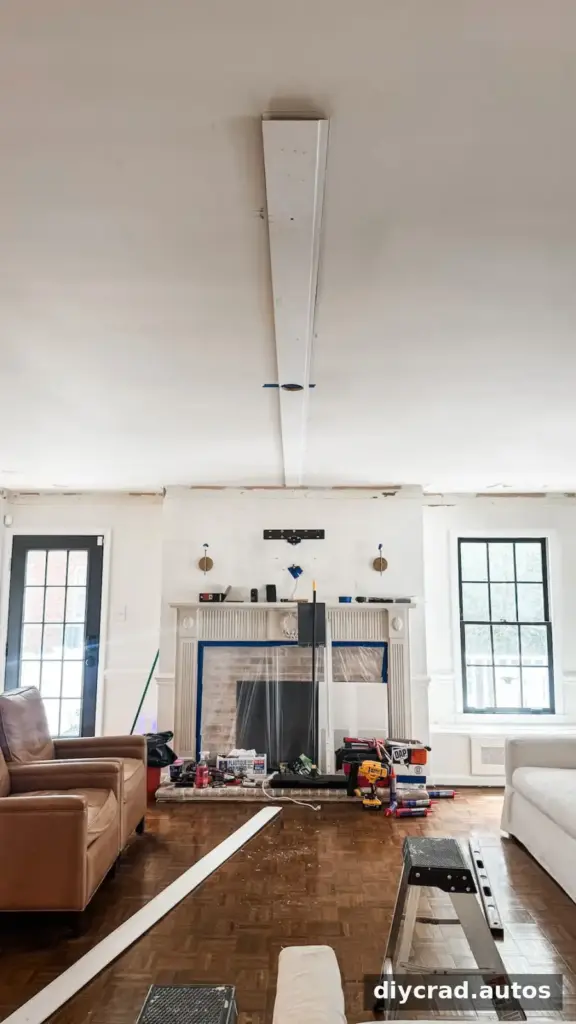
5. Install the First Plank
Apply construction adhesive to the back of the plank and secure it with 2-inch 16-gauge finish nails using a cordless nailer. Whenever possible, drive fasteners into ceiling joists for added support. Locate the joists before beginning and follow the adhesive and plank manufacturers’ directions; adhesive should not replace required mechanical fastening.
6. Continue Across the Ceiling
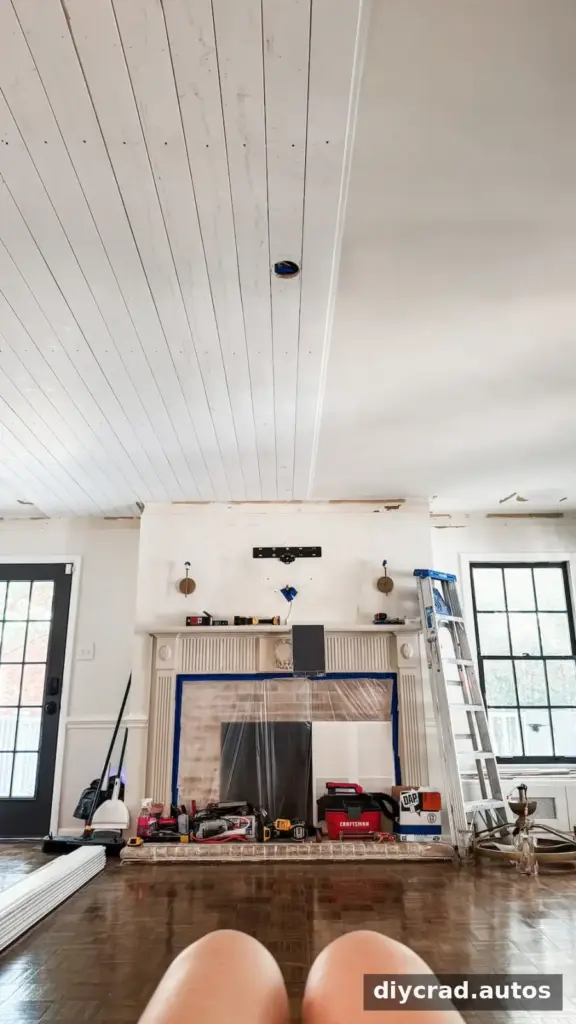
Work outward from the center line, fitting the tongue-and-groove edges together. In this project, adhesive was applied every 3–4 boards, and the ends were cut on a bevel to create consistent-looking seams. Check alignment regularly as you go, since small shifts can become more noticeable across a large ceiling.

7. Cover the Ceiling
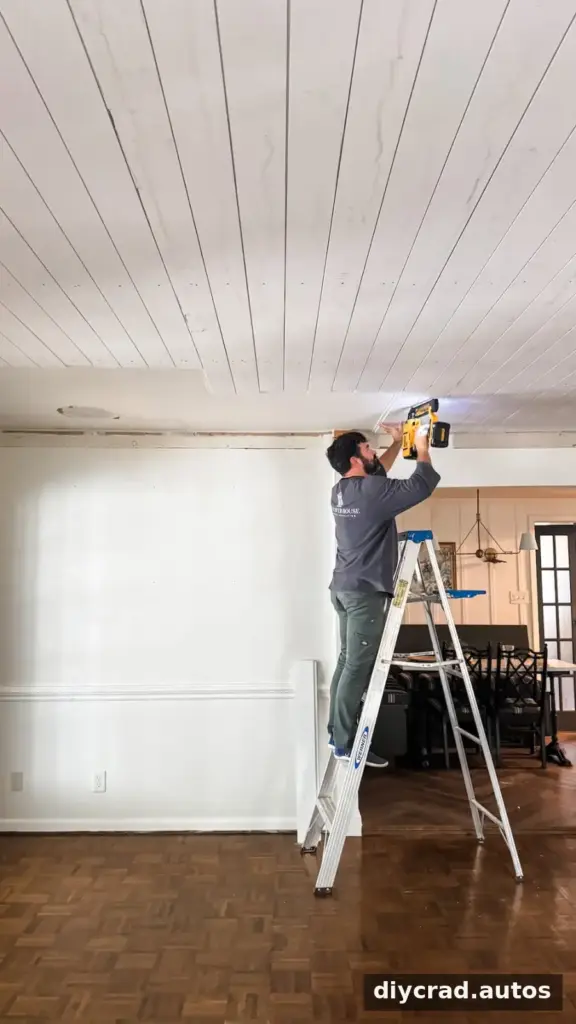
Continue fitting and nailing planks until the ceiling is covered. Overhead work involves repeated ladder use and can be tiring, so plan breaks and have a helper support long boards when possible. Keep the work area clear and use stable, correctly positioned access equipment.

8. Reinstall or Add Crown Molding
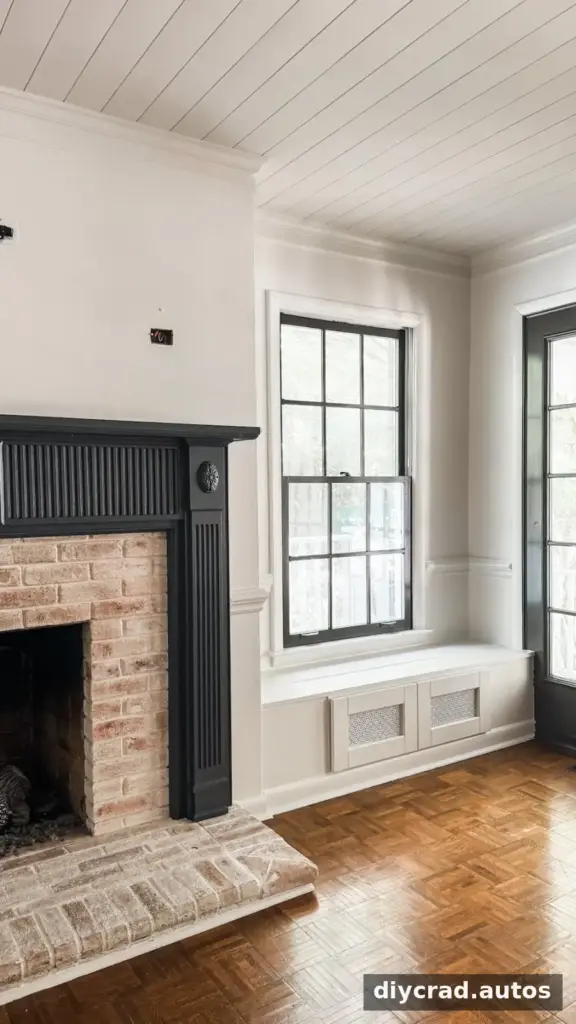
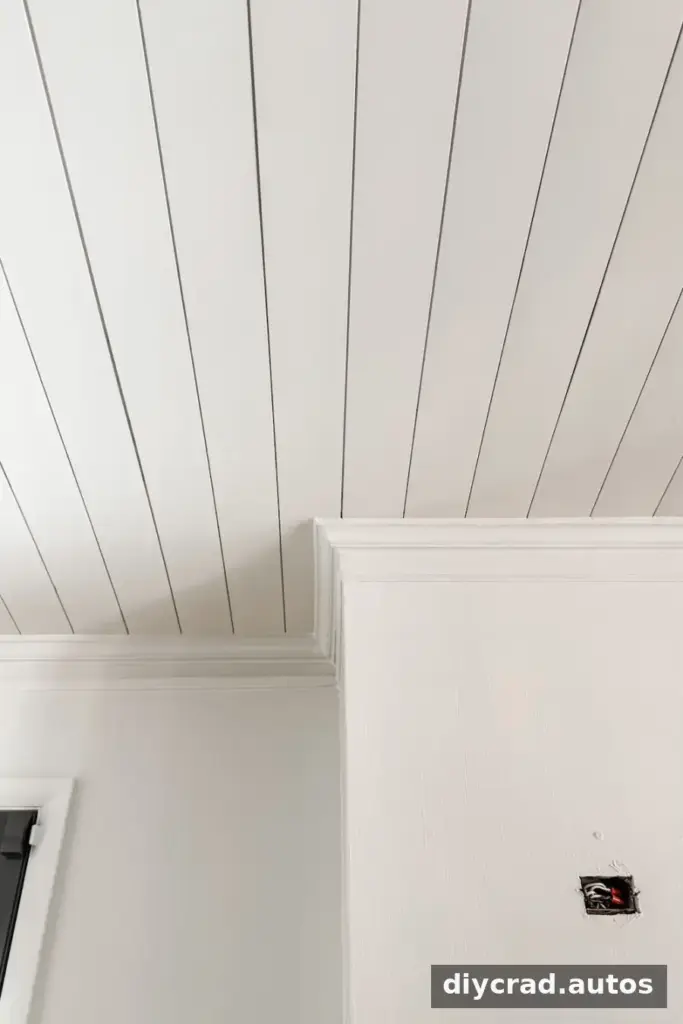
Crown molding finishes the perimeter and can conceal the edges of the planks. The existing molding was reused in this room. For new molding, a coping saw can help create close-fitting inside corners. Dry-fit pieces before nailing, and make sure the molding is secured appropriately to the wall or ceiling framing.
9. Fill Nail Holes and Caulk Gaps
Apply wood filler to nail holes and visible seams. Caulk the joints where the crown meets the wall and ceiling for a neat transition. Allow filler and caulk to dry according to their product instructions before sanding or painting.
10. Sand and Remove Dust
Sand the filled areas until they feel smooth. A drywall sander with a vacuum attachment and extension was used for this project; an orbital sander is another option for smaller areas. Wear suitable eye and respiratory protection, and remove dust thoroughly before priming.
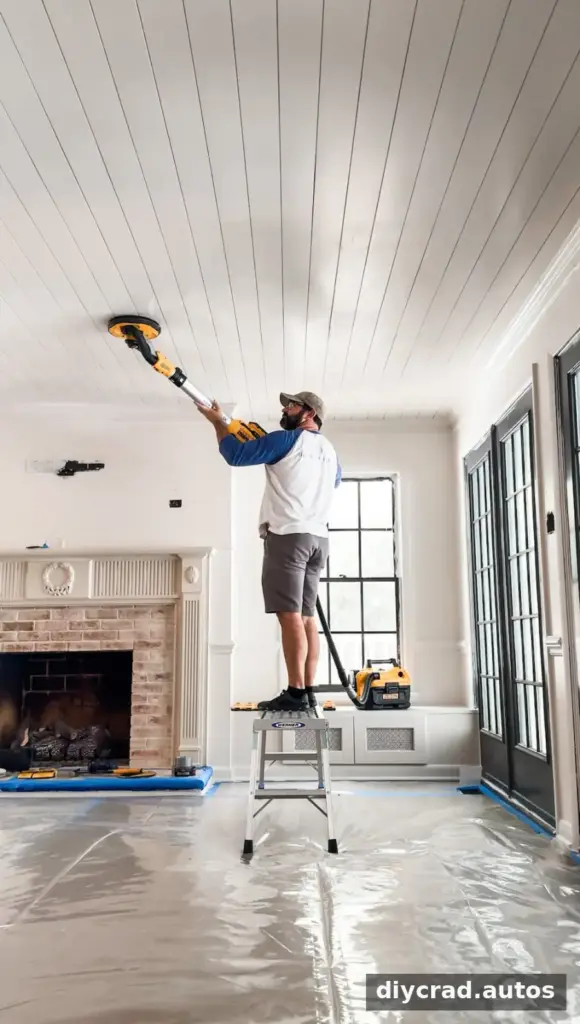
11. Prime and Paint
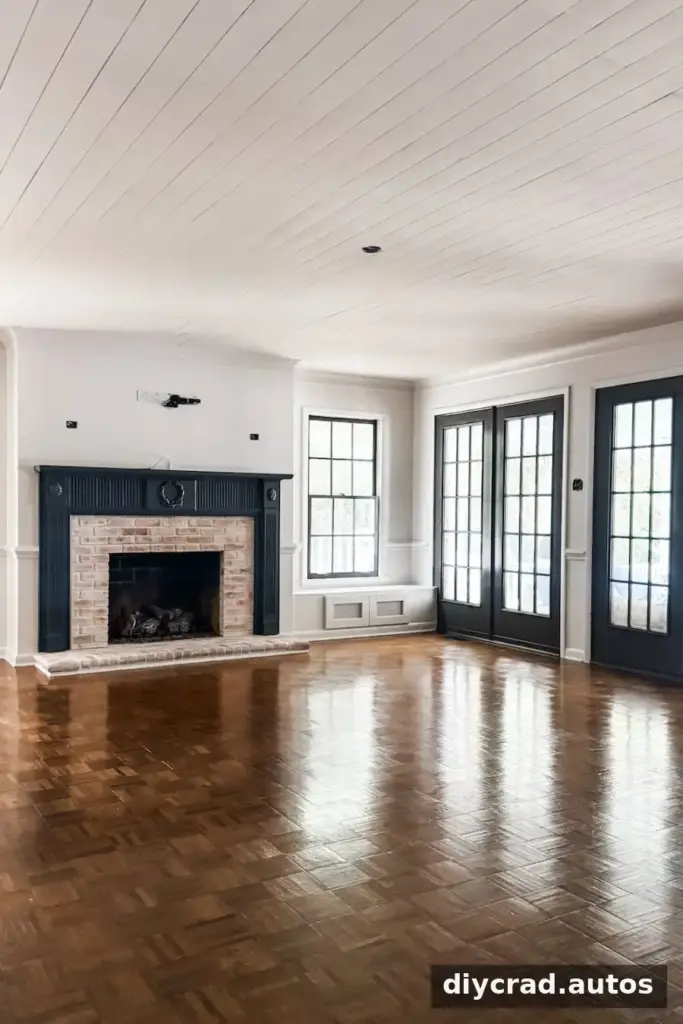
After cleaning up the sanding dust, prime the ceiling and apply paint according to the product directions. The planks were painted in Limewash, a creamy off-white shade. The mantel was painted in Temptation for contrast. Test paint colors in the room first, since daylight and artificial lighting can affect how they appear.
The Finished DIY Shiplap Ceiling
The completed ceiling adds visible texture while keeping the room’s overall look light. On this 8-foot ceiling, the pale paint and defined crown molding bring attention upward without relying on a strong wall pattern. Plank direction, paint color, and trim profile can all influence how the ceiling feels, so consider the room’s proportions when planning your own design.
A shiplap ceiling may also be considered when covering an existing ceiling finish, but first check that the surface and supporting structure can safely accommodate the added material. For popcorn ceilings or any surface that may contain hazardous material, identify what it is before disturbing it and seek qualified guidance when needed. Once installation is complete, finish the room with lighting and furnishings that suit the updated ceiling.
With careful measuring, secure fastening, and time for filling and painting, a DIY shiplap ceiling can be a practical way to introduce architectural detail. Planning the layout and checking the ceiling structure before work begins are two of the most useful steps for achieving a clean, durable result.

