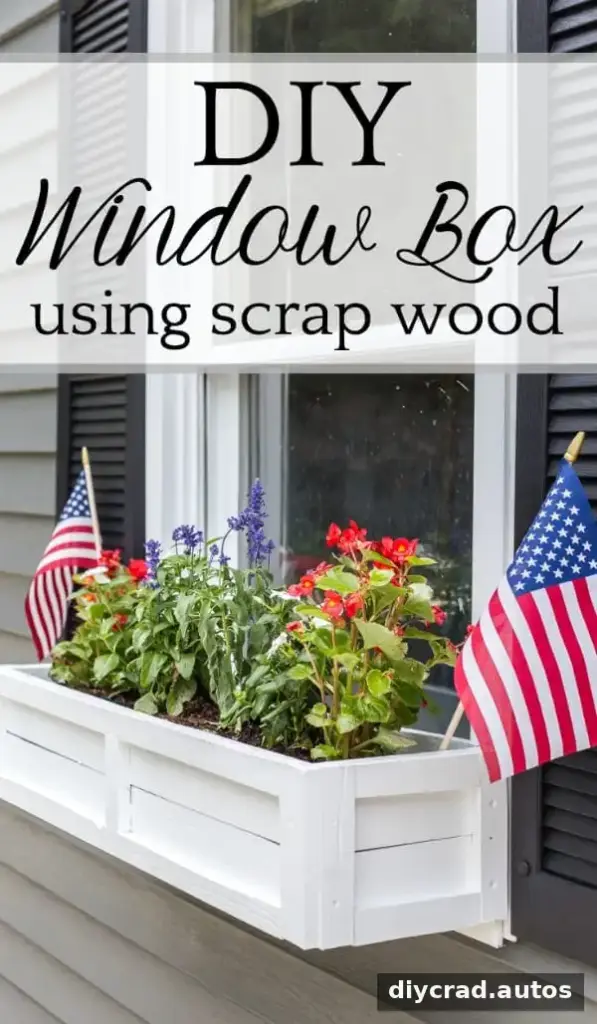
A DIY window box made from repurposed scrap wood is a practical way to add color and curb appeal without buying a ready-made planter. With leftover fence boards, basic tools, exterior paint, and a liner, you can build a custom box sized to fit your window. The project described here was made with spare boards and leftover paint, keeping new material costs low.
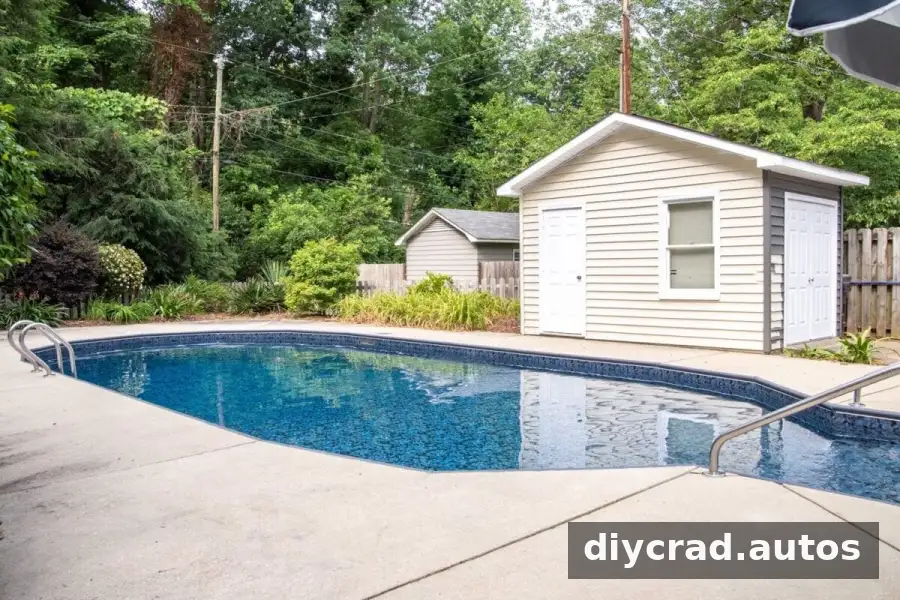
After refreshing a backyard pool shed with paint, the exterior still needed a finishing touch. A window box added detail and made the shed feel more inviting.
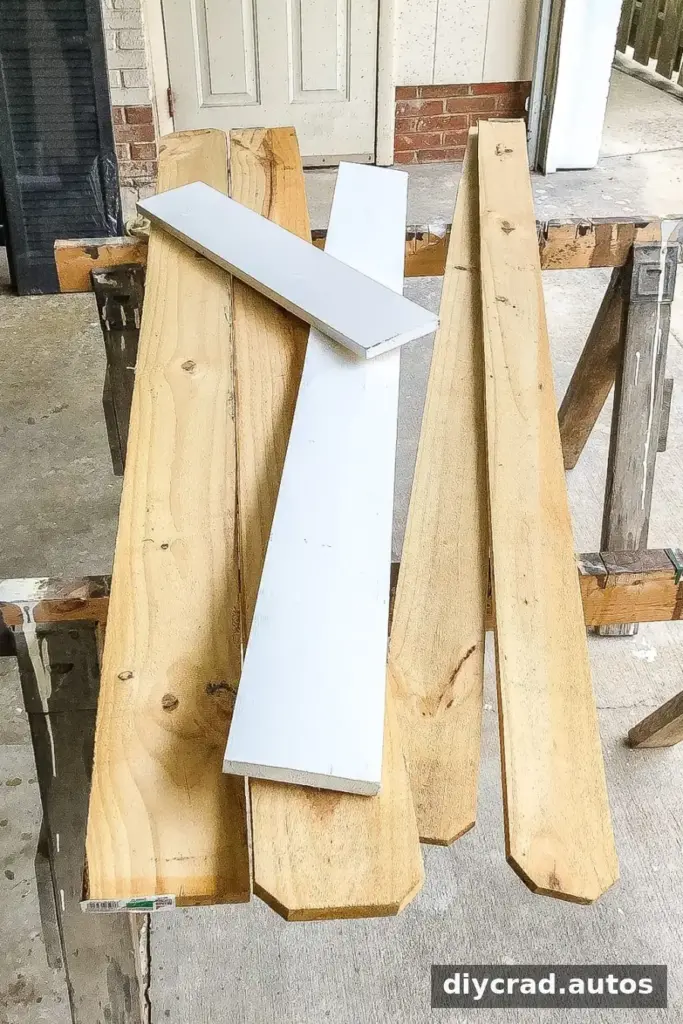
Four leftover fence boards provided the main material for this build. The exact board sizes can vary: measure your liner first, then adapt the cuts to the wood you have. Reusing sound, straight scrap is a useful way to reduce waste and make a planter that suits your space.
DIY Window Box Supplies and Tools
Gather the following materials and tools before starting. You may be able to substitute tools or adjust board dimensions to match your available lumber.
- 4 fencing boards
- 1×2 boards
- Tape measure and pencil
- Circular saw (a table saw can also be used to rip boards)
- Brad nailer or hammer
- Power drill or driver and bits
- Wood screws and finishing nails
- Square tool and framing square
- Galvanized L brackets
- Wood filler and medium-grit sandpaper
- Primer and exterior paint
- Paint brush or paint sprayer
- Window box liner, potting soil, and flowers
How to Build a DIY Window Box
- Measure the liner. Use a tape measure to record the liner’s width, length, and depth. Add the thickness of the side-running boards to the relevant measurements. An additional 1/4 inch was allowed for easier insertion of the liner. Checking these dimensions before cutting helps avoid a box that is too tight.
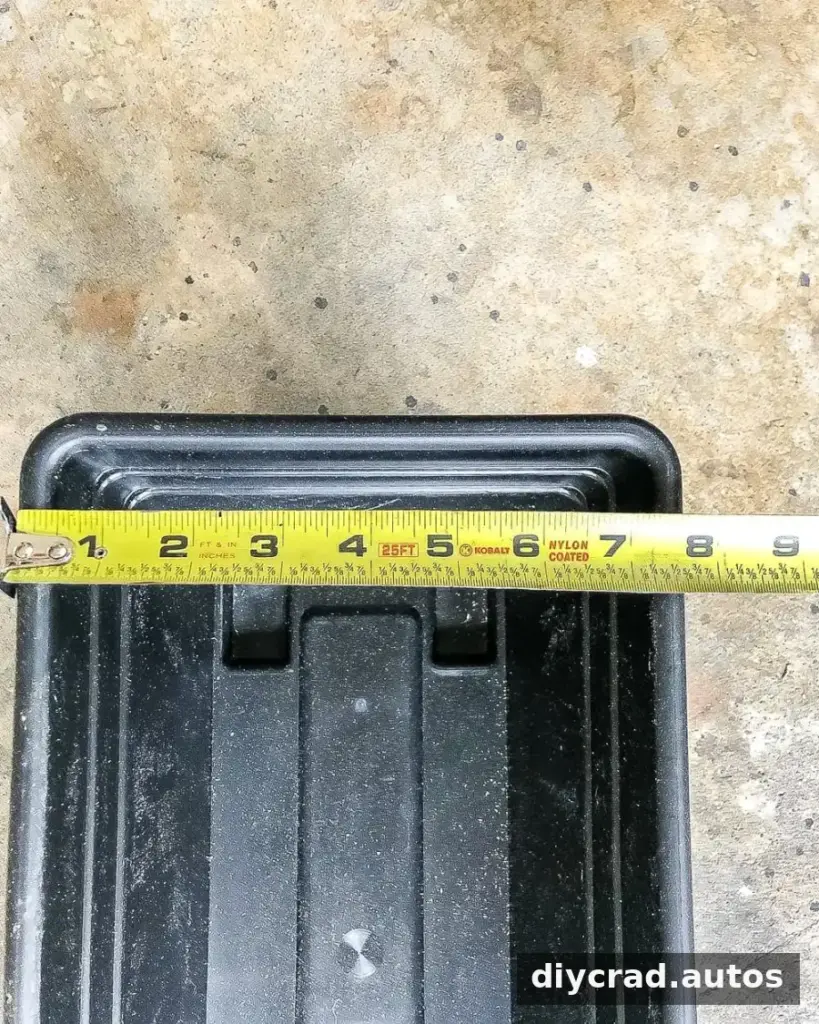
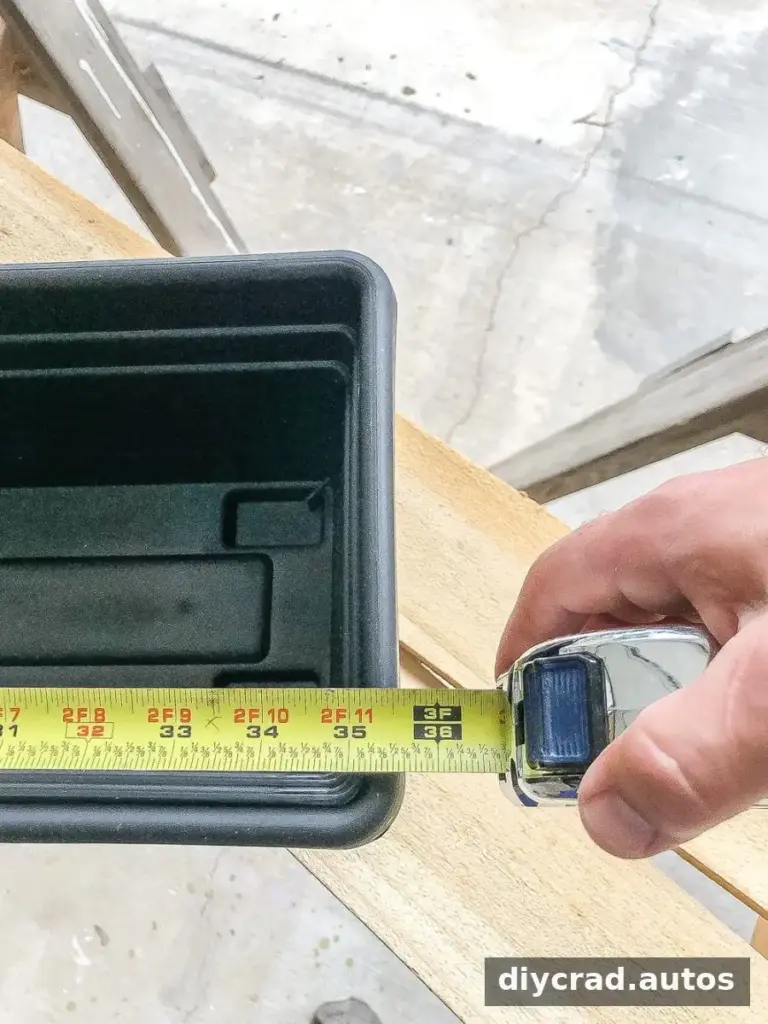
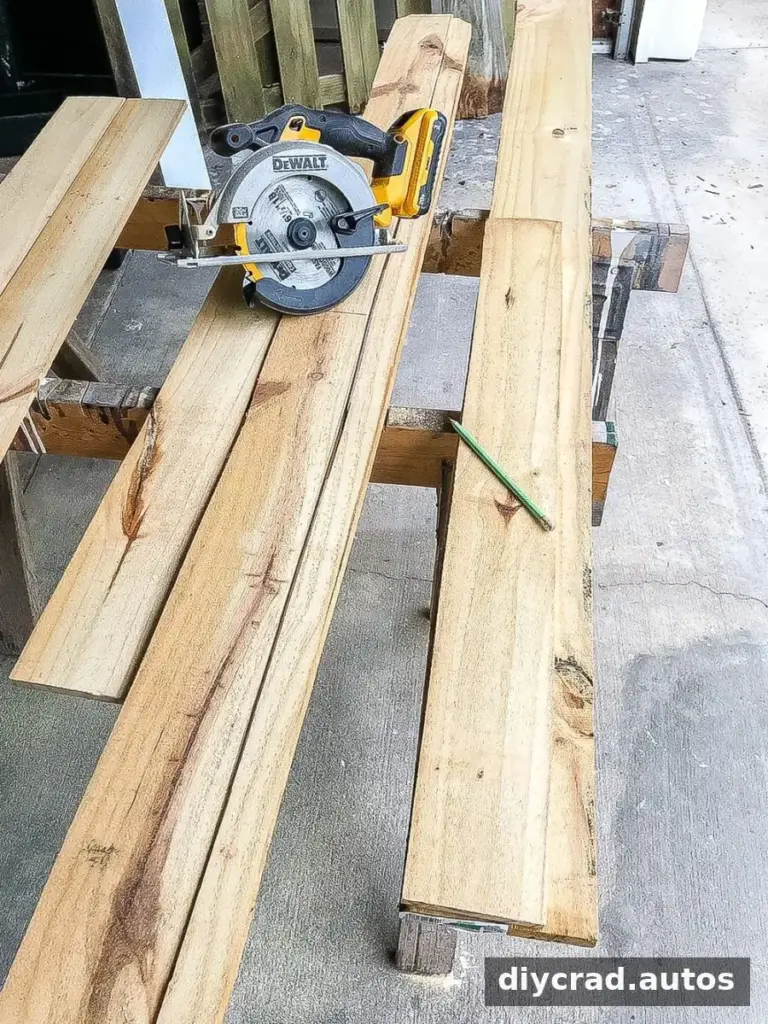
- Adjust board width if needed. If the available boards are too wide, rip them lengthwise with a circular saw or table saw to get the width required for your design. Follow the saw’s safety instructions and support the wood securely while cutting.
- Mark the pieces. Use the liner measurements, pencil, and square to mark the wood. Recheck the marks before cutting, especially if several pieces need to match.
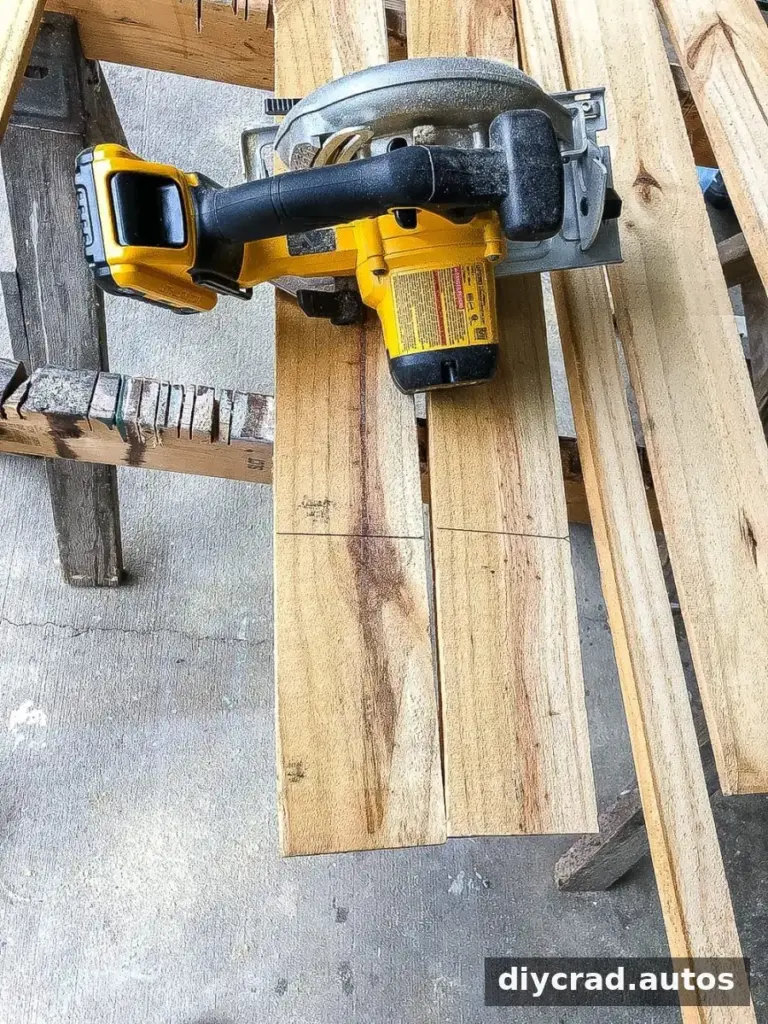
- Cut the boards. Cut the marked pieces with a circular saw. Keeping corresponding pieces the same length helps the box assemble evenly.
- Build the first corners. Screw the end pieces to the longer pieces at right angles to form the first part of the box. A square can help keep the corners aligned while you fasten them.
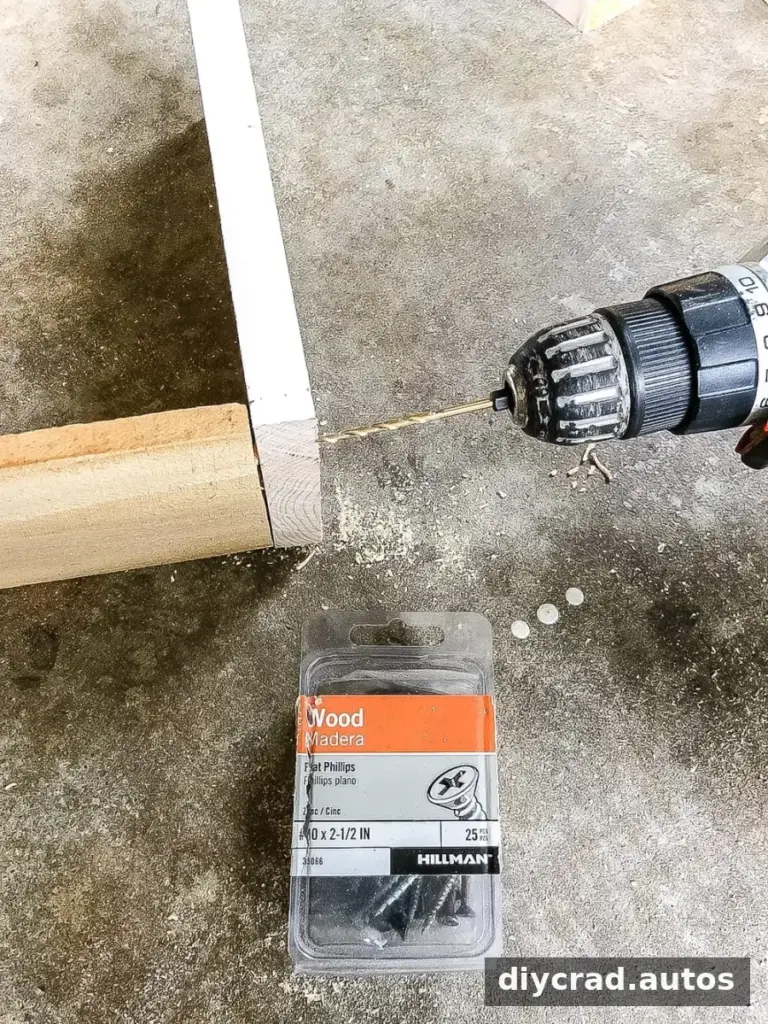
- Complete the sides. Repeat the assembly on the other side until the four-sided box is formed. Check that the structure sits evenly before moving on.
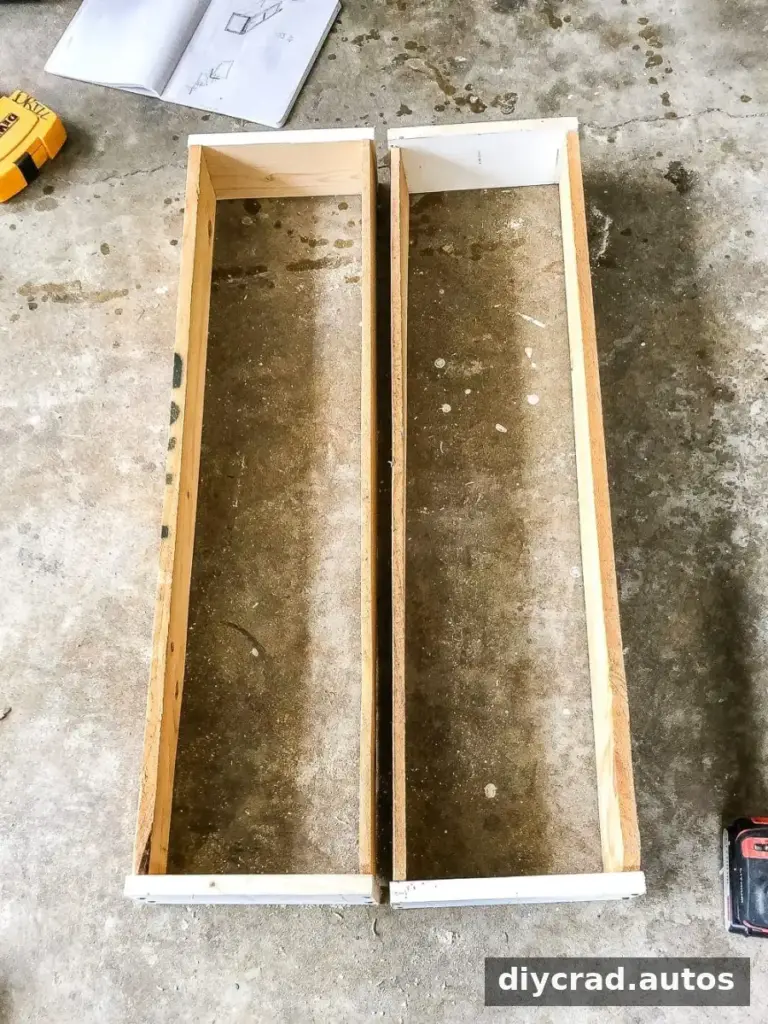
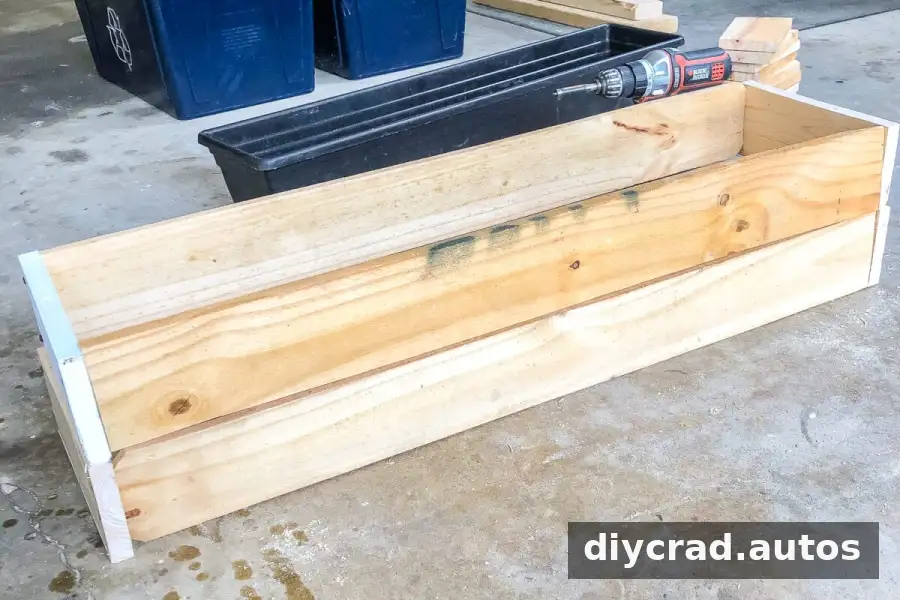
- Add the 1×2 trim and supports. Cut 1×2 boards to fit the top, bottom, and side edges, then attach them with screws or nails. In this design, the boards help secure the two small boxes together, one above the other. Keep the back—the side that faces the window—flush by leaving off the 1×2 pieces there.
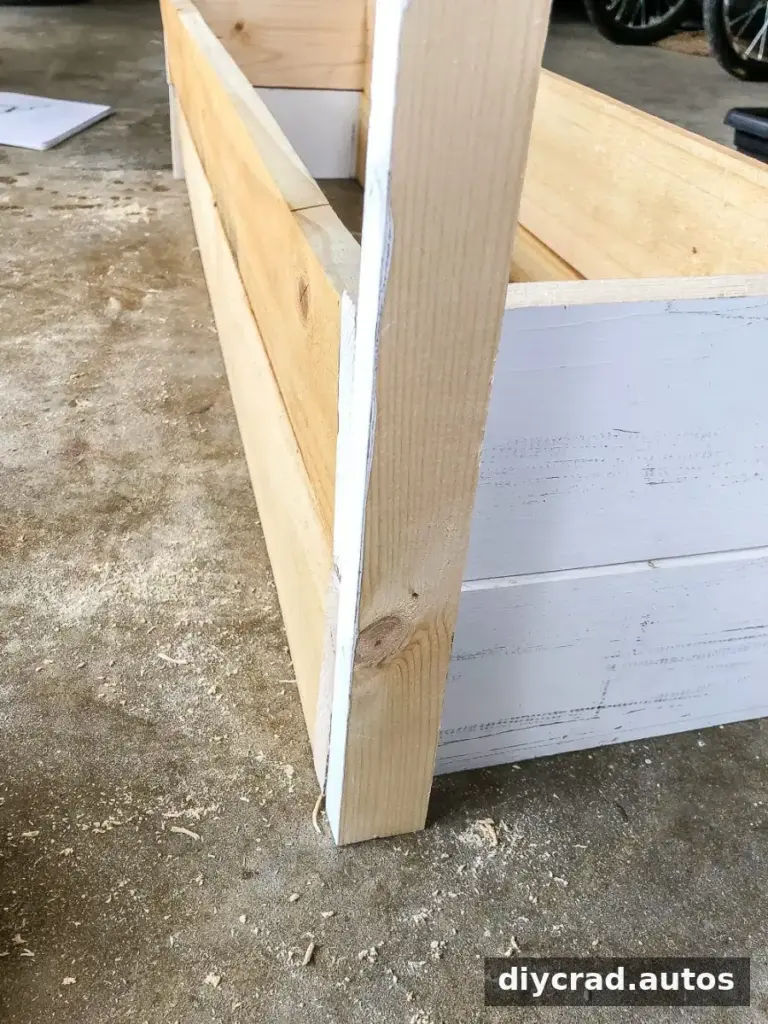
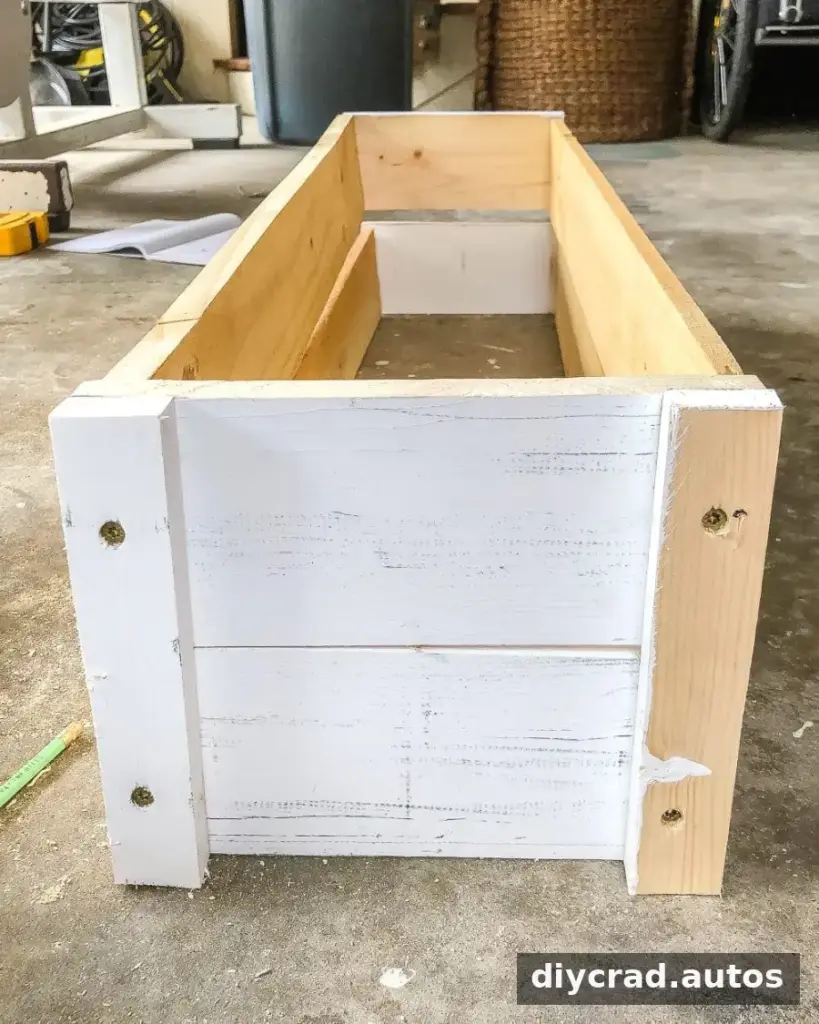
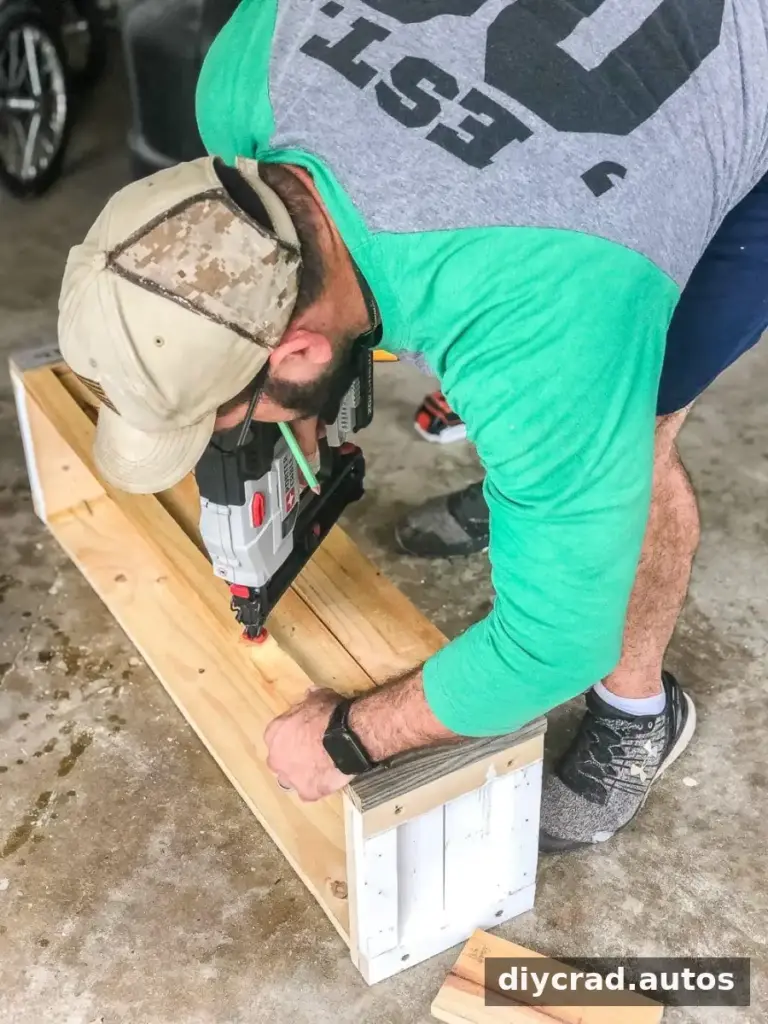
- Fit the bottom boards. Measure and cut three wood pieces for the bottom, then screw them in place with large gaps between them. The spaces allow water to move through rather than collect in the wooden box.
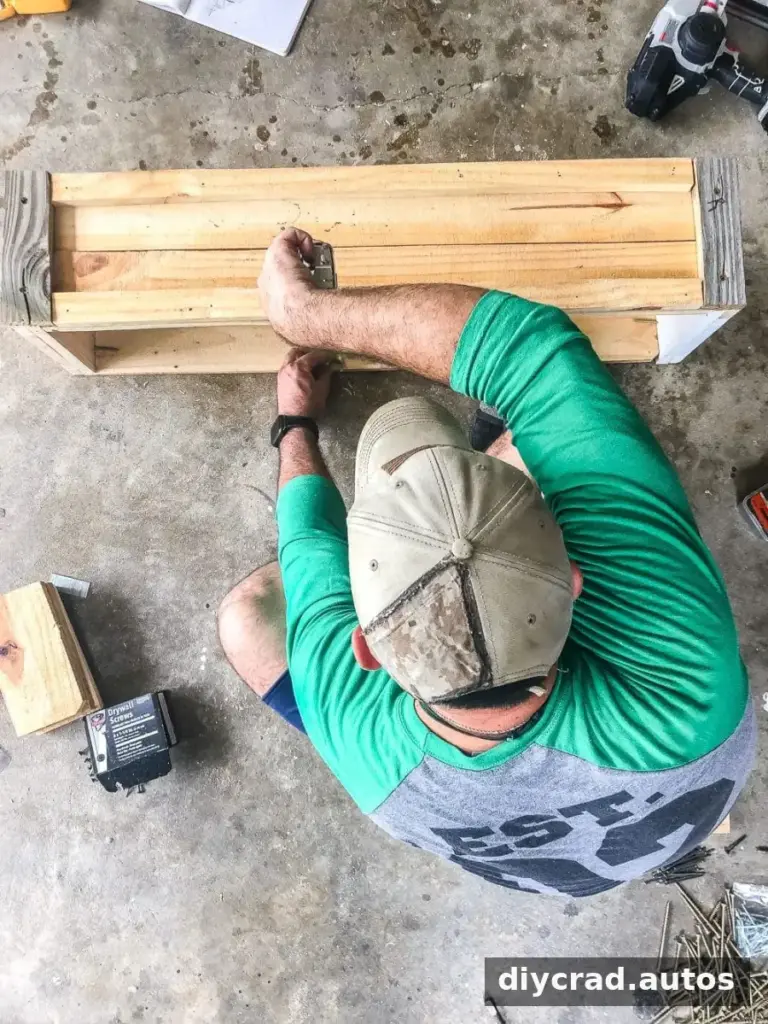
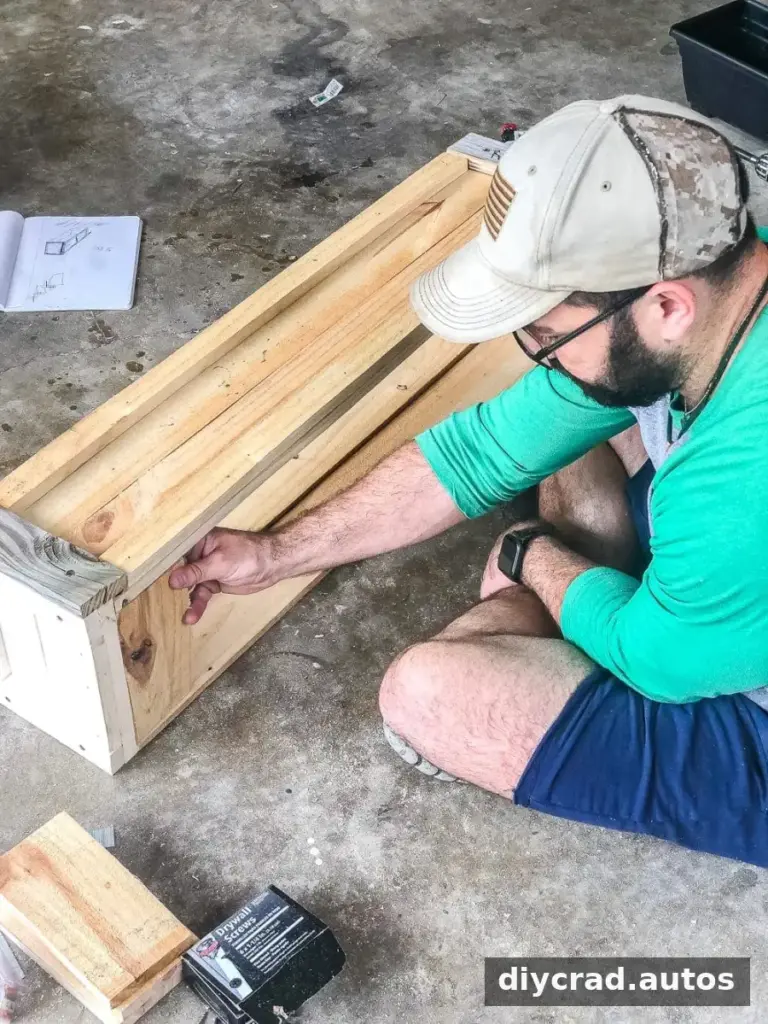
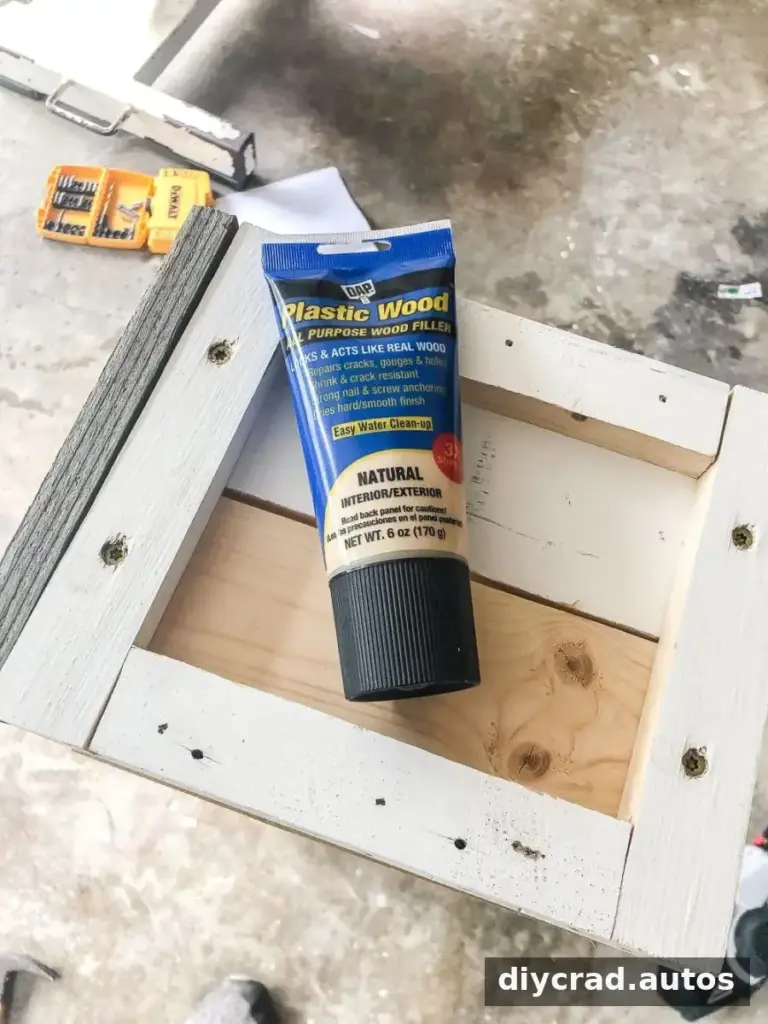
- Fill and sand. Cover visible screw holes with wood filler. Let the filler dry, then sand the repaired areas smooth so the finish looks neater.
- Prime the wood. Apply primer before painting. Follow the product directions for drying time.
- Paint the box. Use exterior paint to help the finish suit outdoor use. Apply it with a brush or sprayer, covering the exposed surfaces.
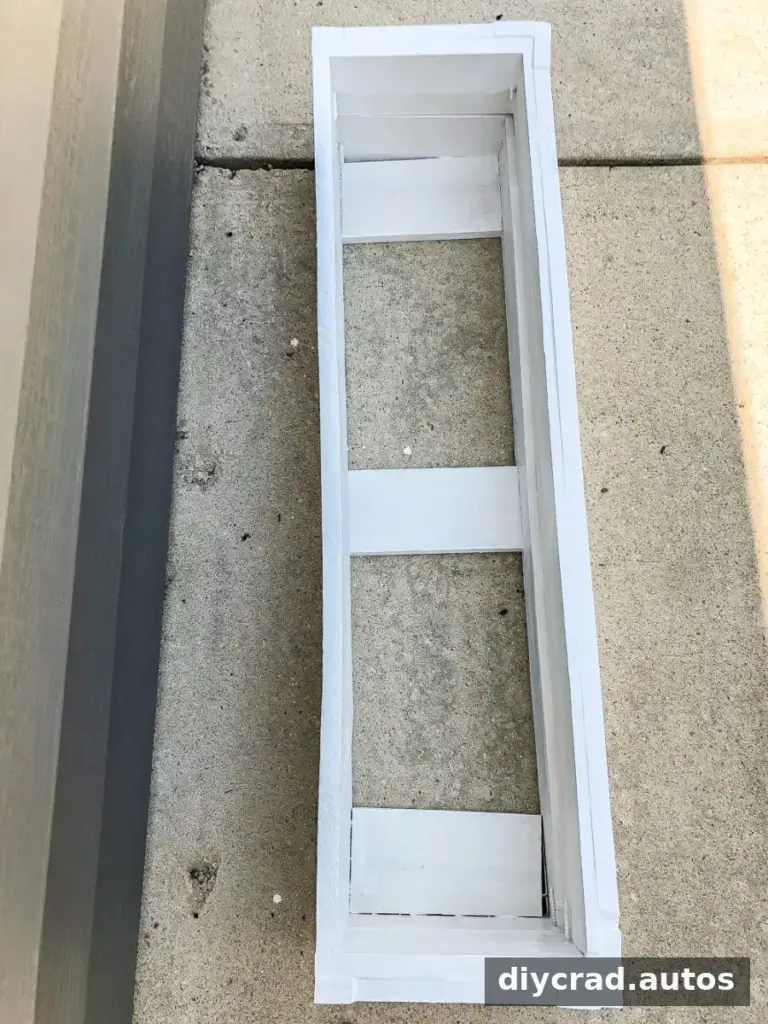
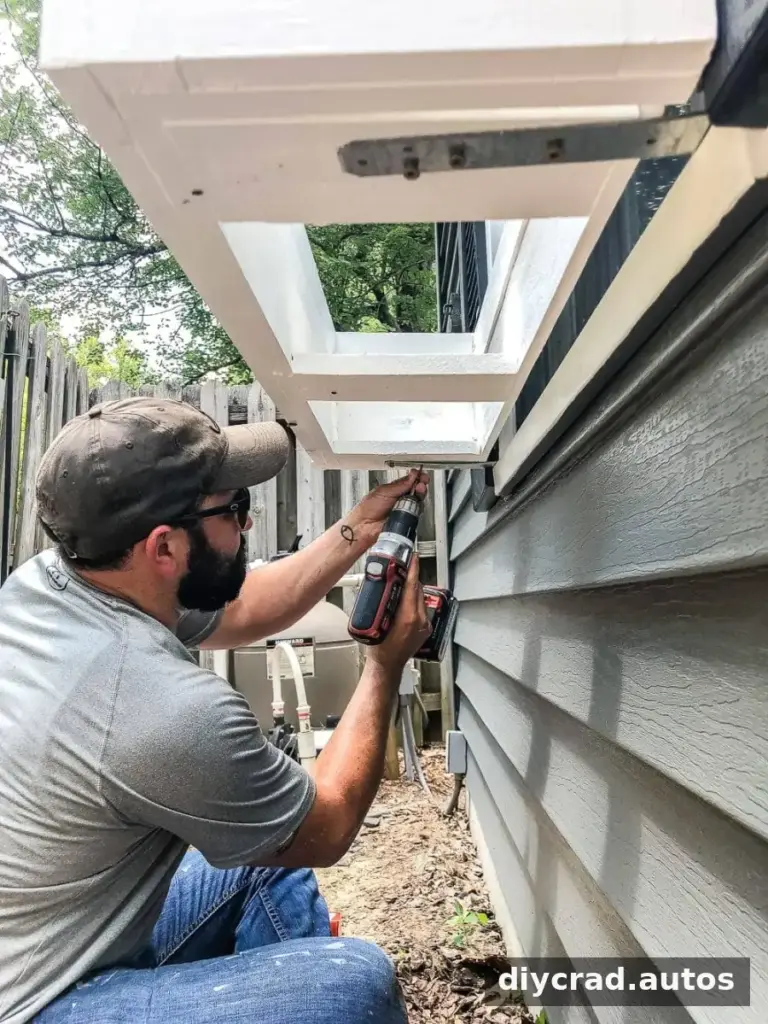
- Install the L brackets. Screw galvanized L brackets below the window to support the box. The original placement was adjusted because the windows were low; position the brackets to suit the specific window and keep the box from sitting too close to the ground. Make sure the mounting surface and fasteners are appropriate for the load.
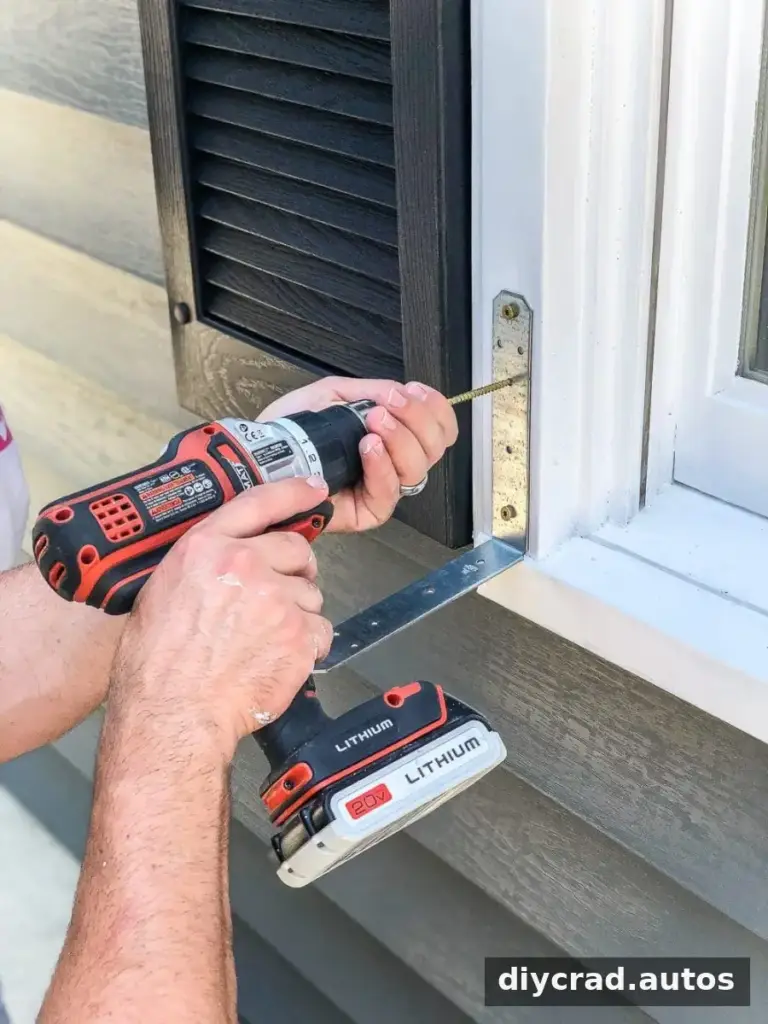
A helper can make the installation easier, particularly when holding the box in position.
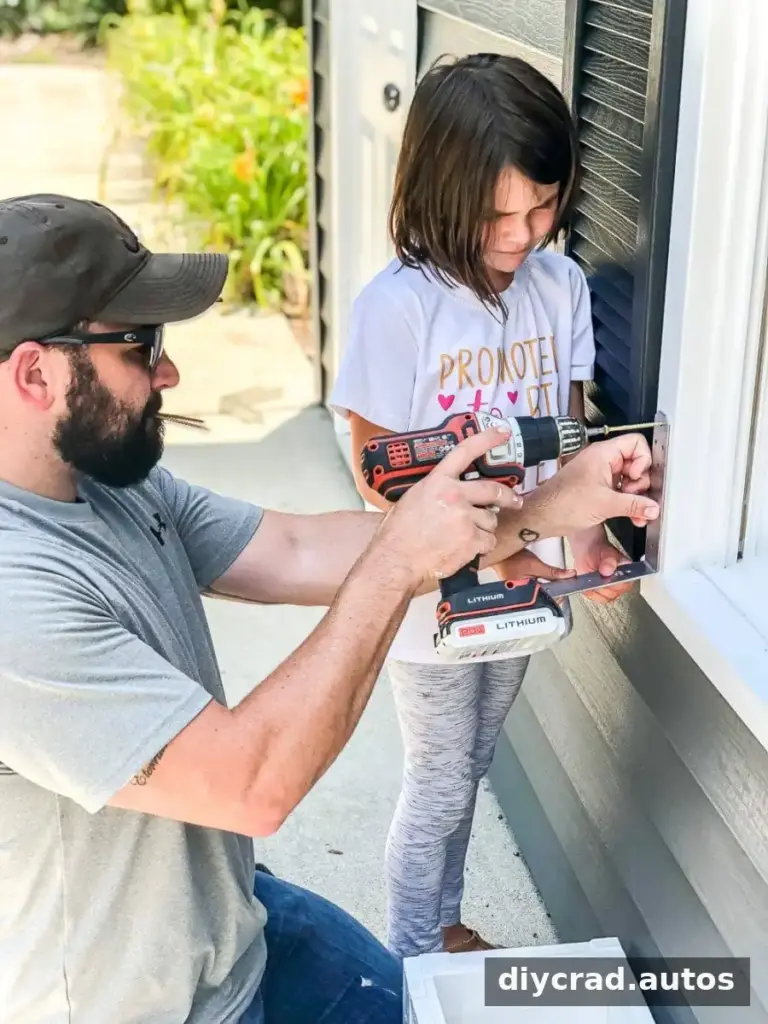
- Secure the box. Set the window box onto the brackets and screw the brackets to its bottom. Check that the box is stable before adding soil and plants.
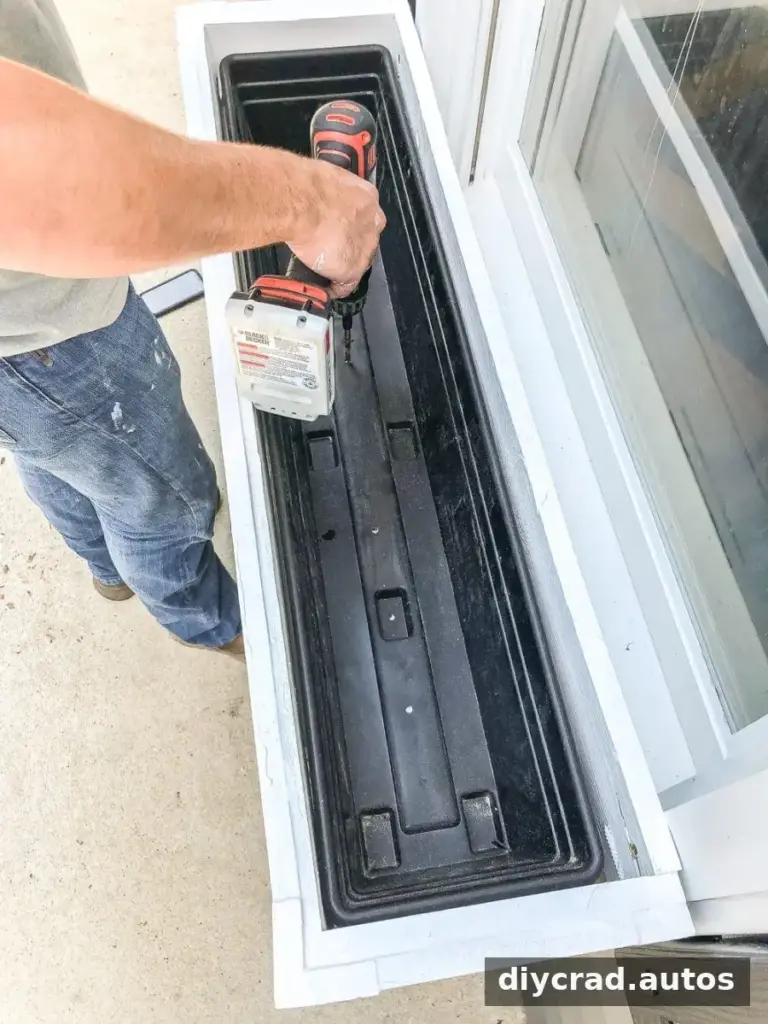
- Add the liner and drainage. Place the liner inside the box and make large drainage holes in the bottom as needed. Good drainage helps prevent excess water from collecting around the plants.
- Plant the flowers. Add potting soil to the liner, plant flowers of your choice, and water them according to their needs.
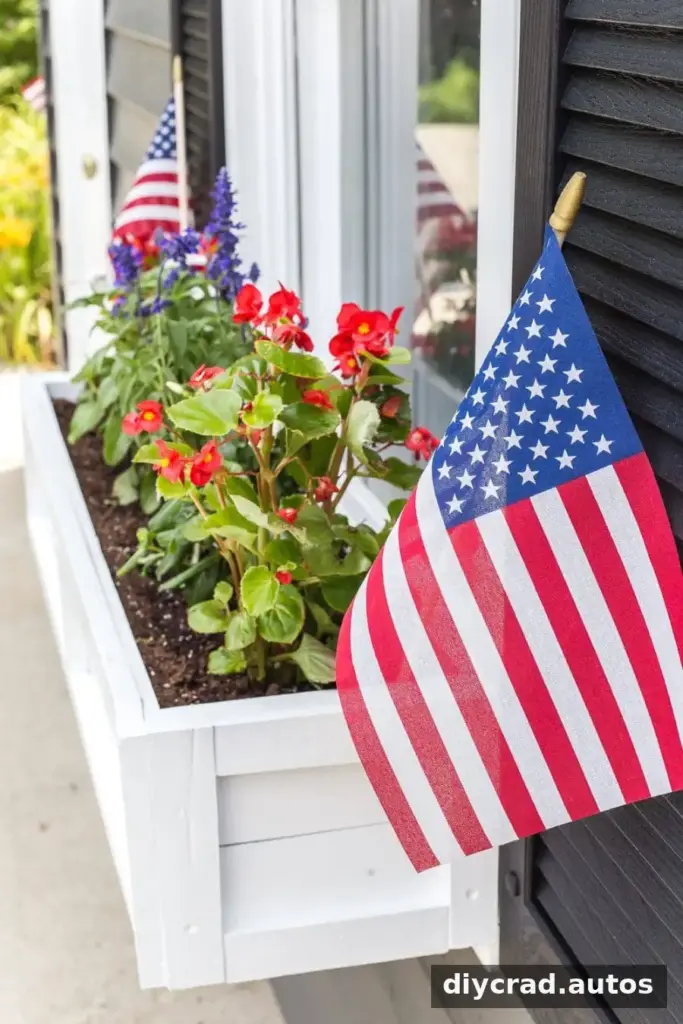
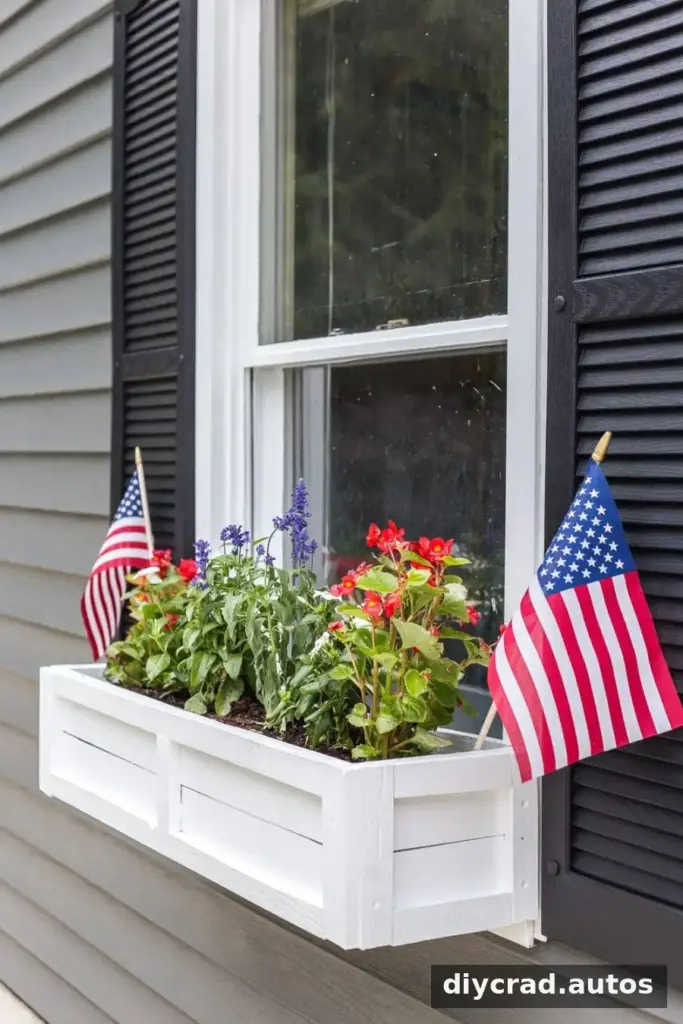
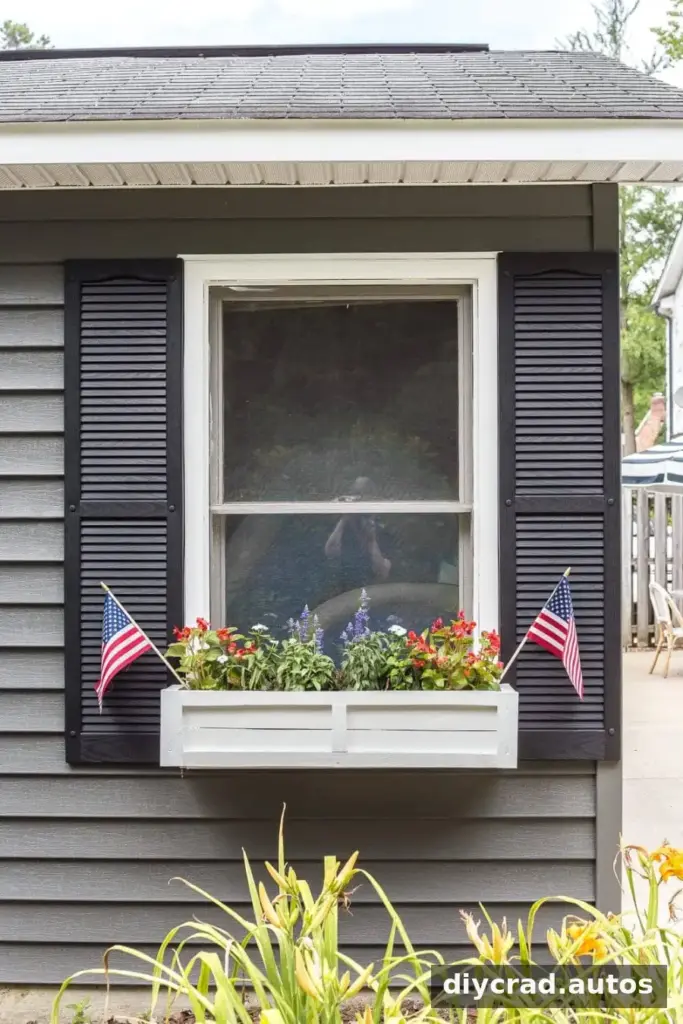
Optional decorative details, such as small American flags, can give the planter a seasonal look. Keep decorations secure and clear of the plants and drainage openings.
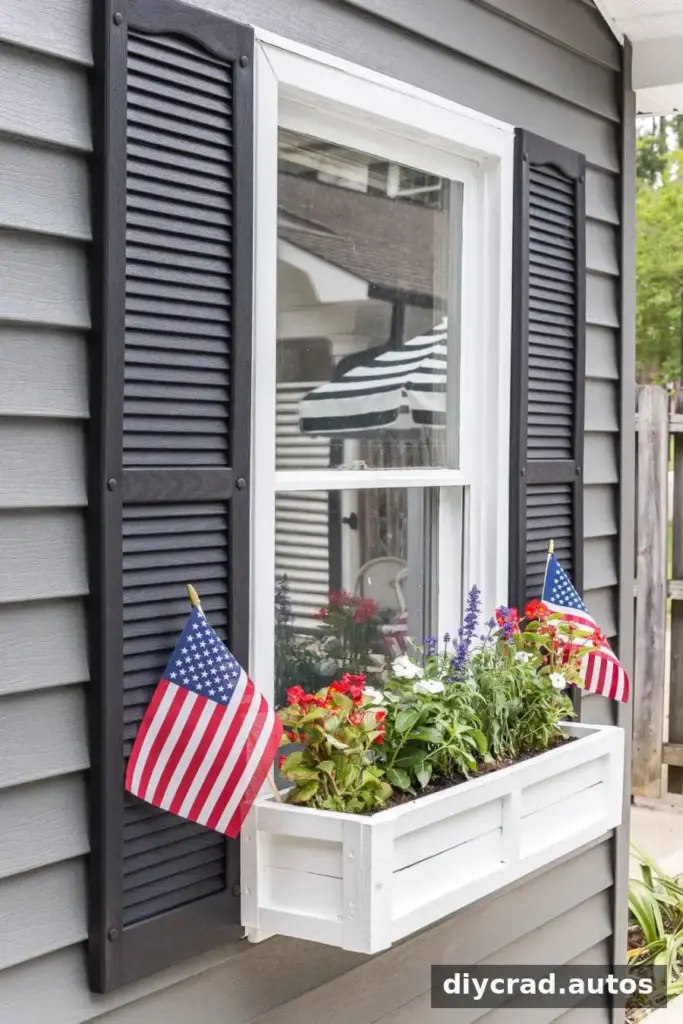
The finished boxes brought extra character to a backyard pool shed and made use of wood that might otherwise have been discarded. They were not perfectly uniform, but using scraps and leftover paint kept the project inexpensive. At the time, comparable store-bought boxes cost more than $80 each, and making two saved a total of $160.
Finishing and Using Your DIY Window Box
Before planting, confirm that the brackets are firmly attached and that water can drain freely. Choose flowers suited to the window’s light and local growing conditions, and check the planter periodically for loose fasteners or worn paint. A well-measured DIY window box turns spare materials into a useful outdoor feature while adding a personal touch to a shed, porch, or home exterior.
For a final keepsake, save the project instructions for later reference.